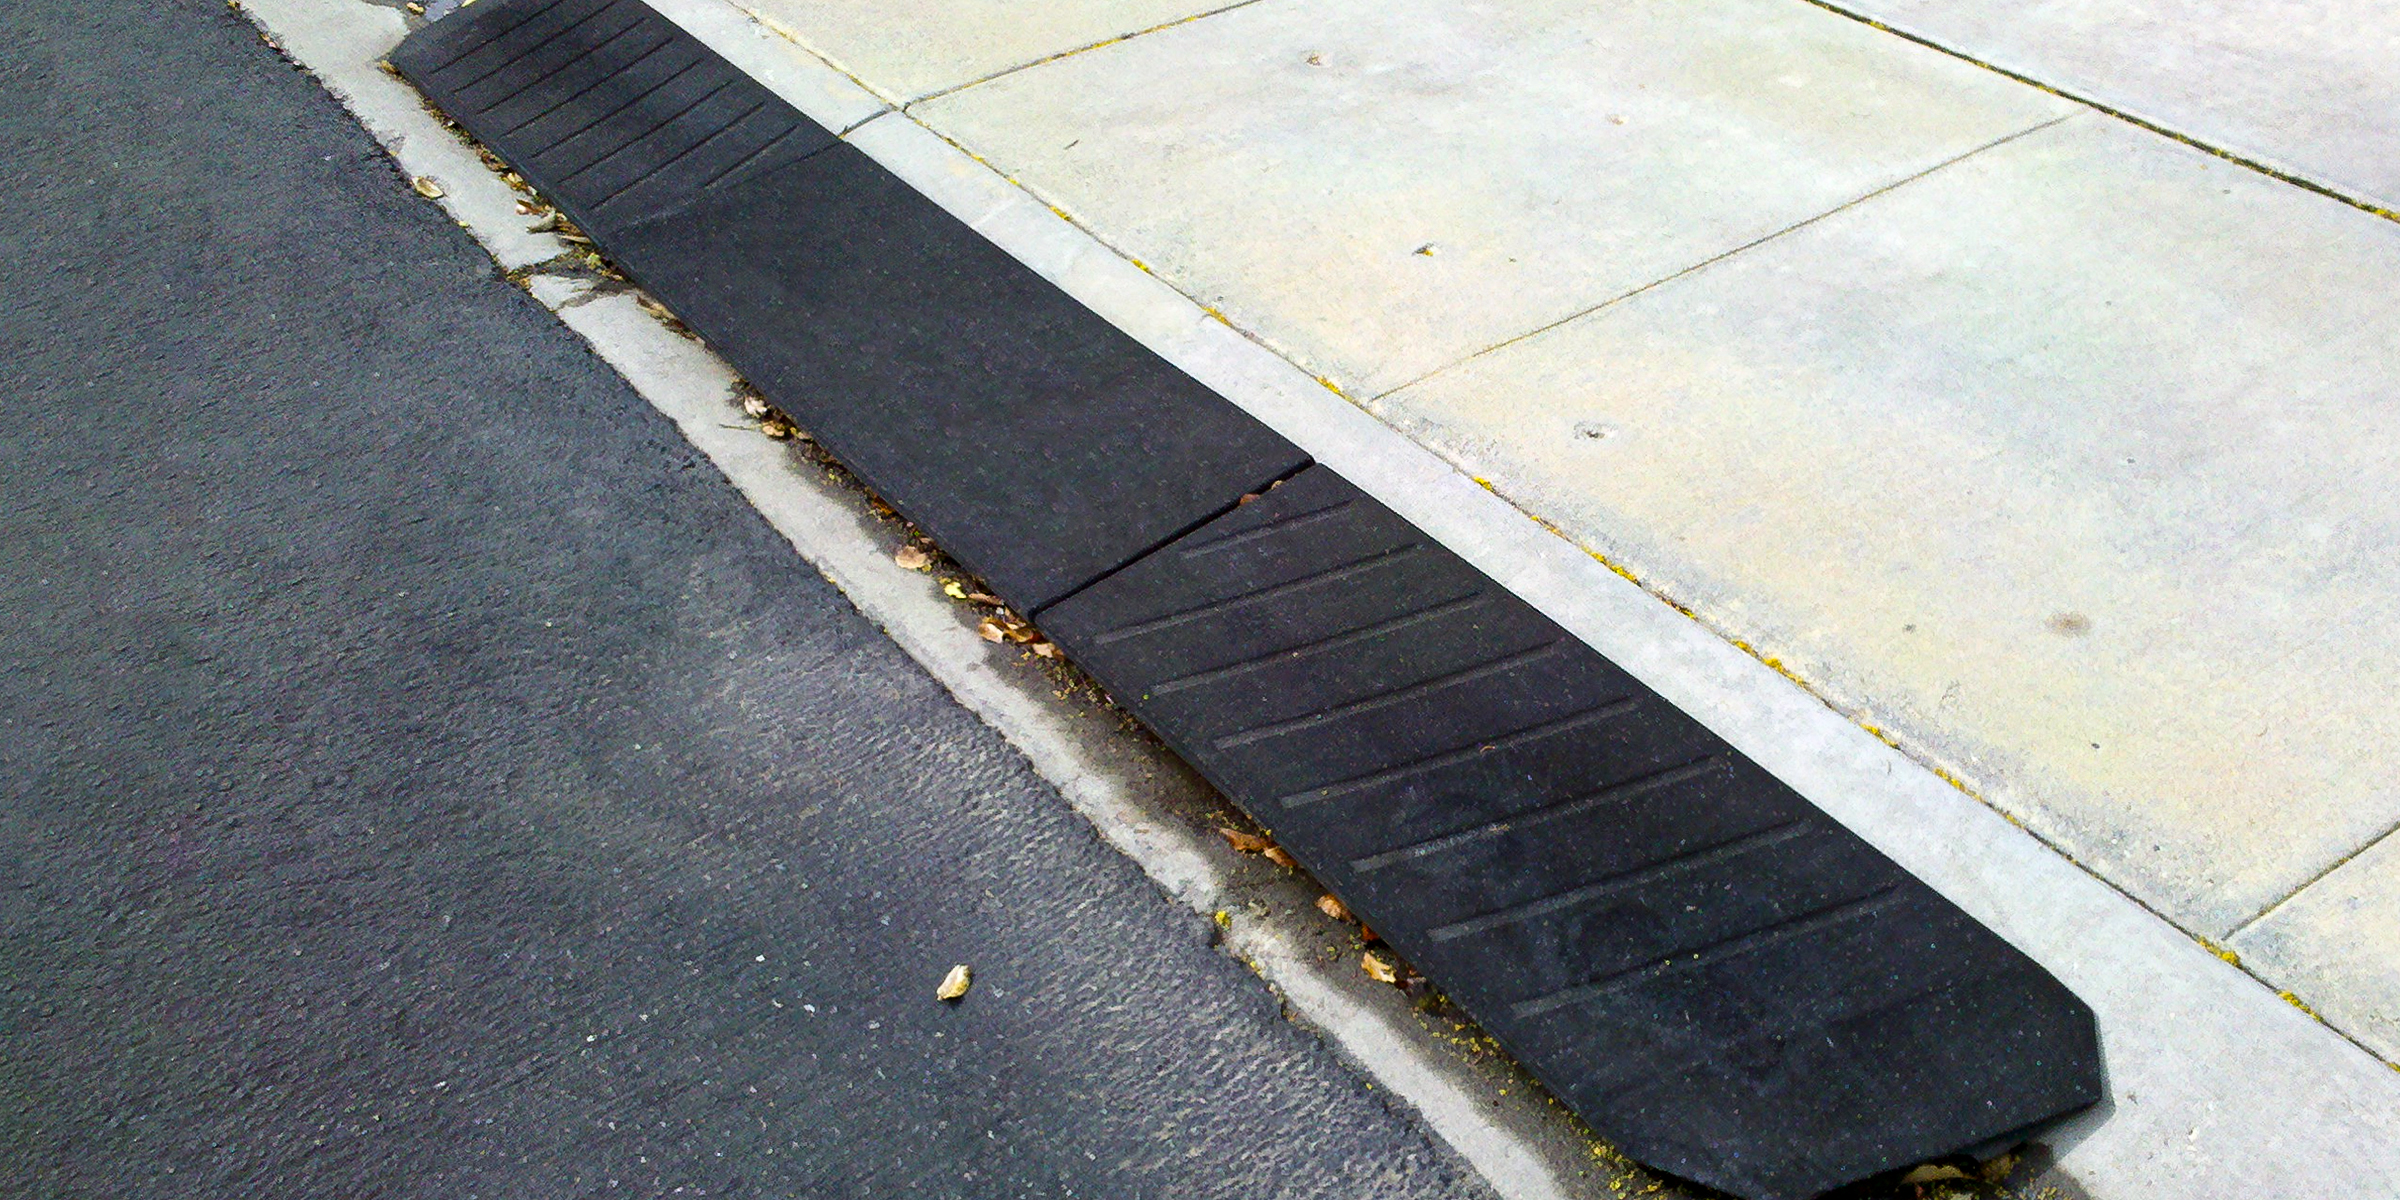
Build a DIY Curb Ramp for Seamless Driveway Access
Feb 13, 2024


Unlock the secrets to crafting your own personalized piece of furniture with our DIY wooden bench guide—where simplicity meets elegance in your living space.
Is there anything more satisfying than bringing your creative vision to life with a home DIY project? Especially one that's as easy as it is rewarding. Imagine crafting a wooden bench that's not only functional but also a stunning addition to your space. All it takes is the right wood for the seat and sleek metal legs for support.
With a dash of careful planning and a bit of elbow grease, you can create a piece that's uniquely yours. So, grab your tools, and let's embark on this journey together, transforming simple materials into a beautiful, customized seating solution.

Ceramic bowl on a brown wooden bench | Source: Pexels
1. Start by applying furniture beeswax to the wooden top to safeguard it and ensure it dries thoroughly.
2. Measure and mark hole placements on the underside of the bench top using a ruler and pencil.
3. Drill shallow holes into the marked spots on the bench top to facilitate screwing in the screws.
4. With the bench top facing downwards, align the bench legs with the pre-drilled holes. Secure the legs to the bench top using a screwdriver or wrench, ensuring not to over-tighten.
5. Flip the bench upright to complete assembly. Test for stability and make any necessary adjustments to the screws.
With just a few simple steps, you've transformed basic materials into a stunning DIY wooden bench, adding a touch of customization and style to your home.
For more insightful tips on perfecting your living space, explore our guide on avoiding common mistakes when buying a sofa, ensuring every piece in your home reflects your unique taste and needs.

Looking to discover how to create a Murphy door for your home? You've come to the right place! Incorporate a unique hidden door into your space by crafting your own, following the detailed guide below.
Mar 12, 2024
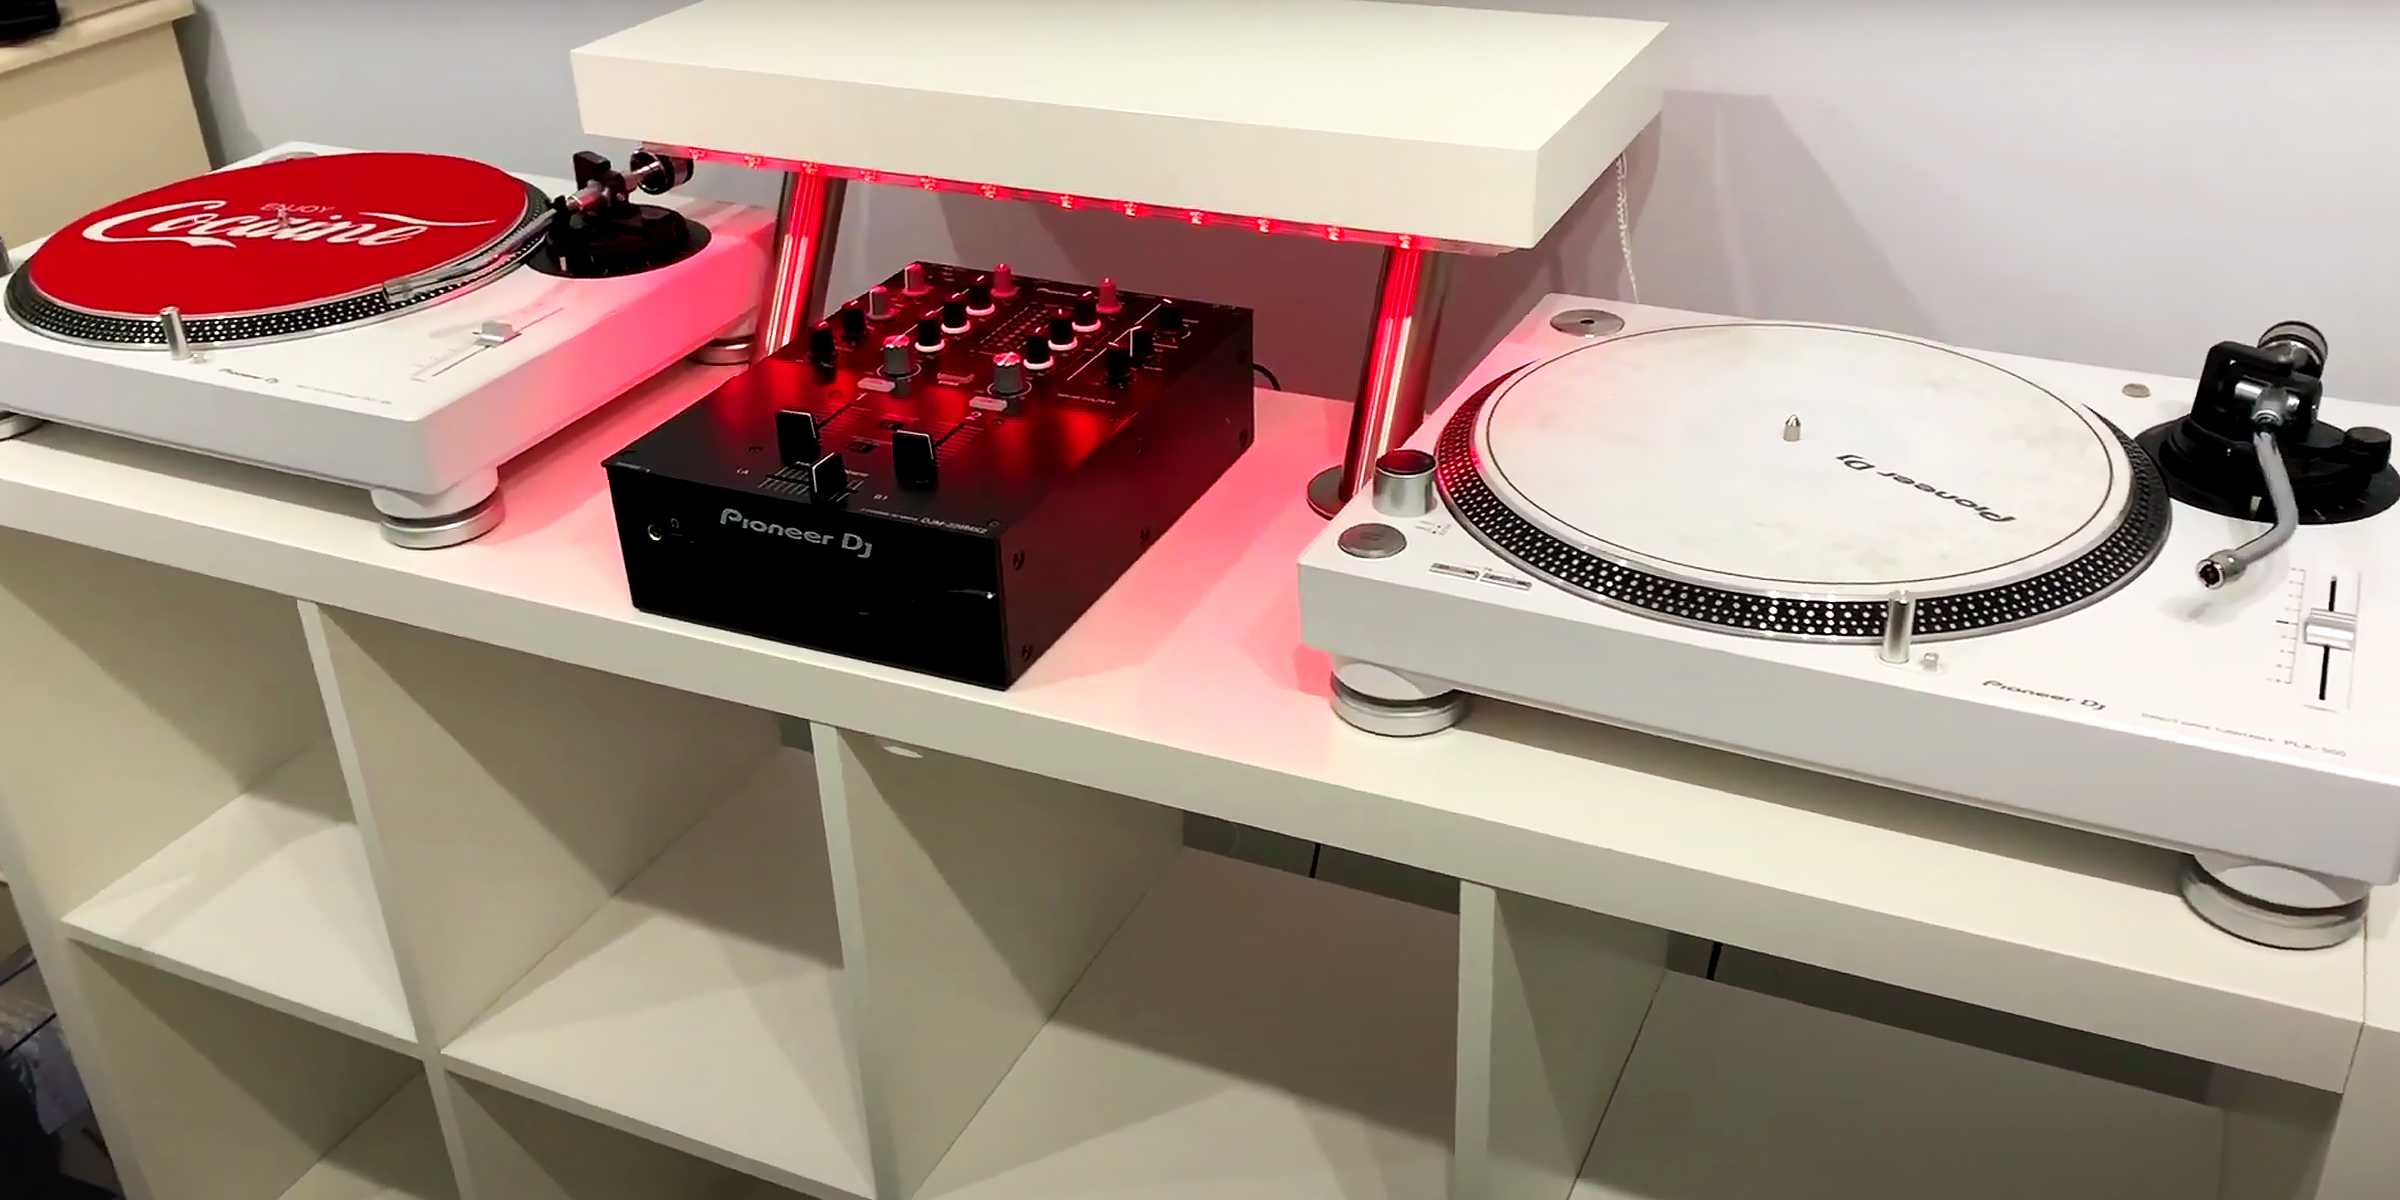
Discover how to transform your space into a DJ's dream with our guide to crafting a DIY DJ booth. From assembling IKEA furniture to adding personalized touches. It's time to unleash your creativity and elevate your DJing experience.
Feb 17, 2024
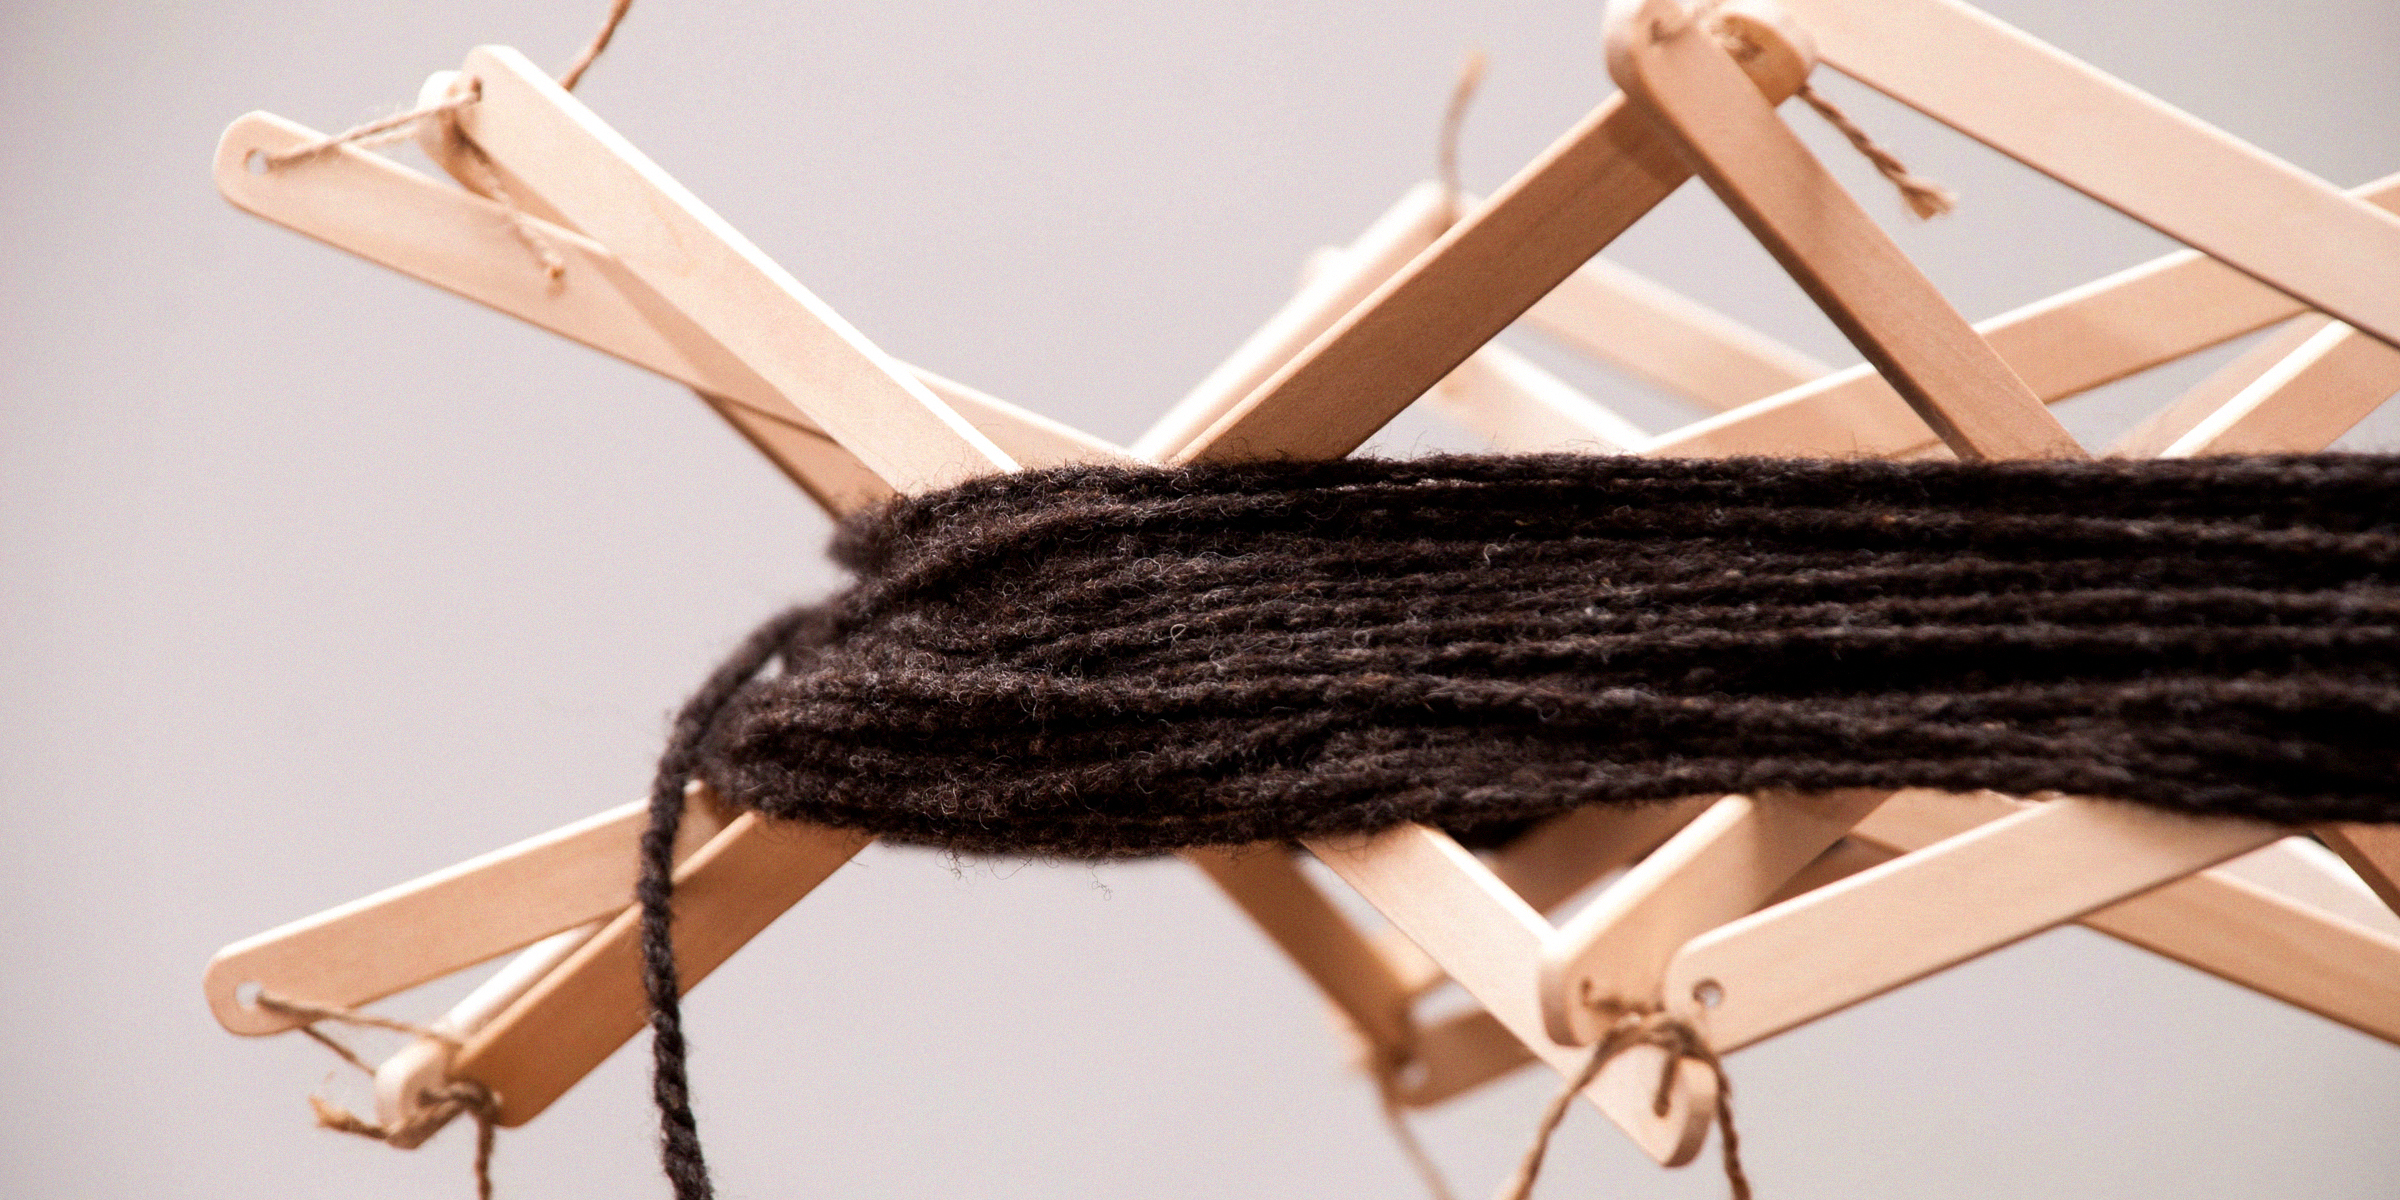
Embark on a journey to elevate your knitting prowess effortlessly and infuse each stitch with a personal touch through a DIY yarn swift. Unleash your creativity as you craft an affordable and convenient tool to elevate your knitting experience.
Feb 01, 2024

Transform your space with a DIY Litter Robot Enclosure that effortlessly merges smart technology with style. Despite their convenience, high-tech litter boxes can sometimes clash with home aesthetics. Fortunately, there's a stylish DIY solution!
Feb 14, 2024
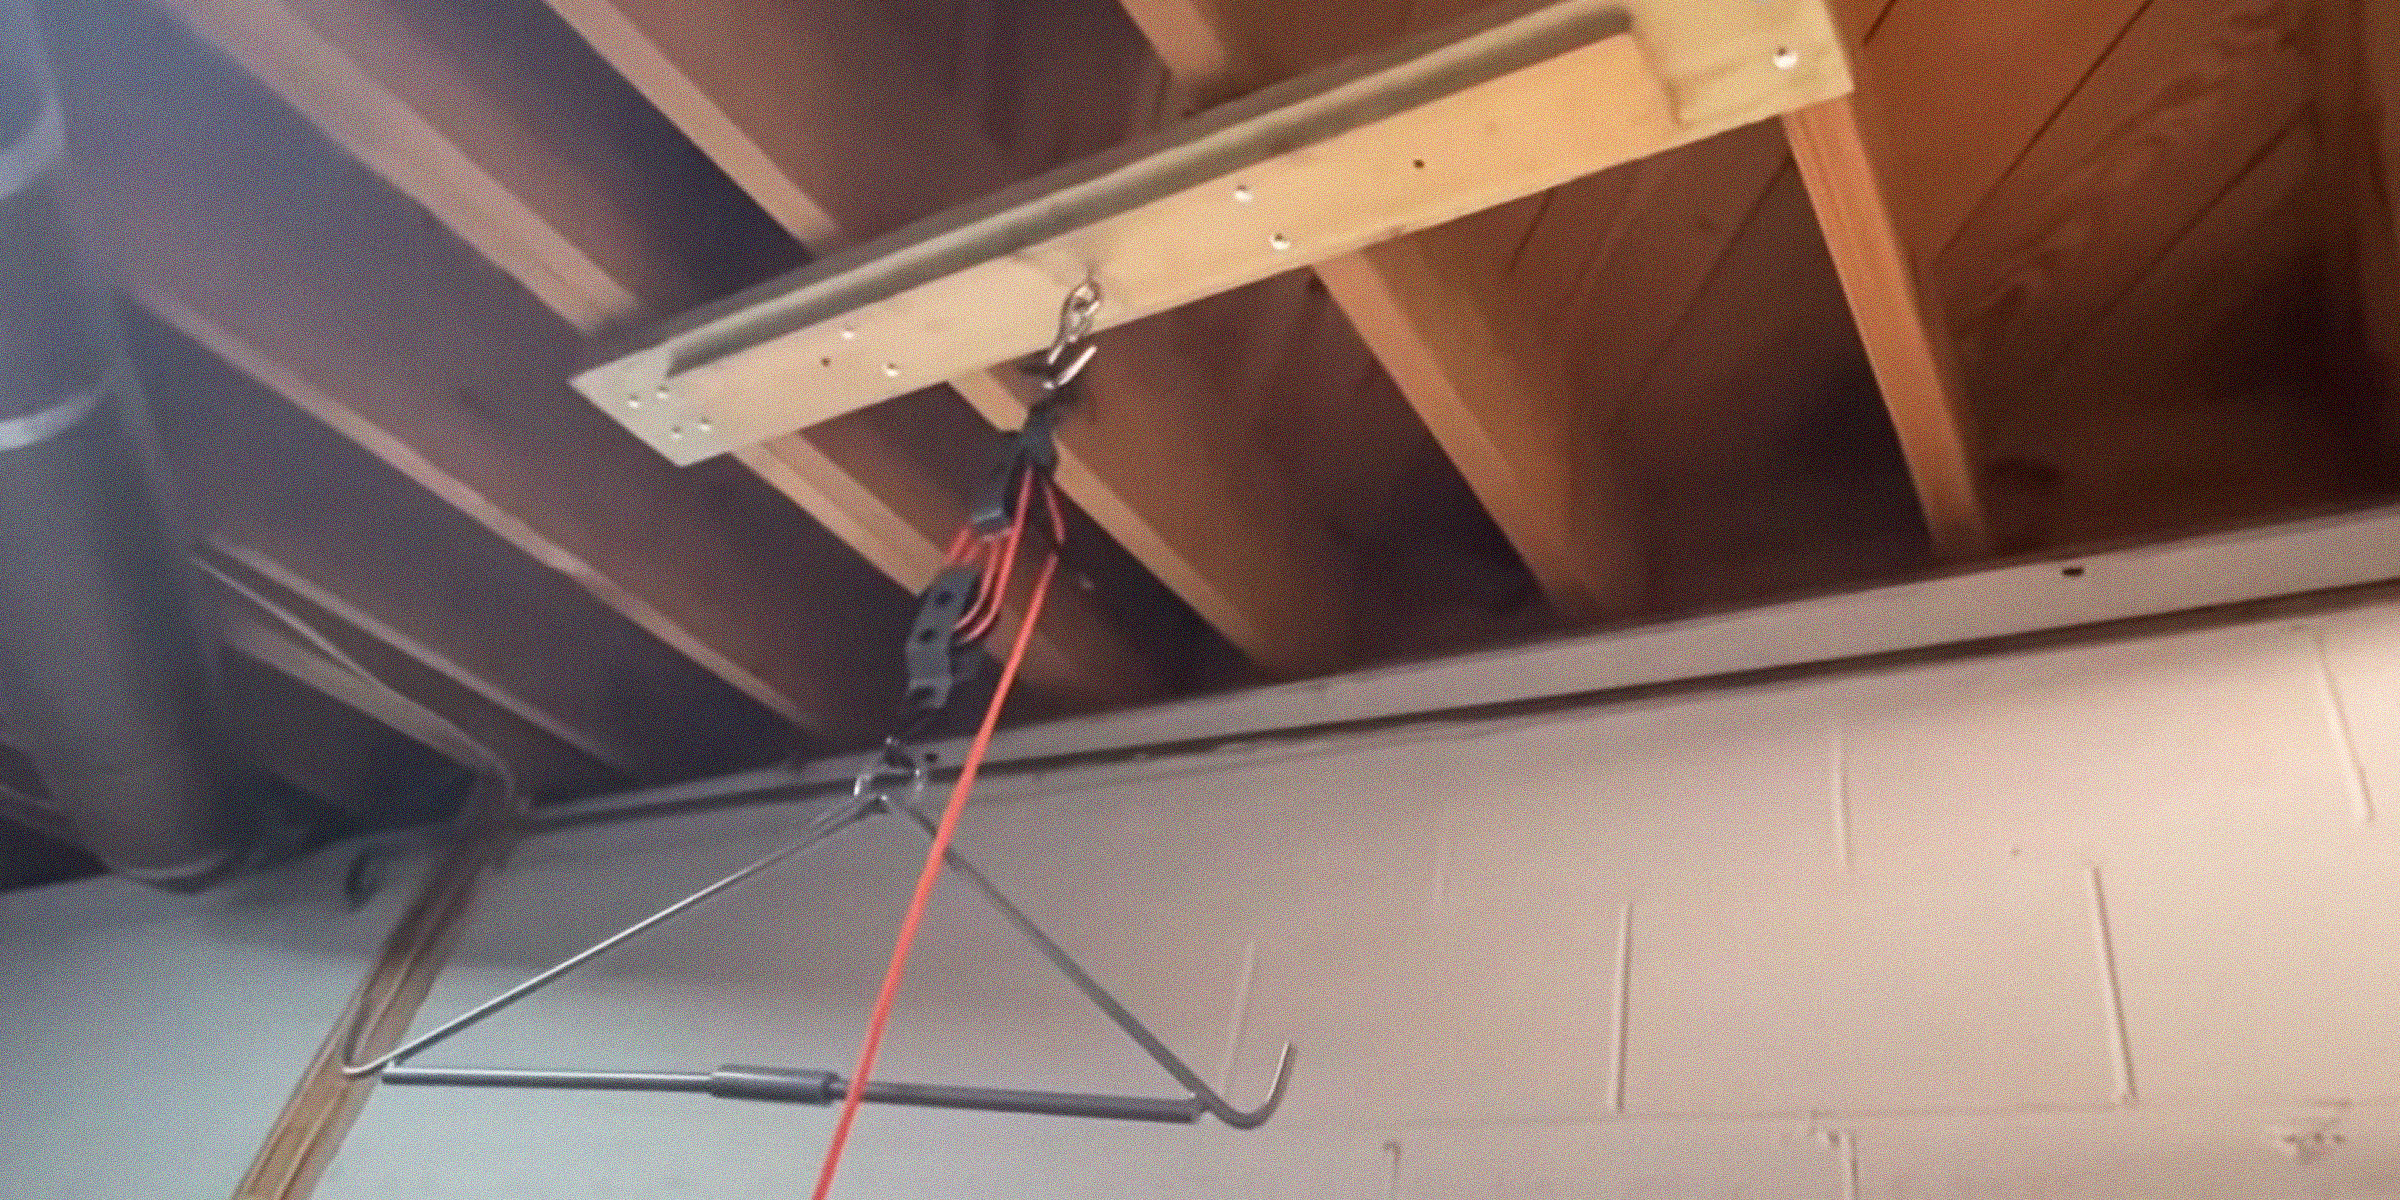
Whether you're a seasoned hunter or just getting started, a deer hoist is a helpful tool when hunting these large animals, and now, you can make this device in comfort of your home with this simple DIY deer hoist guide.
Feb 09, 2024

Transforming long car rides with children into fun-filled adventures is possible. Yet, managing sibling conflicts can be tough. Explore inventive solutions to foster peace and harmony between your little ones.
Feb 15, 2024
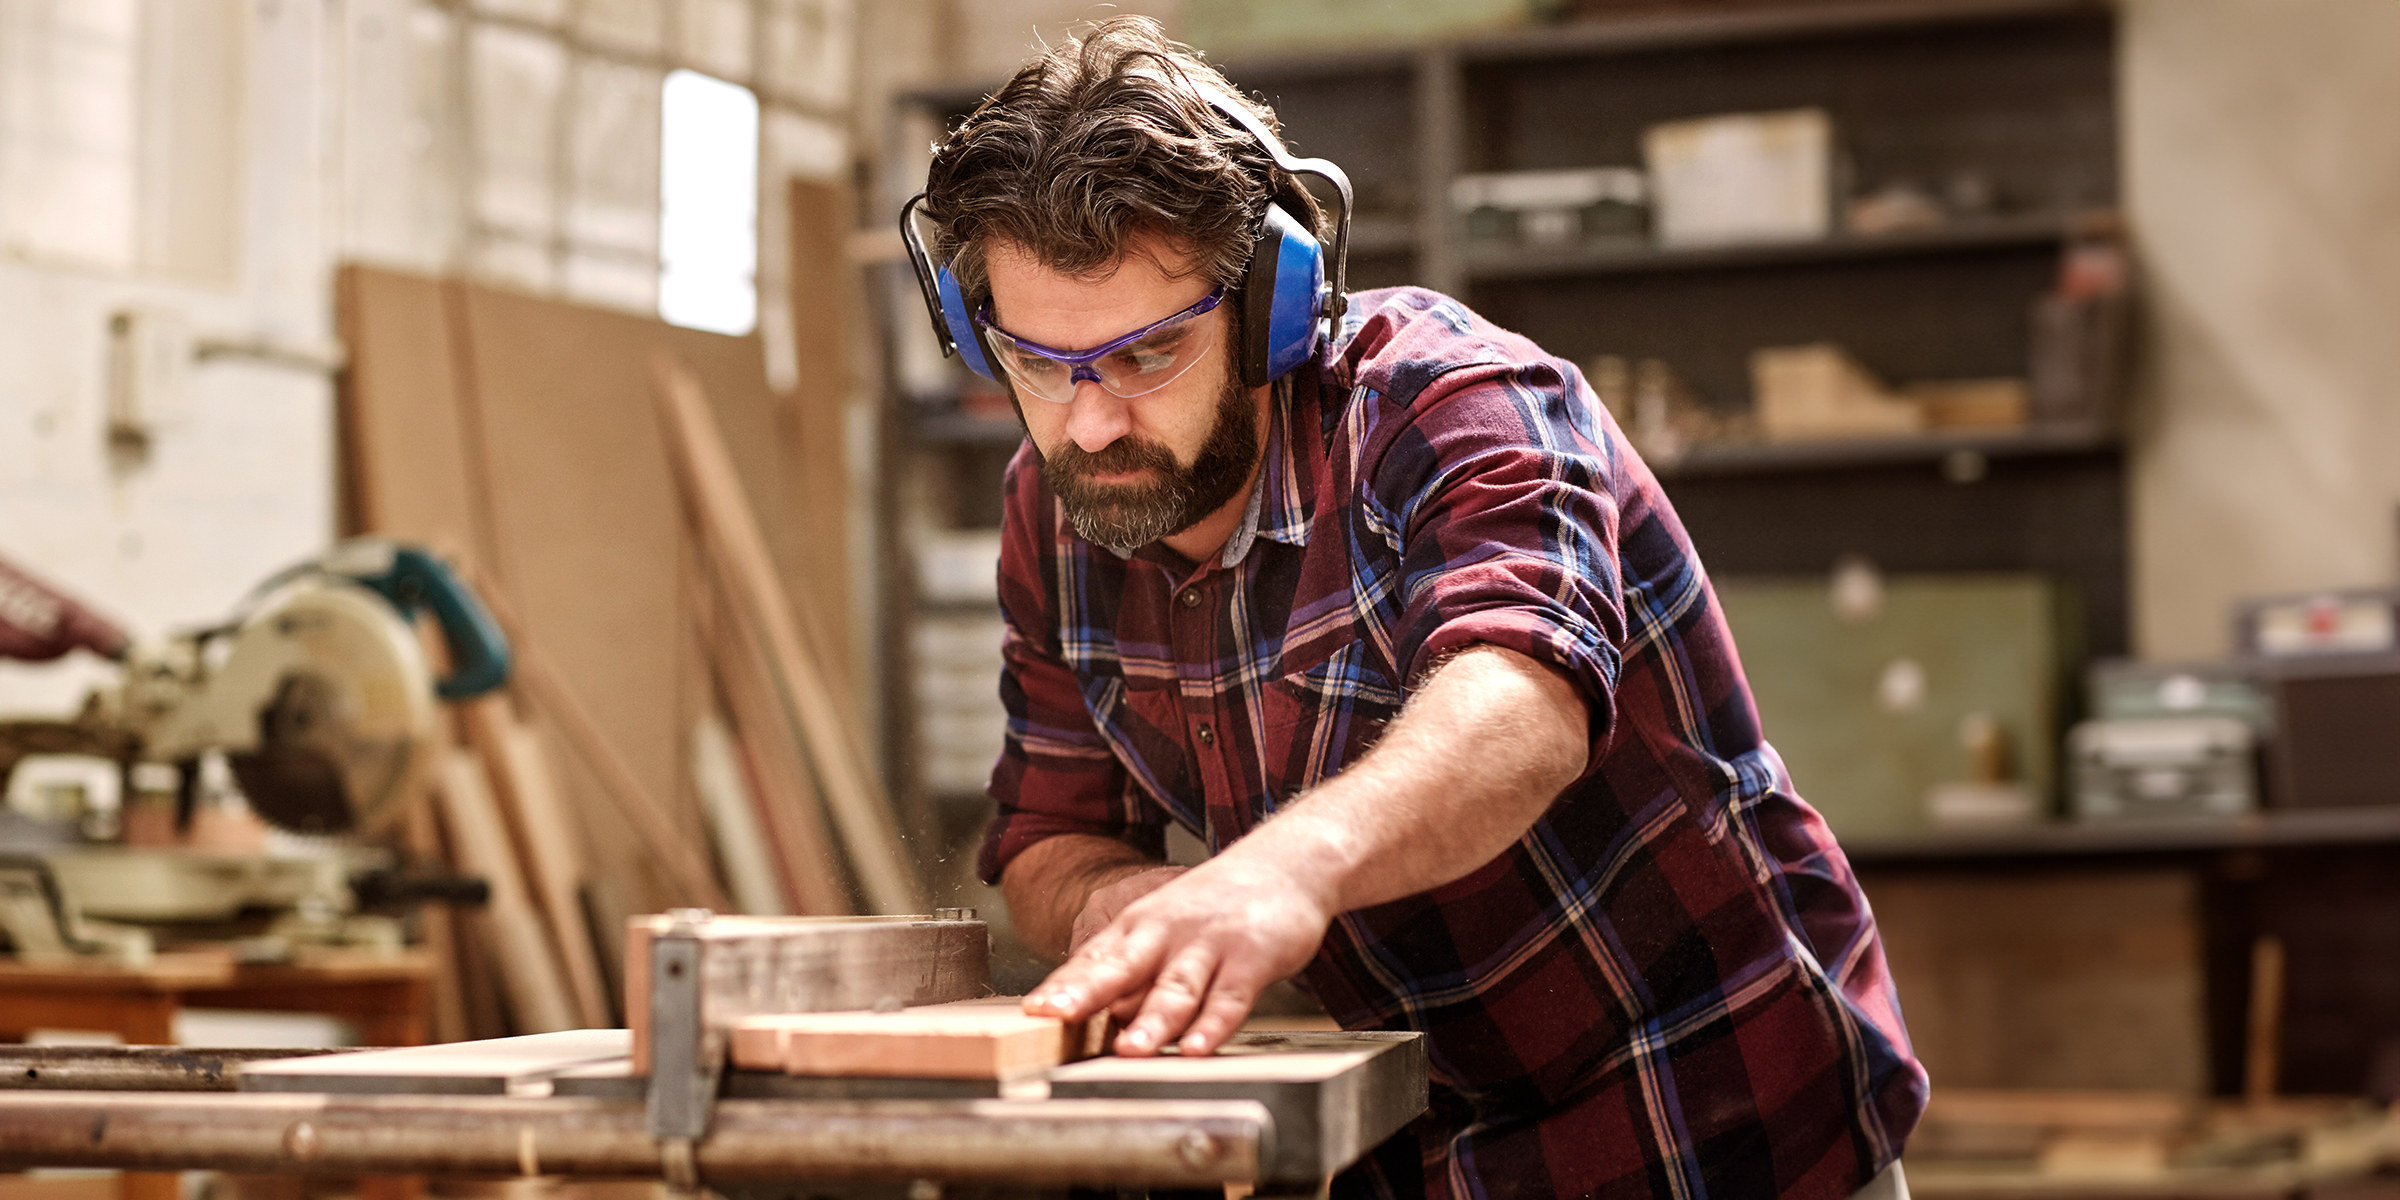
In our modern toolkit, electric drills are indispensable for creating holes in wood, but what happens when one isn't available? Fear not! Even in the absence of a drill, a plethora of creative avenues remain open to us. Here's how to make a hole in wood without a drill.
Mar 18, 2024

Are you passionate about fitness and eager to enhance your training? A DIY workout sled can come in handy to ensure you reach your desired fitness goals.
Feb 08, 2024

Whether you're a seasoned DIY enthusiast or new to the world of homemade gadgets, continue reading for a step-by-step tutorial that will help you create a functional and reliable DIY boom sprayer.
Feb 18, 2024

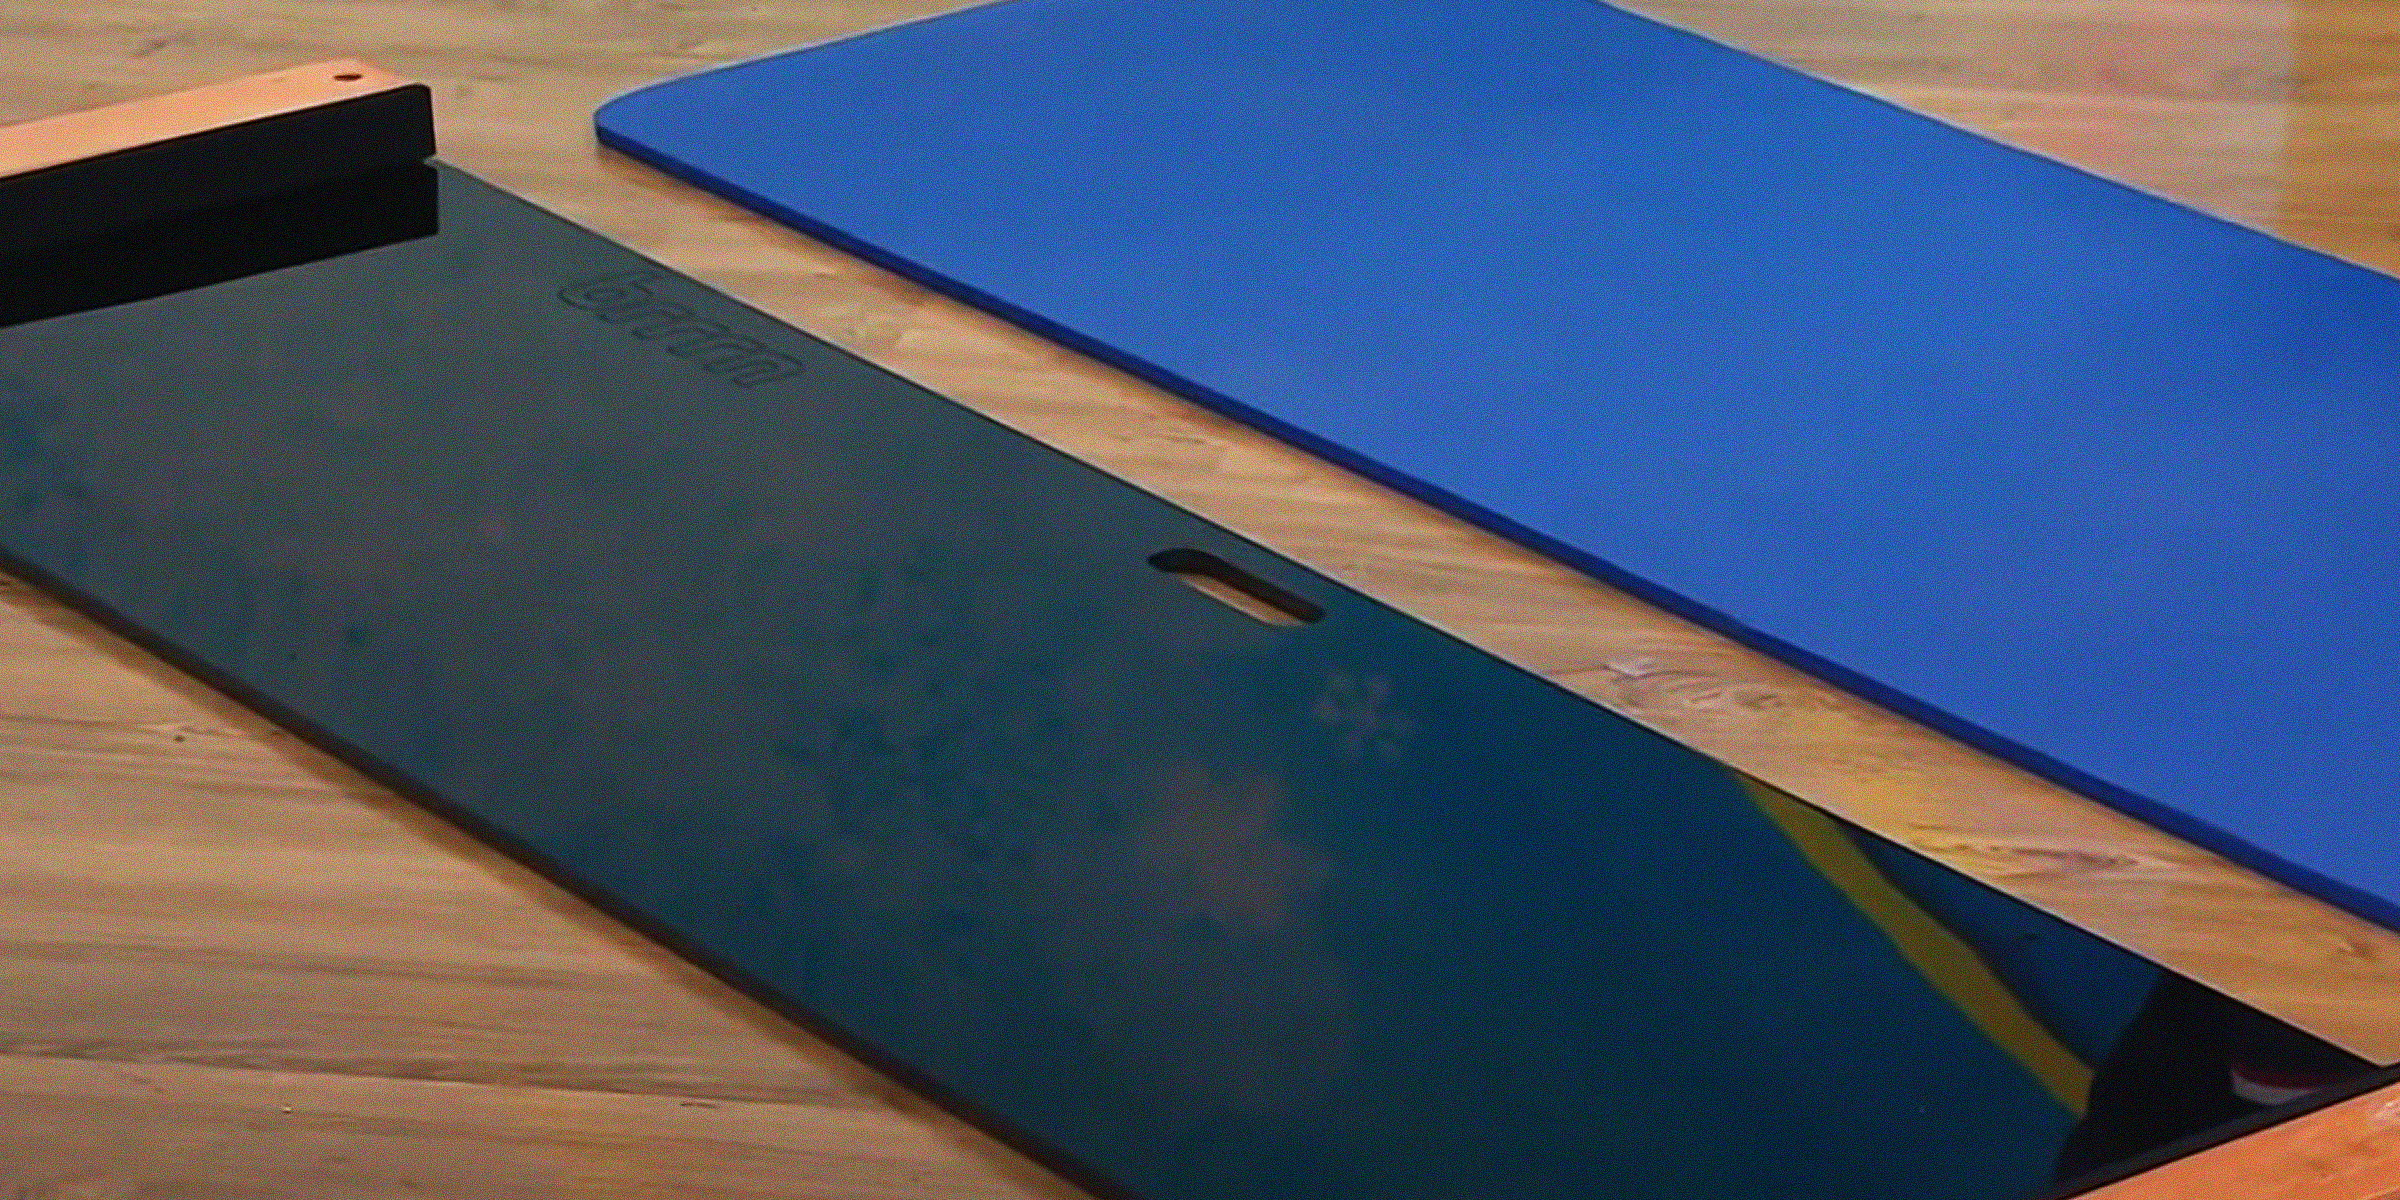
Whether you're aiming to protect your floor from the warmth of the embers or seeking to add an aesthetic flourish to your living space, this guide will walk you through creating the perfect DIY hearth pad for your home.
Apr 09, 2024

Tiki huts are making a significant comeback, captivating enthusiasts with their distinctive charm that transports you to a serene paradise. Embark on a journey to transform your backyard into a tranquil oasis with our step-by-step guide on how to make a Tiki Hut.
Mar 20, 2024
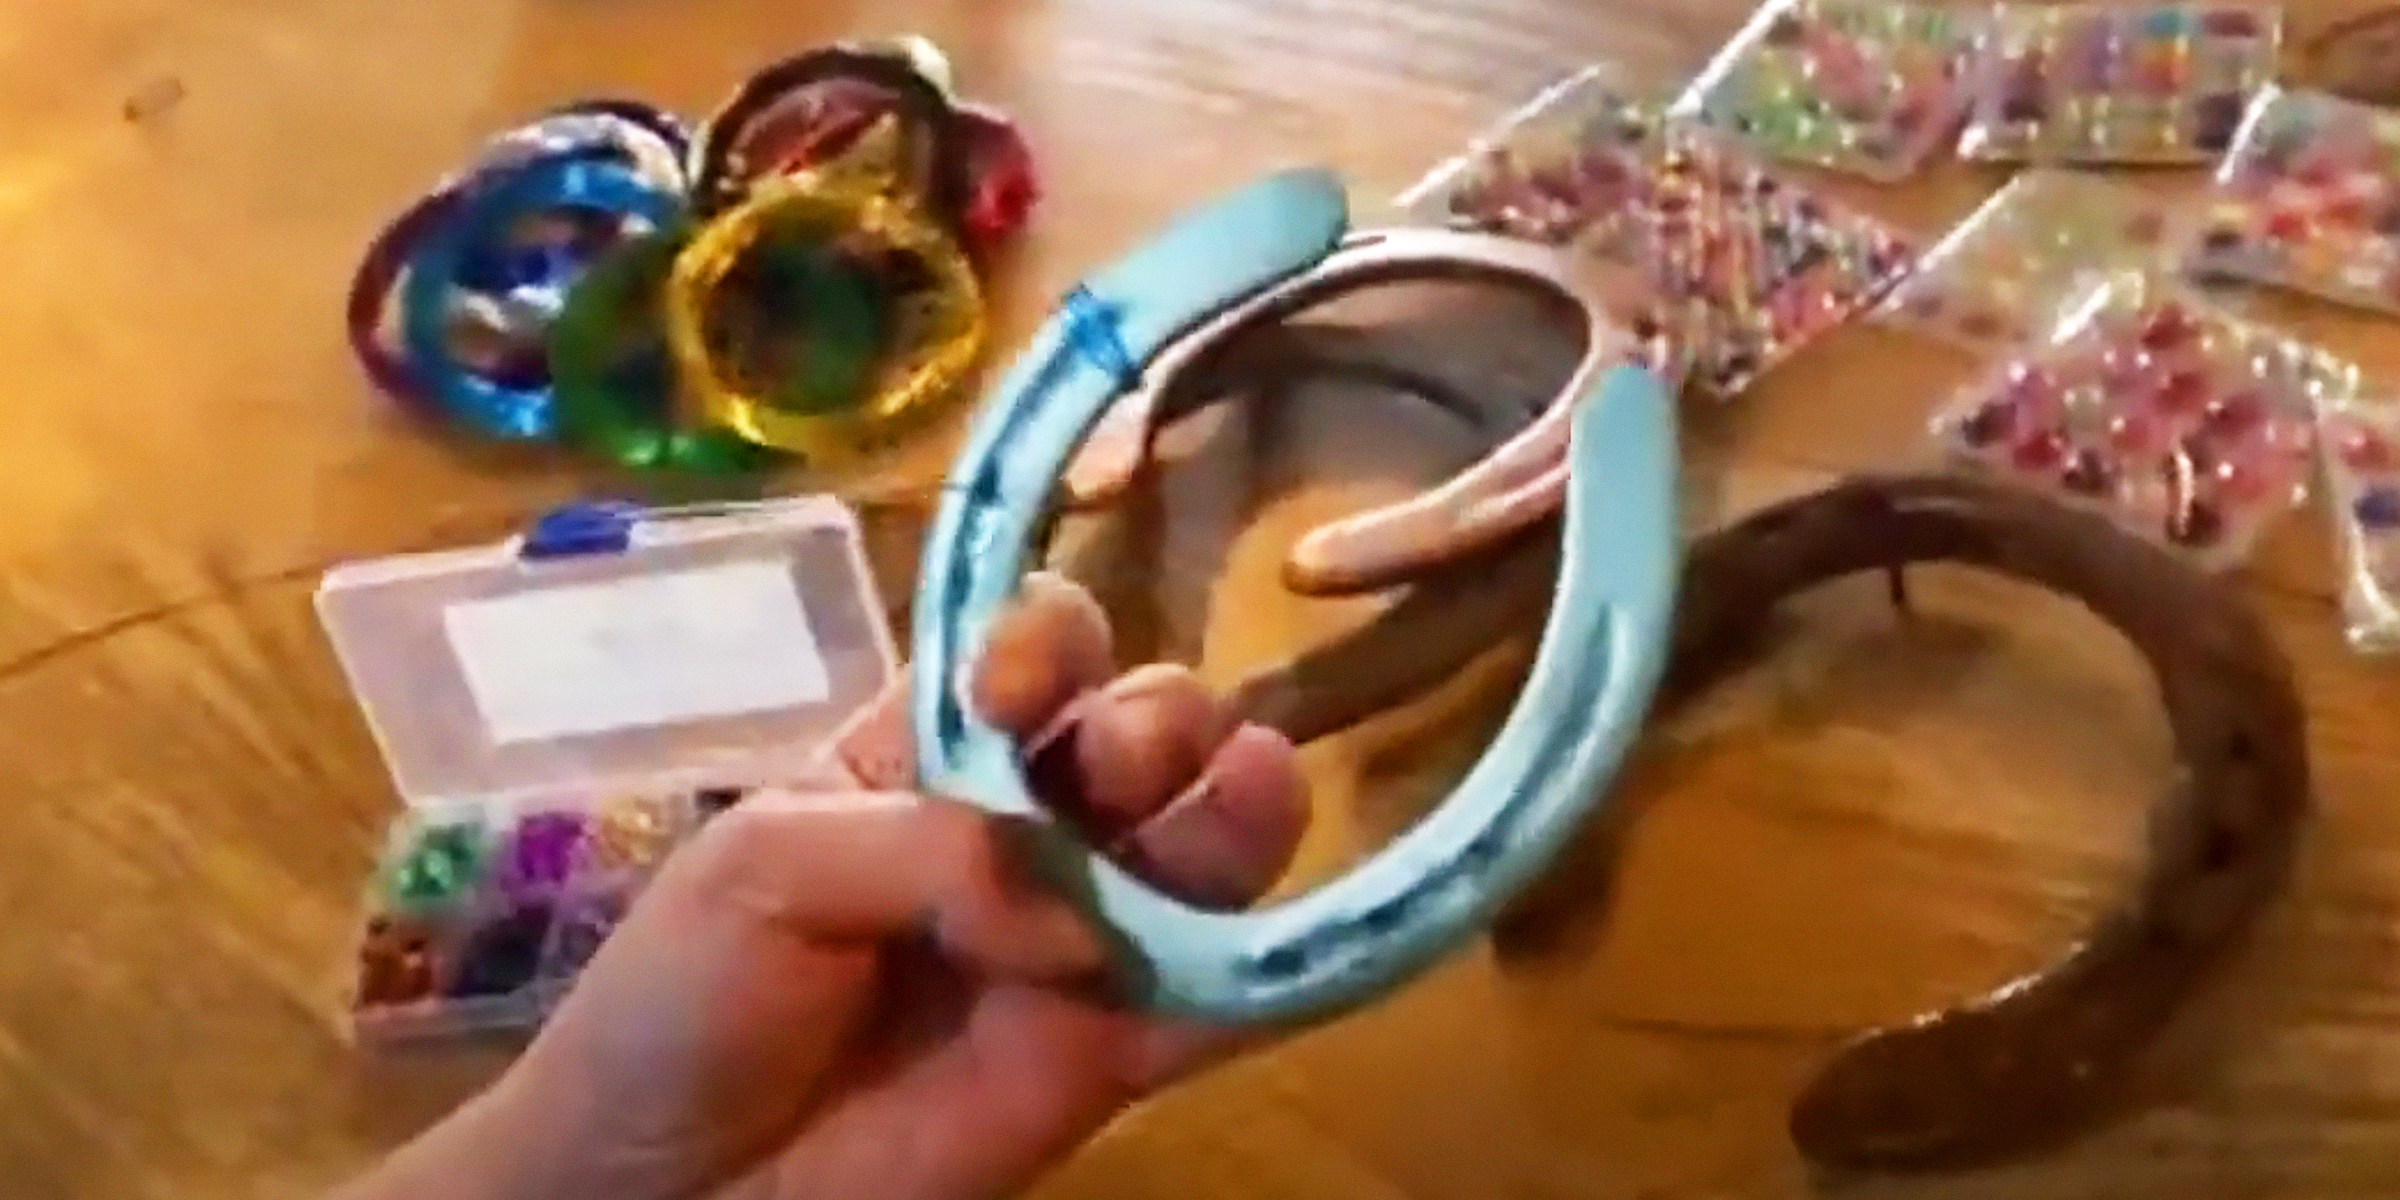
Transform ordinary metal into an extraordinary charm! Learn how to decorate horseshoes with our easy DIY guide, turning them into personalized tokens of luck and gifts for any occasion.
Mar 13, 2024

Bubble walls bring the benefits of surrounding yourself with nature into the comfort of your personal space. If you're considering installing one but want to do so independently, follow this DIY bubble wall guide.
Feb 09, 2024
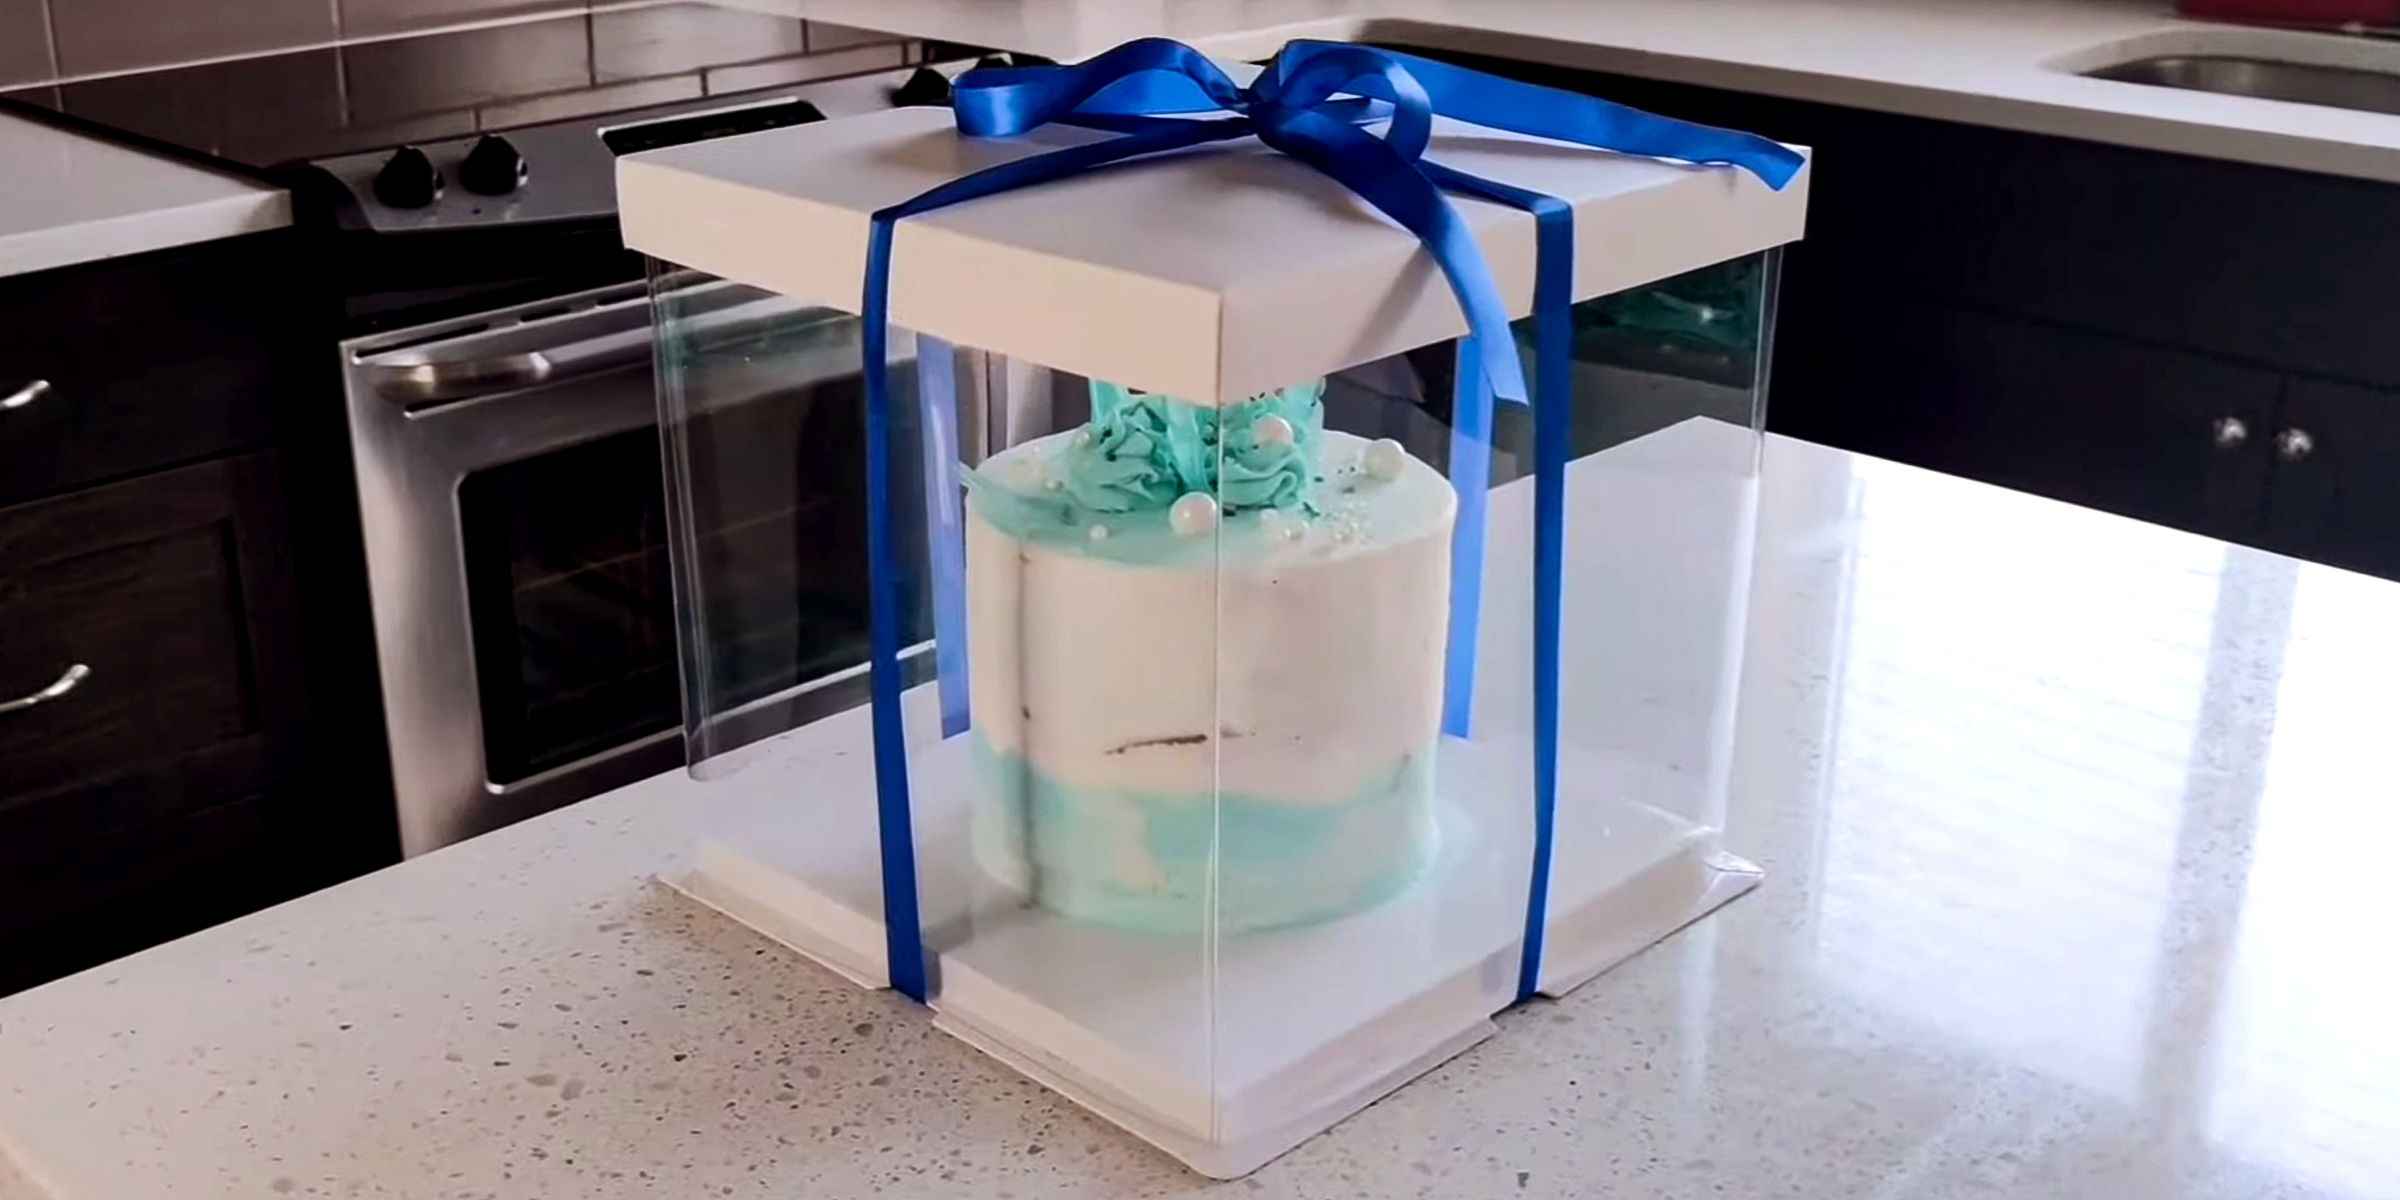
Eager to learn the art of making cake box? Whether you're a baking enthusiast looking to present your creations in style or a DIY crafter eager to add a personal touch to gifts, this step-by-step tutorial on how to make a cake box will transform your packaging game.
Mar 07, 2024