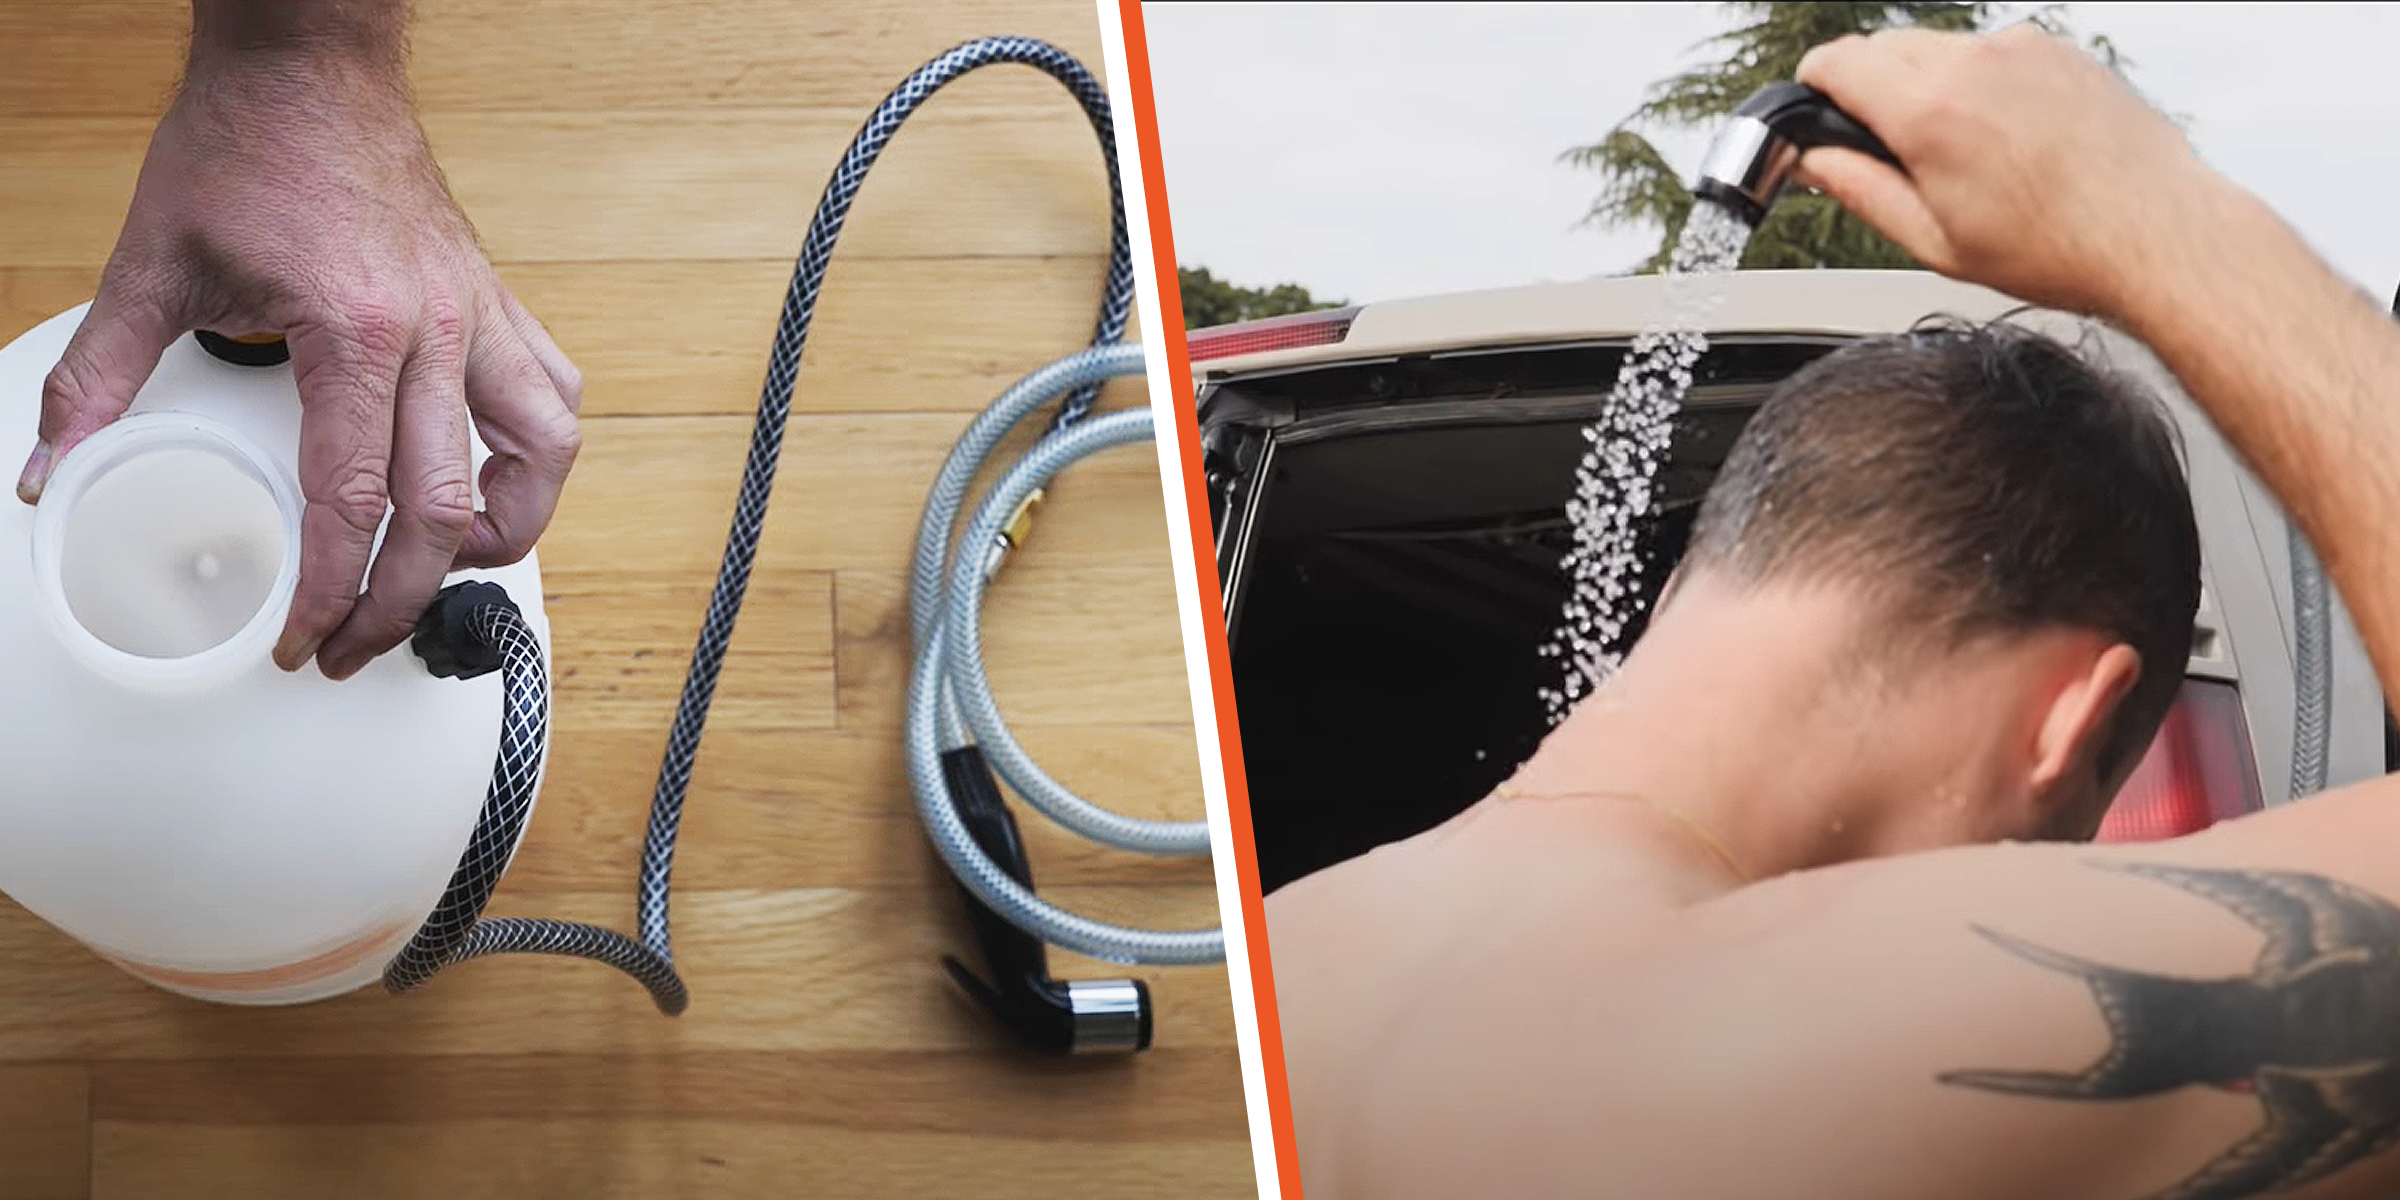
DIY Van Shower — Save Money with This Cost-Effective and Easy Hack
Feb 12, 2024


Whether you're a seasoned DIY enthusiast or new to the world of homemade gadgets, continue reading for a step-by-step tutorial that will help you create a functional and reliable DIY boom sprayer.
A DIY boom sprayer is an invaluable tool for anyone looking to take their lawn care to the next level. Not only does a homemade boom sprayer save you the expense of commercial models, but it also allows for customization to suit your specific lawn size and spraying needs.
With a bit of ingenuity, some basic materials, and this guide, you can assemble a DIY boom sprayer that rivals any store-bought version in functionality and efficiency.

A tractor using a boom sprayer to apply herbicides to a potato field. | Source: Getty Images
Creating a DIY boom sprayer from PVC only involves 7 steps to ensure efficient and wide coverage for lawn care or agricultural applications. Find a detailed guide below:

A DIY boom sprayer | Source: YouTube/Connor Ward
1. Mount the pump on the plastic tank.
Select a pump based on your lawn size. A 25 to 30-gallon tank with a standard 12-volt pump is usually efficient for areas up to two acres.
Mark and drill holes in the tank to attach the pump securely using screws and flush nuts.

Mount the pump to the tank by marking and drilling holes to secure the pump using nuts and screws. | Source: YouTube/Connor Ward
2. Install the pressure-relief valve.
This valve controls the spraying pressure and directs excess liquid back to the tank. Install it by drilling a hole atop the tank, using Teflon tape on threads to prevent leaks, and attaching it with screws, nuts, and a hose to the barb inside the tank.

Install the pressure relief valve by drilling a hole atop the tank, using Teflon tape, screws and nuts. | Source: YouTube/Connor Ward
3. Install the inline filter.
To prevent blockages, drill a hole near the pump to fit the inline filter. Secure it with Teflon tape and hose clamps, connecting it to a feeder tube inside the tank.

Drill a hole near the pump to install the inline filter. | Source: YouTube/Connor Ward
4. Build the boom.
Construct the boom using a PVC hose, aluminum pipe, a nozzle kit, and clamps. Cut equal pieces of PVC hose to match the nozzle length, attach spray tips to the nozzles, and secure them to the aluminum pipe, ensuring even spacing for efficient spray coverage.

Construct the boom. | Source: YouTube/Connor Ward
5. Position the tank on a pull-behind cart.
Secure the fully assembled tank and sprayer onto a cart for easy attachment to a lawn mower. Adjust the tank height as needed for optimal spraying coverage and secure the boom onto an aluminum frame on the cart.

Place the DIY boom sprayer onto a cart. | Source: YouTube/Connor Ward
6. Connect all parts.
Ensure the pump, filter, valve, and boom are properly connected. Attach hoses between the strainer, pump, and pressure relief valve to form a circuit, and link the boom sprayer to the valve for easy detachment.
7. Link the battery to the pump.
Finally, power your sprayer by connecting a compatible battery to the pump. Secure the battery on the cart and install a switch for easy operation and your DIY boom sprayer is ready for use.

A DIY boom sprayer. | Source: YouTube/Connor Ward
Building your own boom sprayer is a rewarding project that enhances your lawn care regimen. By following these steps, you can create a customized sprayer that meets your specific needs, offering flexibility and control over your lawn maintenance.
For more DIY projects, check out this guide for a DIY deer hoist.
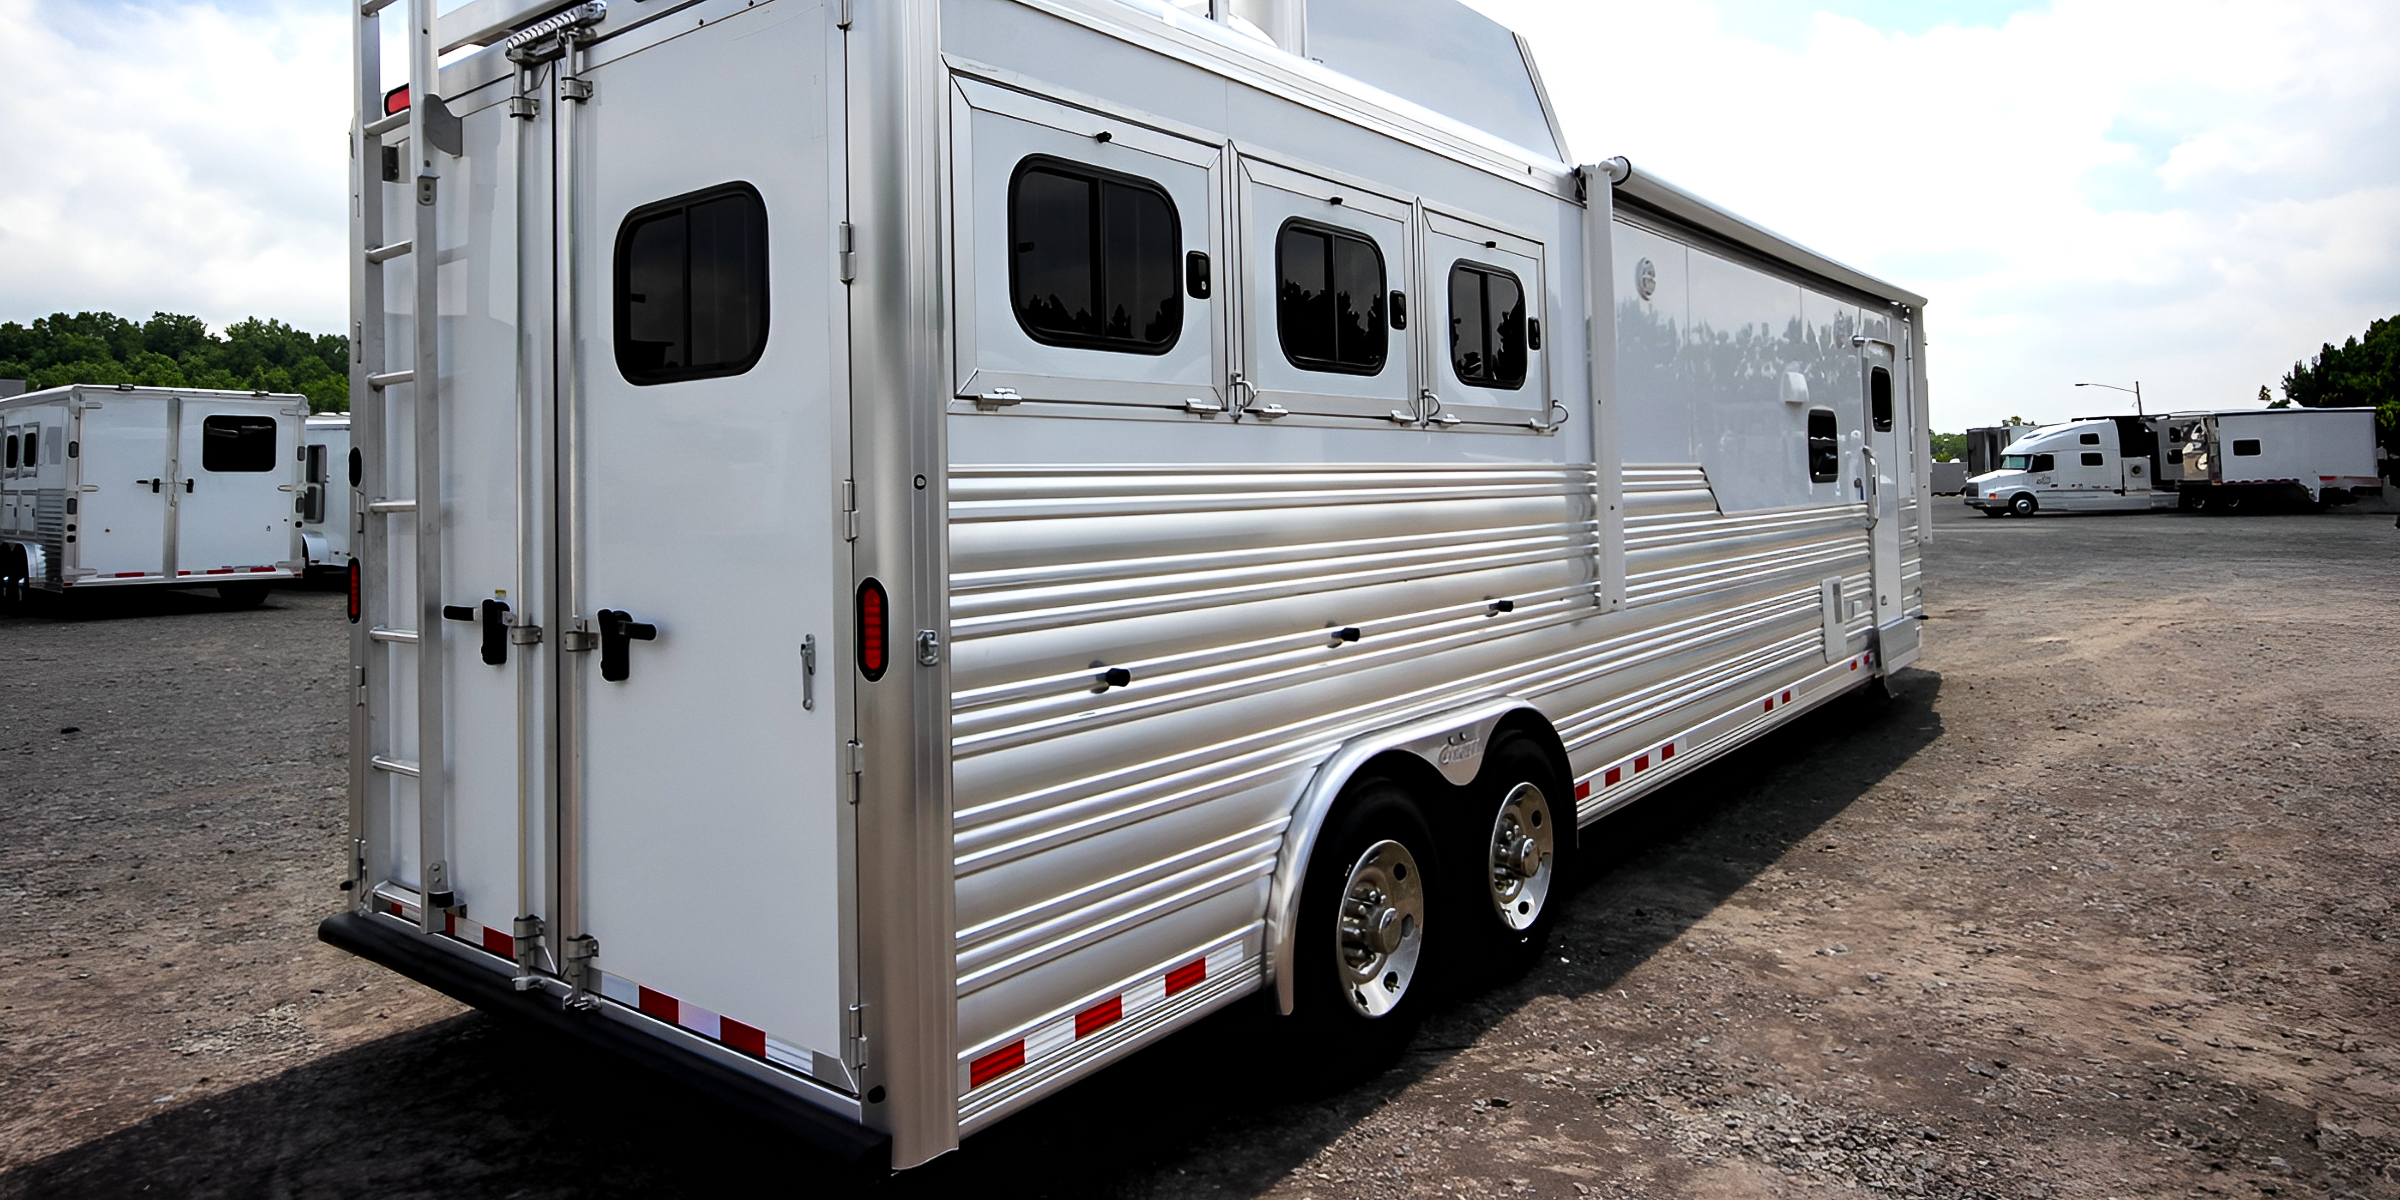
Aluminum trailers play a crucial role in transporting our goods effectively. To keep aluminum trailers looking and performing their best, cleaning them regularly is essential. Here are steps on how to clean aluminum trailers.
Jan 10, 2024
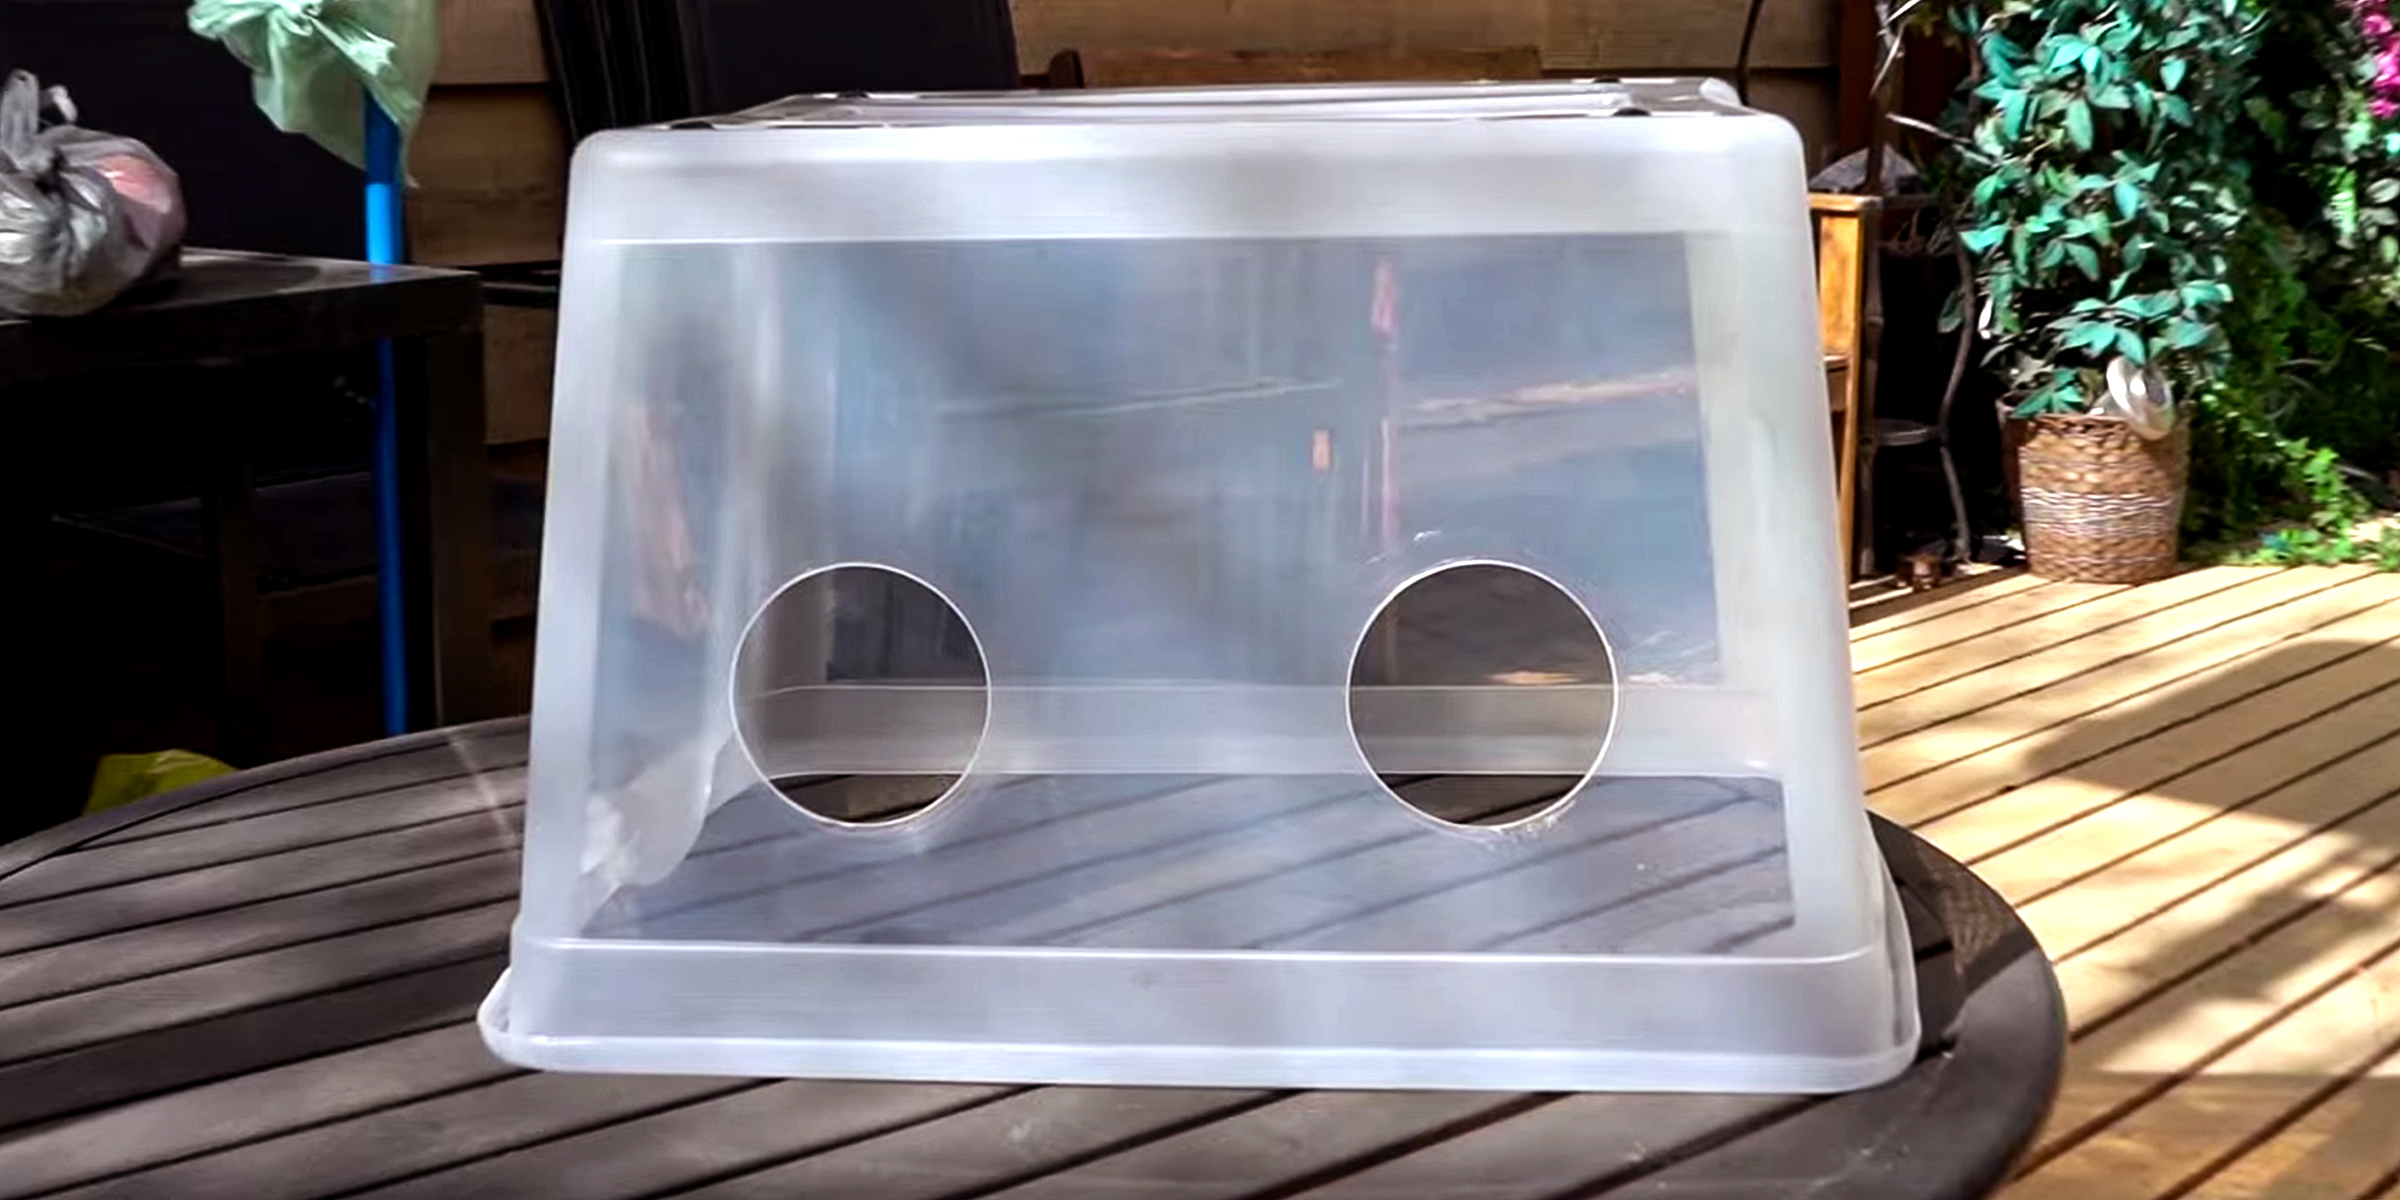
If you're a mycology expert or enthusiast, you probably know the importance of a still air box in your work. However, if you're opposed to buying one, here's how to build a still air box DIY-style.
Feb 08, 2024

Crystal suncatchers are not only stunning decorative pieces, but they are also a unique way to fill your home with sunlight and positive energy. Enjoy the almost magical properties of this beautiful ornament with this DIY crystal suncatcher guide.
Jan 15, 2024

Transforming long car rides with children into fun-filled adventures is possible. Yet, managing sibling conflicts can be tough. Explore inventive solutions to foster peace and harmony between your little ones.
Feb 15, 2024
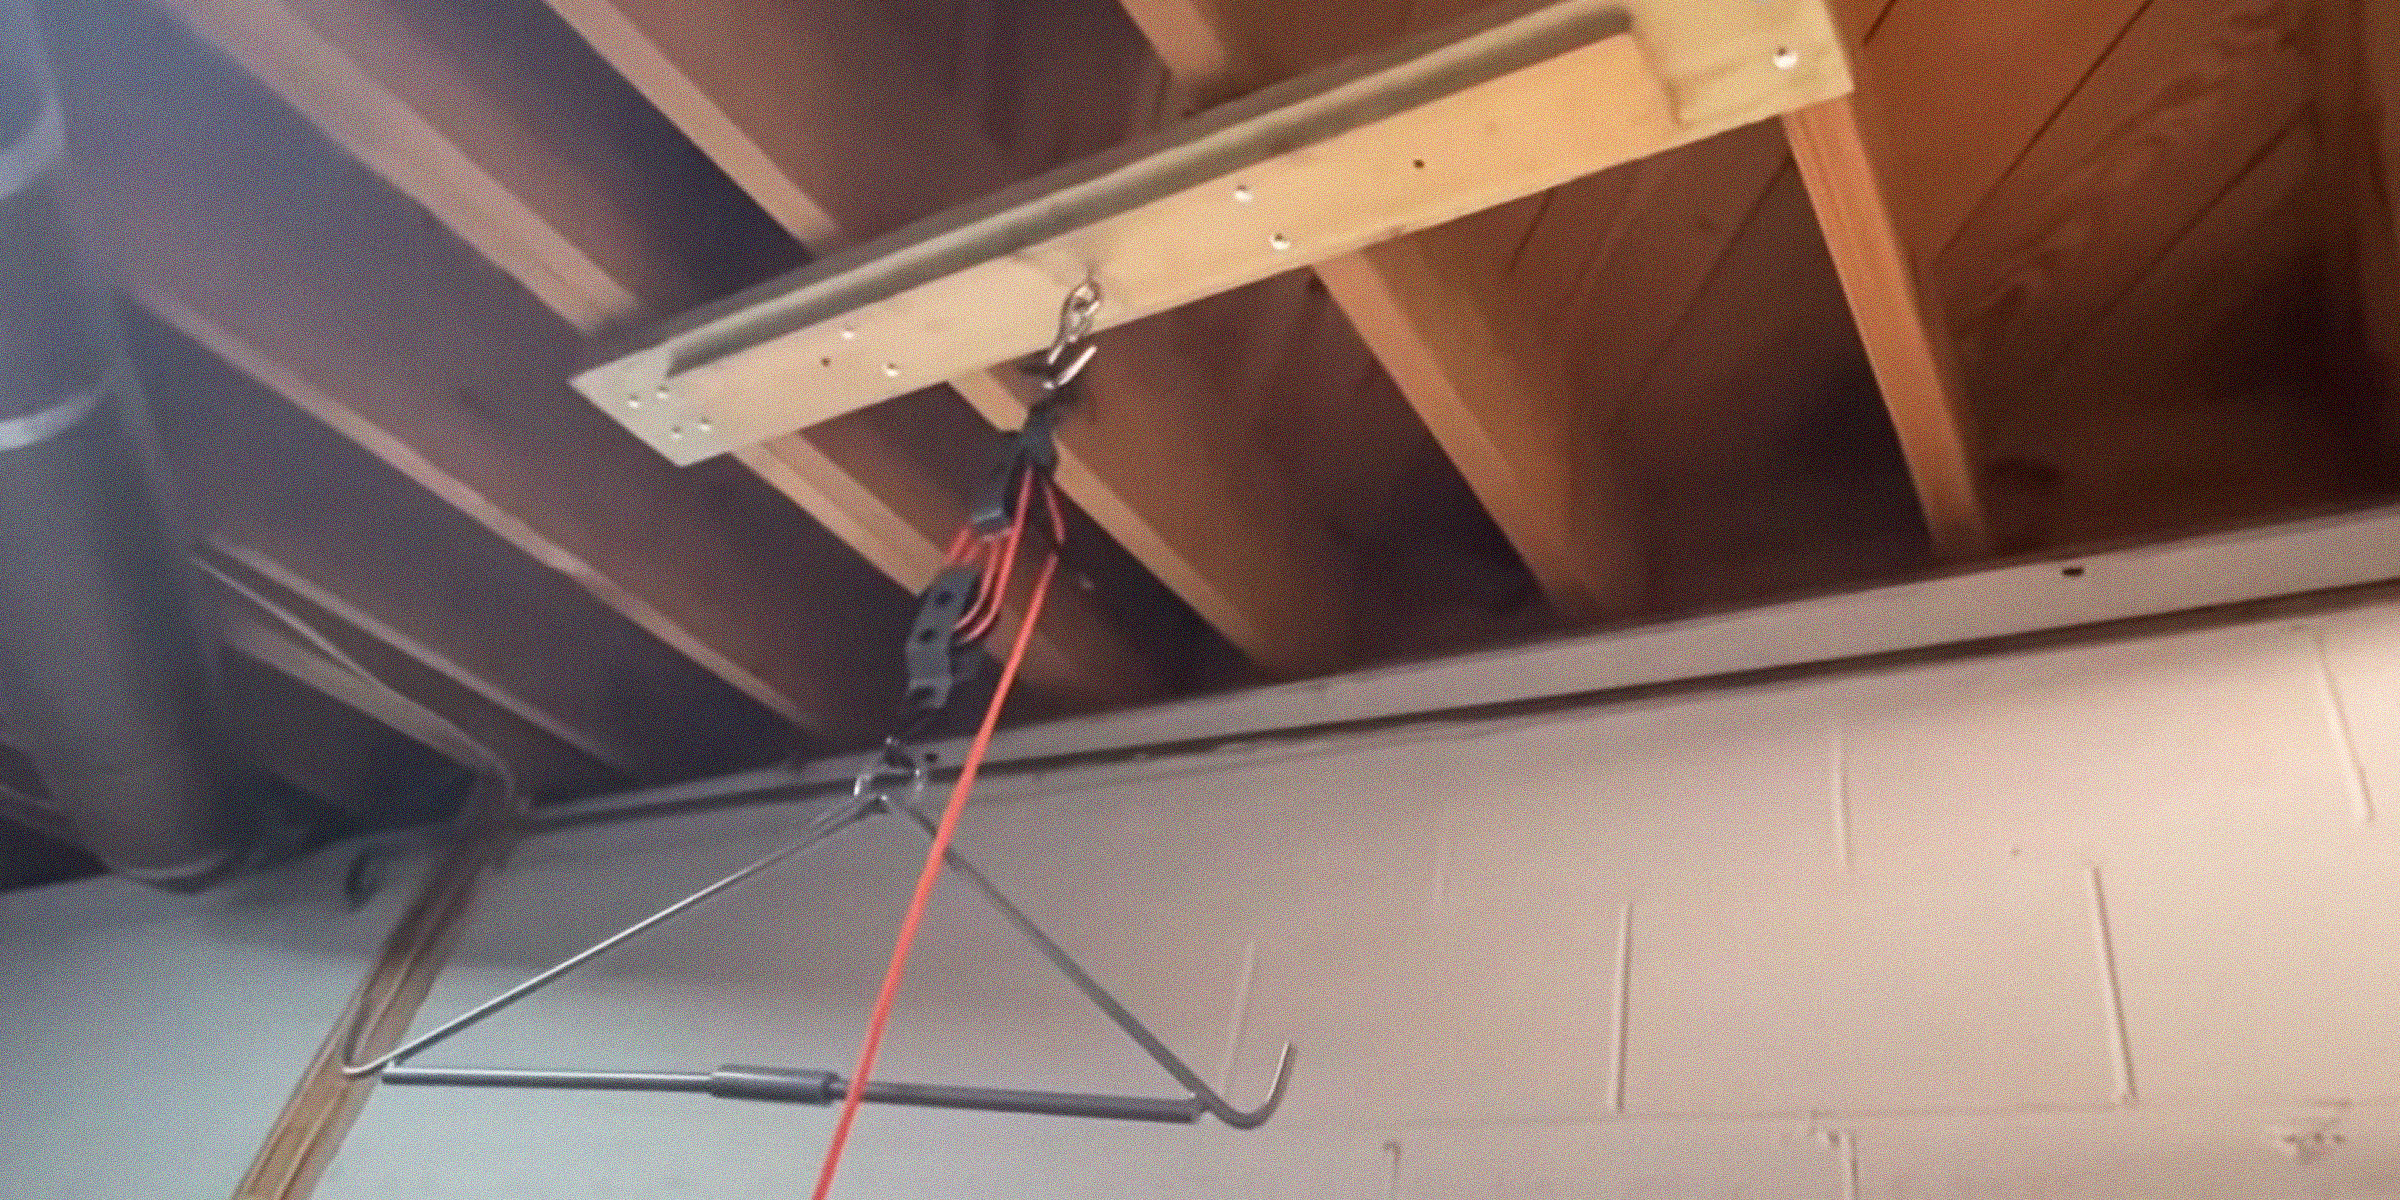
Whether you're a seasoned hunter or just getting started, a deer hoist is a helpful tool when hunting these large animals, and now, you can make this device in comfort of your home with this simple DIY deer hoist guide.
Feb 09, 2024
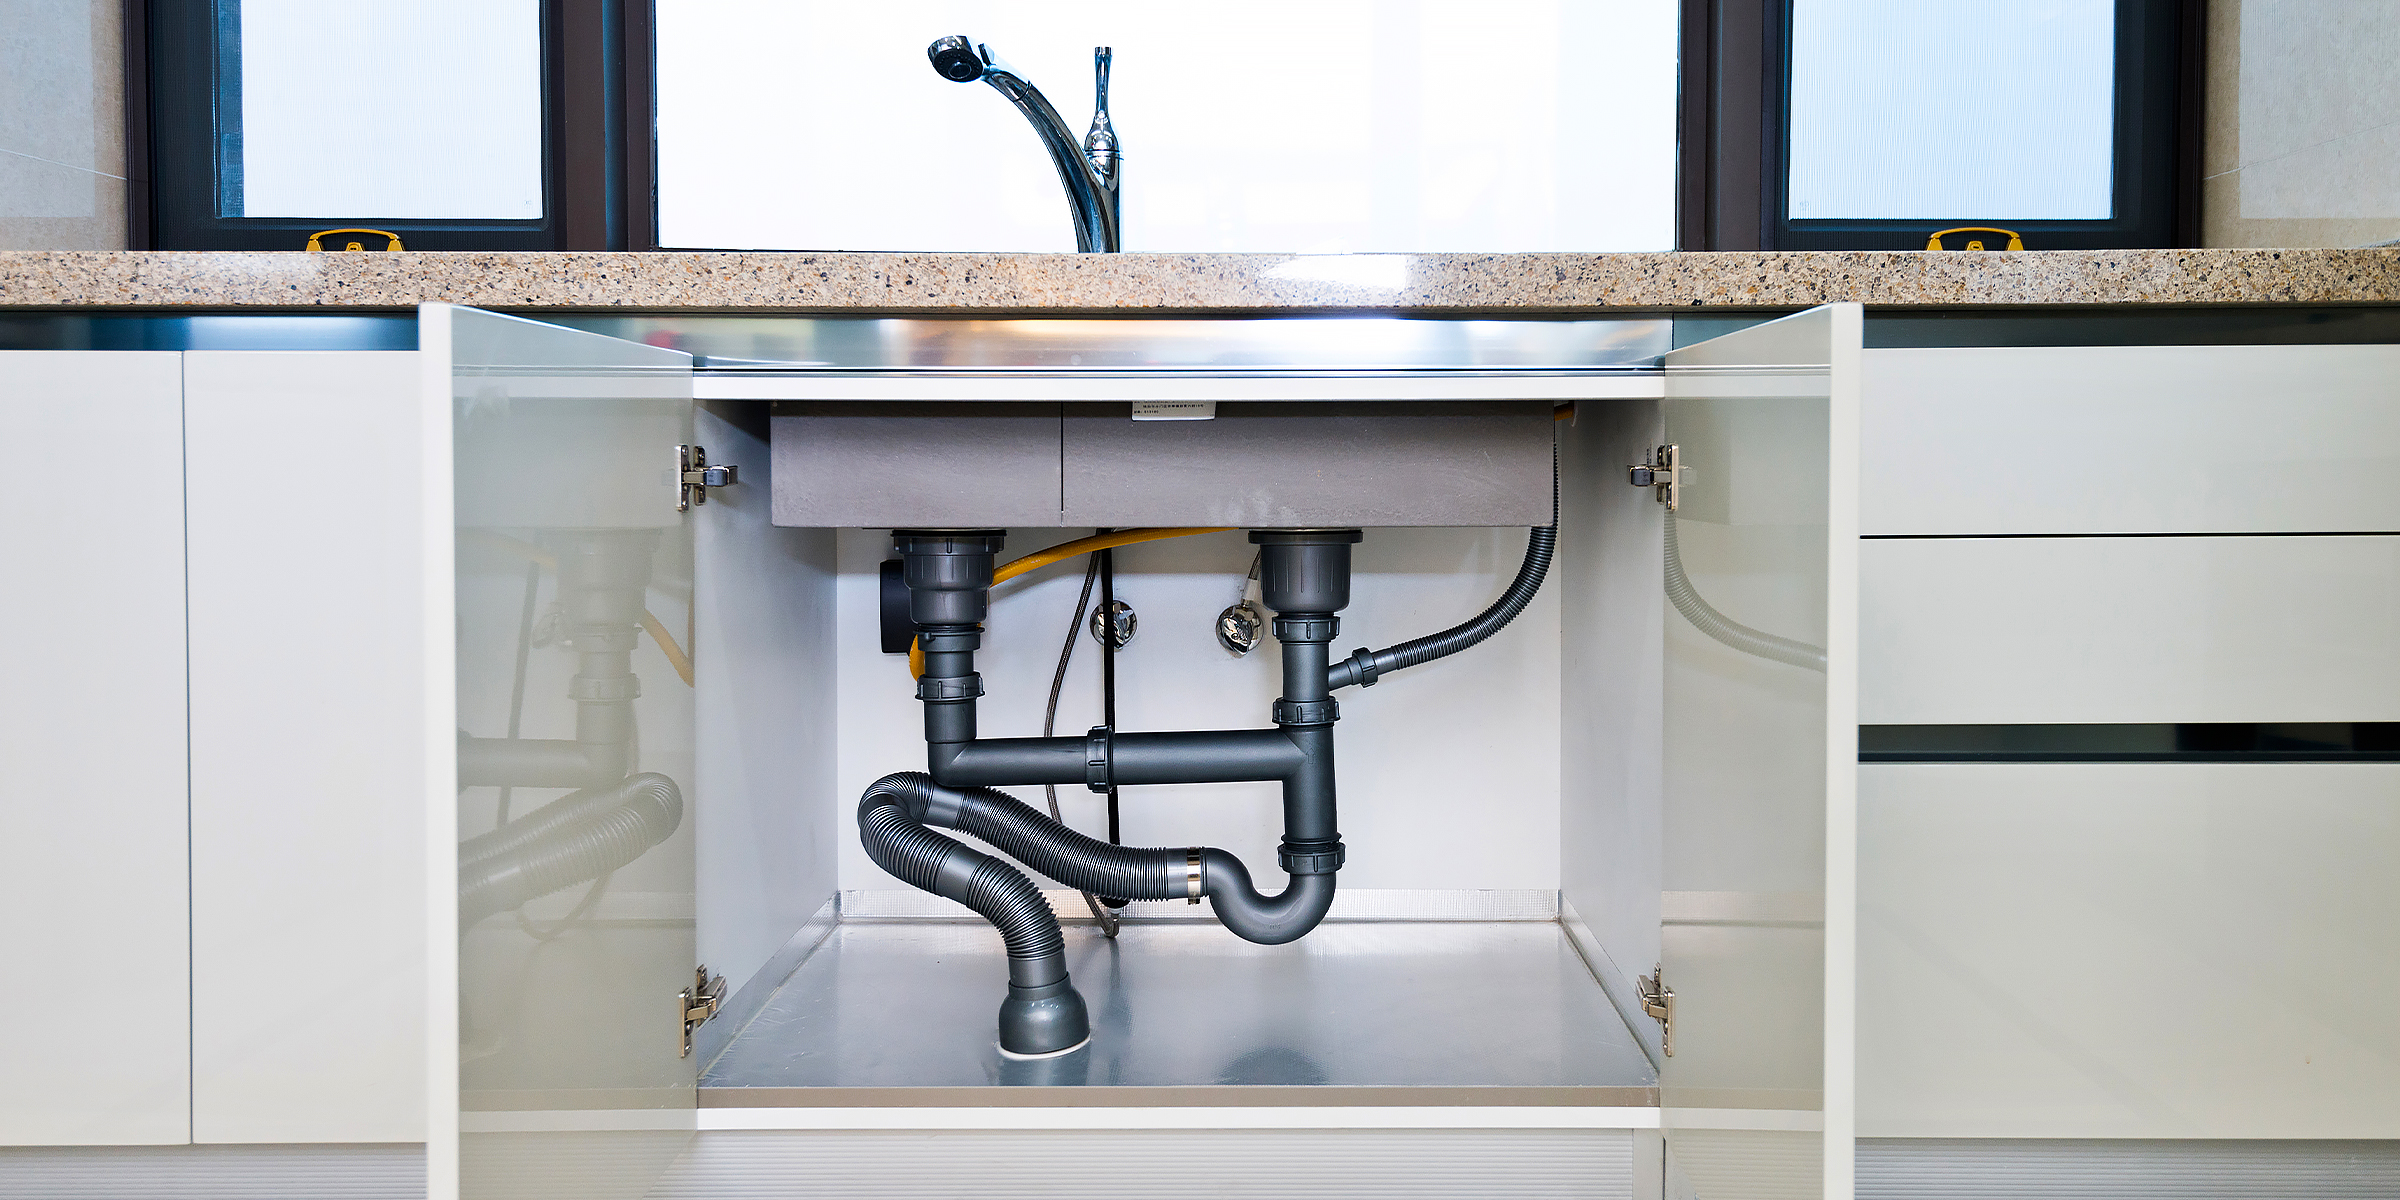
Save a few dollars by following this helpful guide on how to vent a kitchen sink under a window by yourself for a perfeclty functioning plumbing and drainage system in your home.
Feb 02, 2024

Create a space that promotes independence and a thirst for knowledge in your child, all in the comfort of your home, with this helpful DIY Montessori bookshelf guide.
Feb 04, 2024
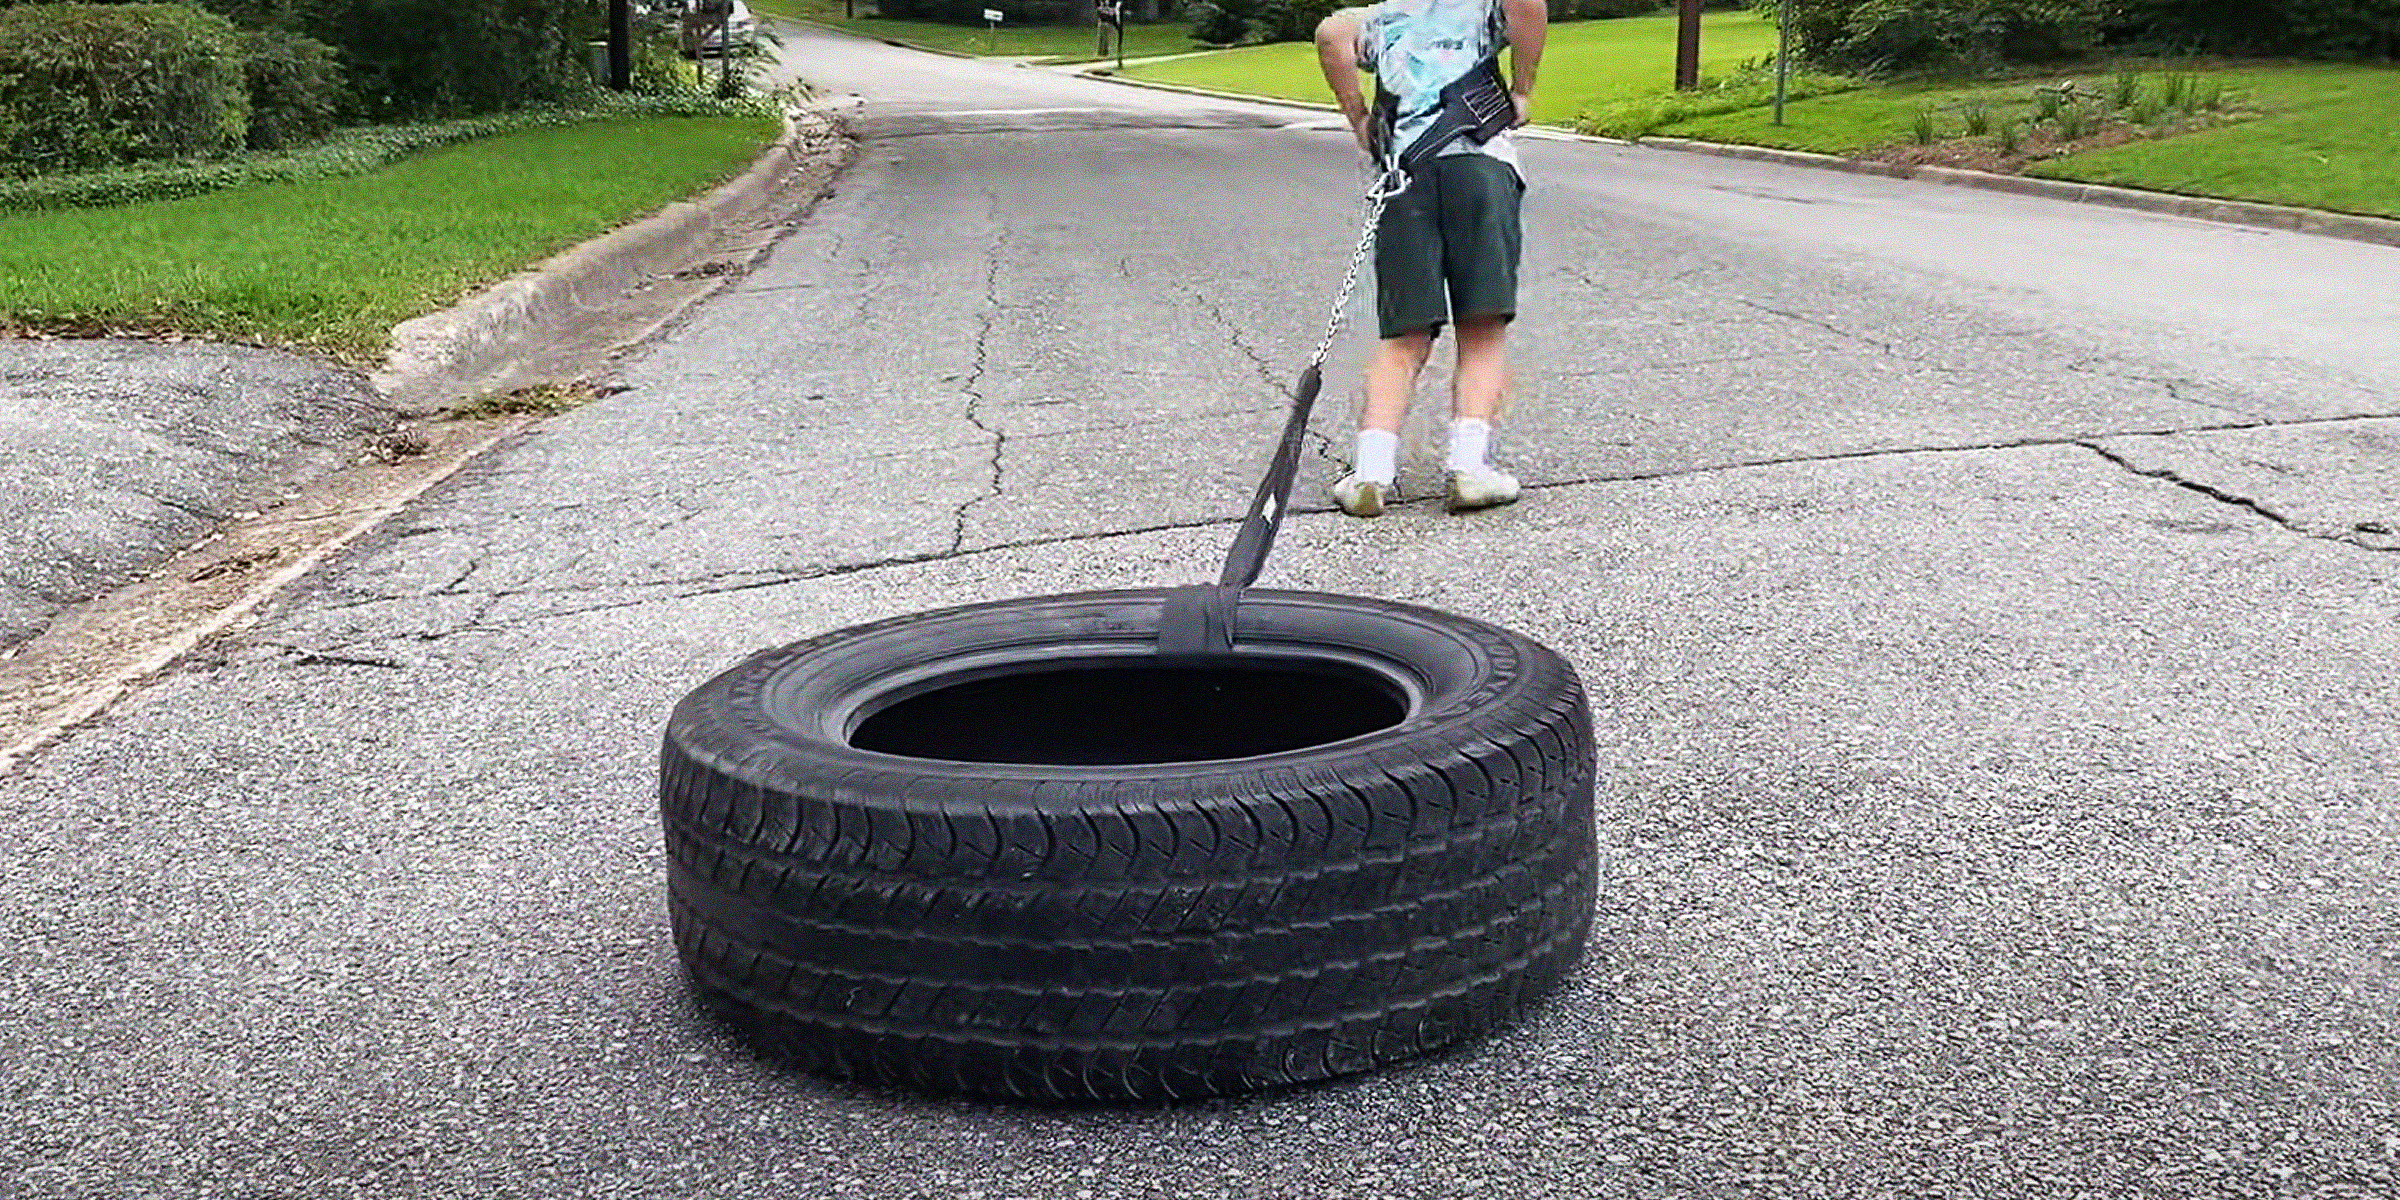
Are you passionate about fitness and eager to enhance your training? A DIY workout sled can come in handy to ensure you reach your desired fitness goals.
Feb 08, 2024

Handfasting is an old wedding tradition that beautifully demonstrates two people's love and commitment to one another. This symbolic act is said to date back over several millennia.
Dec 14, 2023
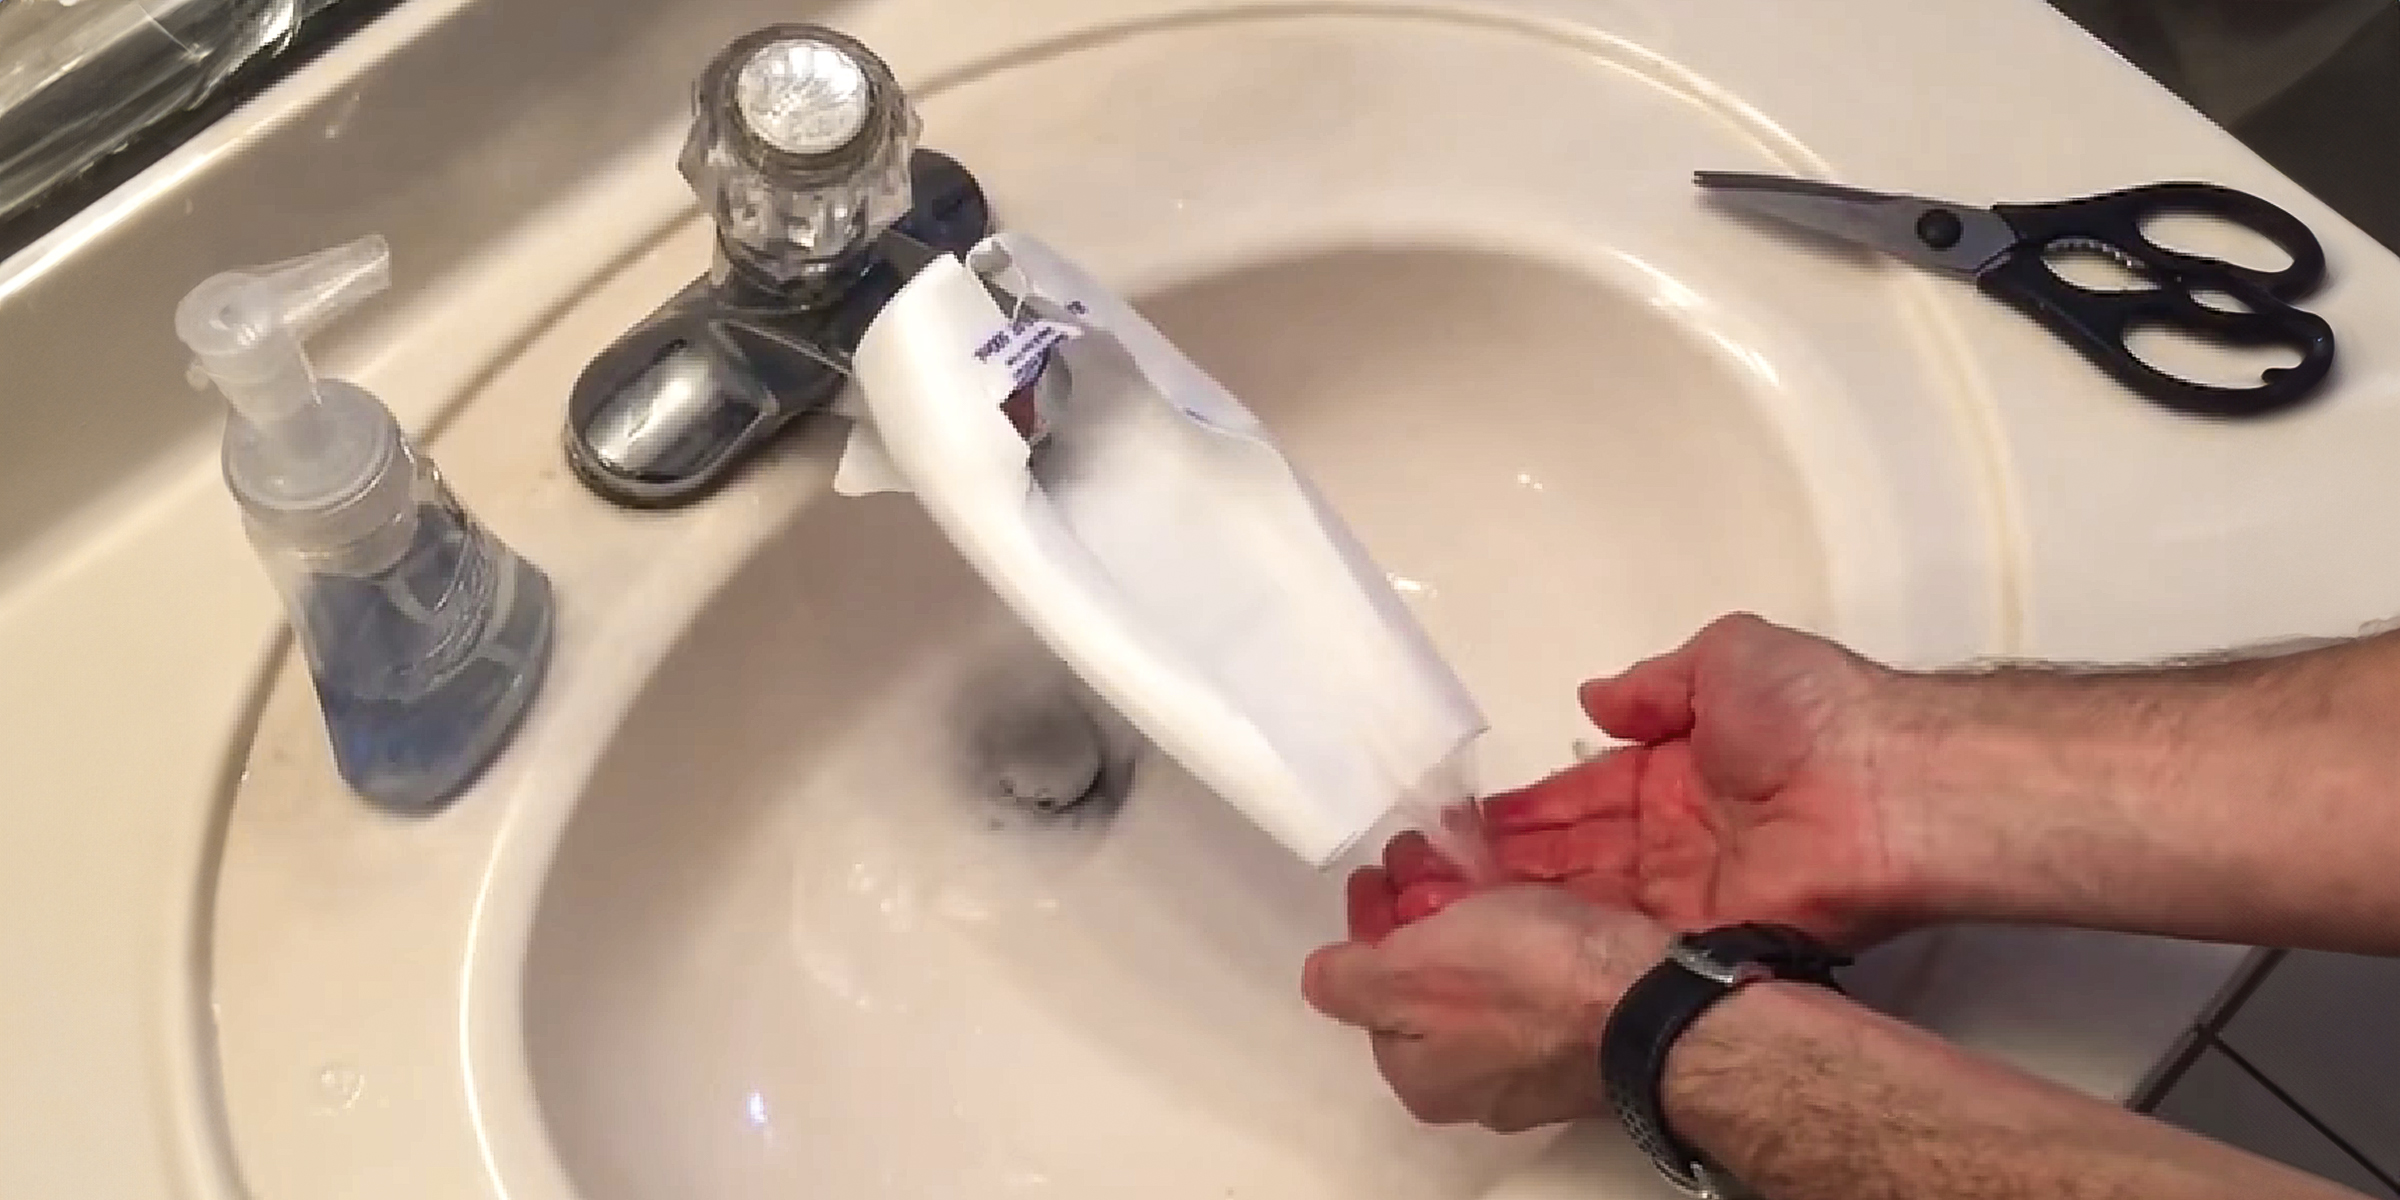
If you're dealing with the challenge of little ones struggling to reach faucets, a practical solution is to craft a DIY faucet extender. You can easily accomplish this in just a few simple steps.
Feb 05, 2024

Protect your family from the sun's harsh rays while saving a few dollars with this DIY Shibumi Shade hack for the perfect beach day with your loved ones.
Jan 30, 2024

If your dog has a luxurious coat of fur, short or long, then you understand the necessity to brush your furry friend regularly. Detangler sprays make this routine grooming process easier. Here's how to make yours at home.
Jan 25, 2024
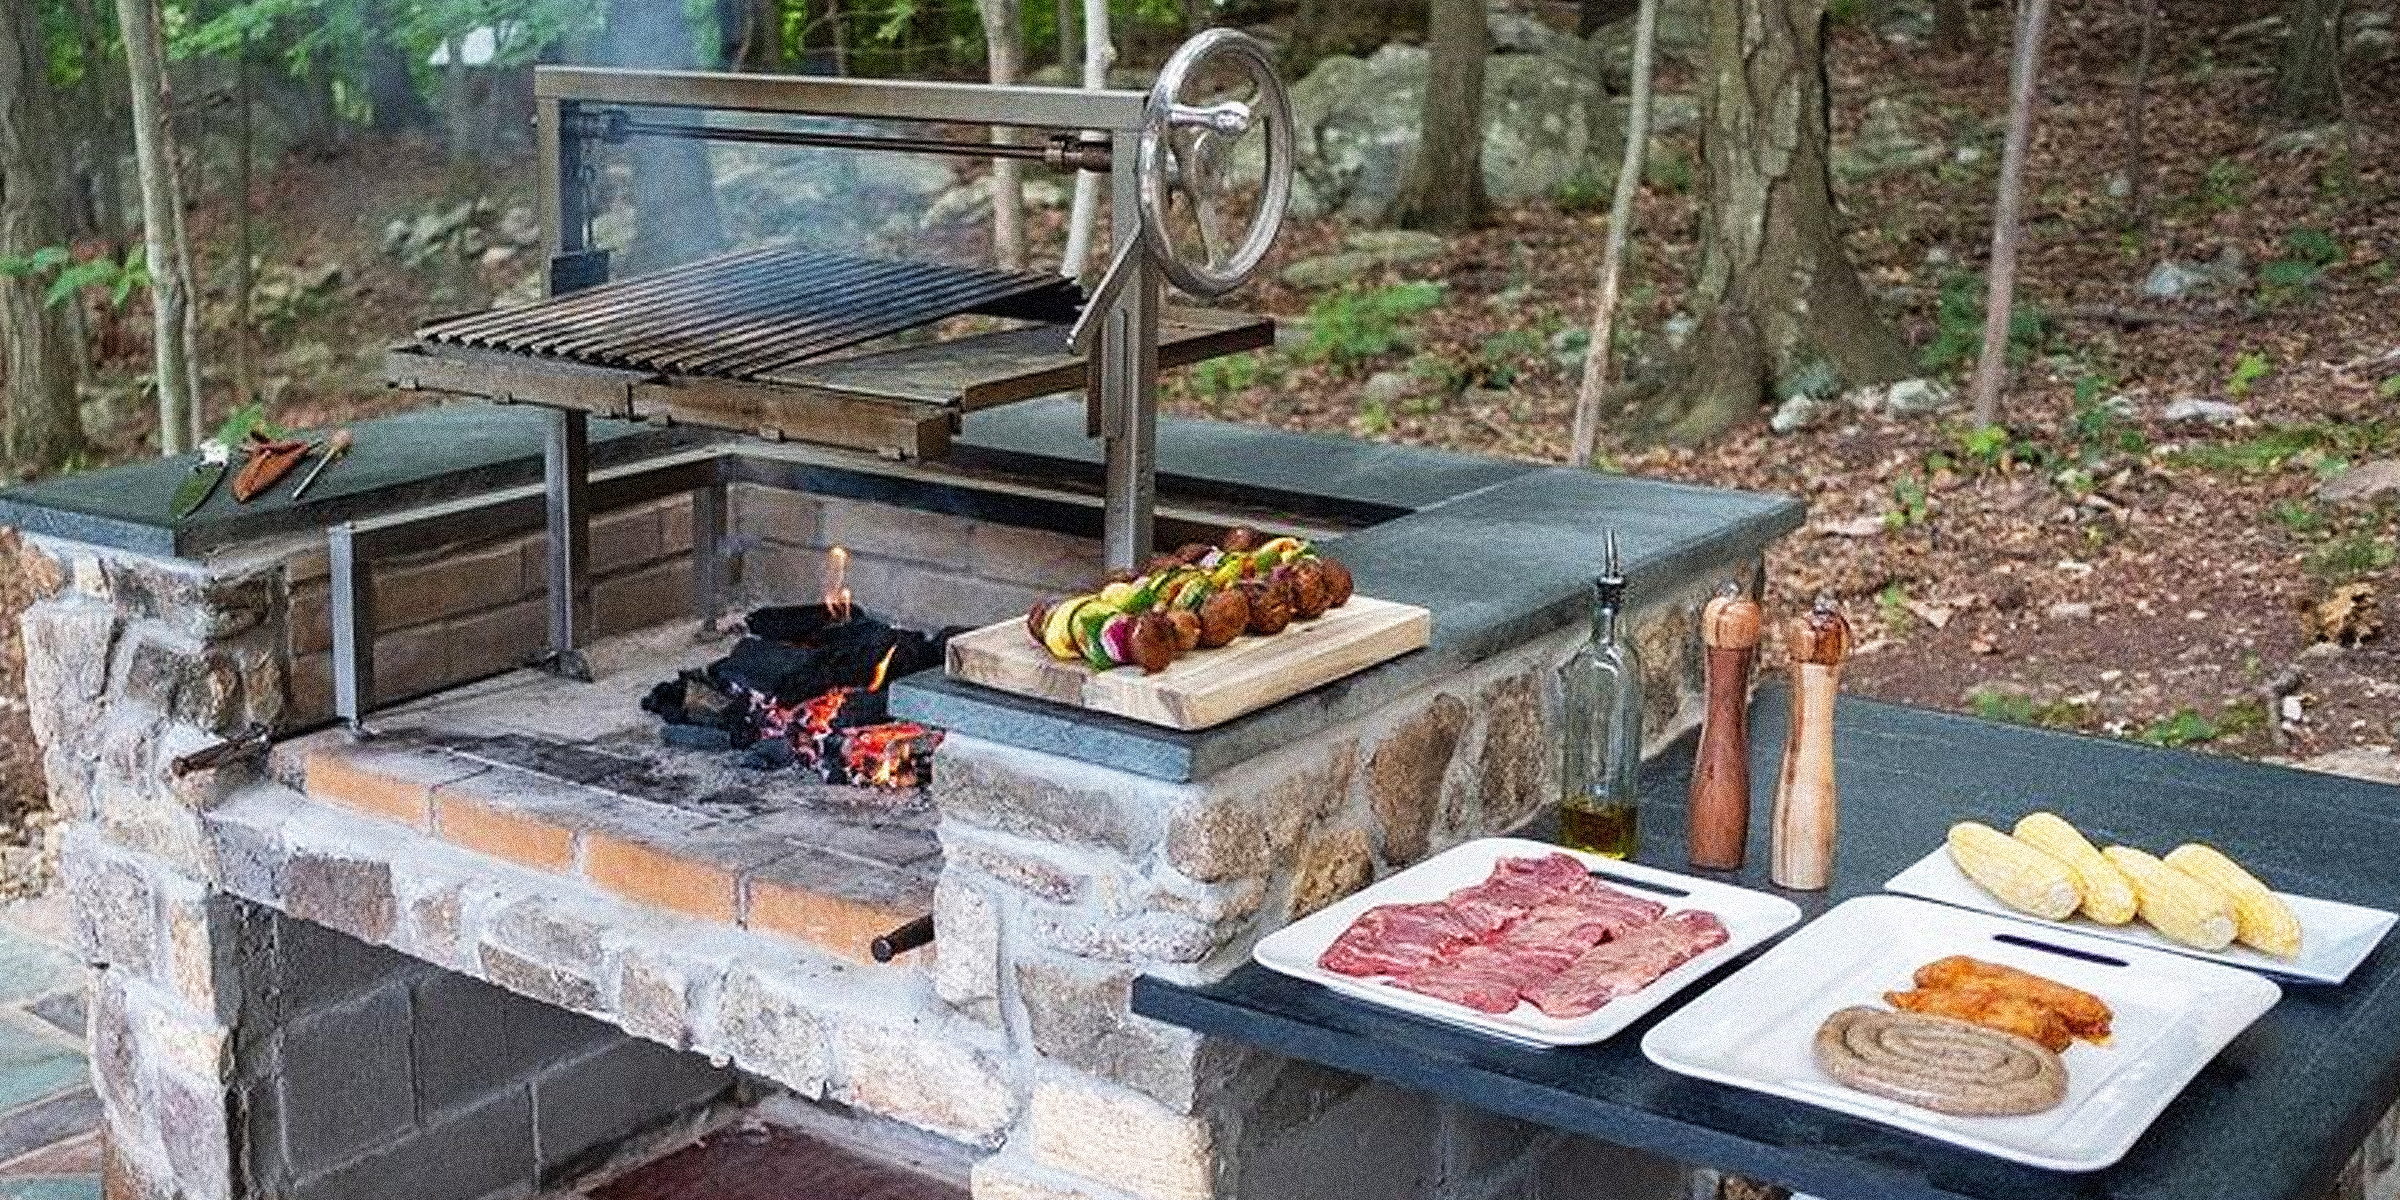
An Argentine grill can be a stellar addition to your garden to entertain family and guests and cook juicy, smokey meat. However, it can cause quite a dent in one's pocket when store-bought. Luckily, it can be installed DIY style.
Dec 11, 2023
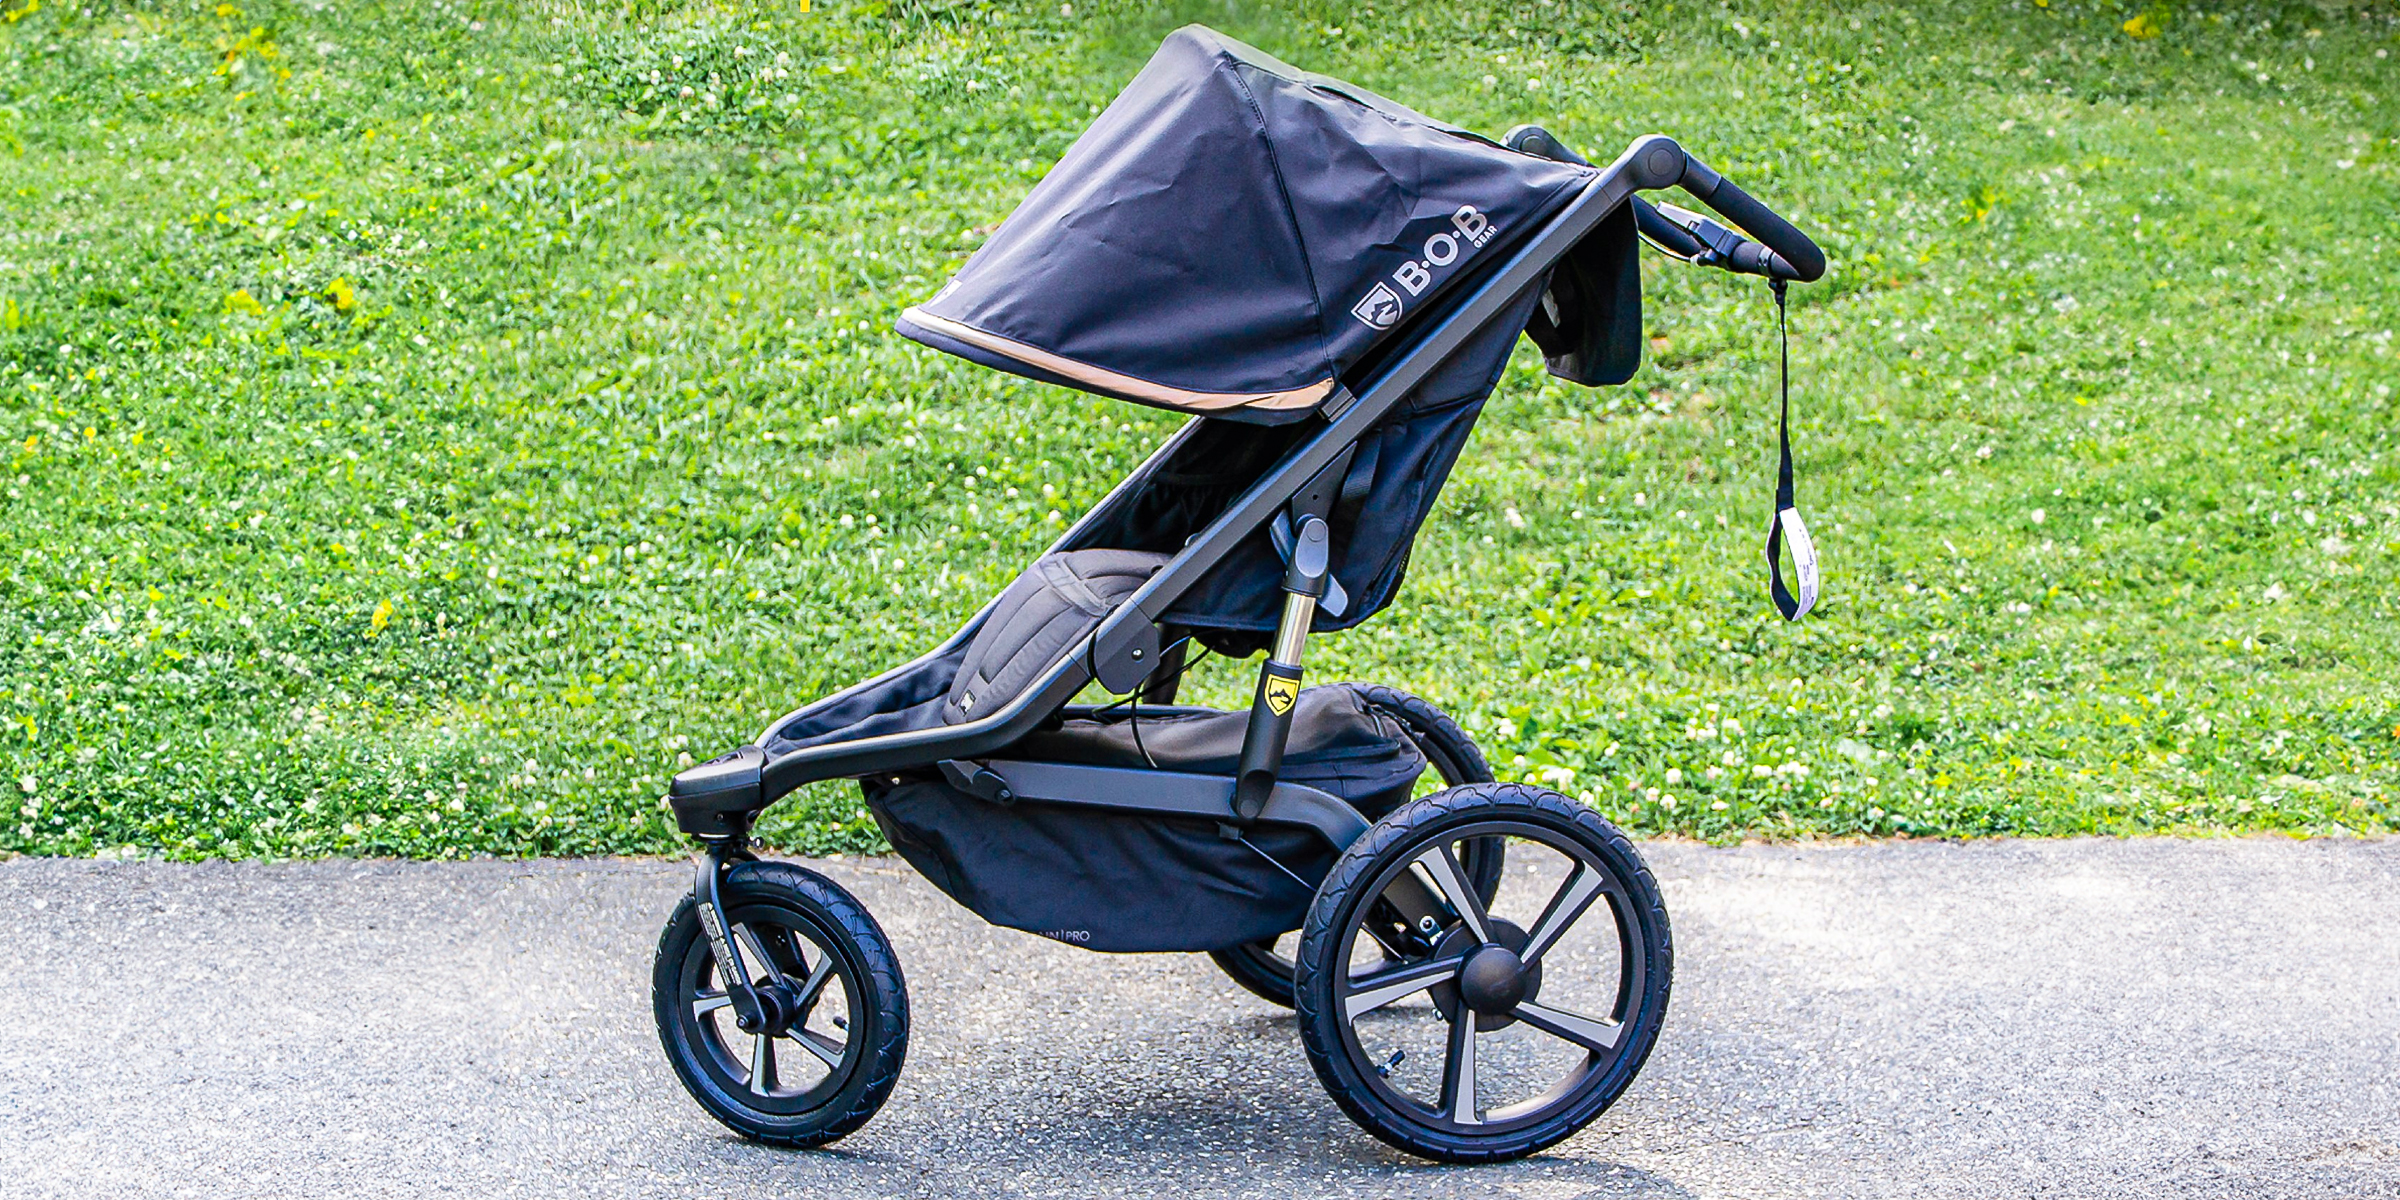
Having a BOB Gear stroller means your family can explore the world more freely, whether conquering mountains or enjoying outdoor festivals. The trade-off? Your trusty BOB Gear companion is bound to get a bit dirty. Here's how to clean the stroller properly.
Jan 19, 2024