DIY Slide Board — Craft Your Own Athletic Training Tool with Simple Materials
Feb 04, 2024


Transform long car rides with children into fun-filled adventures, despite the challenge of managing sibling conflicts. Explore DIY backseat divider solutions to foster peace and harmony between your little ones inside your vehicle.
Planning a family road trip with your little children presents multiple challenges, including sorting out car insurance and stocking up on snacks.
To keep your sanity intact during these journeys, implementing simple DIY solutions can also minimize the "Are we there yet?" questions and maximize enjoyment. Discover 3 DIY backseat dividers that promise smoother rides with your little ones.

Family embarking on a road trip. | Source: Shutterstock
This innovative DIY divider fits any car size, securing it into the vehicle's latch system for enhanced safety. It provides easy access to drinks and toys and boasts a convenient drawer for storing car snacks, keeping the floor space uncluttered. Follow these steps to create your car organizer:
Materials:

A homemade car organizer as a DIY backseat divider | Source: YouTube/Remodelaholic
Tools:

Ensure that the materials are measured accurately. | Source: YouTube/Remodelaholic
Cut List:

The assembled DIY organizer-divider | Source: YouTube/Remodelaholic
Instructions:
Now, you have a DIY divider and organizer for your kids!
This DIY solution is easy! Use this setup as a road trip divider for your kids to provide privacy during alone time, sleep, or to prevent arguments. Here’s how to make it.
Materials:

Use velcro for easy attachment of the pillowcase. | Source: Shutterstock
Instructions:
Keep in mind that the adhesive will not damage the car's ceiling when removed.

Use a pillowcase as an alternative DIY backseat divider solution for your kids. | Source: Shutterstock
Use foam core boards as an affordable and brilliant hack to reduce conflicts among children in the backseat by keeping them separated.
Additionally, the board’s sturdy construction prevents breakage even when subjected to the force exerted by seated children. Installing them is a breeze-just cut the core boards to size and slide them between the kids to keep peace in the backseat.
With these three DIY backseat dividers, you're well on your way to enjoying more peaceful and enjoyable road trips with your kids. Embrace these creative solutions and make your next journey one filled with harmony and fun.
Additionally, consider exploring other DIY solutions involving children, such as making a DIY faucet extender to help them reach the sink with ease!

Transform your space with a DIY Litter Robot Enclosure that effortlessly merges smart technology with style. Despite their convenience, high-tech litter boxes can sometimes clash with home aesthetics. Fortunately, there's a stylish DIY solution!
Feb 14, 2024
Are you passionate about fitness and eager to enhance your training? A DIY workout sled can come in handy to ensure you reach your desired fitness goals.
Feb 08, 2024
From photography to decor, a wooden arch backdrop can make all the difference in a desired aesthetic. If you're looking to acquire one without spending too much, here's a DIY wooden arch backdrop tutorial.
Feb 12, 2024
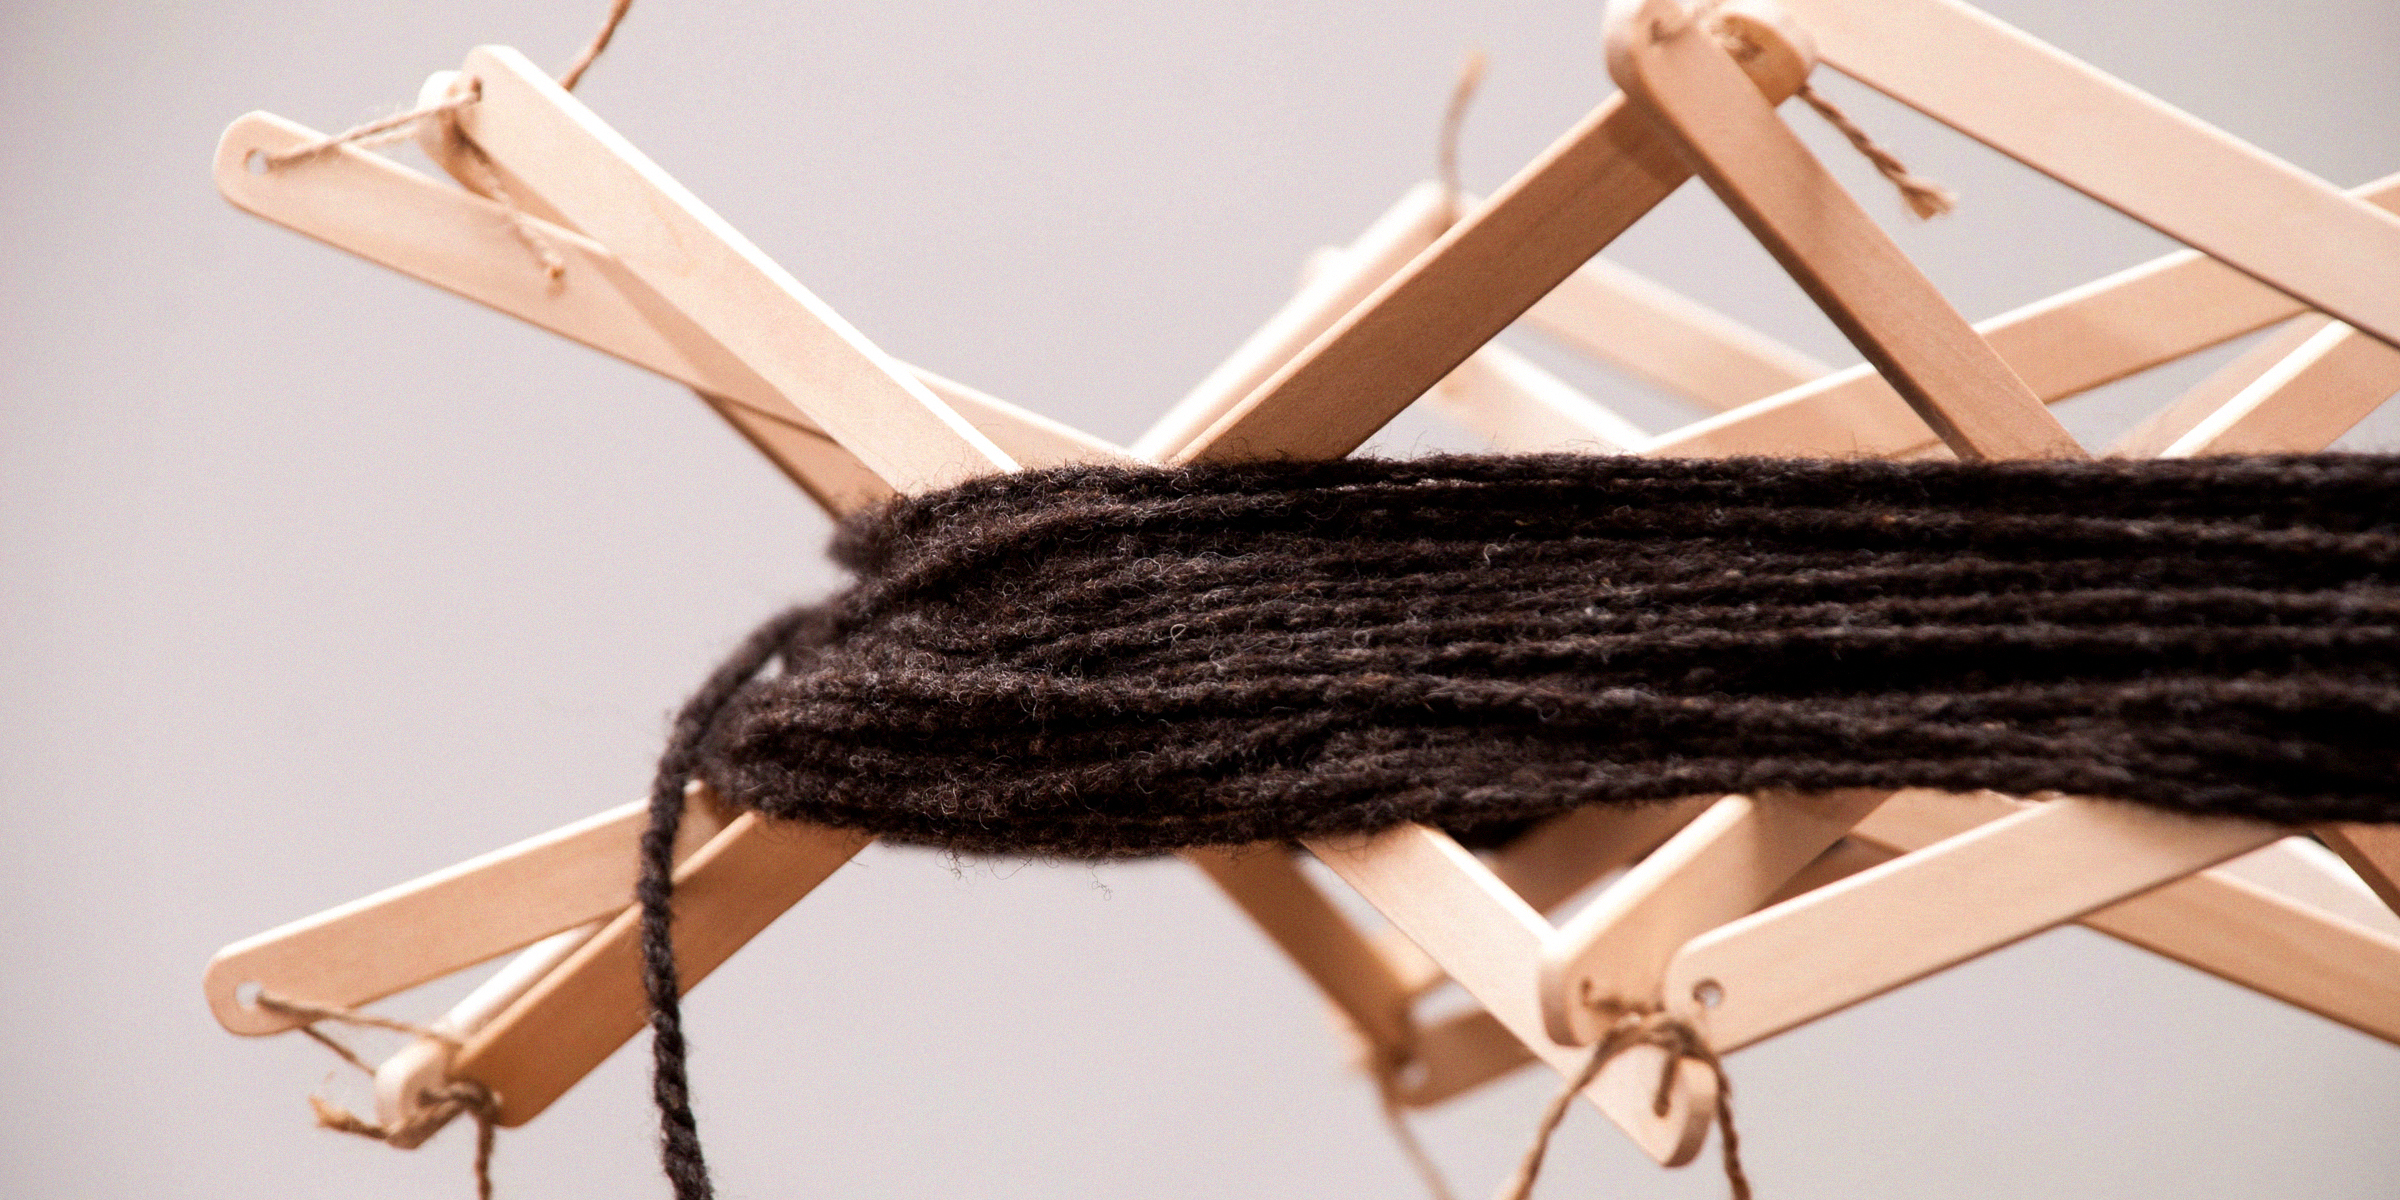
Embark on a journey to elevate your knitting prowess effortlessly and infuse each stitch with a personal touch through a DIY yarn swift. Unleash your creativity as you craft an affordable and convenient tool to elevate your knitting experience.
Feb 01, 2024

Handfasting is an old wedding tradition that beautifully demonstrates two people's love and commitment to one another. This symbolic act is said to date back over several millennia.
Dec 14, 2023
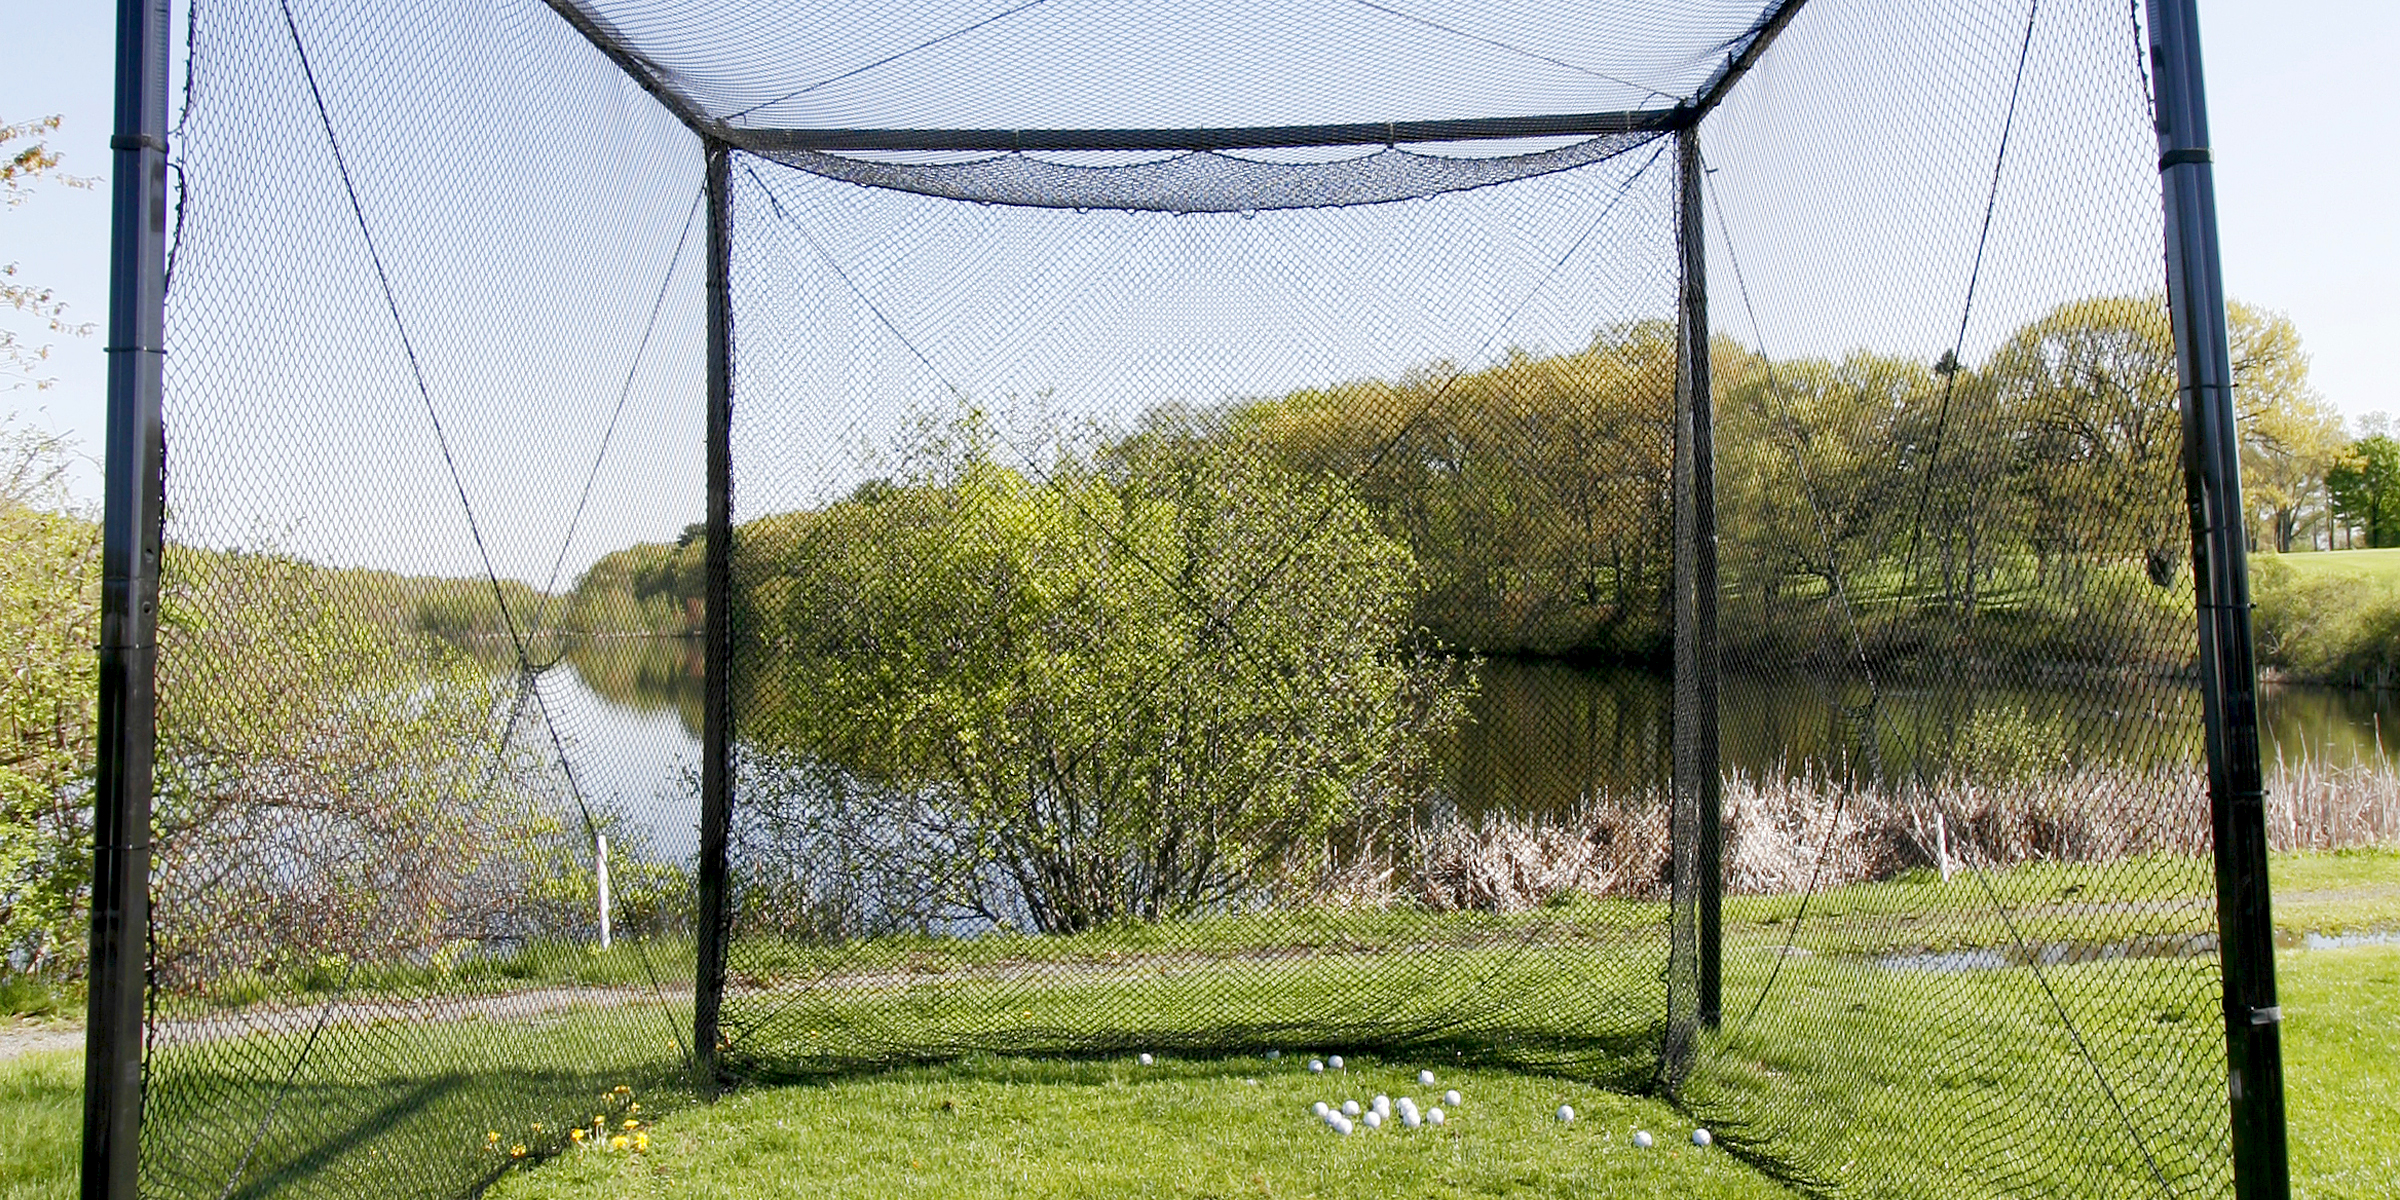
If you're an avid golfer or someone looking to join the sport, having a golf net can be super advantageous to work on or improve your skills. But if you're opposed to buying one, here's how to build a DIY golf net.
Feb 10, 2024
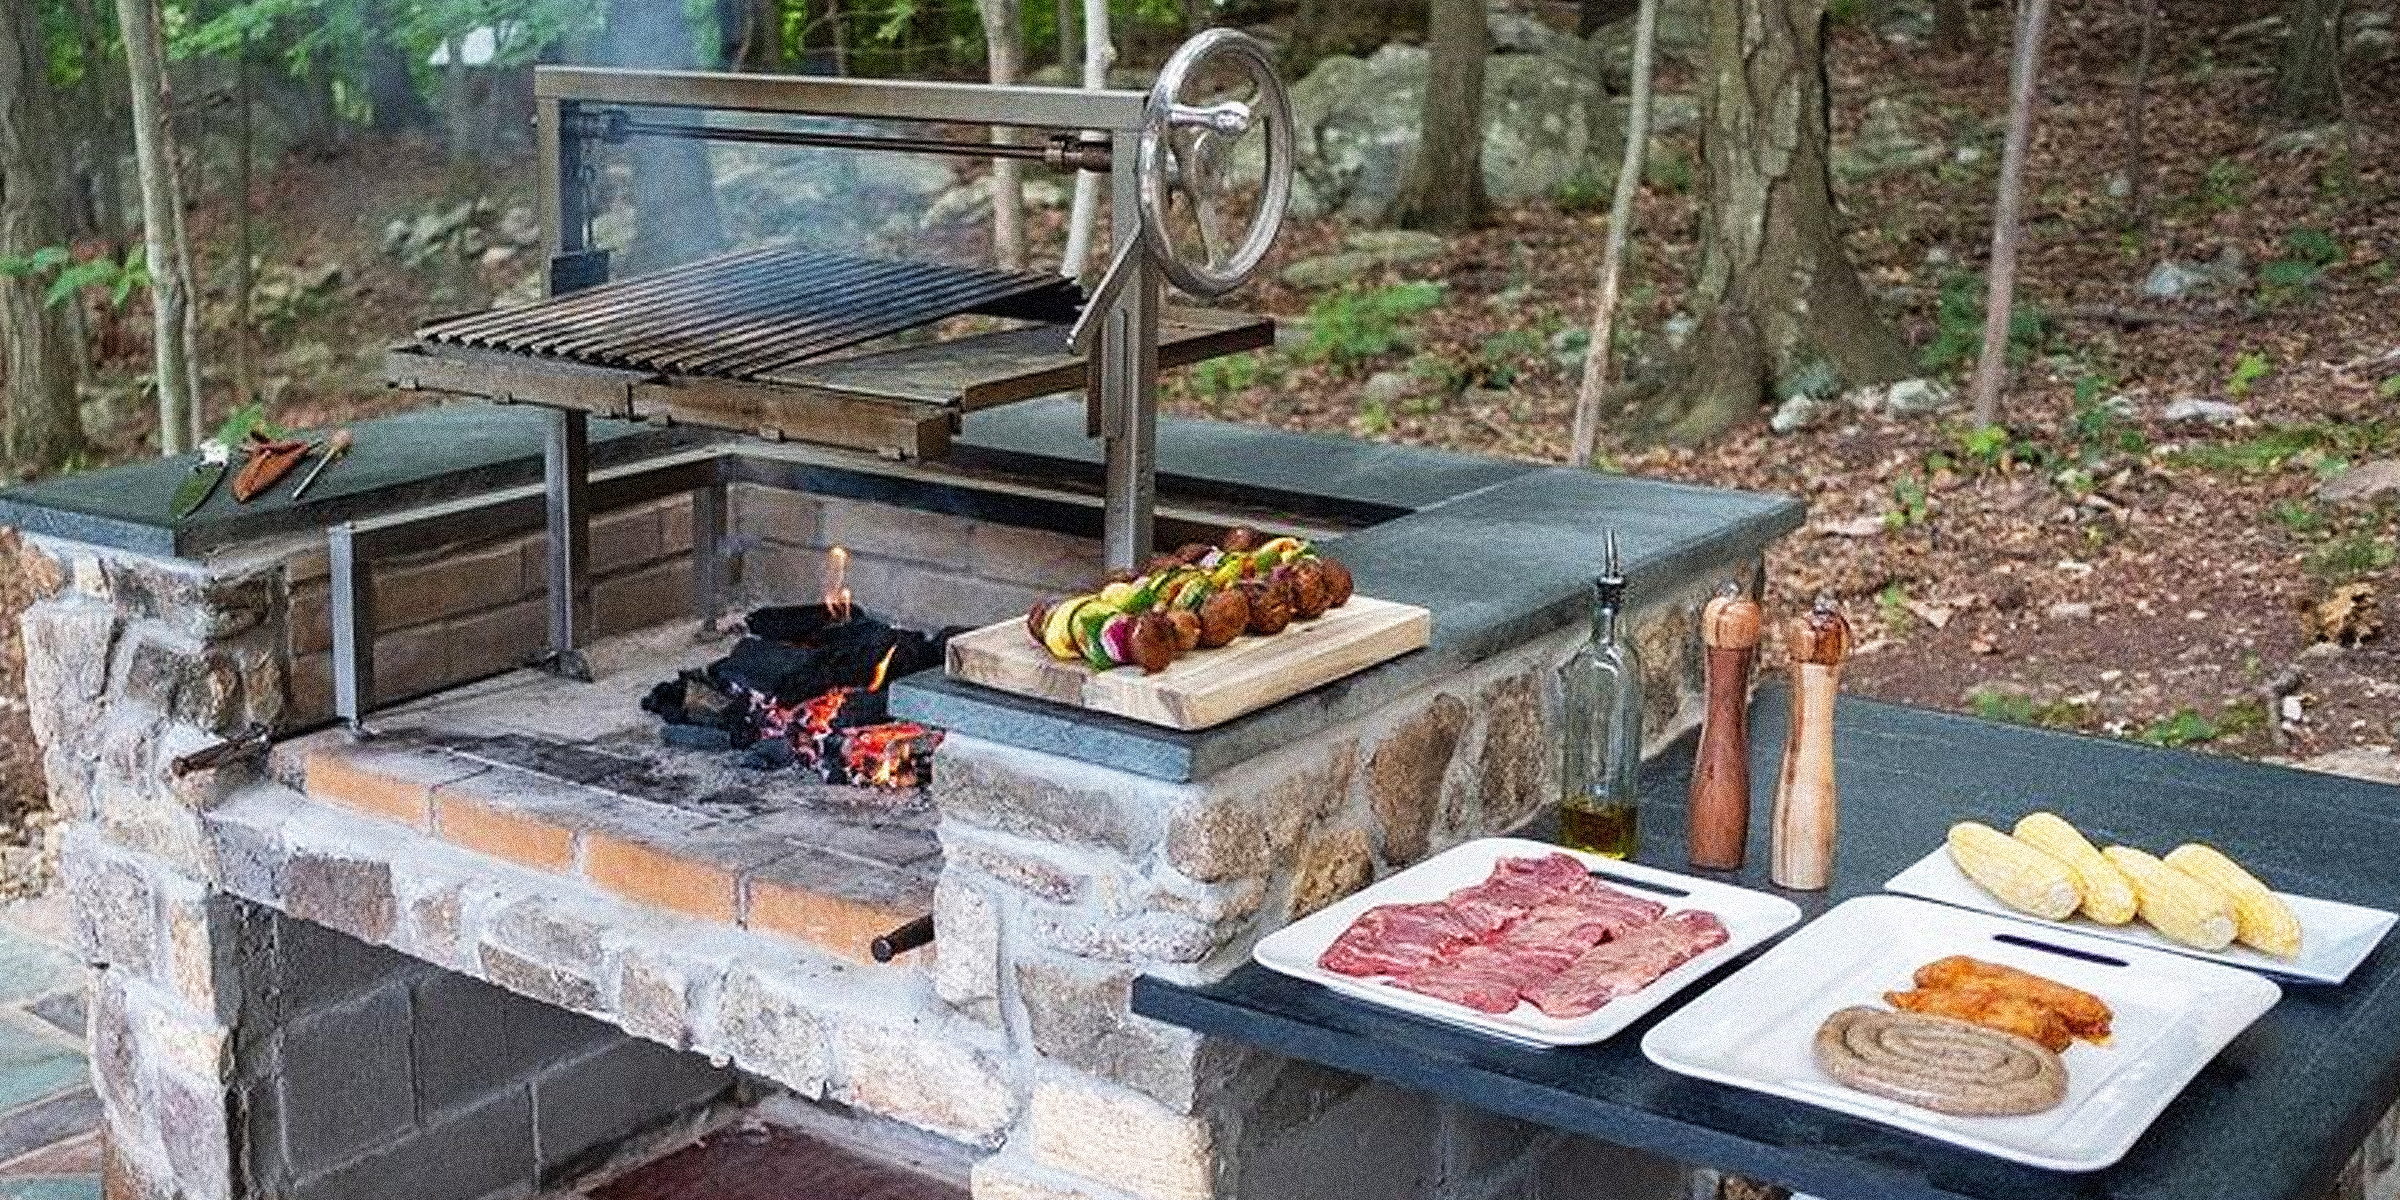
An Argentine grill can be a stellar addition to your garden to entertain family and guests and cook juicy, smokey meat. However, it can cause quite a dent in one's pocket when store-bought. Luckily, it can be installed DIY style.
Dec 11, 2023
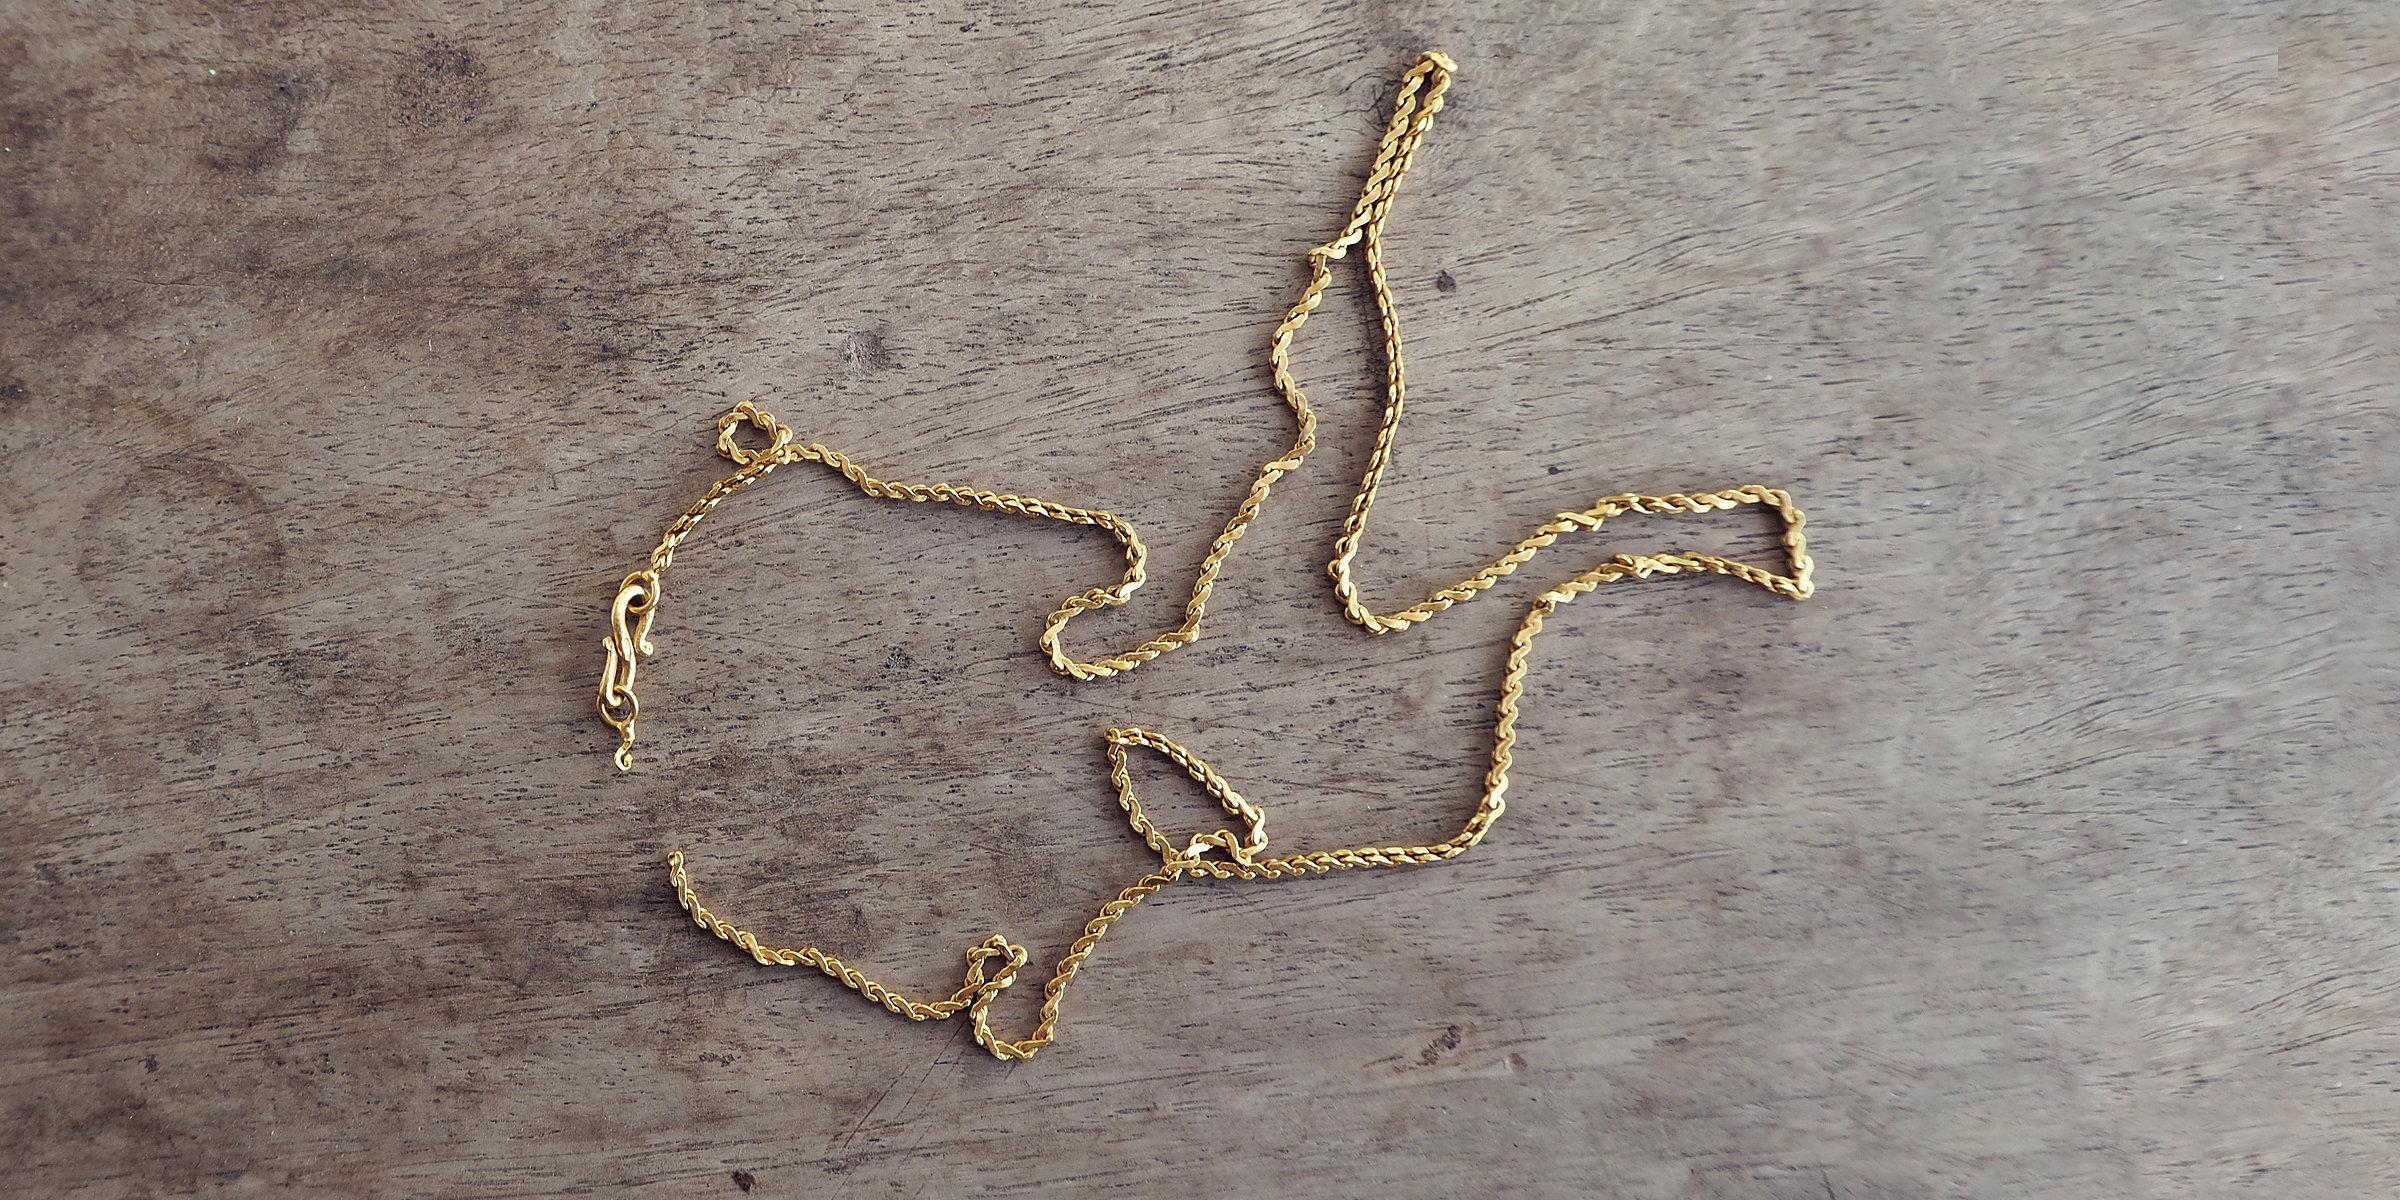
Whether your necklace holds great sentimental value or is a piece of jewelry you're not yet ready to chuck, seeing it broken can be defeating. Luckily for you, there's a helpful hack to undo the damage. Here's how to fix a broken necklace chain using thread.
Feb 06, 2024
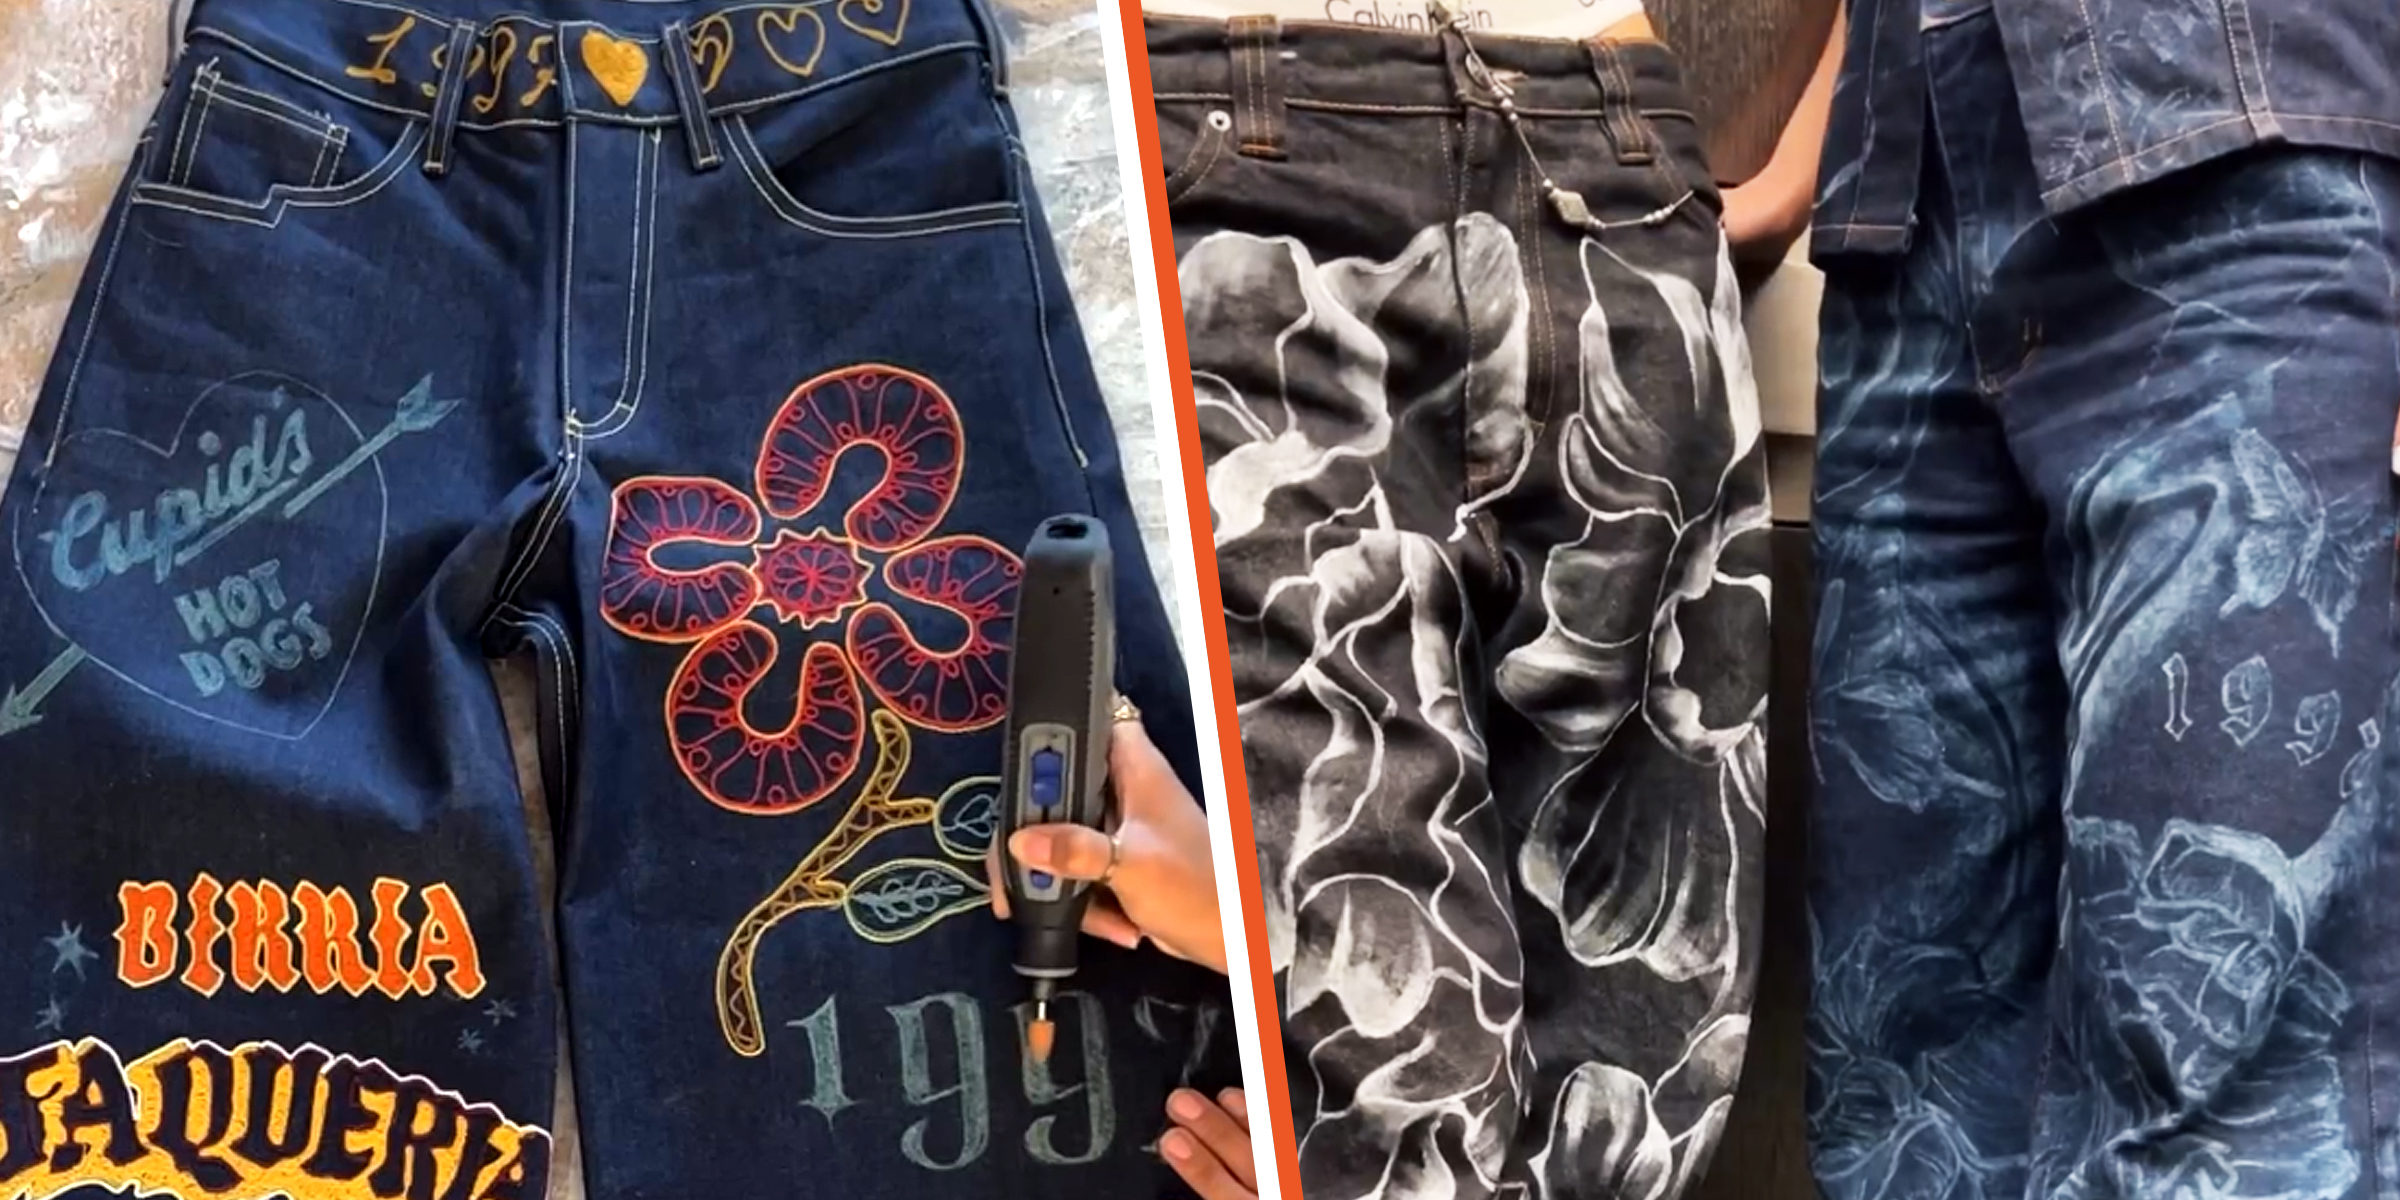
Rocking a fantastic pair of jeans can instantly boost your confidence, but taking your denim game to the next level with some DIY aesthetic jeans is like stepping onto your own personal runway. These DIY pieces of denim can turn heads as you walk by.
Dec 12, 2023

Crystal suncatchers are not only stunning decorative pieces, but they are also a unique way to fill your home with sunlight and positive energy. Enjoy the almost magical properties of this beautiful ornament with this DIY crystal suncatcher guide.
Jan 15, 2024
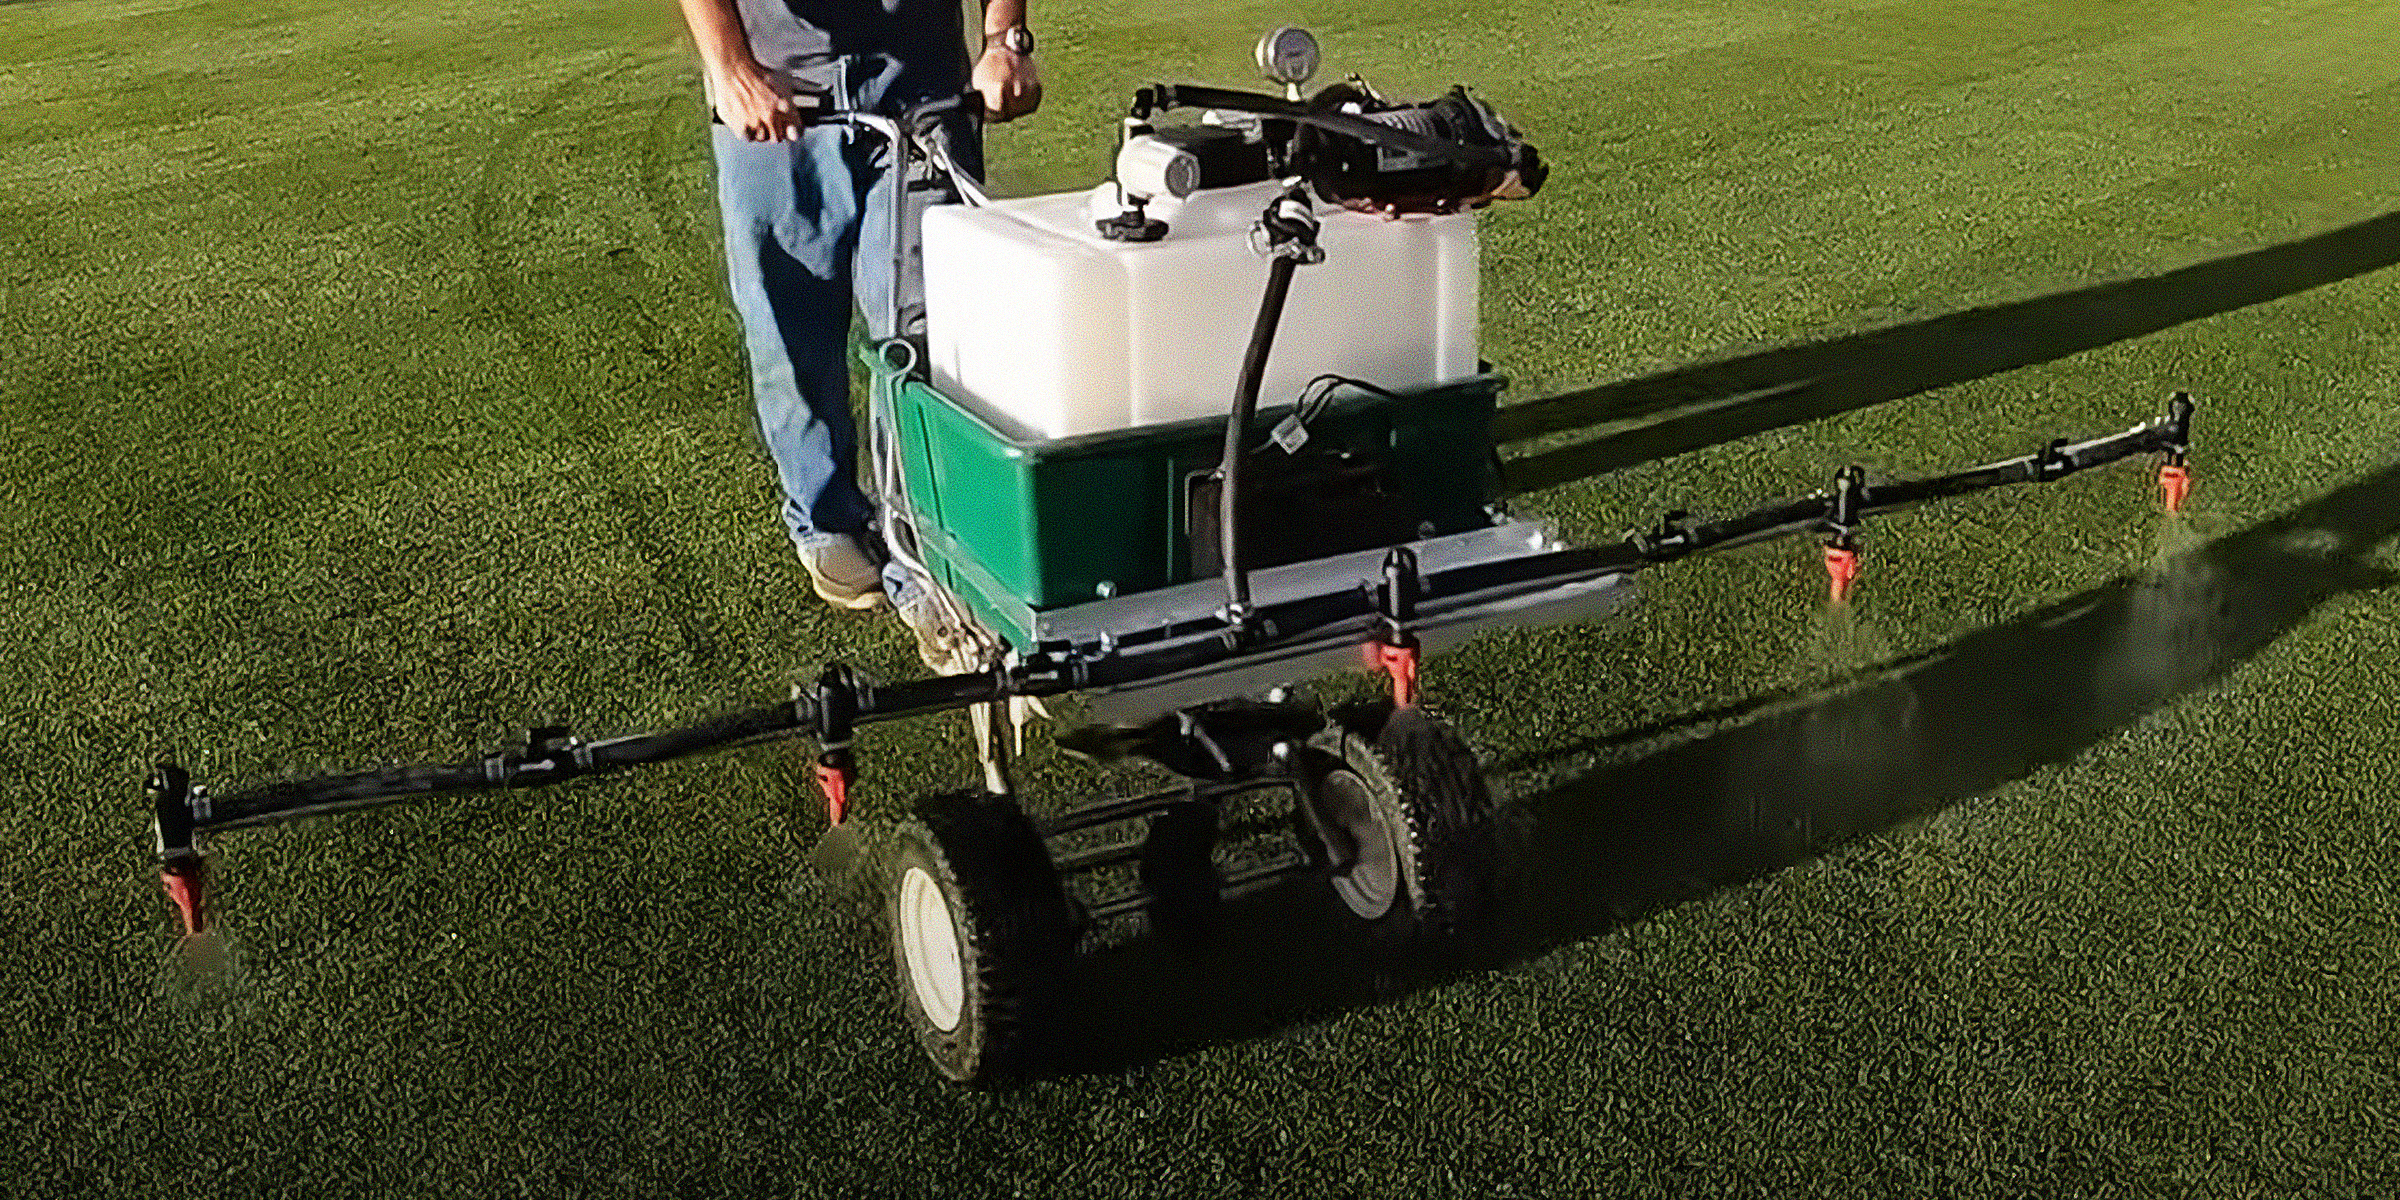
Whether you're a seasoned DIY enthusiast or new to the world of homemade gadgets, continue reading for a step-by-step tutorial that will help you create a functional and reliable DIY boom sprayer.
Feb 18, 2024
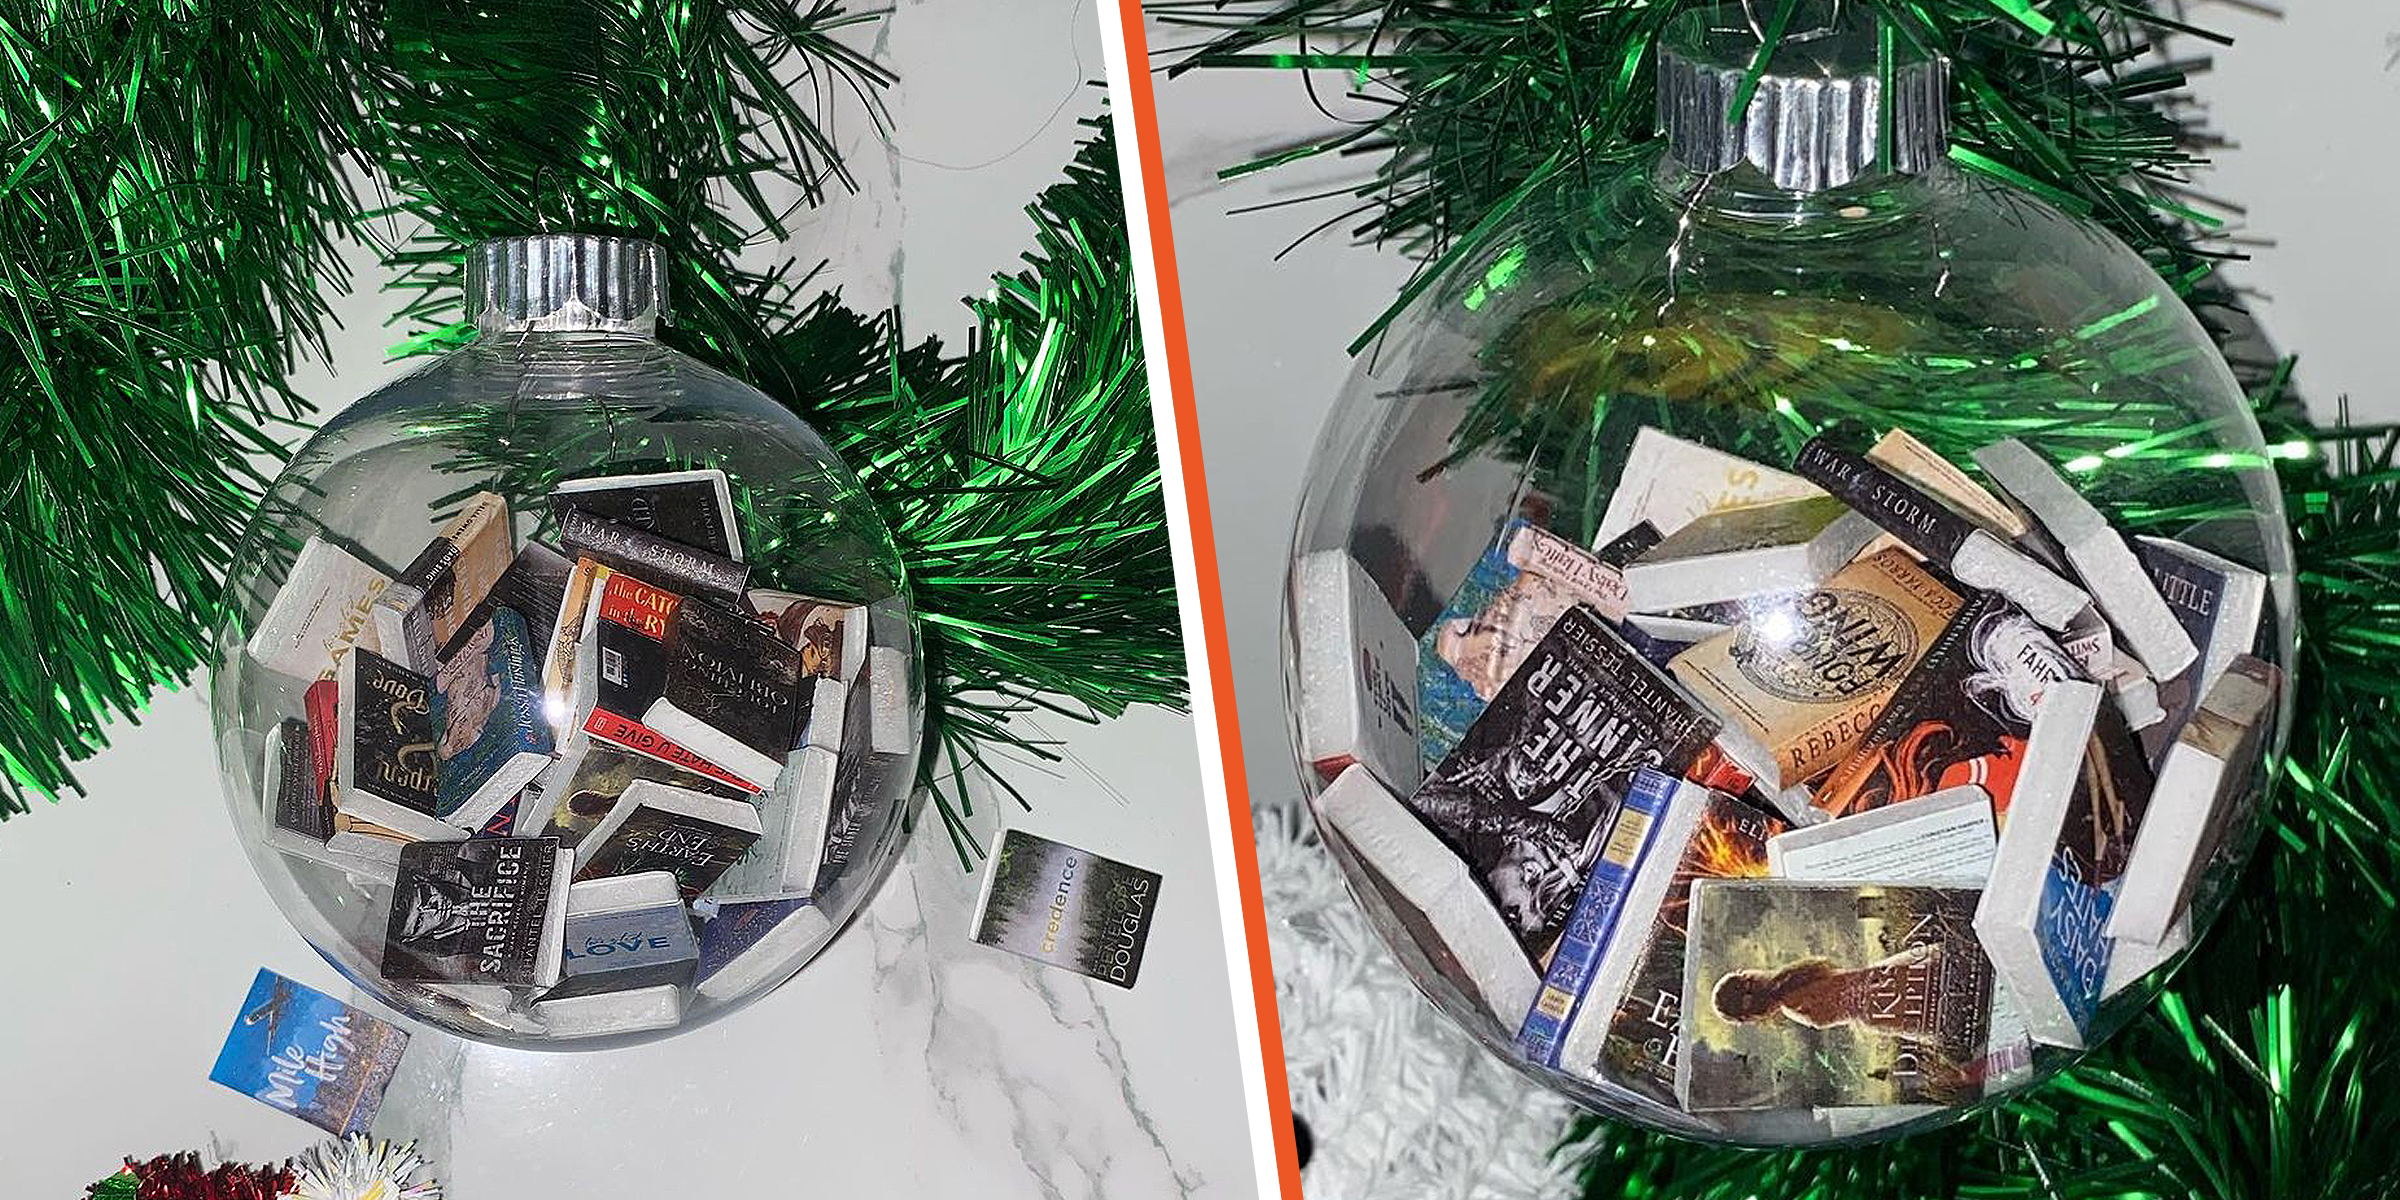
The DIY book ornaments trend has blown up social media for some time, with avid readers finding a fun way to celebrate their love of reading during the festive season.
Dec 16, 2023
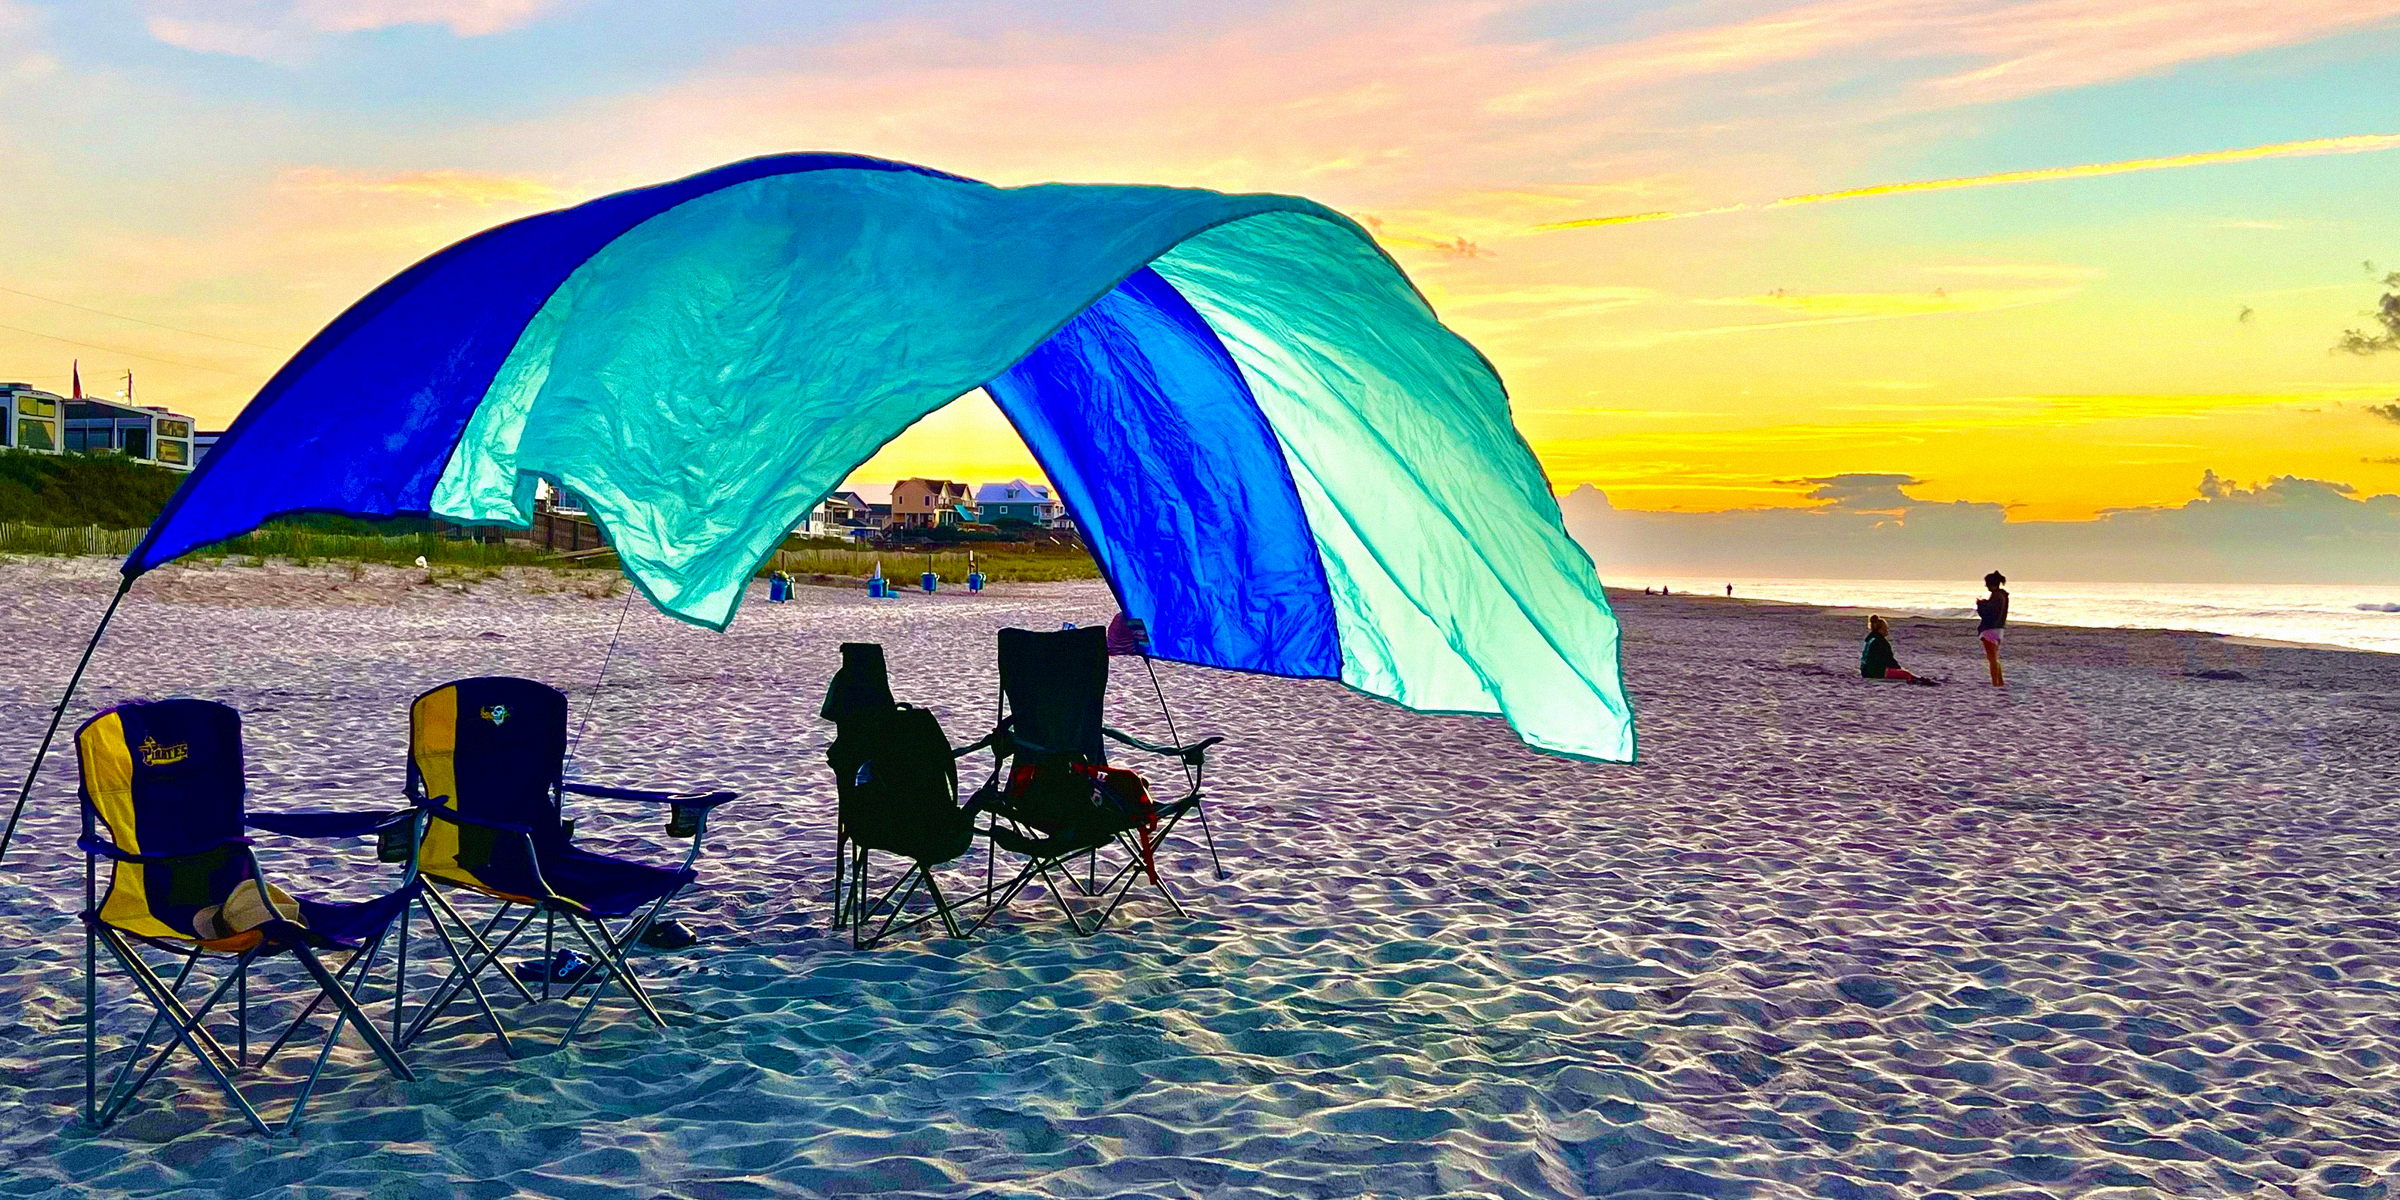
Protect your family from the sun's harsh rays while saving a few dollars with this DIY Shibumi Shade hack for the perfect beach day with your loved ones.
Jan 30, 2024
Whether you're a seasoned hunter or just getting started, a deer hoist is a helpful tool when hunting these large animals, and now, you can make this device in comfort of your home with this simple DIY deer hoist guide.
Feb 09, 2024