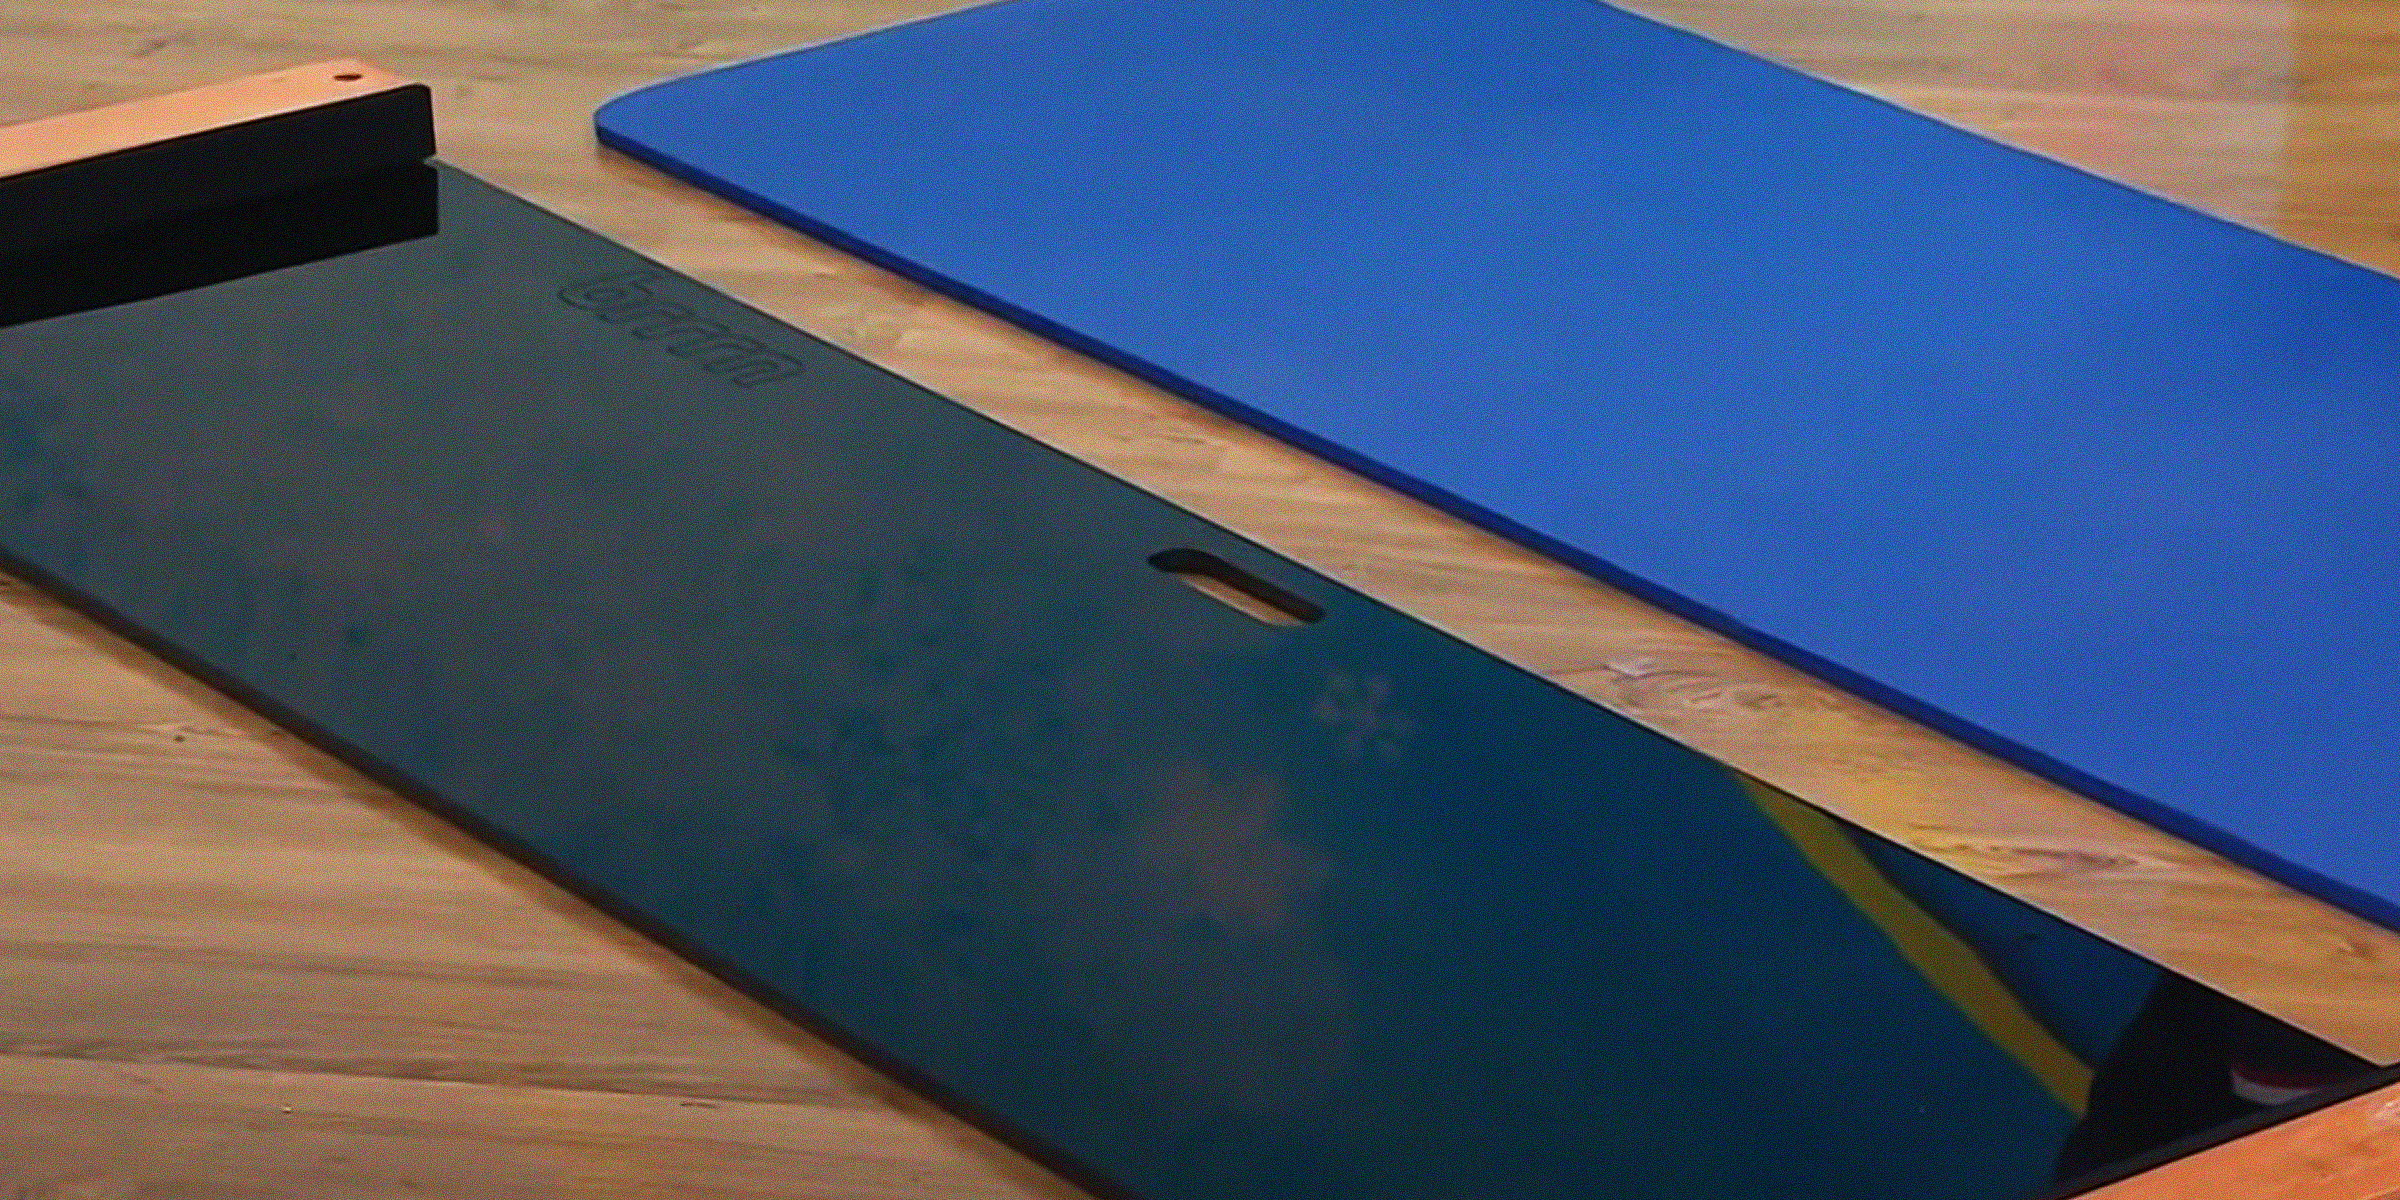
DIY Slide Board — Craft Your Own Athletic Training Tool with Simple Materials
Feb 04, 2024


Looking to discover how to create a Murphy door for your home? You've come to the right place! Incorporate a unique hidden door into your space by crafting your own, following the detailed guide below.
A Murphy door offers seamless integration into your room's design, serving dual purposes as both an innovative piece of furniture and a functional doorway. Different styles like mounted bookshelves, mirrors, and hidden pool cues seamlessly blend into any home setting.
This article focuses on guiding you through the company's process of creating a DIY outswing door, leveraging our expertise in this distinctive project area.

A door | Source: Pexels
Transforming a space with a DIY outswing door can be a rewarding project. Here's how:
Materials:

A door | Source: Pexels
Tools:

A tool box for making a Murphy door | Source: Pexels
Start by positioning the door jamb in the rough opening. The bottom threshold should extend into the room, hinting towards the cabinet's back. Ensure the bottom threshold and door jamb sides are level for the door to function smoothly.

Ensure that the bottom threshold and both sides of the door jamb are level. | Source: YouTube/murphydoor
With a 1/8-inch drill bit, pre-drill three holes into each side of the door jamb. For areas that are not level, use shims for leveling as needed.

Pre-drill three holes into the door jamb using a 1/8-inch drill bit. | Source: YouTube/murphydoor
Carefully place the door within the door jamb, ensuring the bottom hinge aligns with the silver thrust bearing. Press down on the bottom of the hinge lock pin, retracting the two top pins for an outswing door set-up. From the interior side, align the top hinge holes and insert the hinge pin through, securing the door in place.

Place the door in the door frame, ensuring the bottom hinge matches with the silver thrust bearing. | Source: YouTube/murphydoor
Add two shelf holders at your desired height, followed by two more directly opposite. Slide the shelves onto the holders and repeat for any additional shelves.

Add shelves at your desired height. | Source: YouTube/murphydoor
Attach the door casing with a 1/2-inch overlay over the door face, ensuring a minimum of 1/16-inch clearance at the top. Drill holes on the door's swing side for the side casing attachment.
Use quarter-inch grabbers, being careful not to penetrate through. Finish by attaching the hinge side casing and the top casing.

Drill three holes on the door's side frame for attaching the casing. | Source: YouTube/murphydoor
Now that everything is in place, test the door to ensure it opens and closes smoothly. Making any necessary adjustments at this stage is crucial to guarantee the longevity and functionality of your new outswing door.

Adjust the door as needed. | Source: YouTube/murphydoor
Congratulations, your DIY outswing door is now complete and ready to enhance your space for years to come! This project not only adds a functional element to your room but also the satisfaction of having created something truly unique for your home.
Ready for another creative DIY project? Explore our guide on constructing a DIY bubble wall to elevate your space's ambiance further!

Transform your space with a DIY Litter Robot Enclosure that effortlessly merges smart technology with style. Despite their convenience, high-tech litter boxes can sometimes clash with home aesthetics. Fortunately, there's a stylish DIY solution!
Feb 14, 2024

Embark on a creative journey and revamp your bedroom aesthetics with a DIY wardrobe door. With a touch of ingenuity and these simple steps, you can tailor a personalized and budget-friendly solution.
Feb 03, 2024
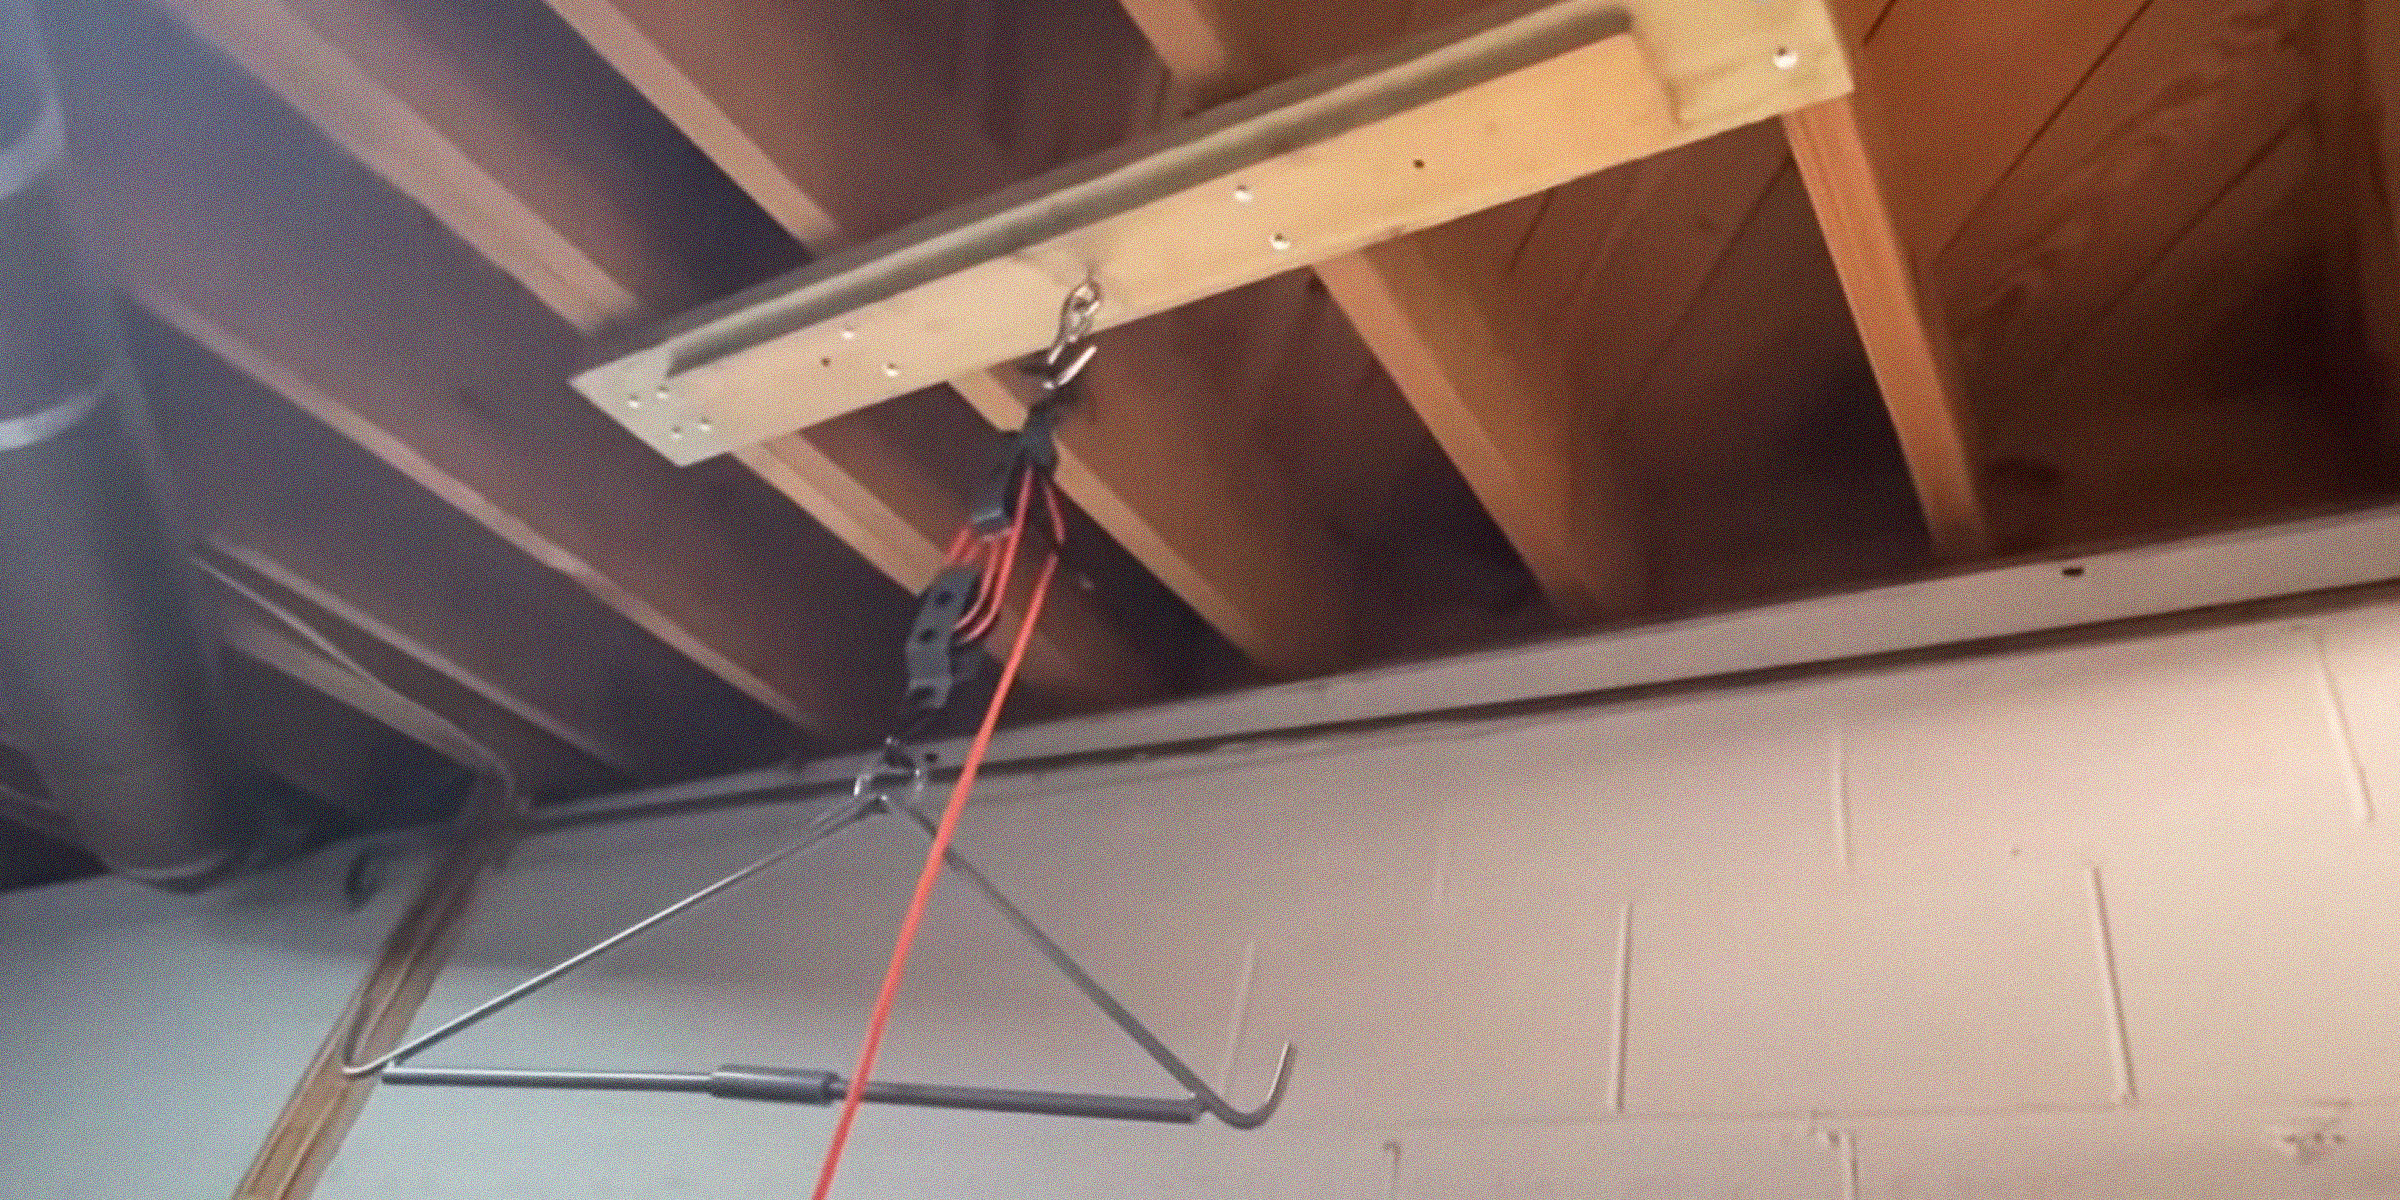
Whether you're a seasoned hunter or just getting started, a deer hoist is a helpful tool when hunting these large animals, and now, you can make this device in comfort of your home with this simple DIY deer hoist guide.
Feb 09, 2024

Looking for ways to make your door hinge stop squeaking? Continue reading for four effective lubricants that promise to eliminate that annoying noise.
Mar 15, 2024
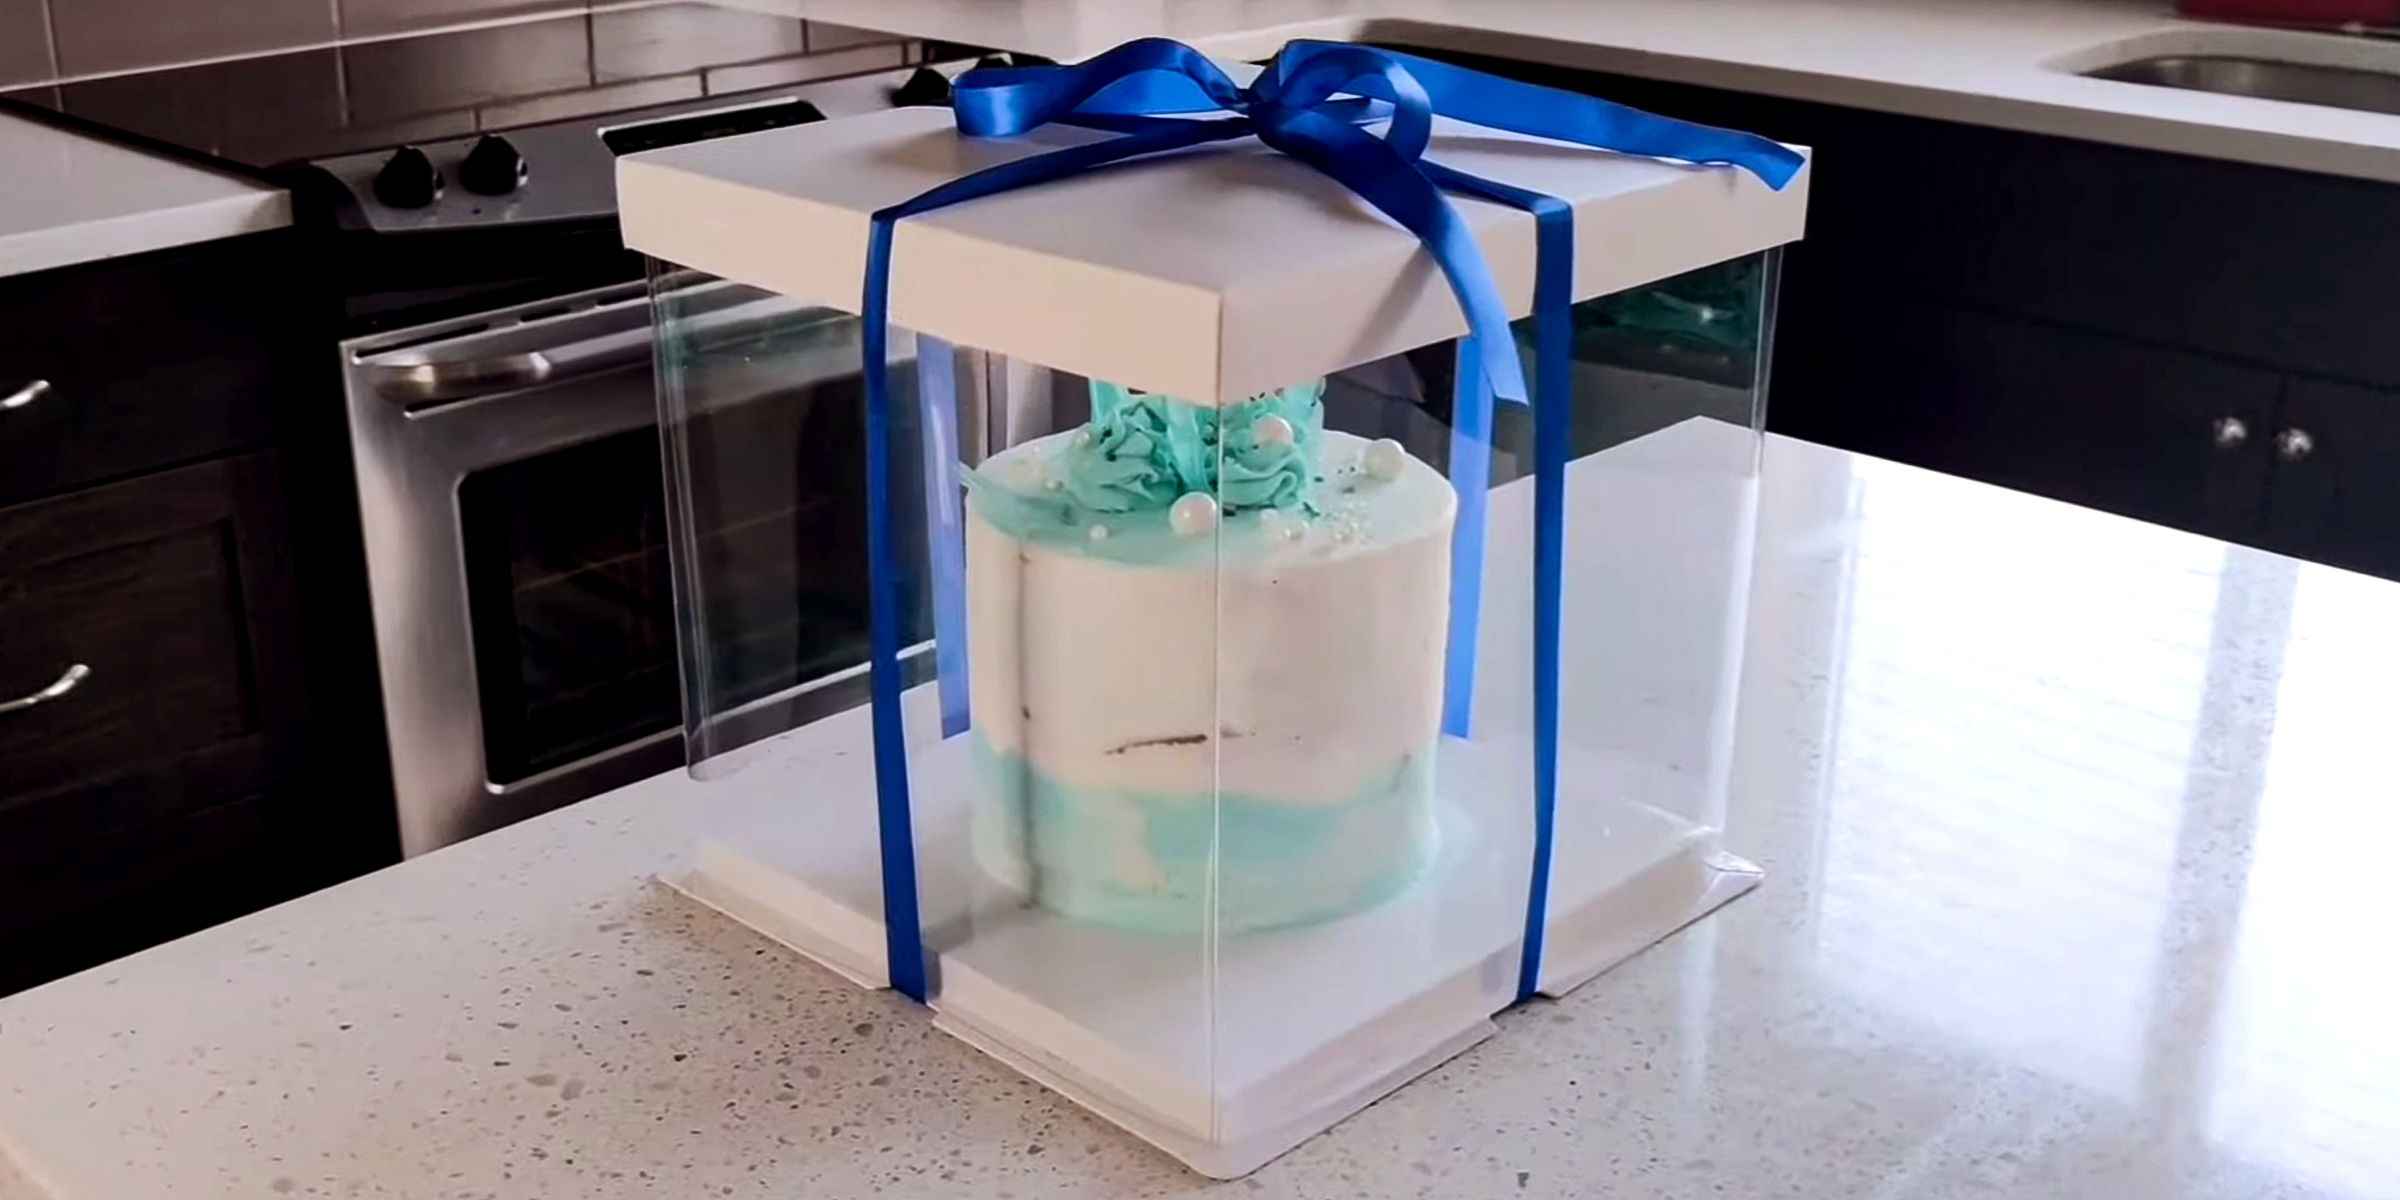
Eager to learn the art of making cake box? Whether you're a baking enthusiast looking to present your creations in style or a DIY crafter eager to add a personal touch to gifts, this step-by-step tutorial on how to make a cake box will transform your packaging game.
Mar 07, 2024

Create a space that promotes independence and a thirst for knowledge in your child, all in the comfort of your home, with this helpful DIY Montessori bookshelf guide.
Feb 04, 2024
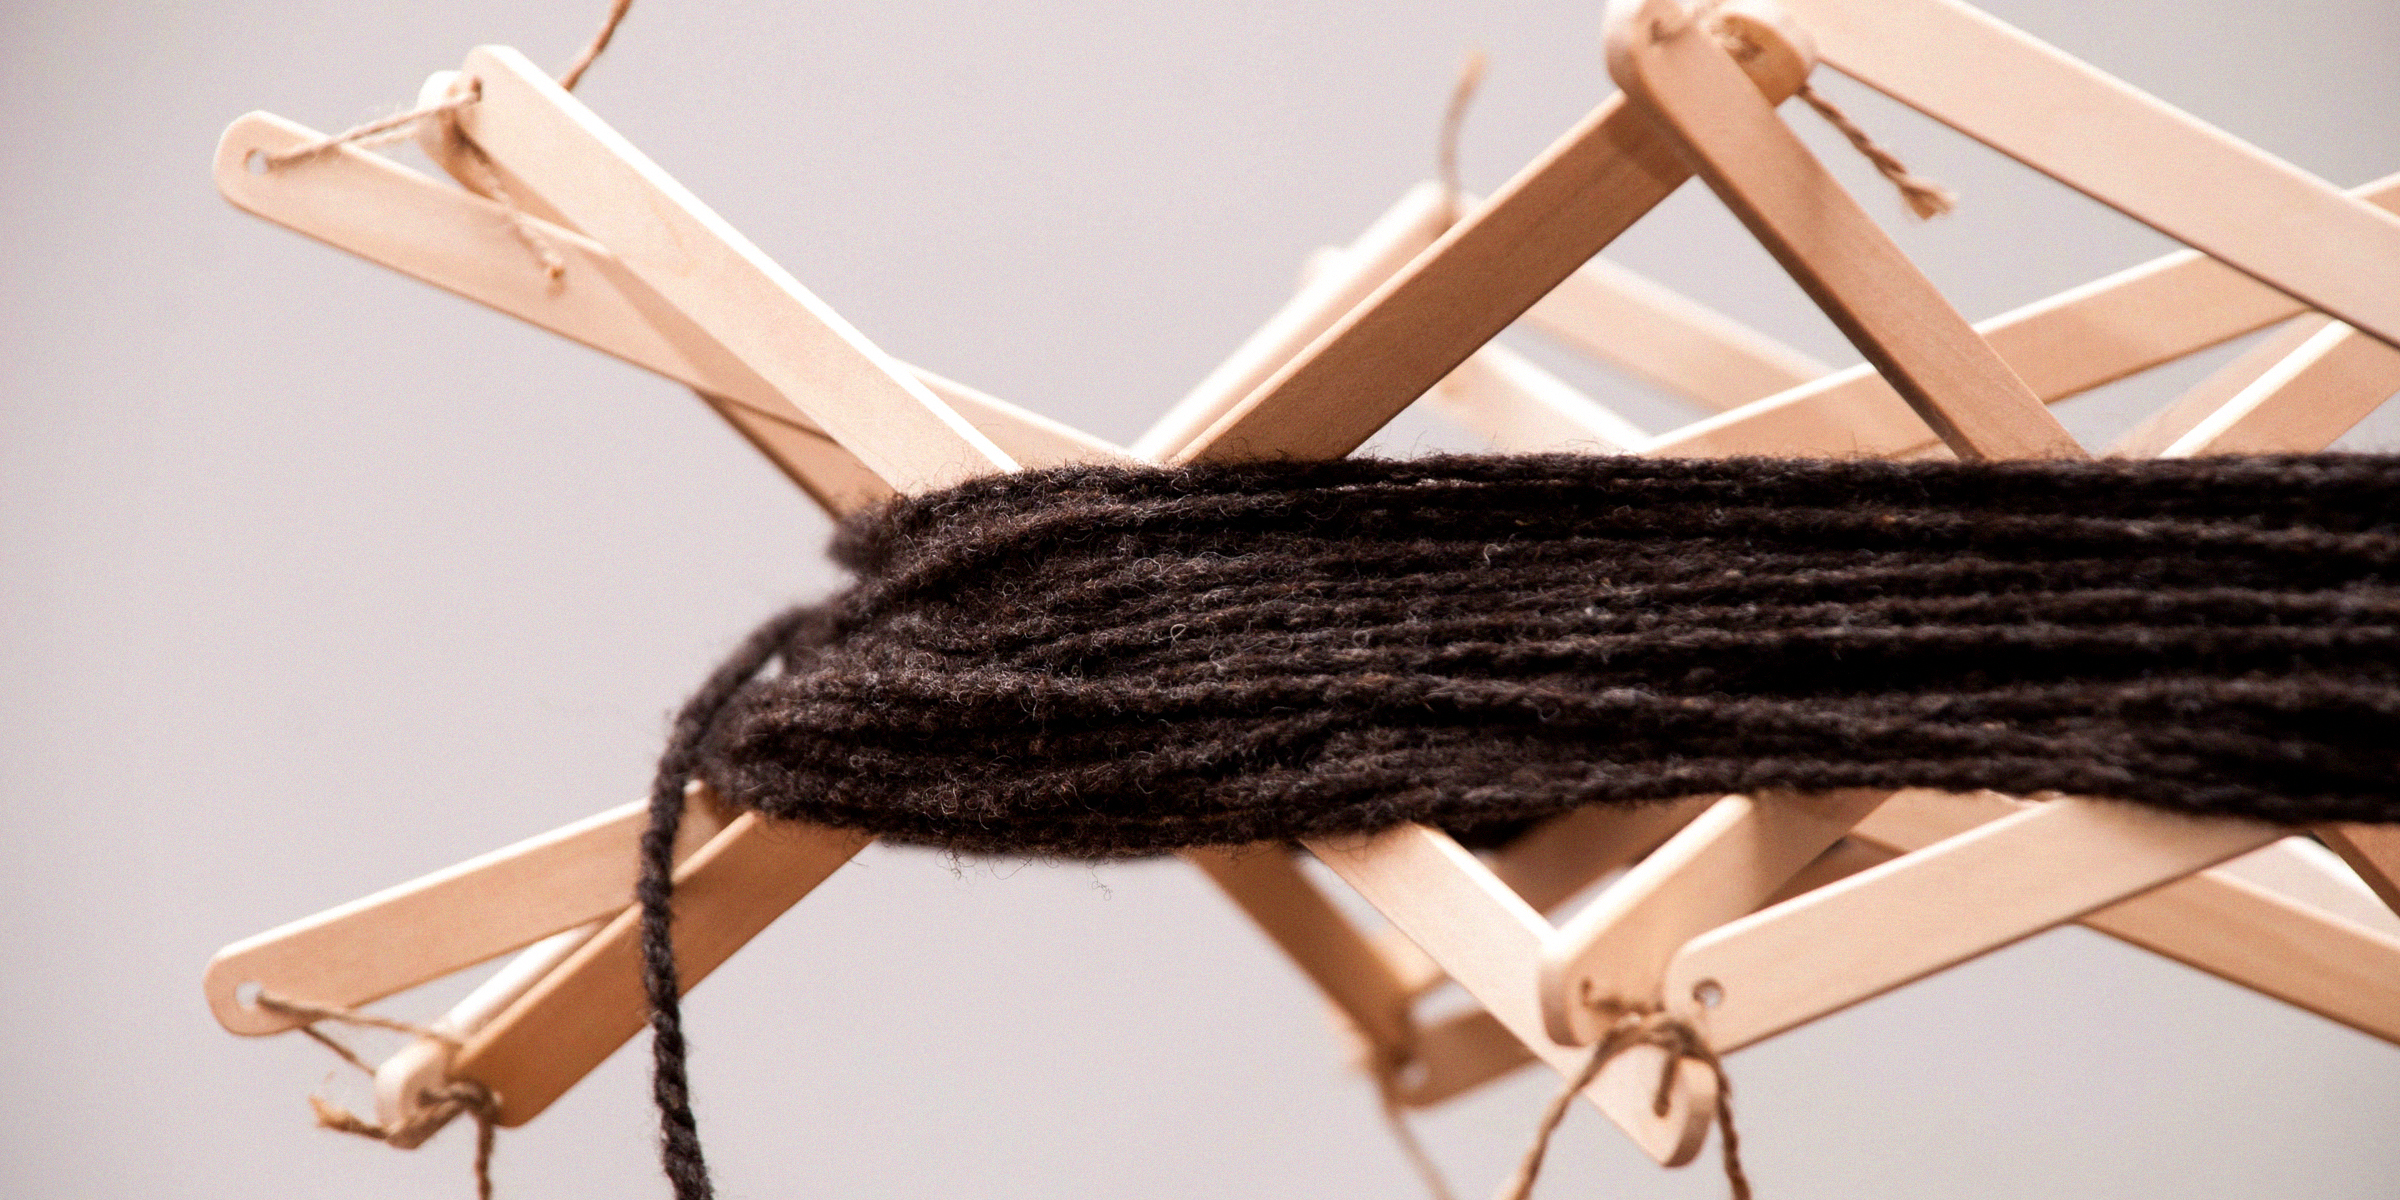
Embark on a journey to elevate your knitting prowess effortlessly and infuse each stitch with a personal touch through a DIY yarn swift. Unleash your creativity as you craft an affordable and convenient tool to elevate your knitting experience.
Feb 01, 2024
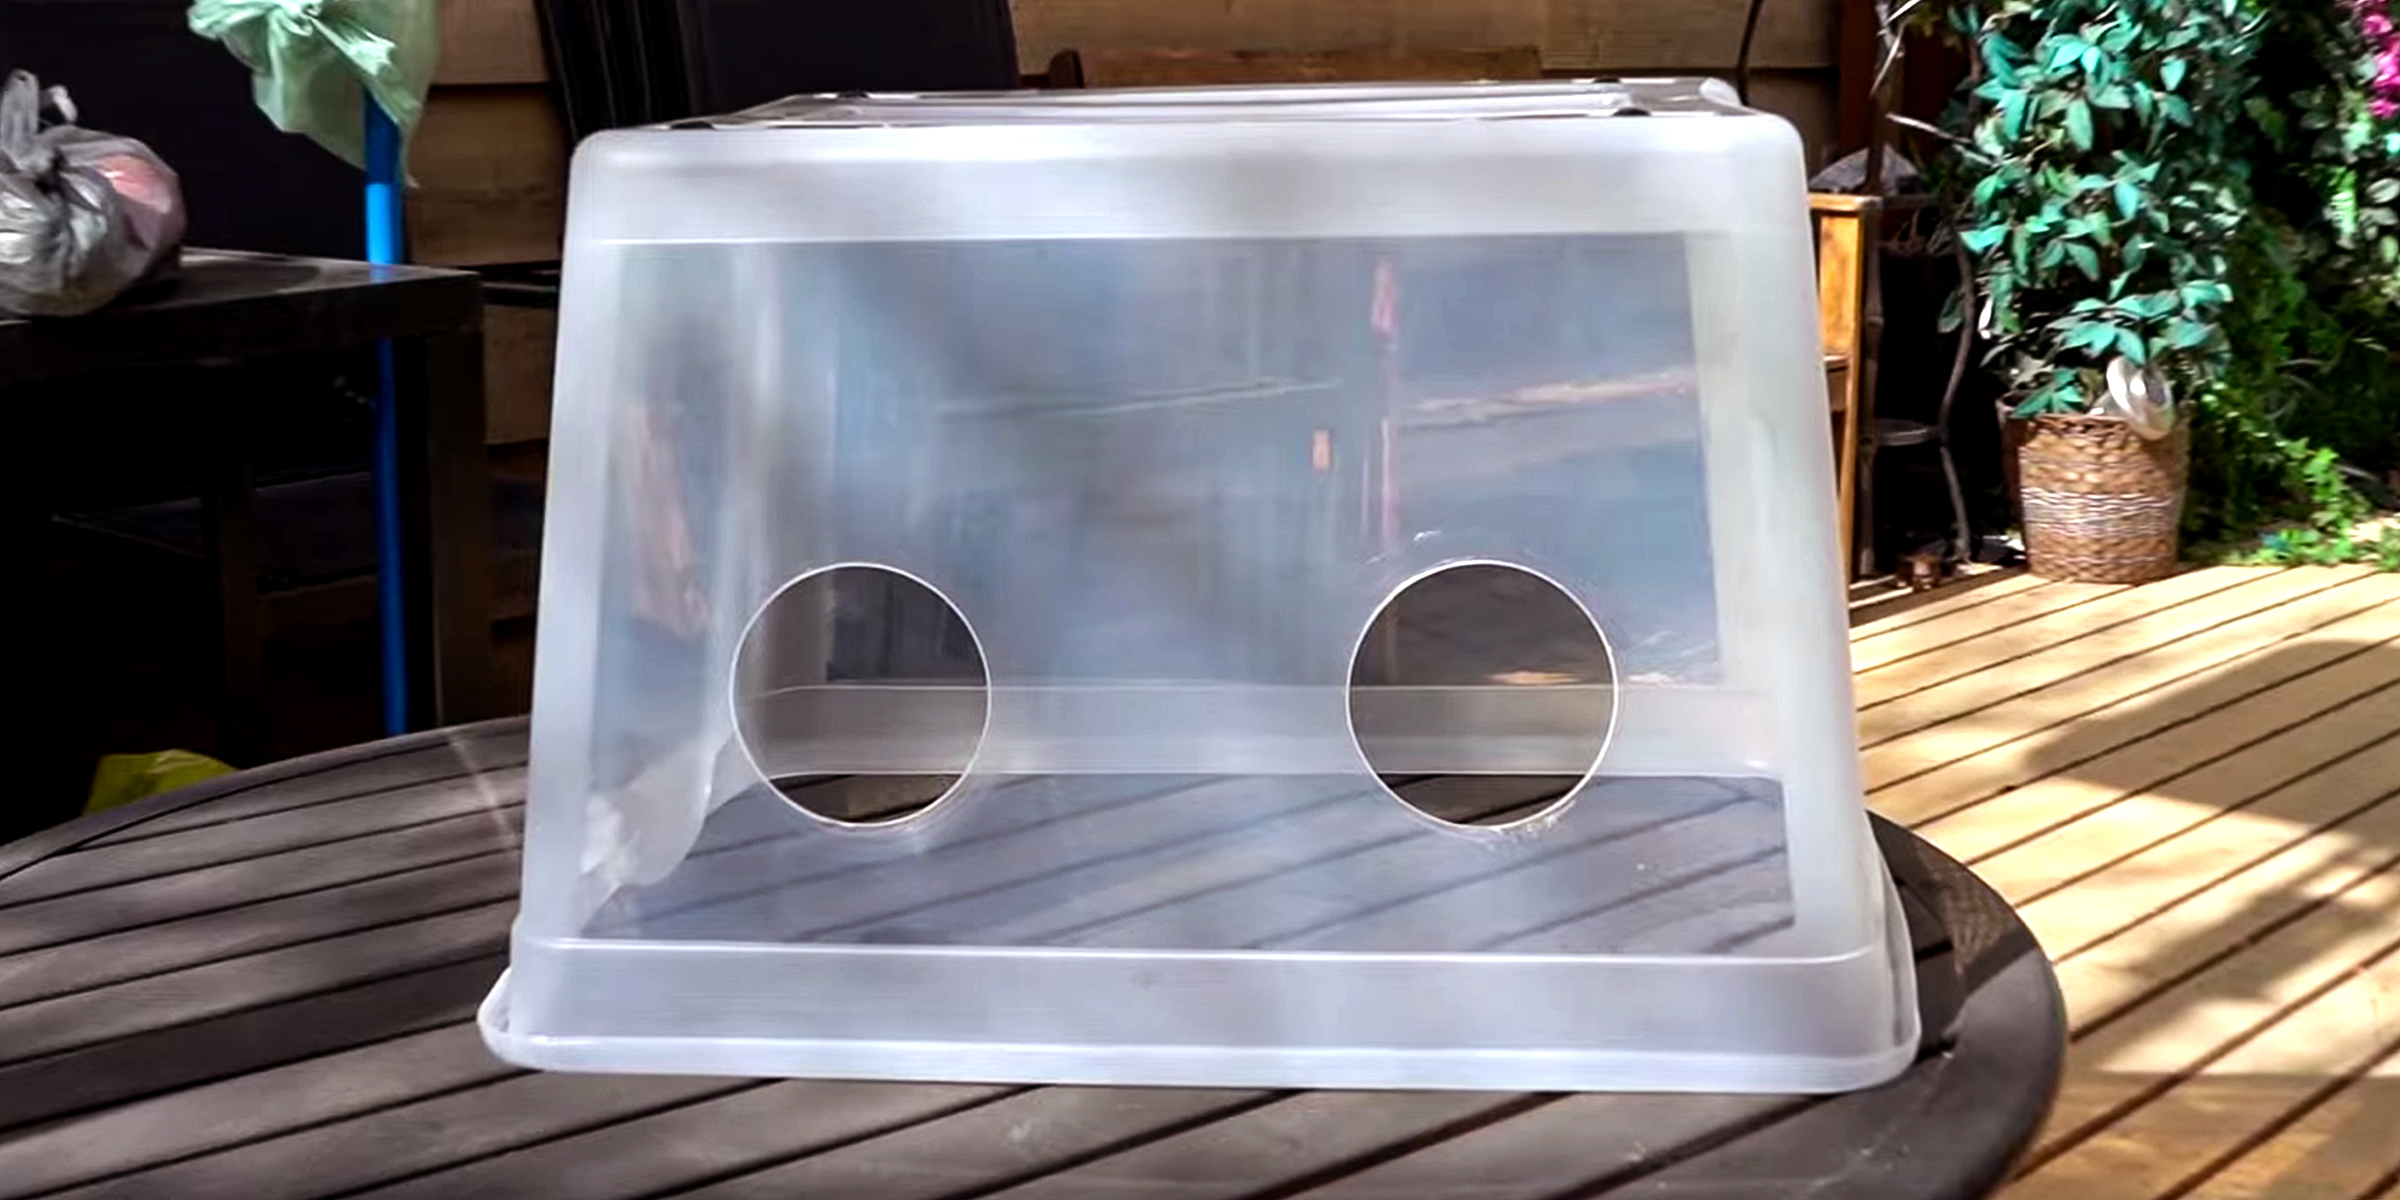
If you're a mycology expert or enthusiast, you probably know the importance of a still air box in your work. However, if you're opposed to buying one, here's how to build a still air box DIY-style.
Feb 08, 2024

Bubble walls bring the benefits of surrounding yourself with nature into the comfort of your personal space. If you're considering installing one but want to do so independently, follow this DIY bubble wall guide.
Feb 09, 2024

Discover how to transform your space into a DJ's dream with our guide to crafting a DIY DJ booth. From assembling IKEA furniture to adding personalized touches. It's time to unleash your creativity and elevate your DJing experience.
Feb 17, 2024

Whether you're a seasoned DIY enthusiast or new to the world of homemade gadgets, continue reading for a step-by-step tutorial that will help you create a functional and reliable DIY boom sprayer.
Feb 18, 2024
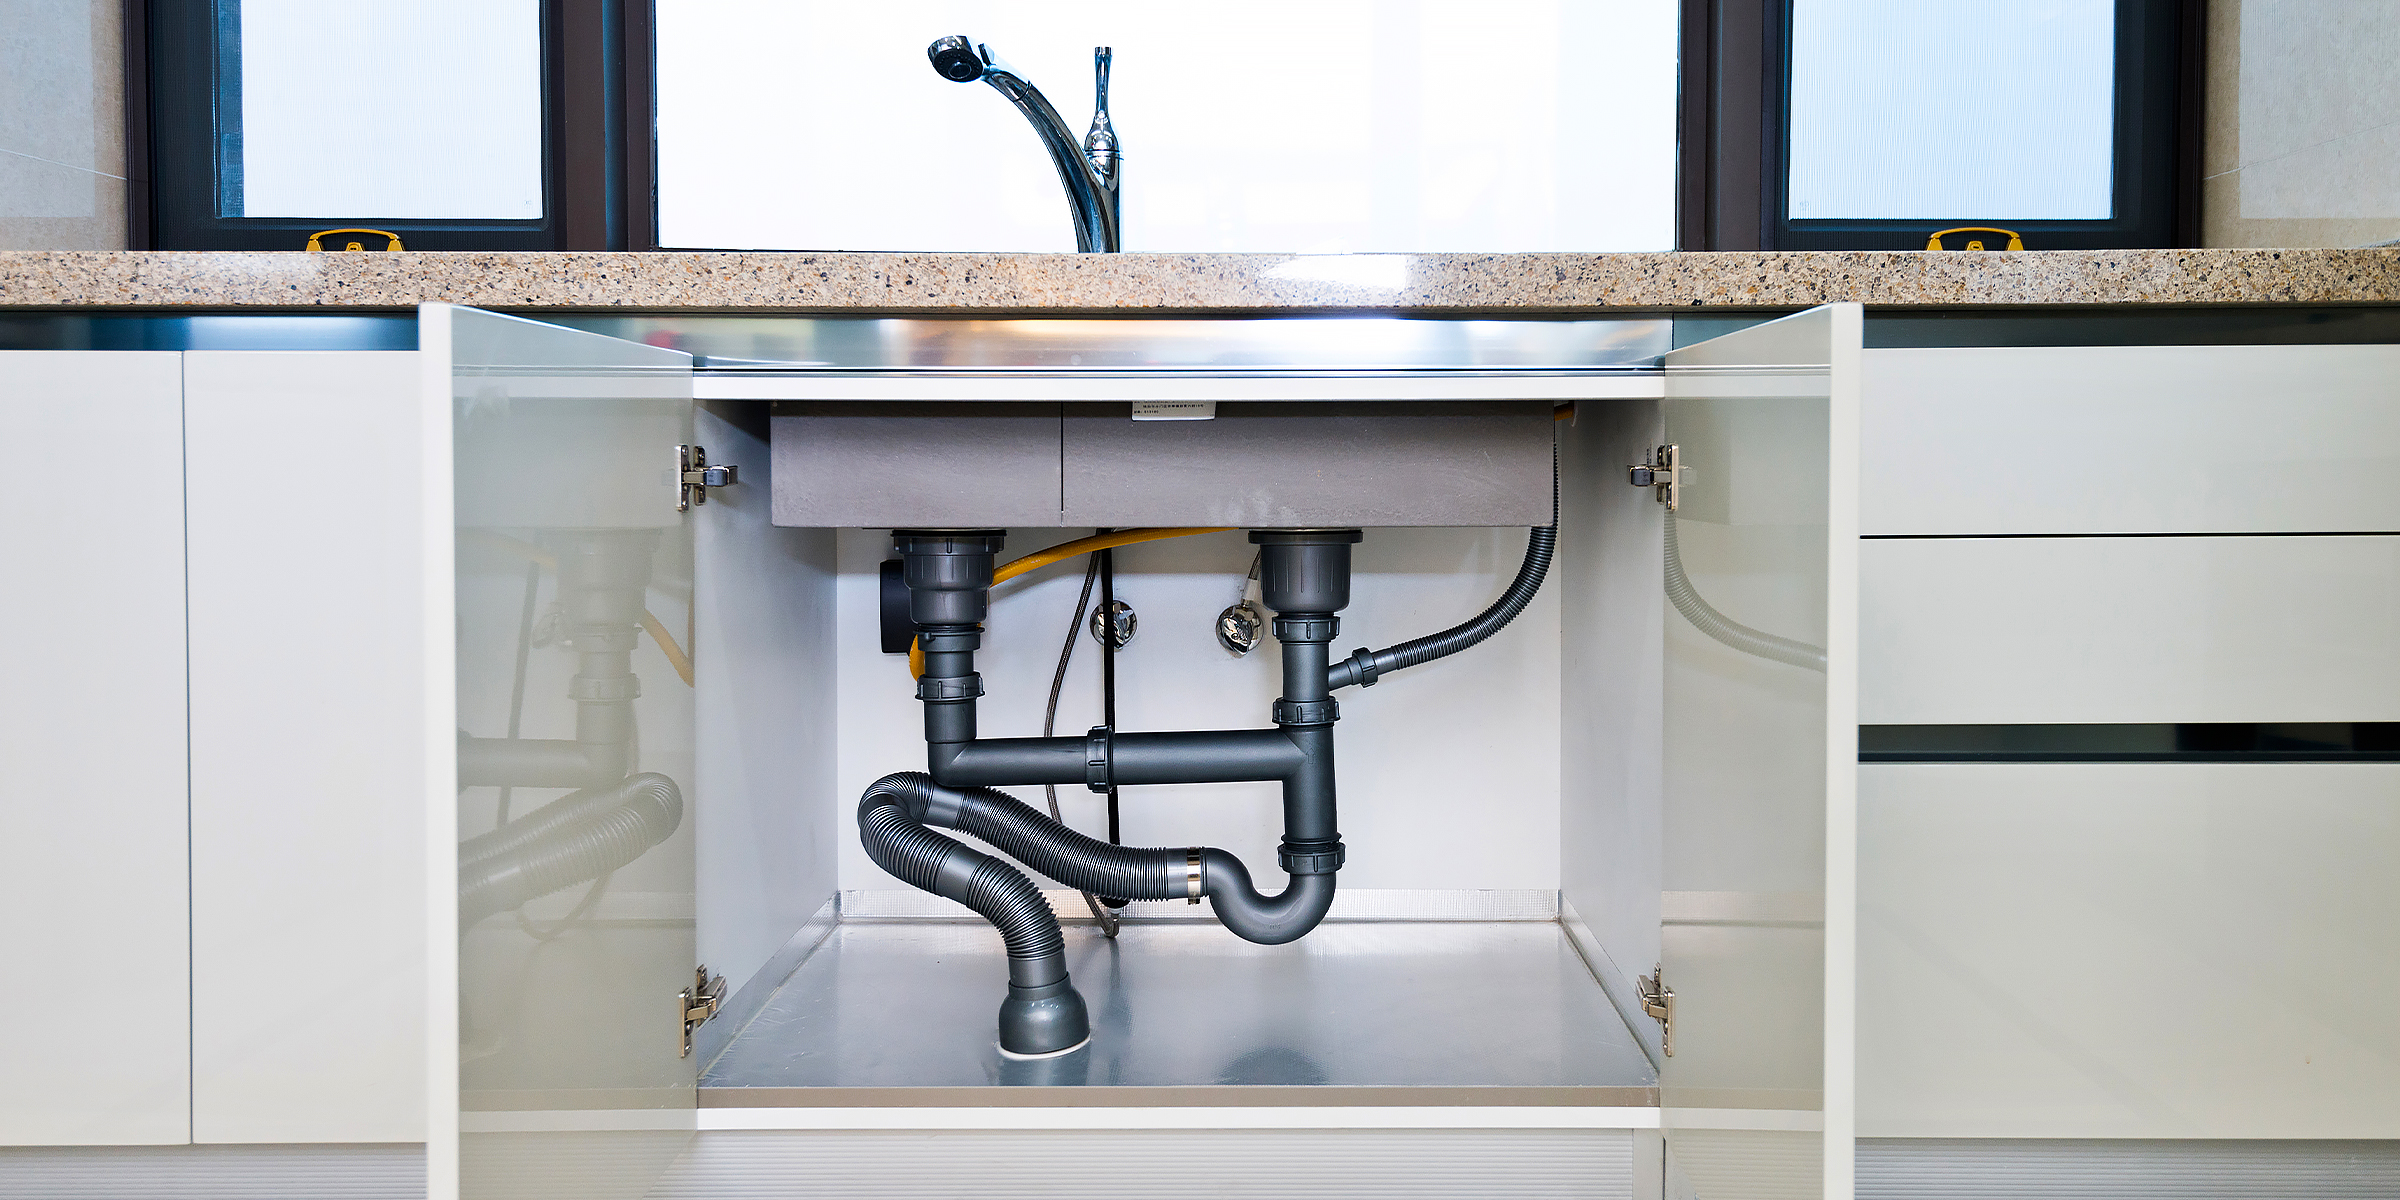
Save a few dollars by following this helpful guide on how to vent a kitchen sink under a window by yourself for a perfeclty functioning plumbing and drainage system in your home.
Feb 02, 2024

Wondering how to make balloon garland with strip to create an eye-catching centerpiece? You’re in the right place! We've got you covered with a comprehensive guide on crafting stunning balloon garlands that will elevate any event.
Mar 17, 2024
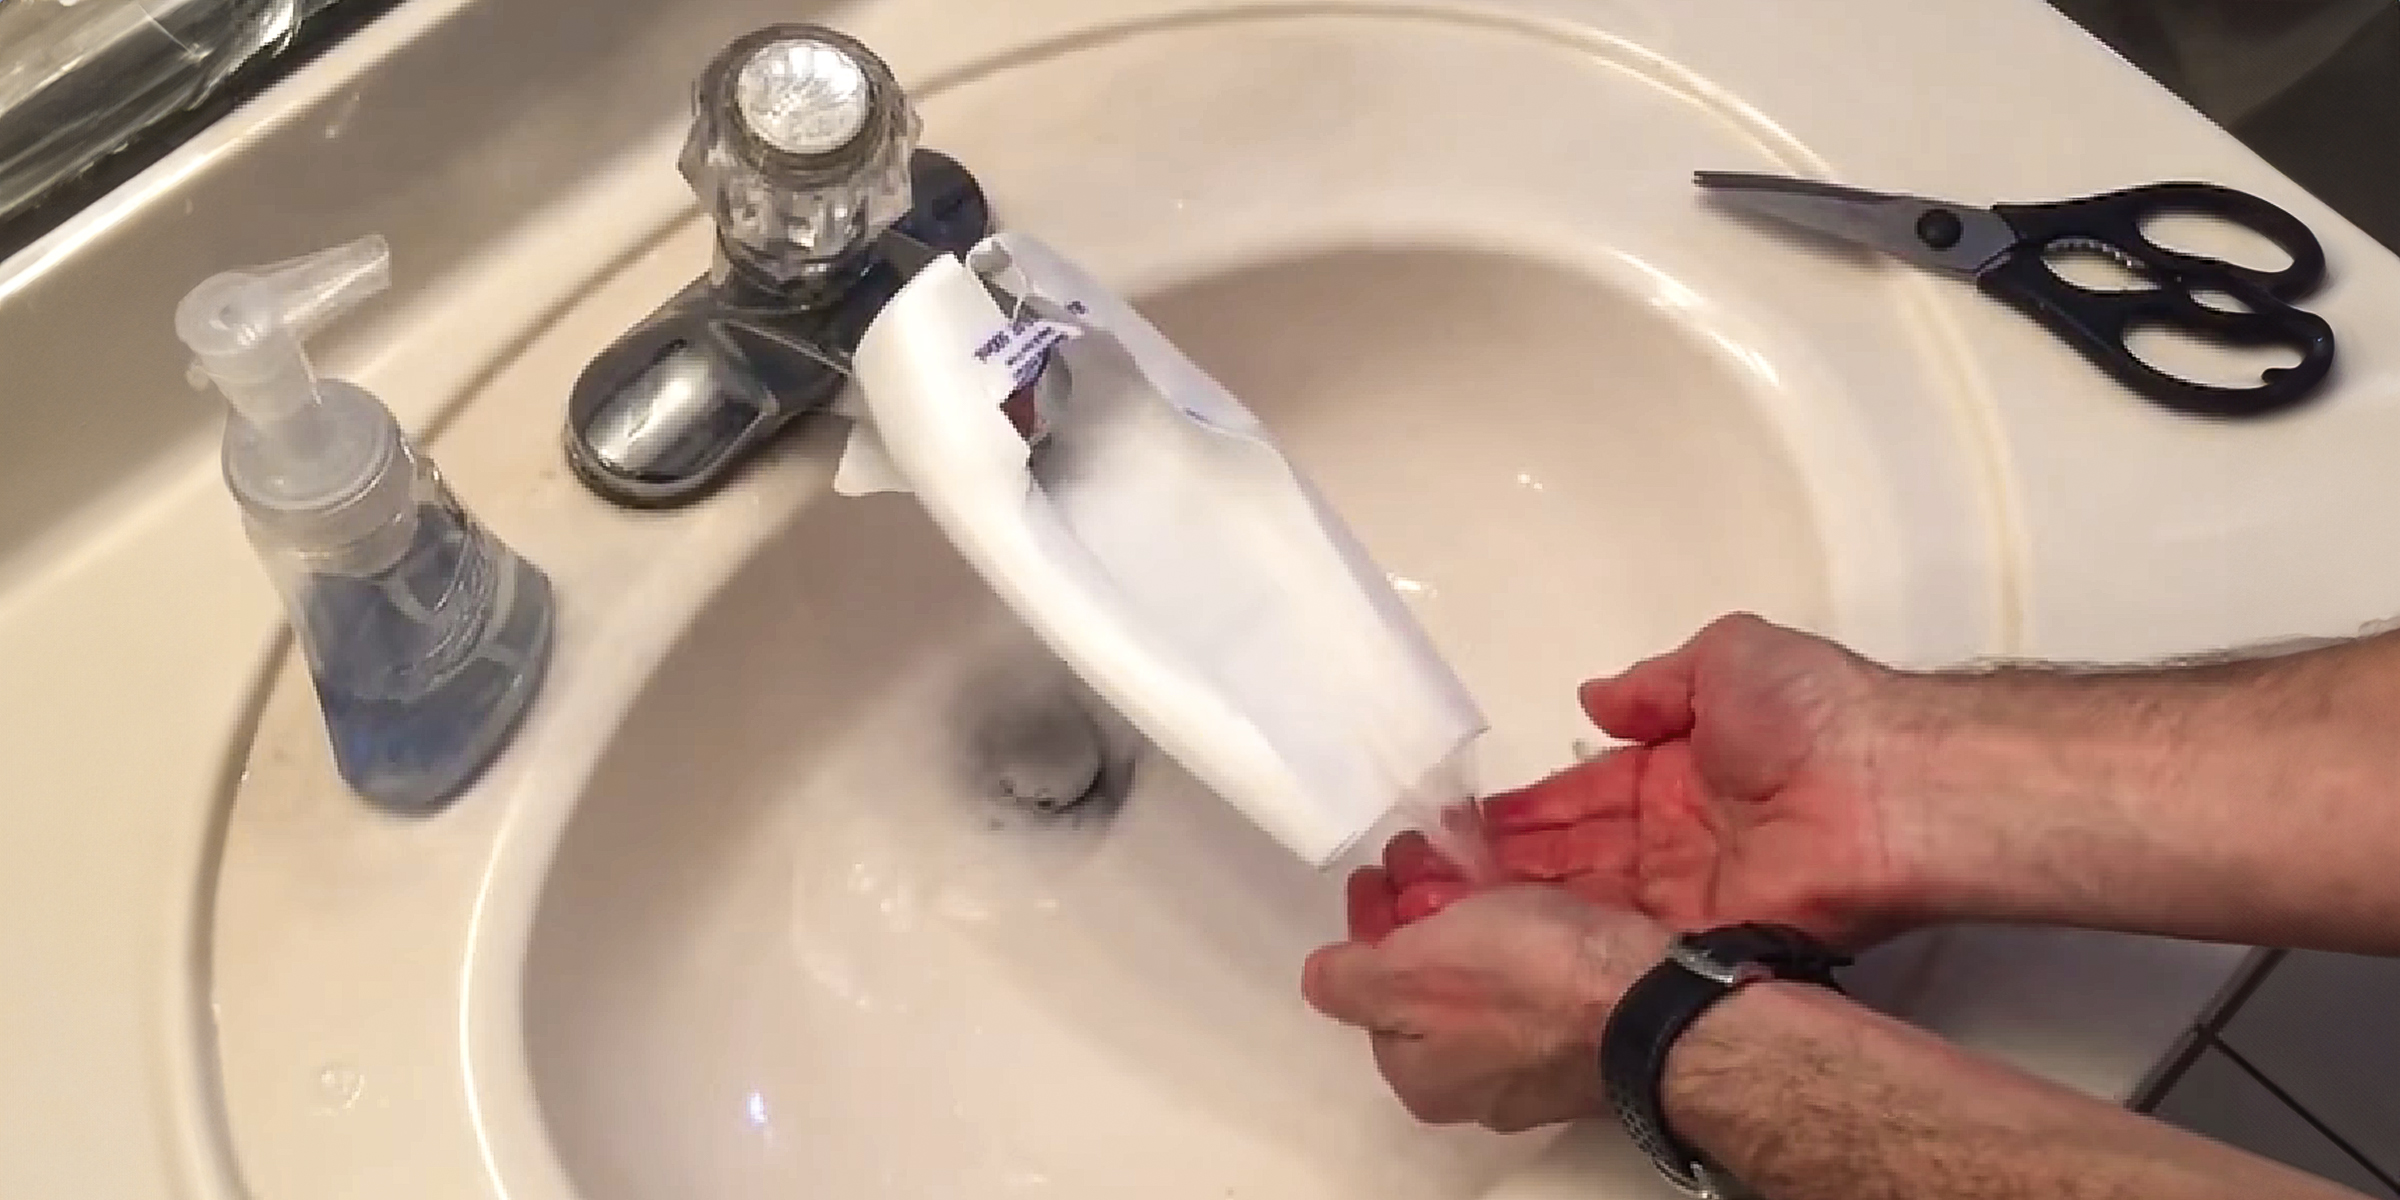
If you're dealing with the challenge of little ones struggling to reach faucets, a practical solution is to craft a DIY faucet extender. You can easily accomplish this in just a few simple steps.
Feb 05, 2024