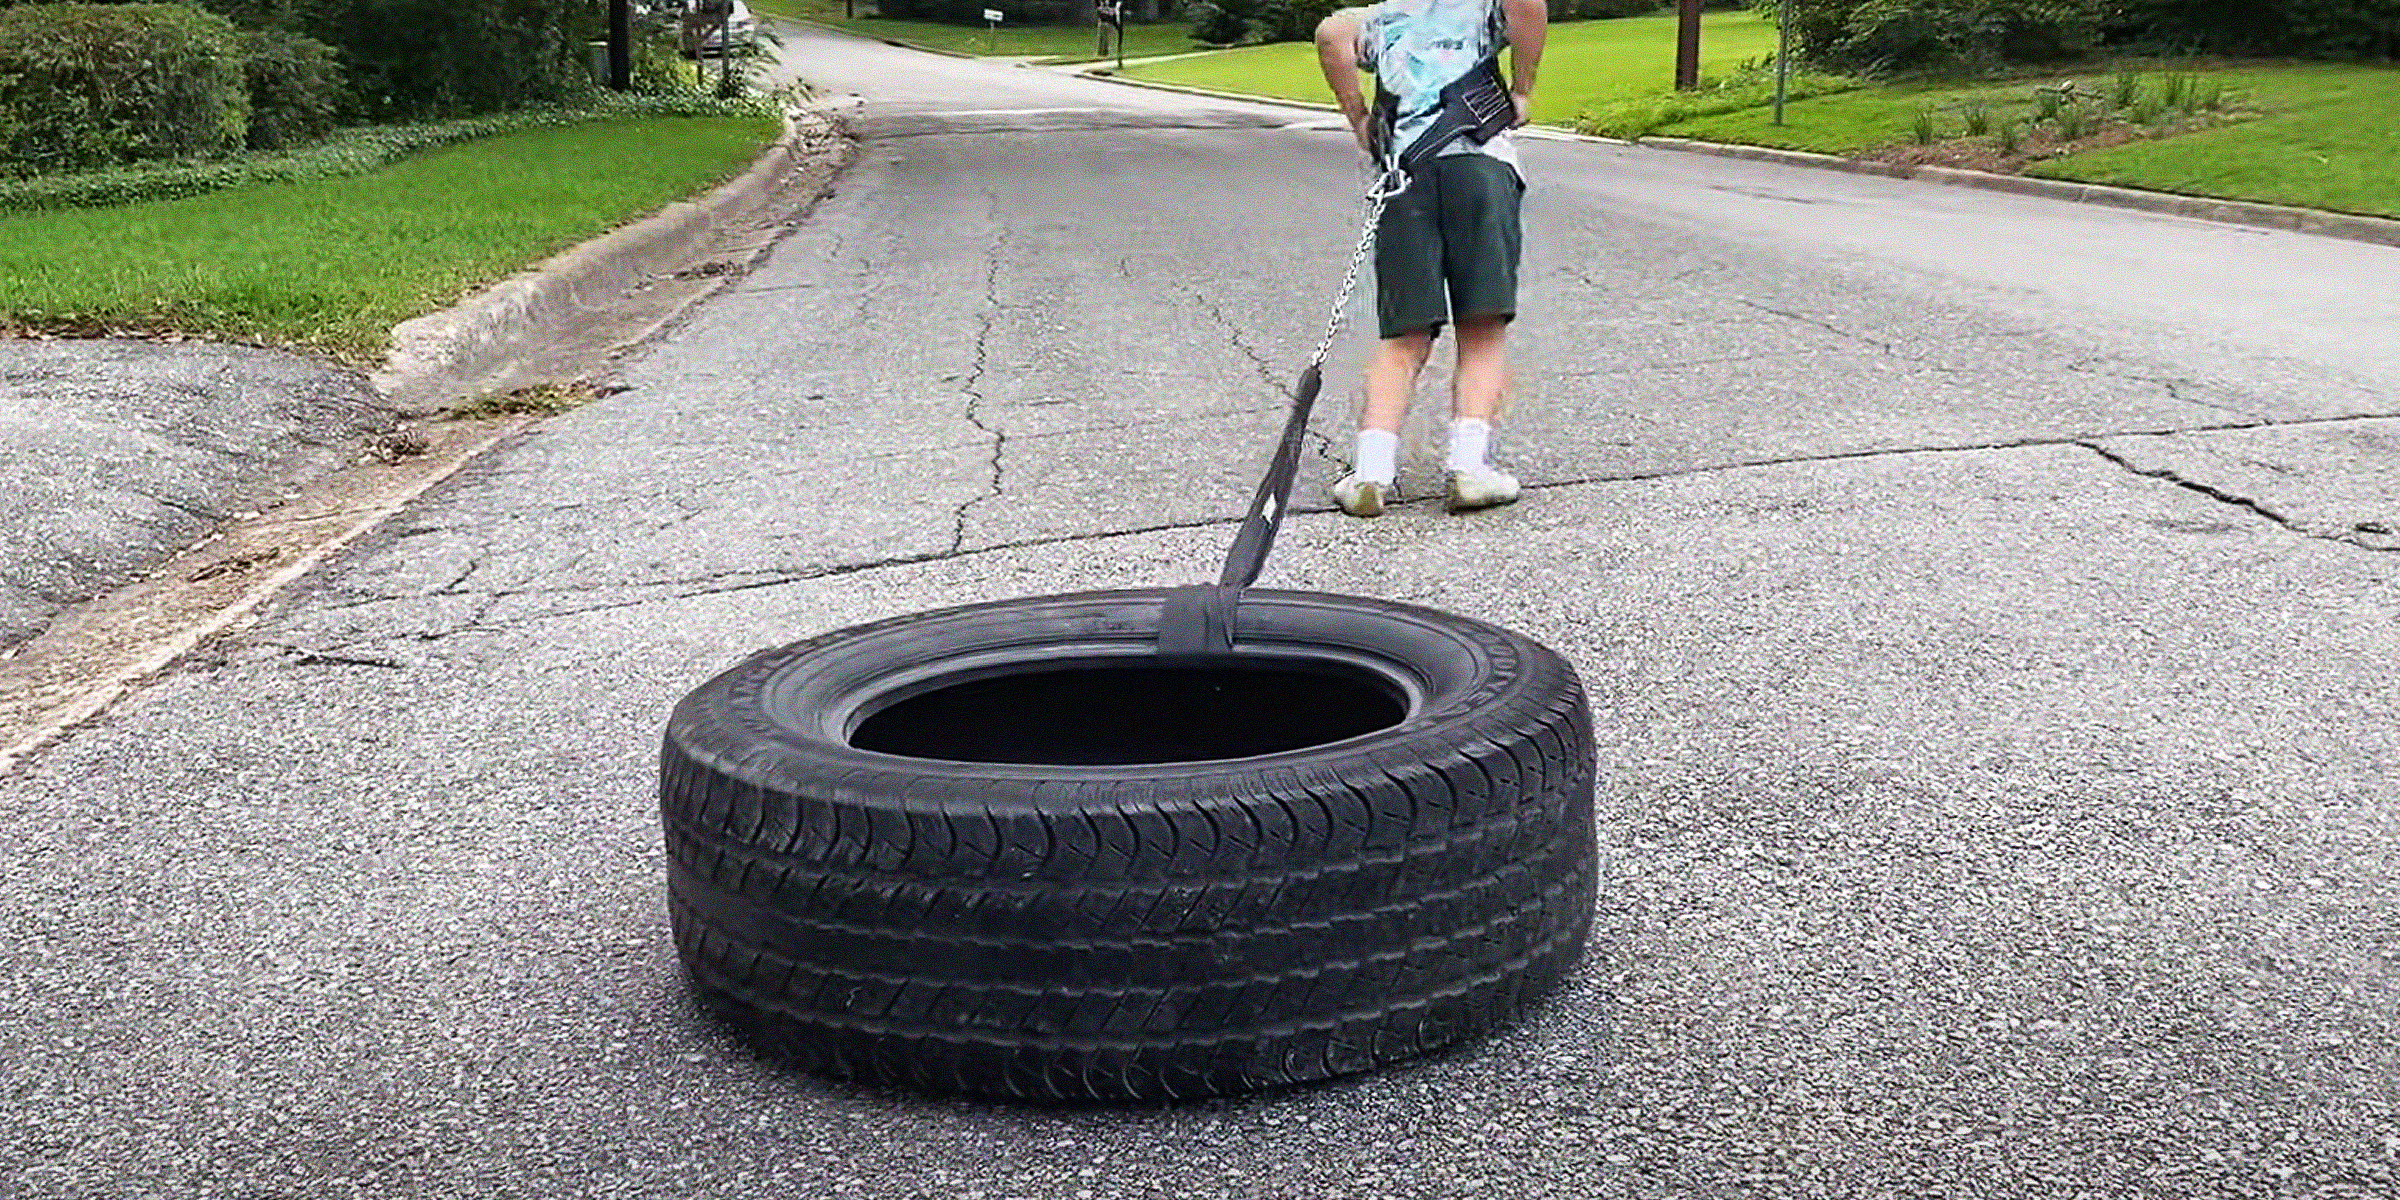
DIY Workout Sled — Turn a Tire into a Training Essential
Feb 08, 2024


Bubble walls bring the benefits of surrounding yourself with nature into the comfort of your personal space. If you're considering installing one but want to do so independently, follow this DIY bubble wall guide.
Being surrounded by nature, with all the elements that comprise it, from earth to wind, fire, and water, can positively affect your well-being. However, with life's responsibilities, from work to familial and personal commitments, setting aside time to unwind in a natural setting can be a hassle.
It's part of why people brought about ways to integrate nature into urban spaces, like acquiring home plants and indoor water features such as bubble walls.
Bubble walls are typically clear acrylic panels that are connected to clear plastic tubes. These tubes are connected to a motor that helps generate water bubbles. These panels are often paired with LED lights that change color to create an enchanting underwater effect.
Bubble walls are versatile decorative pieces you'll likely find in bars, restaurants, corporate spaces, and hotels; however, you'll also find them in people's homes. If you want one for your personal space, follow this DIY bubble wall step-by-step guide. Happy crafting!
1. Apply sealant along the edges of one sheet's length, leaving about an inch of space from the bottom. Place your acrylic strips on top of the sealant.

Place the acrylic strips over the sealant on the edges. | Source: YouTube/Creative Workers
2. Draw evenly sized columns with the sealant along the width of your sheet. Use a ruler or another item to ensure your lines are straight.

Draw your columns. | Source: YouTube/Creative Workers
3. While the adhesive dries, grab your flexible plastic tube and poke evenly spaced holes that align with your columns.
6. Apply a tiny dollop of sealant to one end of the tube to keep the water from coming out.

Secure on end of your tube with sealant. | Source: YouTube/Creative Workers
7. Apply a dollop of glue on the same end but on the surface, and stick it along the bottom edge of one pasted acrylic strip.
8. Do the same on the opposite side and apply sealant along the bottom edge of the tube to secure it. Leave it to dry while the rest of the tube dangles on the side.

Stick your tube at the bottom. | Source: YouTube/Creative Workers
9. Apply sealant along the edges of the pasted acrylic strips, then place the second sheet on top. Ensure it aligns symmetrically with the bottom sheet.

Secure the second sheet on top. | Source: YouTube/Creative Workers
10. Cut your plastic bottle in half. Take the lid and poke a hole big enough to fit a straw. Screw the lid back on and insert the straw. Insert the straw through the open end of the bound acrylic sheets and funnel water through there.

(To illustrate) Funnel the water into your bubble wall. | Source: YouTube/DIY with AK
Note: With this design, you will likely need a stand for a more complete look. You can either craft one yourself or head to a carpenter.
Similar to the creator in the graphic below, you'll need something you can insert your bubble wall into, with enough space so the tube isn't cramped. With such a stand, you can also insert an LED strip underneath the bubble wall for that added ambiance.

YouTube DIYer placing his bubble wall into a stand. | Source: YouTube/Creative Workers
11. Connect the dangling plastic tube to an aquarium and plug it in.
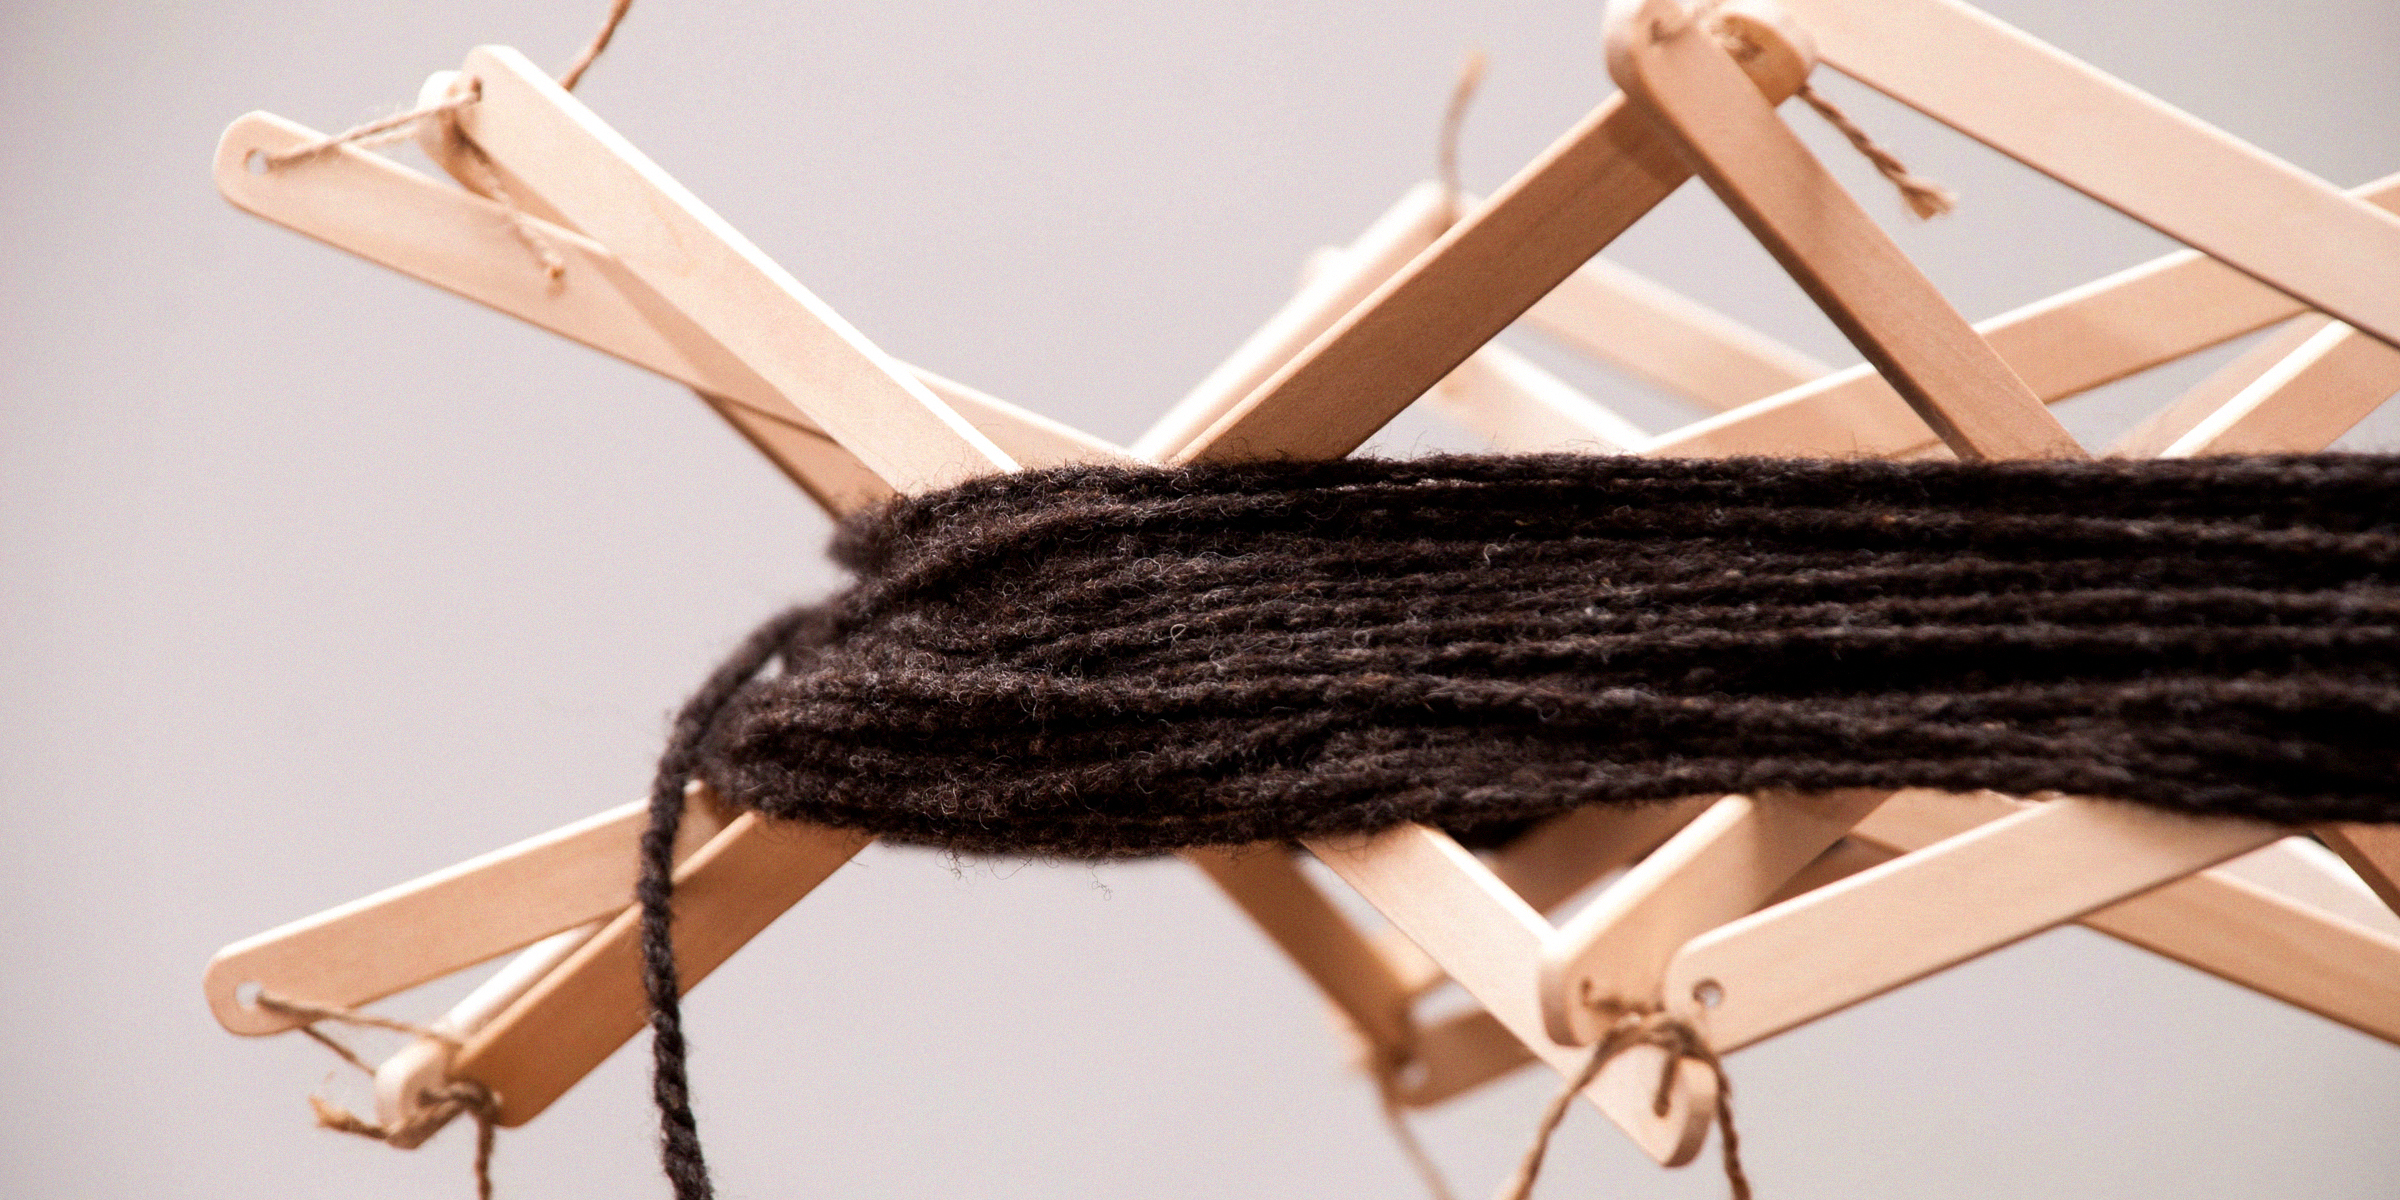
And there you have it. Your own DIY bubble wall is ready to bring ultimate relaxation and peace to your space. Hopefully, you've enjoyed this tutorial. If you're looking for more fun crafting guides, why don't you try this DIY yarn swift?
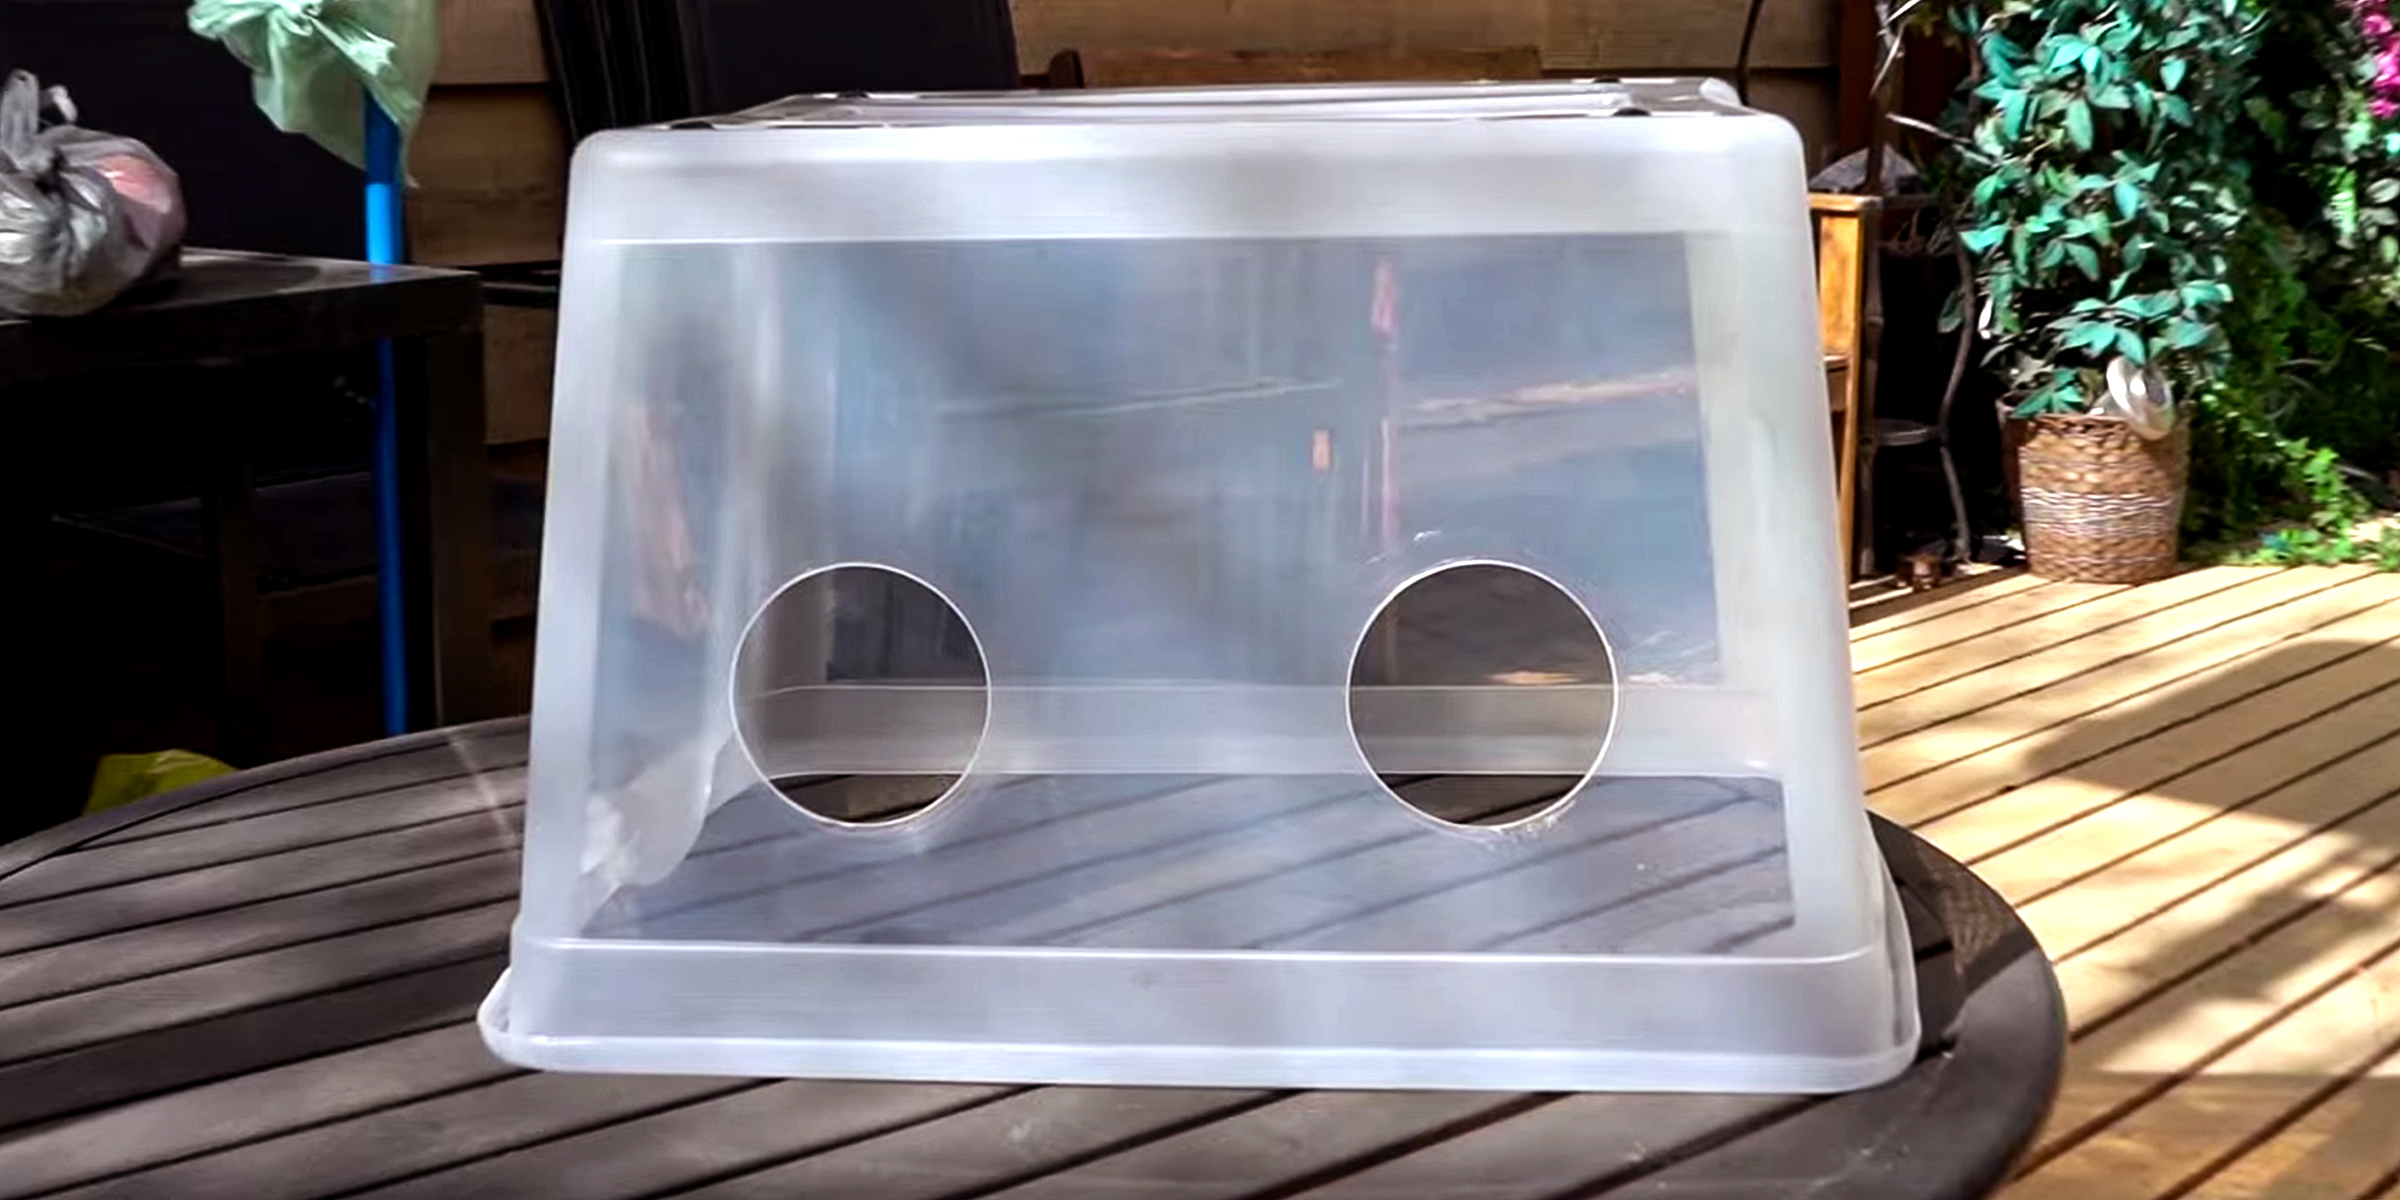
If you're a mycology expert or enthusiast, you probably know the importance of a still air box in your work. However, if you're opposed to buying one, here's how to build a still air box DIY-style.
Feb 08, 2024
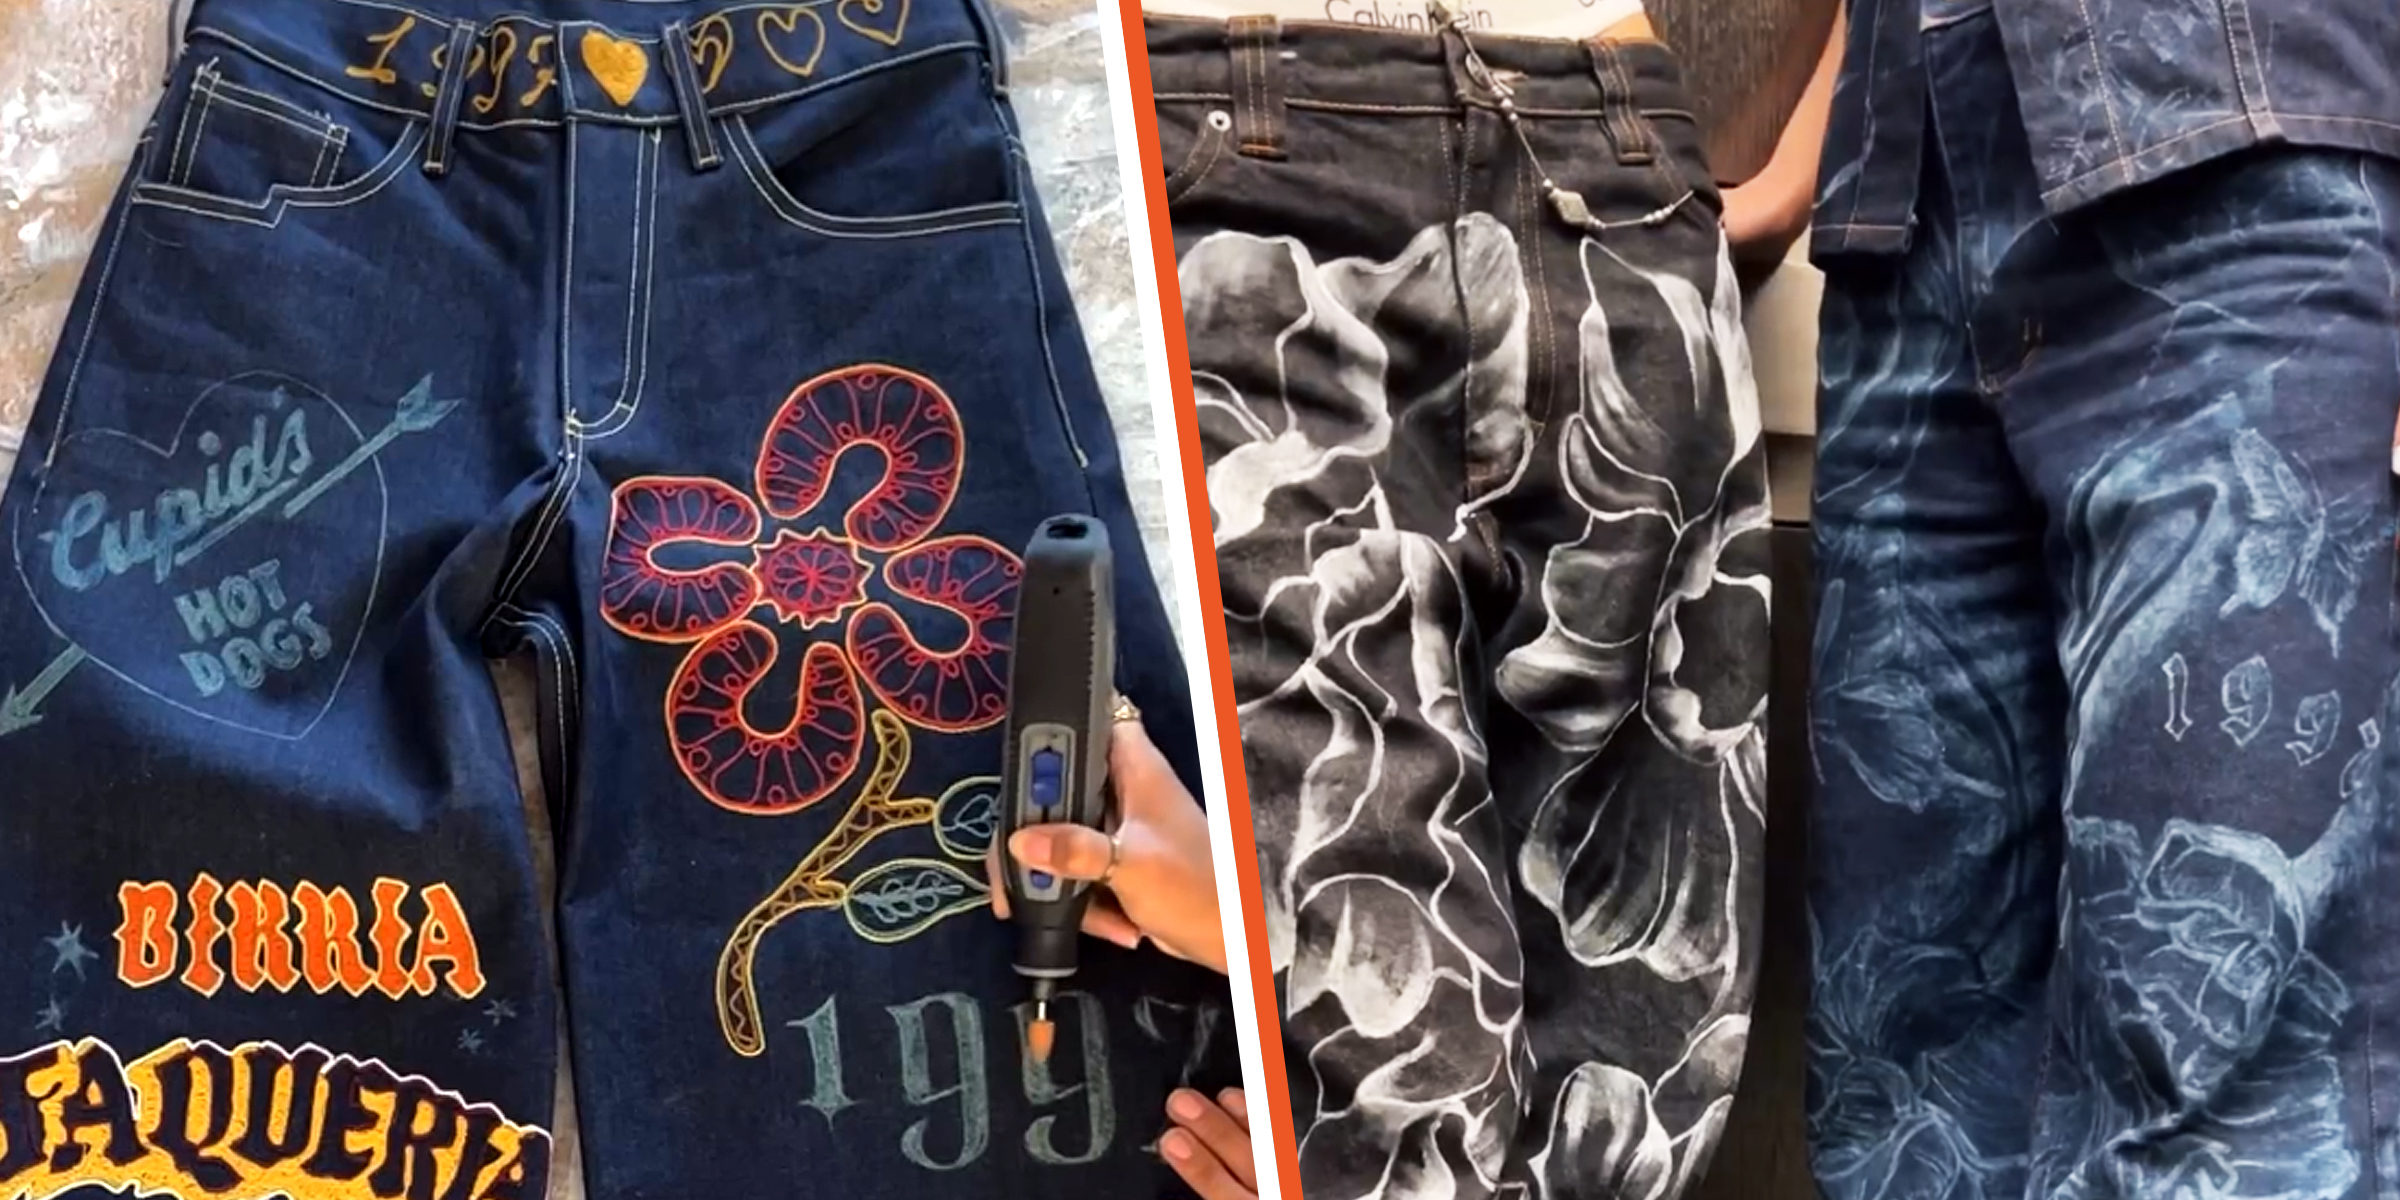
Rocking a fantastic pair of jeans can instantly boost your confidence, but taking your denim game to the next level with some DIY aesthetic jeans is like stepping onto your own personal runway. These DIY pieces of denim can turn heads as you walk by.
Dec 12, 2023
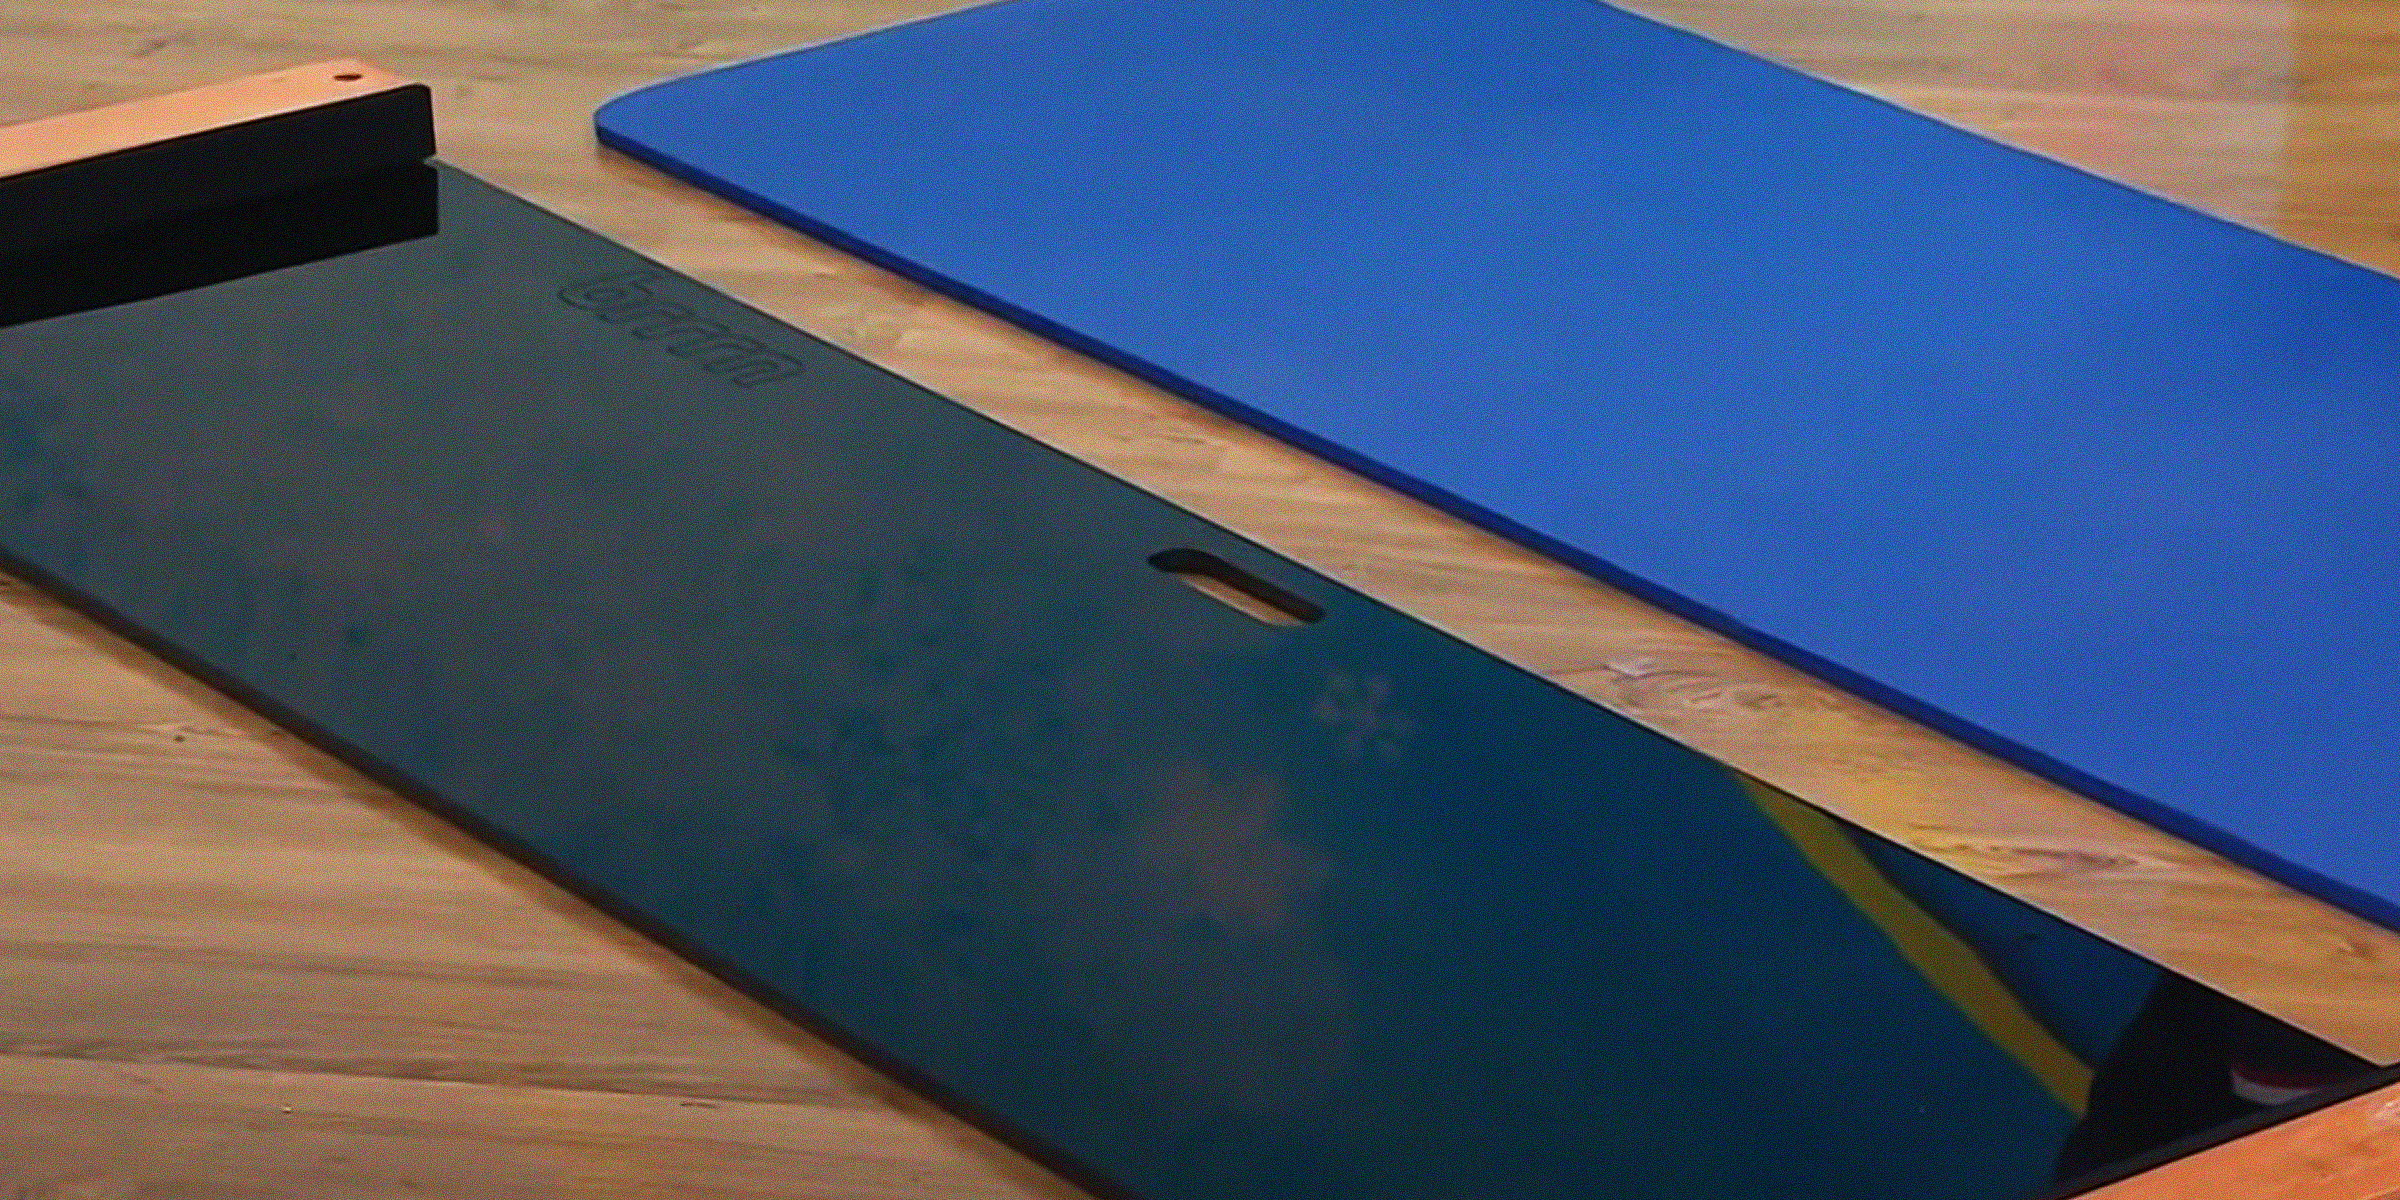
Discover the cost-effective joy of DIY slide boards! This article guides you through crafting your own, enriching your workout without breaking the bank. Save big while elevating your exercise routine.
Feb 04, 2024

Create a space that promotes independence and a thirst for knowledge in your child, all in the comfort of your home, with this helpful DIY Montessori bookshelf guide.
Feb 04, 2024
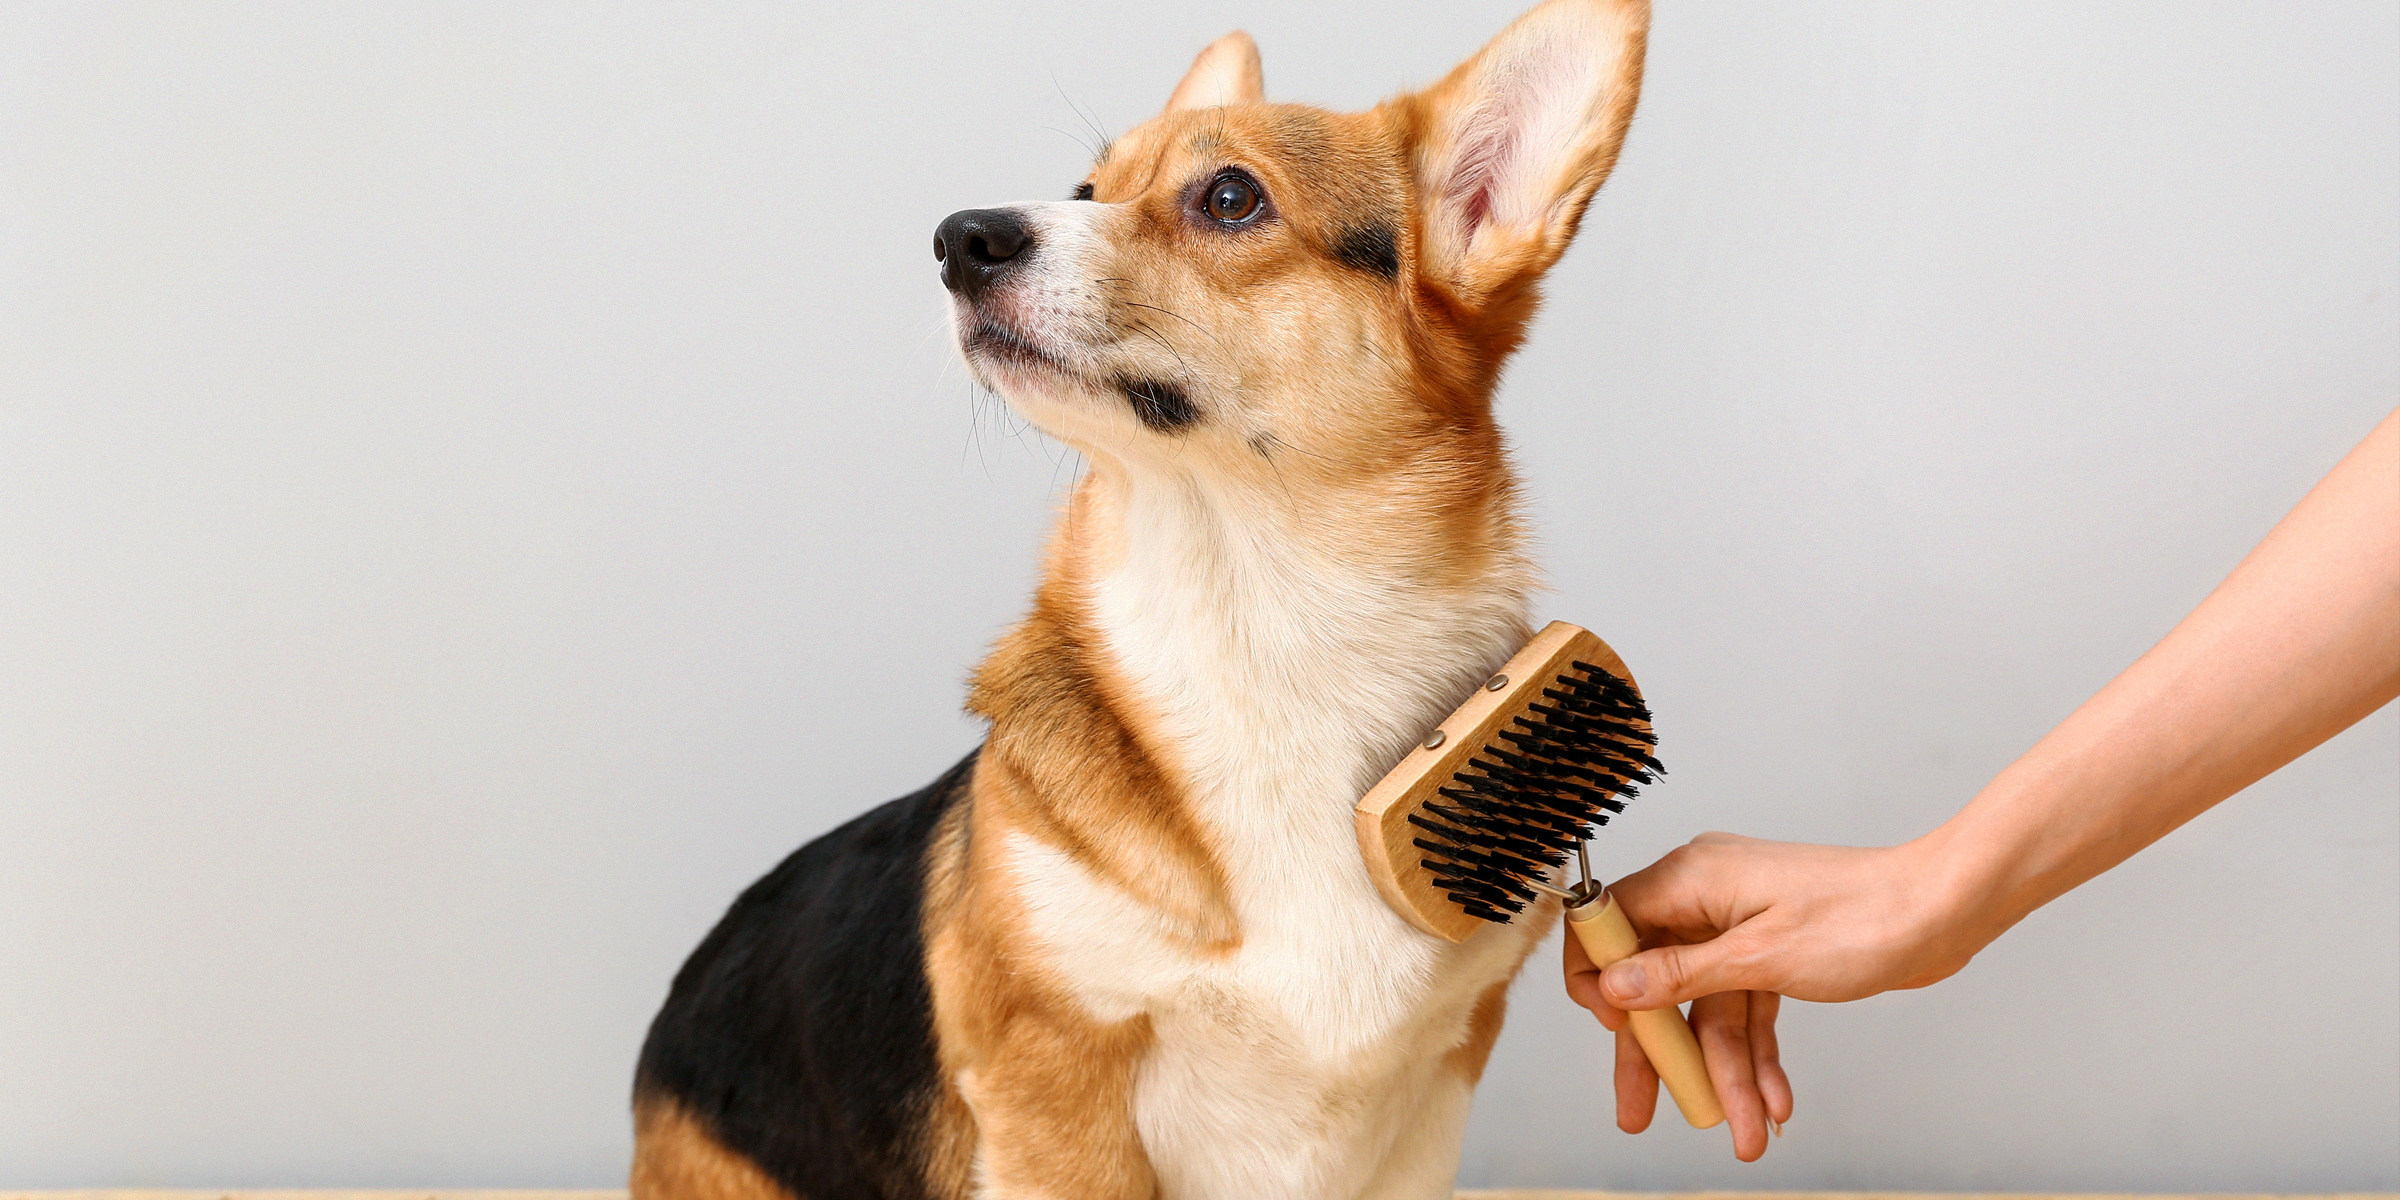
If your dog has a luxurious coat of fur, short or long, then you understand the necessity to brush your furry friend regularly. Detangler sprays make this routine grooming process easier. Here's how to make yours at home.
Jan 25, 2024

Handfasting is an old wedding tradition that beautifully demonstrates two people's love and commitment to one another. This symbolic act is said to date back over several millennia.
Dec 14, 2023
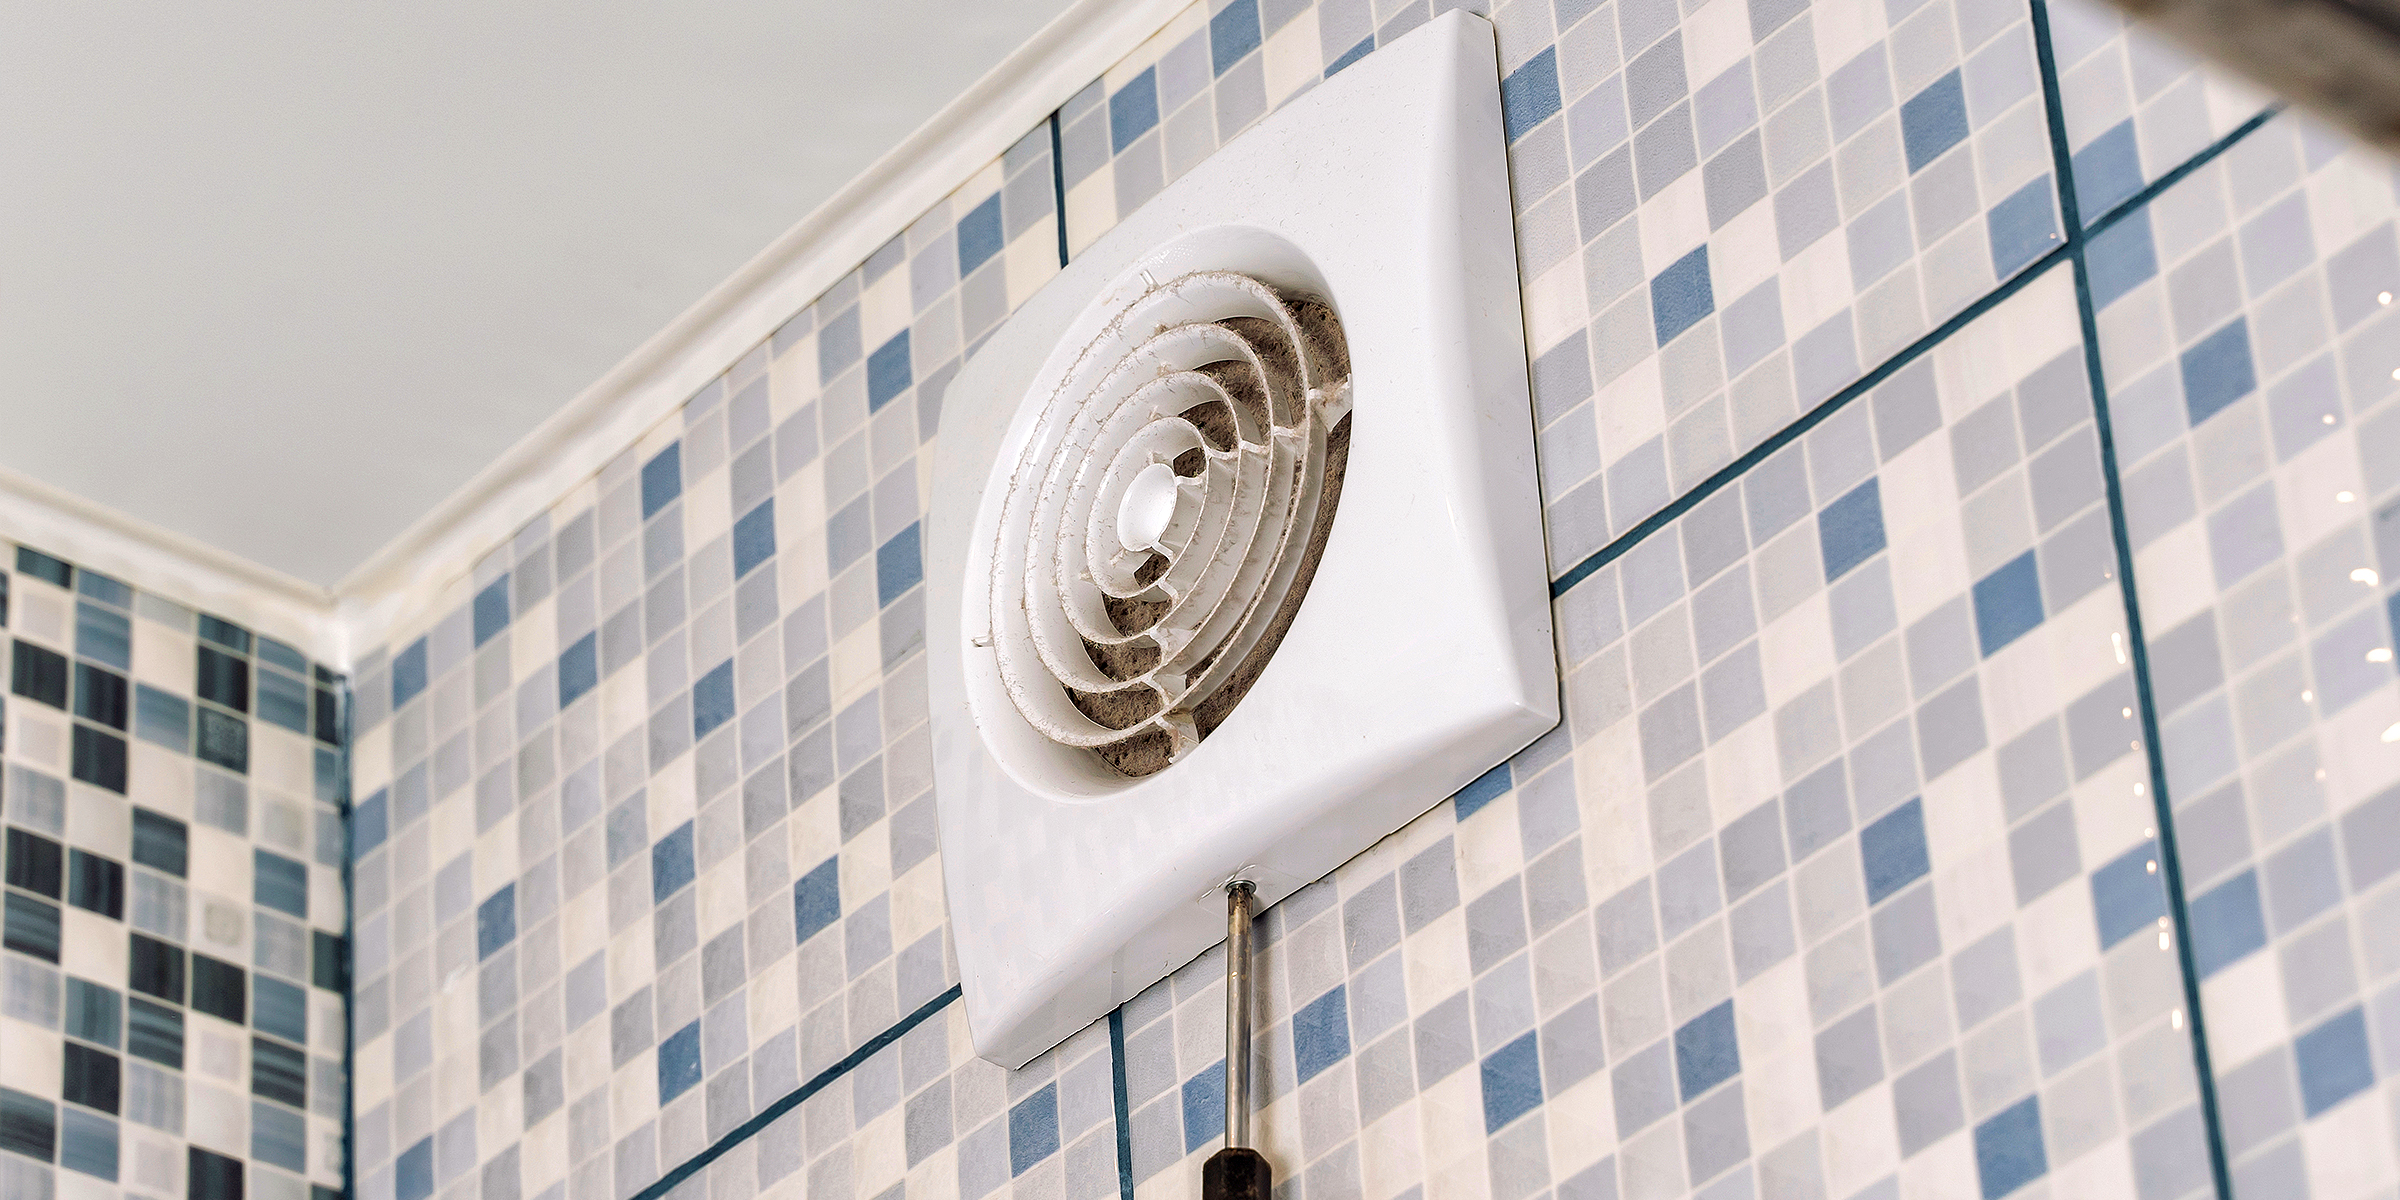
Having an exhaust fan is essential for keeping moist at bay in your bathroom and maintaining a sanitary space for your everyday business in there. If yours is making weird, annoying noises, there are a few probable reasons to consider.
Jan 26, 2024
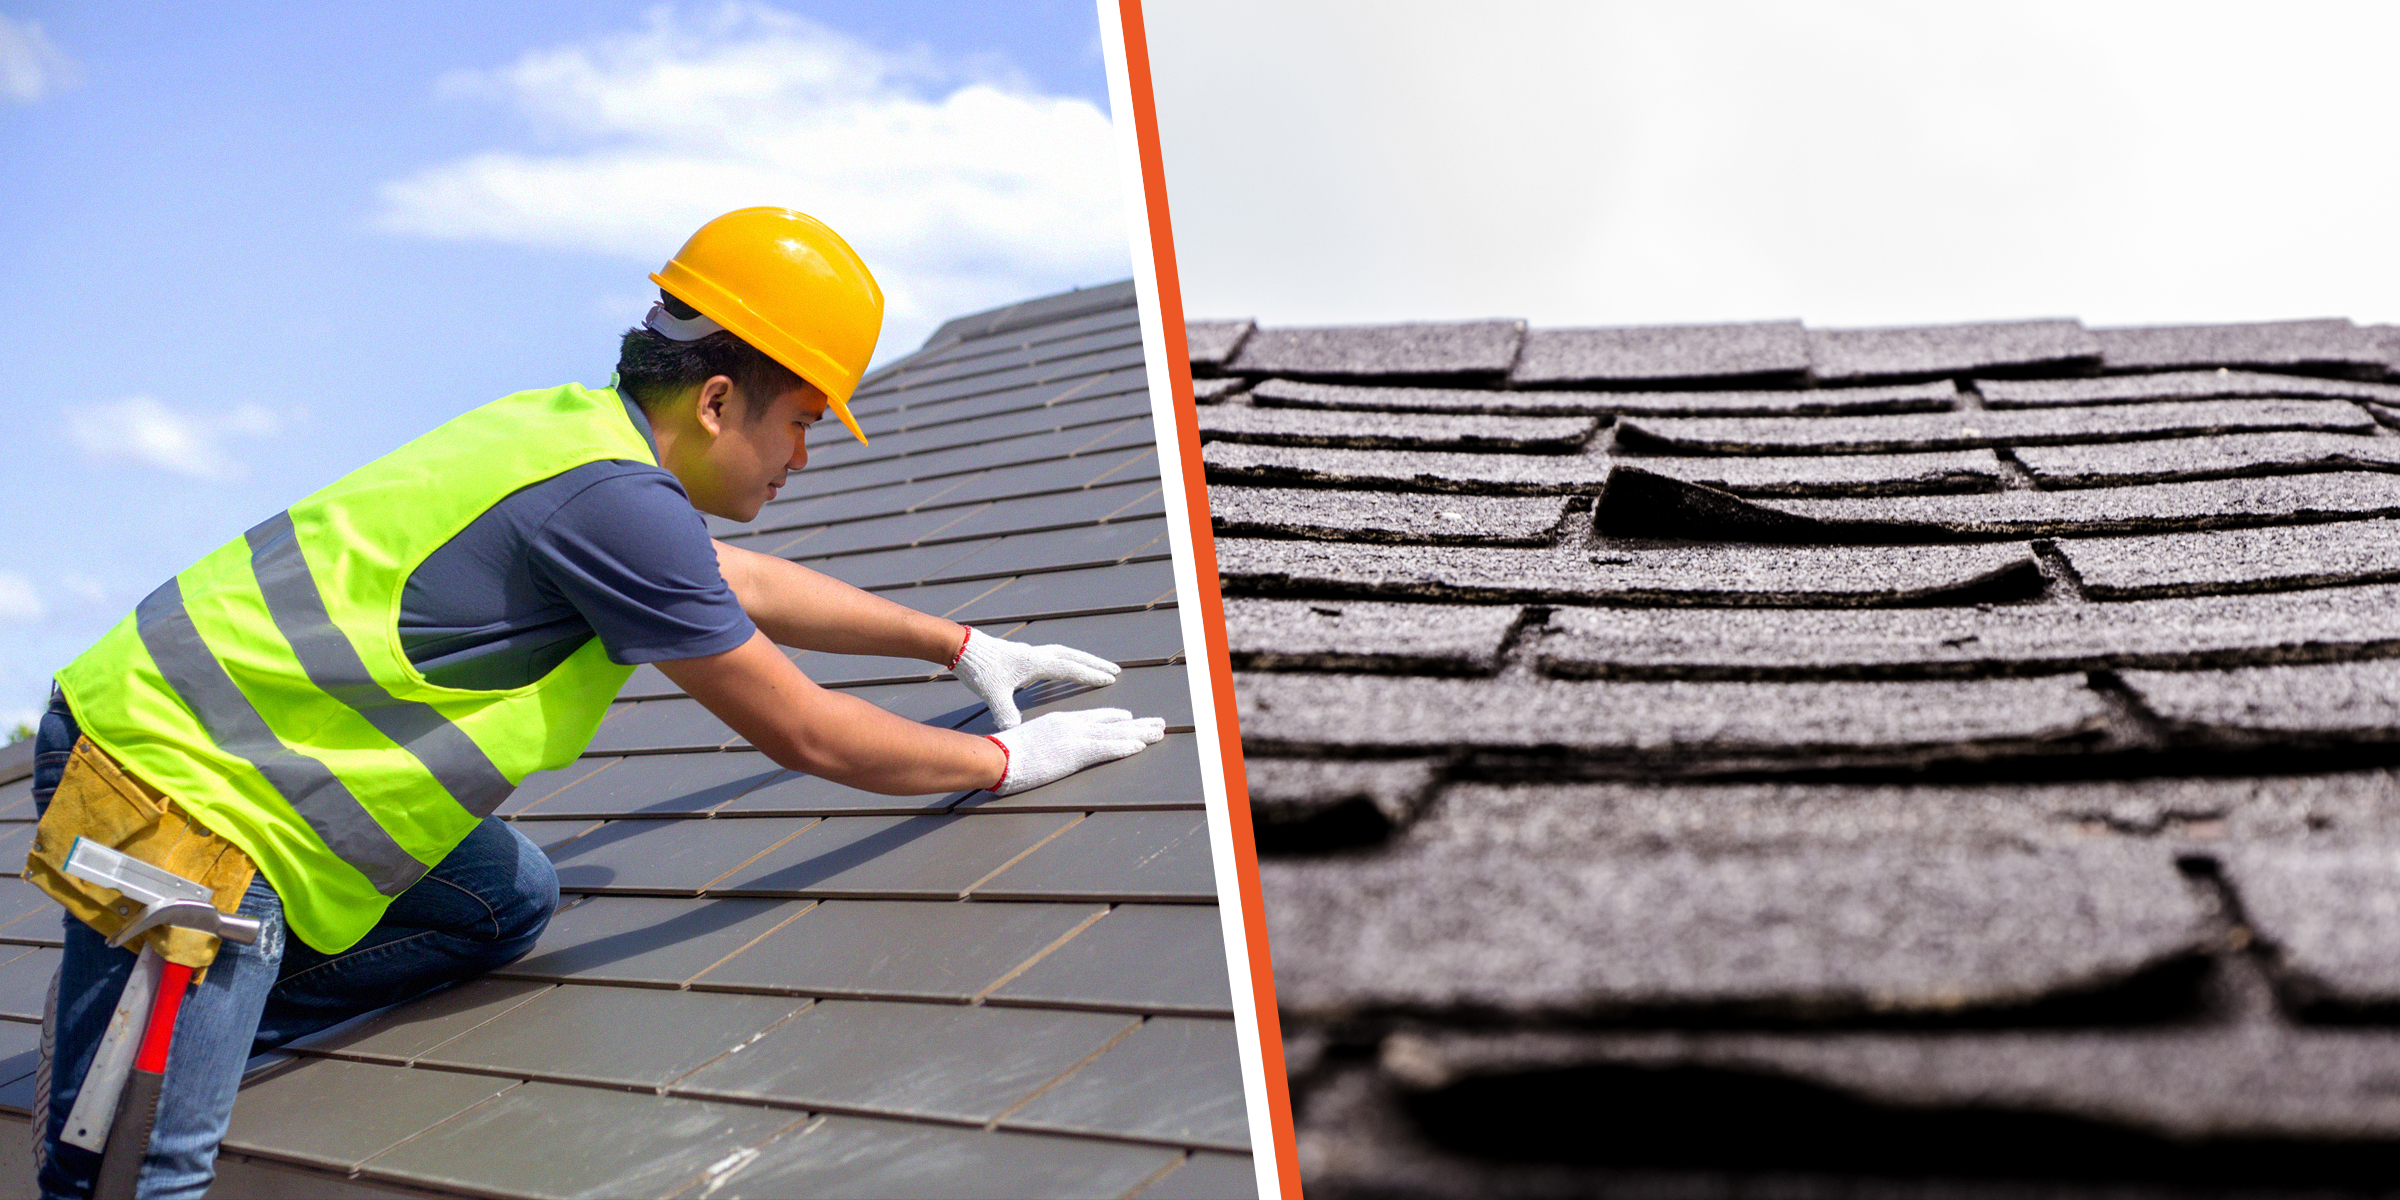
Granular loss is something most roofs experience and can be addressed in two ways. Continue reading for tips on both methods to repair granular loss and what you can do to prevent damage to your roof.
Jan 24, 2024
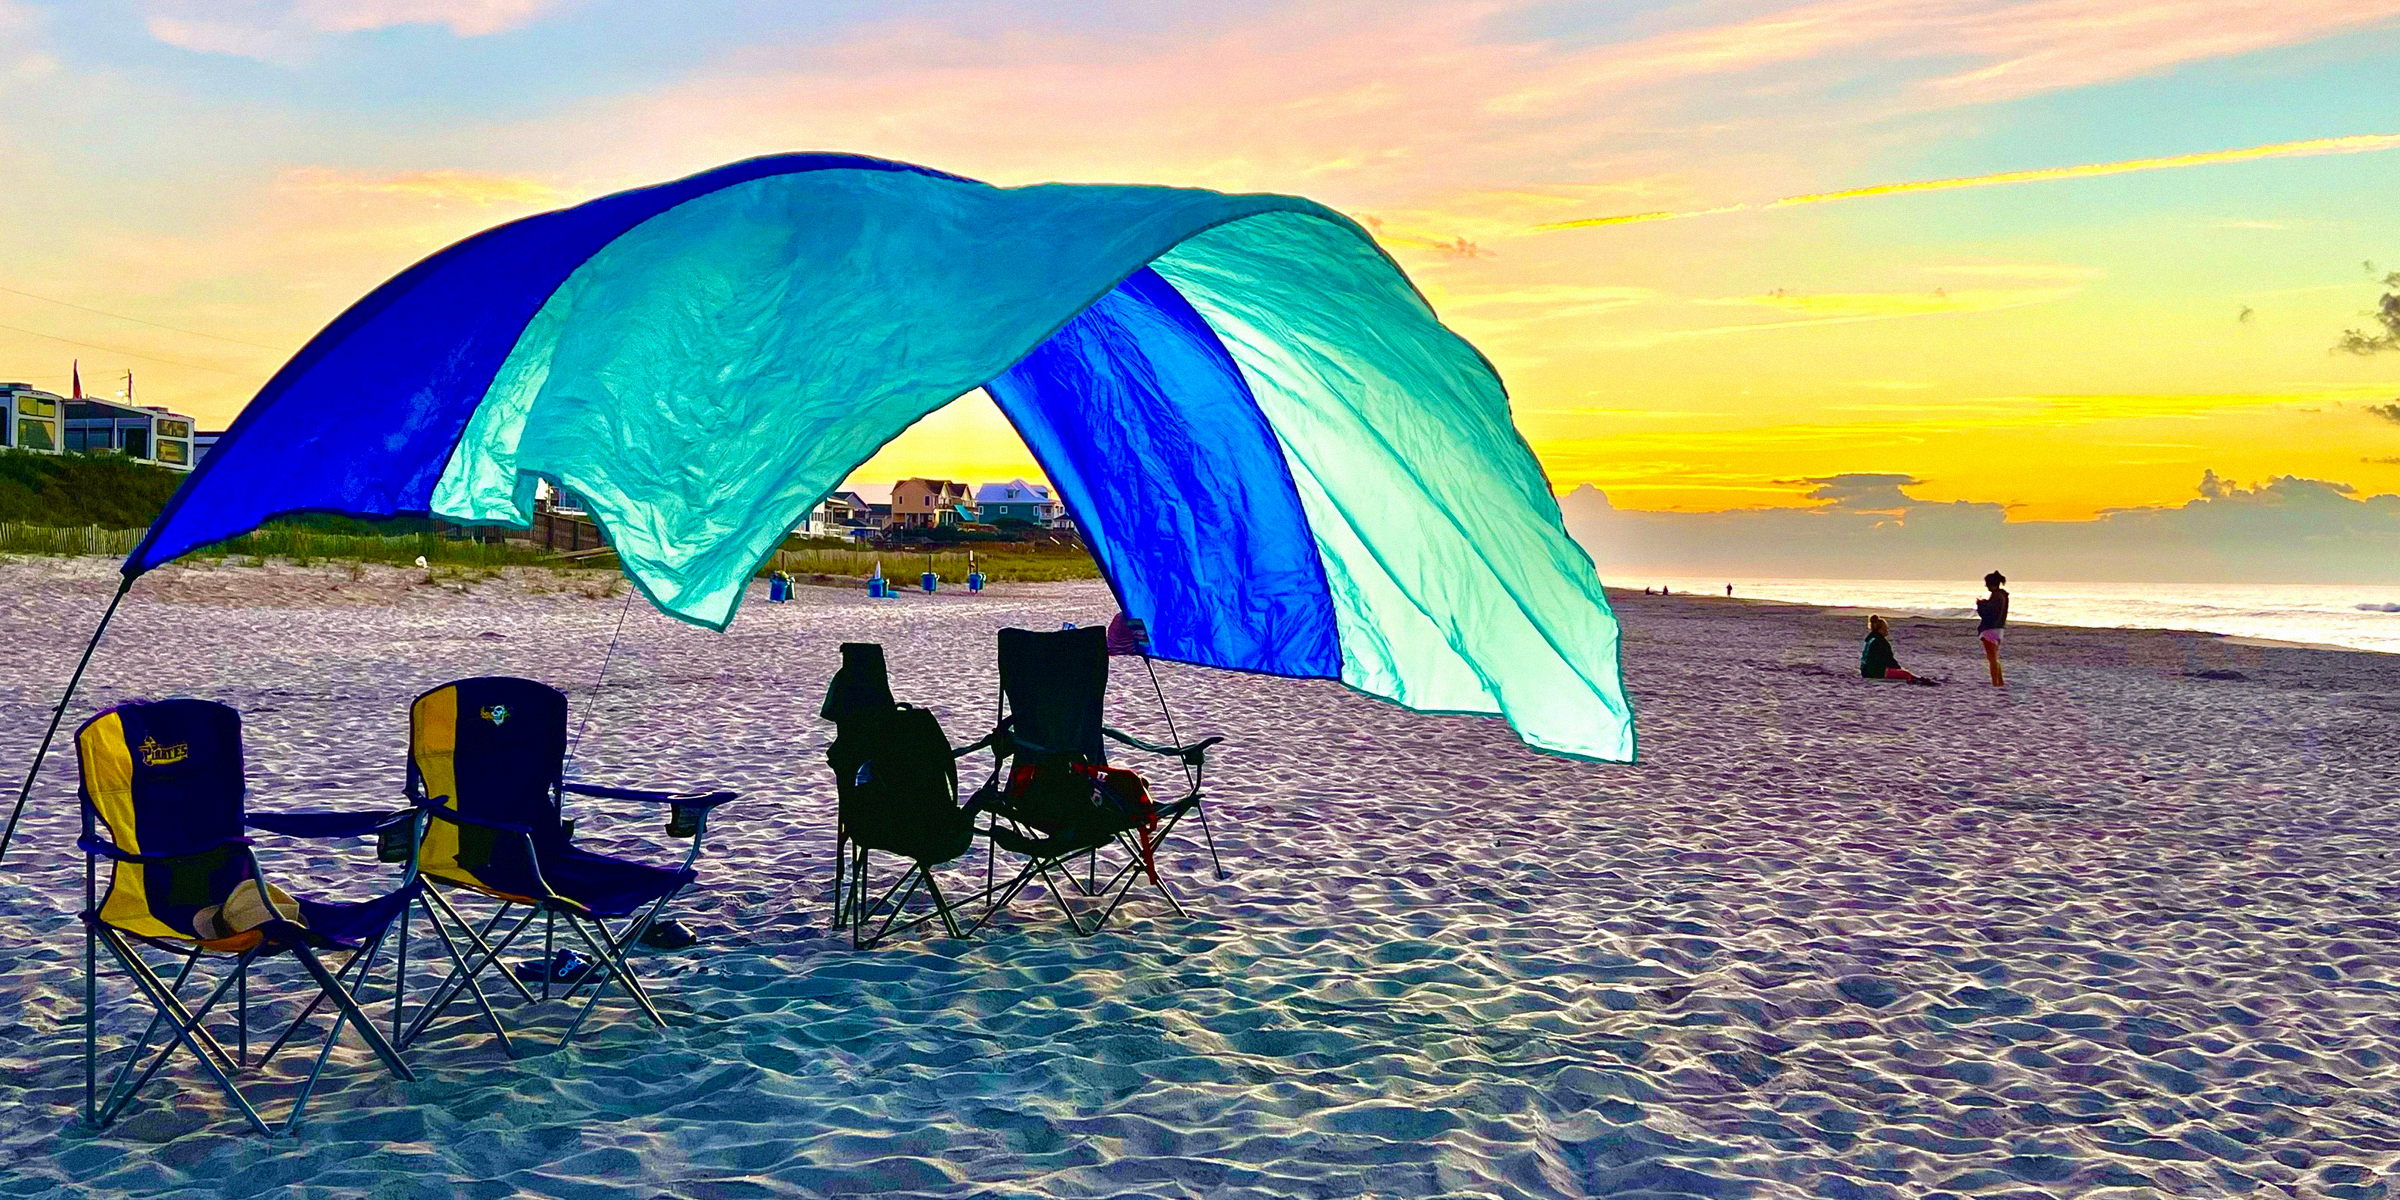
Protect your family from the sun's harsh rays while saving a few dollars with this DIY Shibumi Shade hack for the perfect beach day with your loved ones.
Jan 30, 2024
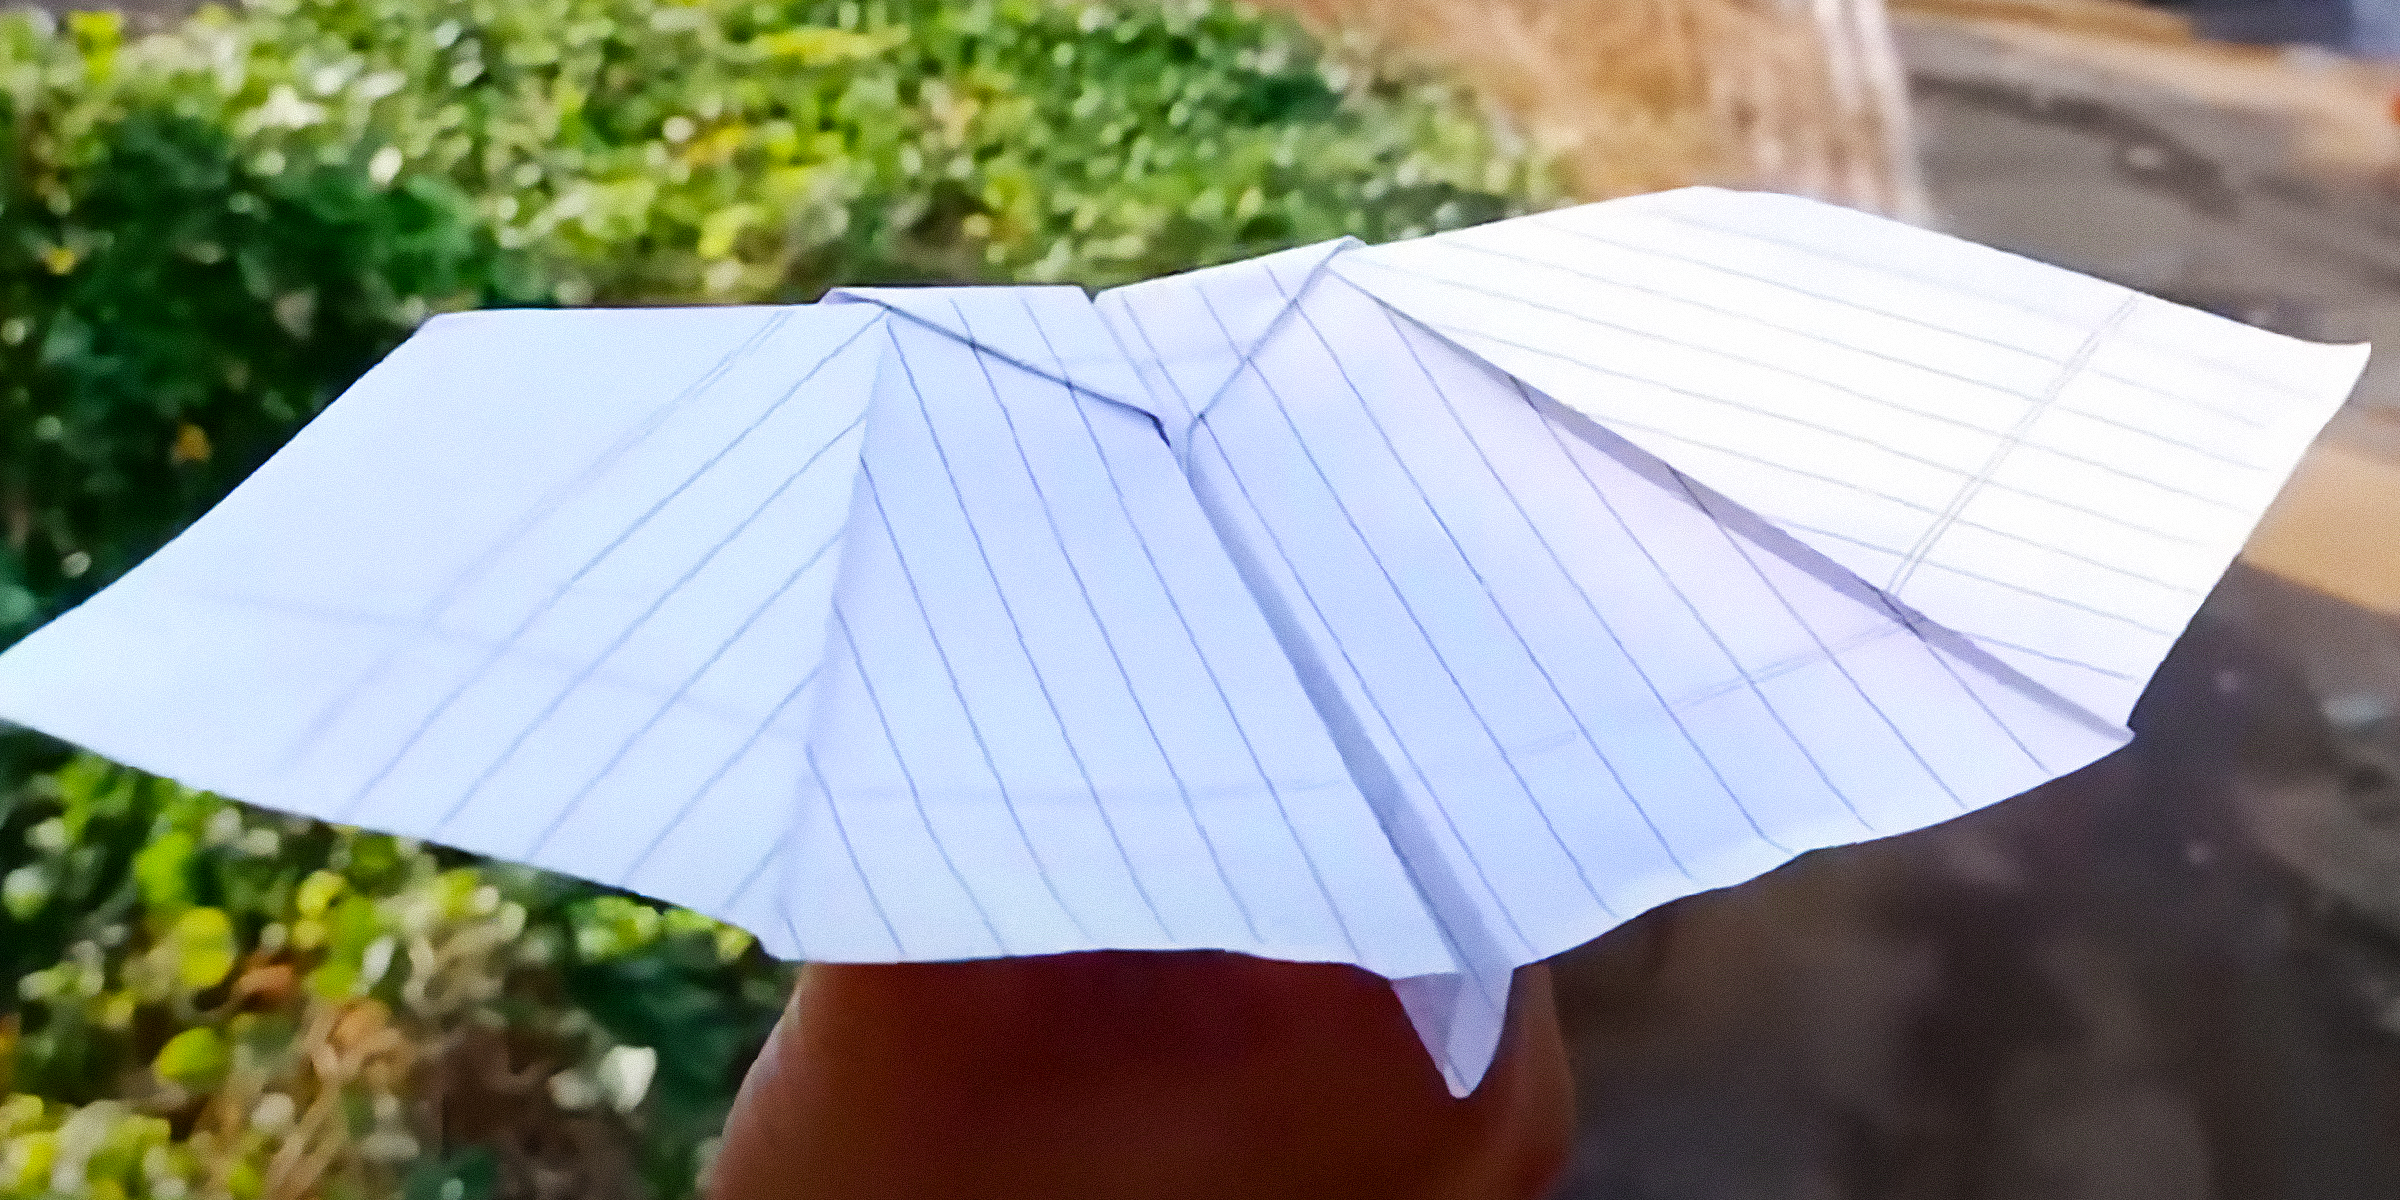
Paper planes have been around for thousands of years and have been the catalysts of human exploration into aerodynamics. In honor of the role these paper gliders have played in the history of this discipline, and simply for good fun, here's how to make a bat paper plane.
Jan 31, 2024
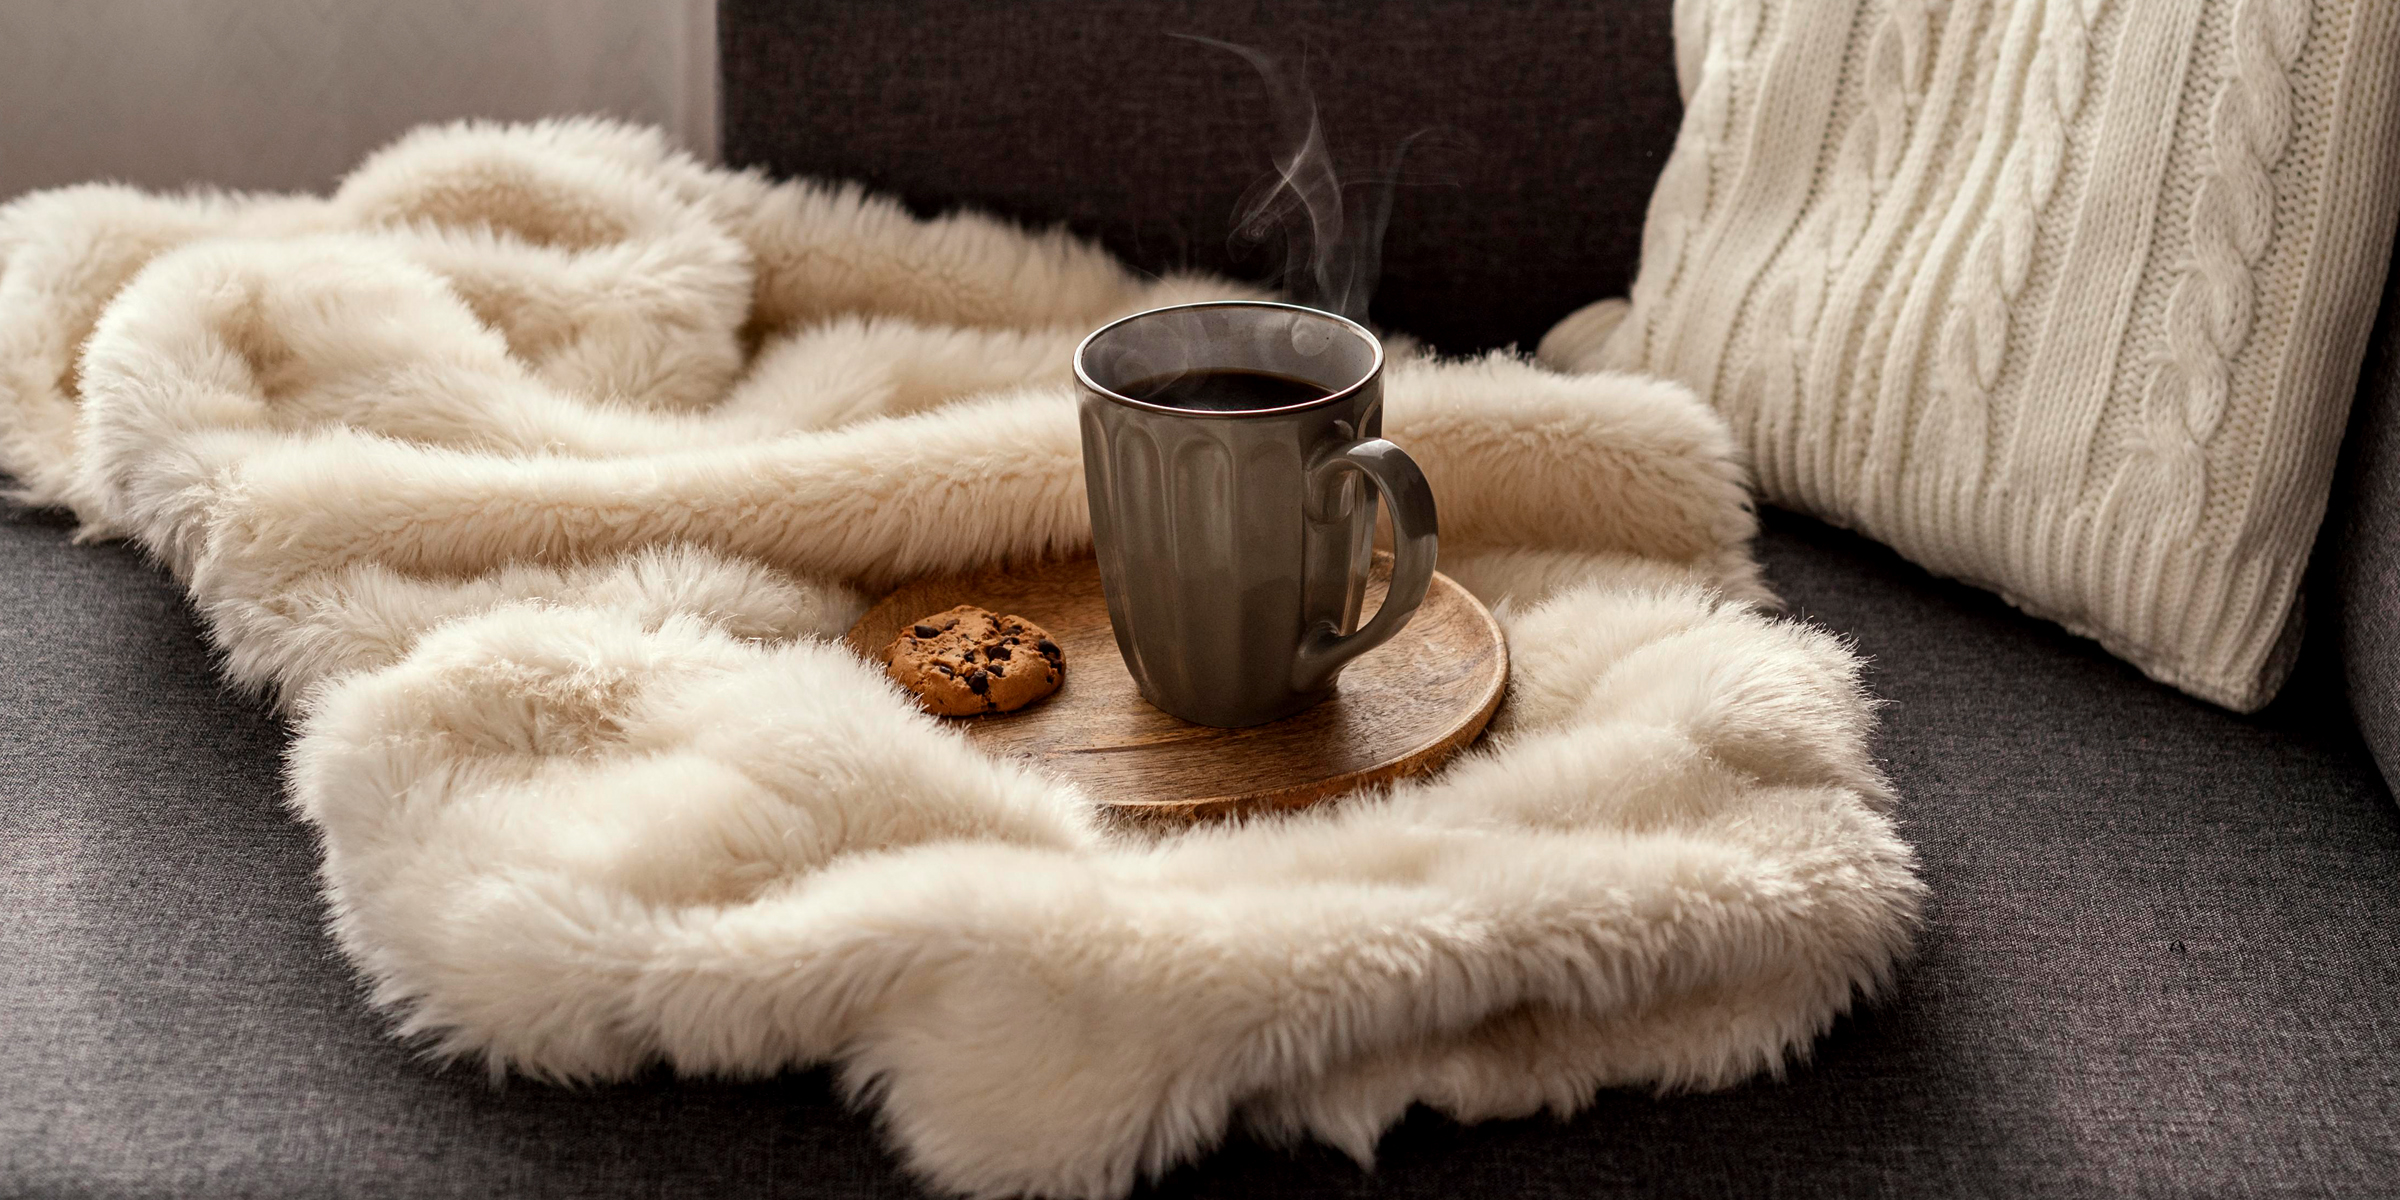
Faux fur rugs are a popular and often more affordable option to decorate a space. There are numerous advantages to having a faux fur rug, but like the genuine kind, they need regular maintenance and the occasional deep cleaning.
Jan 14, 2024
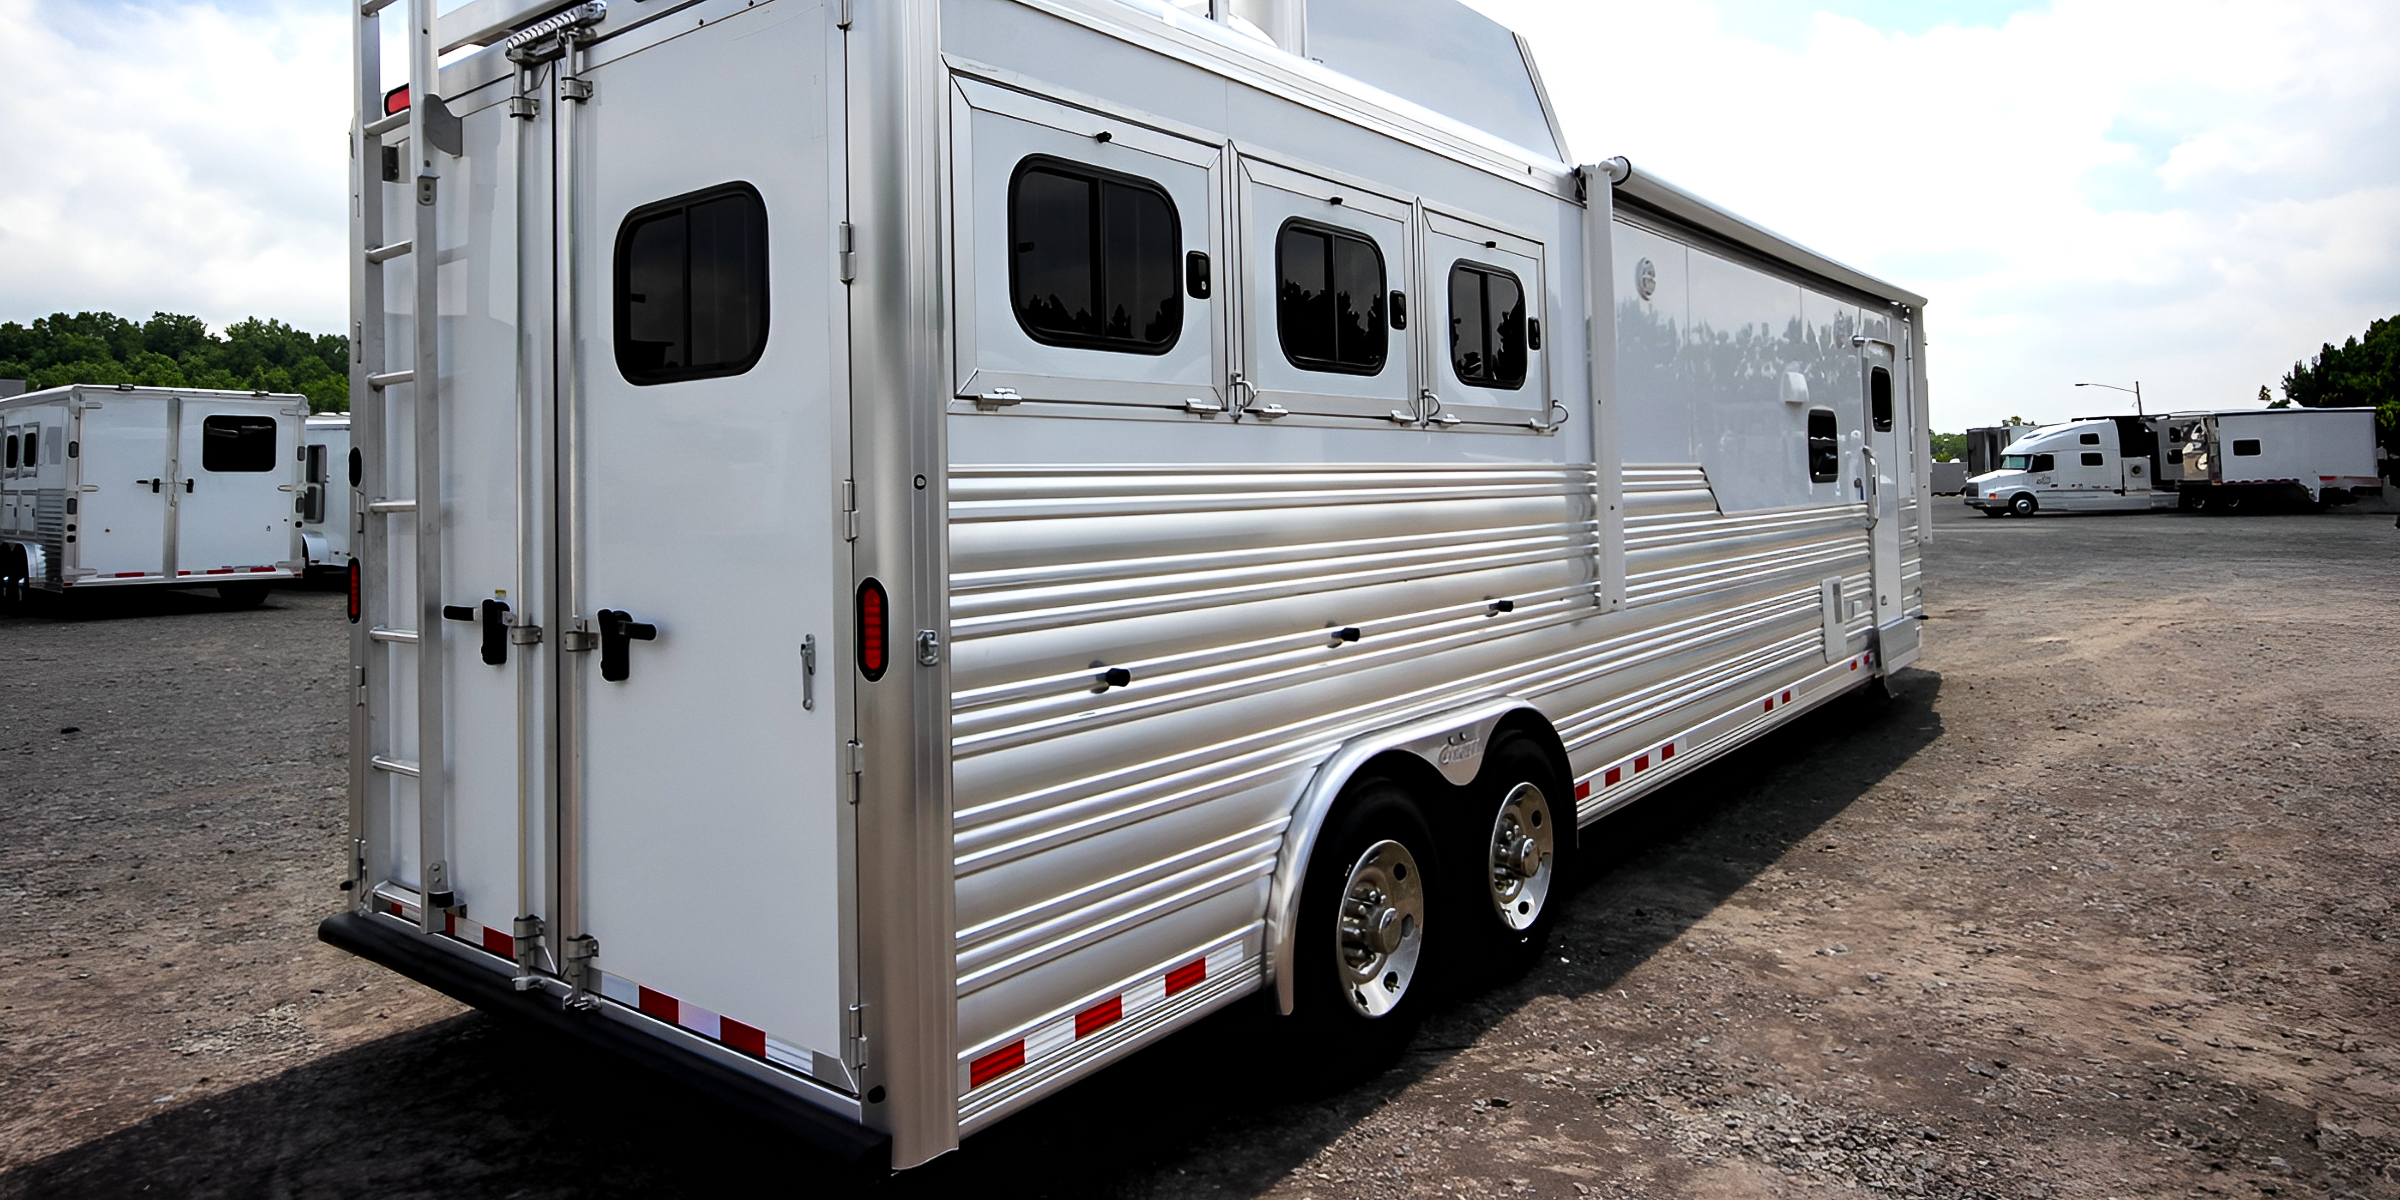
Aluminum trailers play a crucial role in transporting our goods effectively. To keep aluminum trailers looking and performing their best, cleaning them regularly is essential. Here are steps on how to clean aluminum trailers.
Jan 10, 2024
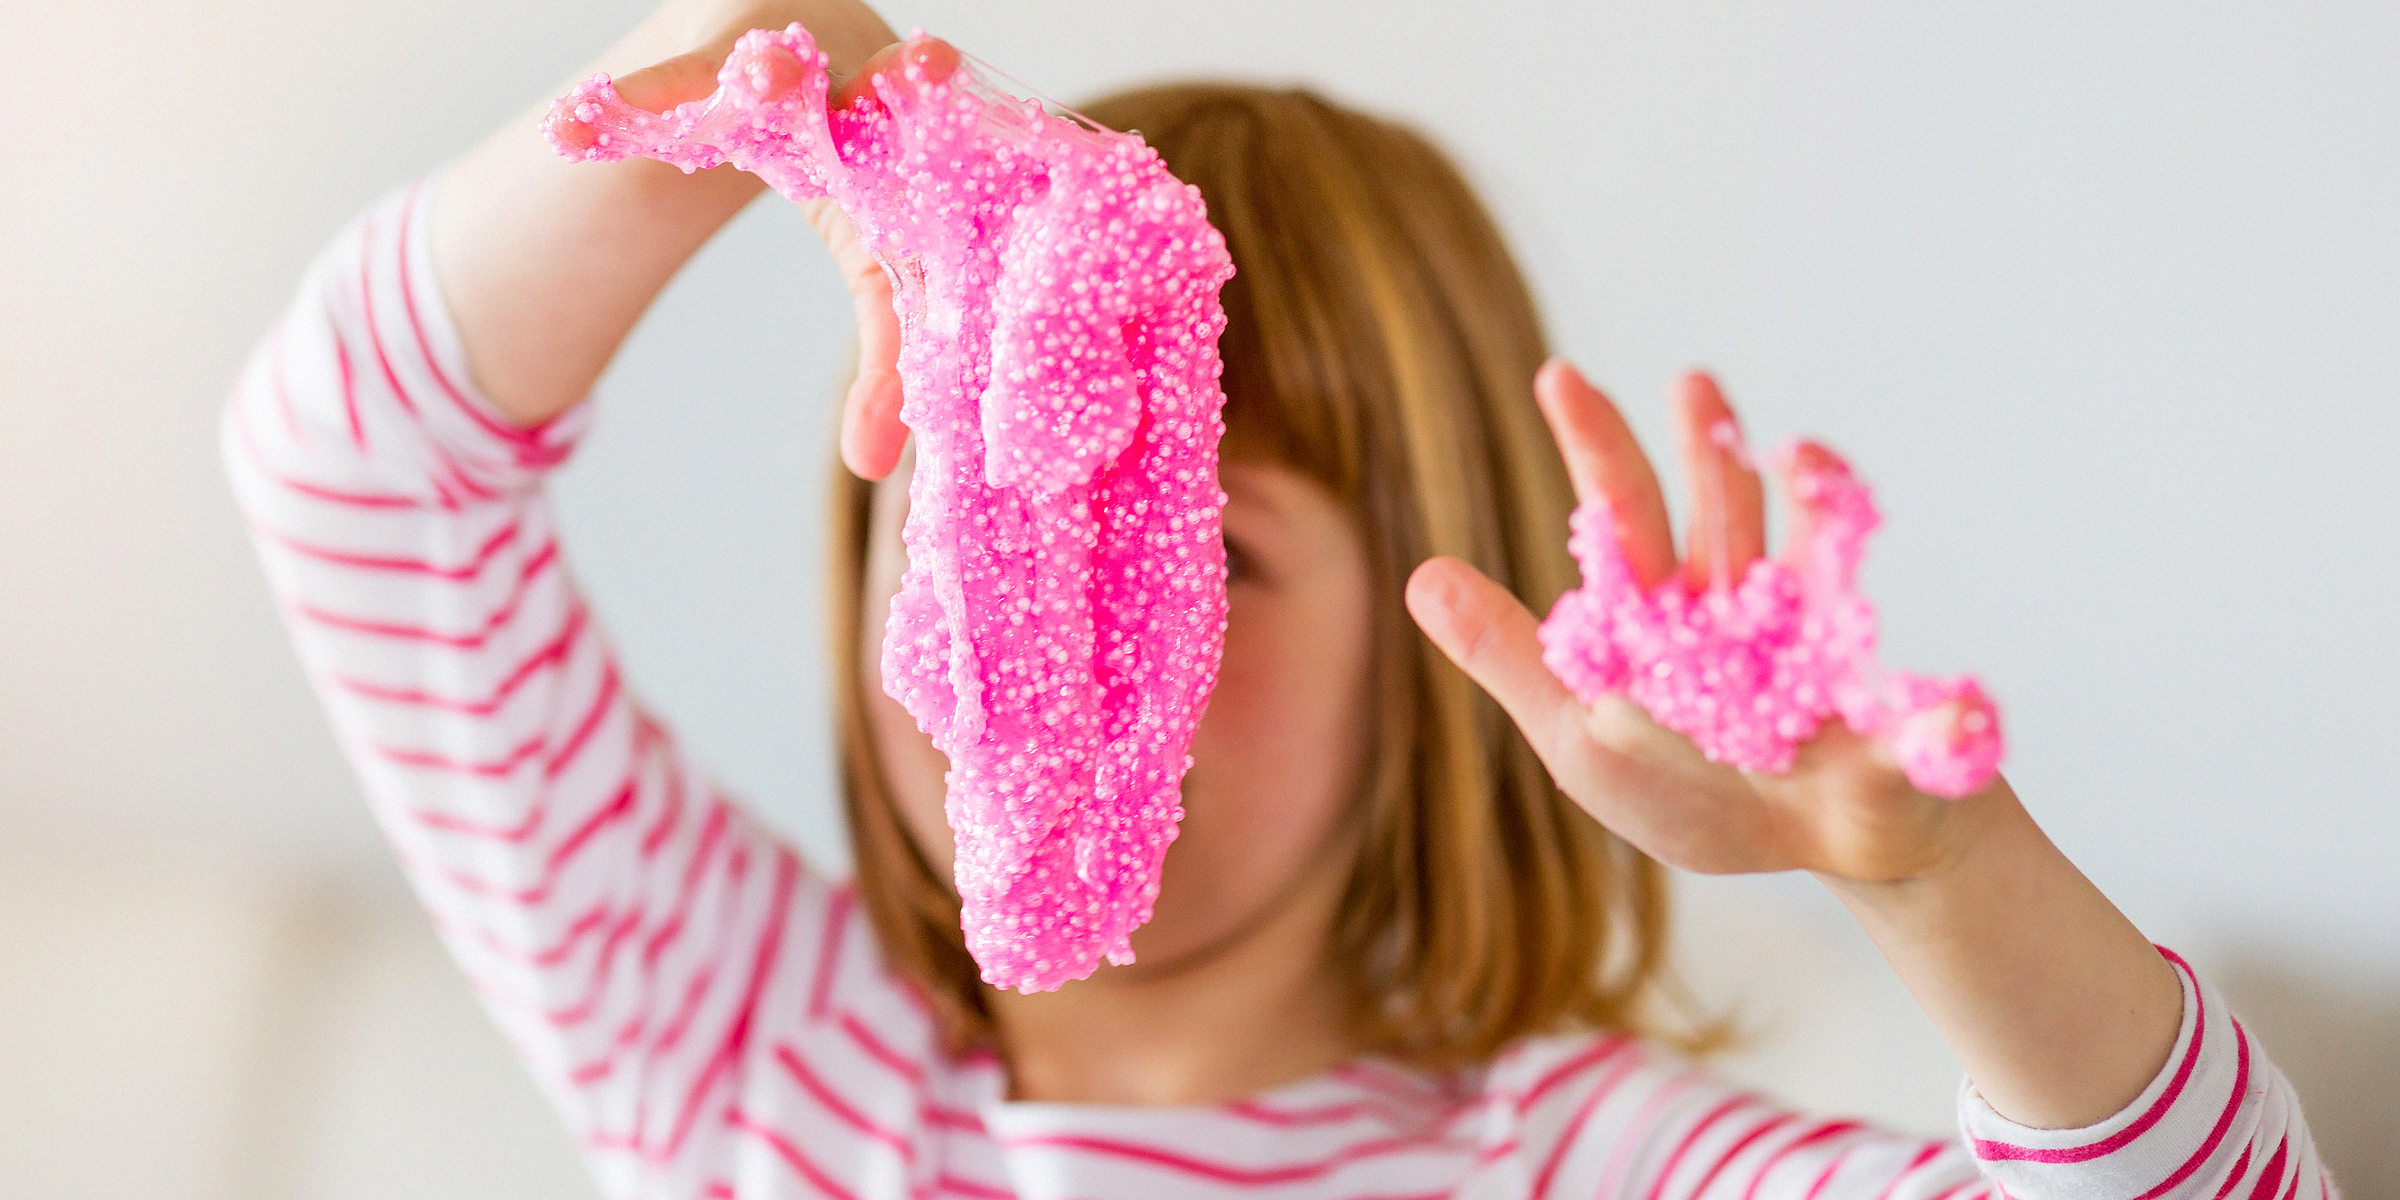
Slime is a fun substance anyone can use to mold shapes of all kinds, but clay slime is especially satisfying with its fluffy, creamy texture. If you want to learn how to make yours at home, here's how.
Jan 20, 2024
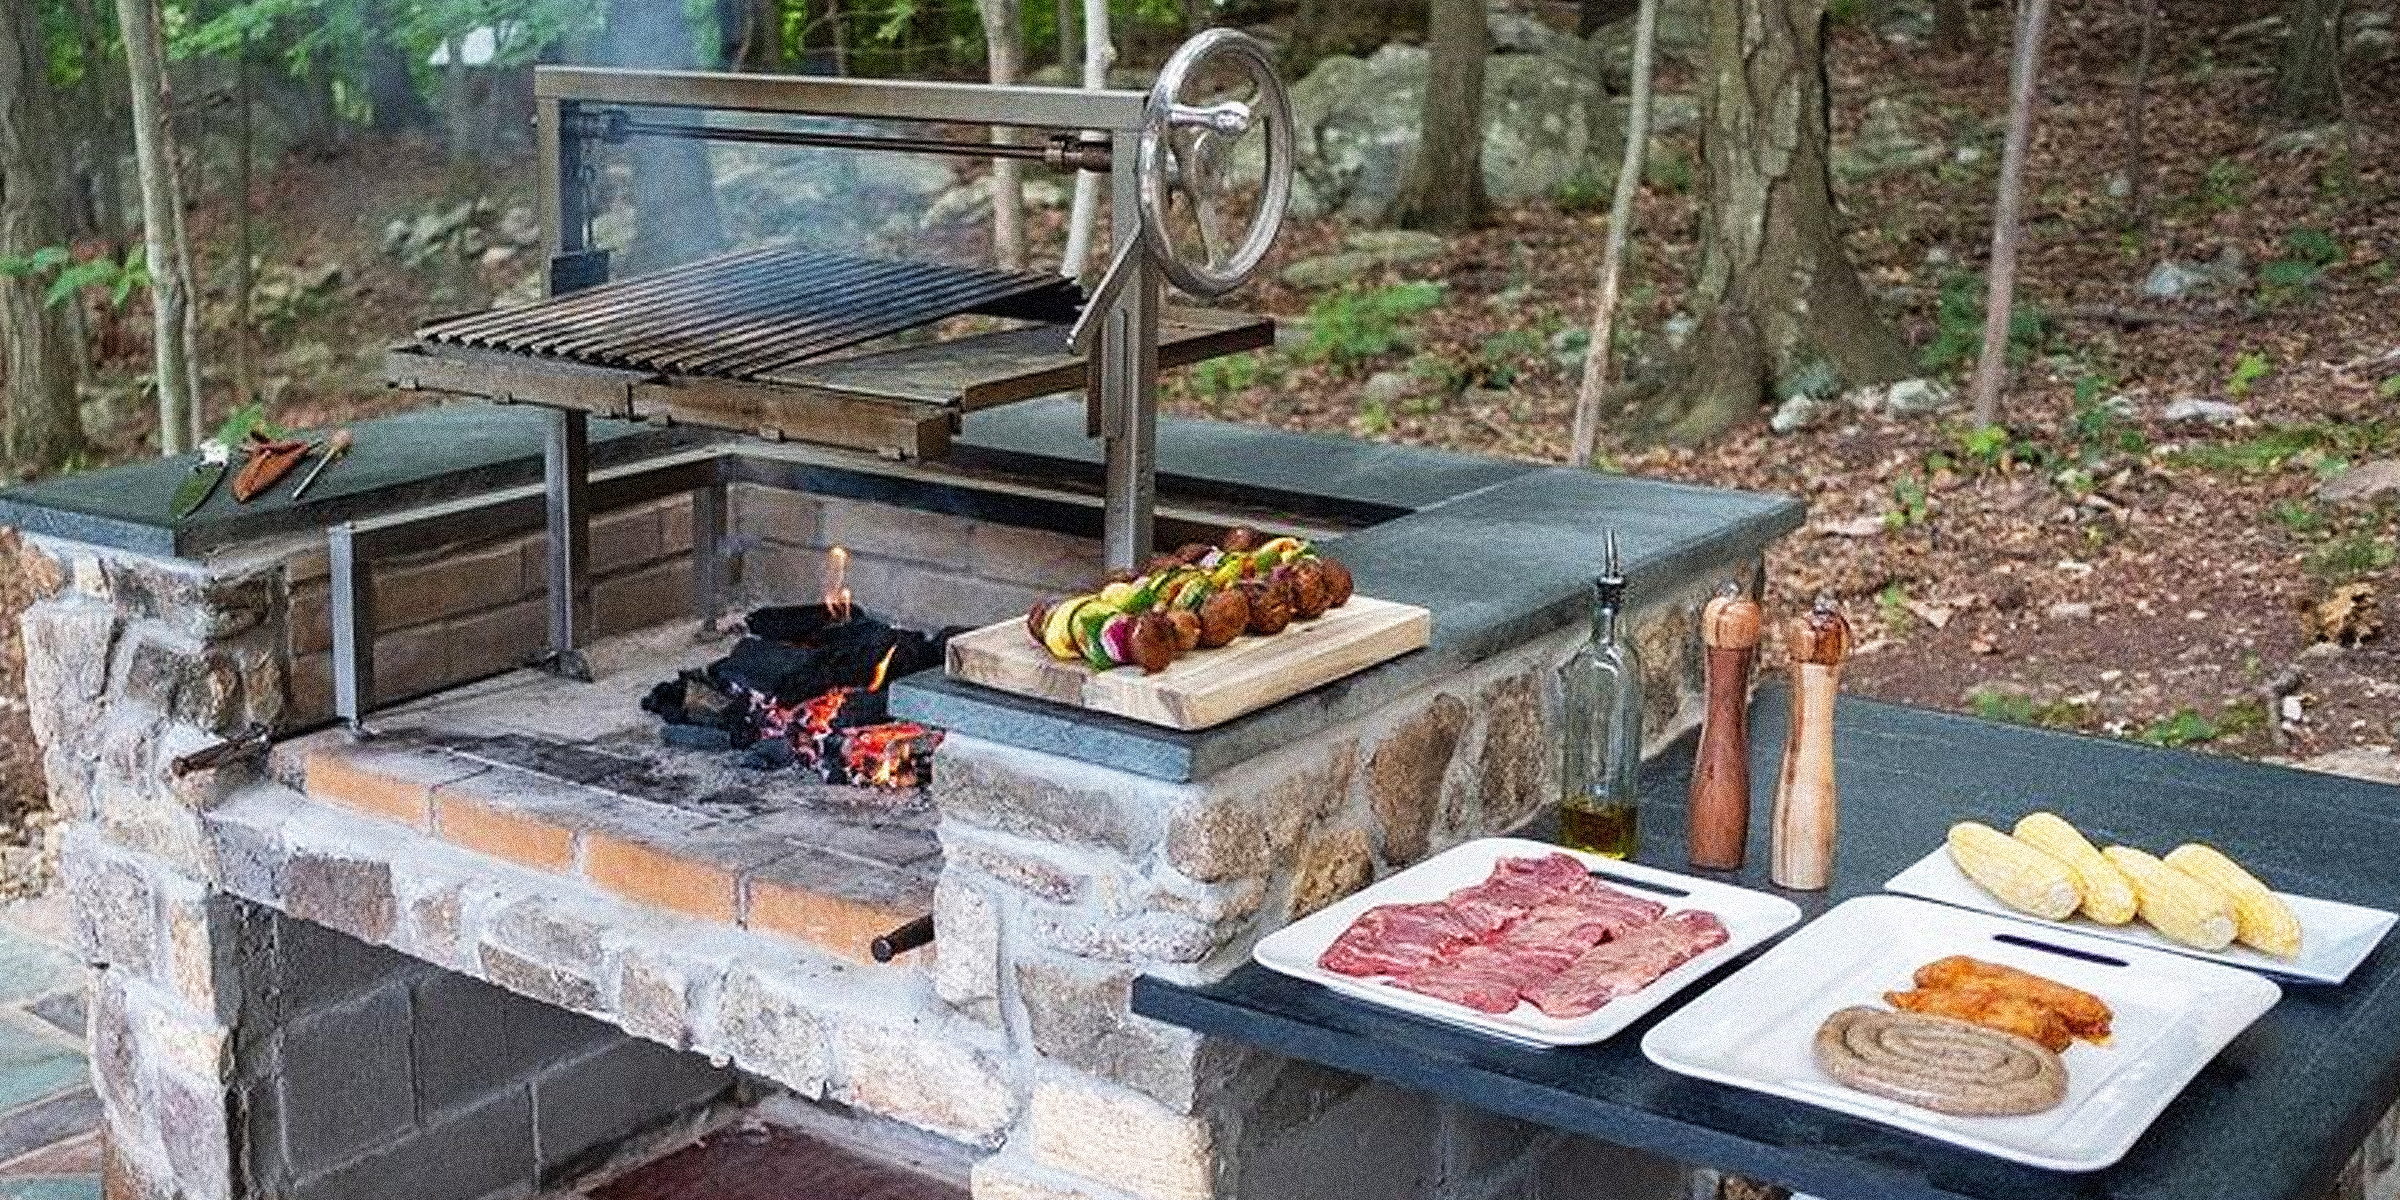
An Argentine grill can be a stellar addition to your garden to entertain family and guests and cook juicy, smokey meat. However, it can cause quite a dent in one's pocket when store-bought. Luckily, it can be installed DIY style.
Dec 11, 2023