DIY Yarn Swift — Easy Home Hack for Knitters
Feb 01, 2024


If you're a homeowner without a curb ramp for your car, don't worry! You can make one yourself, ensuring smooth access to your driveway for everyone. Here's how it's done.
A curb ramp is an essential sloped surface that protects your vehicle from damage caused by scraping against the driveway. It prevents harm to components such as the front splitter, underbody, and driveshaft, ultimately saving you money on potential repairs.
For those who enjoy DIY projects, common materials like concrete, wood, and steel are often used. Of these materials, wooden curb ramps, constructed from wood boards, offer a cost-effective and straightforward solution. Here's how to make your own DIY curb ramp.

A bricked curb ramp | Source: Shutterstock

Use an eight-foot long wooden plank to make a DIY curb ramp | Source: Source: Youtube/LearnByBlogging
1. Start by measuring and marking four 12-inch segments from the 8-foot wood plank. Measure and mark three more segments, each 4.7 inches long.

Measure and mark the wooden plank to ensure the proper alignment of the DIY curb ramp. | Source: Youtube/LearnByBlogging
2. Cut along the marked lines on the wood using an electric saw. Prioritize safety by wearing goggles to shield your eyes from sawdust while cutting the planks into multiple pieces.

Trim the wood along the designated lines using an electric saw. | Source: Youtube/LearnByBlogging
3. Lay out the four 12-inch pieces of wood horizontally on the table. Stack the three 4.7-inch planks vertically on top of them. Be sure to chamfer or smooth the edges as necessary.

Arrange the four 12-inch pieces of wood horizontally then stack the three 4.7-inch planks vertically on top of them. | Source: Youtube/LearnByBlogging
4. Drill four holes into the surface of the first two 4.7-inch pieces of wood using a 1/2-inch drill bit to ensure proper alignment. These holes are for the tall section of the curb ramp. If this process proves challenging, consider drilling one piece into another, ensuring alignment along the same drilling line.

If drilling the wooden pieces together is difficult, attempt drilling one piece into another while ensuring they are on the same drilling line. | Source: Youtube/LearnByBlogging
5. Switch to a 5/8-inches spade bit on your drill to create upper recesses in the wood where the screws will be placed. Open up about three-quarters of the wood's surfaces. This technique prevents screws from protruding and interfering with tires. Create bottom recesses with depths of 7/8 inches and 3/4 inches respectively.

Use a spade bit with your drill to carve recesses in the wood where the screws will be positioned. | Source: Youtube/LearnByBlogging
6. Insert the four 3/8-inch by 4-inch hex screws and nuts into the holes one by one and tighten them securely using a socket wrench. If the screws won't fit immediately, just pound them down with a hammer.

If the screws don't fit right away, simply tap them into place using a hammer. | Source: Youtube/LearnByBlogging
7. Repeat the drilling and spading process for the last 4.7-inch wood plank until you've constructed a staircase-like ramp. Use four 3/8-inch by 2.5-inch hex screws and nuts for this part, as it's the shorter step.

Repeat the drilling and spading process when installing the short step of the DIY curb ramp. | Source: Youtube/LearnByBlogging
8. Apply hardwood paint to the finished ramp to protect it from the elements and prolong its lifespan. Let it dry under sunlight. Once dry, you can finally use your DIY curb ramp on the driveway!

Dry the newly made DIY curb ramp before using it. | Source: Youtube/LearnByBlogging
Creating a DIY curb ramp for your driveway is a feasible and cost-effective solution to ensure smooth access for your vehicle while preventing potential damage. With these instructions, you can easily build one yourself and enjoy the convenience it offers!
Once you've perfected the construction of your DIY curb ramp, consider delving into a DIY Montessori bookshelf to elevate both the functionality and aesthetics of your home.

Embark on a creative journey and revamp your bedroom aesthetics with a DIY wardrobe door. With a touch of ingenuity and these simple steps, you can tailor a personalized and budget-friendly solution.
Feb 03, 2024
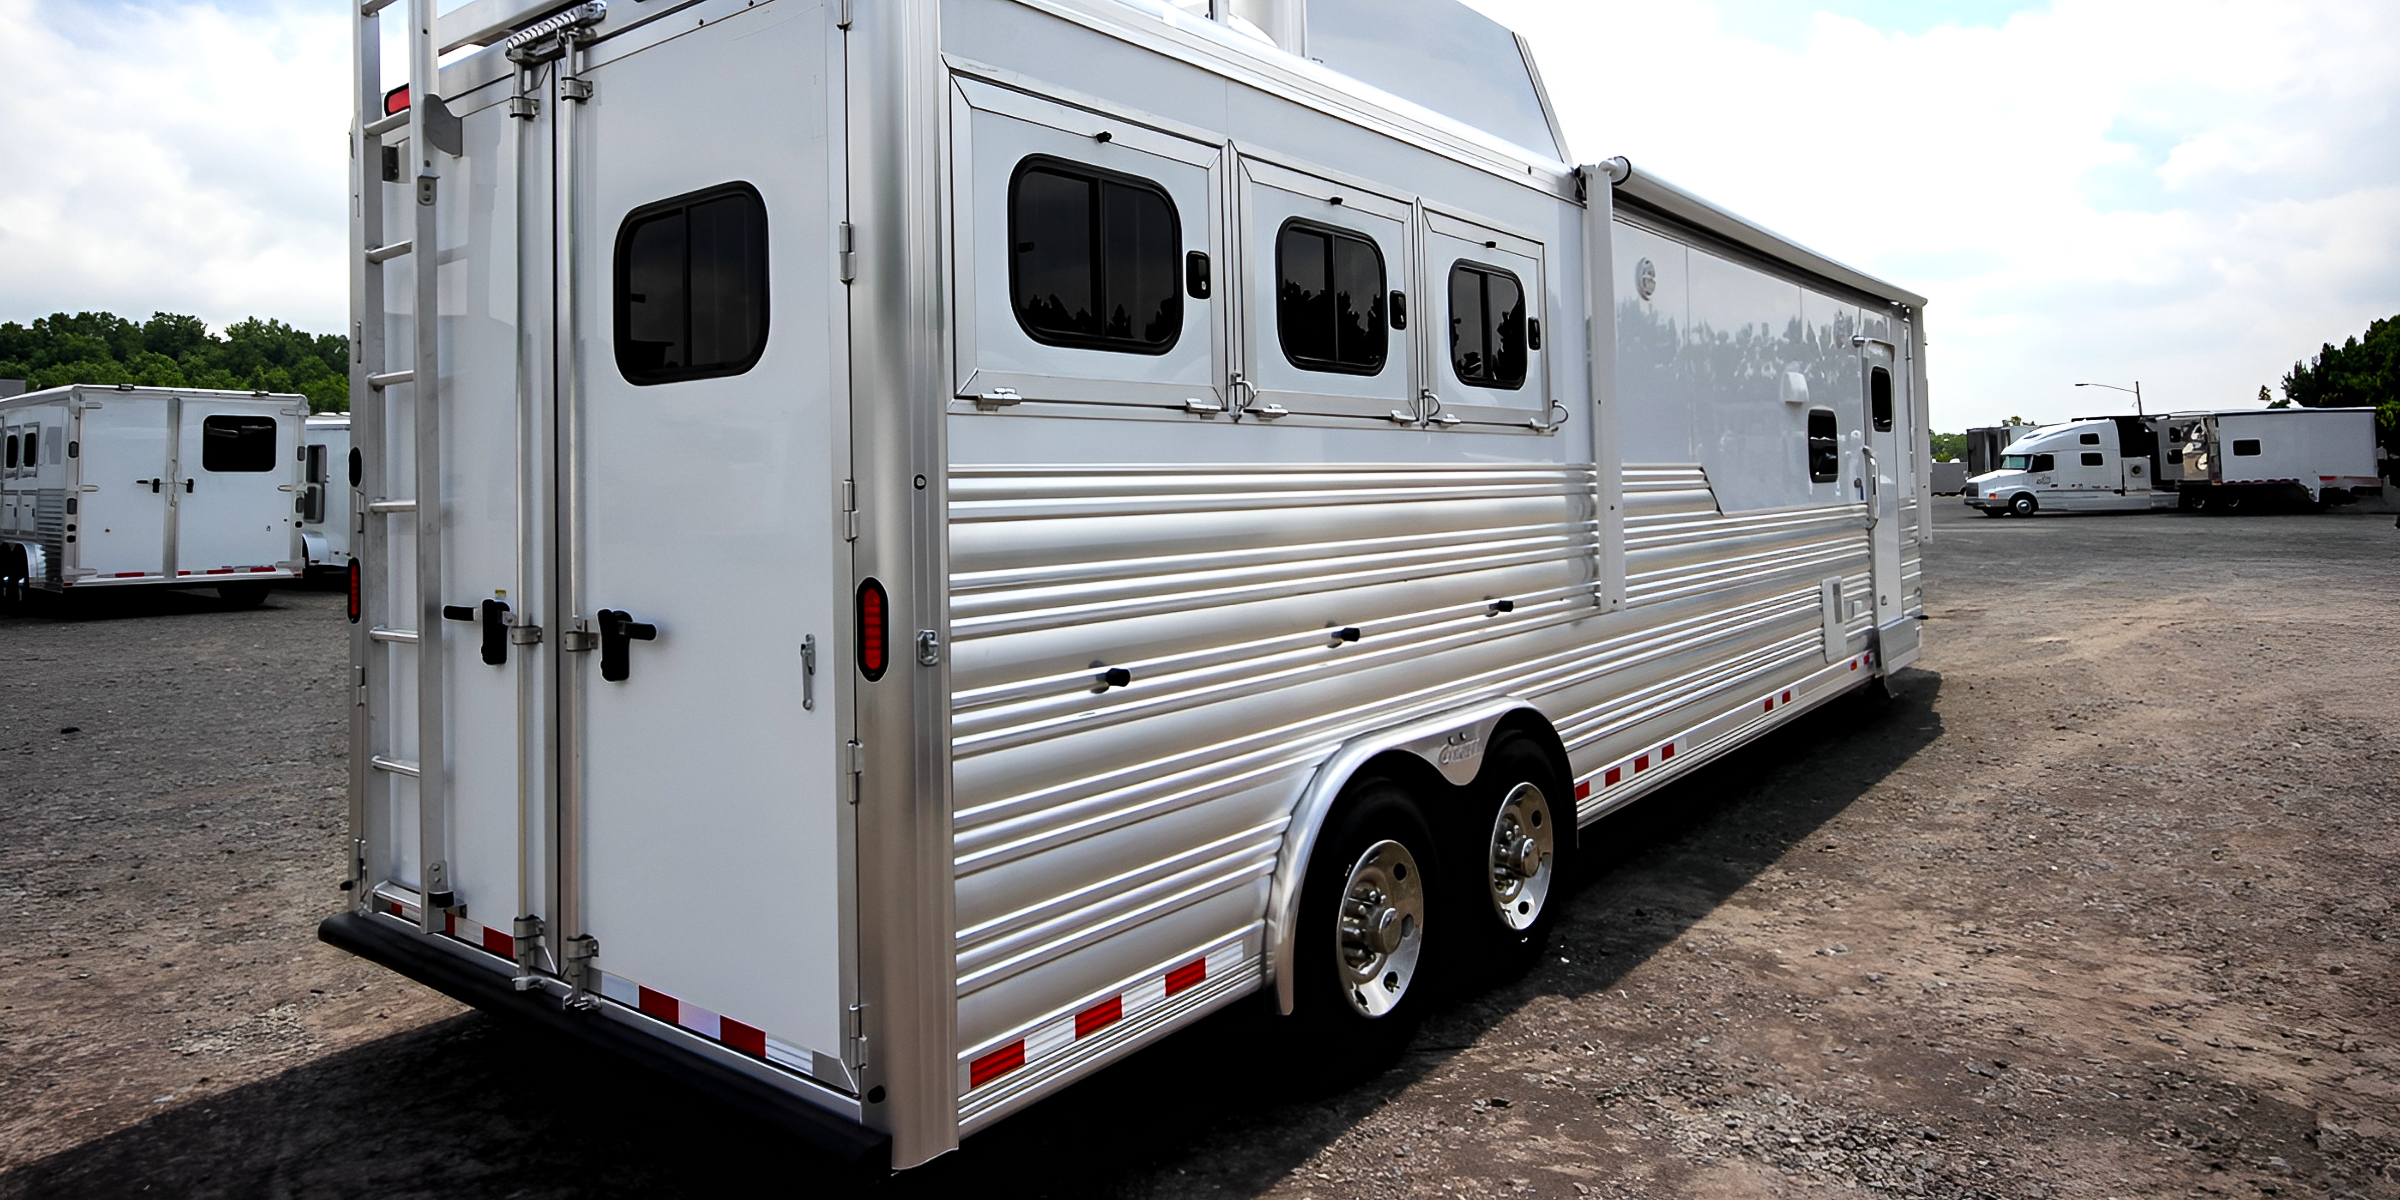
Aluminum trailers play a crucial role in transporting our goods effectively. To keep aluminum trailers looking and performing their best, cleaning them regularly is essential. Here are steps on how to clean aluminum trailers.
Jan 10, 2024

Create a space that promotes independence and a thirst for knowledge in your child, all in the comfort of your home, with this helpful DIY Montessori bookshelf guide.
Feb 04, 2024
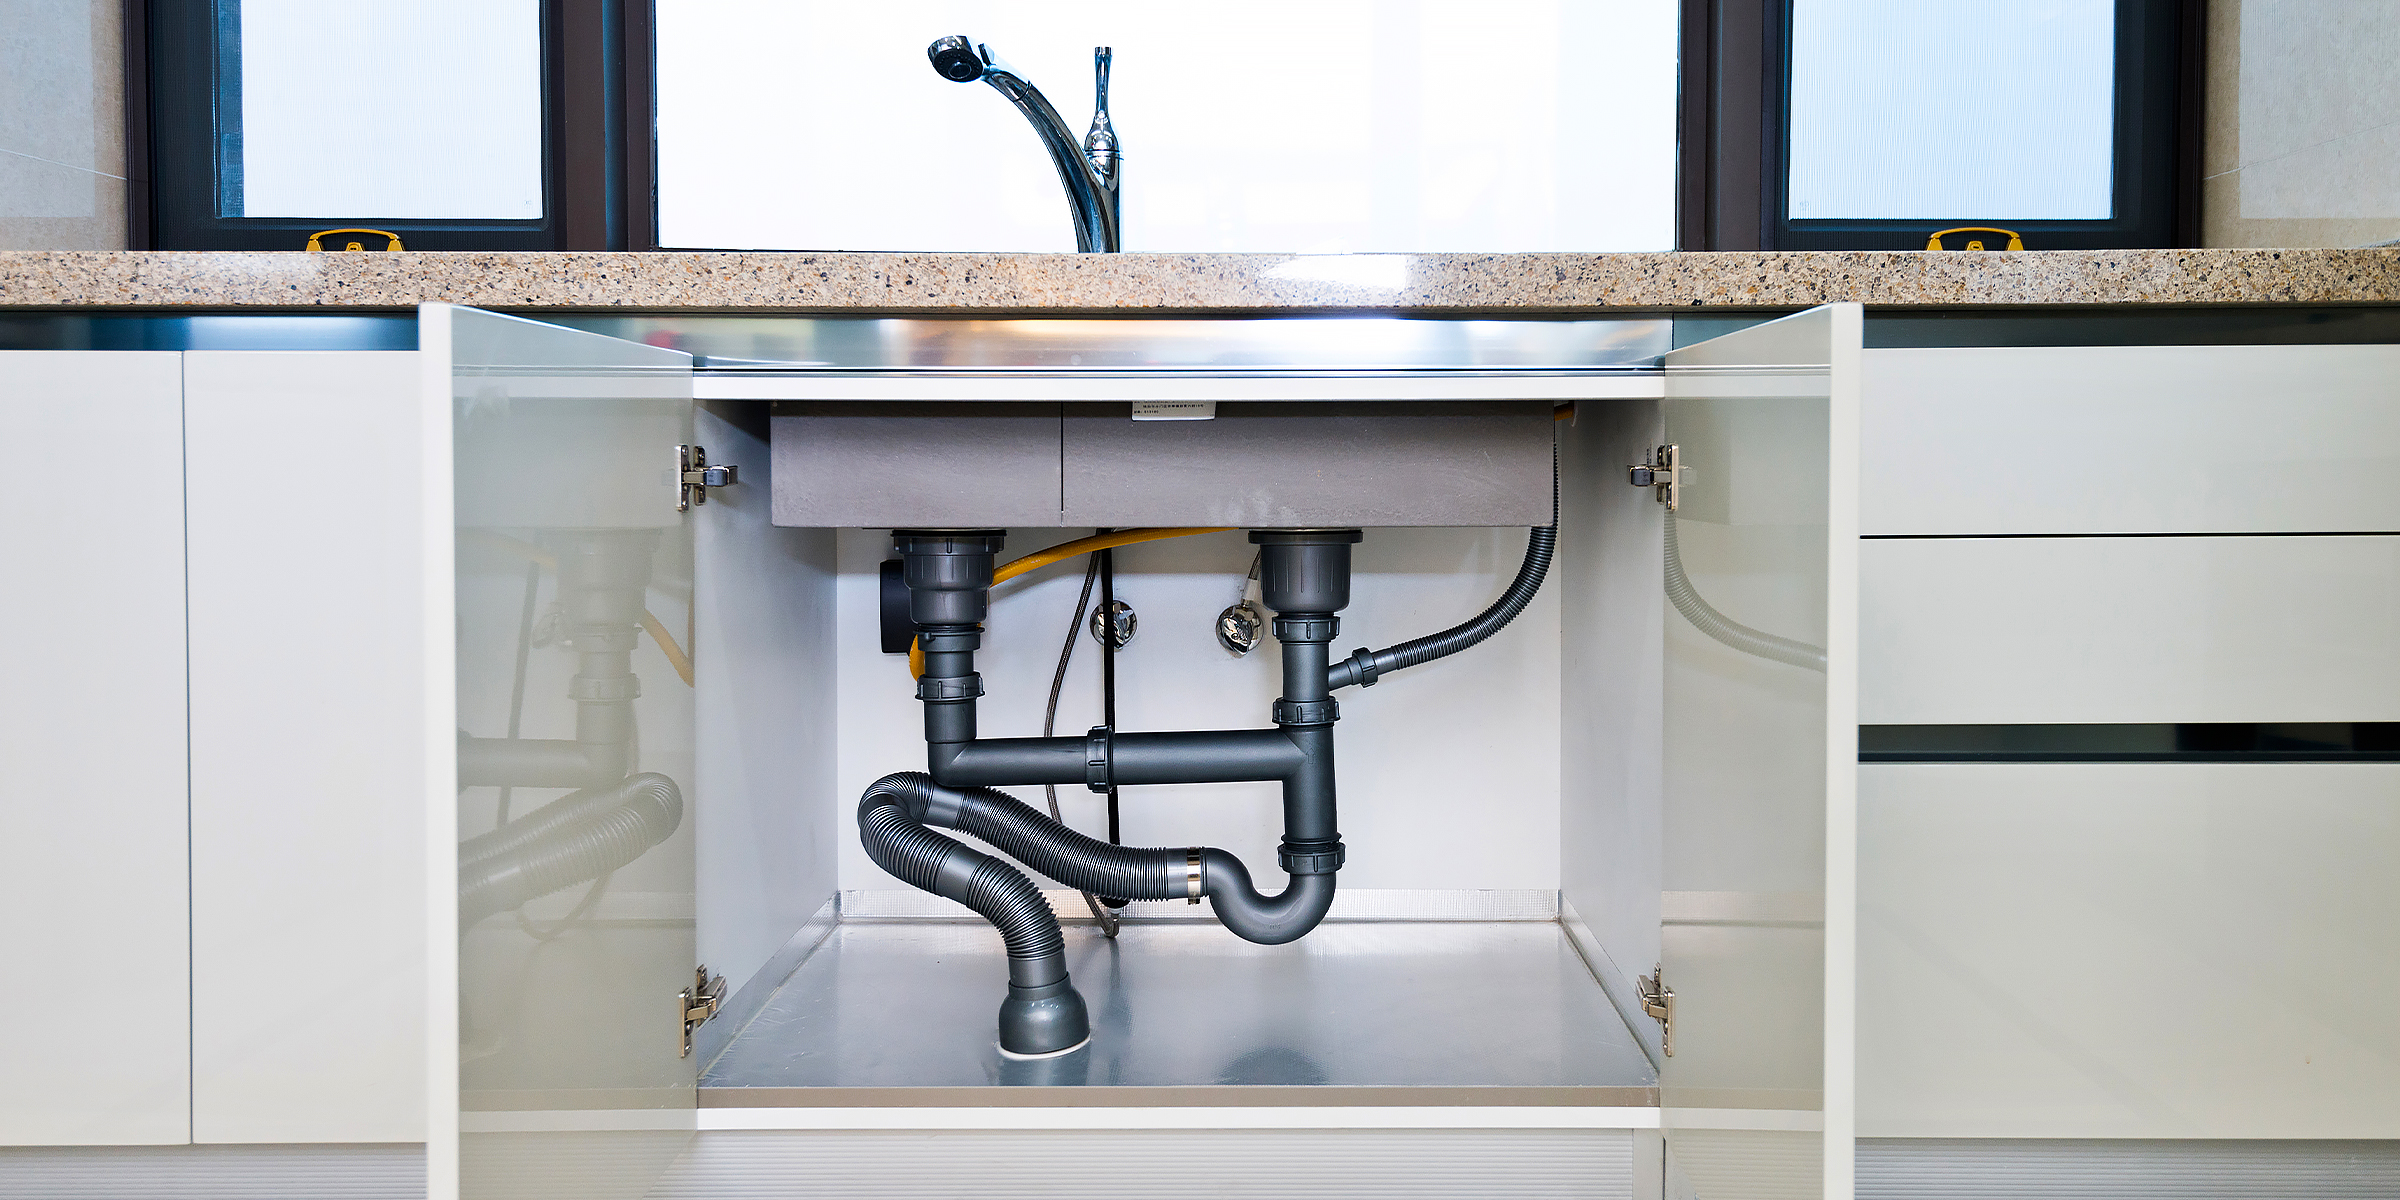
Save a few dollars by following this helpful guide on how to vent a kitchen sink under a window by yourself for a perfeclty functioning plumbing and drainage system in your home.
Feb 02, 2024

Crystal suncatchers are not only stunning decorative pieces, but they are also a unique way to fill your home with sunlight and positive energy. Enjoy the almost magical properties of this beautiful ornament with this DIY crystal suncatcher guide.
Jan 15, 2024
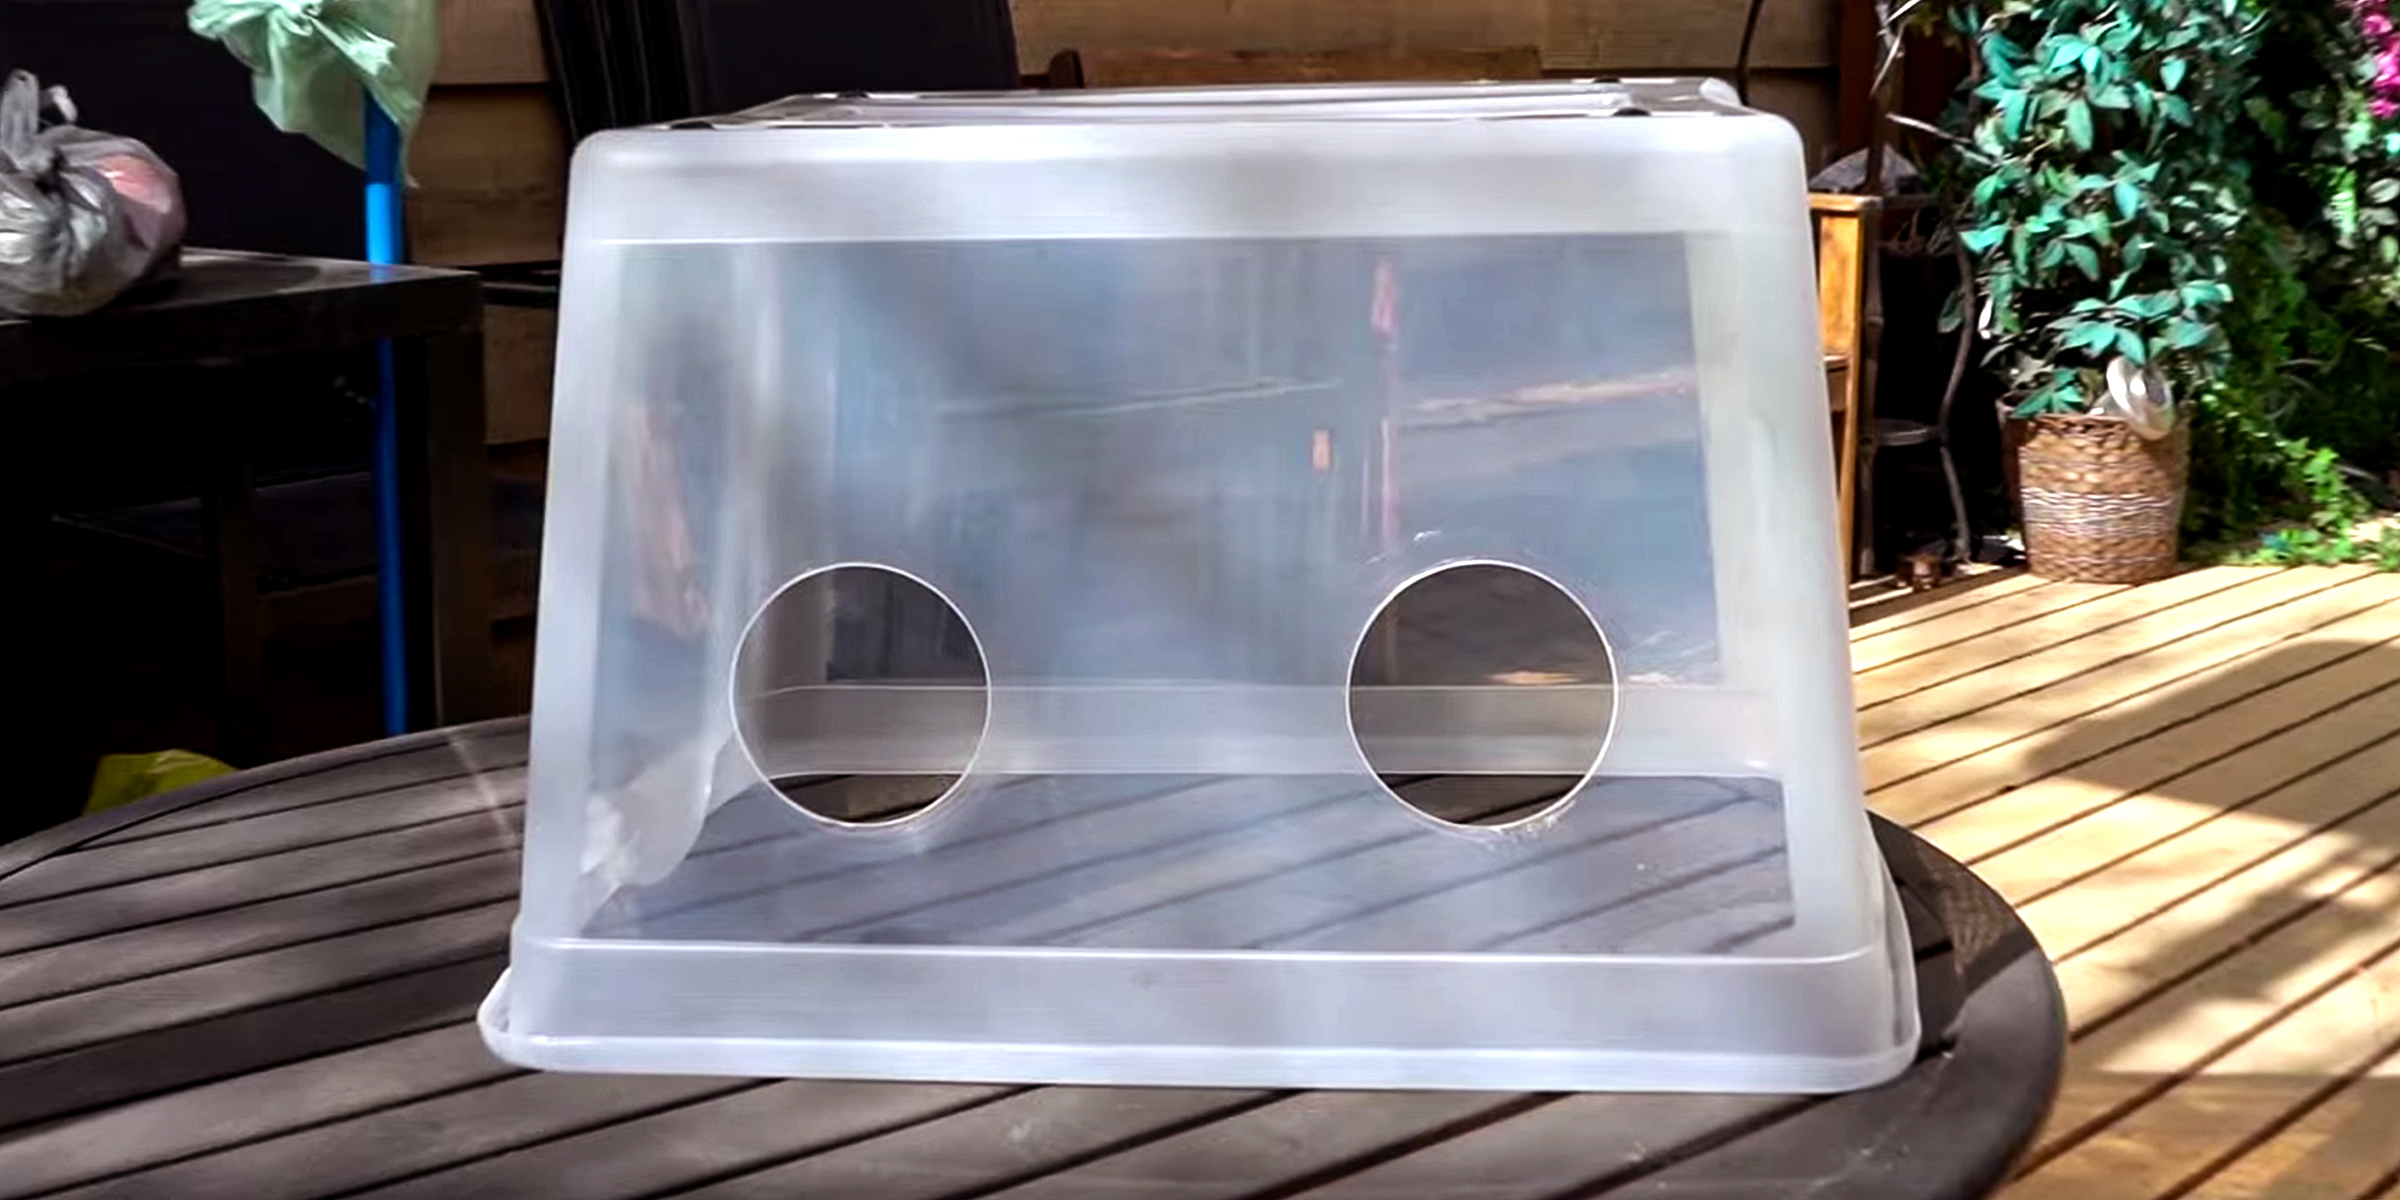
If you're a mycology expert or enthusiast, you probably know the importance of a still air box in your work. However, if you're opposed to buying one, here's how to build a still air box DIY-style.
Feb 08, 2024

Handfasting is an old wedding tradition that beautifully demonstrates two people's love and commitment to one another. This symbolic act is said to date back over several millennia.
Dec 14, 2023
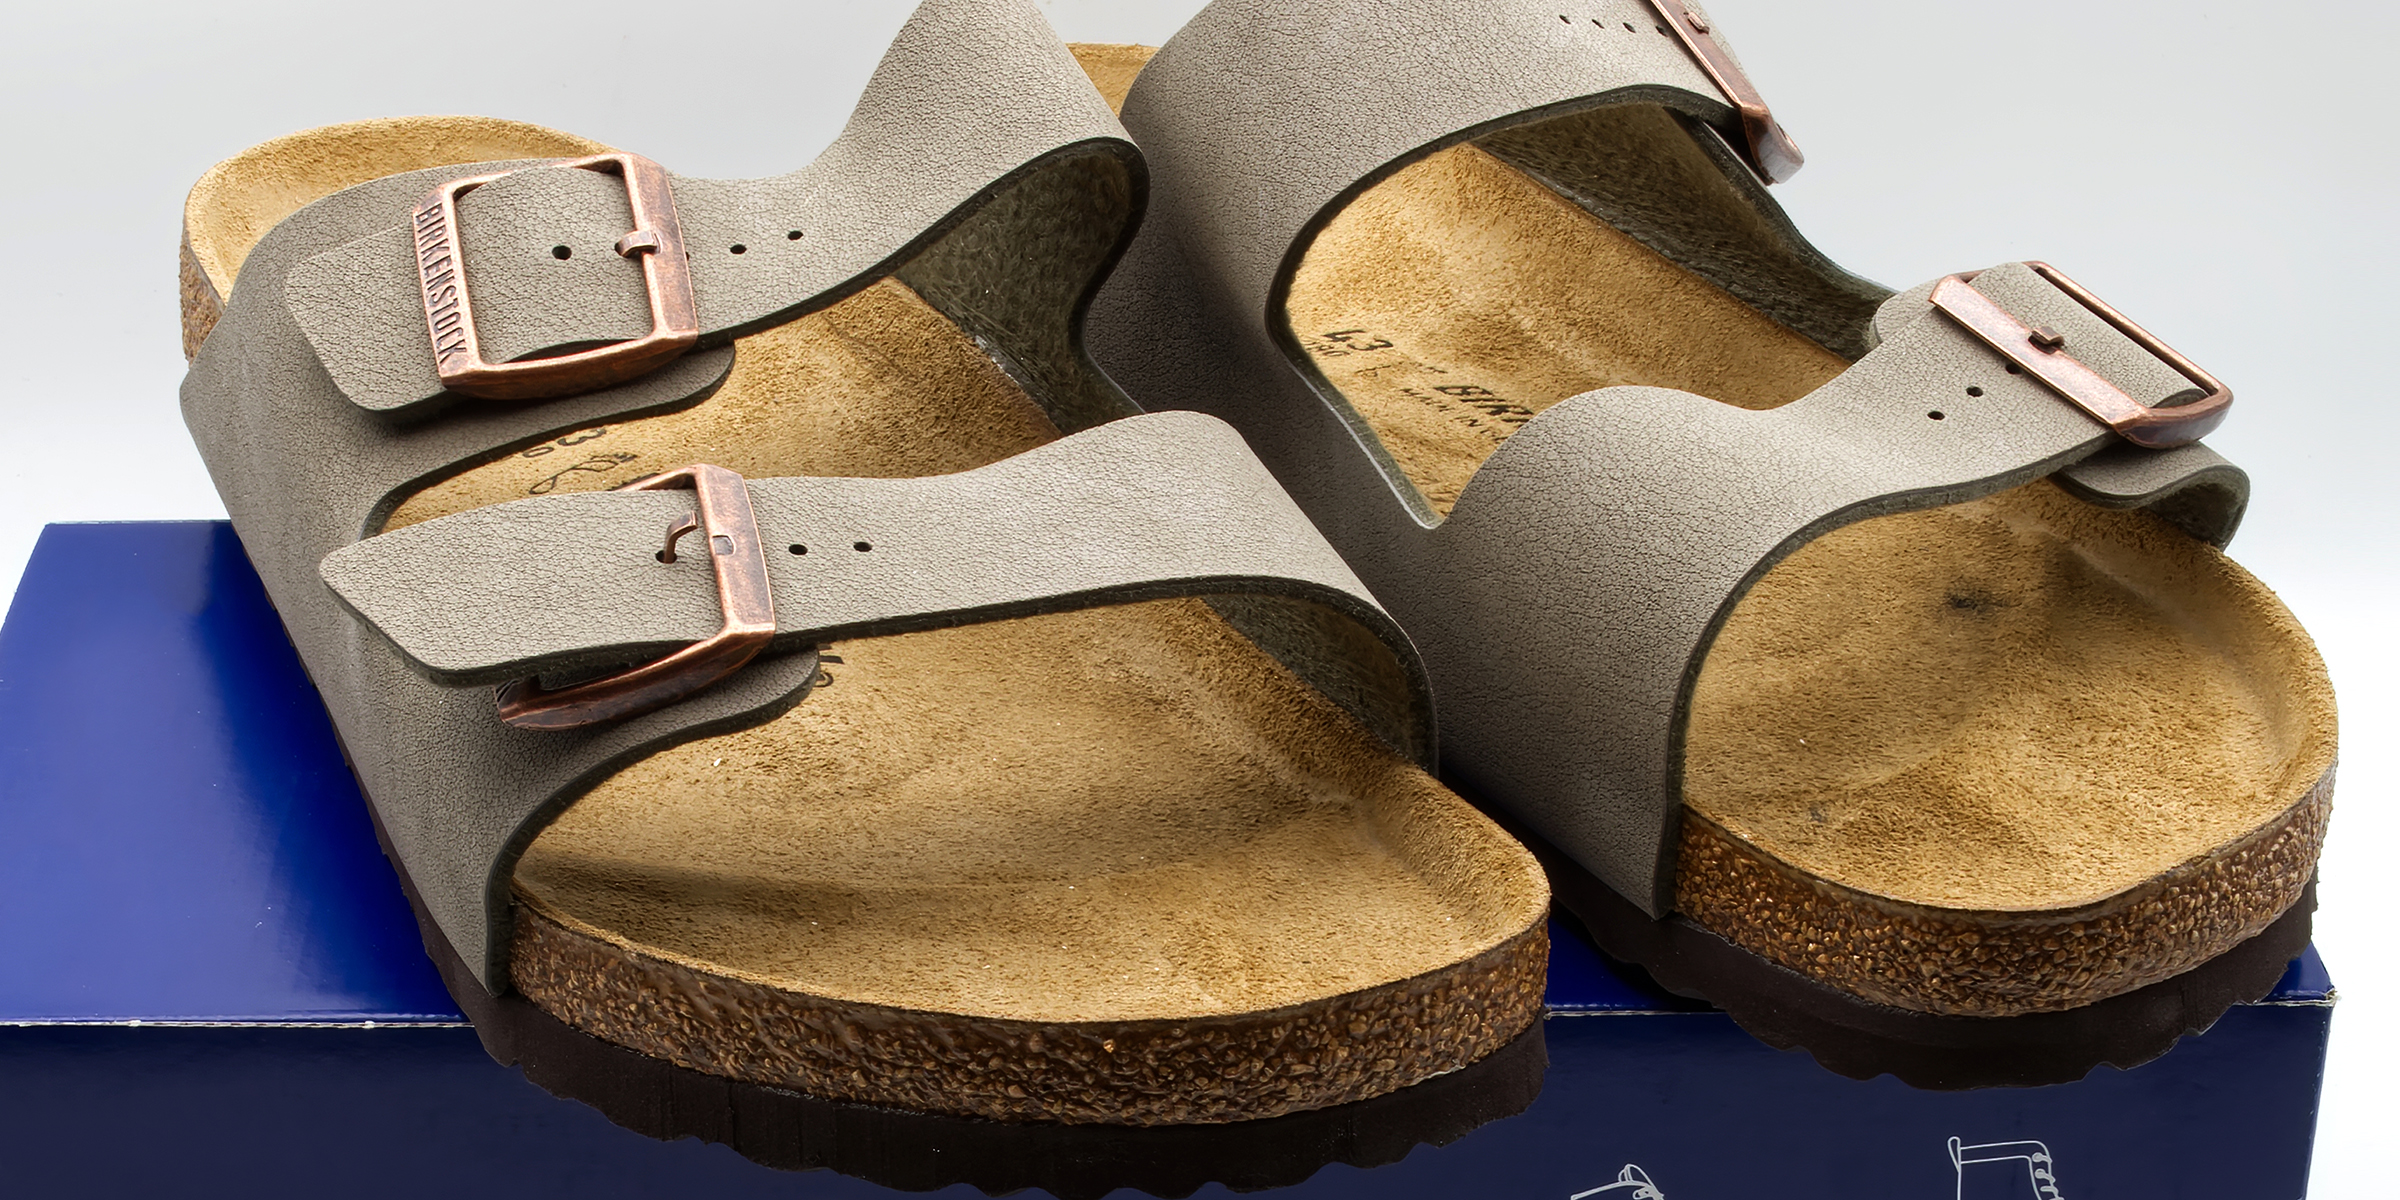
With their unique blend of comfort and style, cork shoes have become a staple in fashion and comfort. However, just like any shoes, they can get dirty and smelly over time. Here are five easy steps on how to clean your cork shoes.
Dec 27, 2023
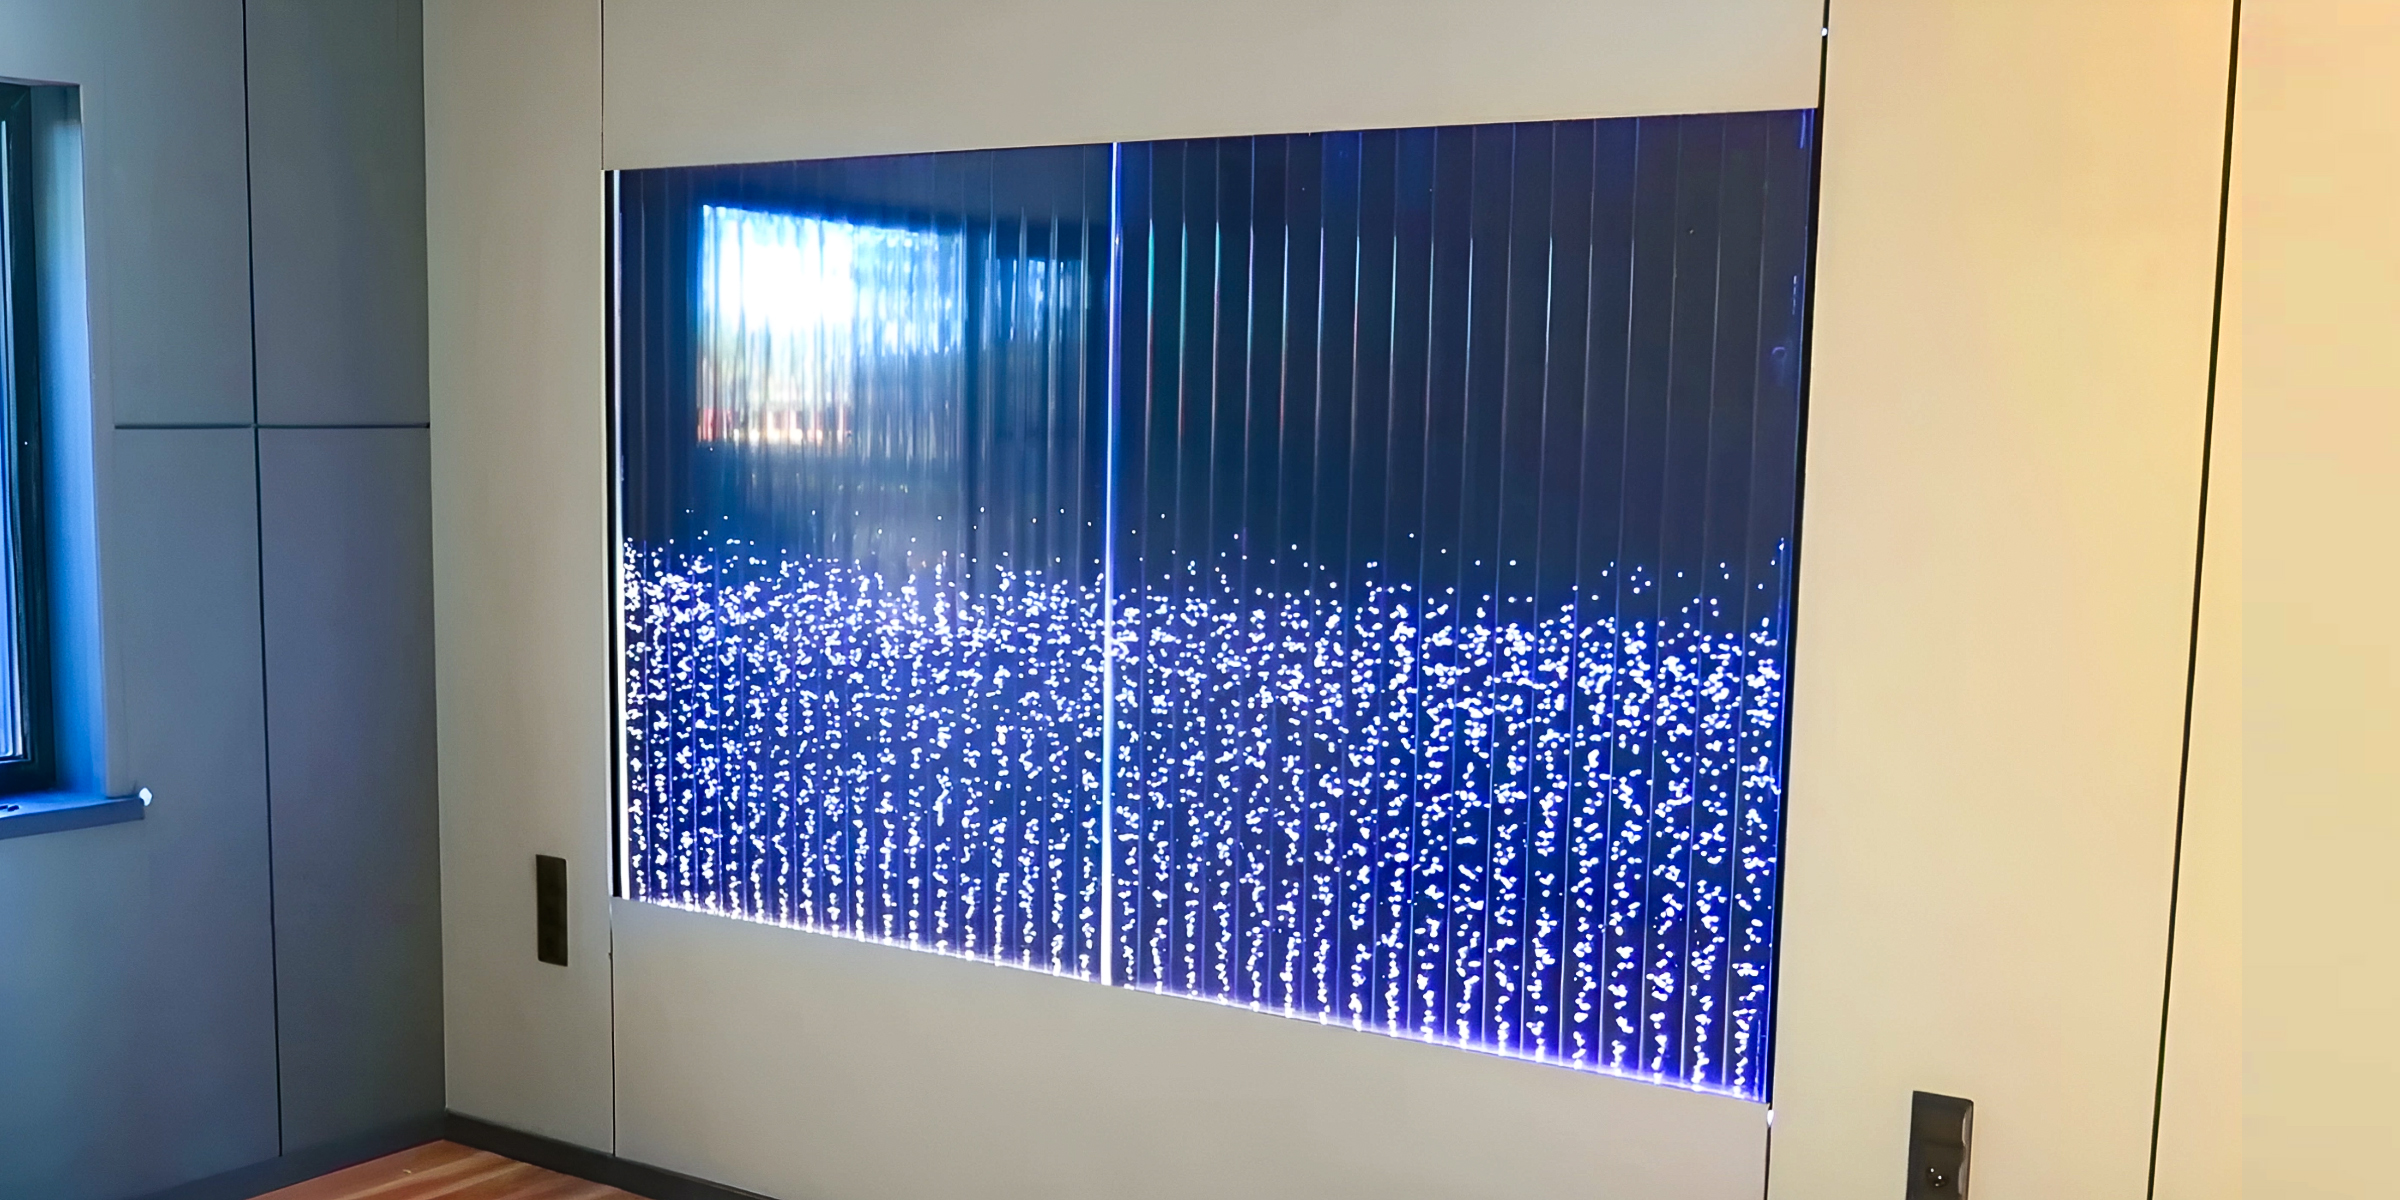
Bubble walls bring the benefits of surrounding yourself with nature into the comfort of your personal space. If you're considering installing one but want to do so independently, follow this DIY bubble wall guide.
Feb 09, 2024
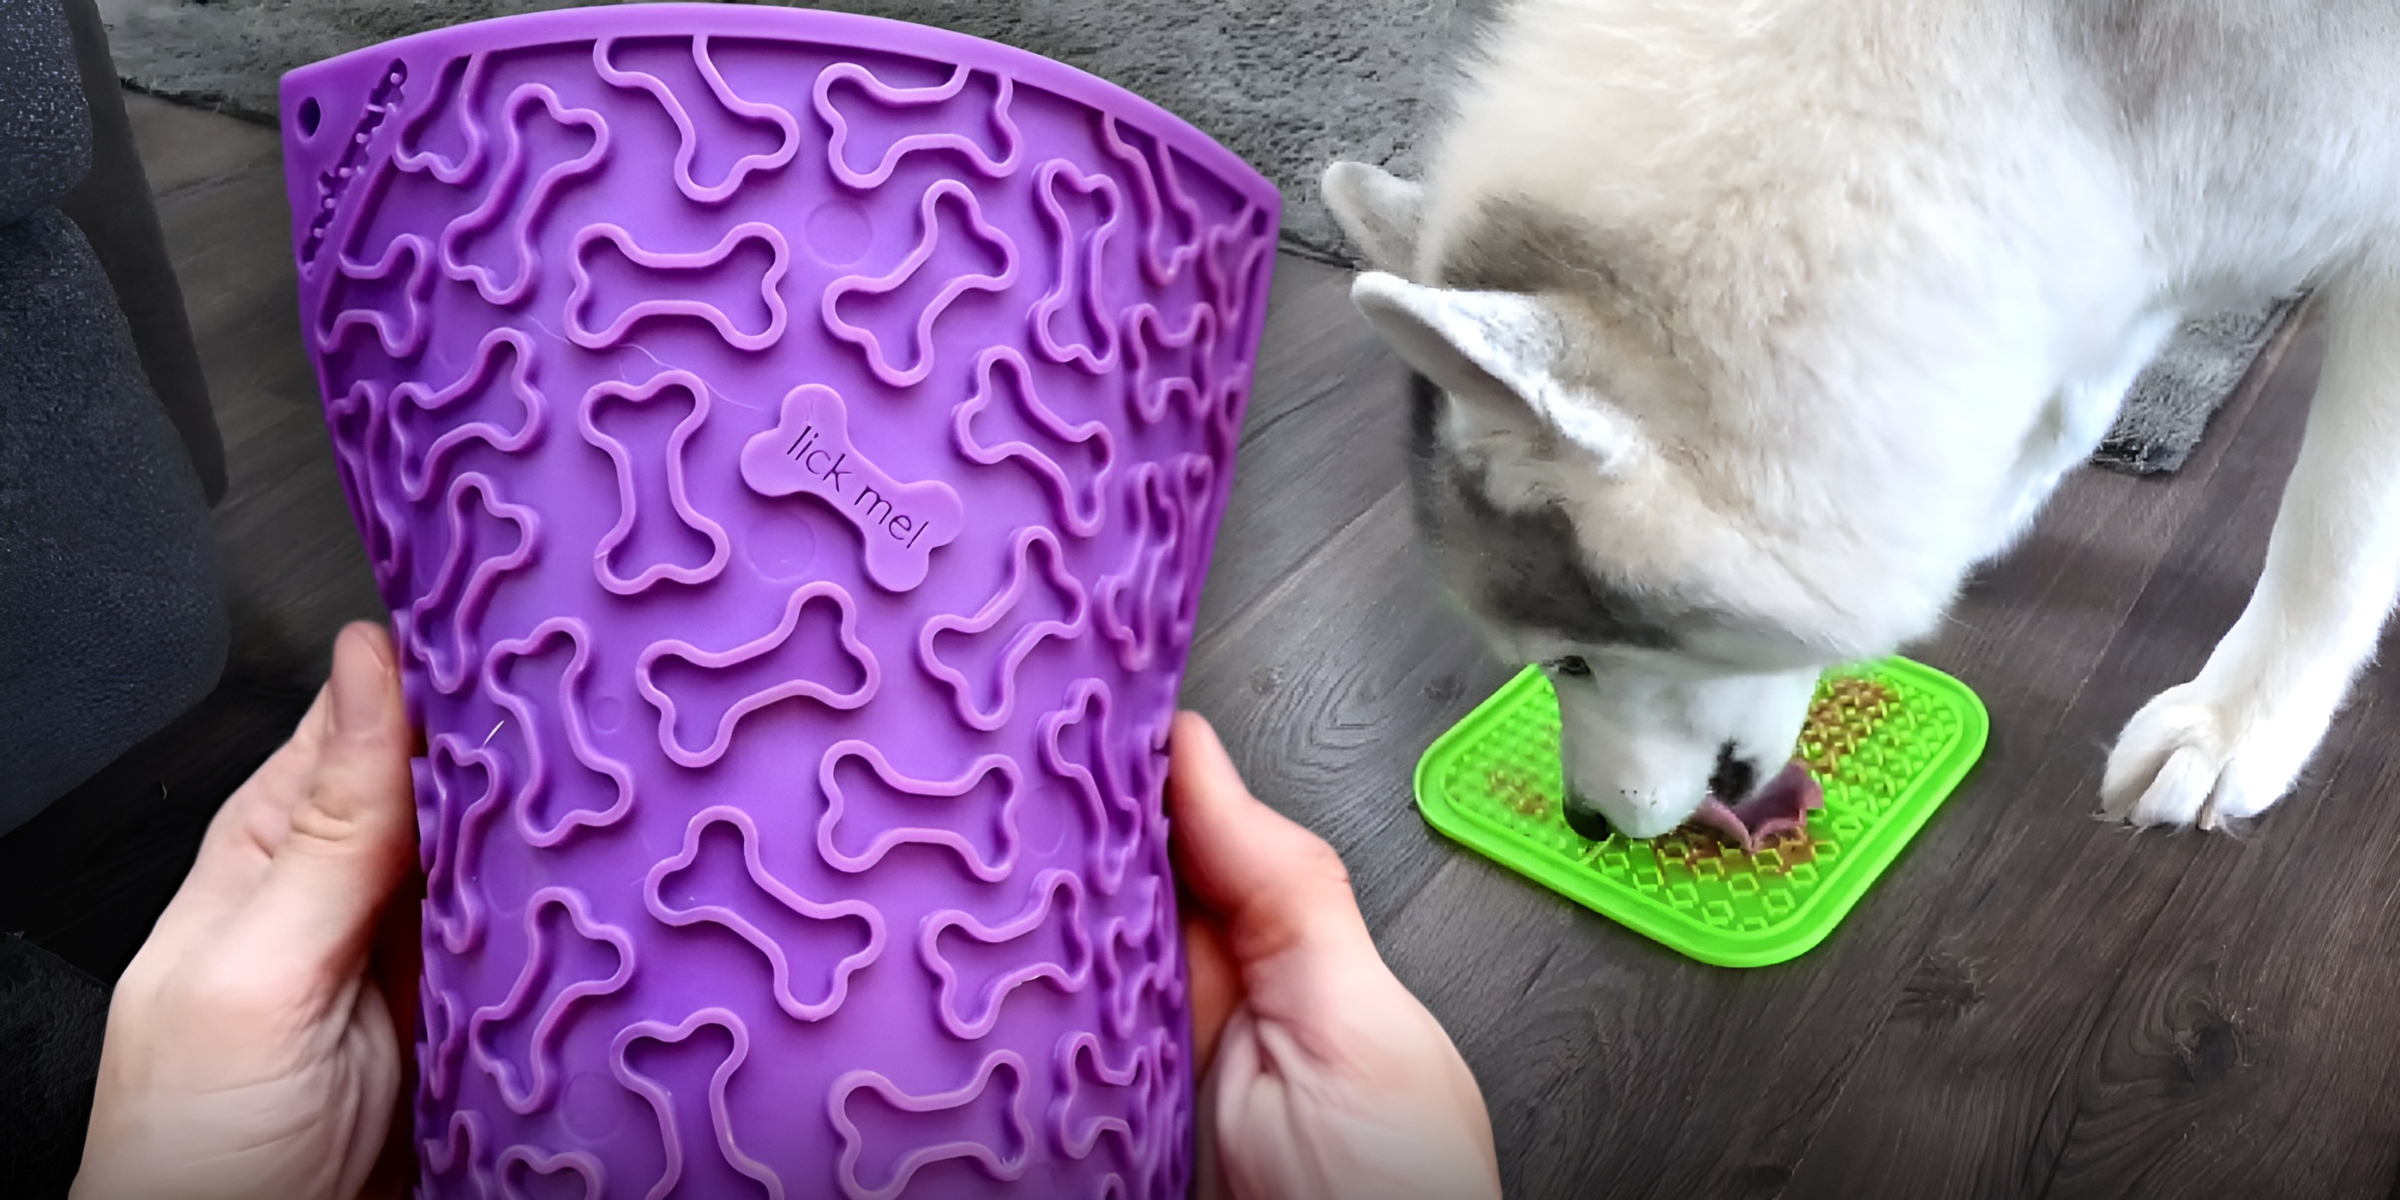
Lick mats for pets are becoming a popular trend, and there are numerous benefits to engaging in this activity. A practical approach to this trend involves creating your own DIY lick mats.
Dec 14, 2023
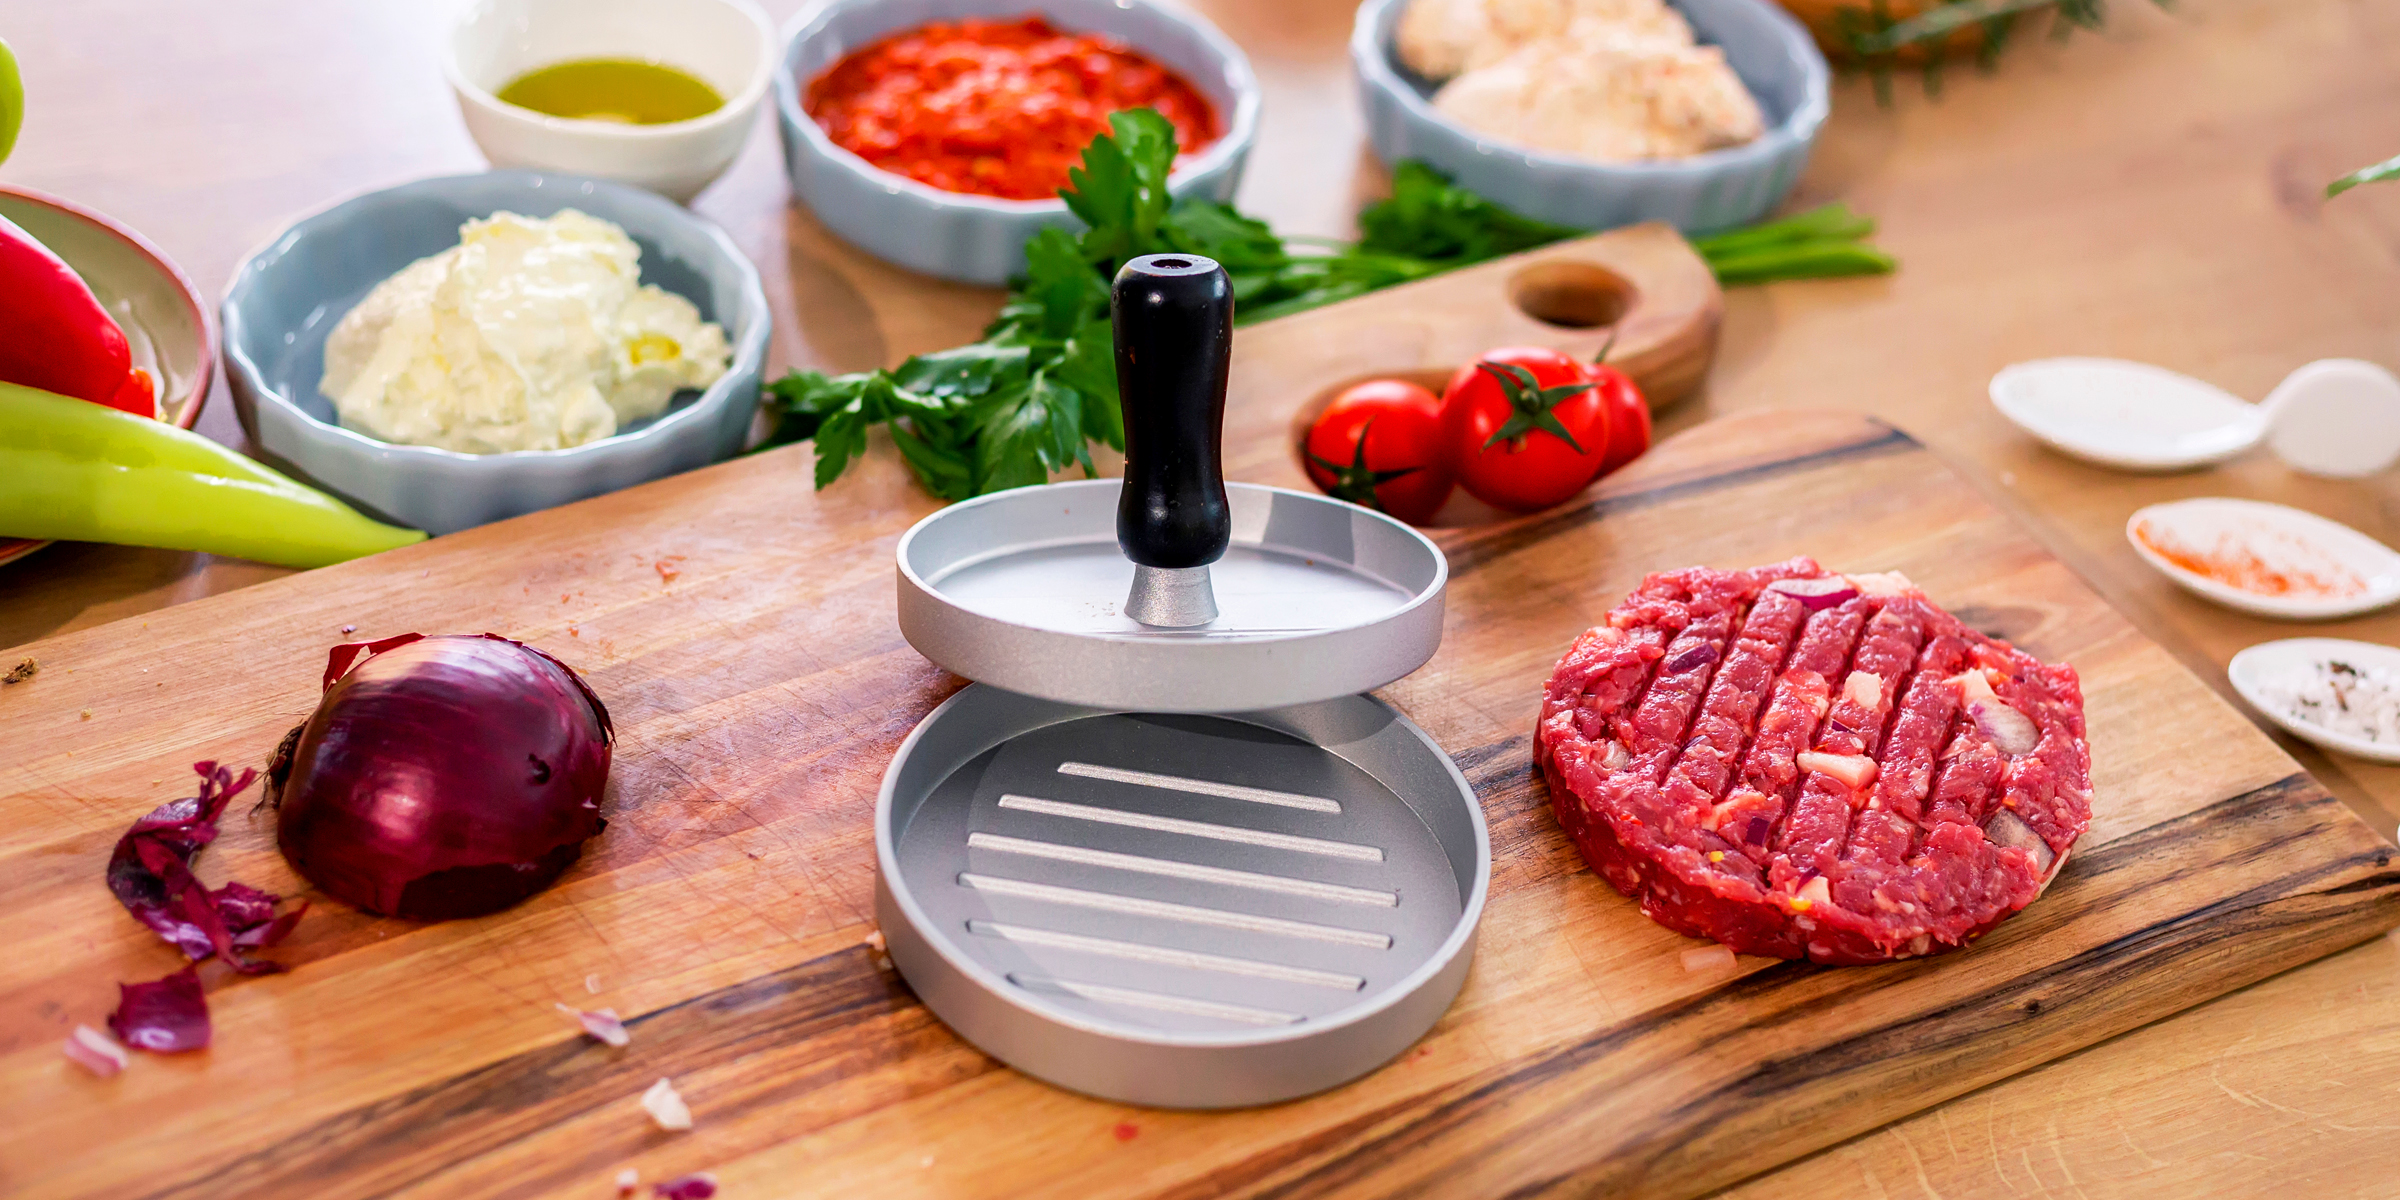
If you've been planning to buy a burger press, it's time to save that cash. In this article, you'll learn how to create a simple DIY burger press to make you the perfect patties.
Feb 11, 2024
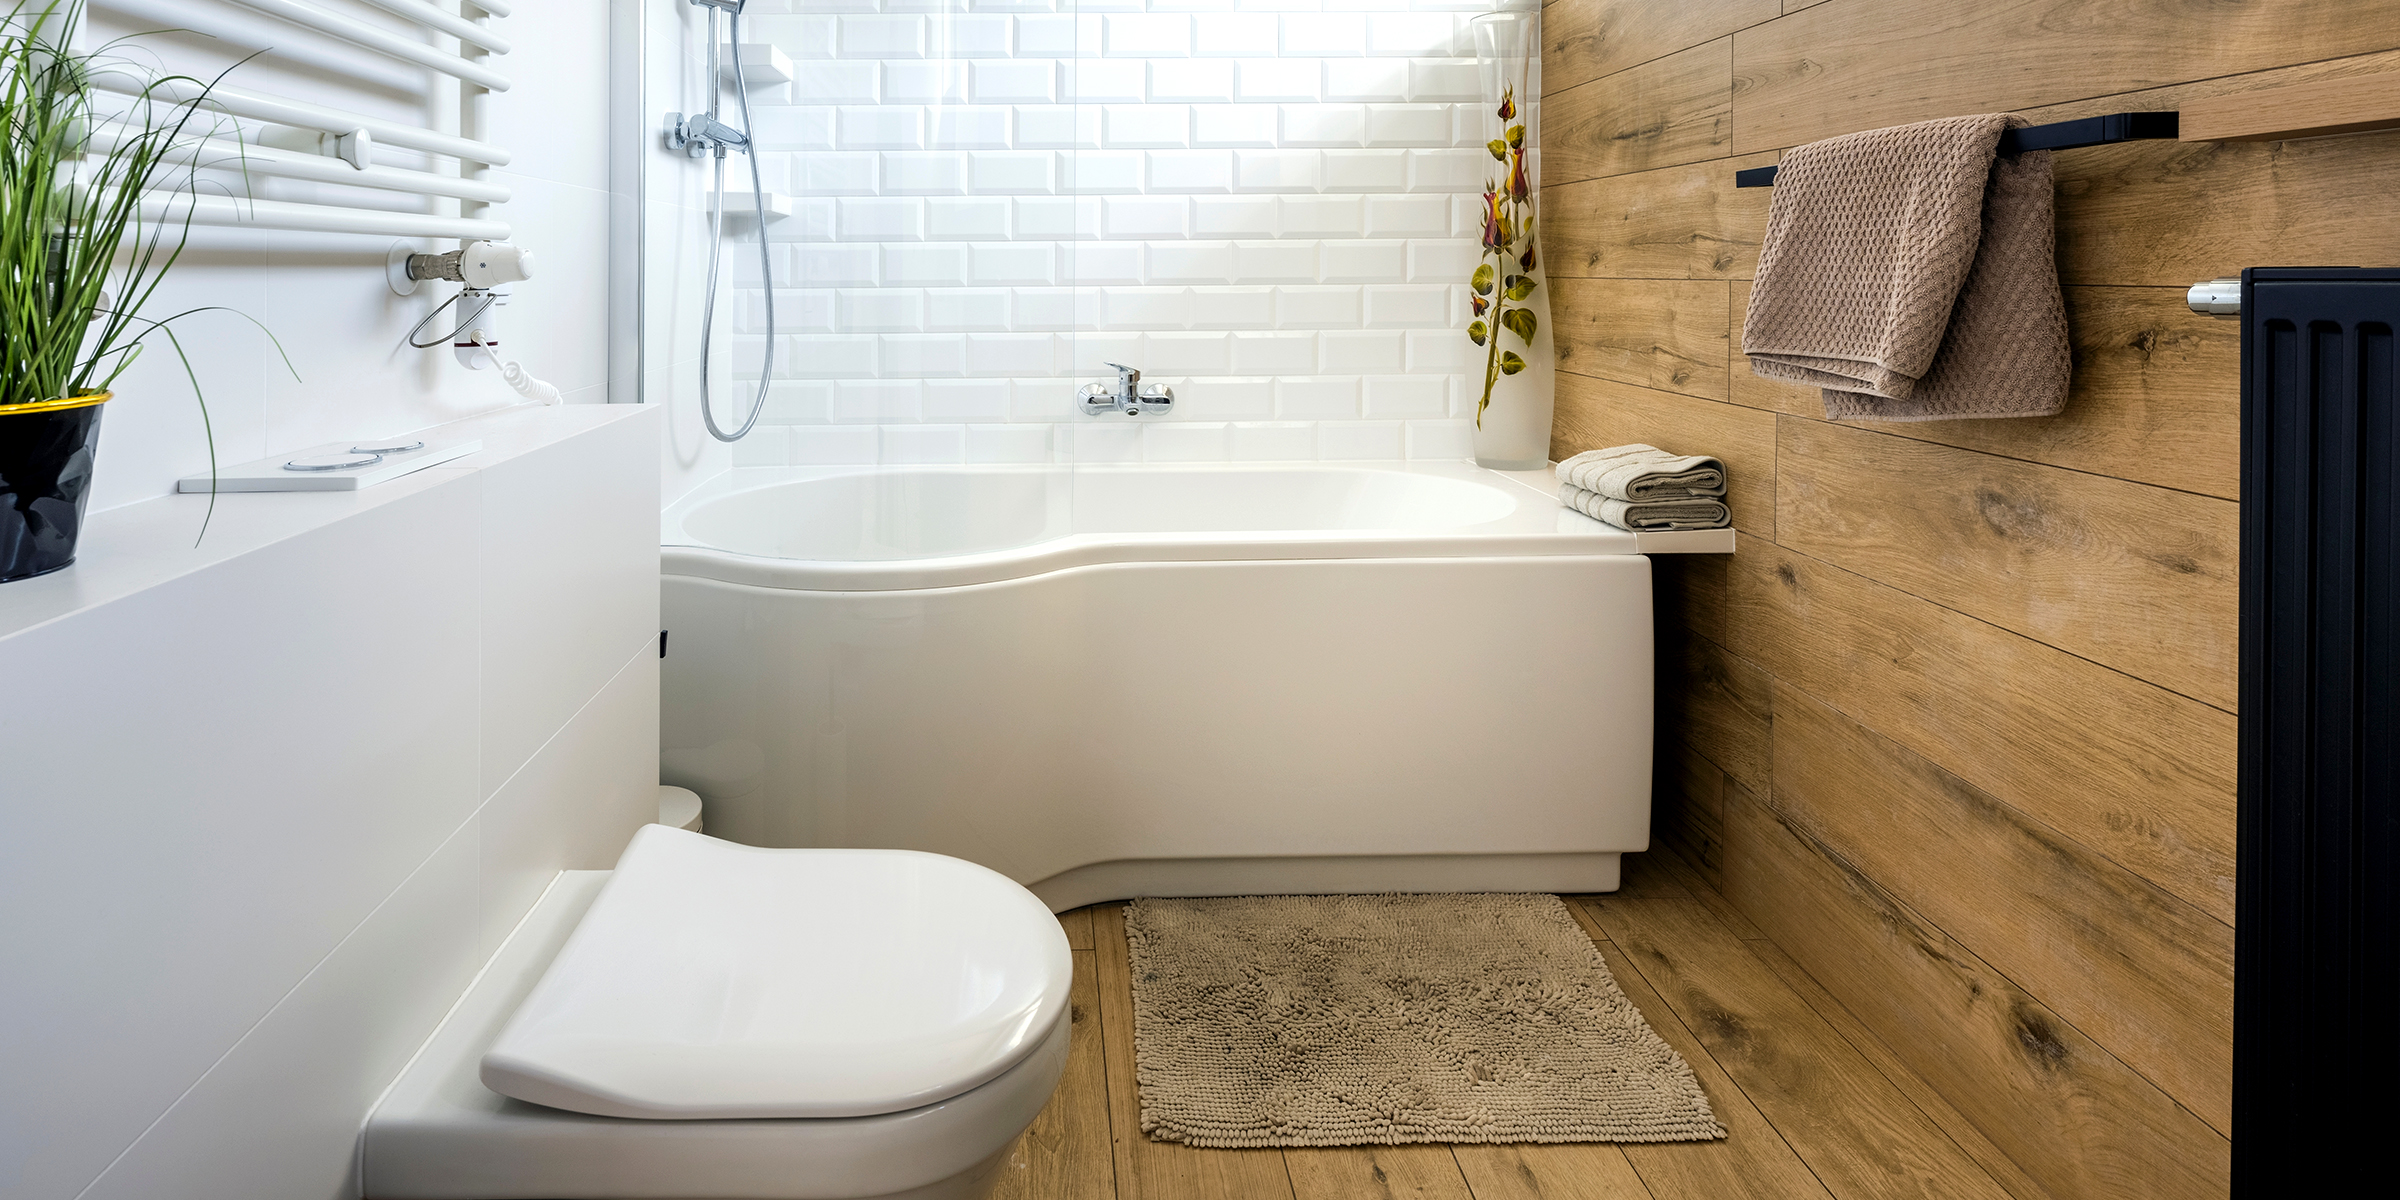
No matter how sophisticated your bathroom is, it can still accumulate odors, which can be embarrassing when hosting guests. The fishy smell in the bathroom can have various causes, and it's crucial to identify and eliminate its source.
Jan 28, 2024
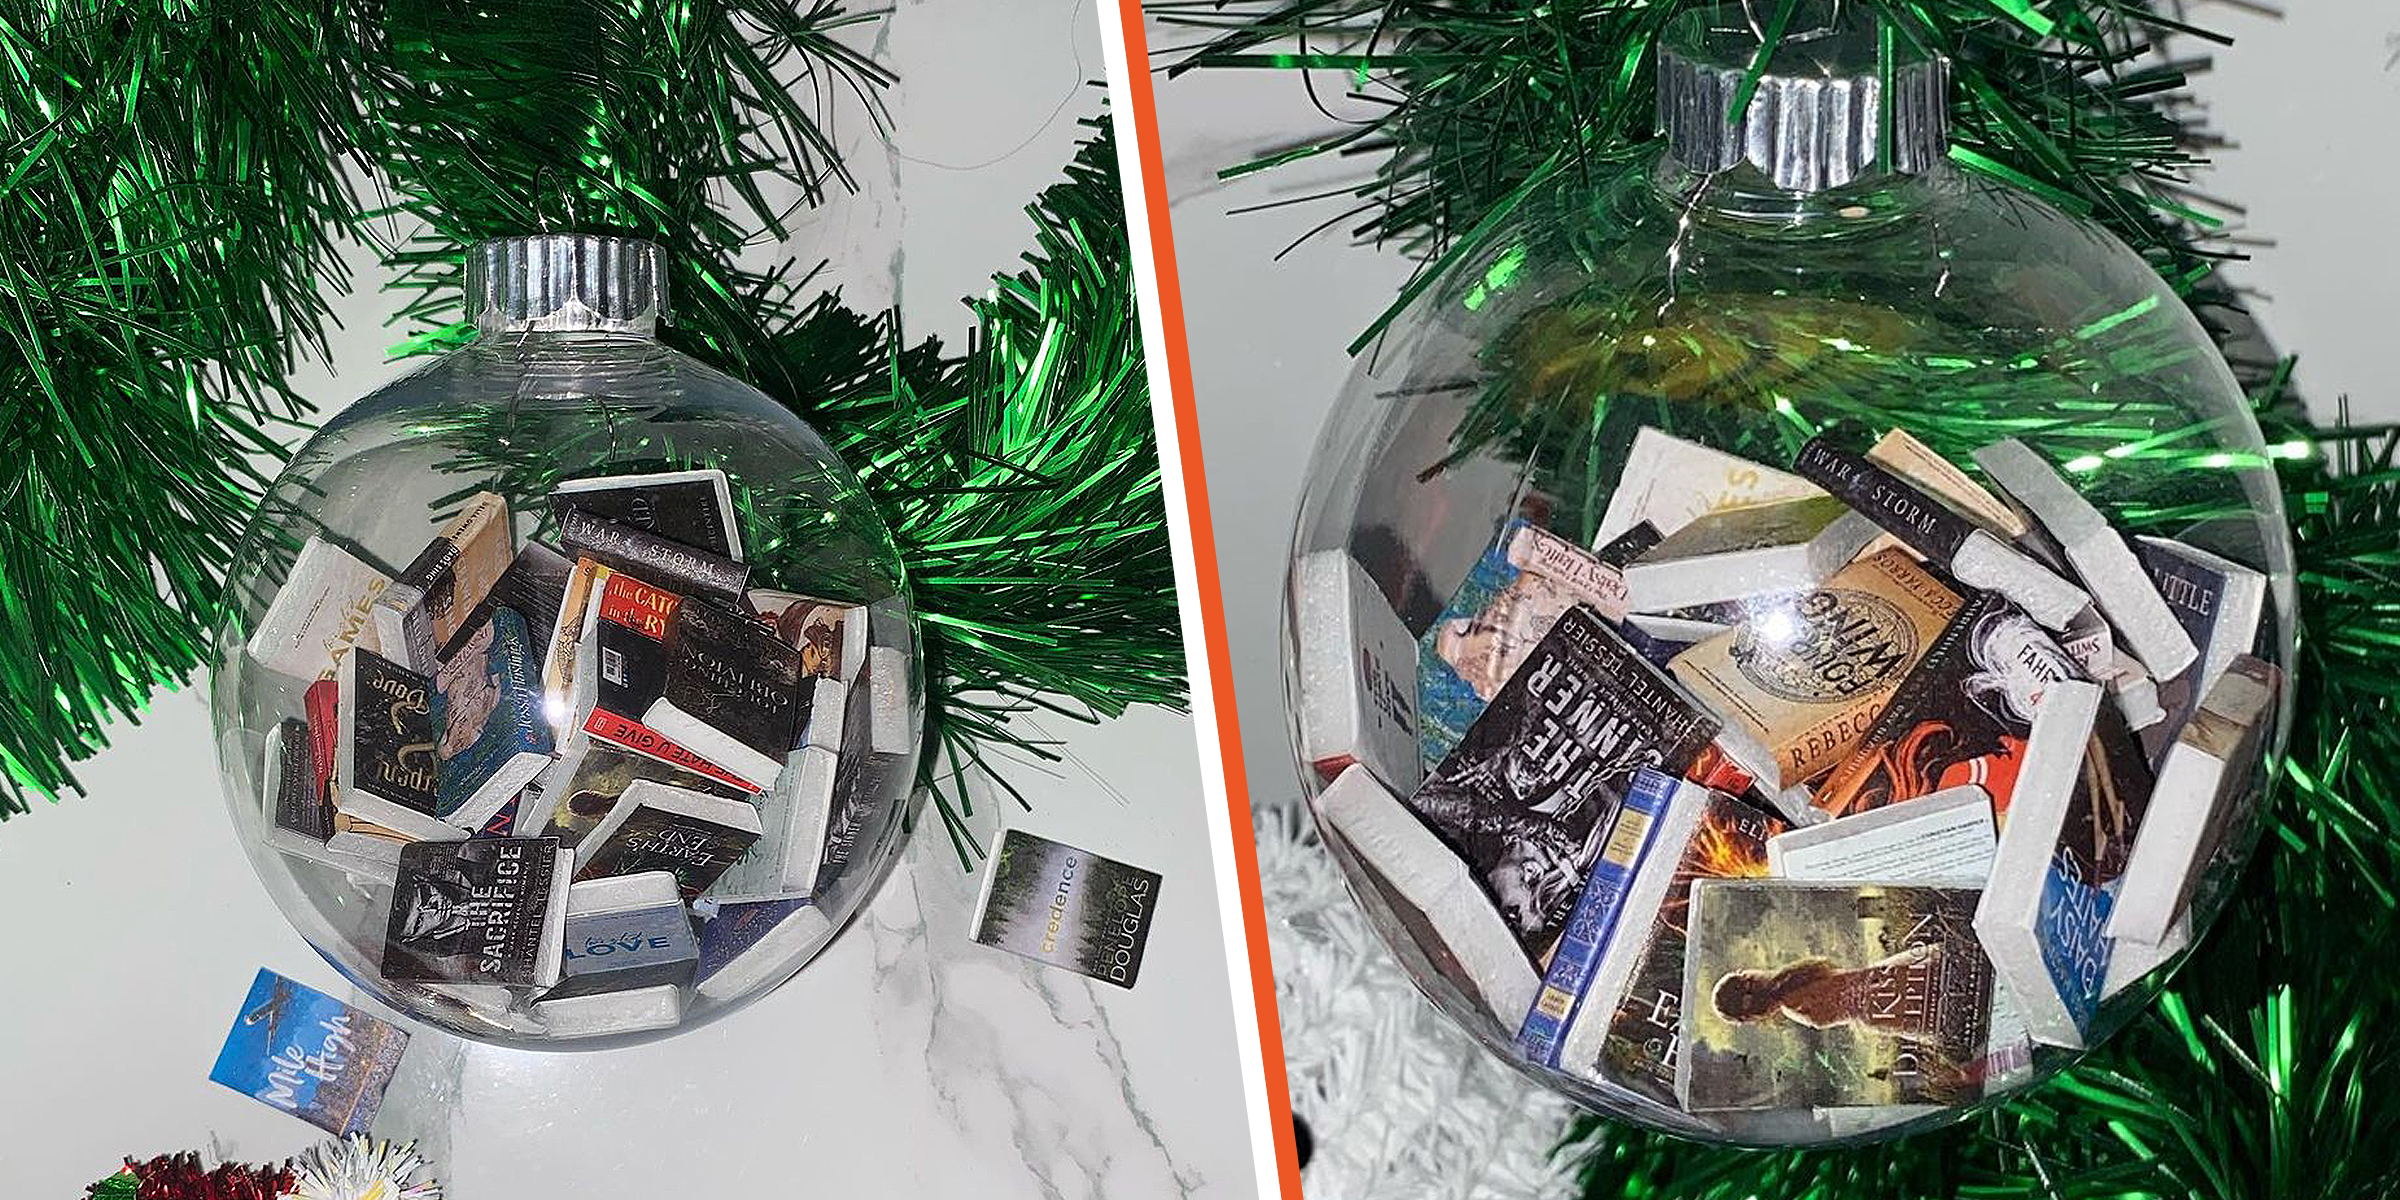
The DIY book ornaments trend has blown up social media for some time, with avid readers finding a fun way to celebrate their love of reading during the festive season.
Dec 16, 2023

Rocking a fantastic pair of jeans can instantly boost your confidence, but taking your denim game to the next level with some DIY aesthetic jeans is like stepping onto your own personal runway. These DIY pieces of denim can turn heads as you walk by.
Dec 12, 2023