Build a DIY Litter Robot Enclosure with Ease — Simplified Guide for Effortless Home Assembly
Feb 14, 2024


Eager to learn the art of making cake box? Whether you're a baking enthusiast looking to present your creations in style or a DIY crafter eager to add a personal touch to gifts, this step-by-step tutorial on how to make a cake box will transform your packaging game.
Most business owners seek effective packaging solutions for their food products. For those in the baking industry, cake boxes made from paper materials are the best packaging option.
Cake boxes not only keep your baked goods fresh and attractive but also bolster your business's reputation as environmentally conscious. Wondering how to make a cake box? Look no further! Just follow Shany's Sweet Creations' helpful tips below.

A cake next to its box | Source: Pexels
Before you begin making your custom cake box, gather all the necessary materials. Here's what you'll need:

Materials needed for creating a cake box. | Source: YouTube/ShanisSweetCreations

Seal the bottom flap neatly with transparent tape in addition to hot glue. | Source: YouTube/ShanisSweetCreations

Mark where the window for the cake will be on the box. | Source: YouTube/ShanisSweetCreations

Cut the marked area. | Source: YouTube/ShanisSweetCreations

Place cellophane over the window and leave an inch around the edges. | Source: YouTube/ShanisSweetCreations

Cut slits on both sides of the box. | Source: YouTube/ShanisSweetCreations

Slide ribbons through slits made in the box. | Source: YouTube/ShanisSweetCreations

You can add handles to the cake box using ribbons for easy carrying. | Source: YouTube/ShanisSweetCreations

Attach your business card on top of the cake box. | Source: YouTube/ShanisSweetCreations

Your new cake box. | Source: YouTube/ShanisSweetCreations
And there you have it — your step-by-step guide to making a custom cake box! By following these instructions, you can create a custom cake box that not only protects your cake but also presents it in a professional and visually appealing manner.
To enhance the presentation of your cakes for special occasions, consider making a DIY wooden arch backdrop. This guide makes it simple to create a beautiful backdrop that pairs perfectly with your custom cake boxes, bringing an added touch of elegance to any event!
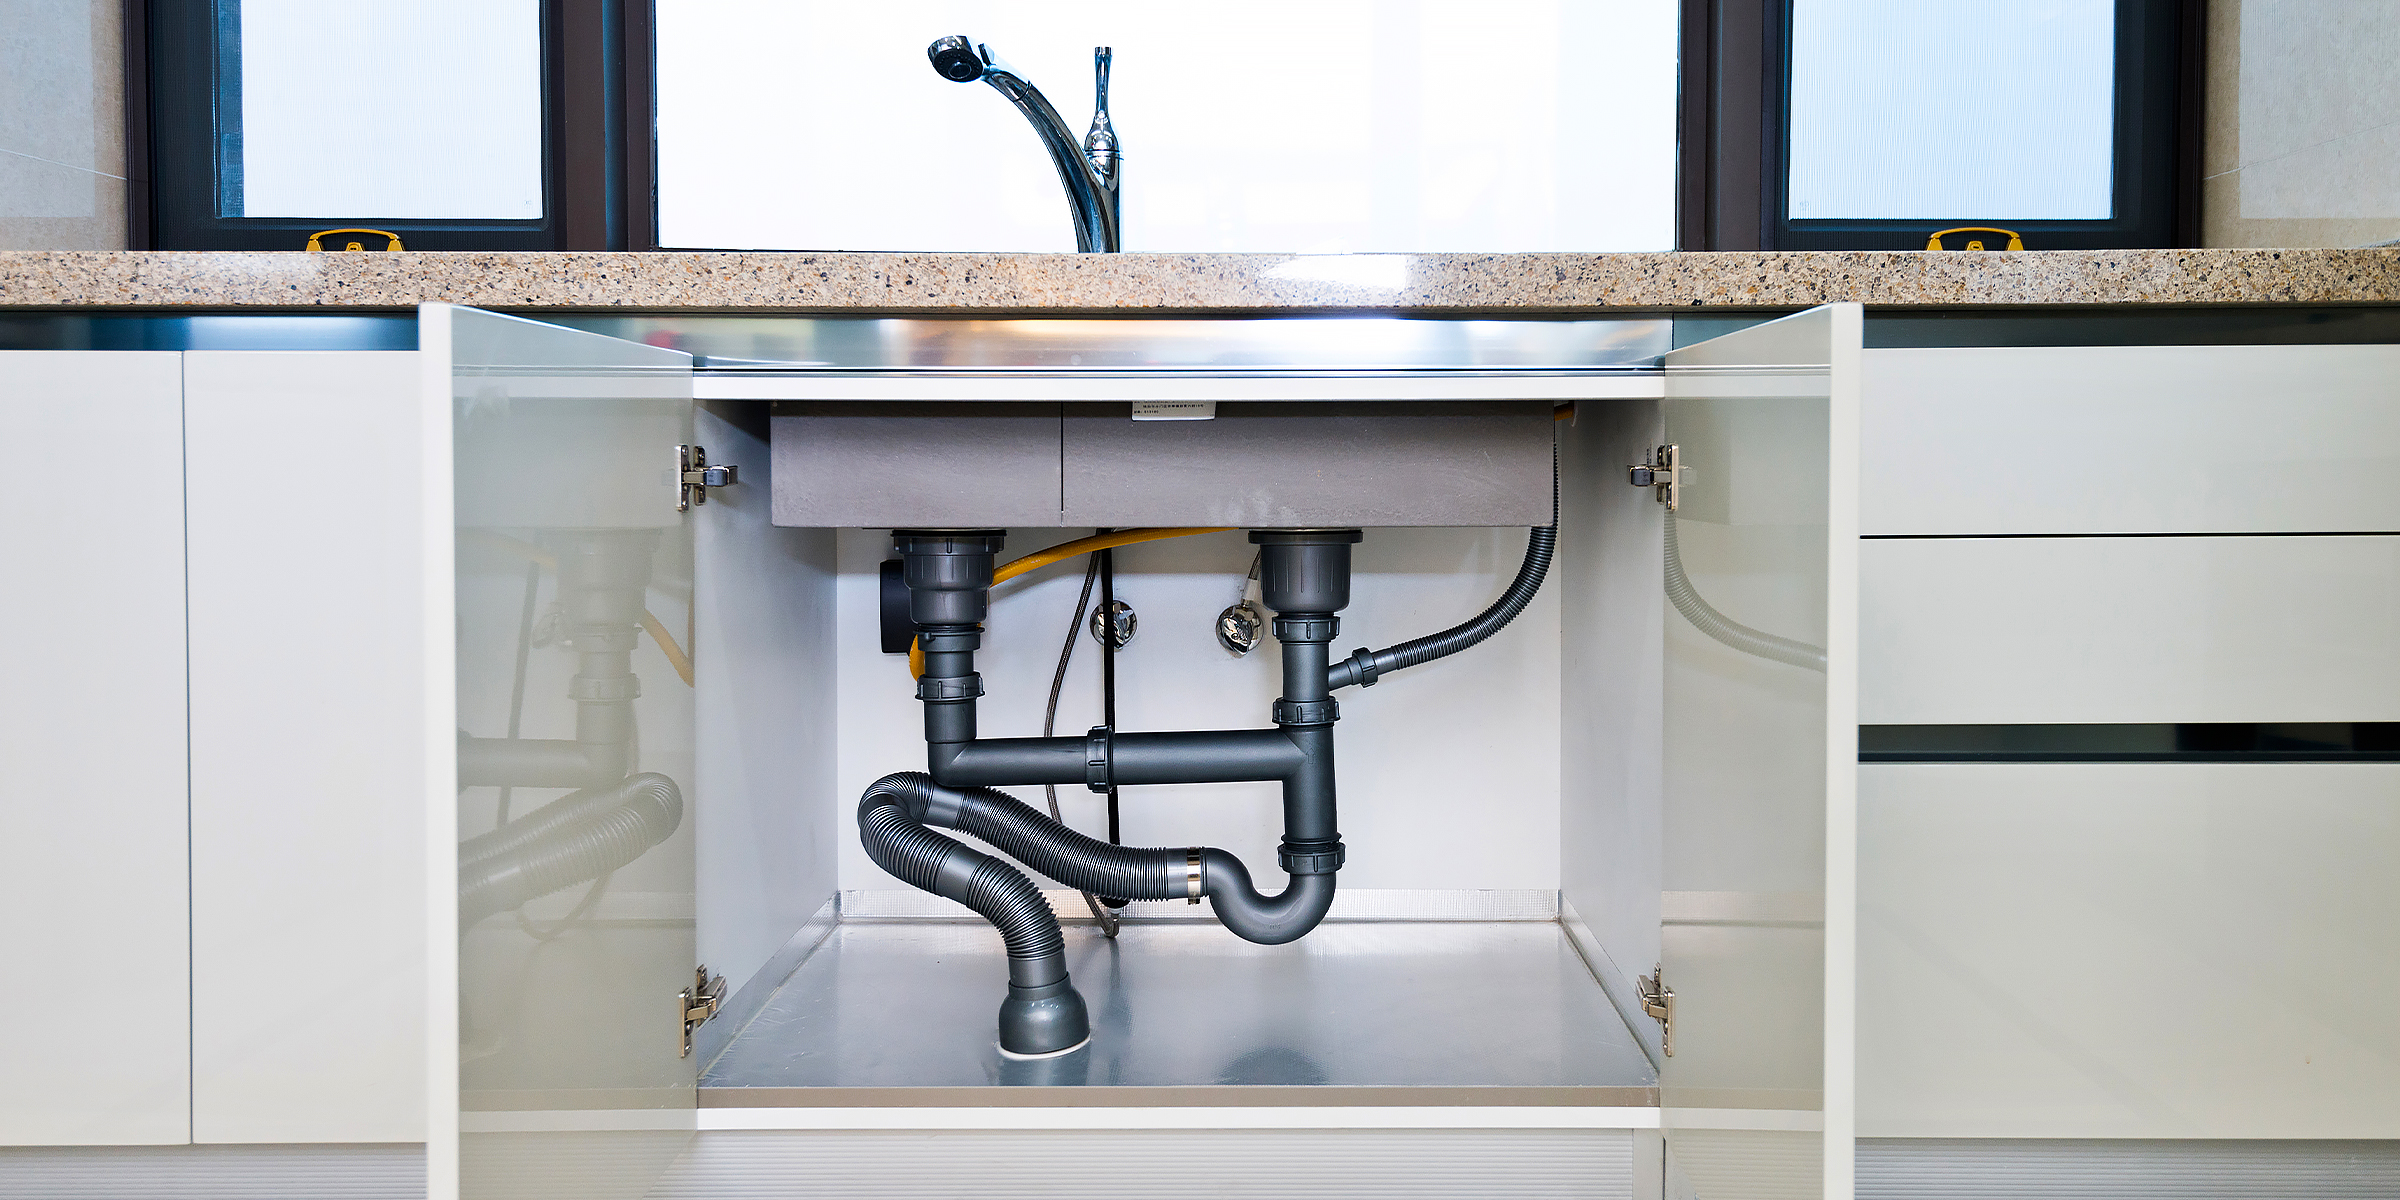
Save a few dollars by following this helpful guide on how to vent a kitchen sink under a window by yourself for a perfeclty functioning plumbing and drainage system in your home.
Feb 02, 2024
Are your favorite boots feeling loose around the calves? Whether stepping out in cowboy boots or stylish thigh-highs, achieving that perfect fit is essential for comfort and confidence. Check out these simple tips on how to make boots tighter around the calf.
Mar 01, 2024

Unlock the secret to transforming your event's seating with flair and creativity. Learn how to decorate chairs without chair covers through our guide, offering stylish and inventive DIY solutions that promise to elevate any celebration, big or small.
Mar 03, 2024
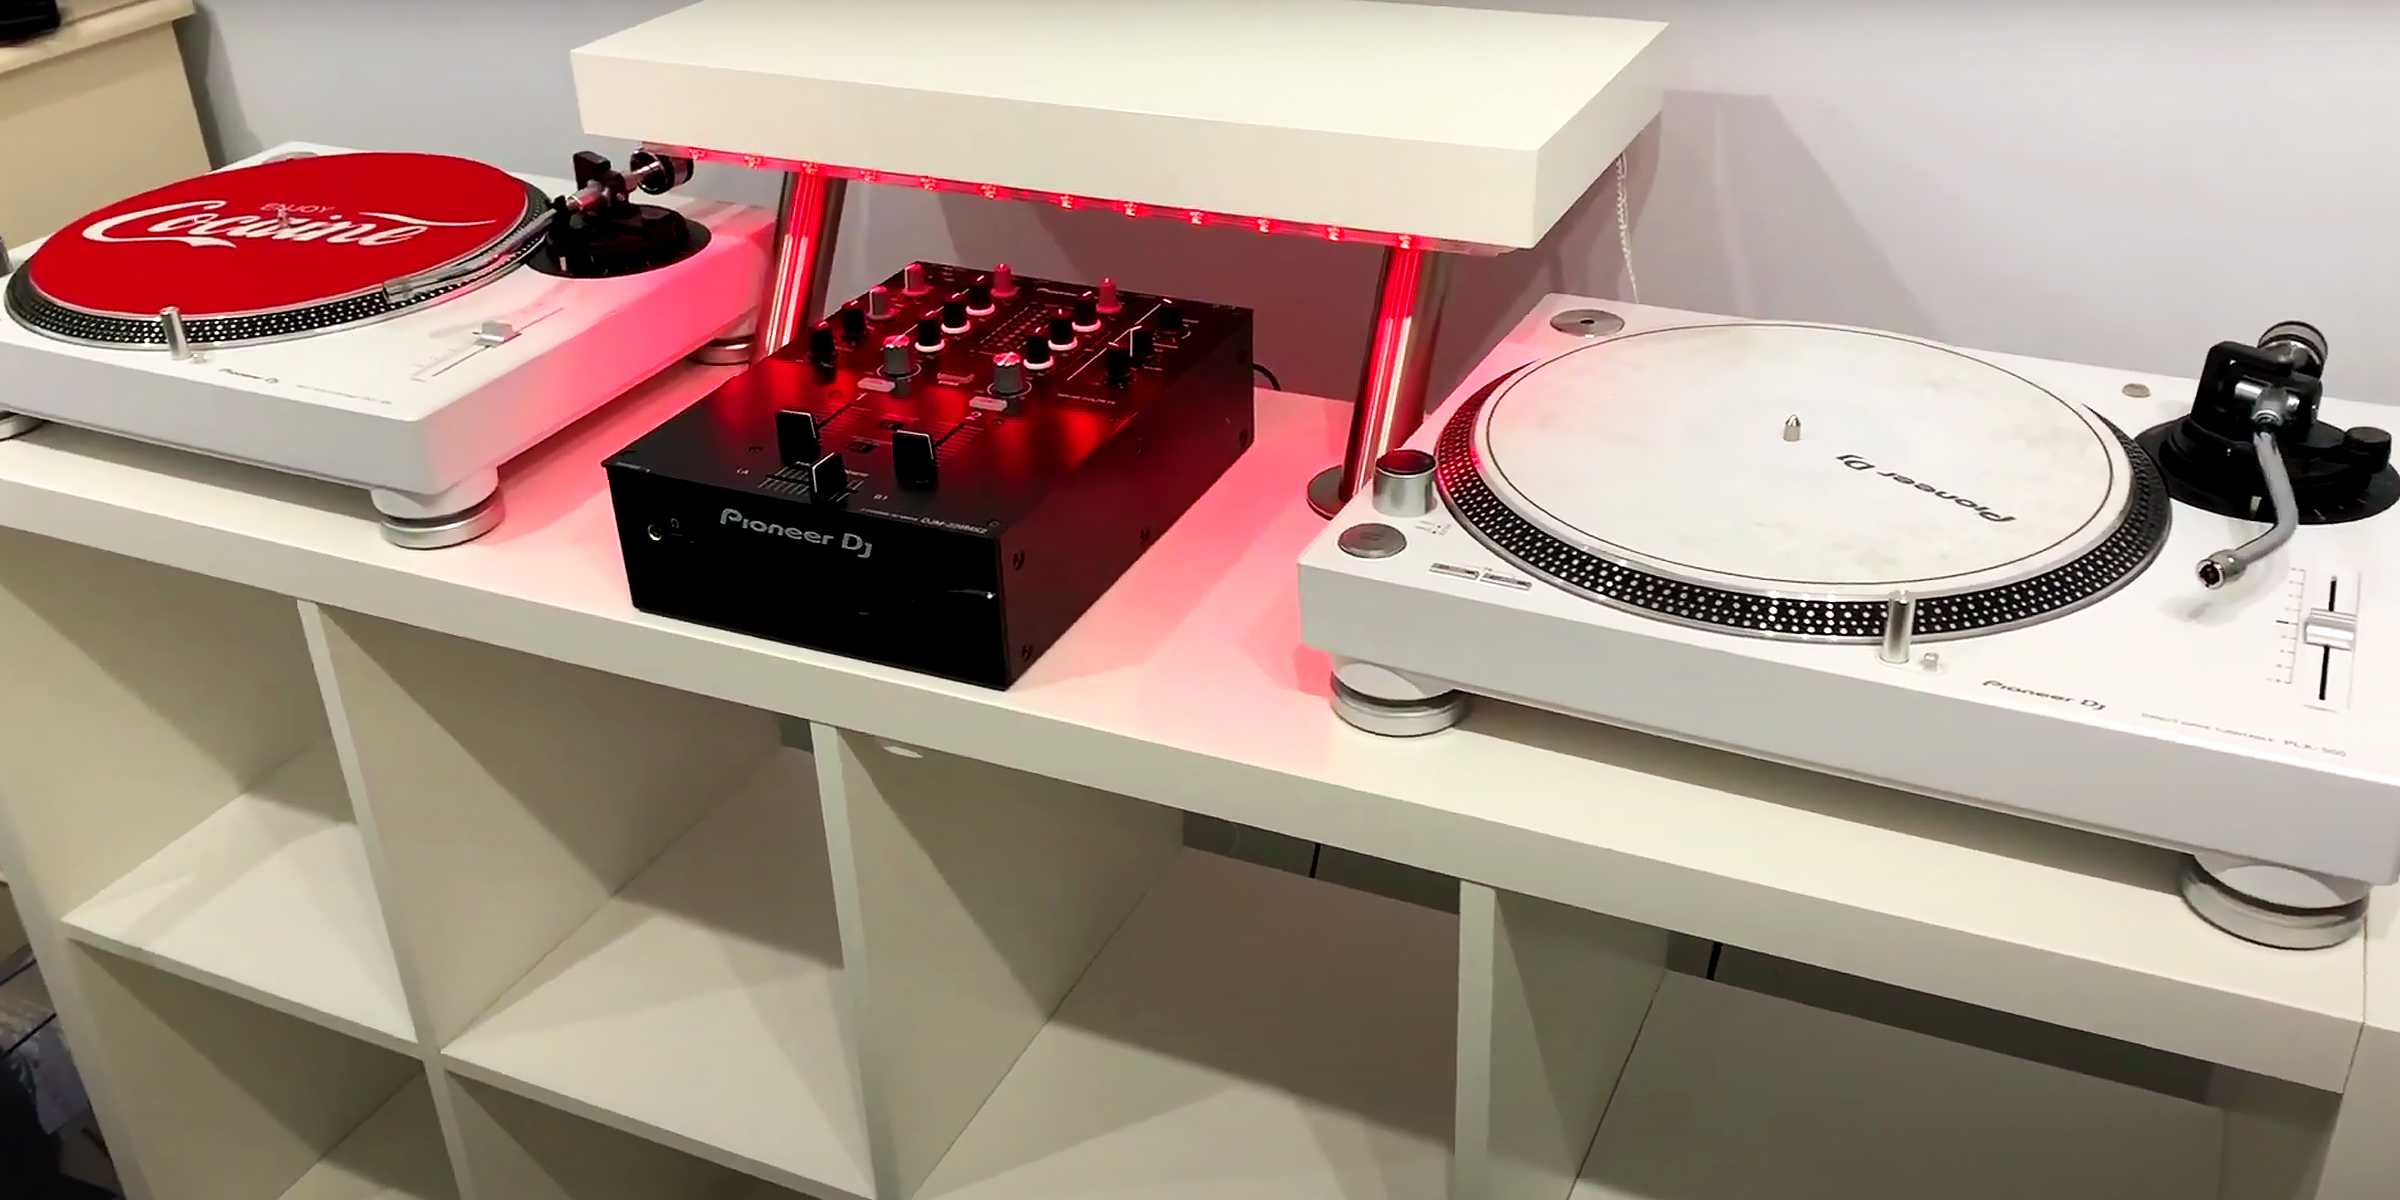
Discover how to transform your space into a DJ's dream with our guide to crafting a DIY DJ booth. From assembling IKEA furniture to adding personalized touches. It's time to unleash your creativity and elevate your DJing experience.
Feb 17, 2024

Handfasting is an old wedding tradition that beautifully demonstrates two people's love and commitment to one another. This symbolic act is said to date back over several millennia.
Dec 14, 2023
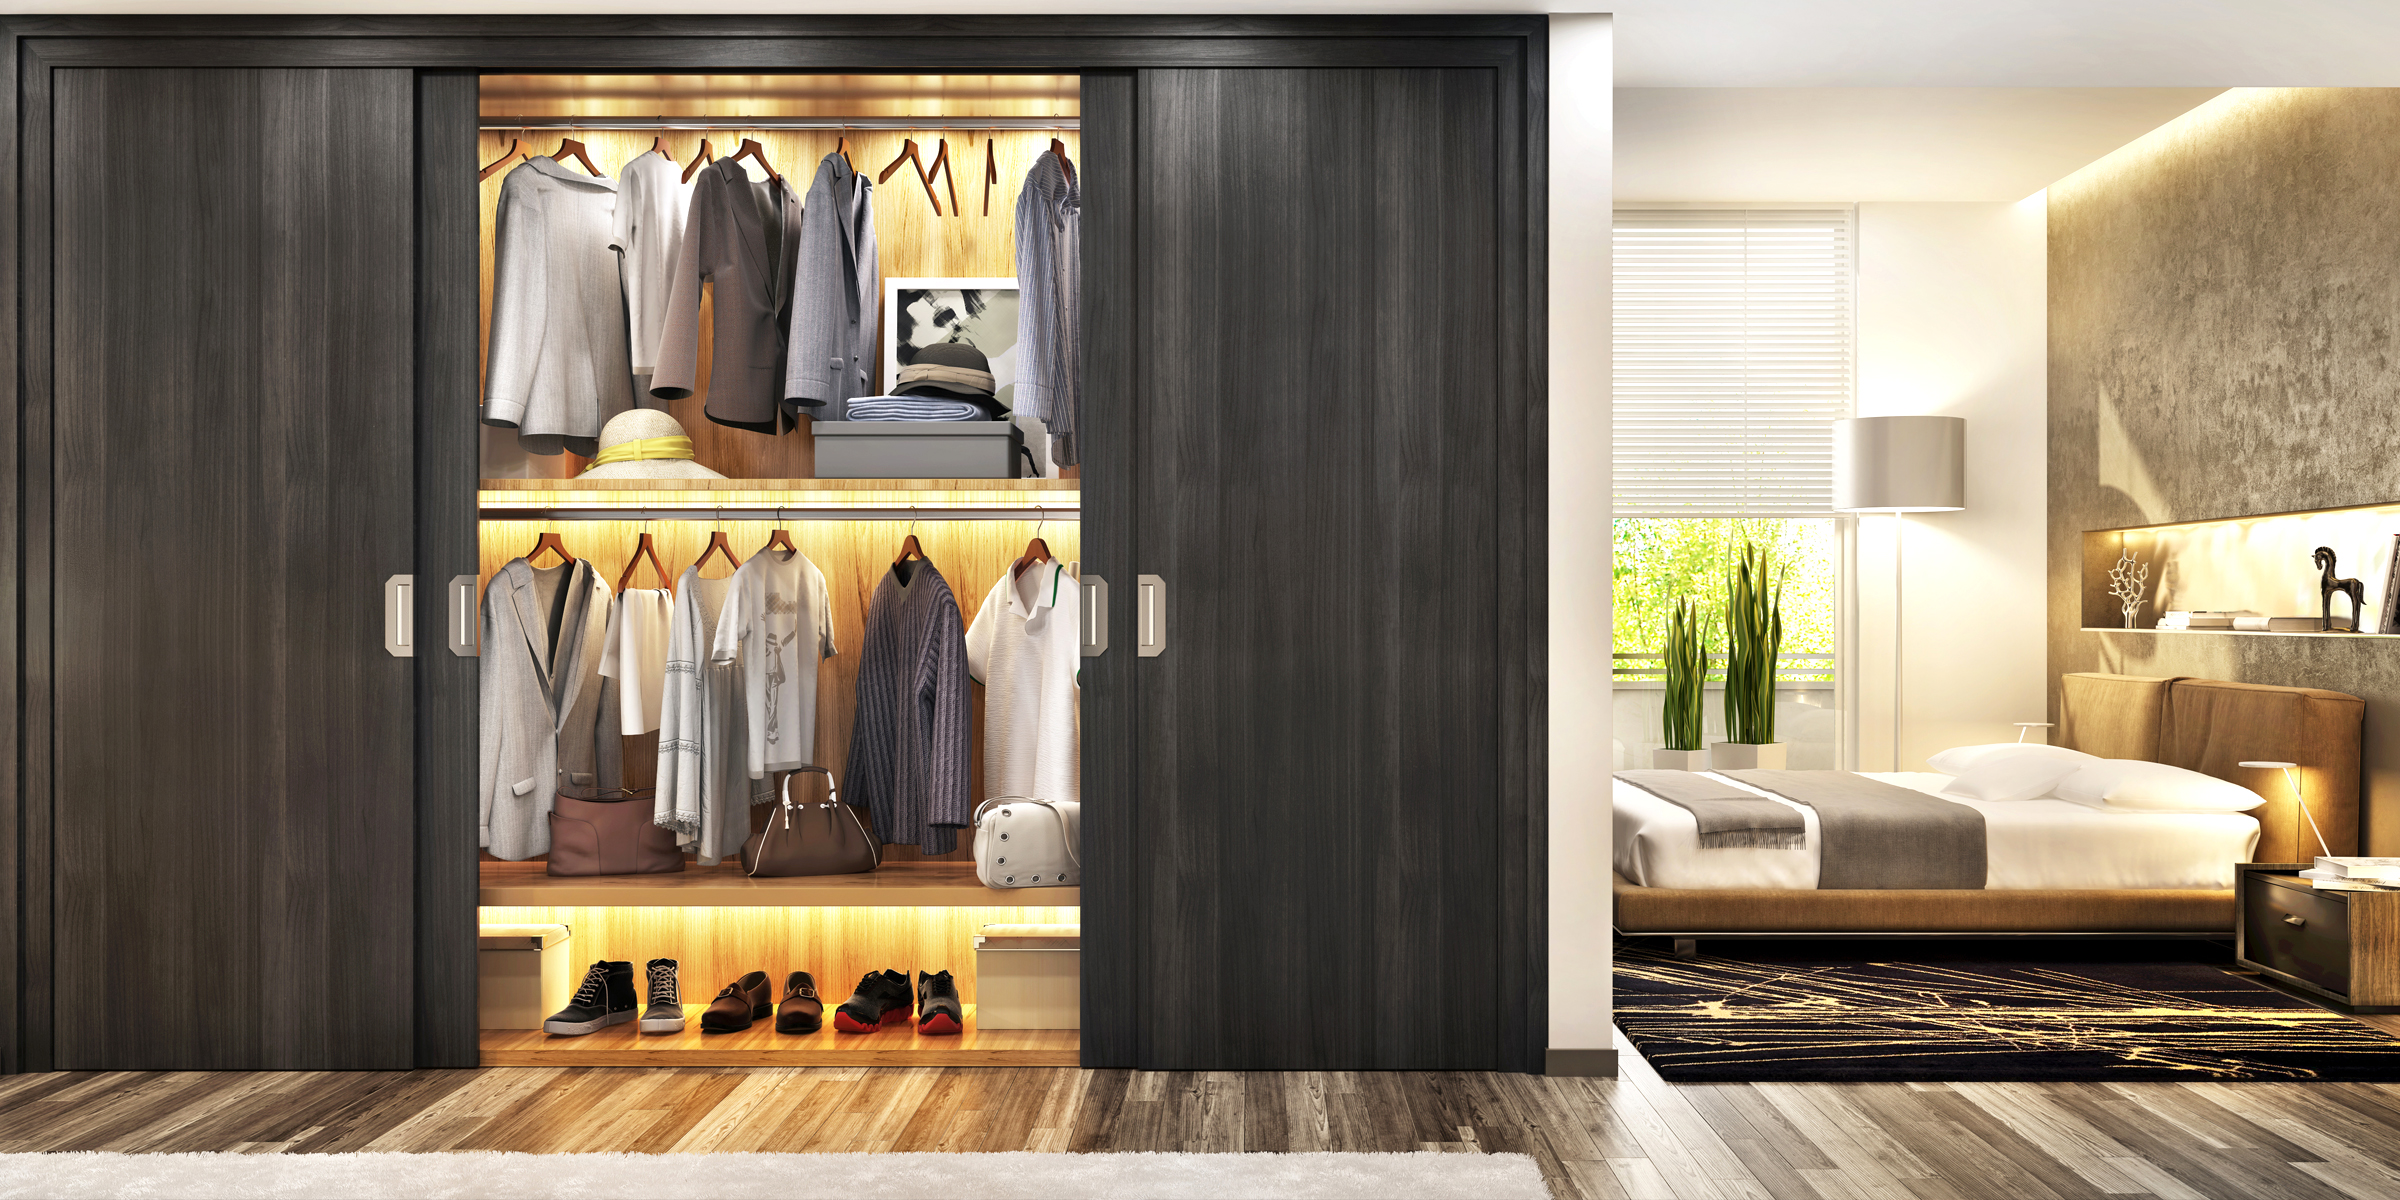
Embark on a creative journey and revamp your bedroom aesthetics with a DIY wardrobe door. With a touch of ingenuity and these simple steps, you can tailor a personalized and budget-friendly solution.
Feb 03, 2024

Crystal suncatchers are not only stunning decorative pieces, but they are also a unique way to fill your home with sunlight and positive energy. Enjoy the almost magical properties of this beautiful ornament with this DIY crystal suncatcher guide.
Jan 15, 2024
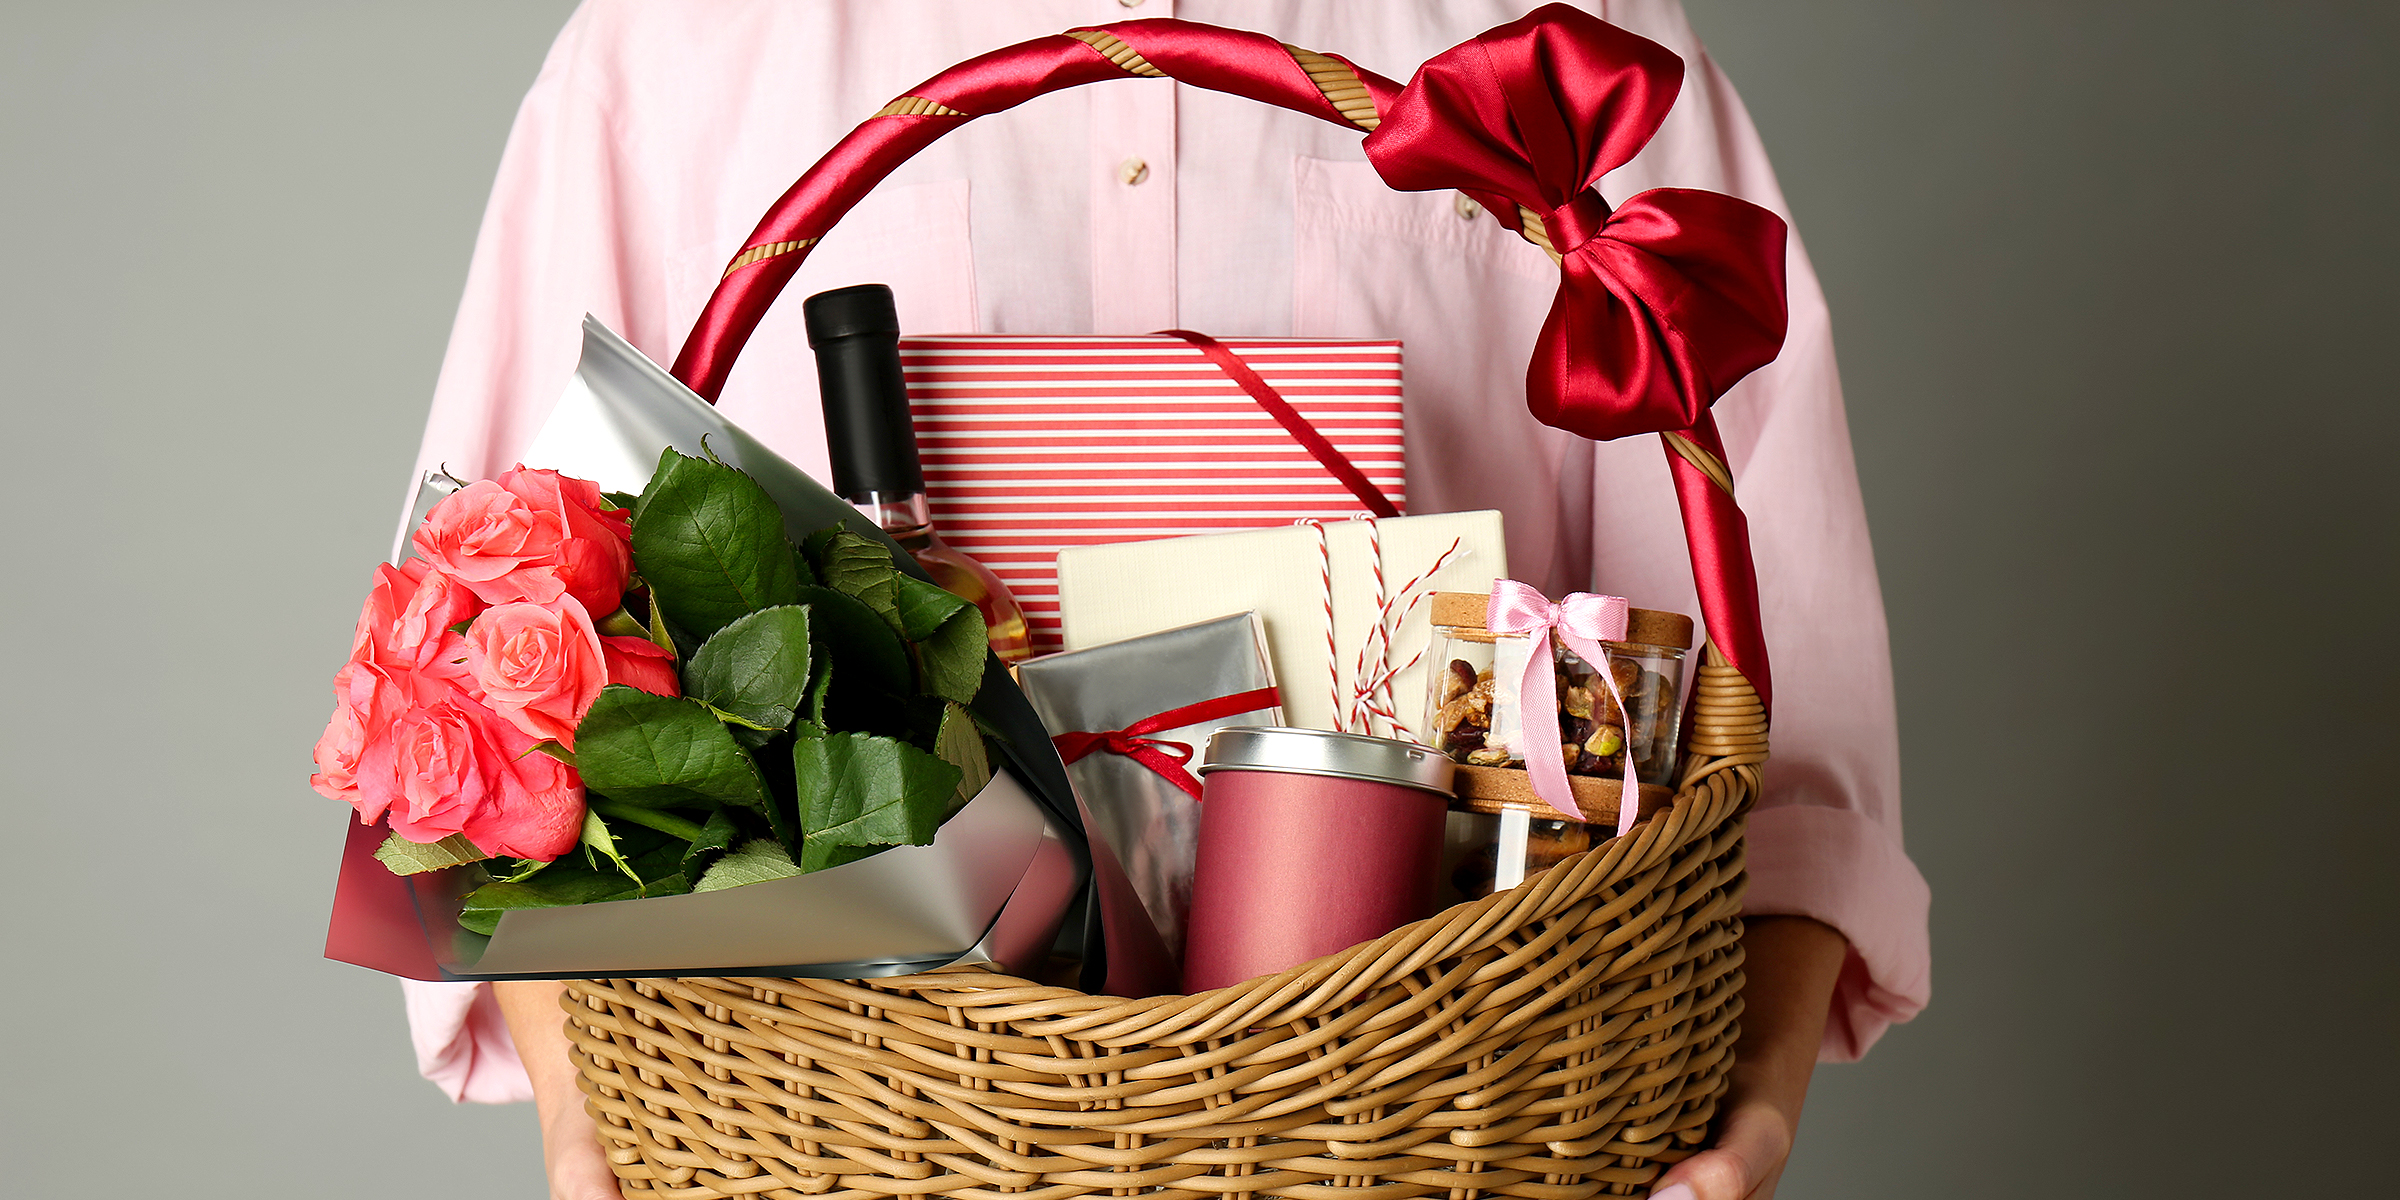
Gift wrapping is not merely about hiding what is inside; it is a way to make a statement, convey care, and transform a simple gesture into a lasting memory.
Dec 21, 2023
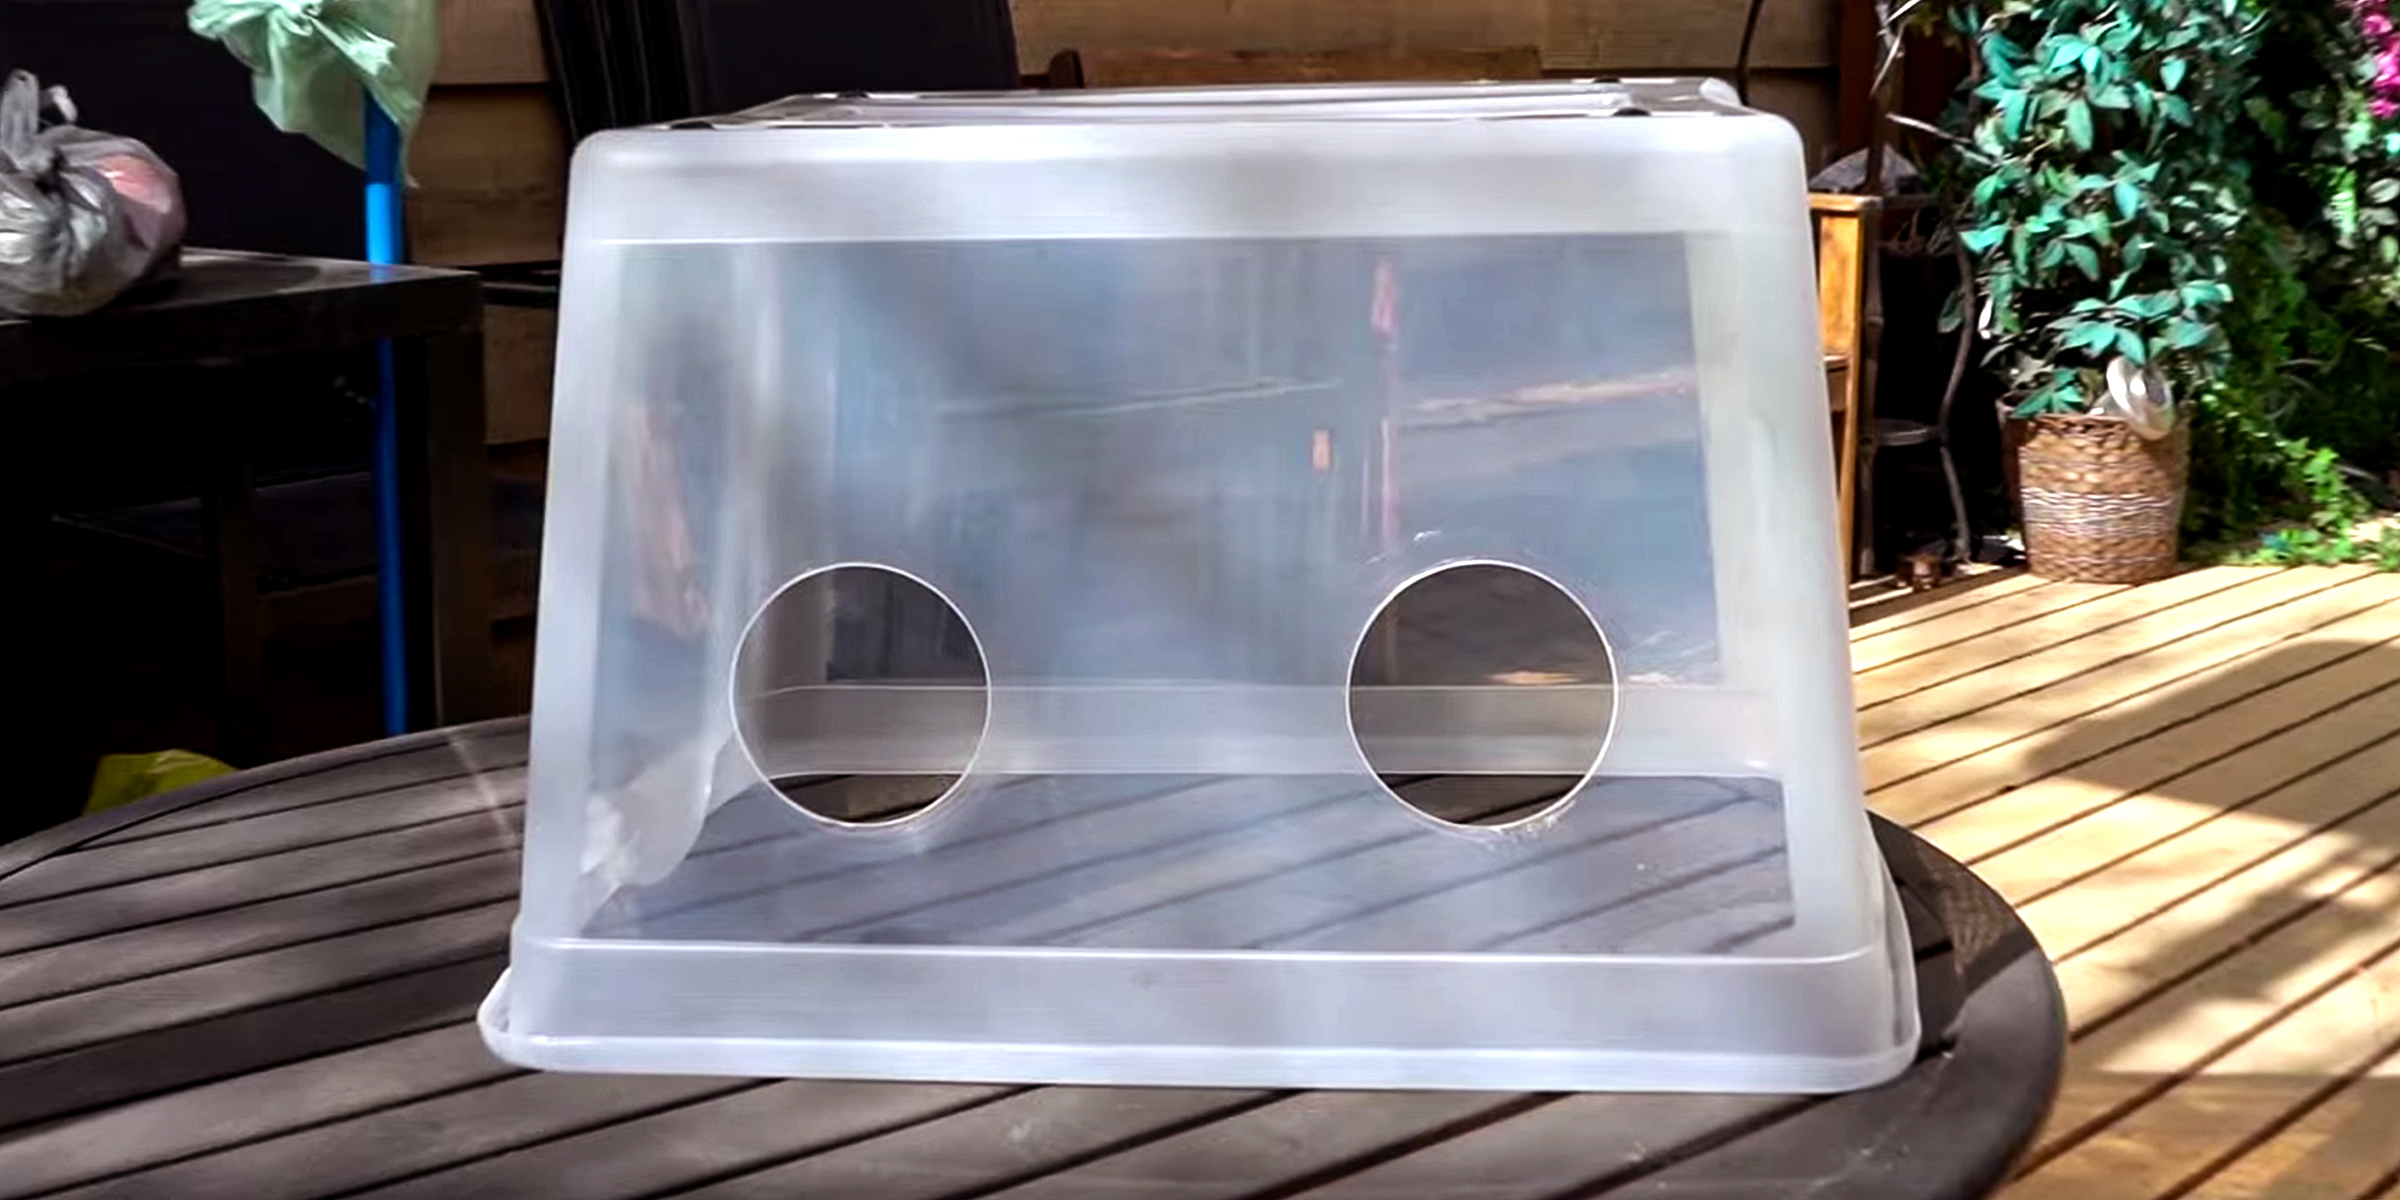
If you're a mycology expert or enthusiast, you probably know the importance of a still air box in your work. However, if you're opposed to buying one, here's how to build a still air box DIY-style.
Feb 08, 2024

Transforming long car rides with children into fun-filled adventures is possible. Yet, managing sibling conflicts can be tough. Explore inventive solutions to foster peace and harmony between your little ones.
Feb 15, 2024
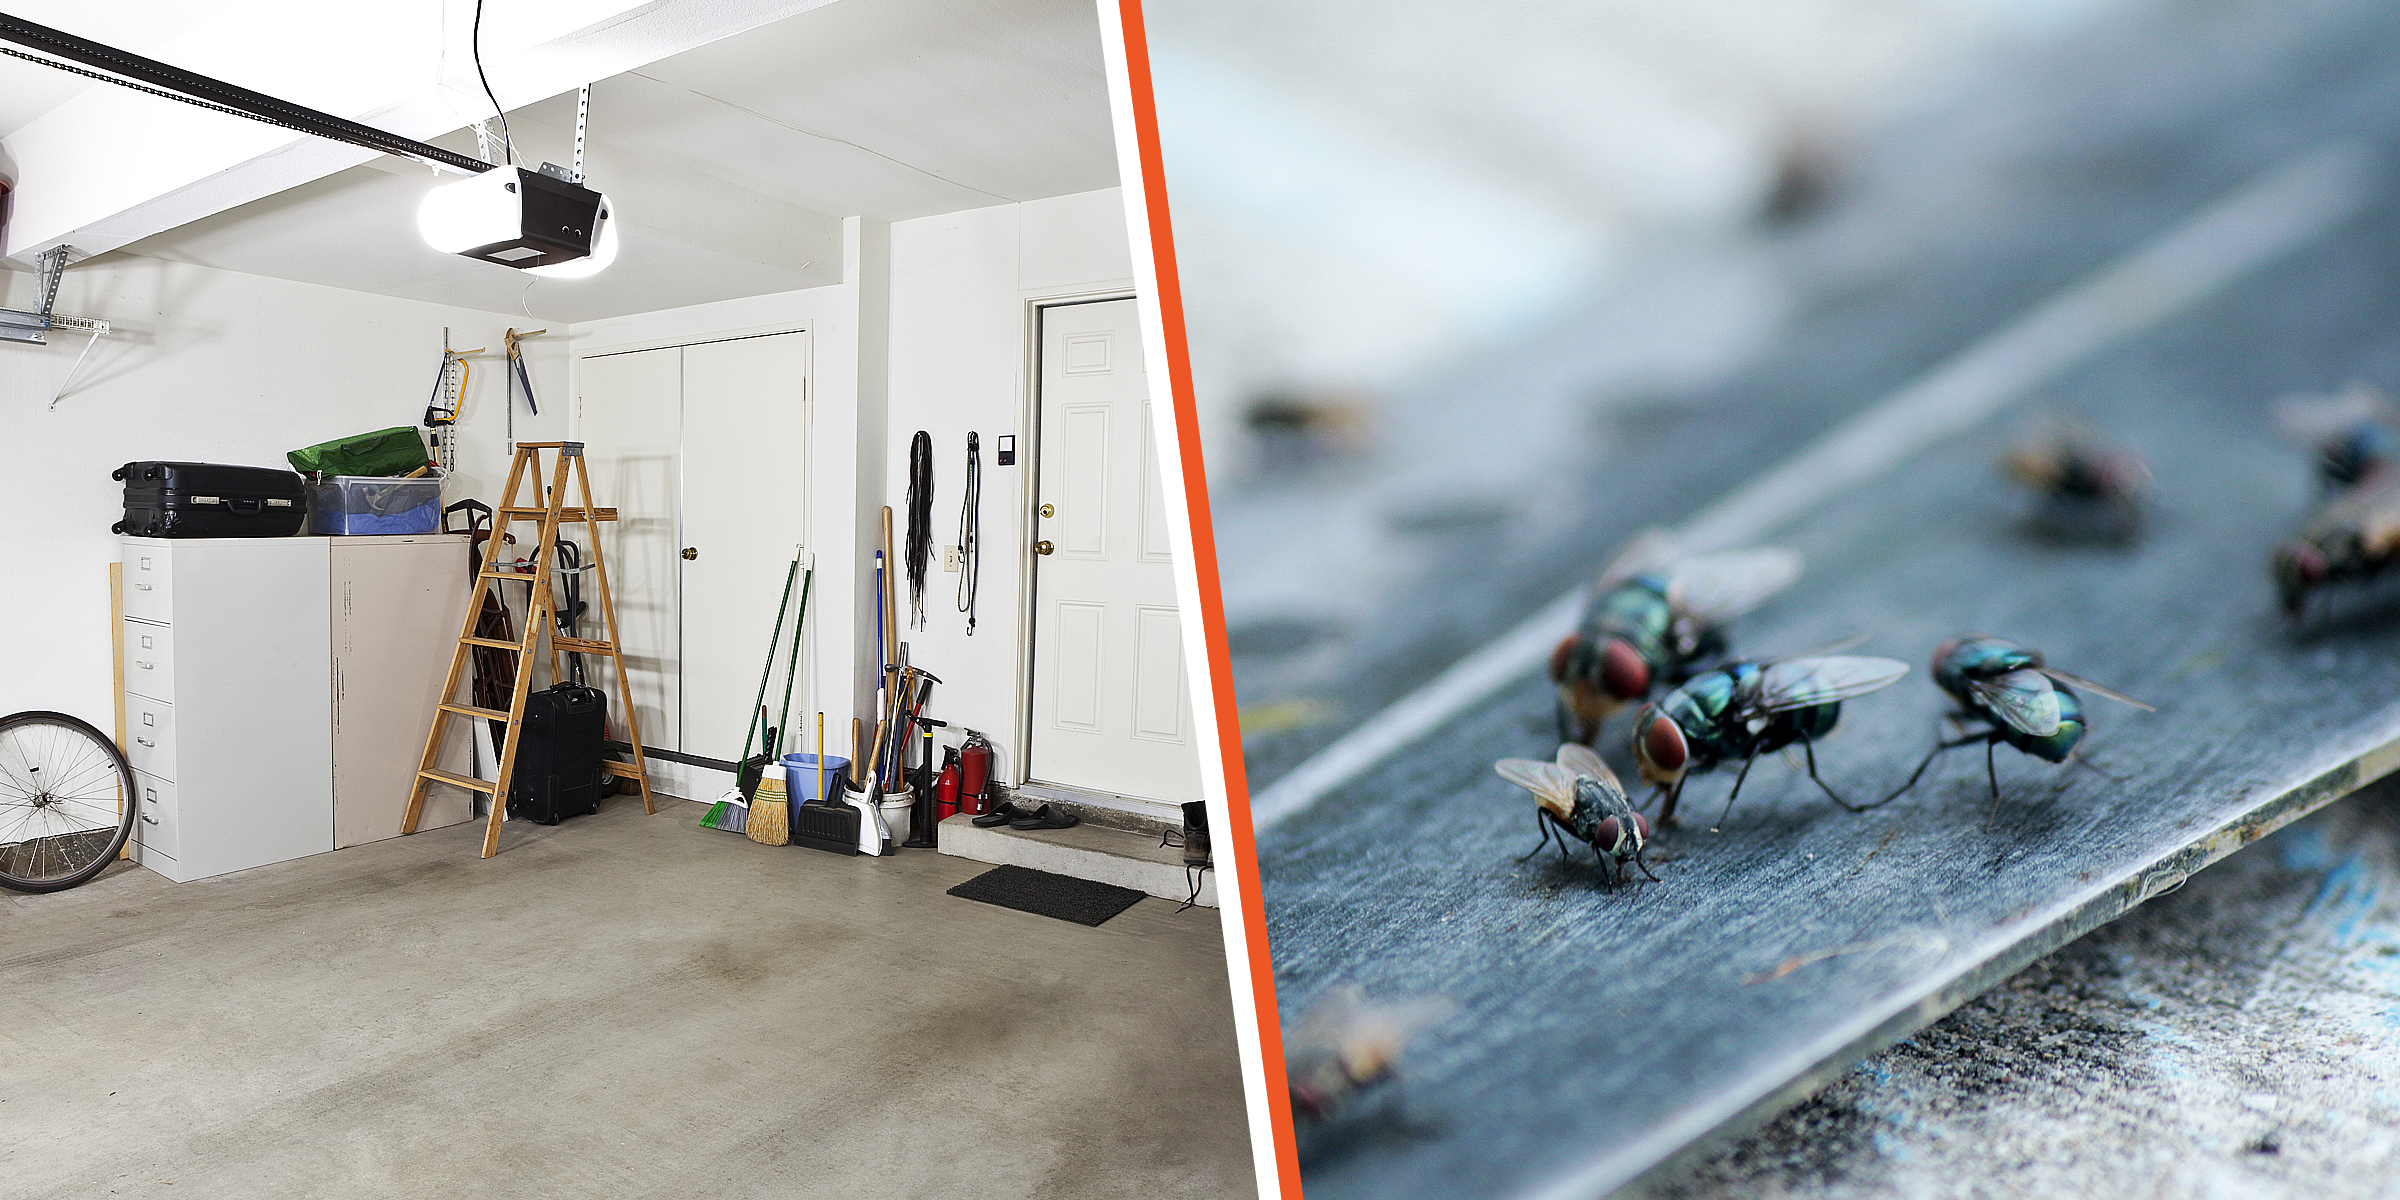
Do you want to learn how to get rid of flies in your garage? In this guide, you’ll discover 3 effective methods and expert tips to reclaim your garage space from these bothersome insects. Say goodbye to buzzing nuisances and hello to a fly-free zone.
Feb 19, 2024

Protect your family from the sun's harsh rays while saving a few dollars with this DIY Shibumi Shade hack for the perfect beach day with your loved ones.
Jan 30, 2024
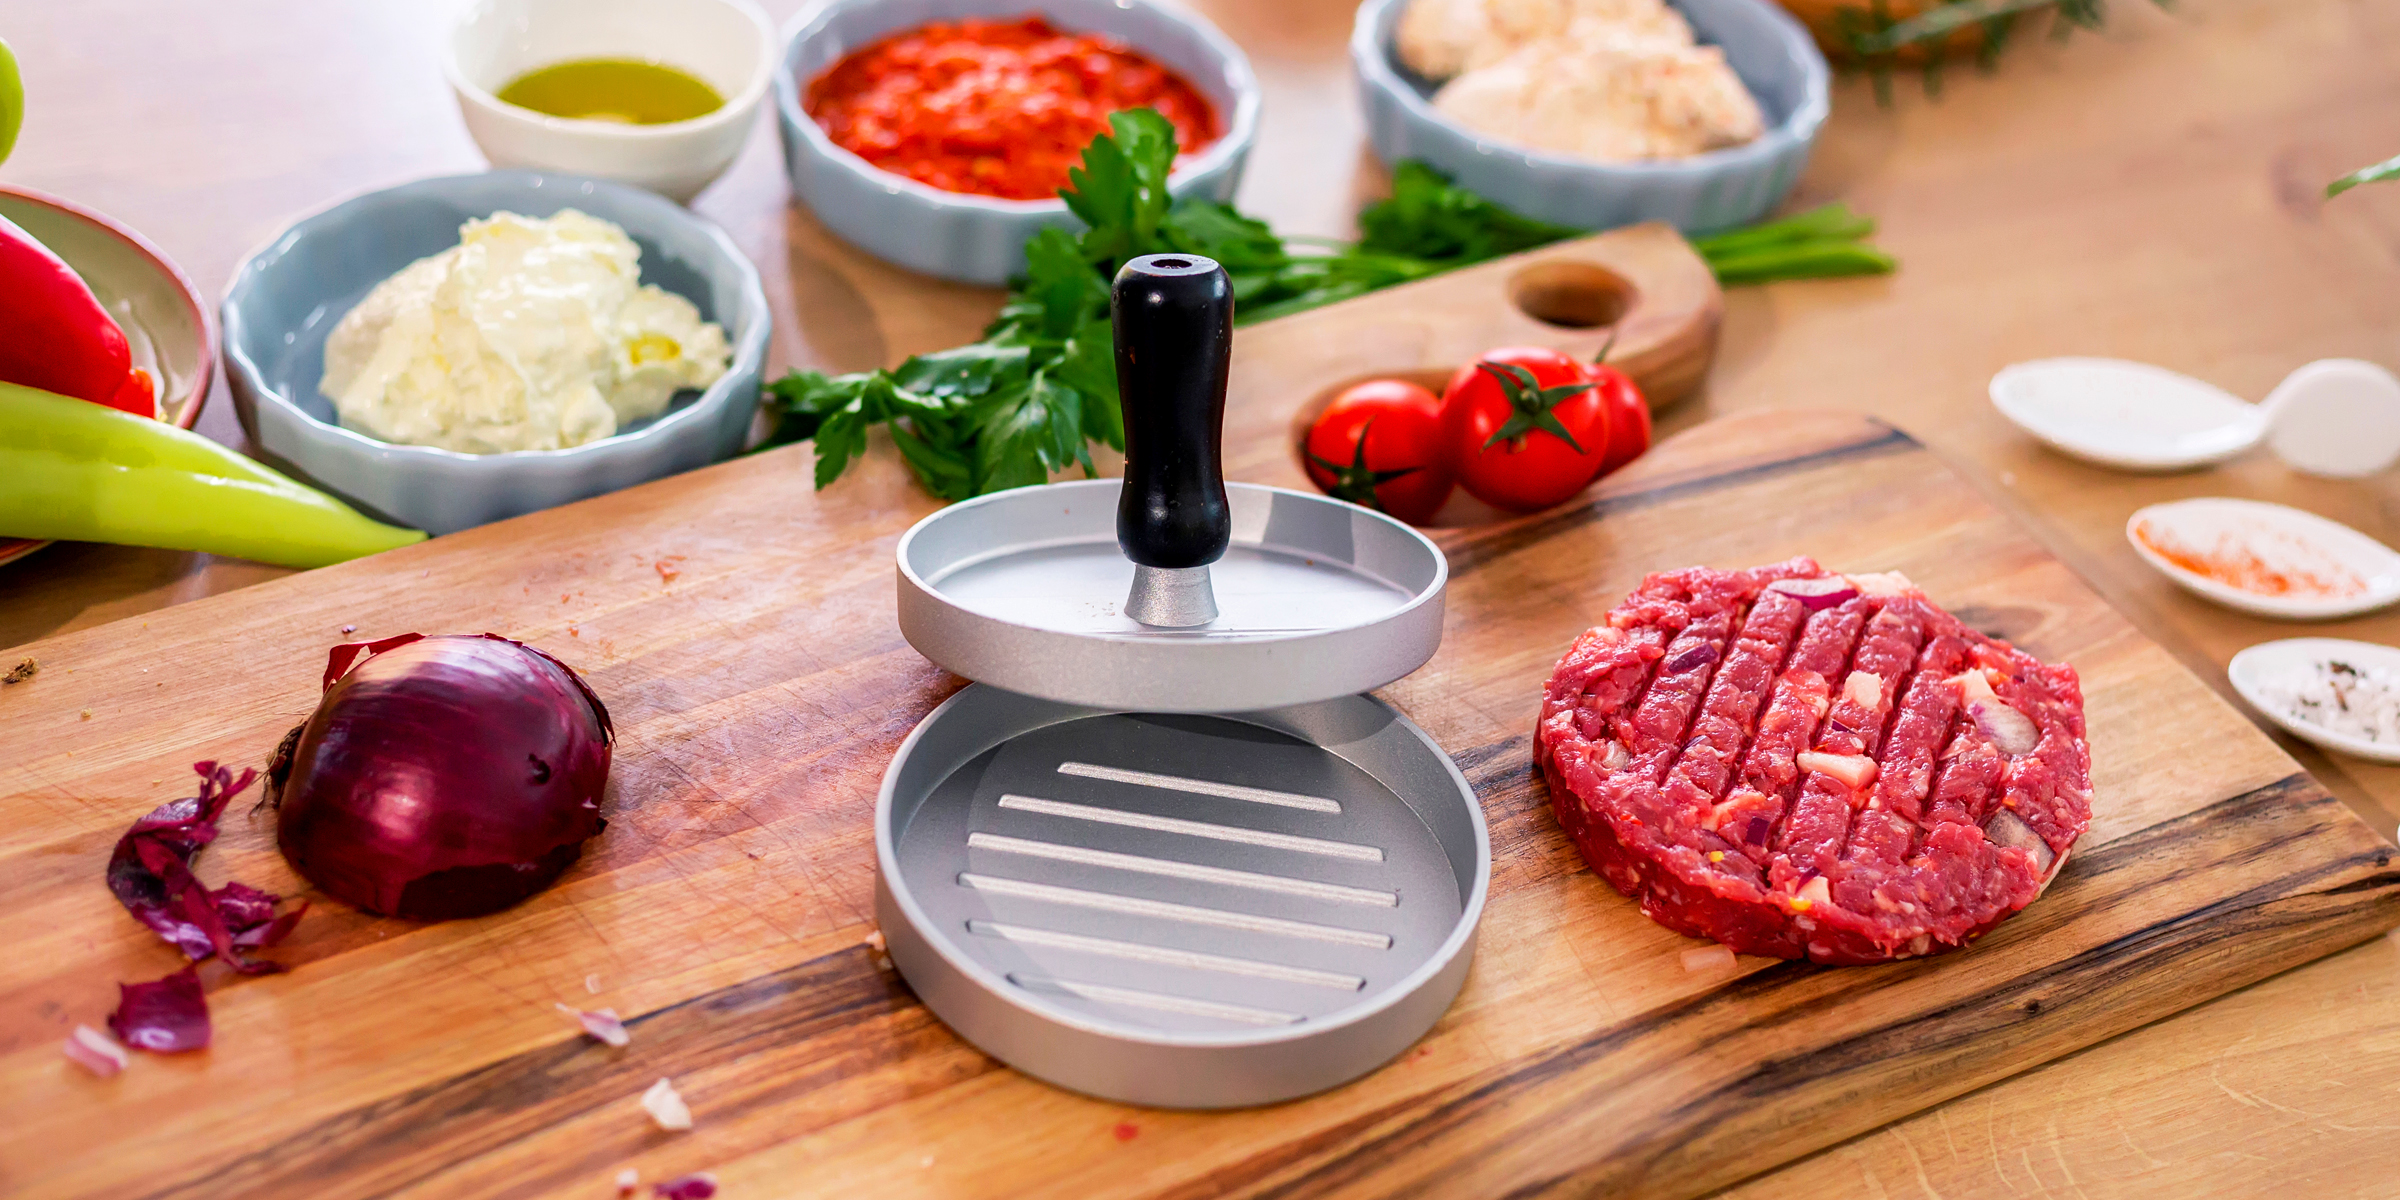
If you've been planning to buy a burger press, it's time to save that cash. In this article, you'll learn how to create a simple DIY burger press to make you the perfect patties.
Feb 11, 2024
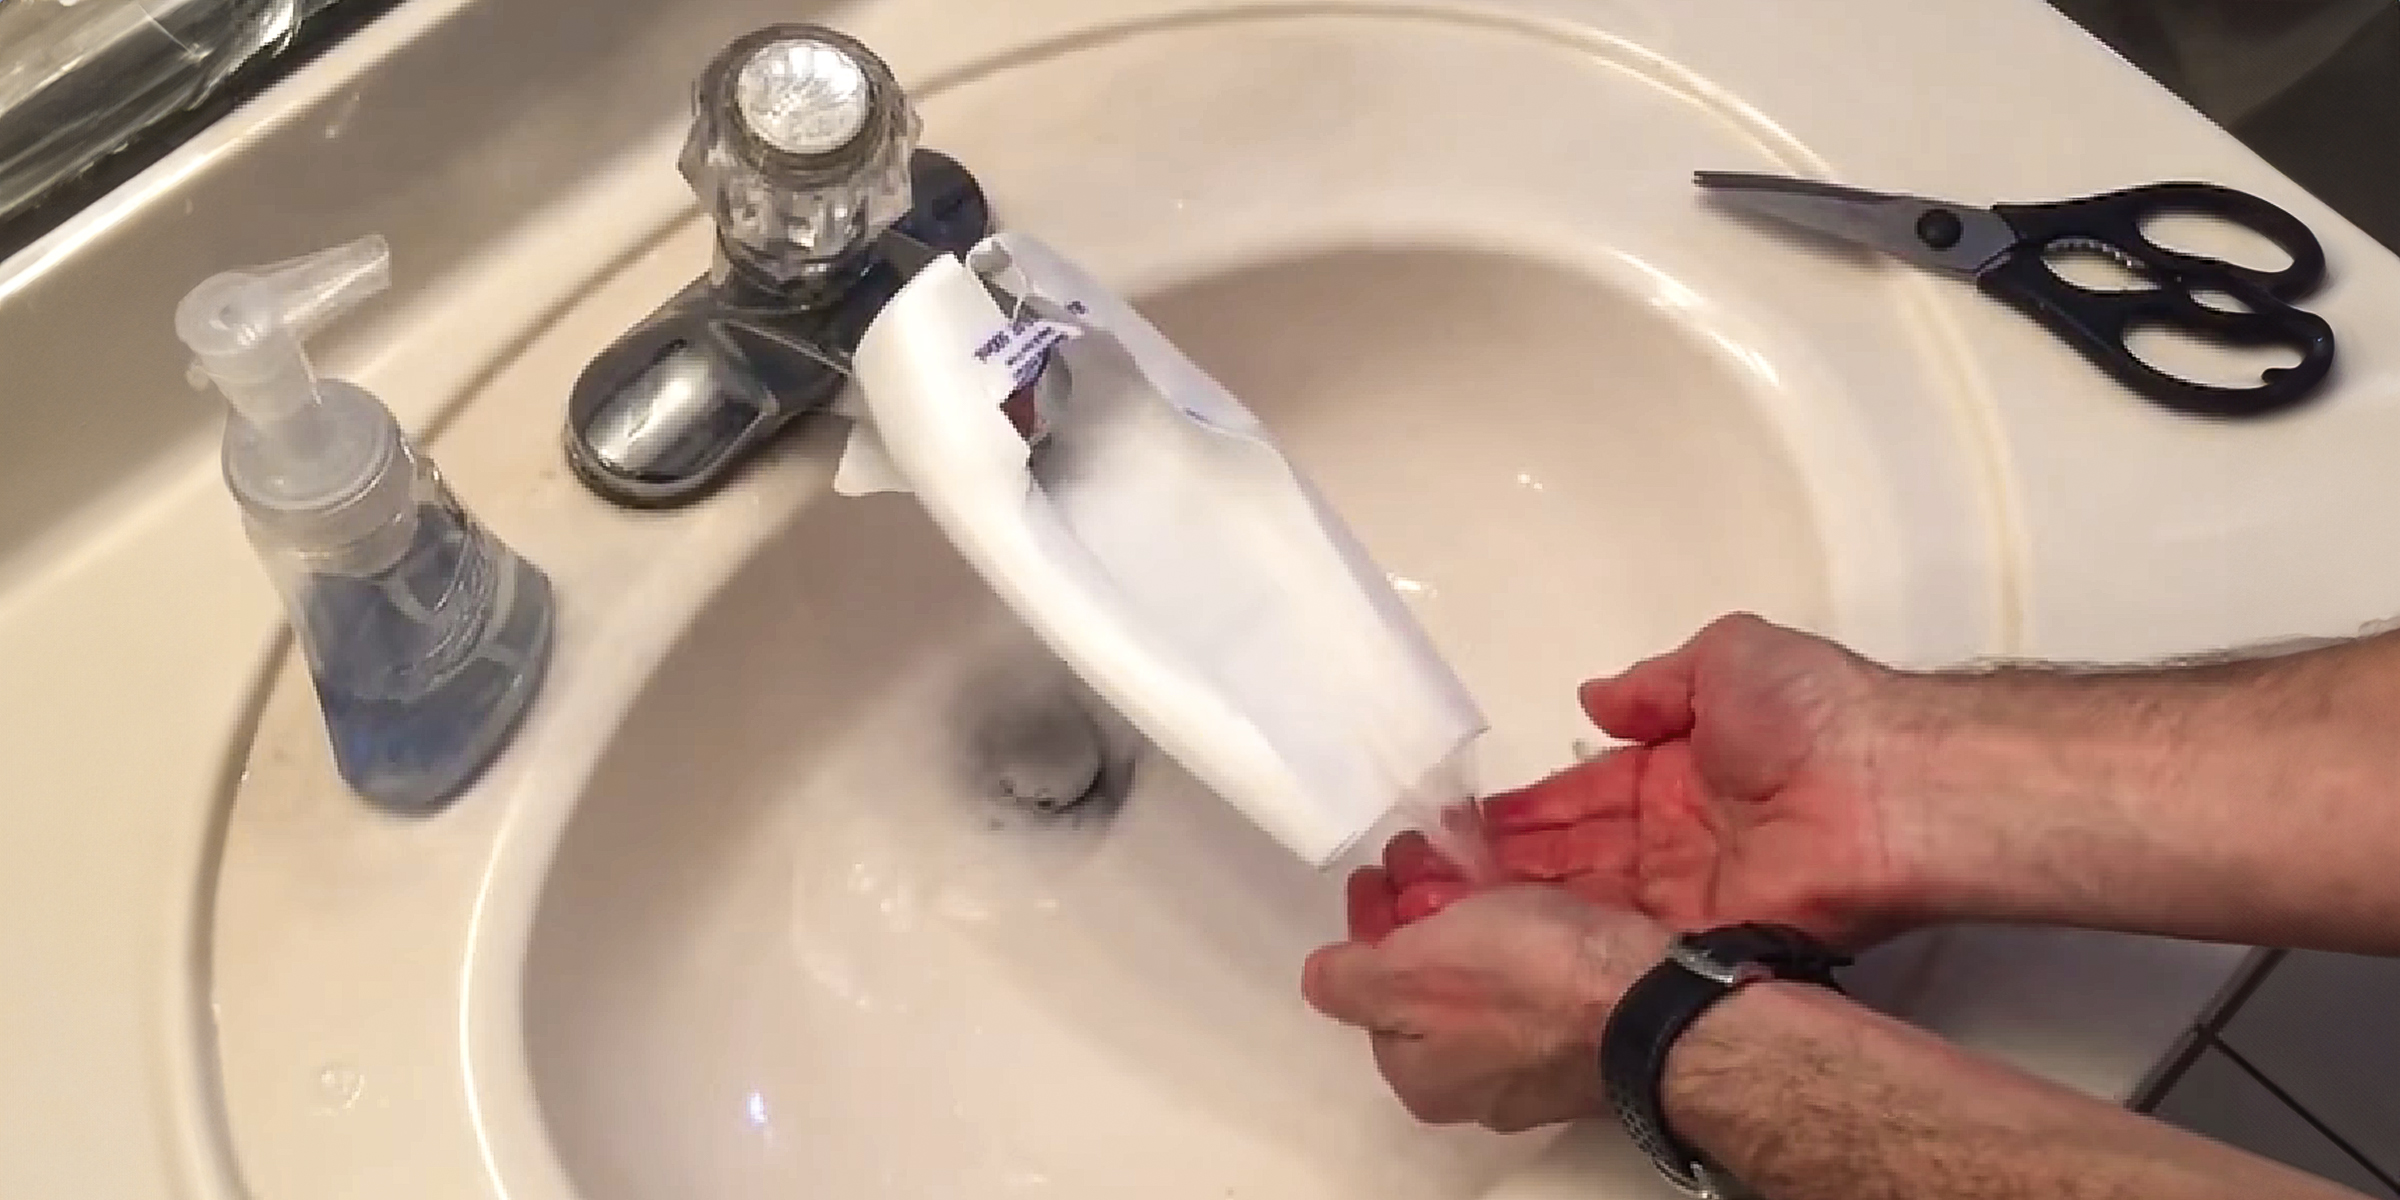
If you're dealing with the challenge of little ones struggling to reach faucets, a practical solution is to craft a DIY faucet extender. You can easily accomplish this in just a few simple steps.
Feb 05, 2024