DIY Montessori Bookshelf — a Handy Guide to Crafting a Child-Friendly Reading Space
Feb 04, 2024


Tiki huts are making a significant comeback, captivating enthusiasts with their distinctive charm that transports you to a serene paradise. Embark on a journey to transform your backyard into a tranquil oasis with our step-by-step guide on how to make a Tiki Hut.
In a world where the hustle and bustle of daily life can be overwhelming, creating a personal sanctuary that exudes peace, tranquility, and relaxation has never been more appealing.
If you've ever dreamt of crafting your own slice of paradise, learning how to make a Tiki Hut is your gateway to transforming your backyard into an exotic retreat.
Follow along as we guide you through the process of constructing your very own Tiki Hut, ensuring your space becomes the ultimate retreat for unwinding and entertaining. Get ready to unleash your creativity and bring a slice of paradise right to your doorstep.
Creating your Tiki Hut is an adventure in itself, offering a unique way to enhance your living space with a touch of tropical paradise. From the initial planning stages to the finishing decorative touches, each step brings you closer to a personal haven of relaxation and enjoyment.
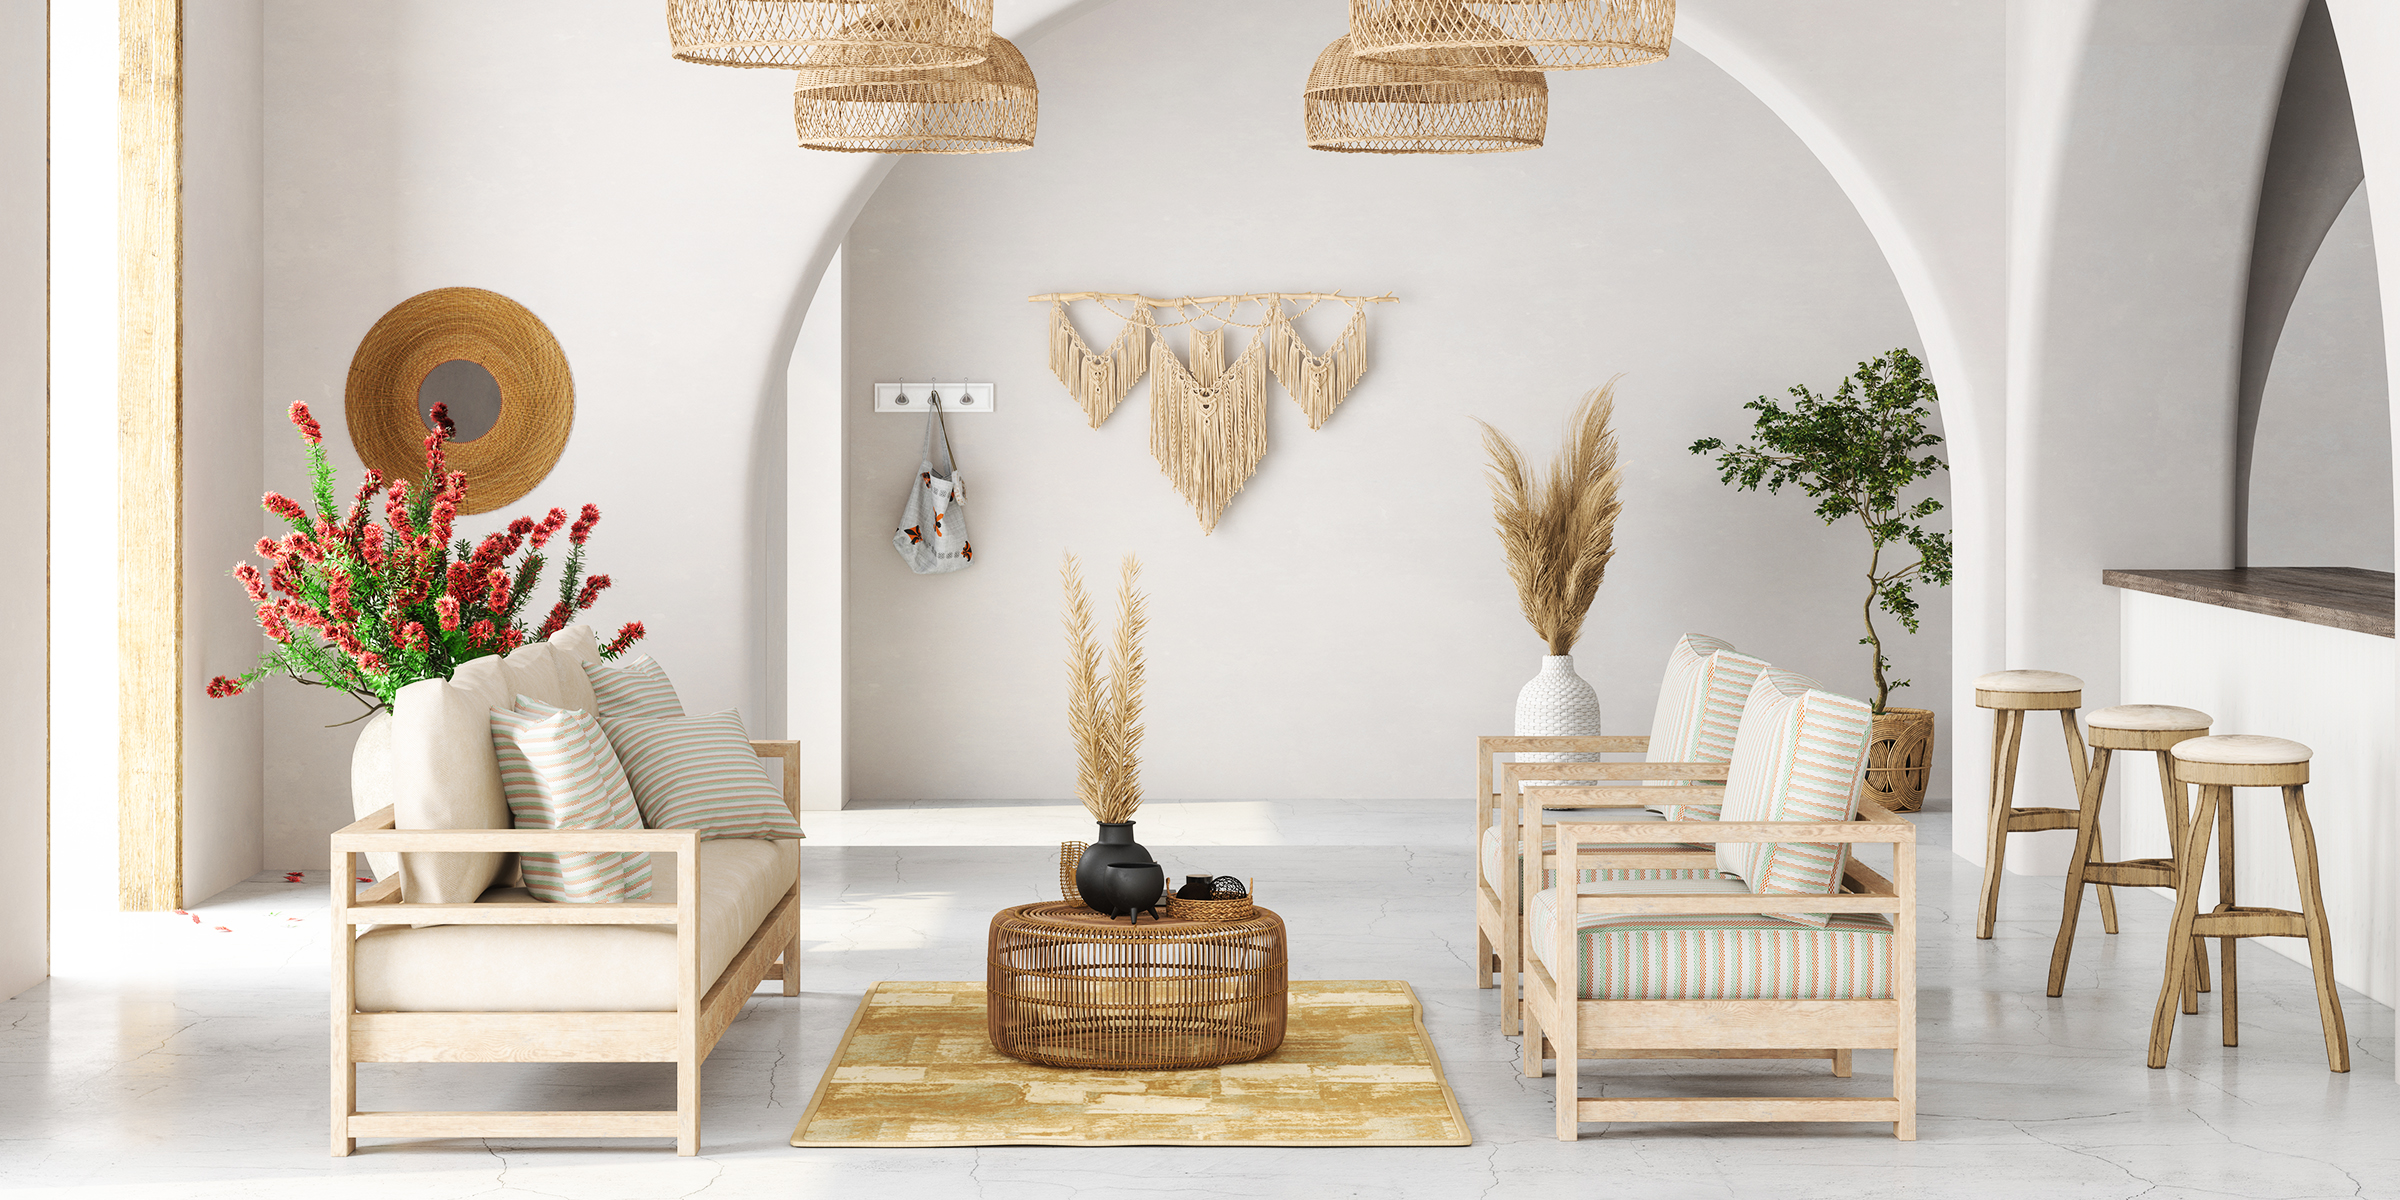
Eager to expand your DIY horizons with another project? Explore our guide on how to craft a DIY wooden arch backdrop to continue transforming your home into a hub of creativity and style.

For those considering giving their mobile space a facelift, one pressing question looms: how much does it cost to remodel a mobile home? The answer isn't straightforward, as costs can vary widely based on several factors.
Feb 21, 2024

Crystal suncatchers are not only stunning decorative pieces, but they are also a unique way to fill your home with sunlight and positive energy. Enjoy the almost magical properties of this beautiful ornament with this DIY crystal suncatcher guide.
Jan 15, 2024

If you're looking to seamlessly combine wood and tile flooring in your home, continue reading for helpful tips, including tricks on blending these two flooring types for a harmonious finish.
Jan 23, 2024
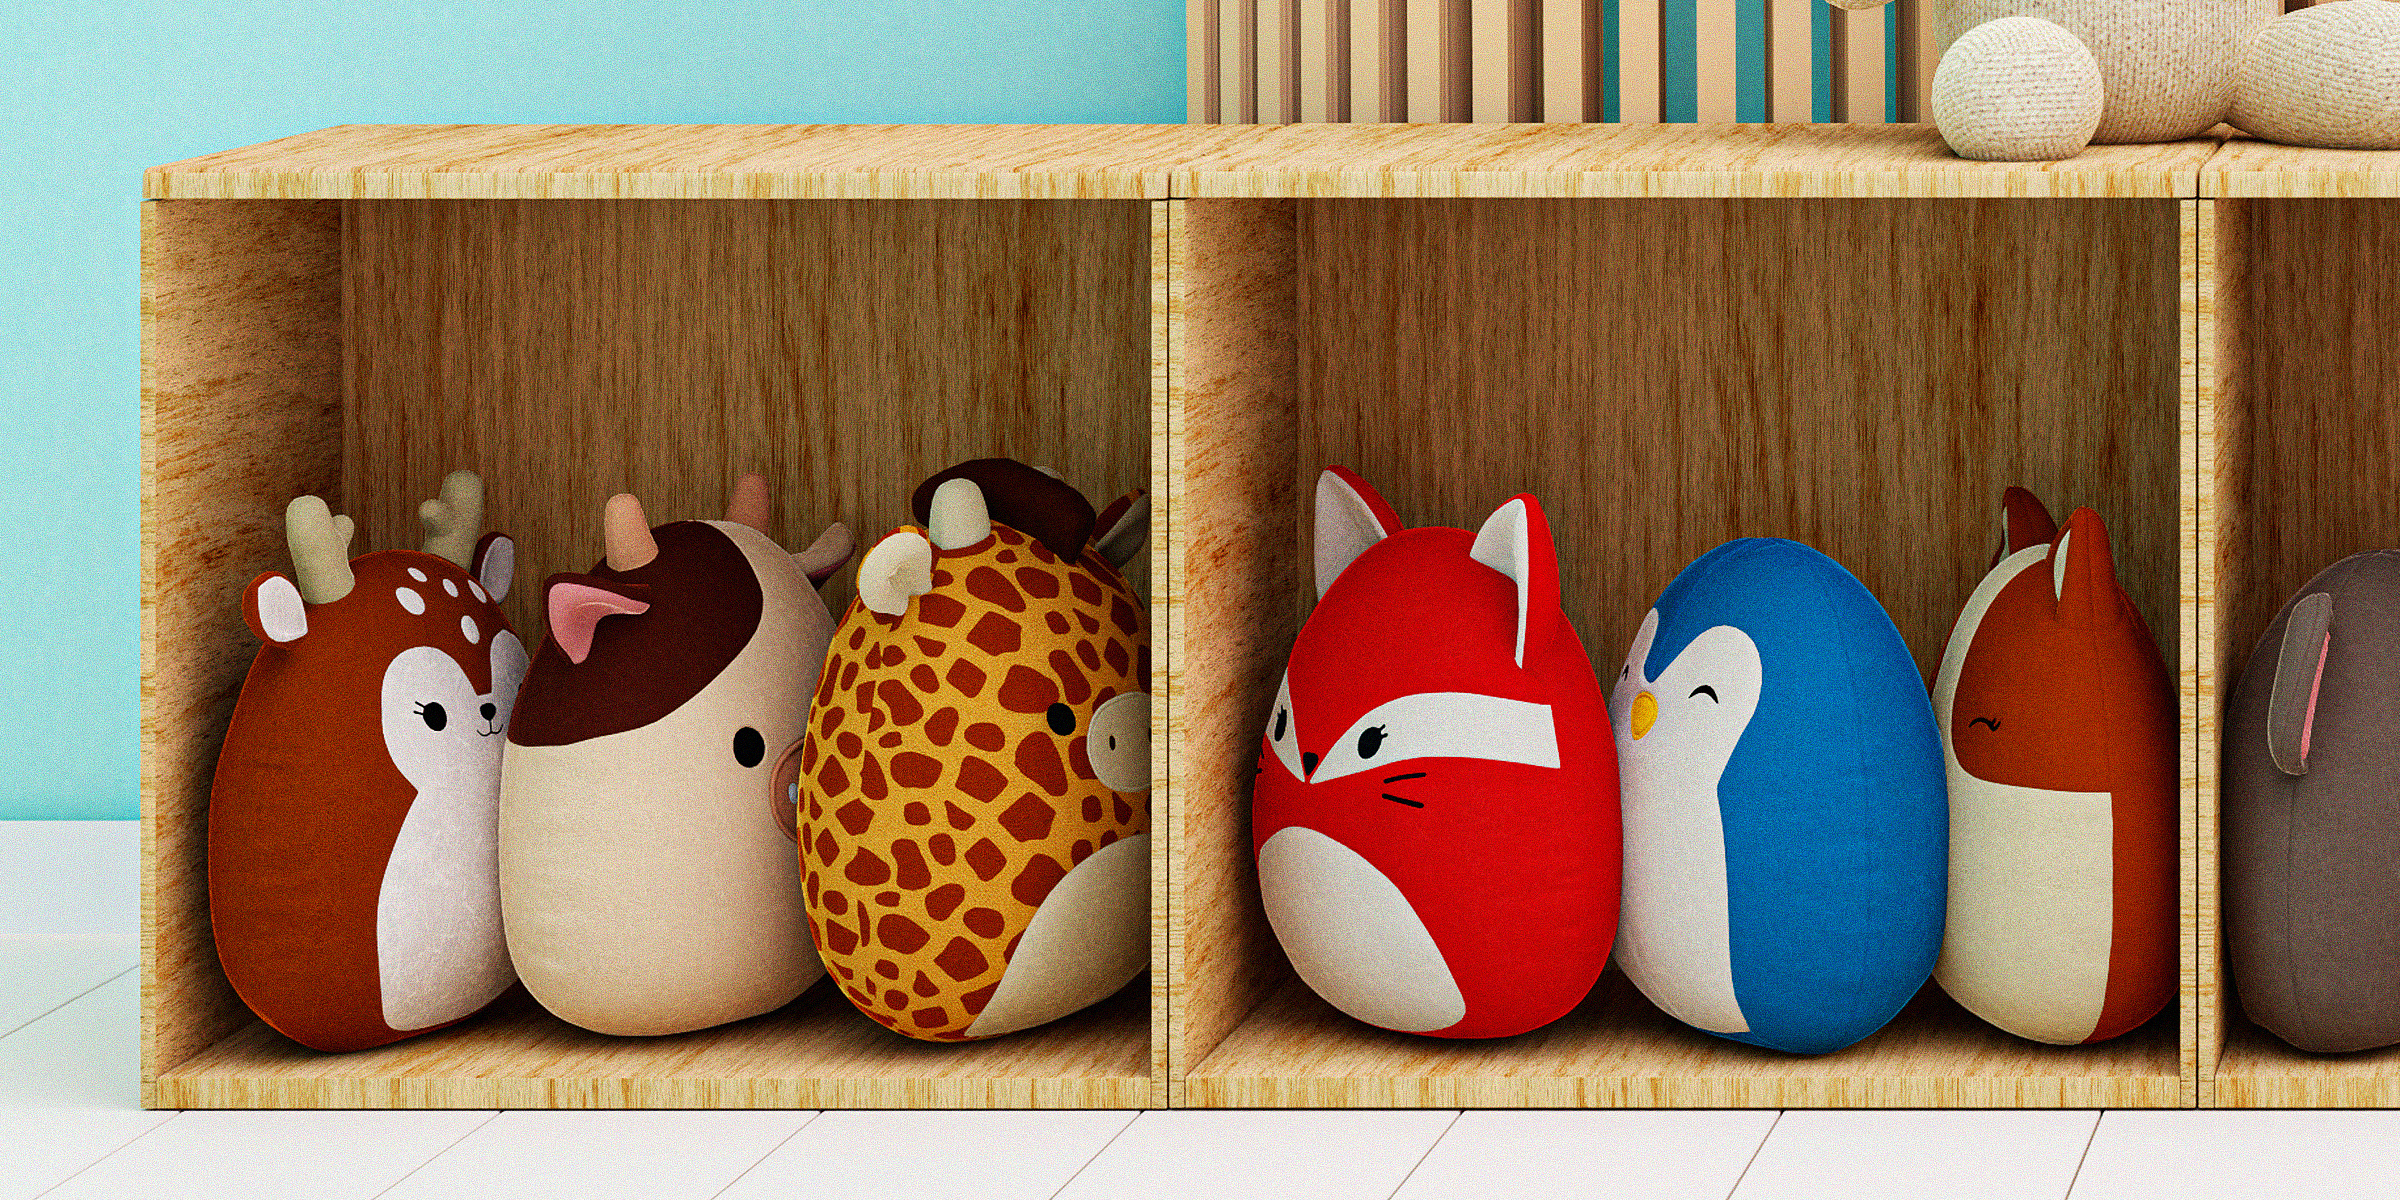
Discover the secret to bringing your child's favorite Squishmallow back to life with our easy guide on how to make a Squishmallow clean and fluffy again.
Mar 08, 2024

Struggling with a faintly scented room despite your diffuser running all day? The secret to a luxuriously fragrant space lies not just in the oils you choose but in how to make an oil diffuser smell stronger.
Feb 25, 2024

Searching for ways to transform your futon from merely functional to fabulously comfortable? Look no further than this guide, as we explore four easy and effective tips to turn your futon into a cozy oasis.
Mar 15, 2024

Seint is a well-known beauty brand specializing in cosmetic applicators like makeup brushes and blenders. Knowing how to clean Seint brushes not only has hygienic purposes but also preserves the quality of the makeup tools.
Jan 09, 2024

If ground squirrels have taken over your yard with their burrowing, continue reading for three ways you can fill ground squirrel holes — from the perfect machine to make the process easier to ingredients you can use that you might already have.
Jan 09, 2024
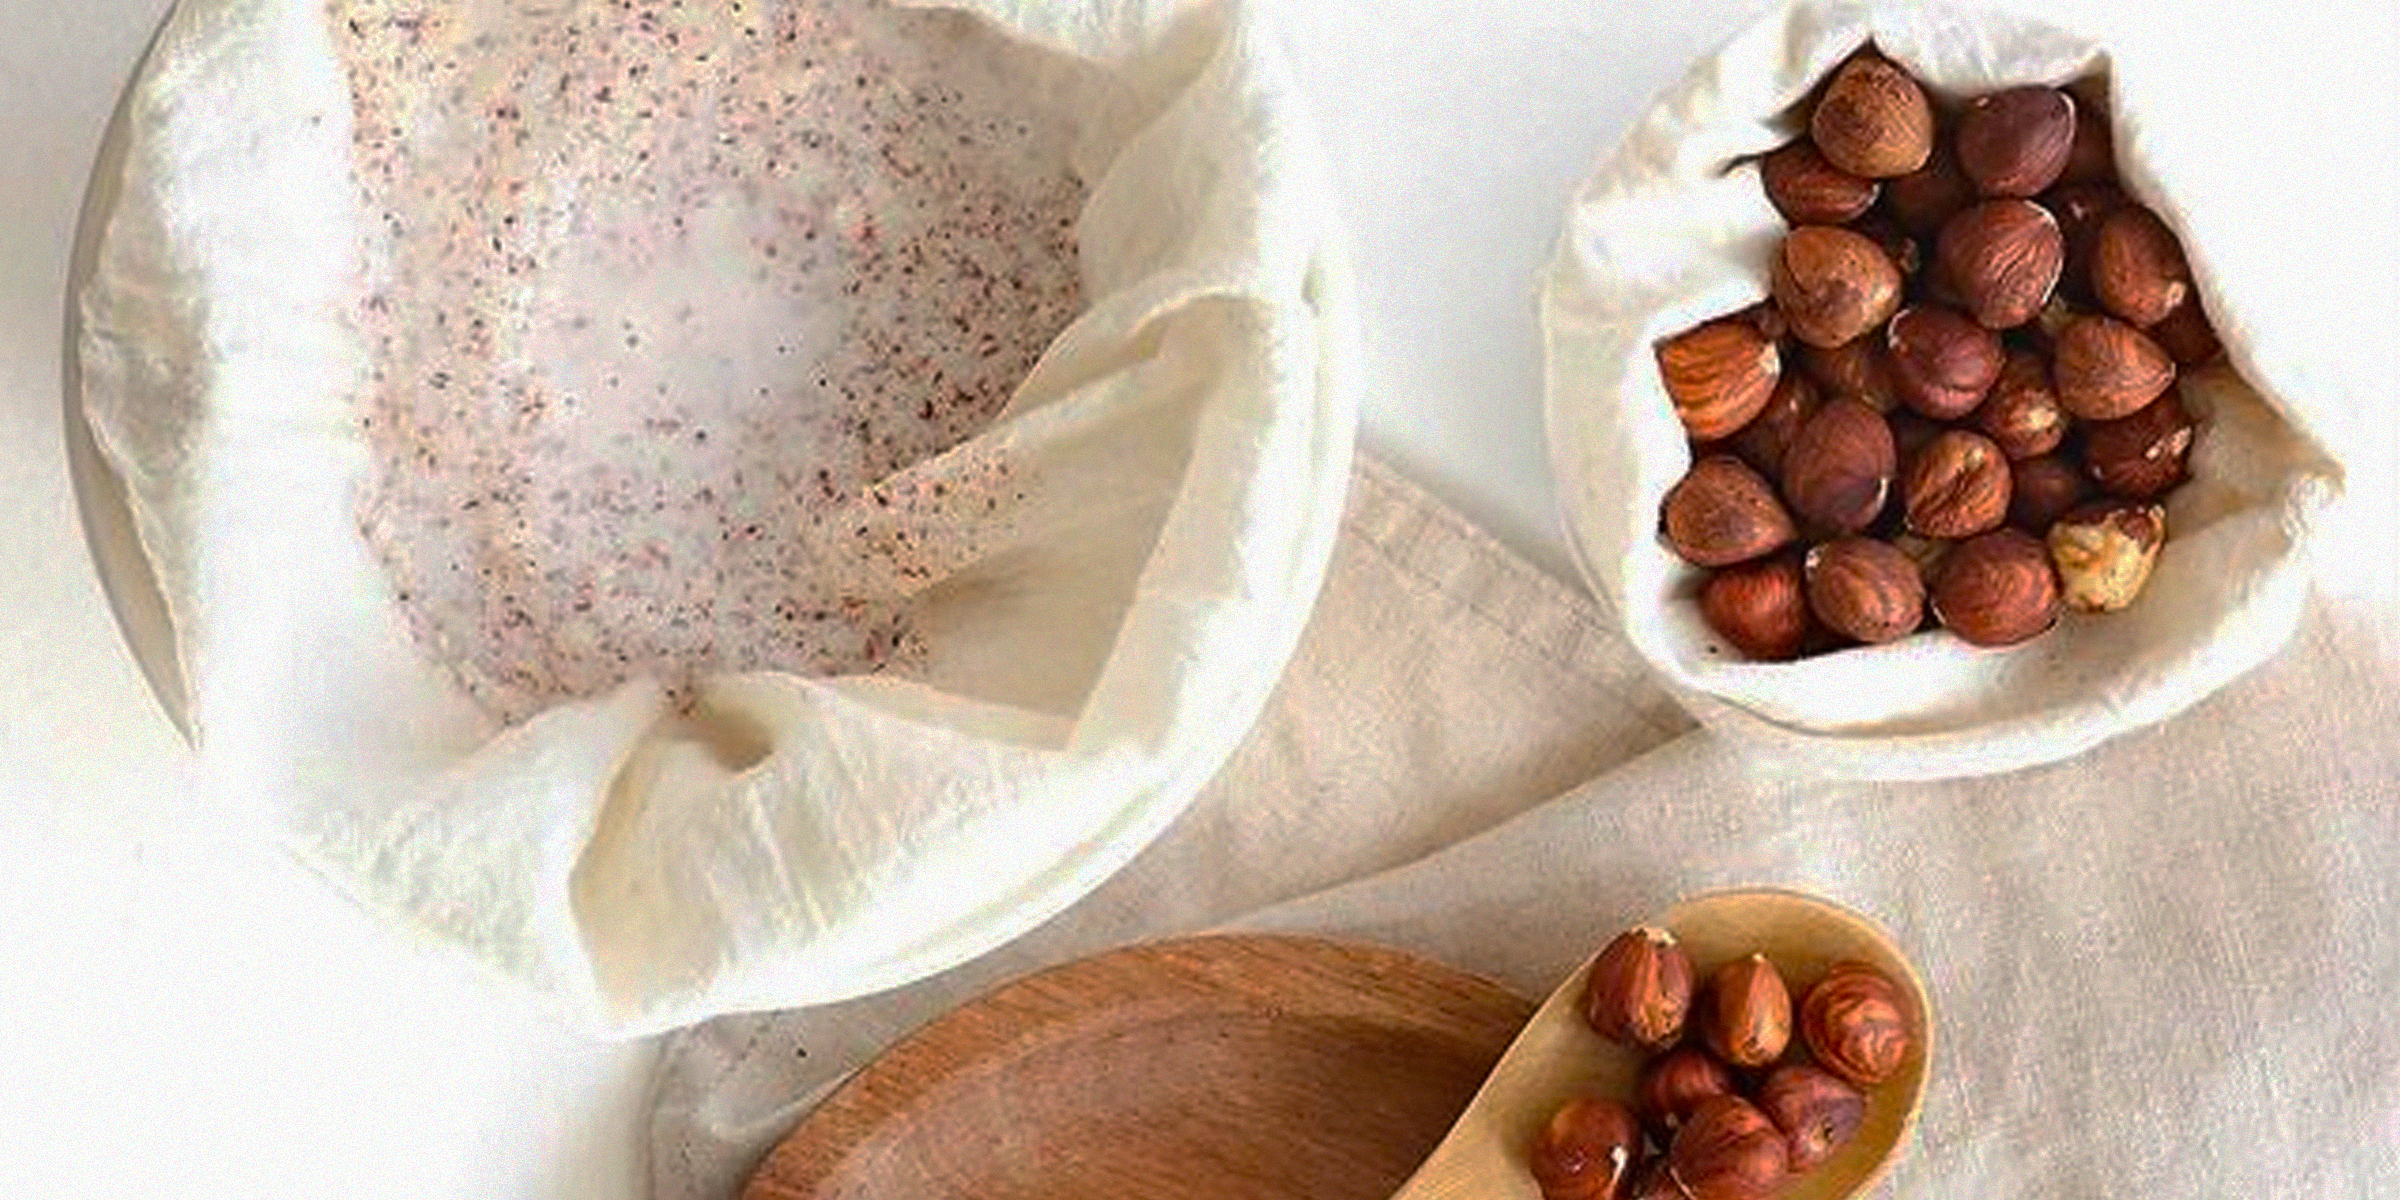
Embarking on making your nut milk at home can be a rewarding experience, but the cleanup process, especially regarding the nut milk bag, may seem less appealing. However, regularly cleaning your nut milk bag is advised to prevent bacteria or mold from growing, and you can do so in five easy steps.
Dec 31, 2023

Granular loss is something most roofs experience and can be addressed in two ways. Continue reading for tips on both methods to repair granular loss and what you can do to prevent damage to your roof.
Jan 24, 2024

Protect your family from the sun's harsh rays while saving a few dollars with this DIY Shibumi Shade hack for the perfect beach day with your loved ones.
Jan 30, 2024

As many with coily and curly hair know, bonnets are essential to the nighttime hair care routine to ensure your kinks and curls stay intact and in perfect condition. However, regularly and correctly washing your bonnet is equally important.
Dec 12, 2023
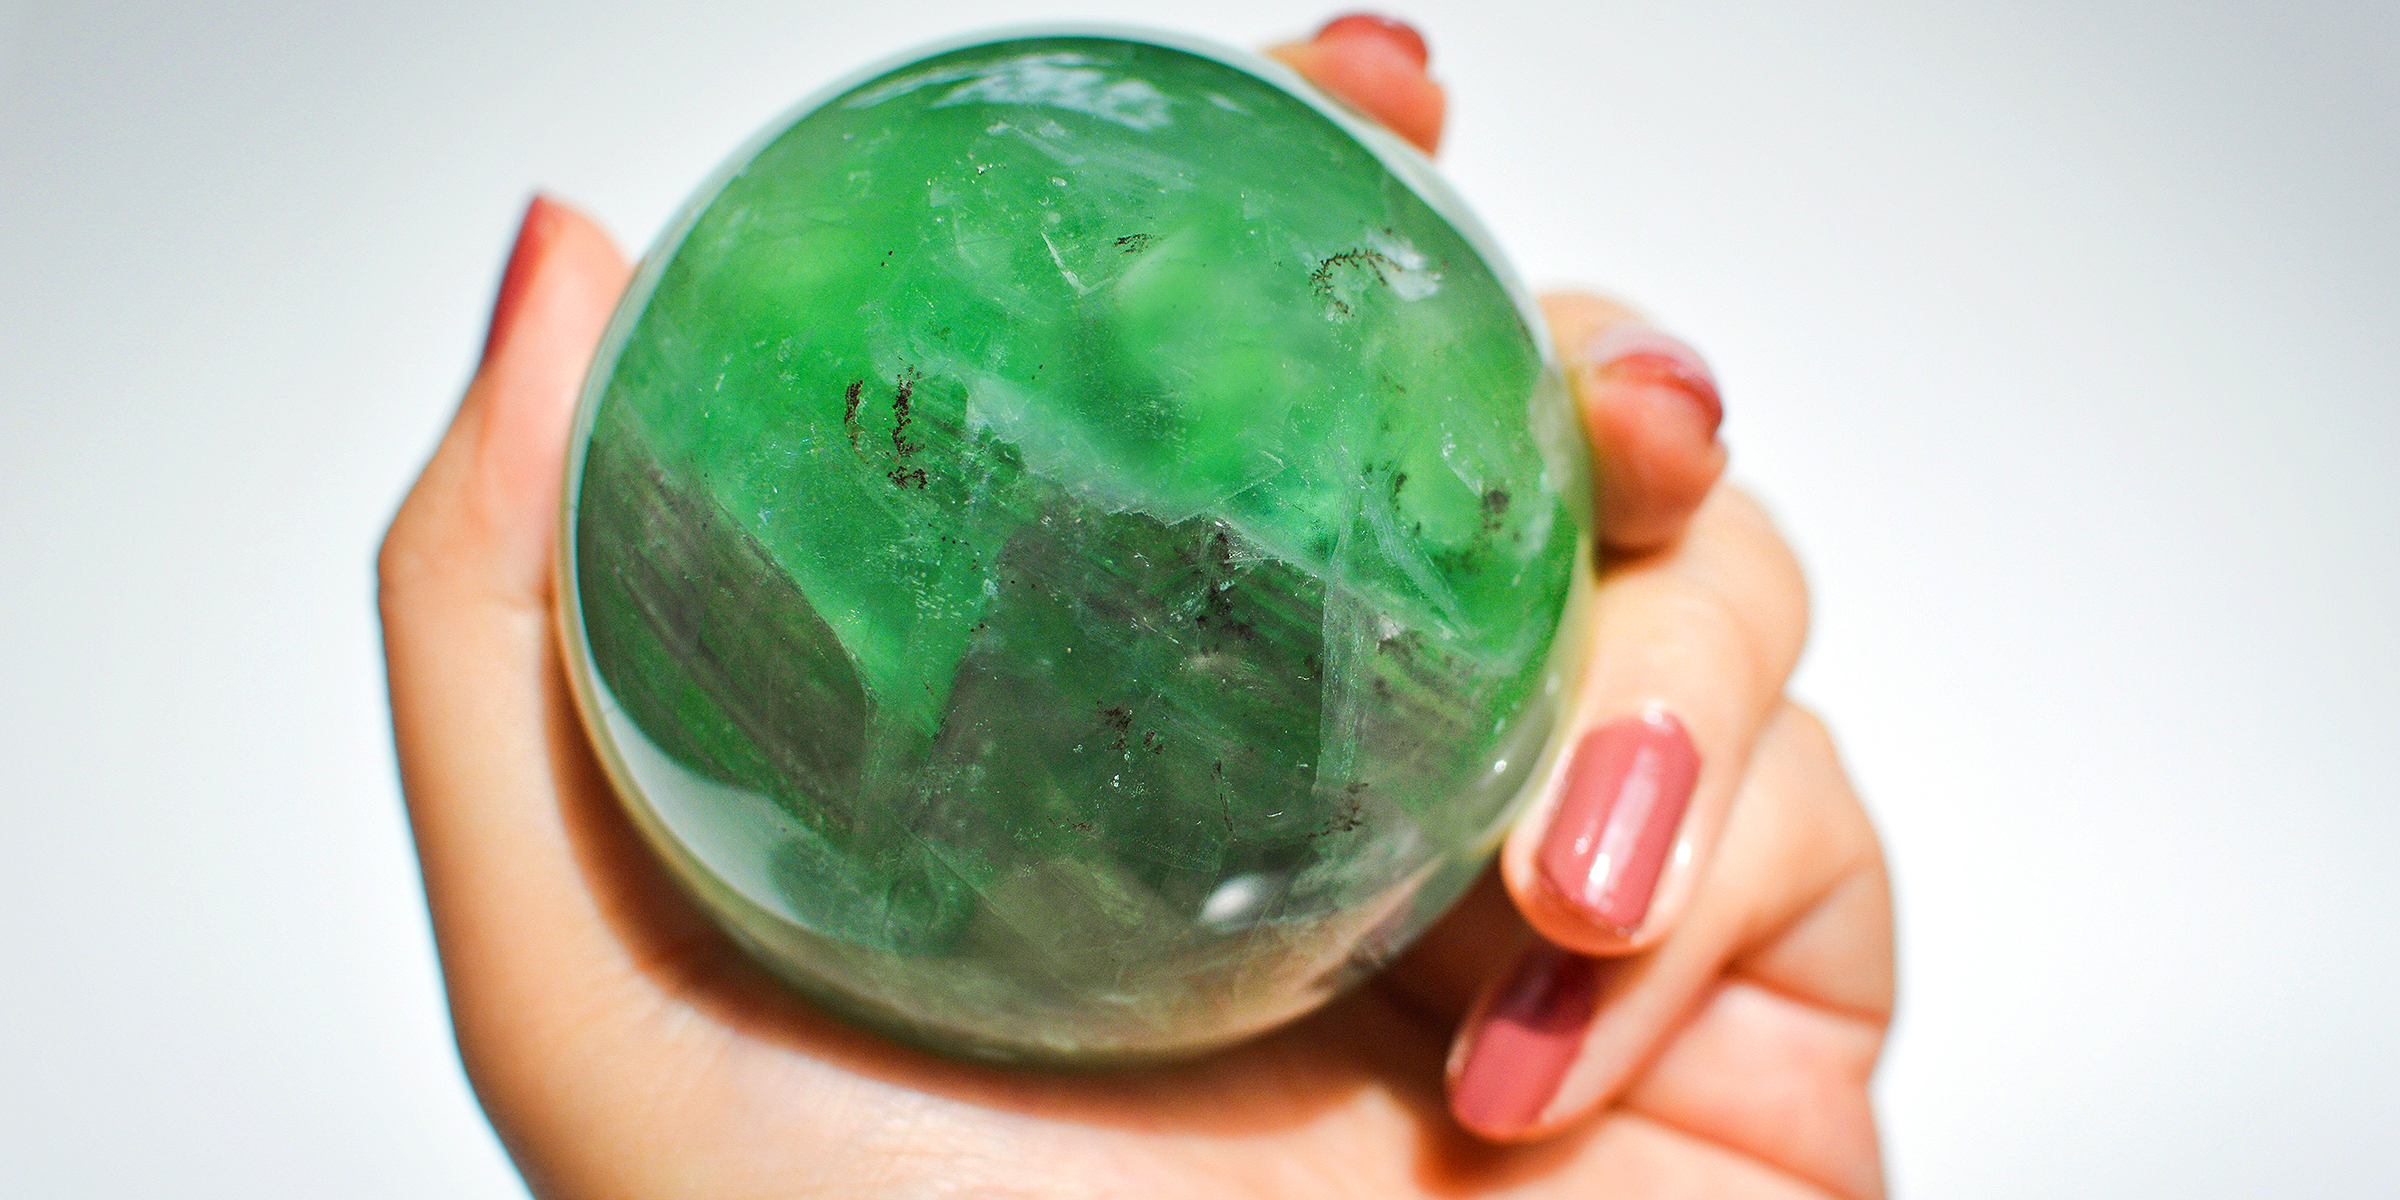
From keeping you calm to warding off unwanted negative energy, fluorite crystals have many powerful and healing properties, so ensuring they are properly cleansed is paramount.
Jan 11, 2024
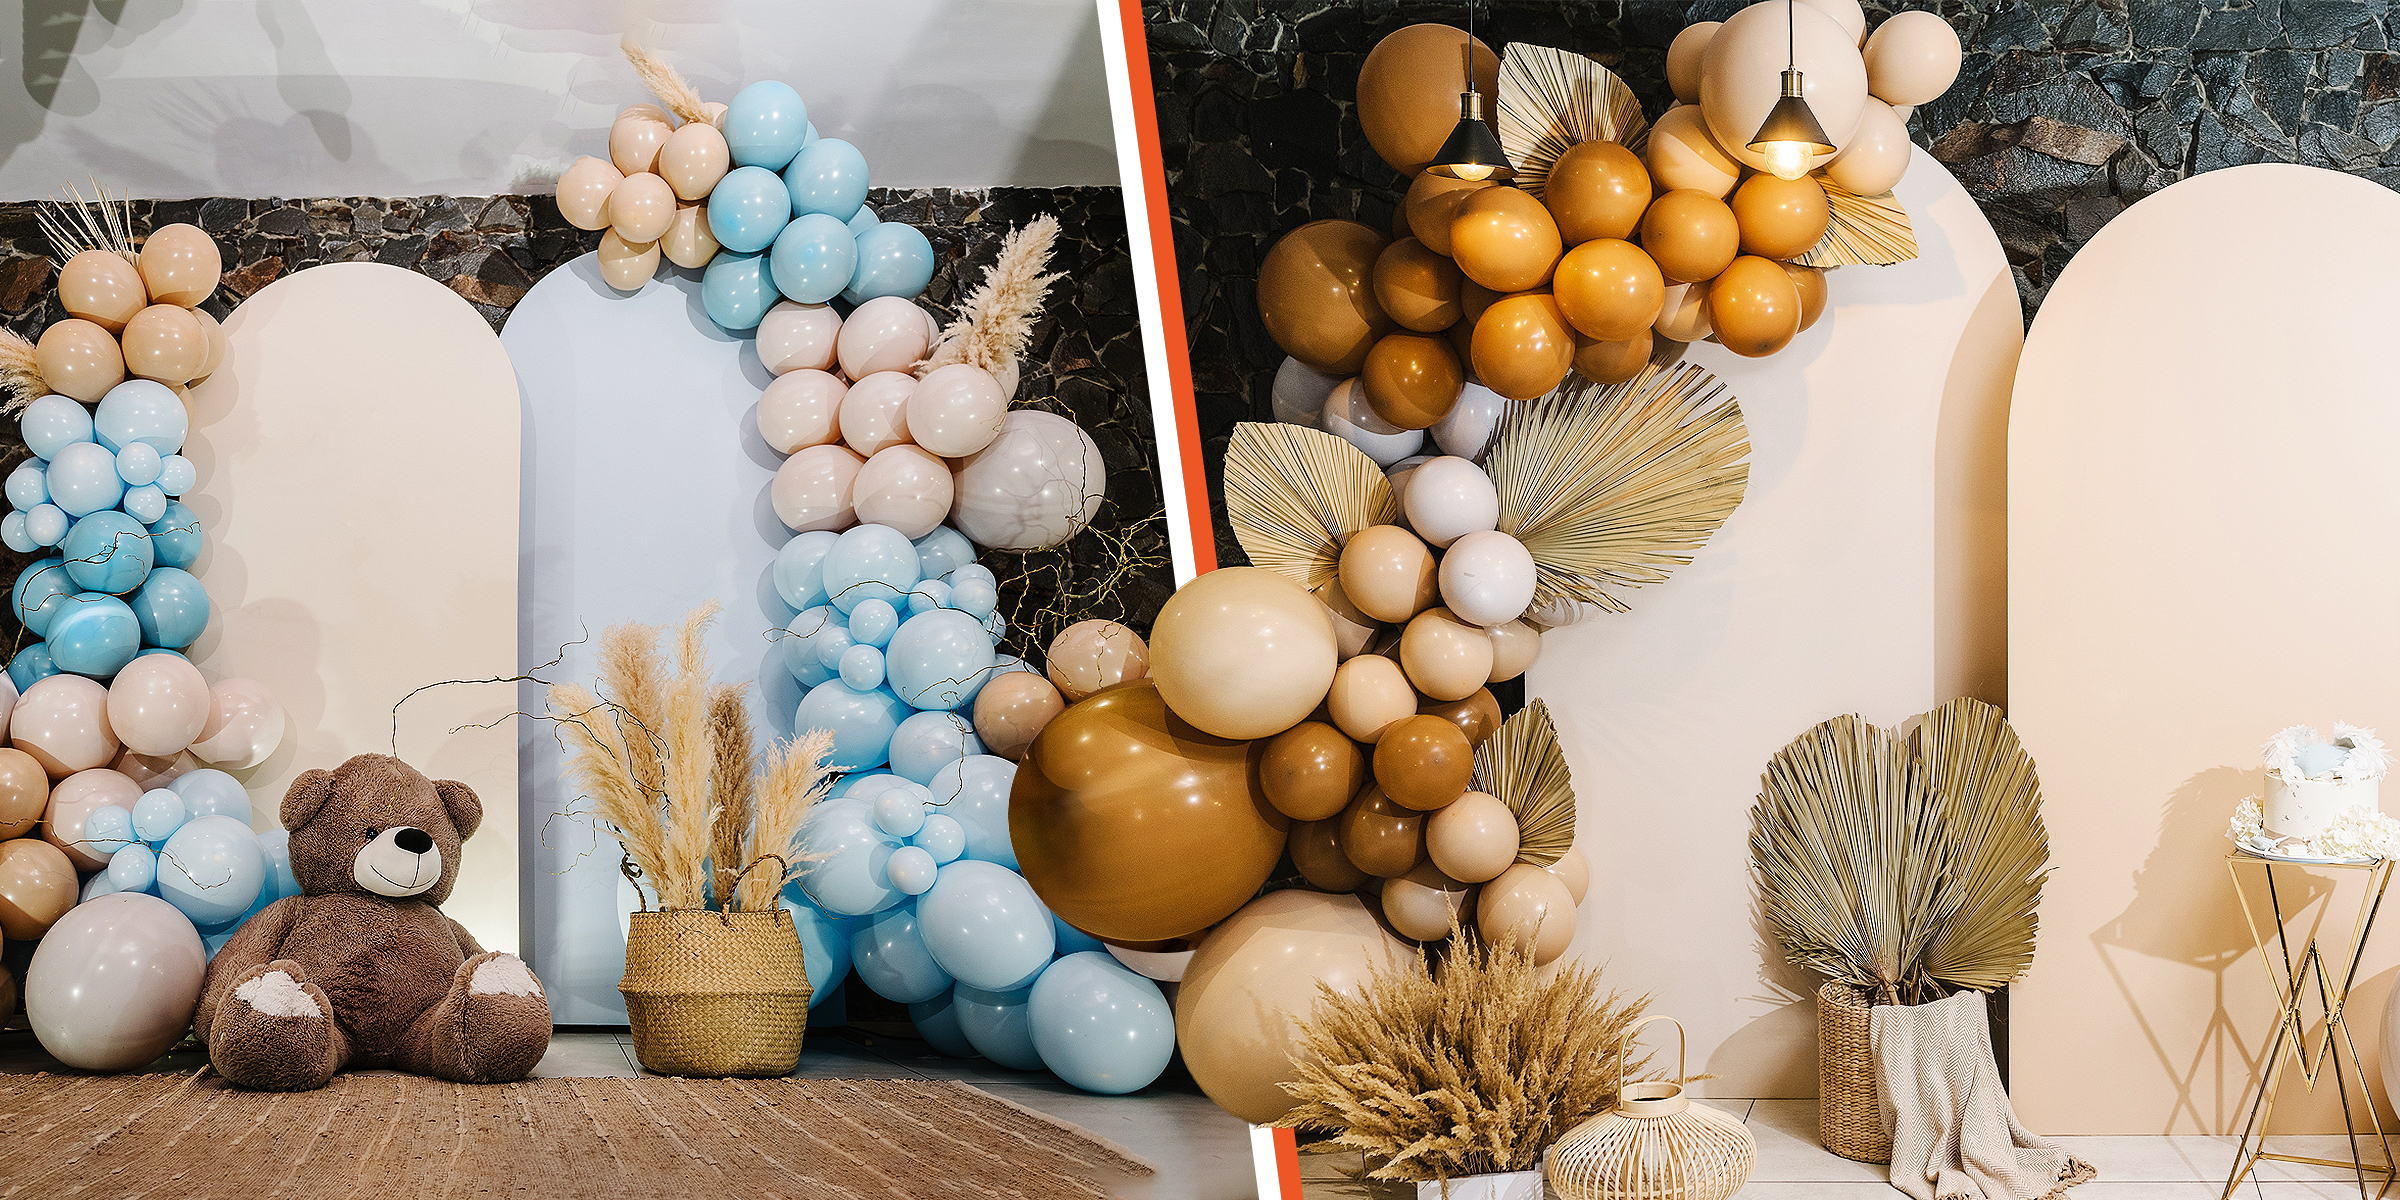
From photography to decor, a wooden arch backdrop can make all the difference in a desired aesthetic. If you're looking to acquire one without spending too much, here's a DIY wooden arch backdrop tutorial.
Feb 12, 2024