DIY Wardrobe Door — Step-by-Step Guide for Beginners
Feb 03, 2024


Embark on a journey to elevate your knitting prowess effortlessly and infuse each stitch with a personal touch through a DIY yarn swift. Unleash your creativity as you craft an affordable and convenient tool to elevate your knitting experience.
A yarn swift is a valuable tool for knitters and crocheters, facilitating the winding of yarn hanks or skeins into manageable balls. This device, often used with a ball winder, rotates in a circle, smoothly unwinding the yarn. The adjustable center accommodates hanks of various sizes.
In this article, we'll guide you through creating your own DIY yarn swift, providing a cost-effective solution to enhance your knitting experience. Let's dive in!
1. Replace short pegs on each corner of the coat rack with longer ones, creating pilot holes in each peg using a drill. If needed, use existing screws; otherwise, opt for suitable replacements.

A person removing short pegs on a yarn swift | Source: YouTube/@SteveRamsey
2. Turn the lone short peg on the end to prevent yarn interference during winding.

A person adding long pegs on a yarn swift | Source: YouTube/@SteveRamsey
3. Center the coat rack on the lazy susan. It doesn't have to be precise.
4. Clamp the coat rack onto the lazy susan to prevent movement during drilling.
5. Use the drill to create two pilot holes on the bottom middle rungs, ensuring they are away from the center.

A person using a drill to create holes | Source: YouTube/@SteveRamsey
6. Screw in the screws, avoiding drilling into the base; ensure minimal protrusion of the pointy end on the bottom.

A person screwing screws on a yarn swift | Source: YouTube/@SteveRamsey
7. The final step is to confirm that the coat rack still contracts in and out, allowing various yarn skeins to be accommodated.

A complete DIY yarn swift | Source: YouTube/@SteveRamsey
8. Your DIY yarn swift is complete!
Crafting your DIY yarn swift at home is a breeze with these straightforward steps. Not only is this method cost-effective, but it also adds convenience, elevating your knitting experience to new heights. Enjoy the simplicity and practicality of your homemade yarn swift as you enhance your knitting skills effortlessly.
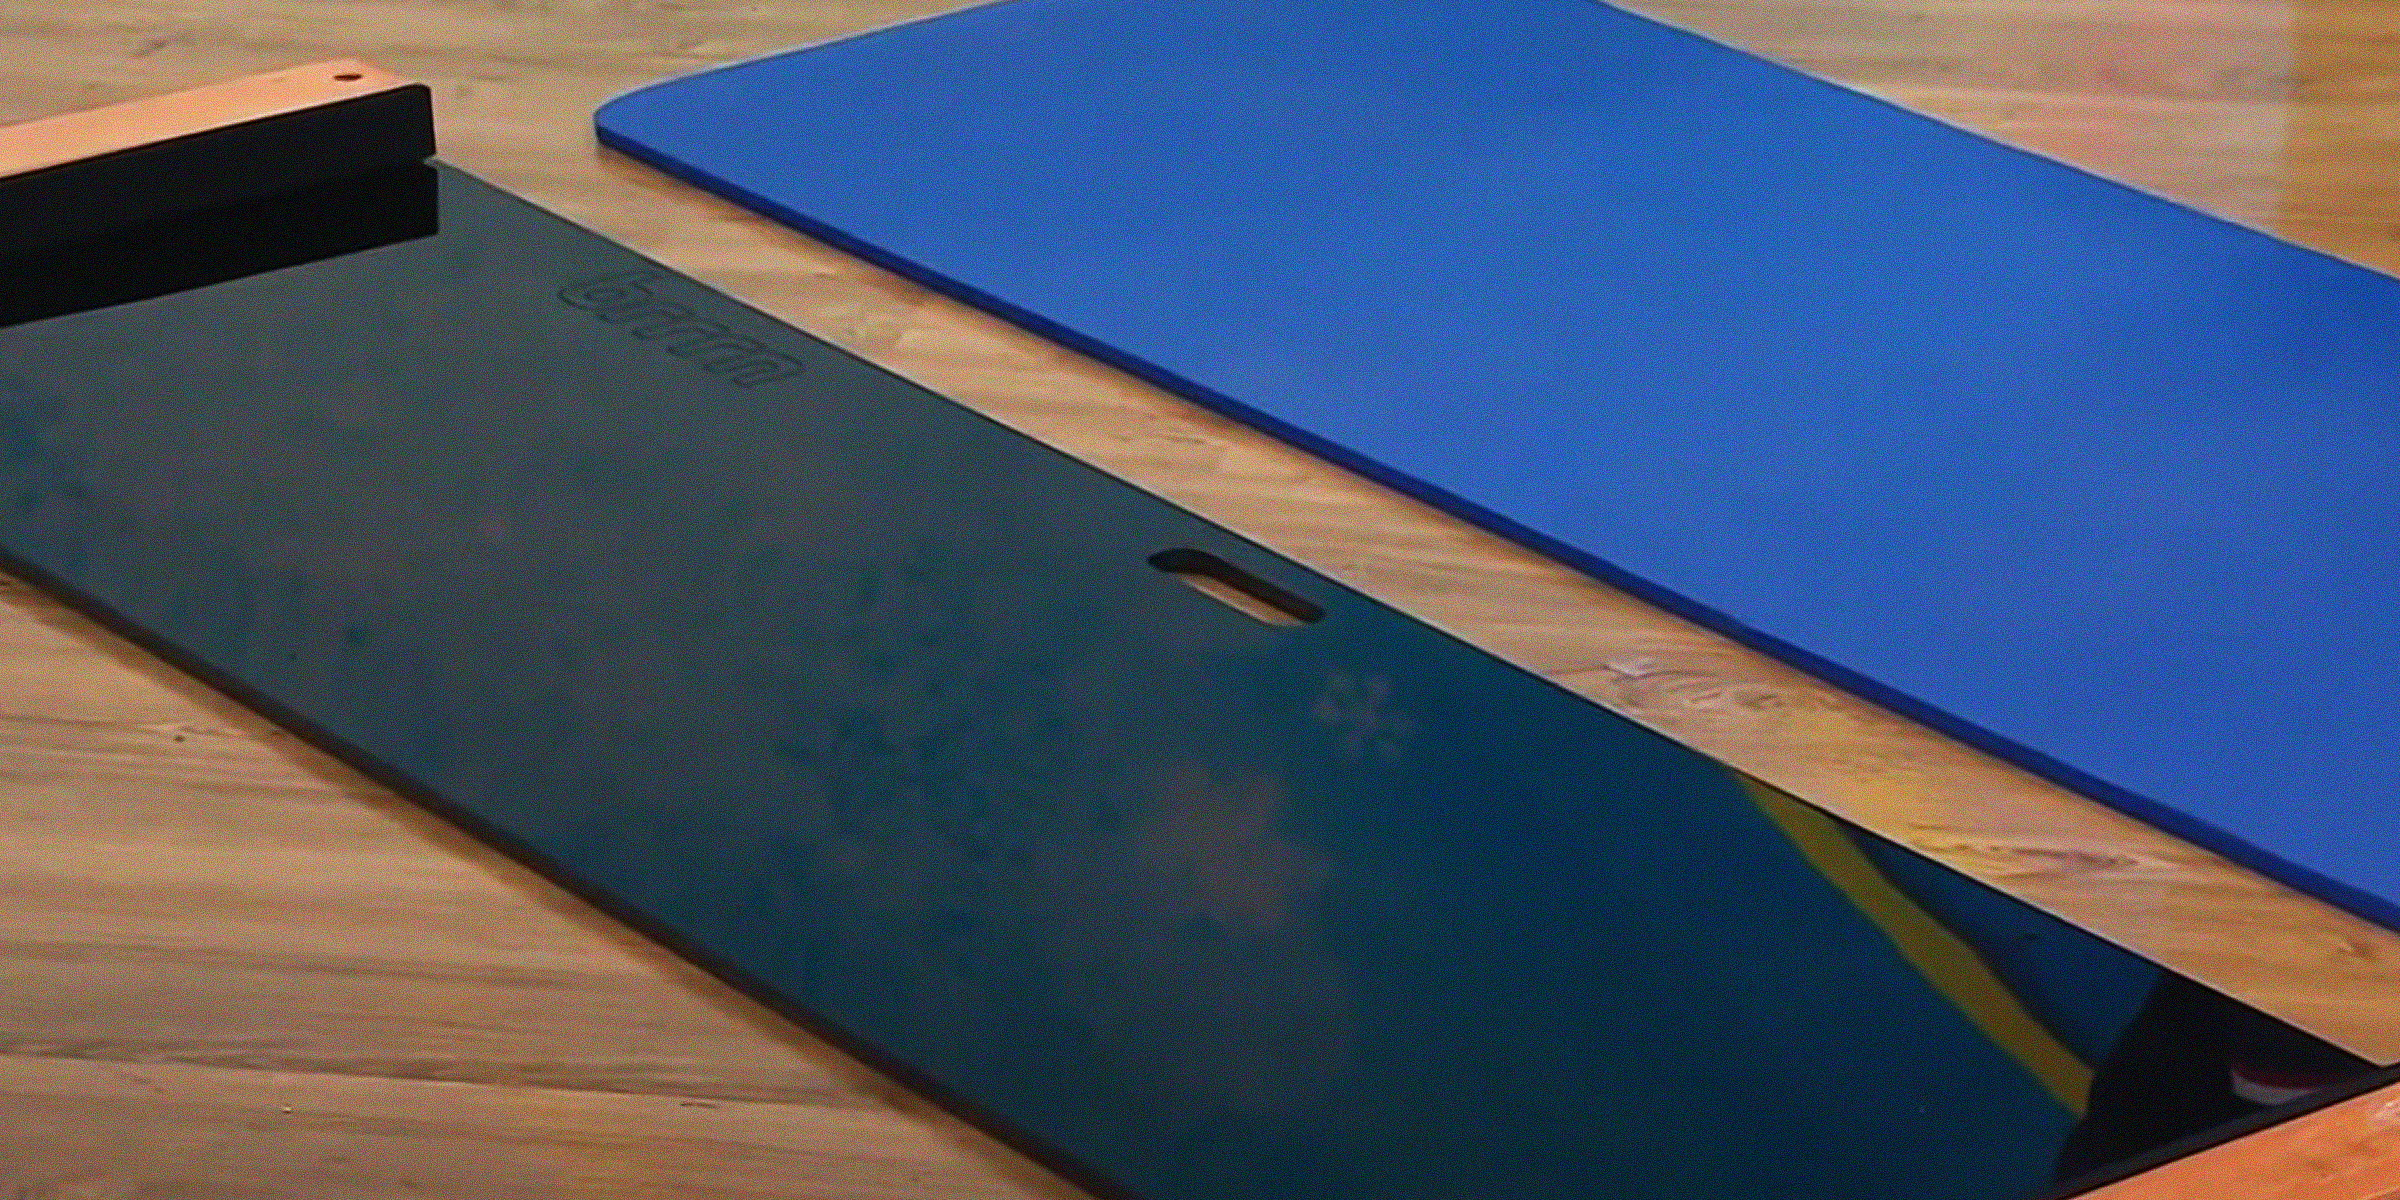
If you are a pet lover, you can also learn to DIY lick mats for your dog or cat.
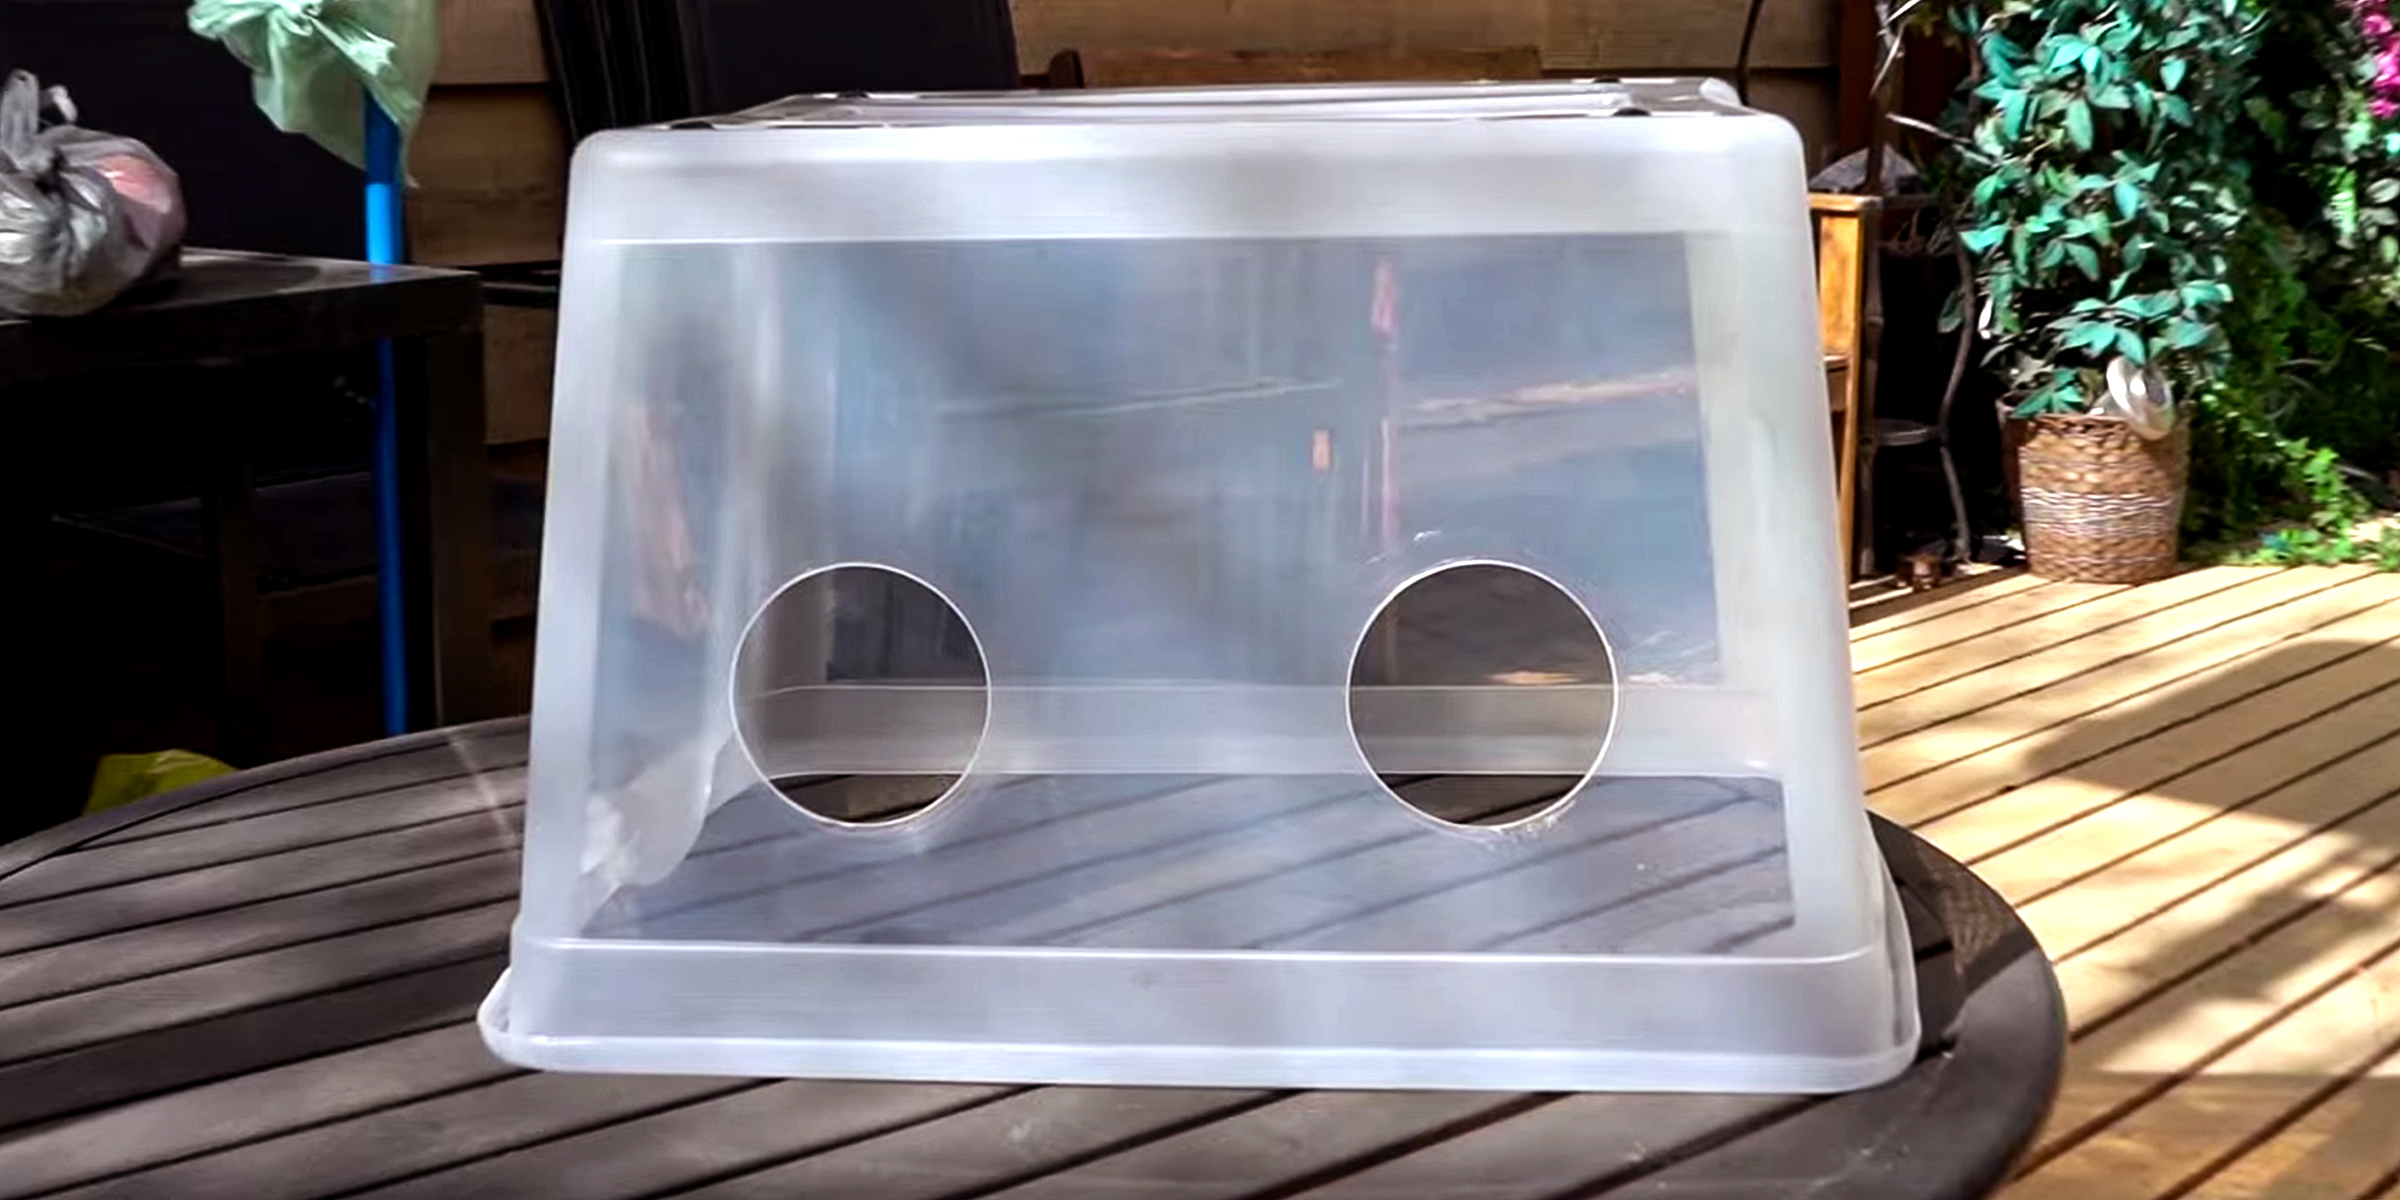
If you're a mycology expert or enthusiast, you probably know the importance of a still air box in your work. However, if you're opposed to buying one, here's how to build a still air box DIY-style.
Feb 08, 2024
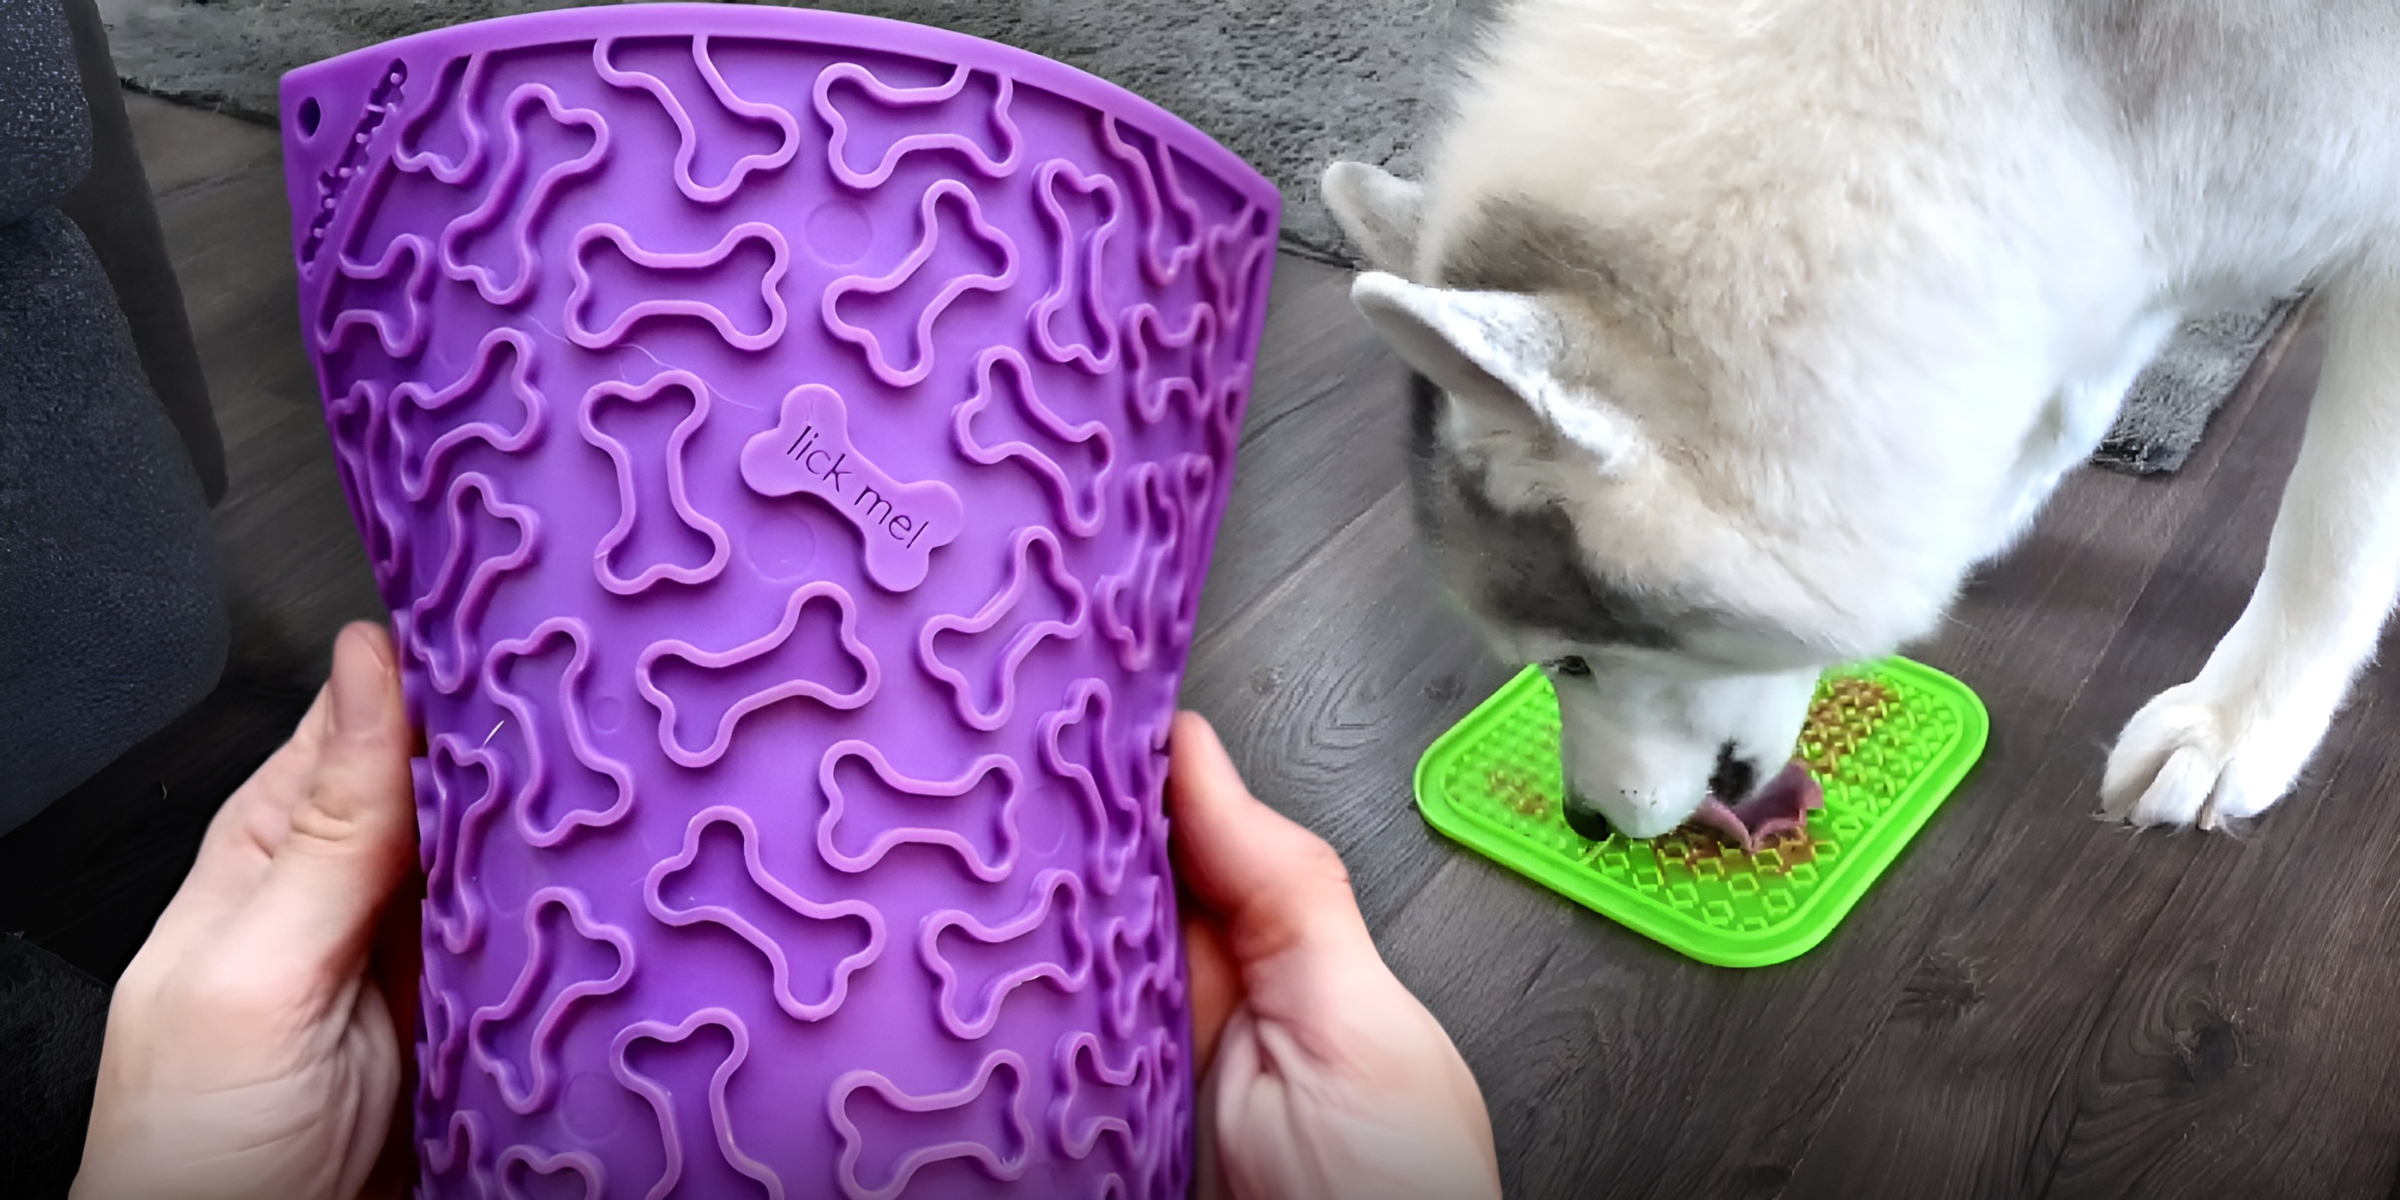
Lick mats for pets are becoming a popular trend, and there are numerous benefits to engaging in this activity. A practical approach to this trend involves creating your own DIY lick mats.
Dec 14, 2023

Handfasting is an old wedding tradition that beautifully demonstrates two people's love and commitment to one another. This symbolic act is said to date back over several millennia.
Dec 14, 2023
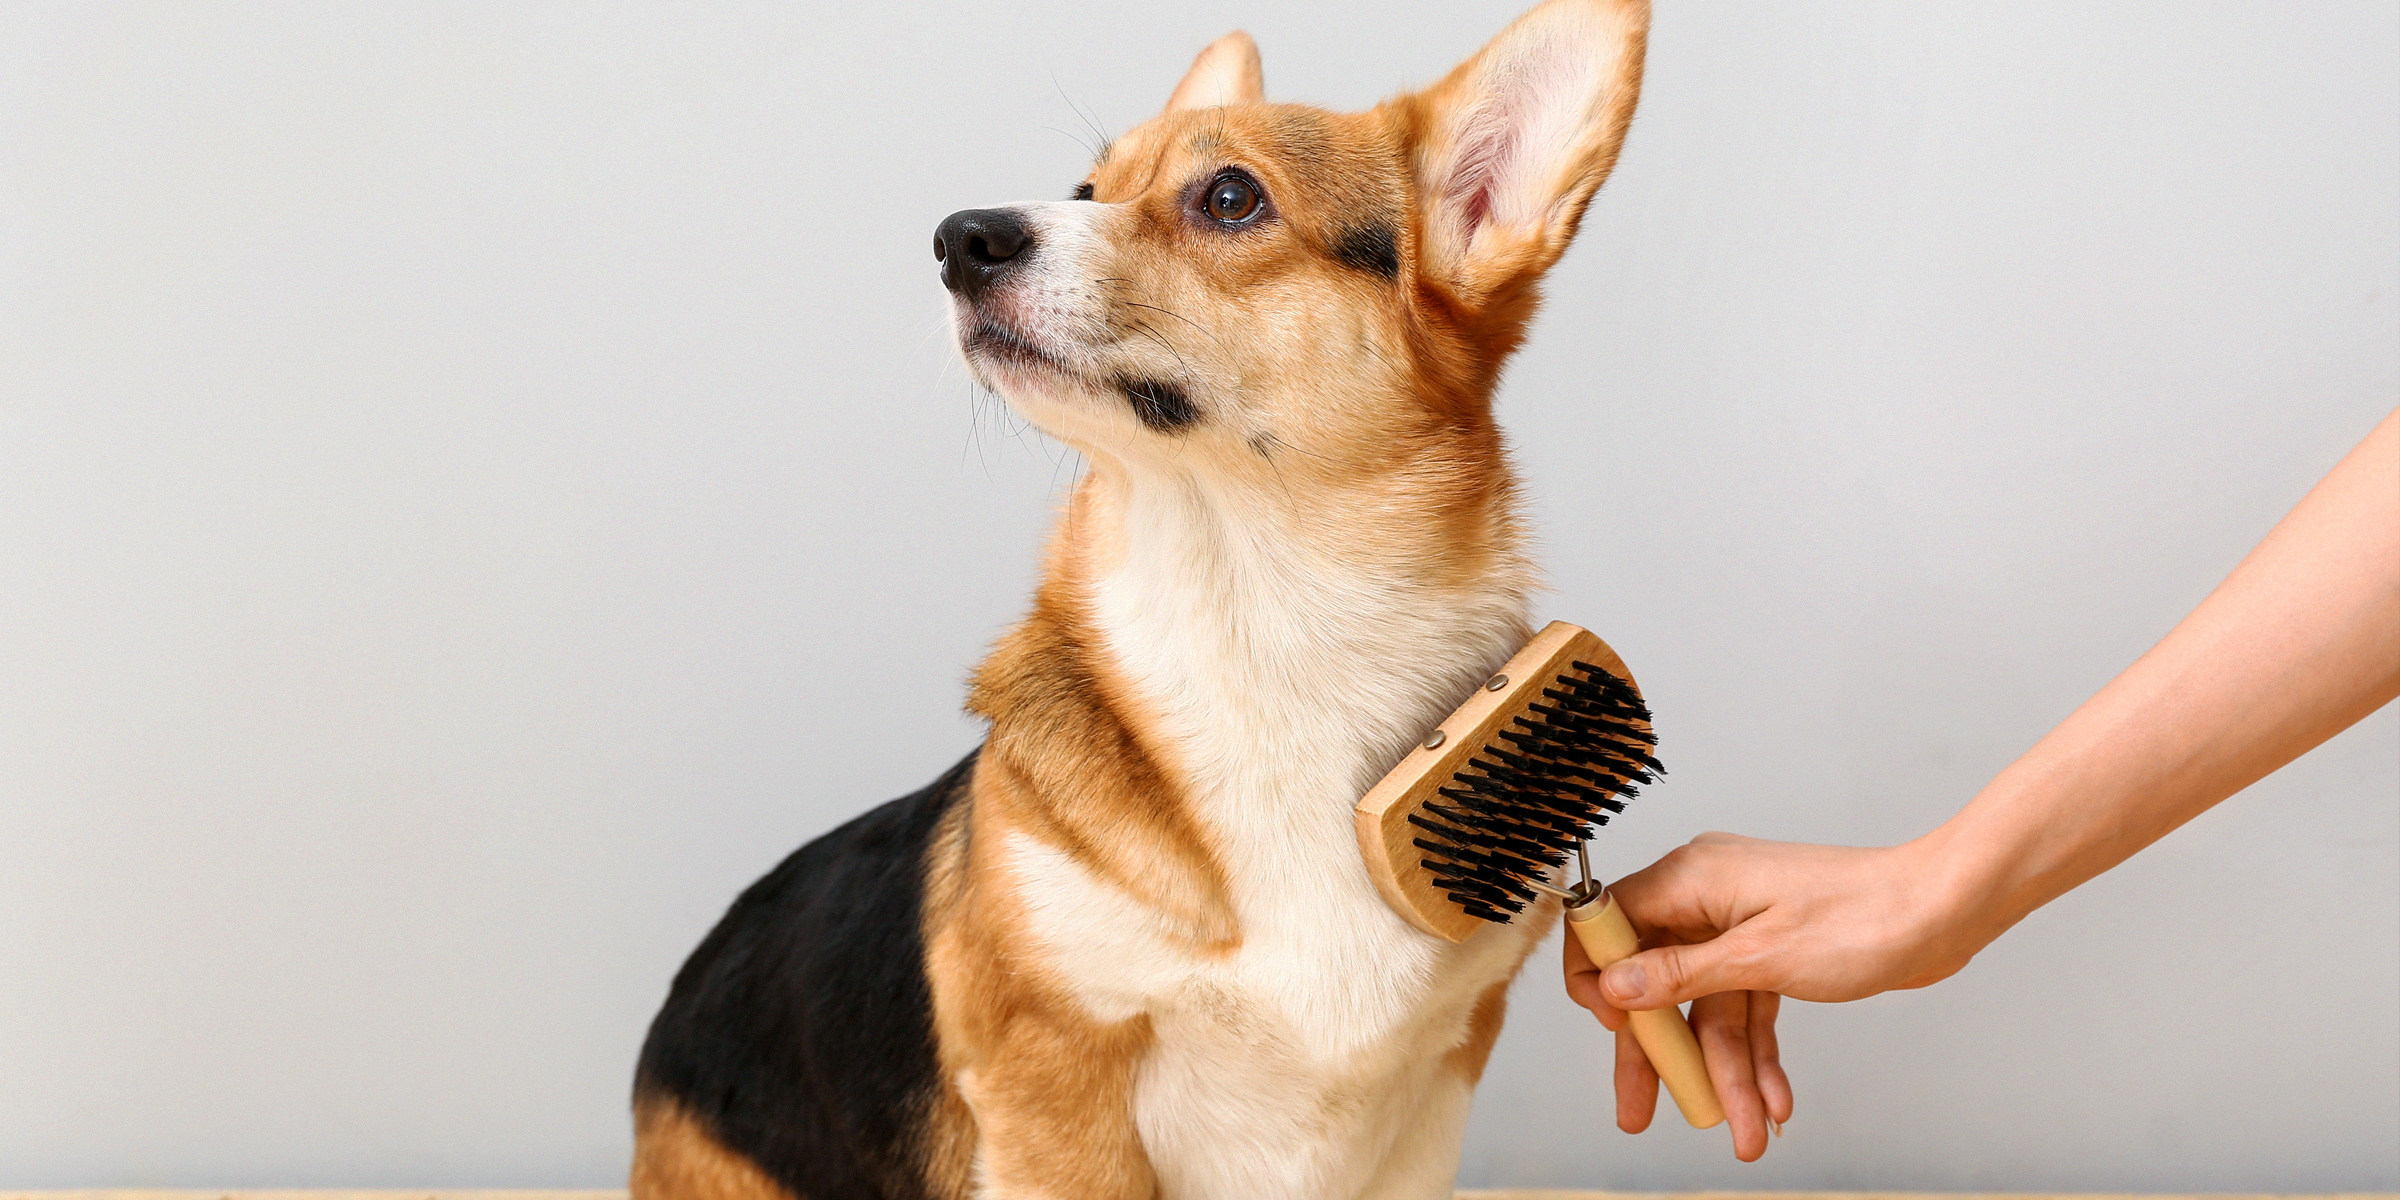
If your dog has a luxurious coat of fur, short or long, then you understand the necessity to brush your furry friend regularly. Detangler sprays make this routine grooming process easier. Here's how to make yours at home.
Jan 25, 2024

Rocking a fantastic pair of jeans can instantly boost your confidence, but taking your denim game to the next level with some DIY aesthetic jeans is like stepping onto your own personal runway. These DIY pieces of denim can turn heads as you walk by.
Dec 12, 2023

One of the most potent senses a deer possesses is its ability to smell. For many years now, hunters have used that as leverage on their hunting trips, acquiring deer attractants to bait their prey. Here's how to make yours at home.
Jan 27, 2024
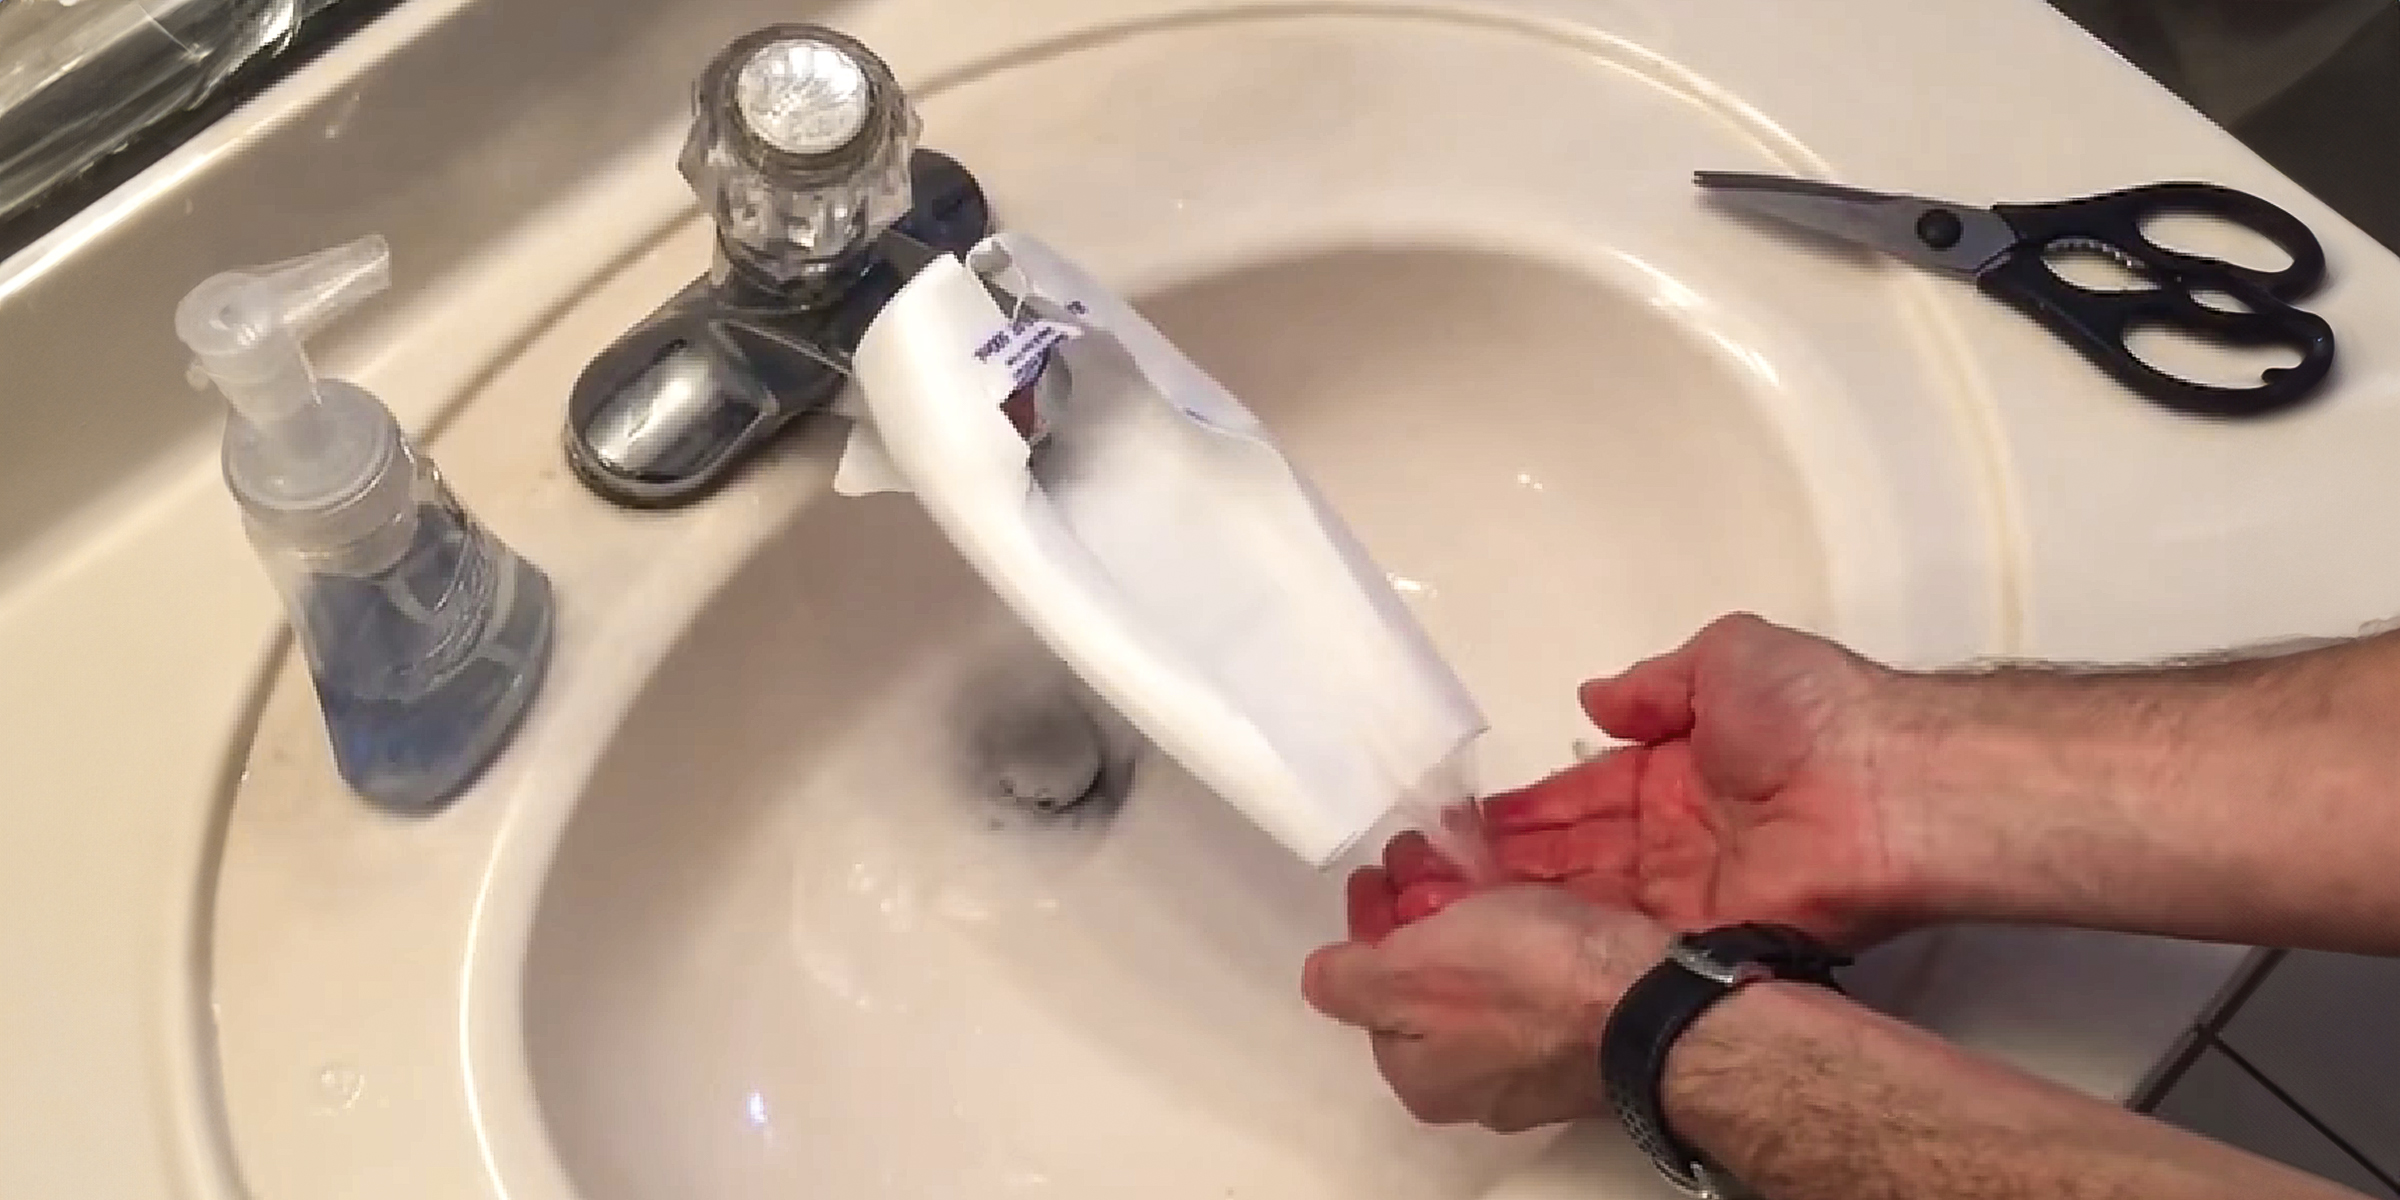
If you're dealing with the challenge of little ones struggling to reach faucets, a practical solution is to craft a DIY faucet extender. You can easily accomplish this in just a few simple steps.
Feb 05, 2024

Slime is a fun substance anyone can use to mold shapes of all kinds, but clay slime is especially satisfying with its fluffy, creamy texture. If you want to learn how to make yours at home, here's how.
Jan 20, 2024
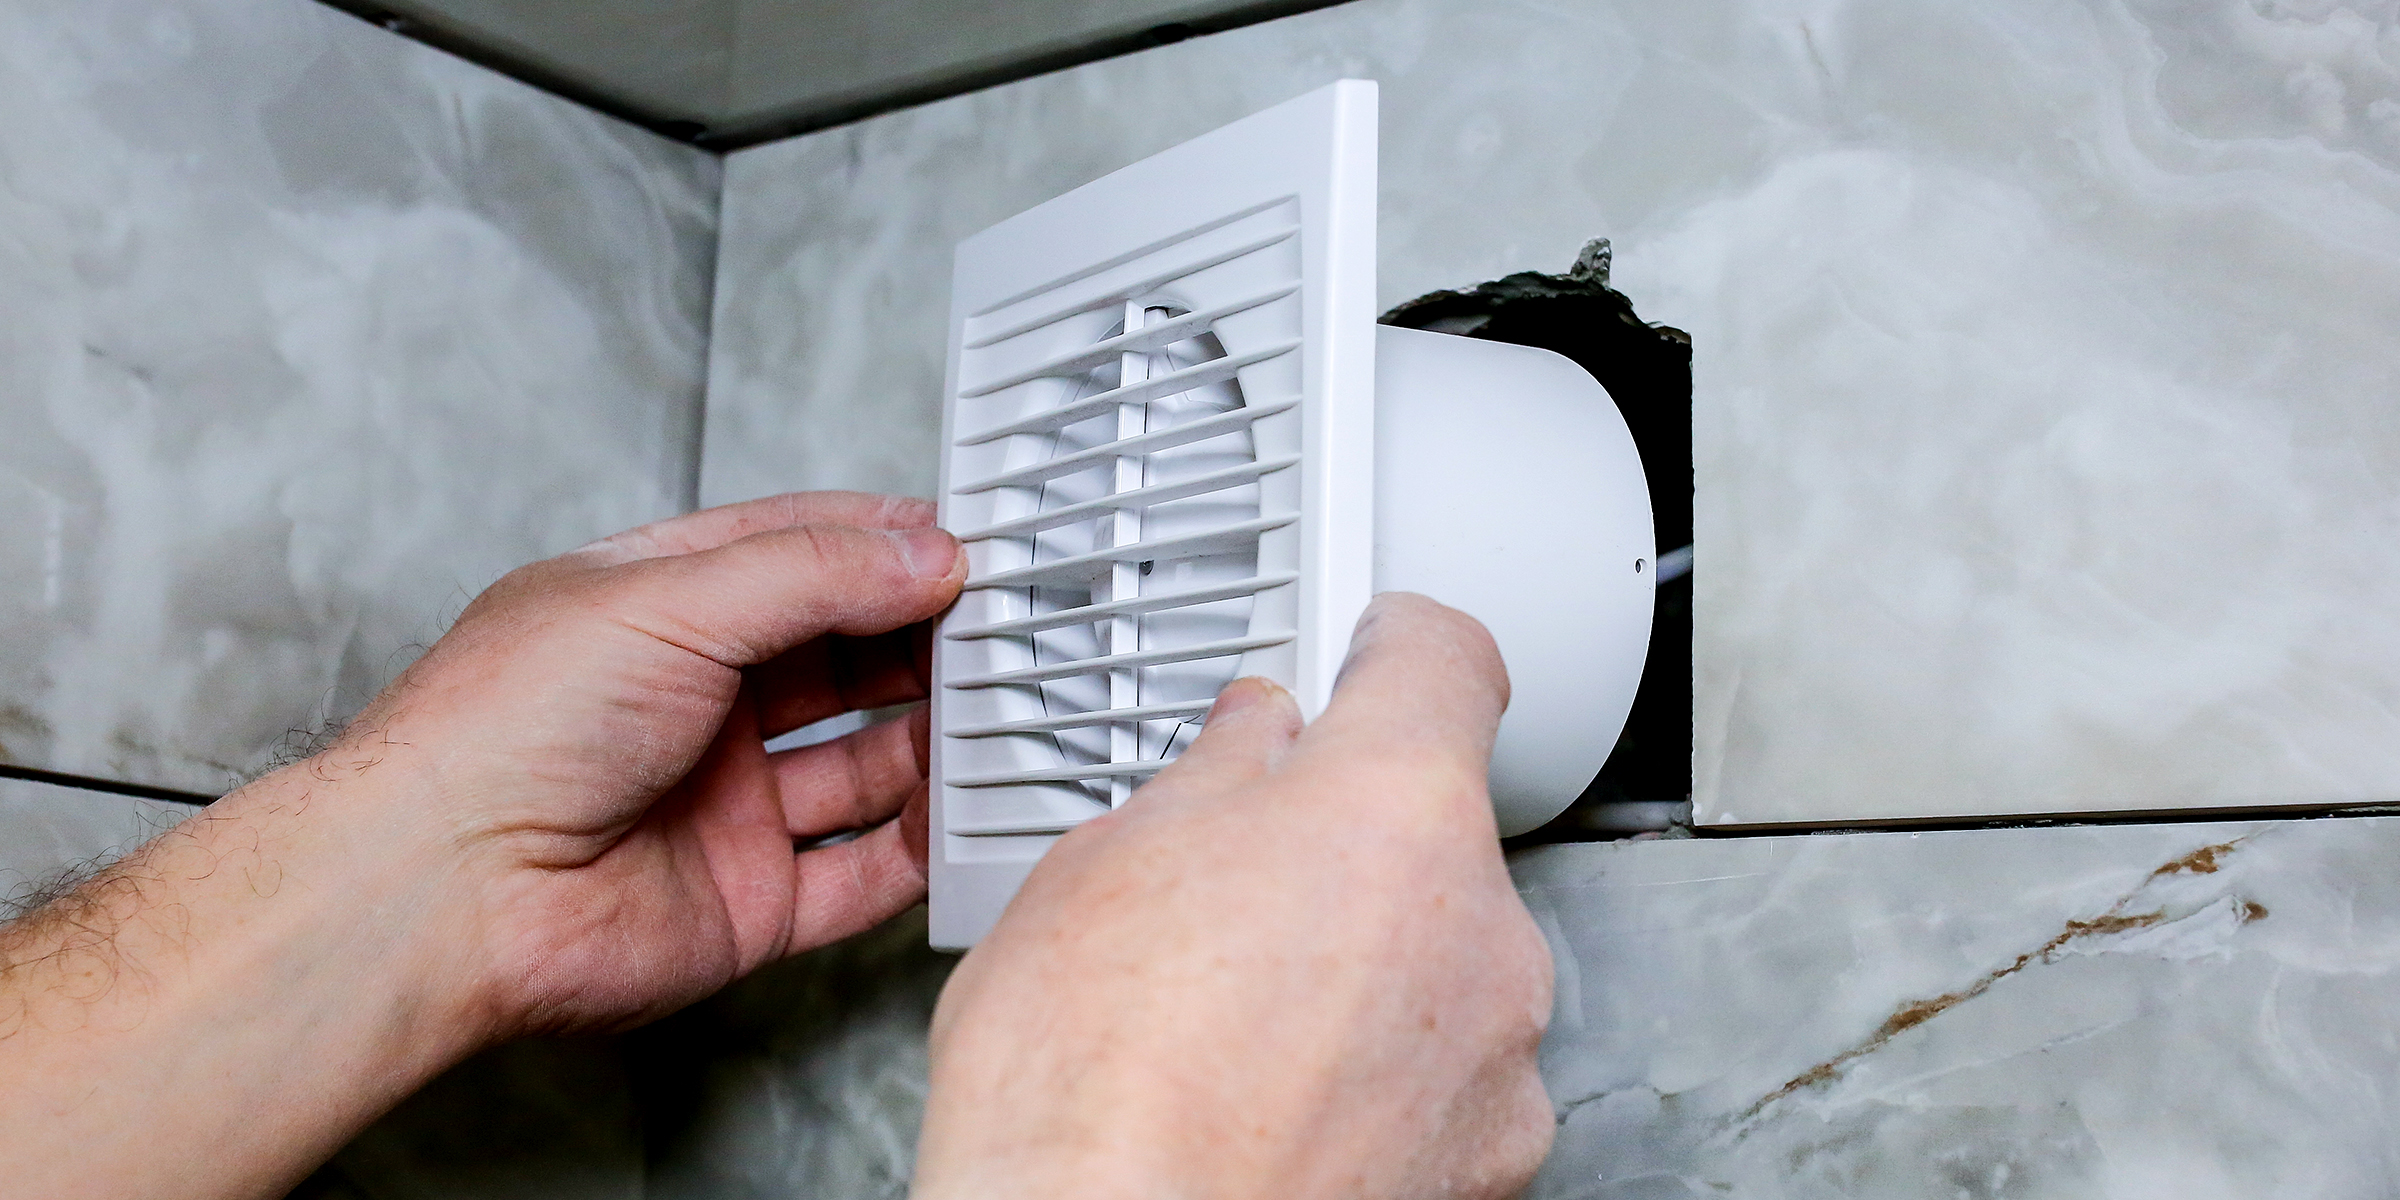
Our homes are designed to brave the elements—rain, snow, wind, cold, and heat. They keep us cozy and safe just beyond our front doors. But when a bathroom vent starts leaking, that presents a challenge we need to address.
Feb 03, 2024

Crystal suncatchers are not only stunning decorative pieces, but they are also a unique way to fill your home with sunlight and positive energy. Enjoy the almost magical properties of this beautiful ornament with this DIY crystal suncatcher guide.
Jan 15, 2024
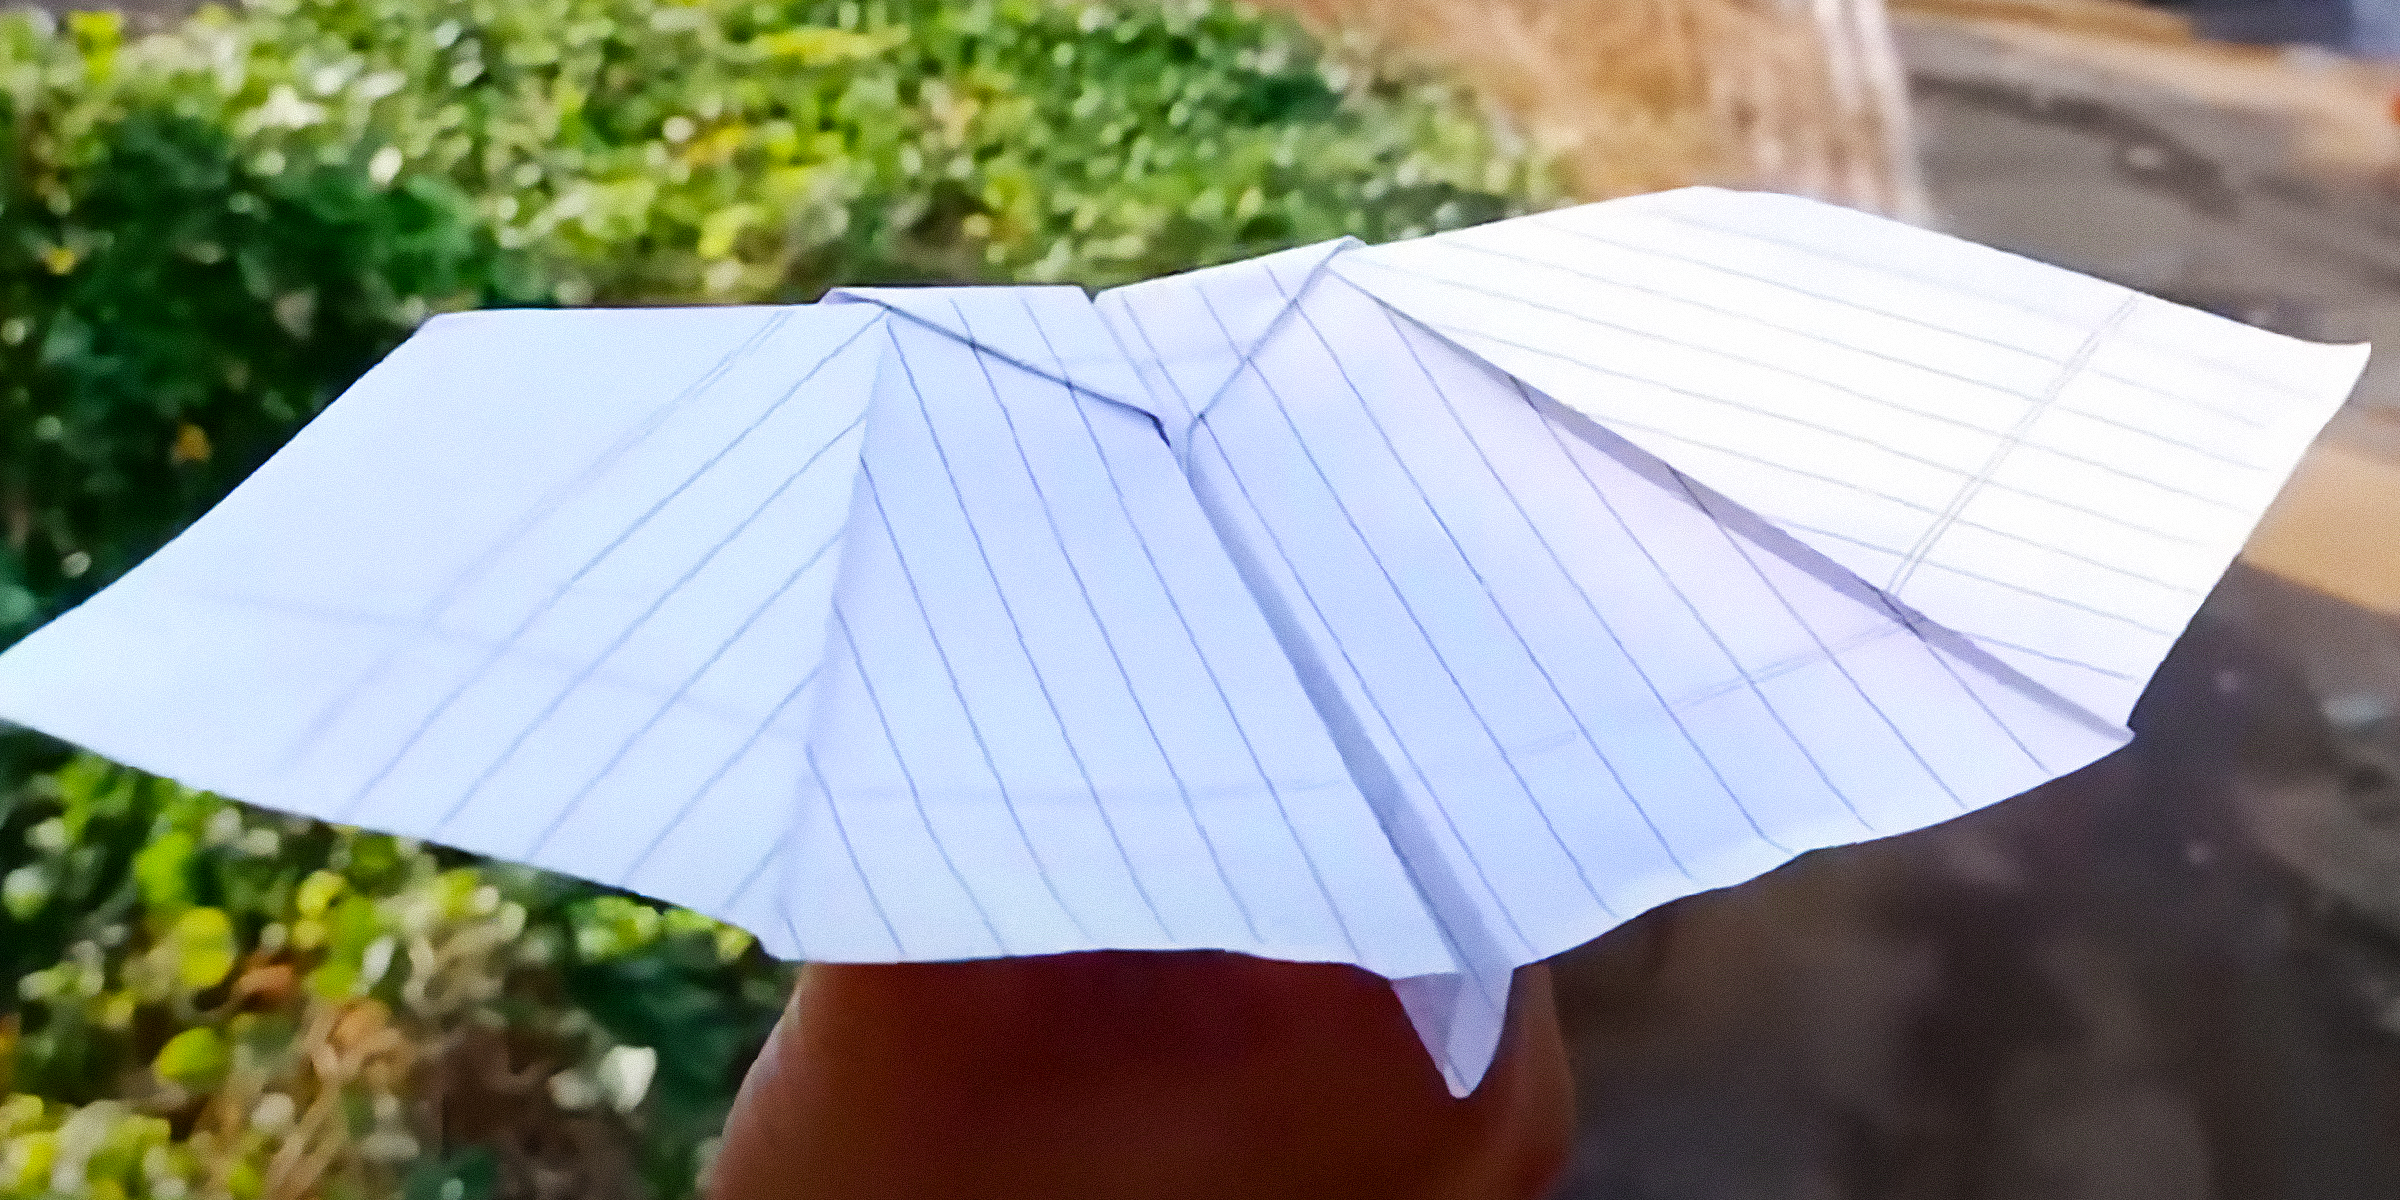
Paper planes have been around for thousands of years and have been the catalysts of human exploration into aerodynamics. In honor of the role these paper gliders have played in the history of this discipline, and simply for good fun, here's how to make a bat paper plane.
Jan 31, 2024

Whiskey stones are tiny rocks that cool whiskey without watering it down, making them perfect for lovers of the liquor, who want to keep its original flavor. As these stones can be reused, it is important to clean them, and we'll show you how.
Jan 13, 2024

An Argentine grill can be a stellar addition to your garden to entertain family and guests and cook juicy, smokey meat. However, it can cause quite a dent in one's pocket when store-bought. Luckily, it can be installed DIY style.
Dec 11, 2023

Gift wrapping is not merely about hiding what is inside; it is a way to make a statement, convey care, and transform a simple gesture into a lasting memory.
Dec 21, 2023