How to Make a Tiki Hut — A Helpful Guide
Mar 20, 2024


Whether you're aiming to protect your floor from the warmth of the embers or seeking to add an aesthetic flourish to your living space, this guide will walk you through creating the perfect DIY hearth pad for your home.
Embracing the allure of a warm, crackling fireplace on a chilly evening is quintessentially cozy. However, with the mesmerizing flames comes the responsibility of ensuring your home's safety.
Enter the DIY hearth pad, a necessary addition to any home with a fireplace. Not only does a hearth pad protect your highly flammable flooring from potential fire hazards, but it also enhances the aesthetic appeal of your living space.
Continue reading as we guide you through crafting the perfect homemade hearth pad, ensuring your snug evenings by the fire are both safe and stylish.
1. Begin by consulting your fireplace's owner's manual to determine the necessary clearance space and insulation requirements. Design your hearth pad to meet these specifications, ensuring both safety and function.
2. Trace the desired shape of your DIY hearth pad onto both the plywood and the cement backer board, tailoring it to complement your living space.
3. Using a table or hand saw, cut the plywood to your outlined shape. For the backer board, a utility knife will do the job with precision.
4. Position the plywood cutout on the floor where your hearth pad will reside. Secure it with galvanized deck screws, spaced around 8-10 inches apart at the edges and sparingly in the center.
5. Overlay the plywood with the cement backer board, fastening it down with the specialized backer board screws to create a sturdy base.
6. Dry lay your tiles atop the backer board, starting from the front edge and working backward. Use spacers to ensure even gaps between tiles. Once satisfied with the layout, remove the tiles and set them aside.
7. Apply a thin layer of mortar to the hearth pad, spreading enough to lay 4-5 tiles at a time. Utilize the notched trowel to create furrows in the mortar for better tile adhesion.
8. Carefully press the tiles into the mortar, following your initial design and spacing. Continue this process, leaving tiles that require trimming or cutting until last.
9. With eye protection in place, use tile nippers to resize any tiles necessary for your design. Apply thin-set mortar to the back of these custom-fit tiles before pressing them into position.
10. Once all tiles are laid, remove the spacers and allow the hearth pad to set for at least 24 hours. Following this, use a grout float to apply grout between the tiles, except for the edge touching the floor, which will be caulked later.
11. Wipe away excess grout with a damp rag or sponge, smoothing the caulk lines with a wet finger for a professional finish. Allow the DIY hearth pad to cure for at least three days before placing your stove on it.
Crafting your DIY hearth pad not only adds a layer of protection to your home but also infuses it with a touch of personal style. By following these detailed steps, you can ensure your fireplace is both a cozy and safe addition to your home's ambiance.
Eager for more DIY home improvement projects? Dive into our article on crafting your own DIY fabric refresher to discover simple, effective ways to keep your wardrobe smelling fresh.

Crystal suncatchers are not only stunning decorative pieces, but they are also a unique way to fill your home with sunlight and positive energy. Enjoy the almost magical properties of this beautiful ornament with this DIY crystal suncatcher guide.
Jan 15, 2024
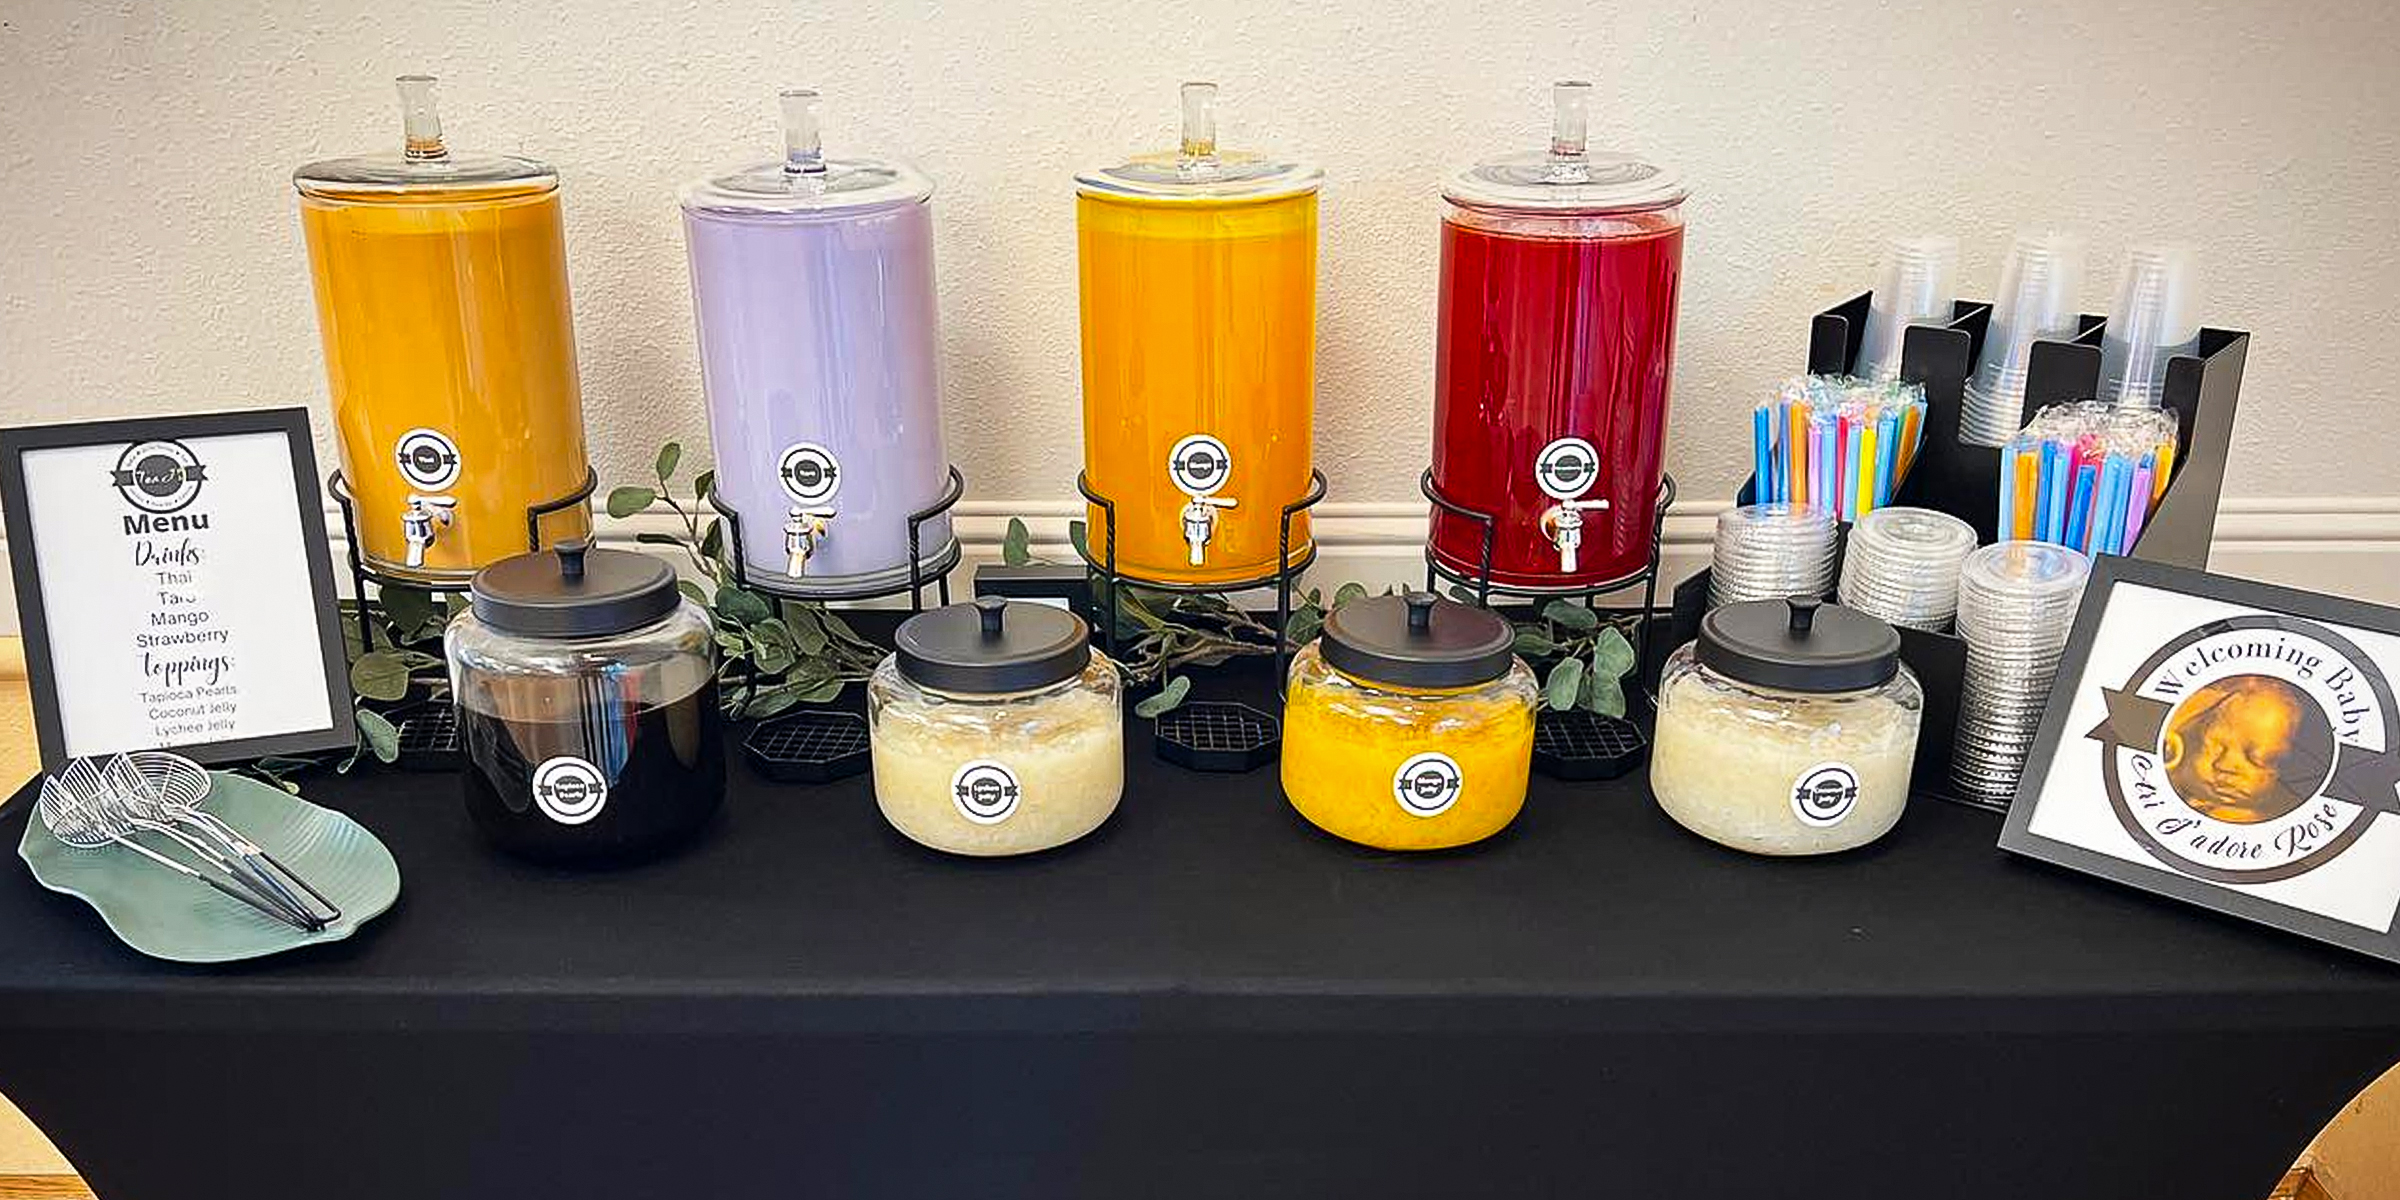
To elevate your next soirée with a DIY Boba bar, continue reading for the essentials to give your guests the perfect Boba tea experience they will never forget.
Feb 07, 2024
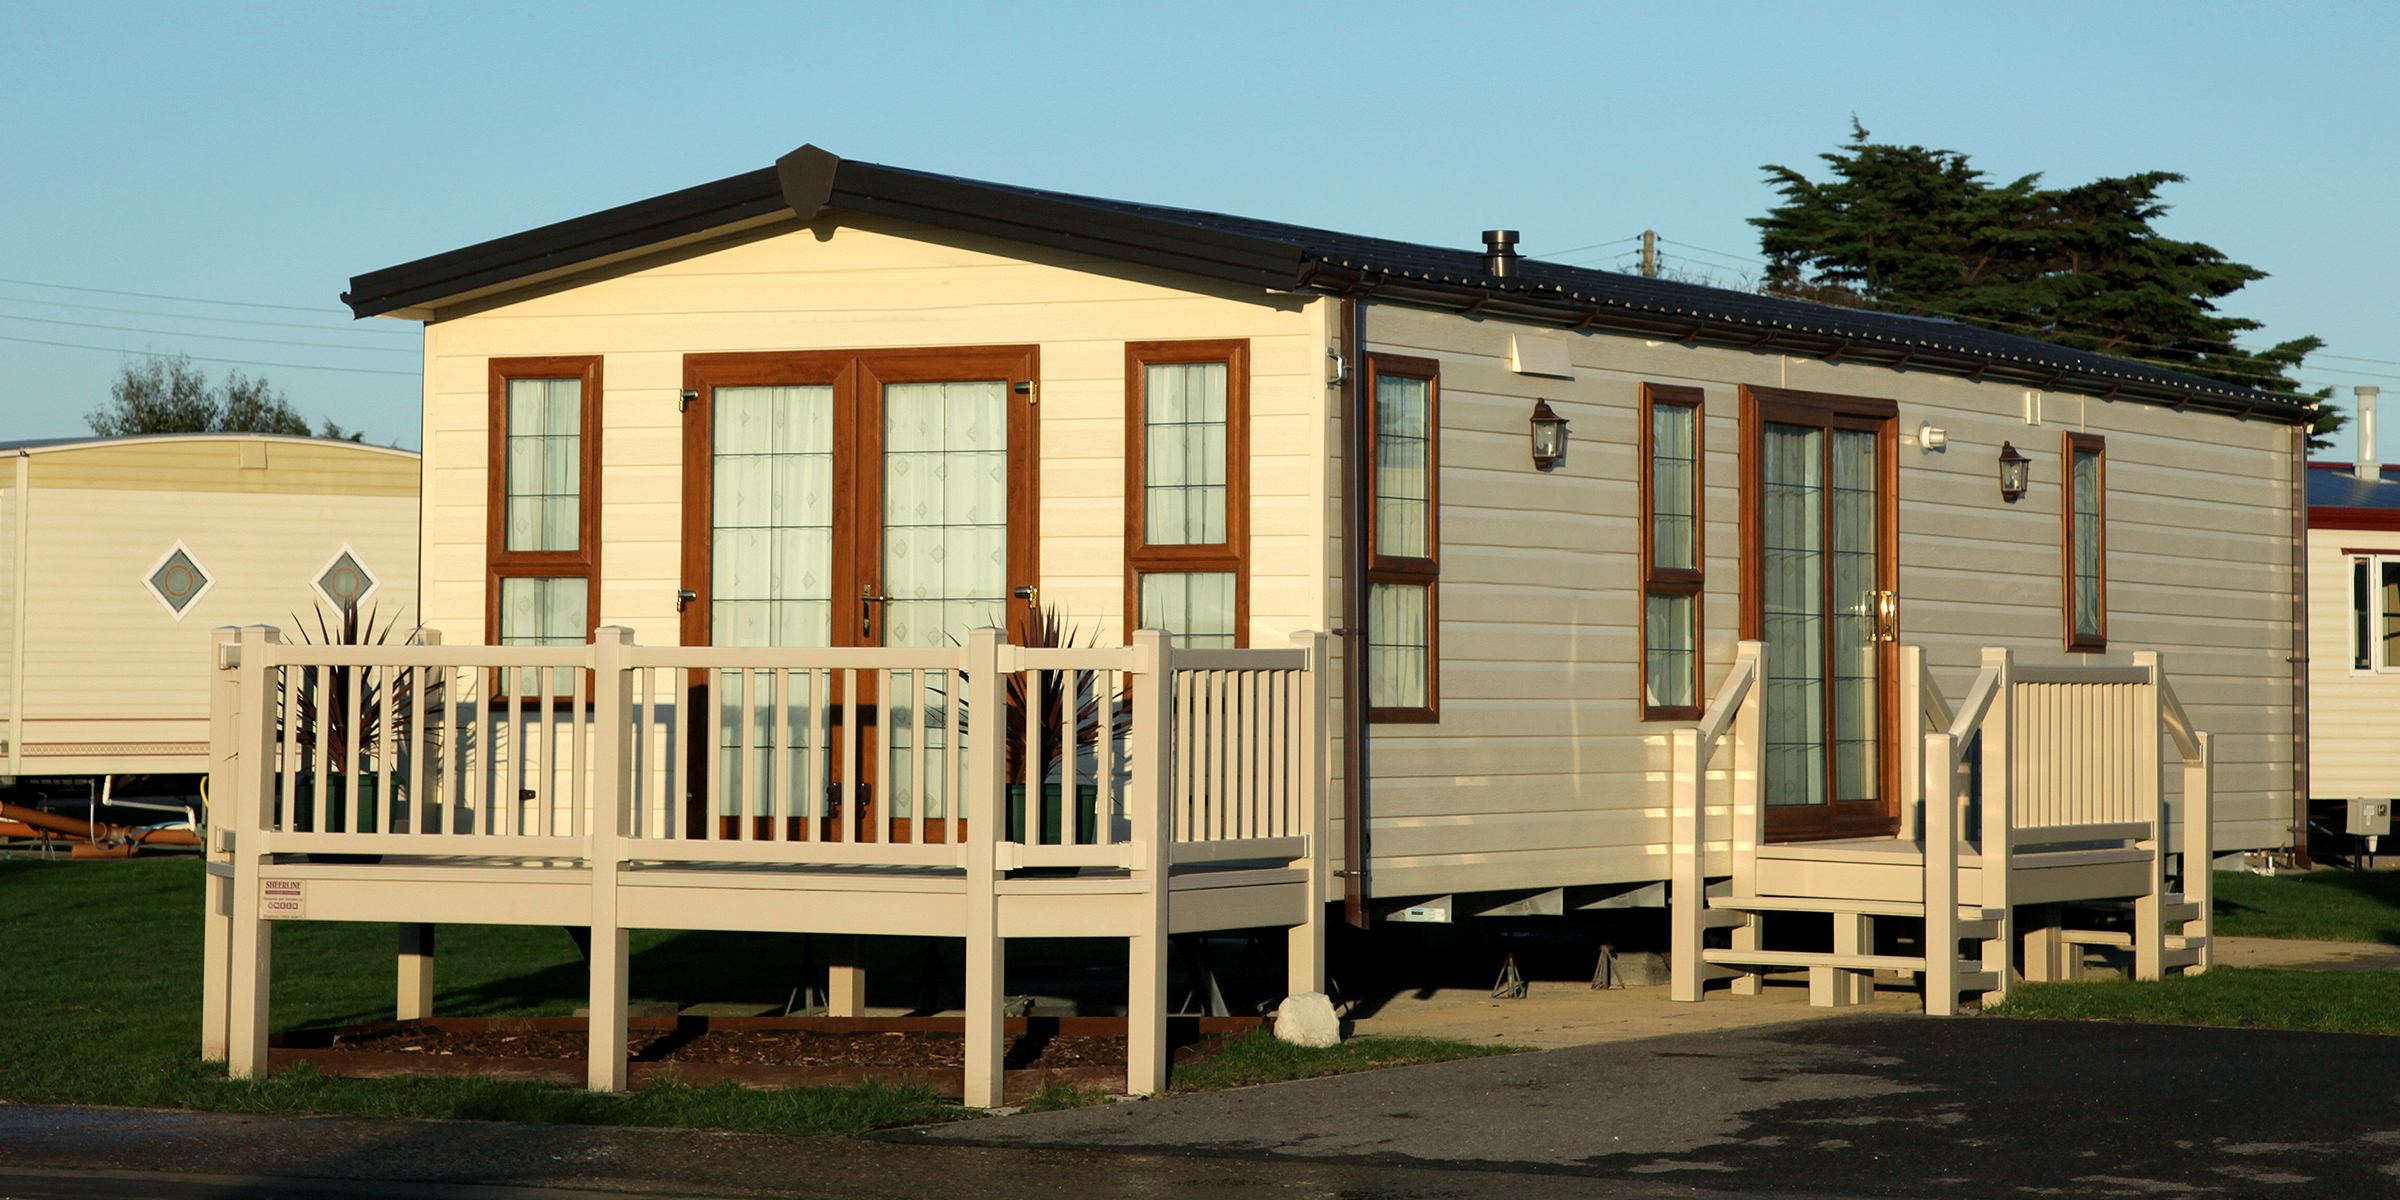
For those considering giving their mobile space a facelift, one pressing question looms: how much does it cost to remodel a mobile home? The answer isn't straightforward, as costs can vary widely based on several factors.
Feb 21, 2024

Seint is a well-known beauty brand specializing in cosmetic applicators like makeup brushes and blenders. Knowing how to clean Seint brushes not only has hygienic purposes but also preserves the quality of the makeup tools.
Jan 09, 2024
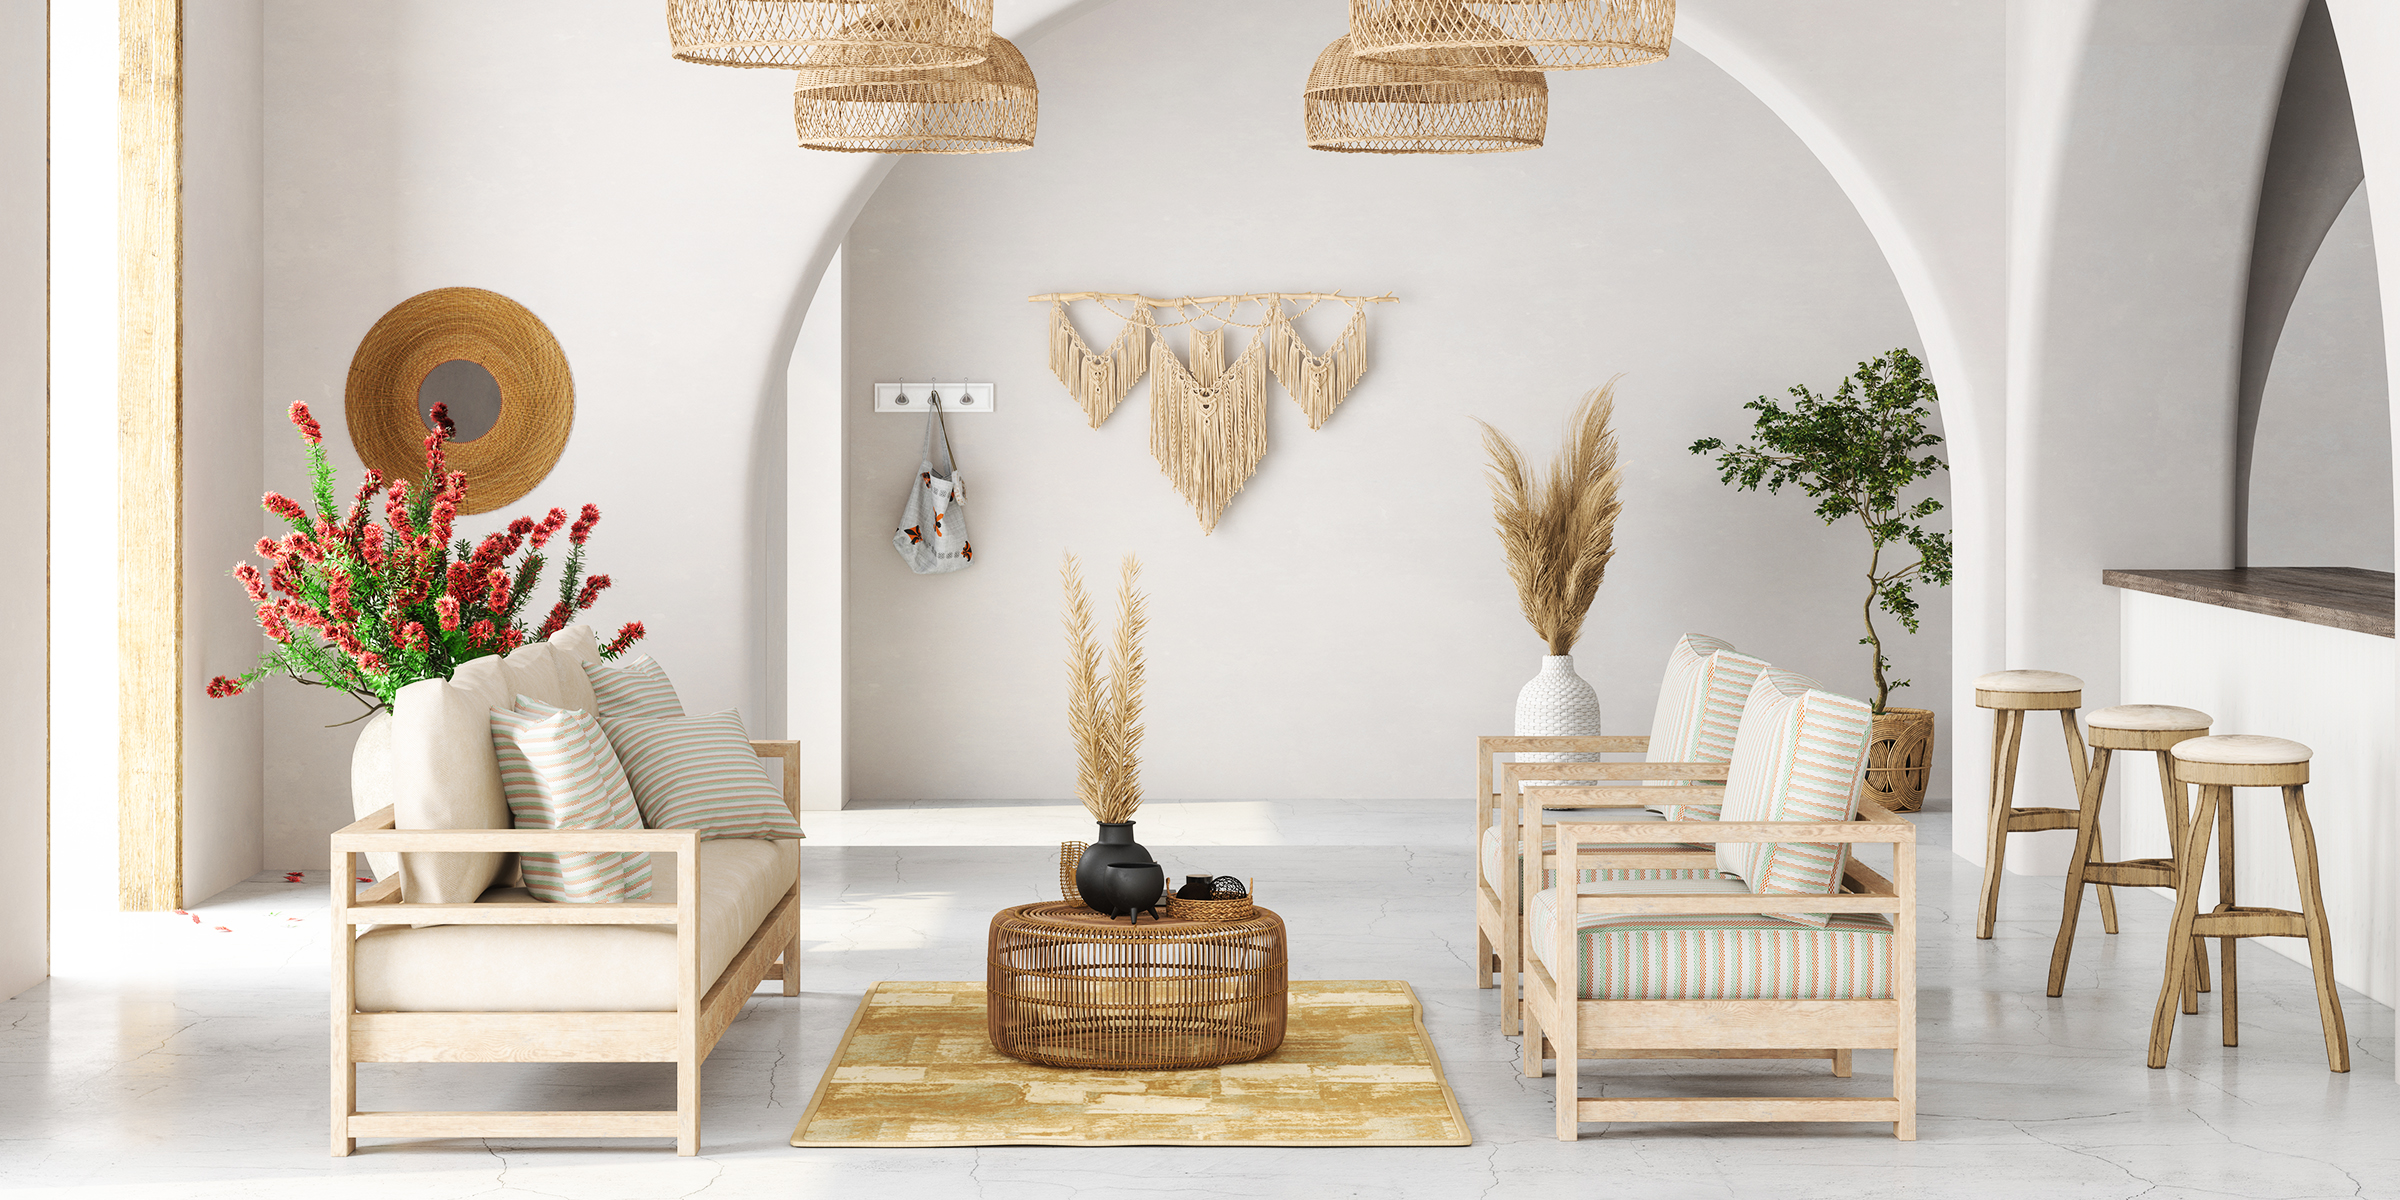
If you're looking to create the perfect balance of boho and rustic in your living room, continue reading for essential interior design tips to perfectly encapsulate the charming touch and natural finish of these two styles.
Jan 29, 2024

Stuck trying to figure out how to make your Pokémon happy in "Pokémon Sleep?" Look no further than this guide, as we uncover the secrets to your Pokémon's happiness for a delightful gaming experience.
Mar 30, 2024
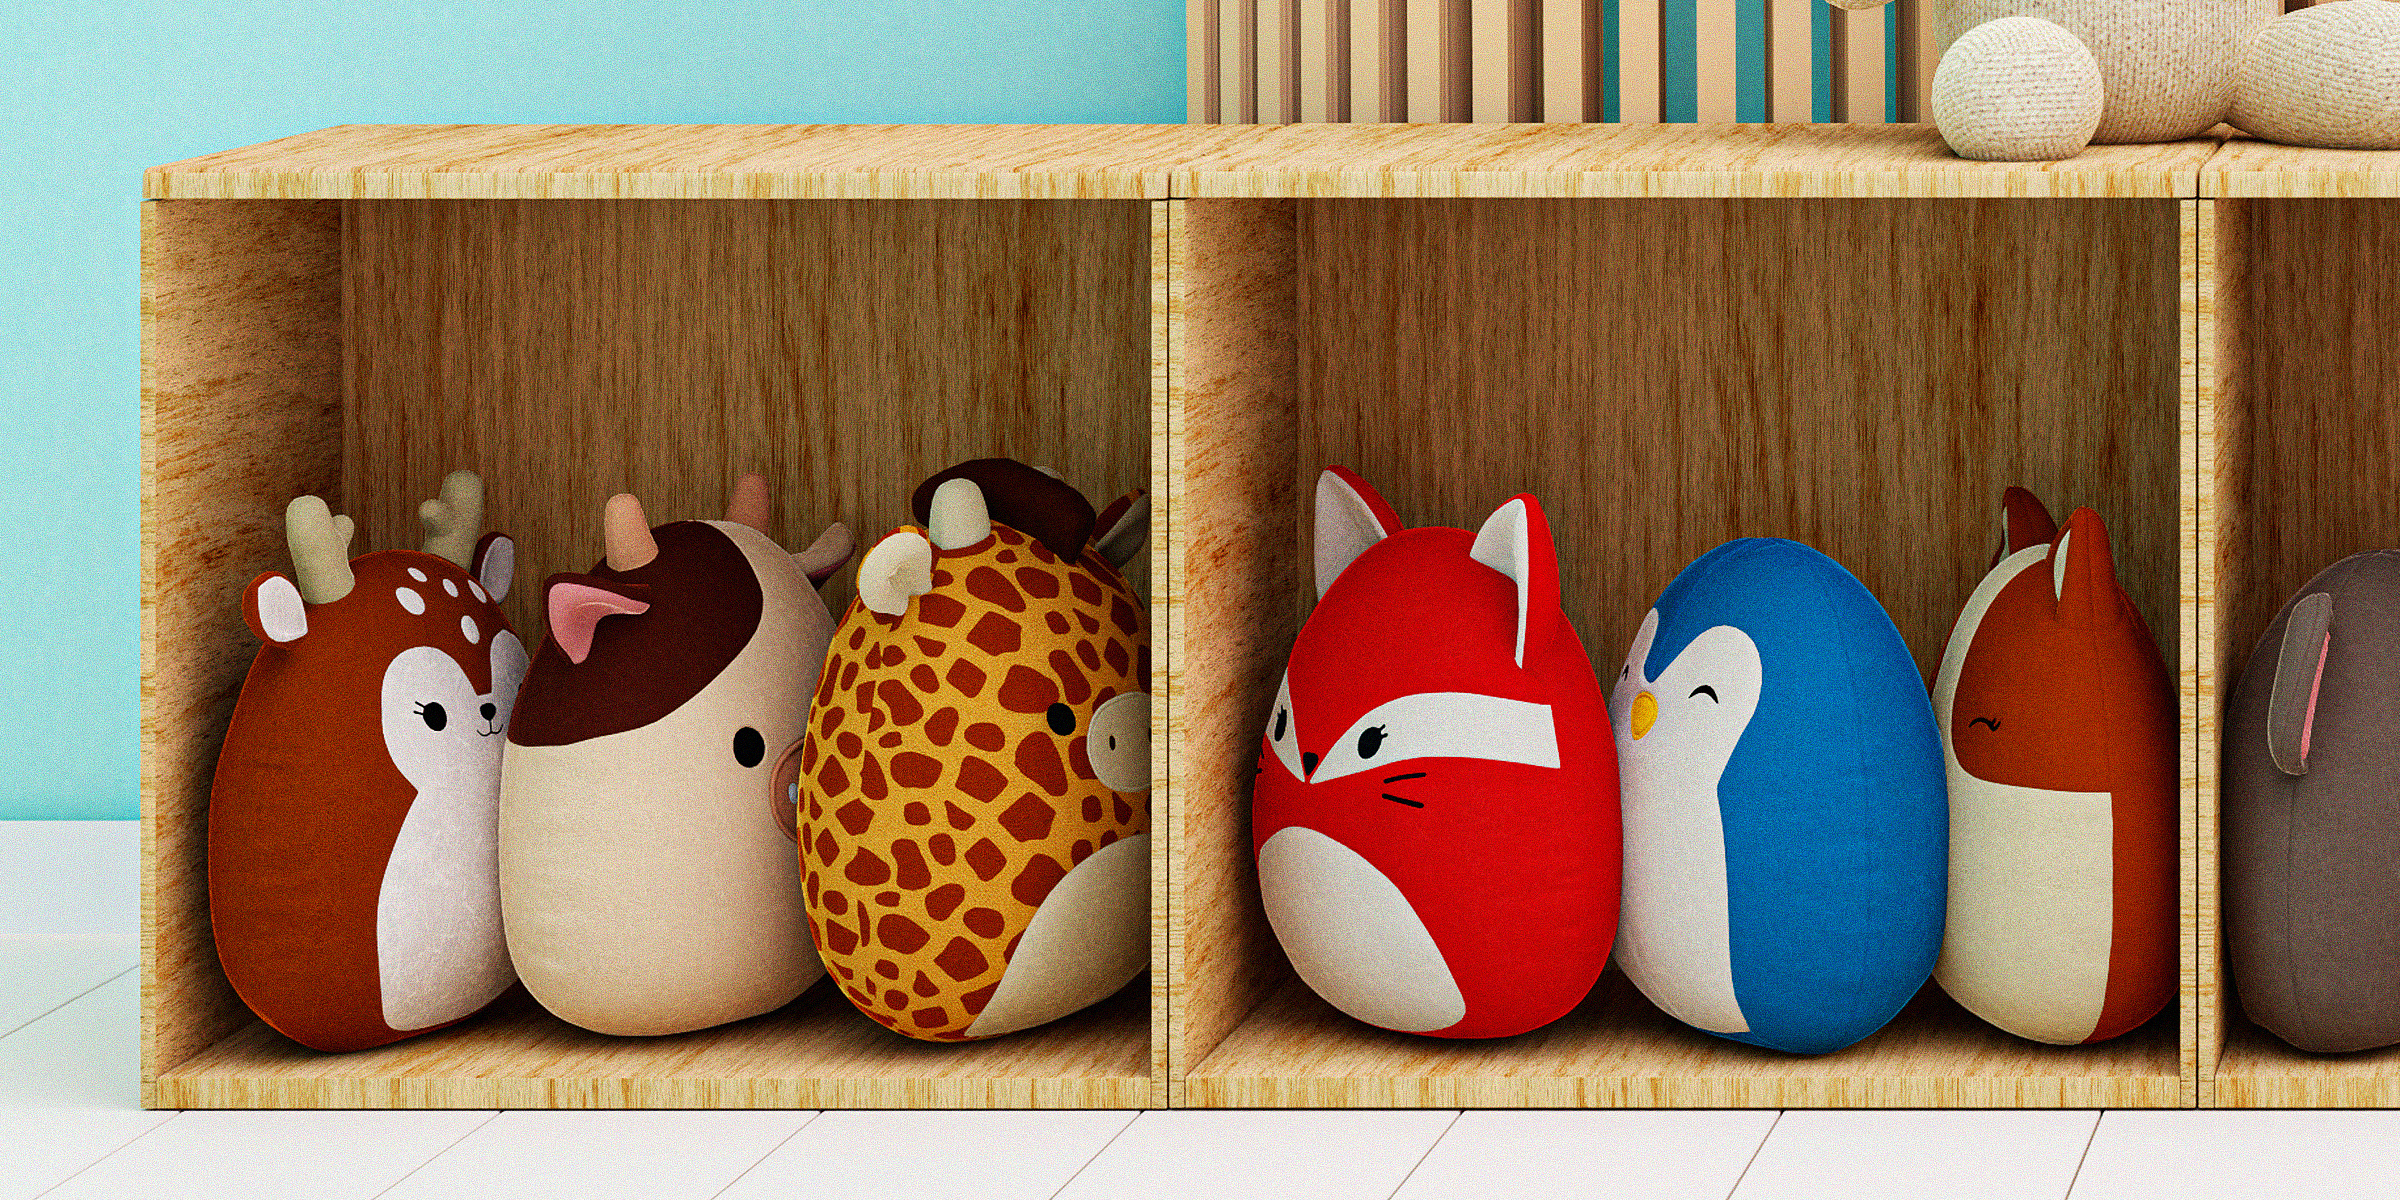
Discover the secret to bringing your child's favorite Squishmallow back to life with our easy guide on how to make a Squishmallow clean and fluffy again.
Mar 08, 2024
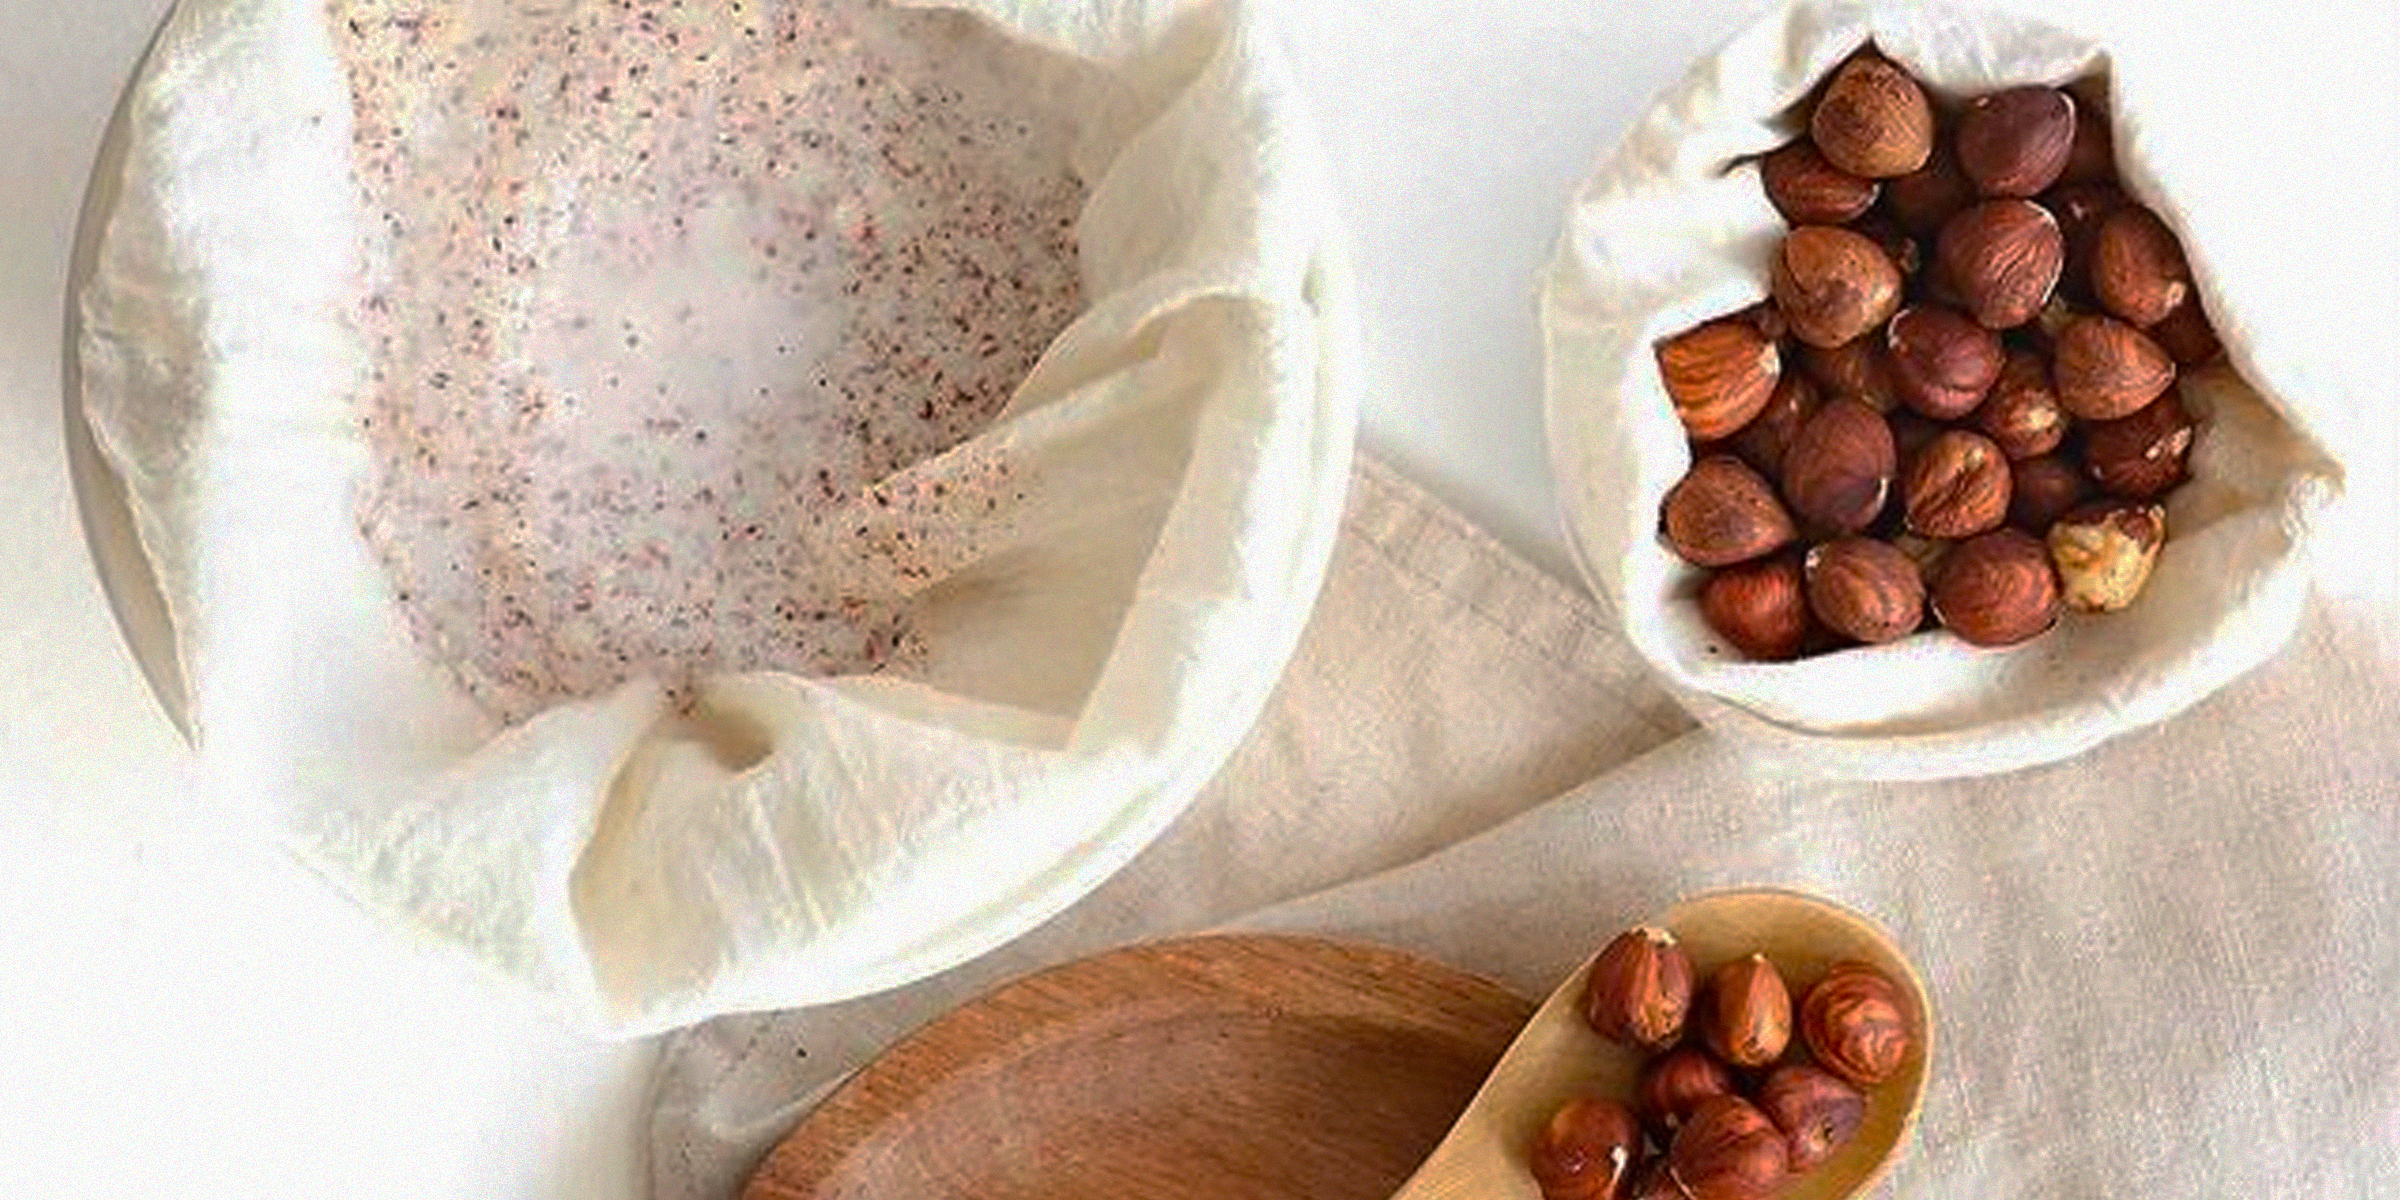
Embarking on making your nut milk at home can be a rewarding experience, but the cleanup process, especially regarding the nut milk bag, may seem less appealing. However, regularly cleaning your nut milk bag is advised to prevent bacteria or mold from growing, and you can do so in five easy steps.
Dec 31, 2023

If ground squirrels have taken over your yard with their burrowing, continue reading for three ways you can fill ground squirrel holes — from the perfect machine to make the process easier to ingredients you can use that you might already have.
Jan 09, 2024

Struggling with a faintly scented room despite your diffuser running all day? The secret to a luxuriously fragrant space lies not just in the oils you choose but in how to make an oil diffuser smell stronger.
Feb 25, 2024
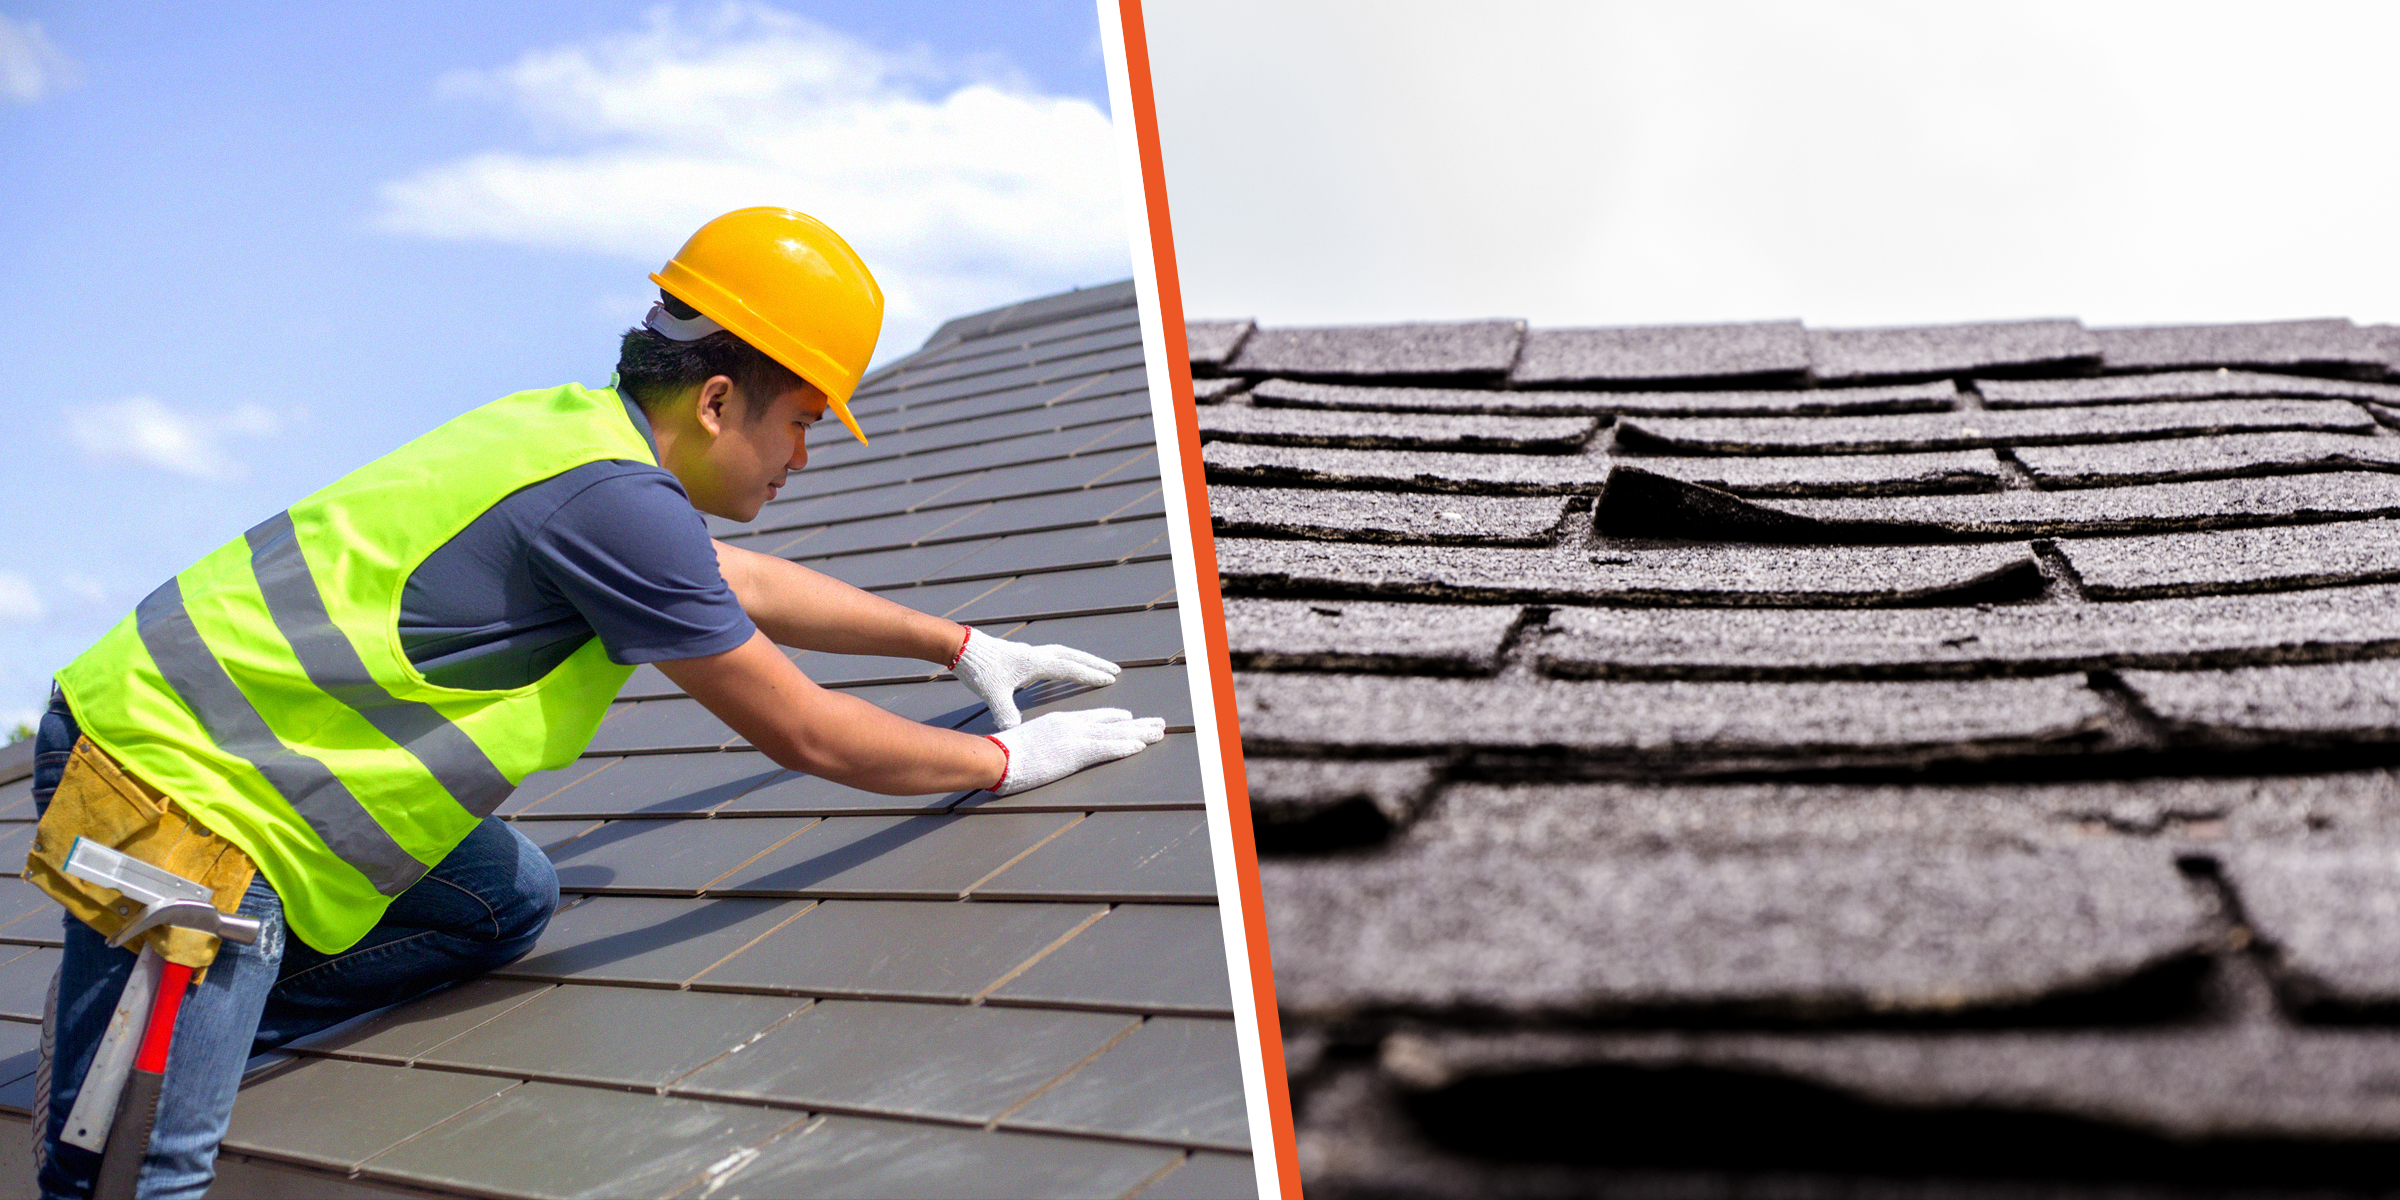
Granular loss is something most roofs experience and can be addressed in two ways. Continue reading for tips on both methods to repair granular loss and what you can do to prevent damage to your roof.
Jan 24, 2024
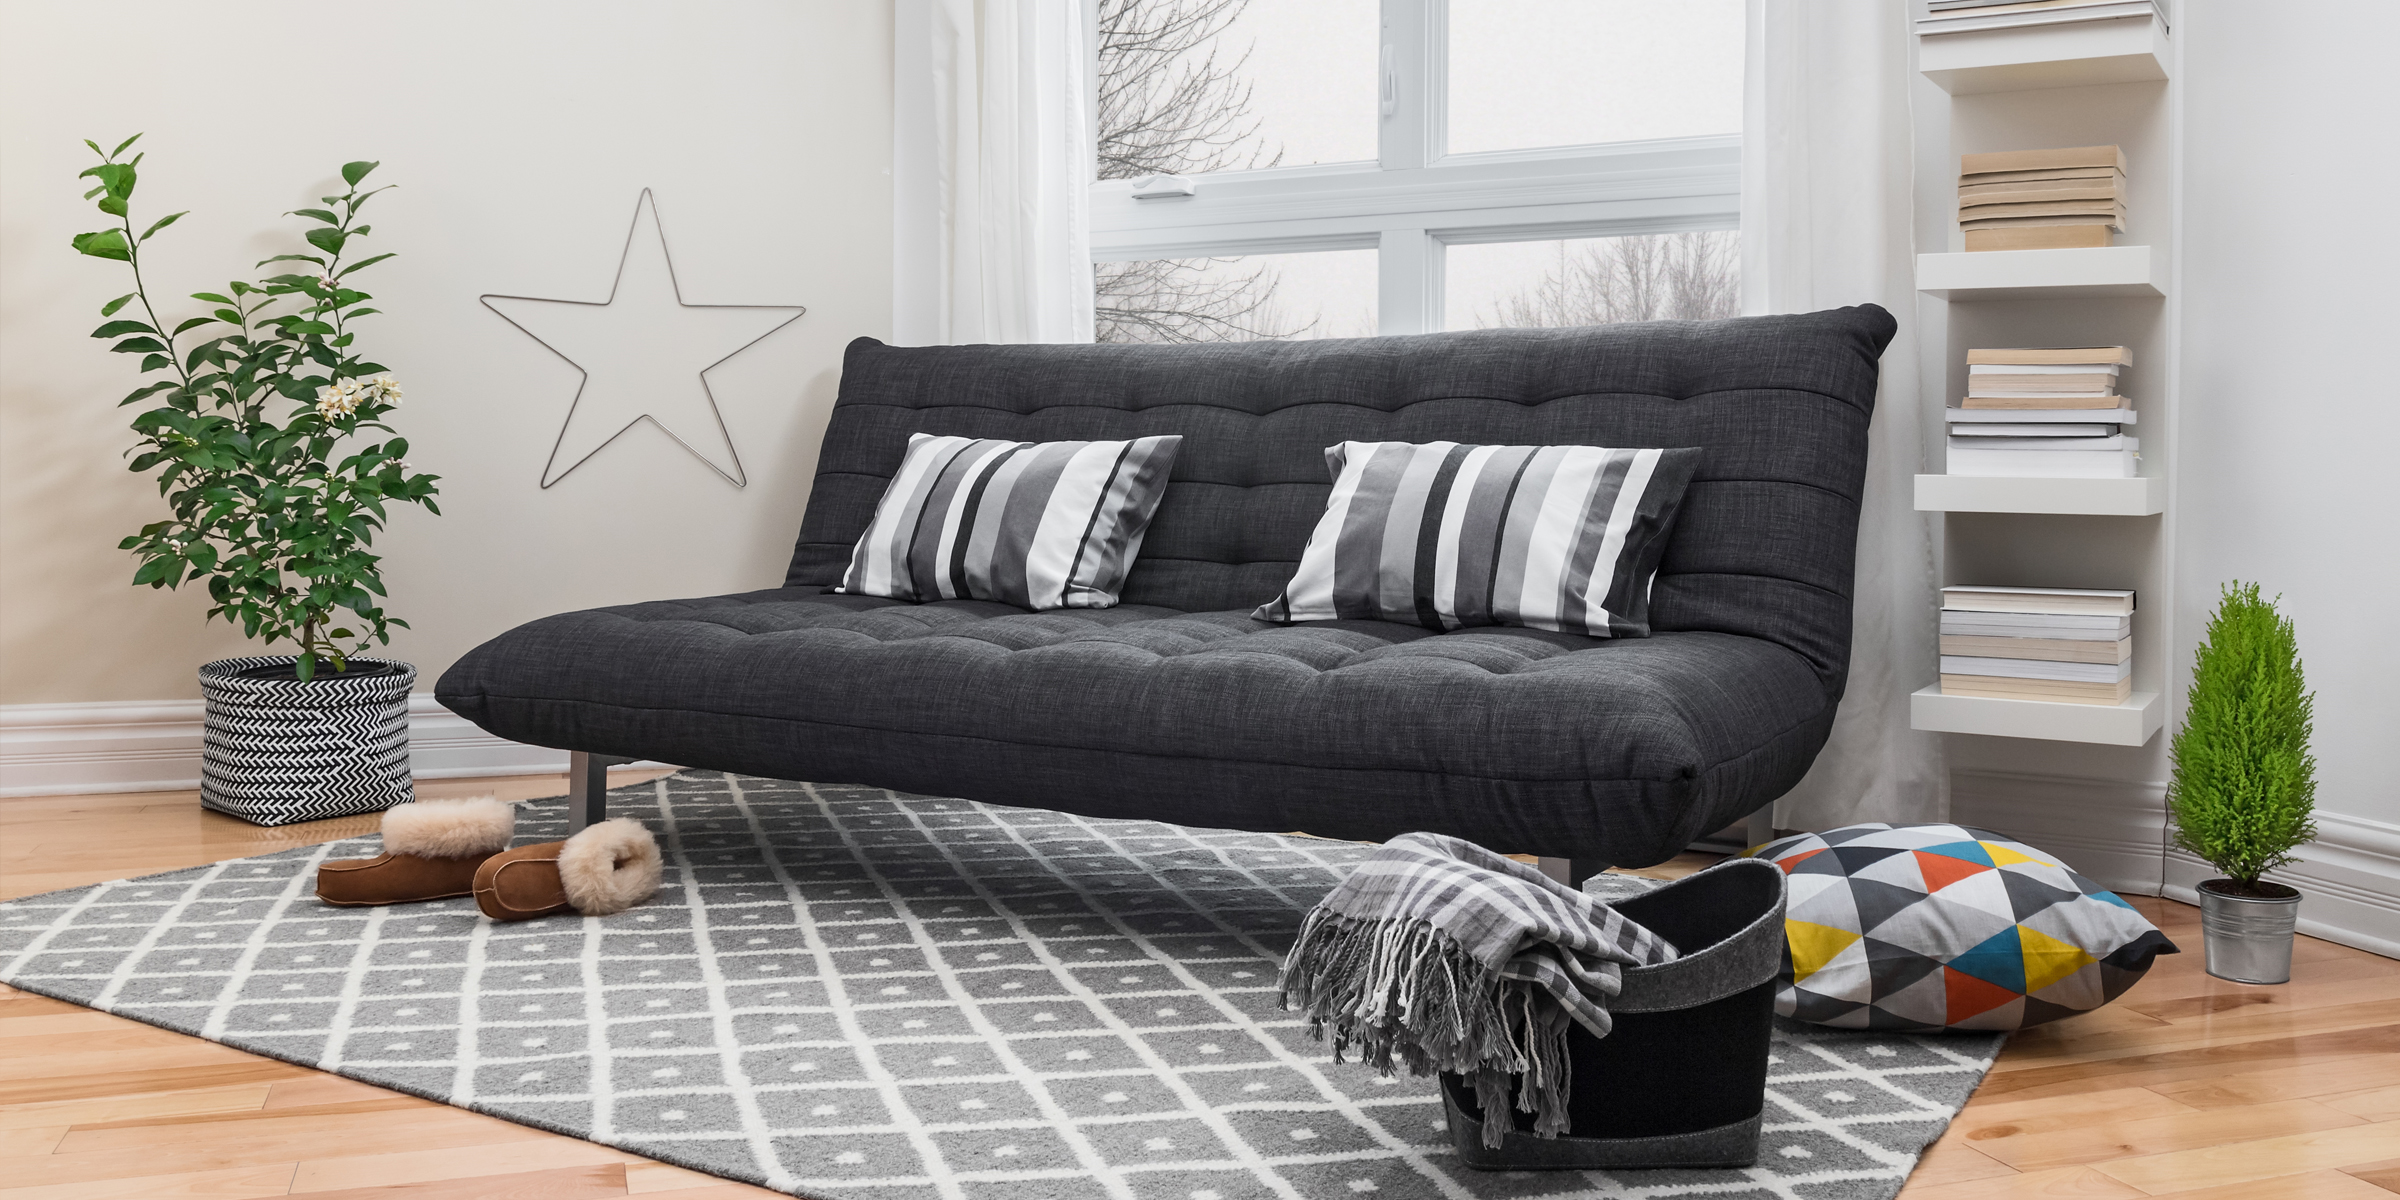
Searching for ways to transform your futon from merely functional to fabulously comfortable? Look no further than this guide, as we explore four easy and effective tips to turn your futon into a cozy oasis.
Mar 15, 2024
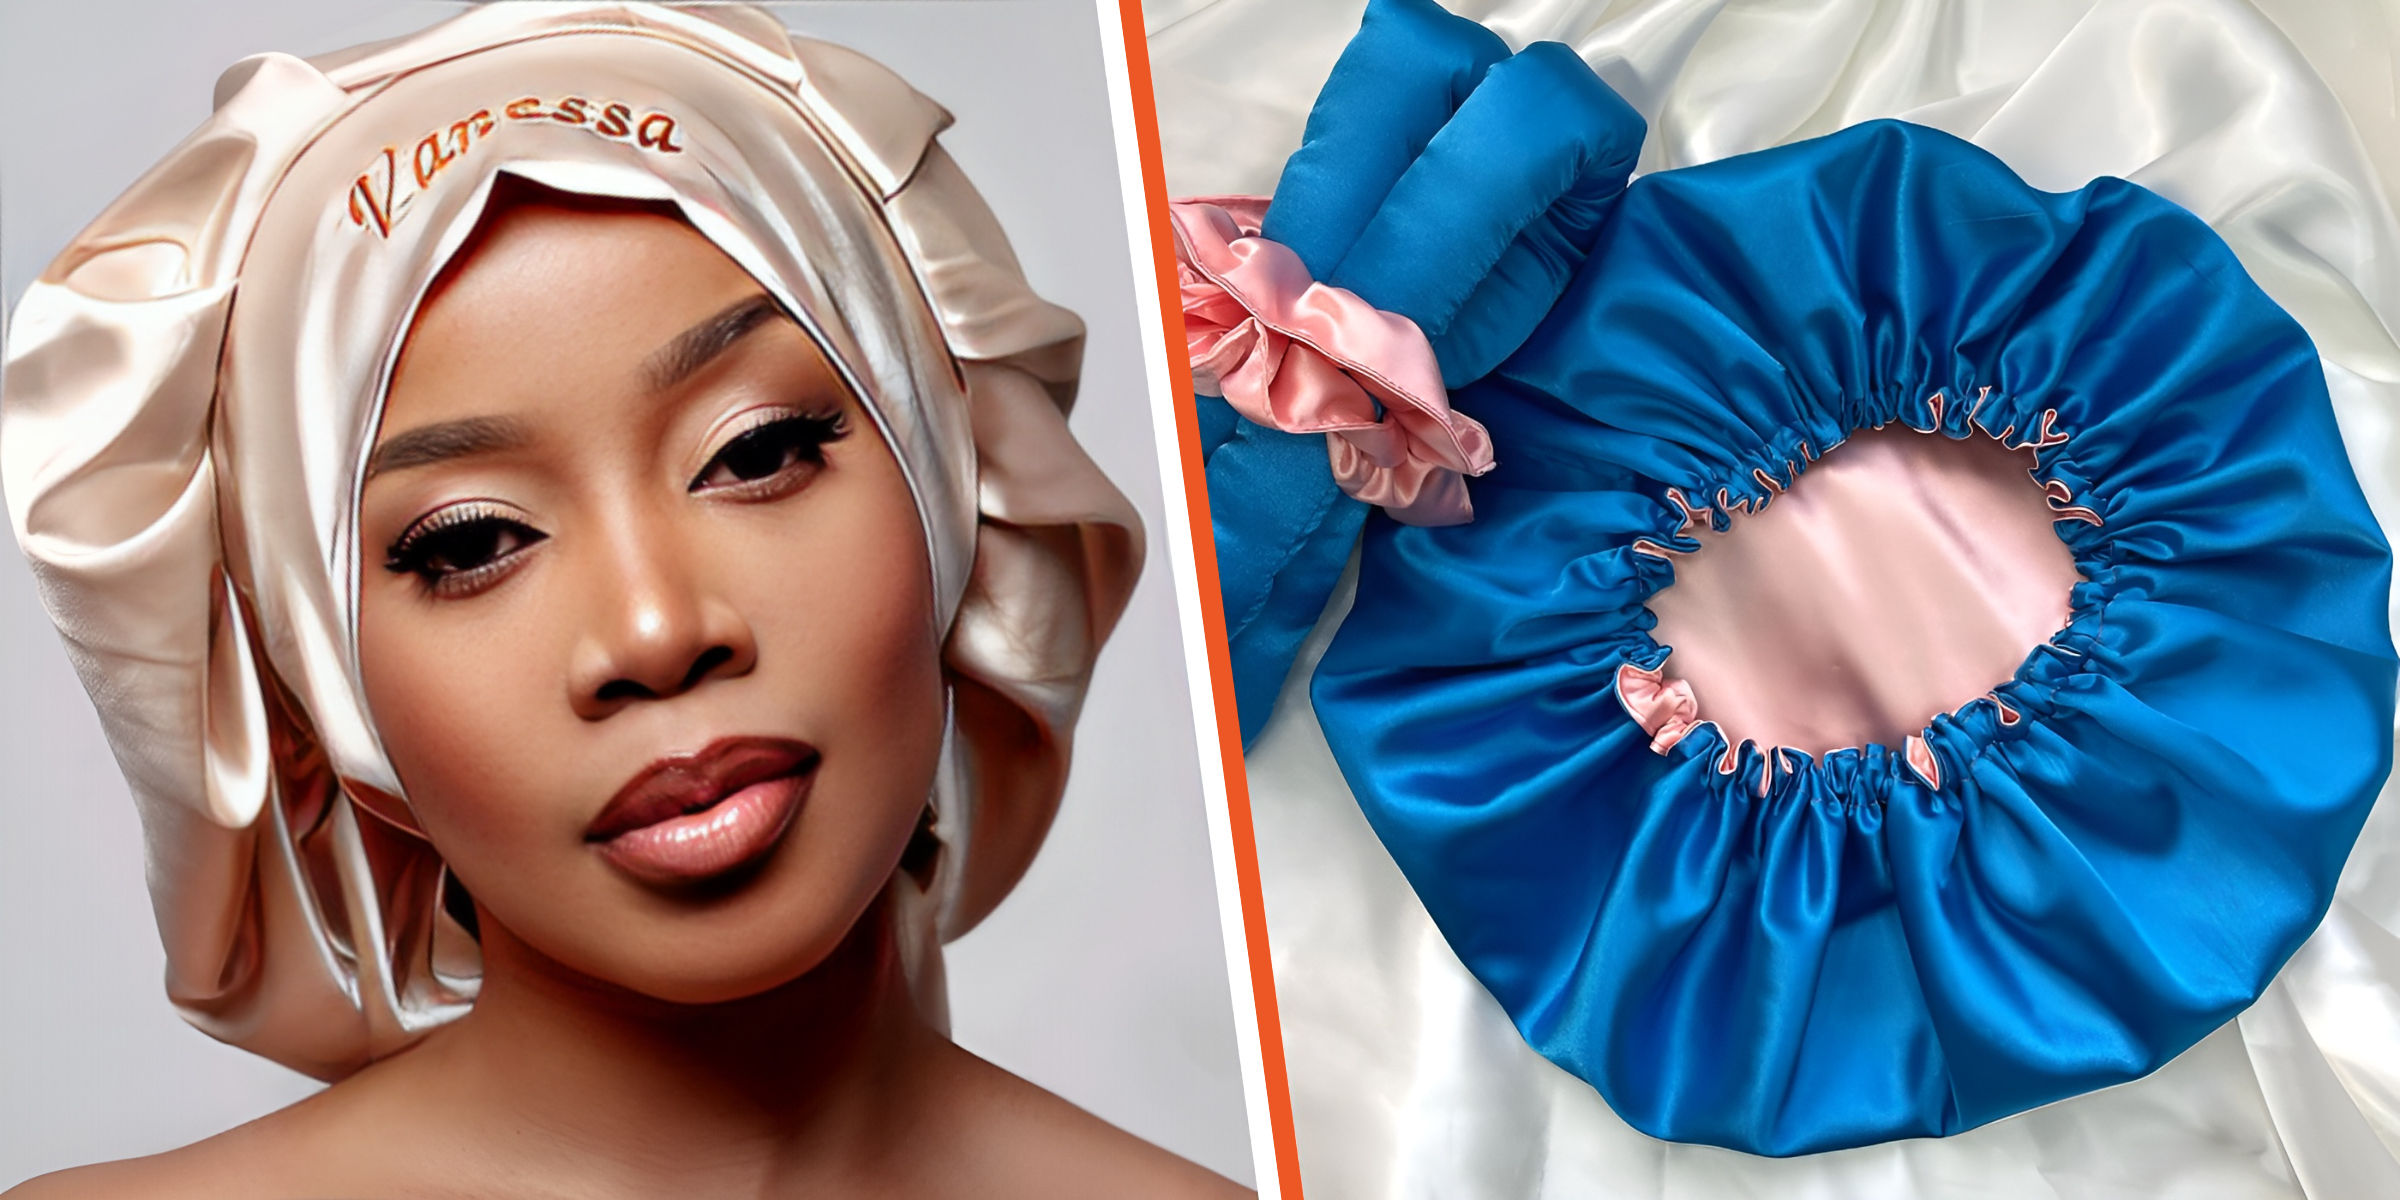
As many with coily and curly hair know, bonnets are essential to the nighttime hair care routine to ensure your kinks and curls stay intact and in perfect condition. However, regularly and correctly washing your bonnet is equally important.
Dec 12, 2023
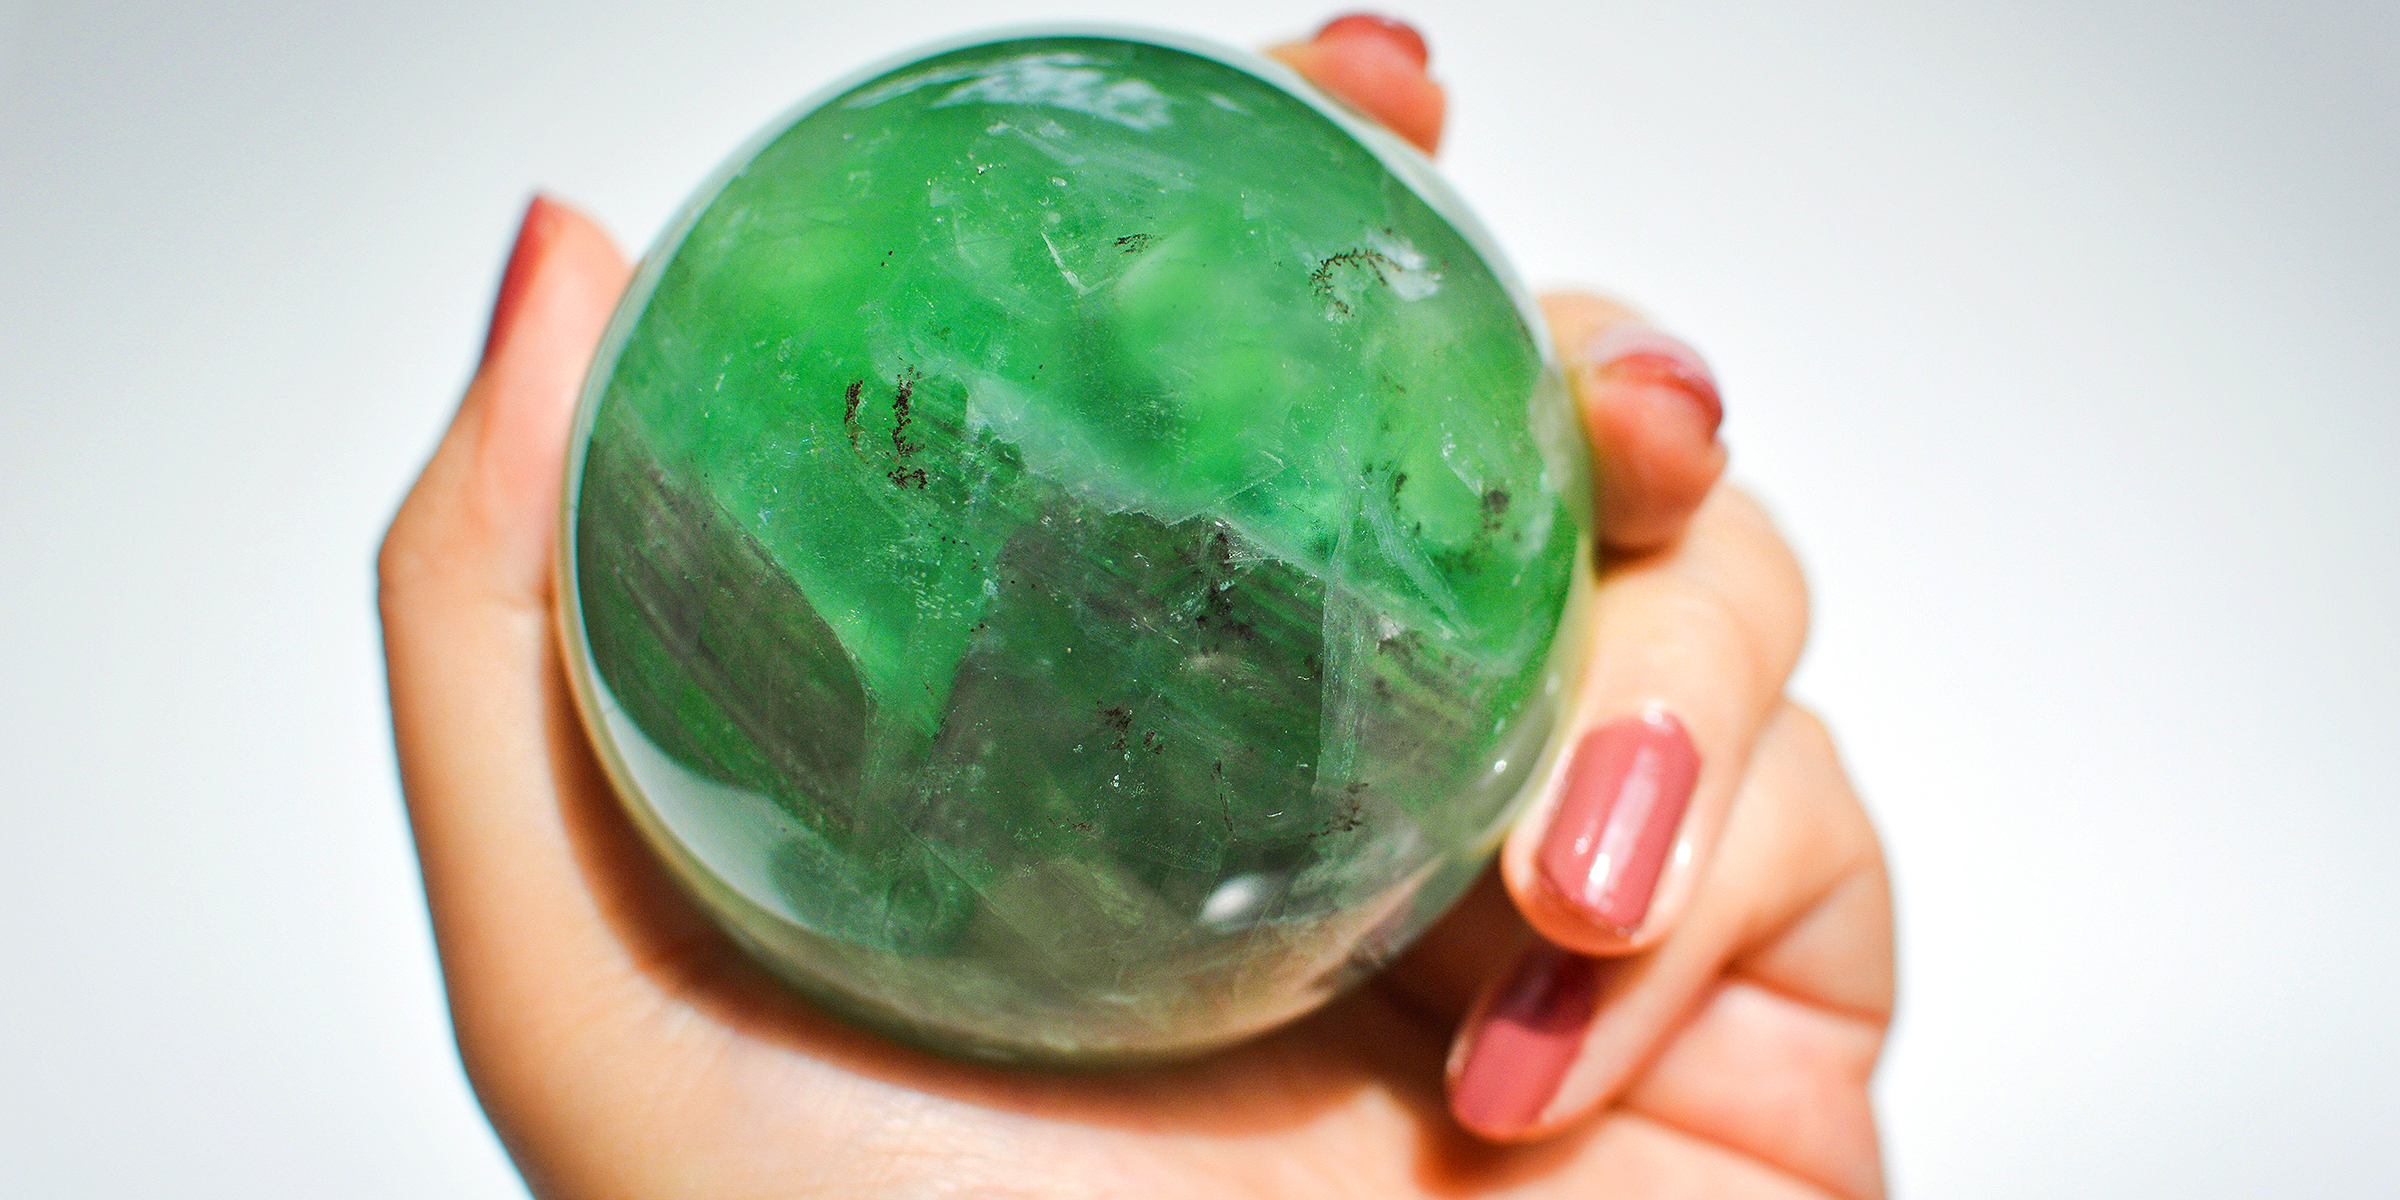
From keeping you calm to warding off unwanted negative energy, fluorite crystals have many powerful and healing properties, so ensuring they are properly cleansed is paramount.
Jan 11, 2024