3 Ingenious DIY Backseat Divider Ideas for a Peaceful Ride with Kids
Feb 15, 2024


Despite their convenience, high-tech litter boxes can sometimes clash with home aesthetics. Fortunately, there's a stylish DIY solution! Transform your space with a DIY Litter Robot enclosure that effortlessly merges smart technology with style.
Cats, renowned for their cleanliness, have adapted to indoor living with the assistance of their owners and innovative products like the self-cleaning Litter-Robot, which provides them with a designated space for their needs.
For space-conscious pet owners, a DIY Litter Robot enclosure offers a clean, safe, and discreet solution. Here's how to build a litter box enclosure.

A set of tools | Source: Shutterstock
1. Before starting, ensure you wear safety glasses to protect your eyes. Cut the melamine sheet to your desired size. The melamine sheets offer durability and ease of cleaning, ideal for pet furniture.
Given the litter box's size, consider adding a few inches of allowance for it, ensuring cats have enough room to navigate around the enclosure. The dimensions should be as follows:

Cut the melamine sheet to your desired size and make sure to have enough space so your cat can move freely inside it. | Source: Youtube/HouseholdHowTo
2. Assemble the box by attaching the four sides with coarse-threaded wood screws. Ensure you drill pilot holes first, as melamine is prone to splitting and cracking easily. Proceed with caution. Tighten the screws by hand to avoid damage.

Tighten the screws by hand after assembling the four pieces of melamine sheets together. | Source: Youtube/HouseholdHowTo
3. Design the back side of the box to be shorter, allowing it to fit flush against the wall without the need to cut the baseboard. Leave one side of the box open so you can have access to clean the enclosure and ensure it's functioning correctly.

Keep one side of the box open for easy access to clean and check that everything is working properly. | Source: Youtube/HouseholdHowTo
4. Use scrap plywood for the frame, sanding the surface smooth to prevent splinters. Cut the acrylic sheet to size using a circular or jigsaw and install it between the frame.

Create a frame with the use of scrap wood. | Source: Youtube/HouseholdHowTo
5. Pre-drill holes around the acrylic panel, and secure it with some 1/2-inch pan head screws. For a stronger, seamless finish, use pocket holes to assemble the frame and make sure to tighten the screws manually. Do not overtighten, as that may crack the acrylic.

Tighten the screws by hand after drilling the acrylic sheet onto the frame. | Source: Youtube/HouseholdHowTo
6. The enclosure has an extra tunnel, so you need to create three small access points for your cat to enter and exit. Cut a section on the lower side of the enclosure and on the side of the tunnel, as well as a part of the house wall. To address the potentially hazardous hole in the wall, create a box to cover the rough edges to ensure safety and comfort.

Cut out a section of the house wall that matches the tunnel's access port. | Source: Youtube/HouseholdHowTo
7. Install the Litter-Robot enclosure door with hinges and add edge bandings for a polished look. Attach a handle for easy lifting.

Attach handles and hinges for easy access to the enclosure. | Source: Youtube/HouseholdHowTo
8. Once you've built the enclosure, place it where you want and put the Litter-Robot inside. Now this DIY enclosure is cat-approved!

A cat navigating its way inside the Litter-Robot enclosure. | Source: Youtube/HouseholdHowTo
Embrace the seamless fusion of functionality and style with your newly crafted DIY Litter Robot Enclosure. Eager for more hands-on projects? Explore our next guide, where we delve into transforming your closet space with a personalized DIY wardrobe door.
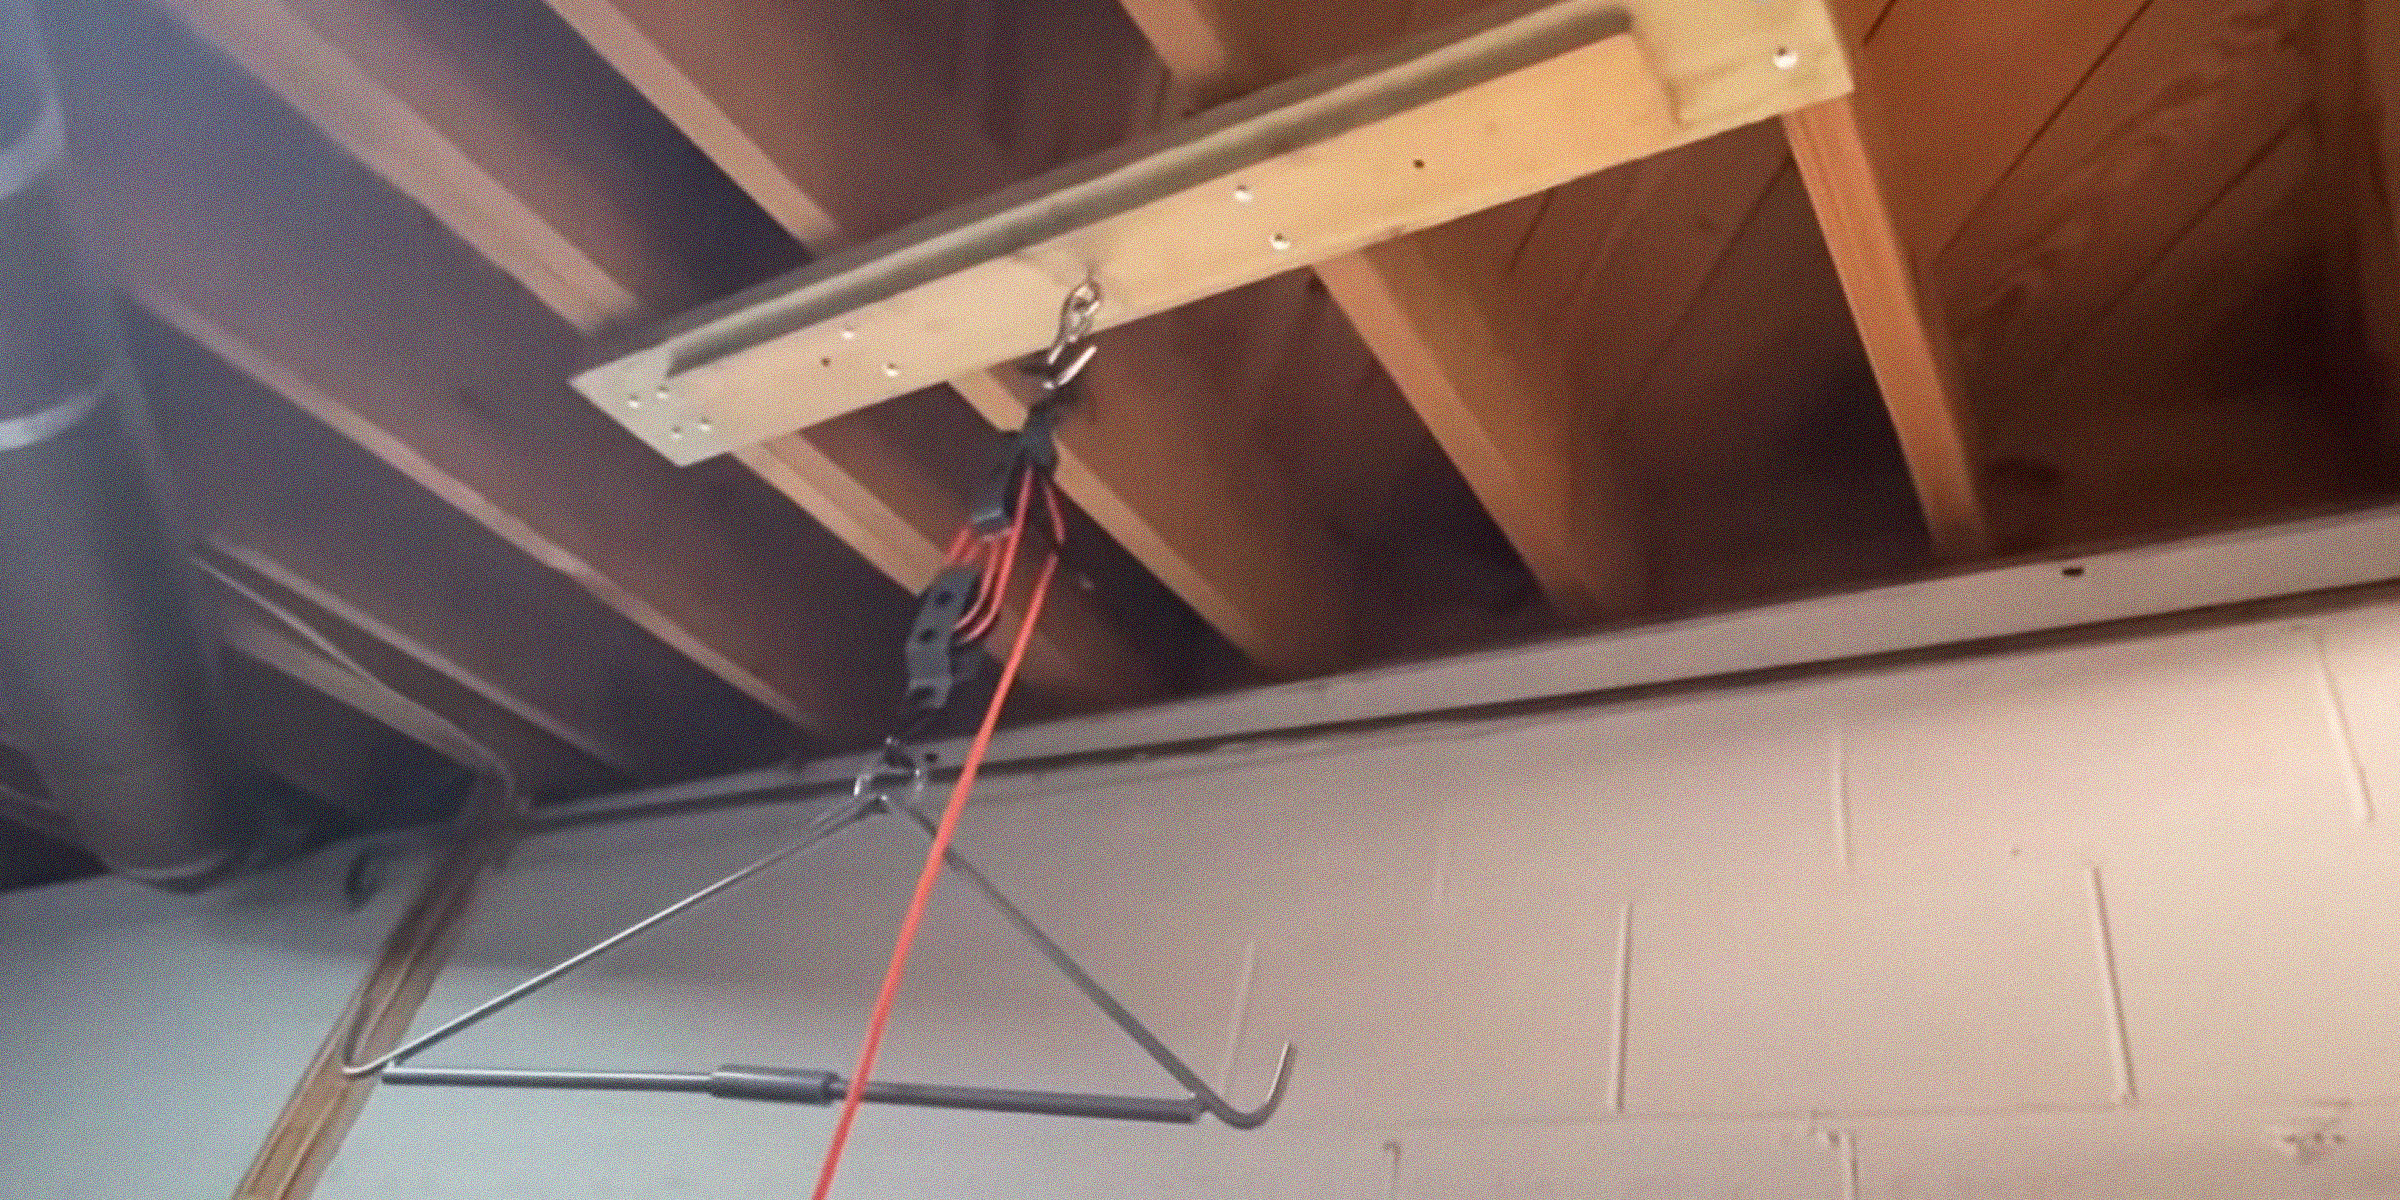
Whether you're a seasoned hunter or just getting started, a deer hoist is a helpful tool when hunting these large animals, and now, you can make this device in comfort of your home with this simple DIY deer hoist guide.
Feb 09, 2024
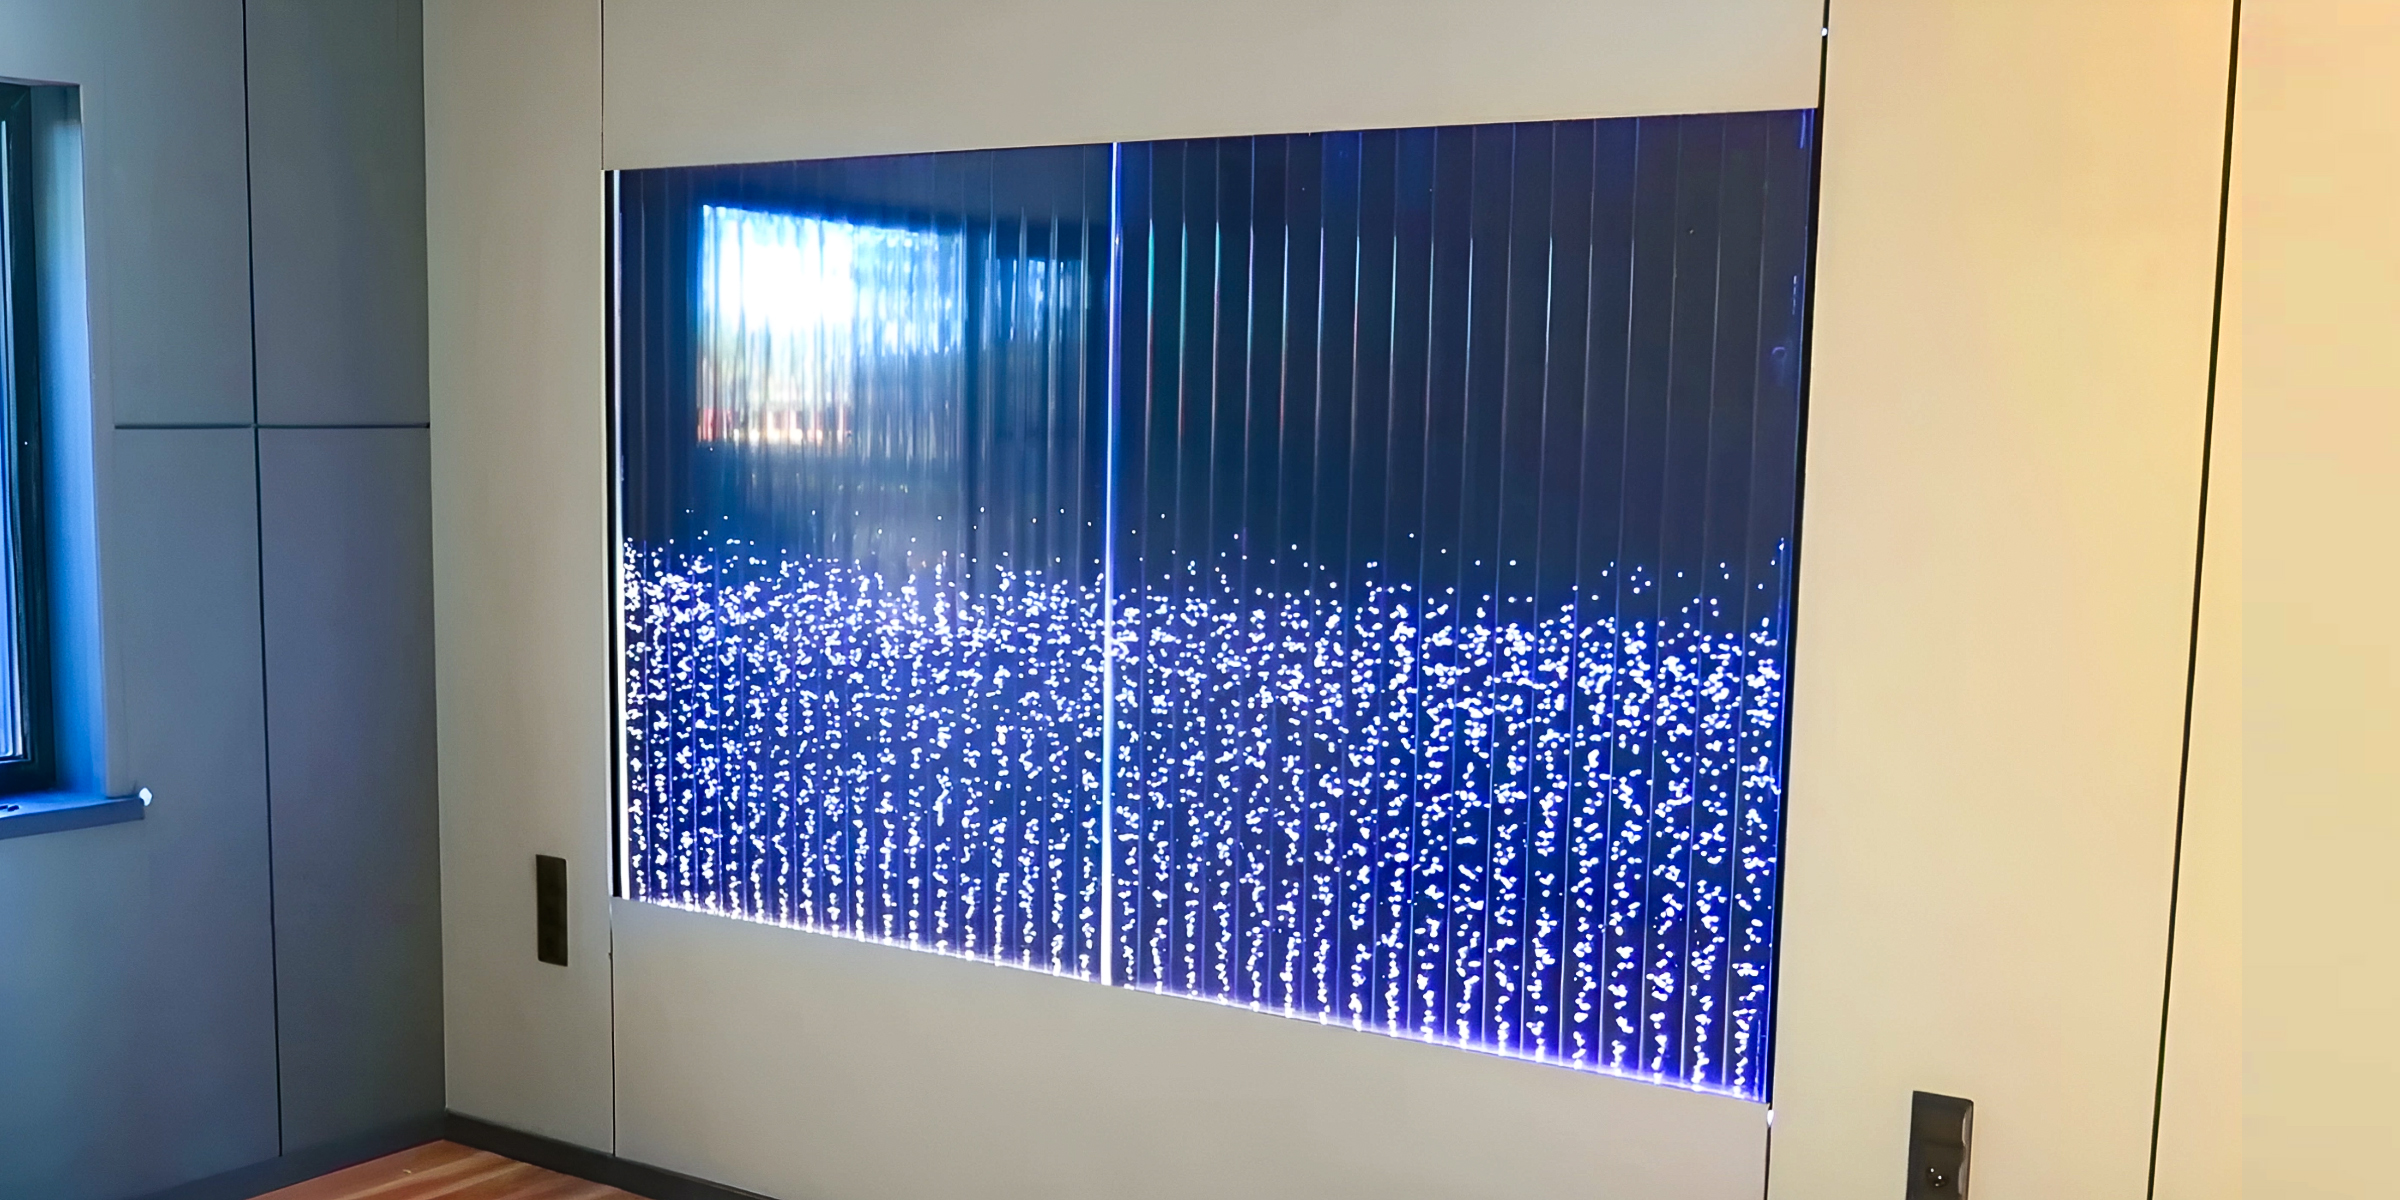
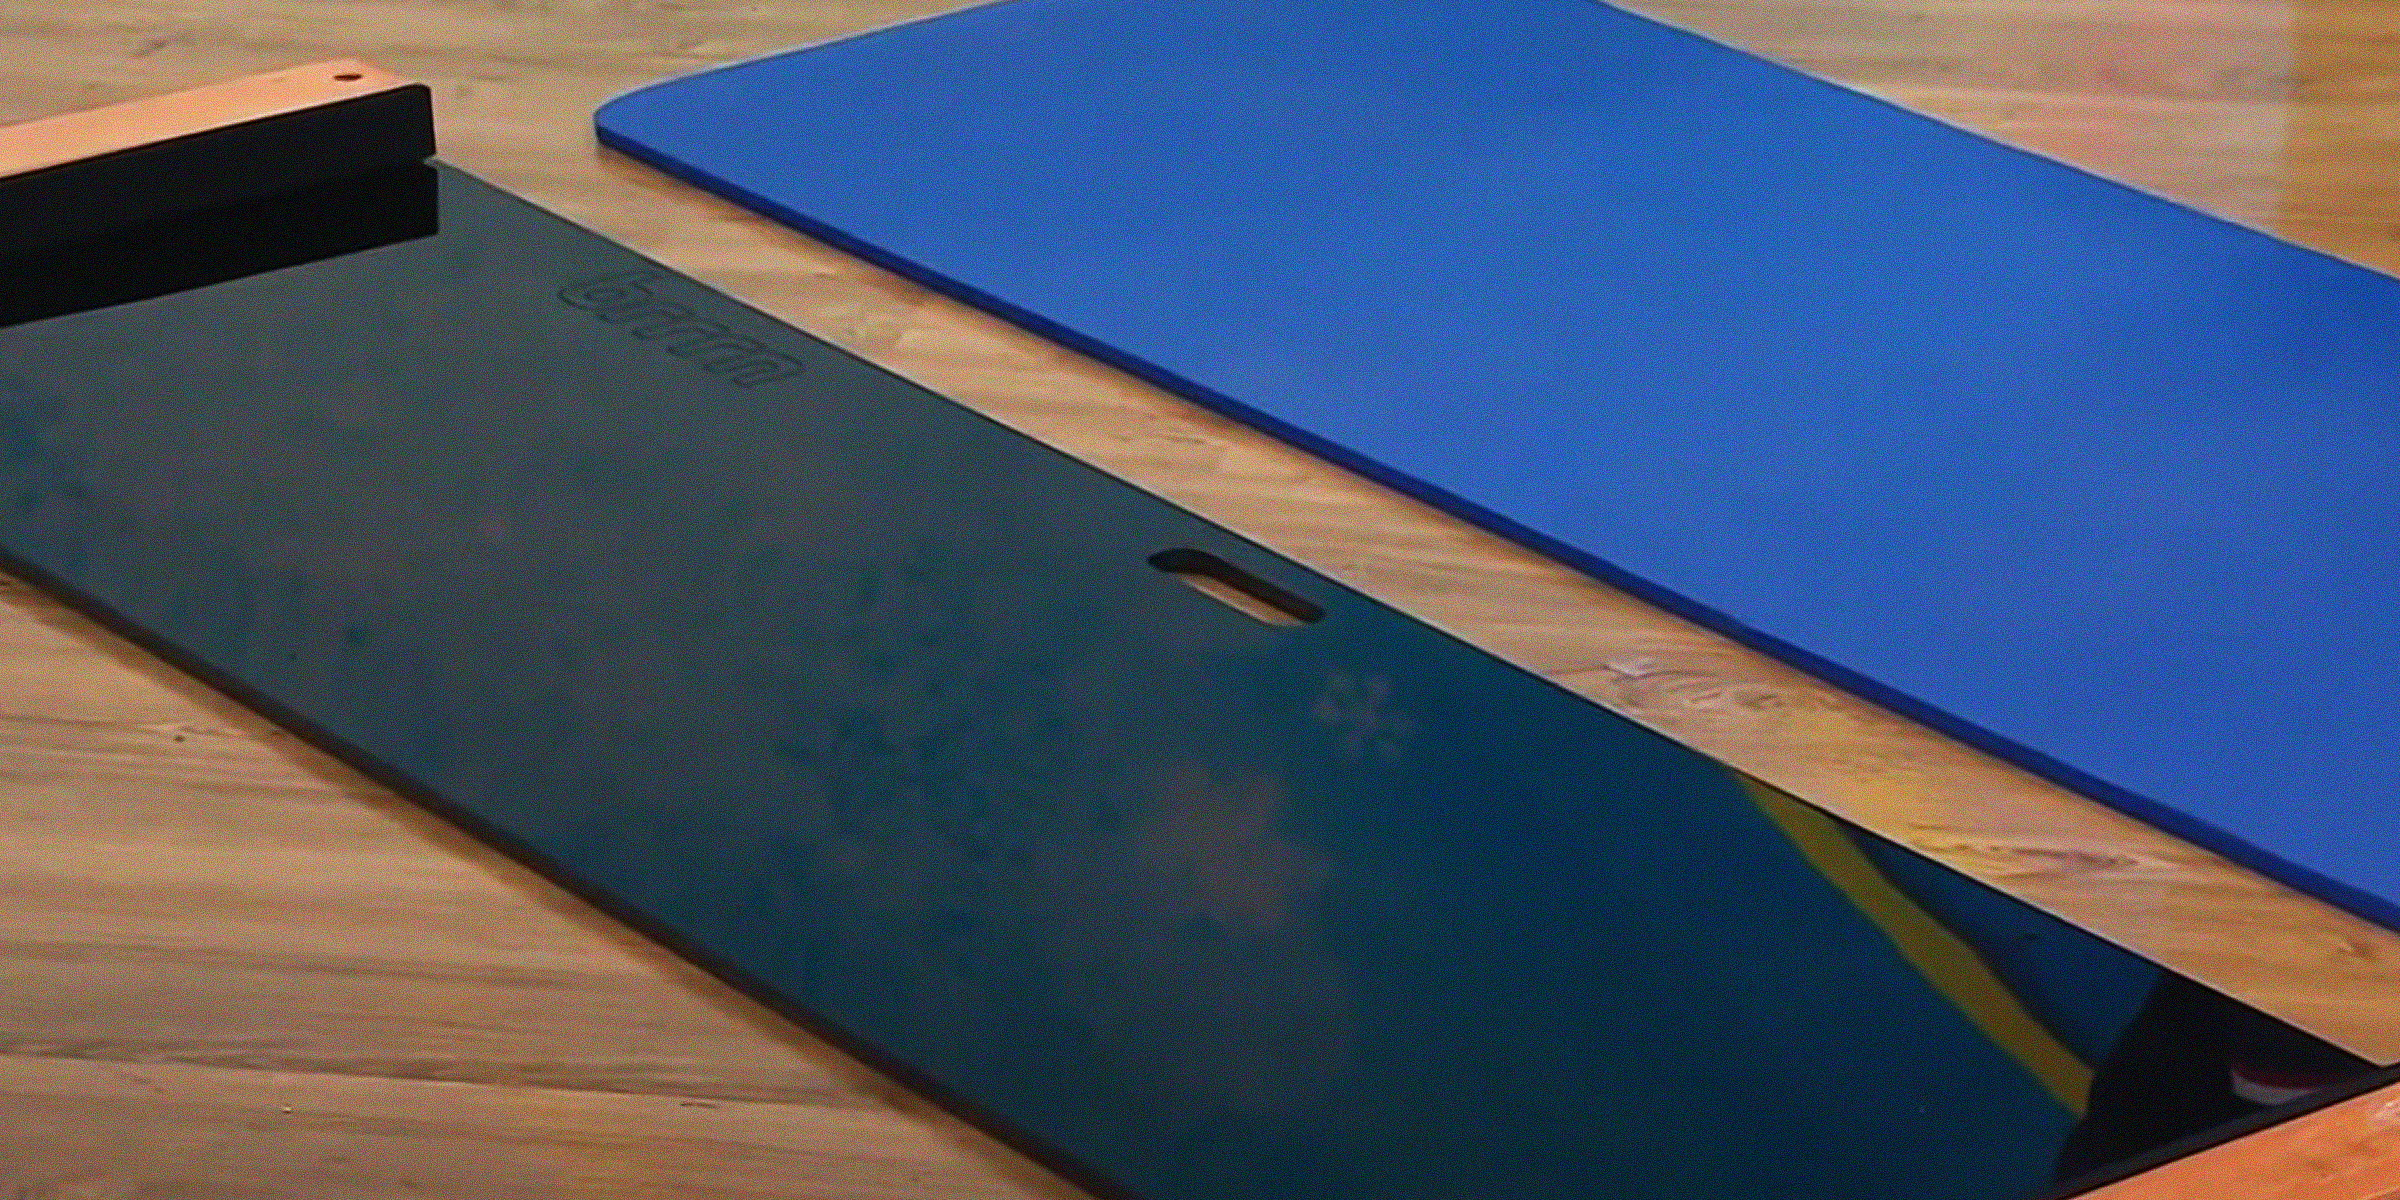
Bubble walls bring the benefits of surrounding yourself with nature into the comfort of your personal space. If you're considering installing one but want to do so independently, follow this DIY bubble wall guide.
Feb 09, 2024
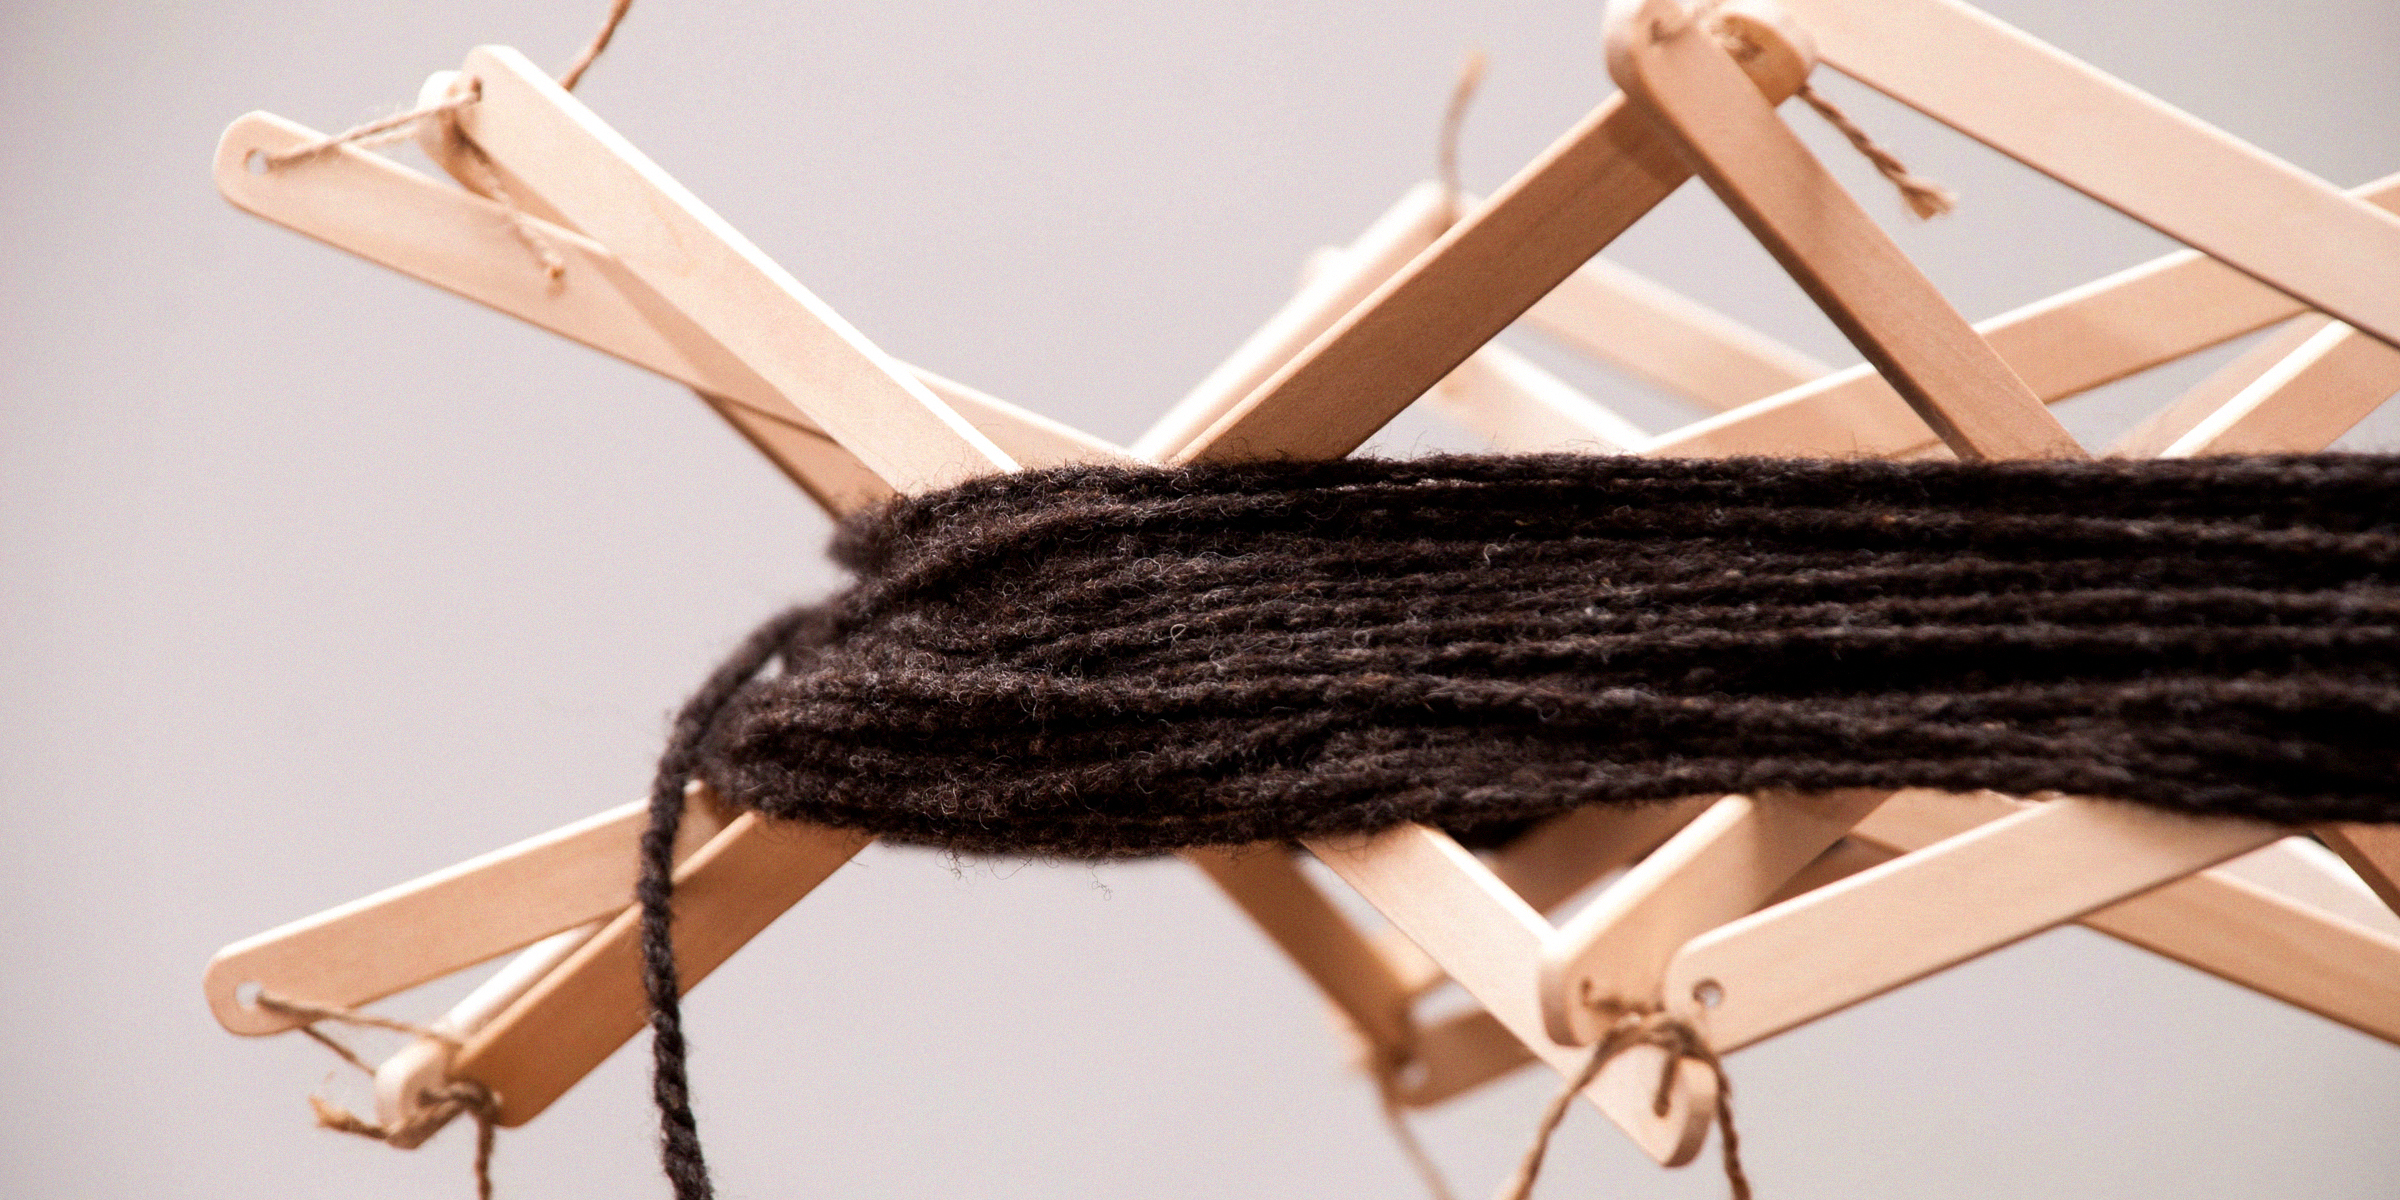
Embark on a journey to elevate your knitting prowess effortlessly and infuse each stitch with a personal touch through a DIY yarn swift. Unleash your creativity as you craft an affordable and convenient tool to elevate your knitting experience.
Feb 01, 2024
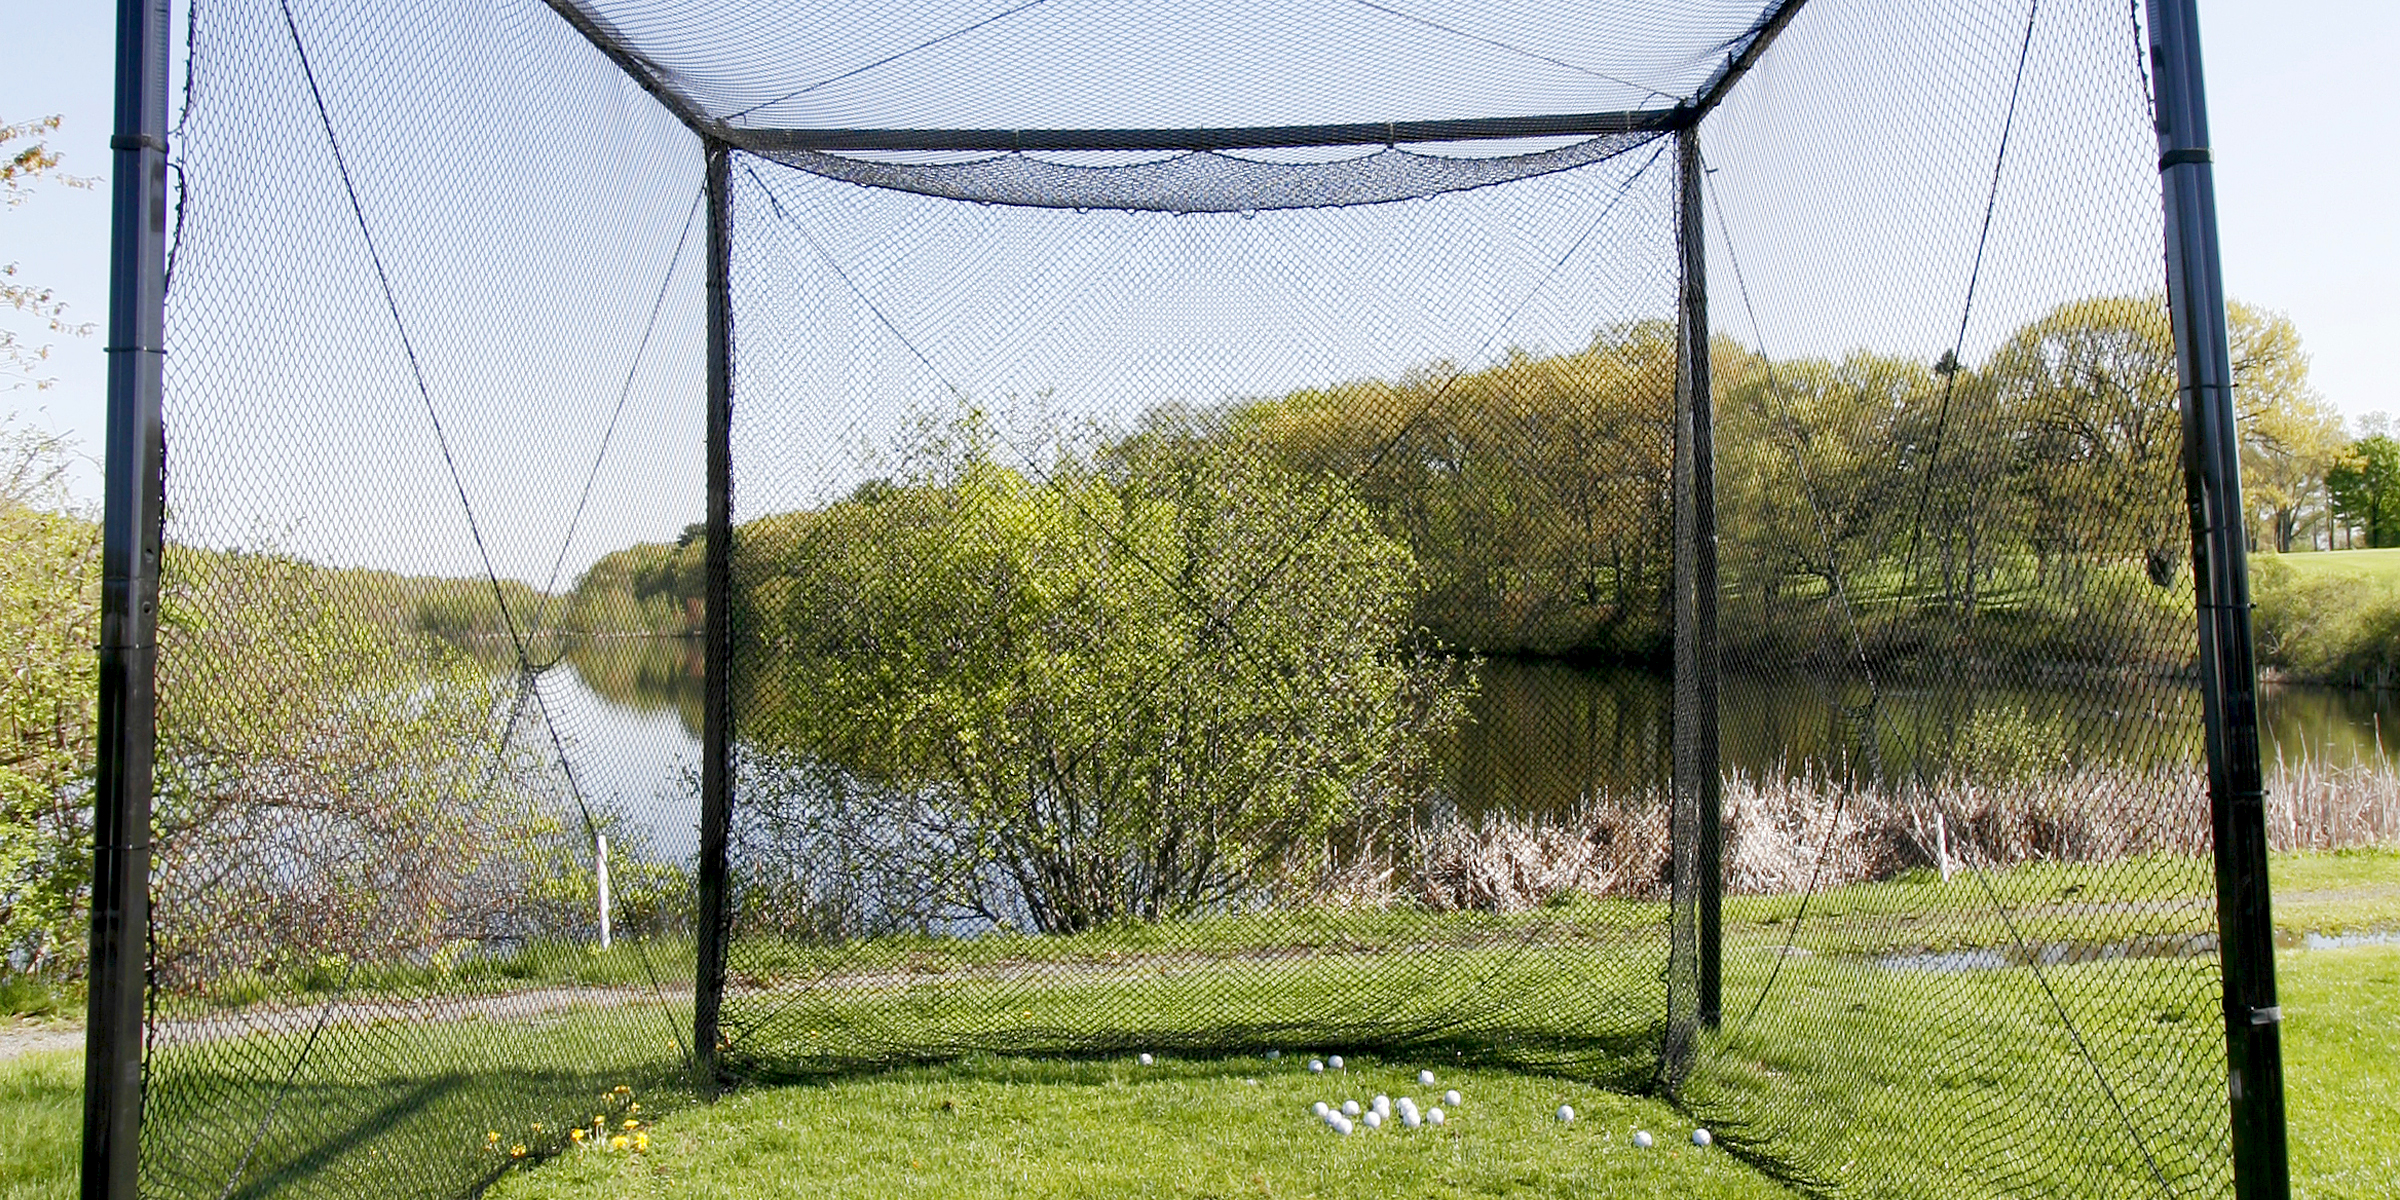
If you're an avid golfer or someone looking to join the sport, having a golf net can be super advantageous to work on or improve your skills. But if you're opposed to buying one, here's how to build a DIY golf net.
Feb 10, 2024

Create a space that promotes independence and a thirst for knowledge in your child, all in the comfort of your home, with this helpful DIY Montessori bookshelf guide.
Feb 04, 2024
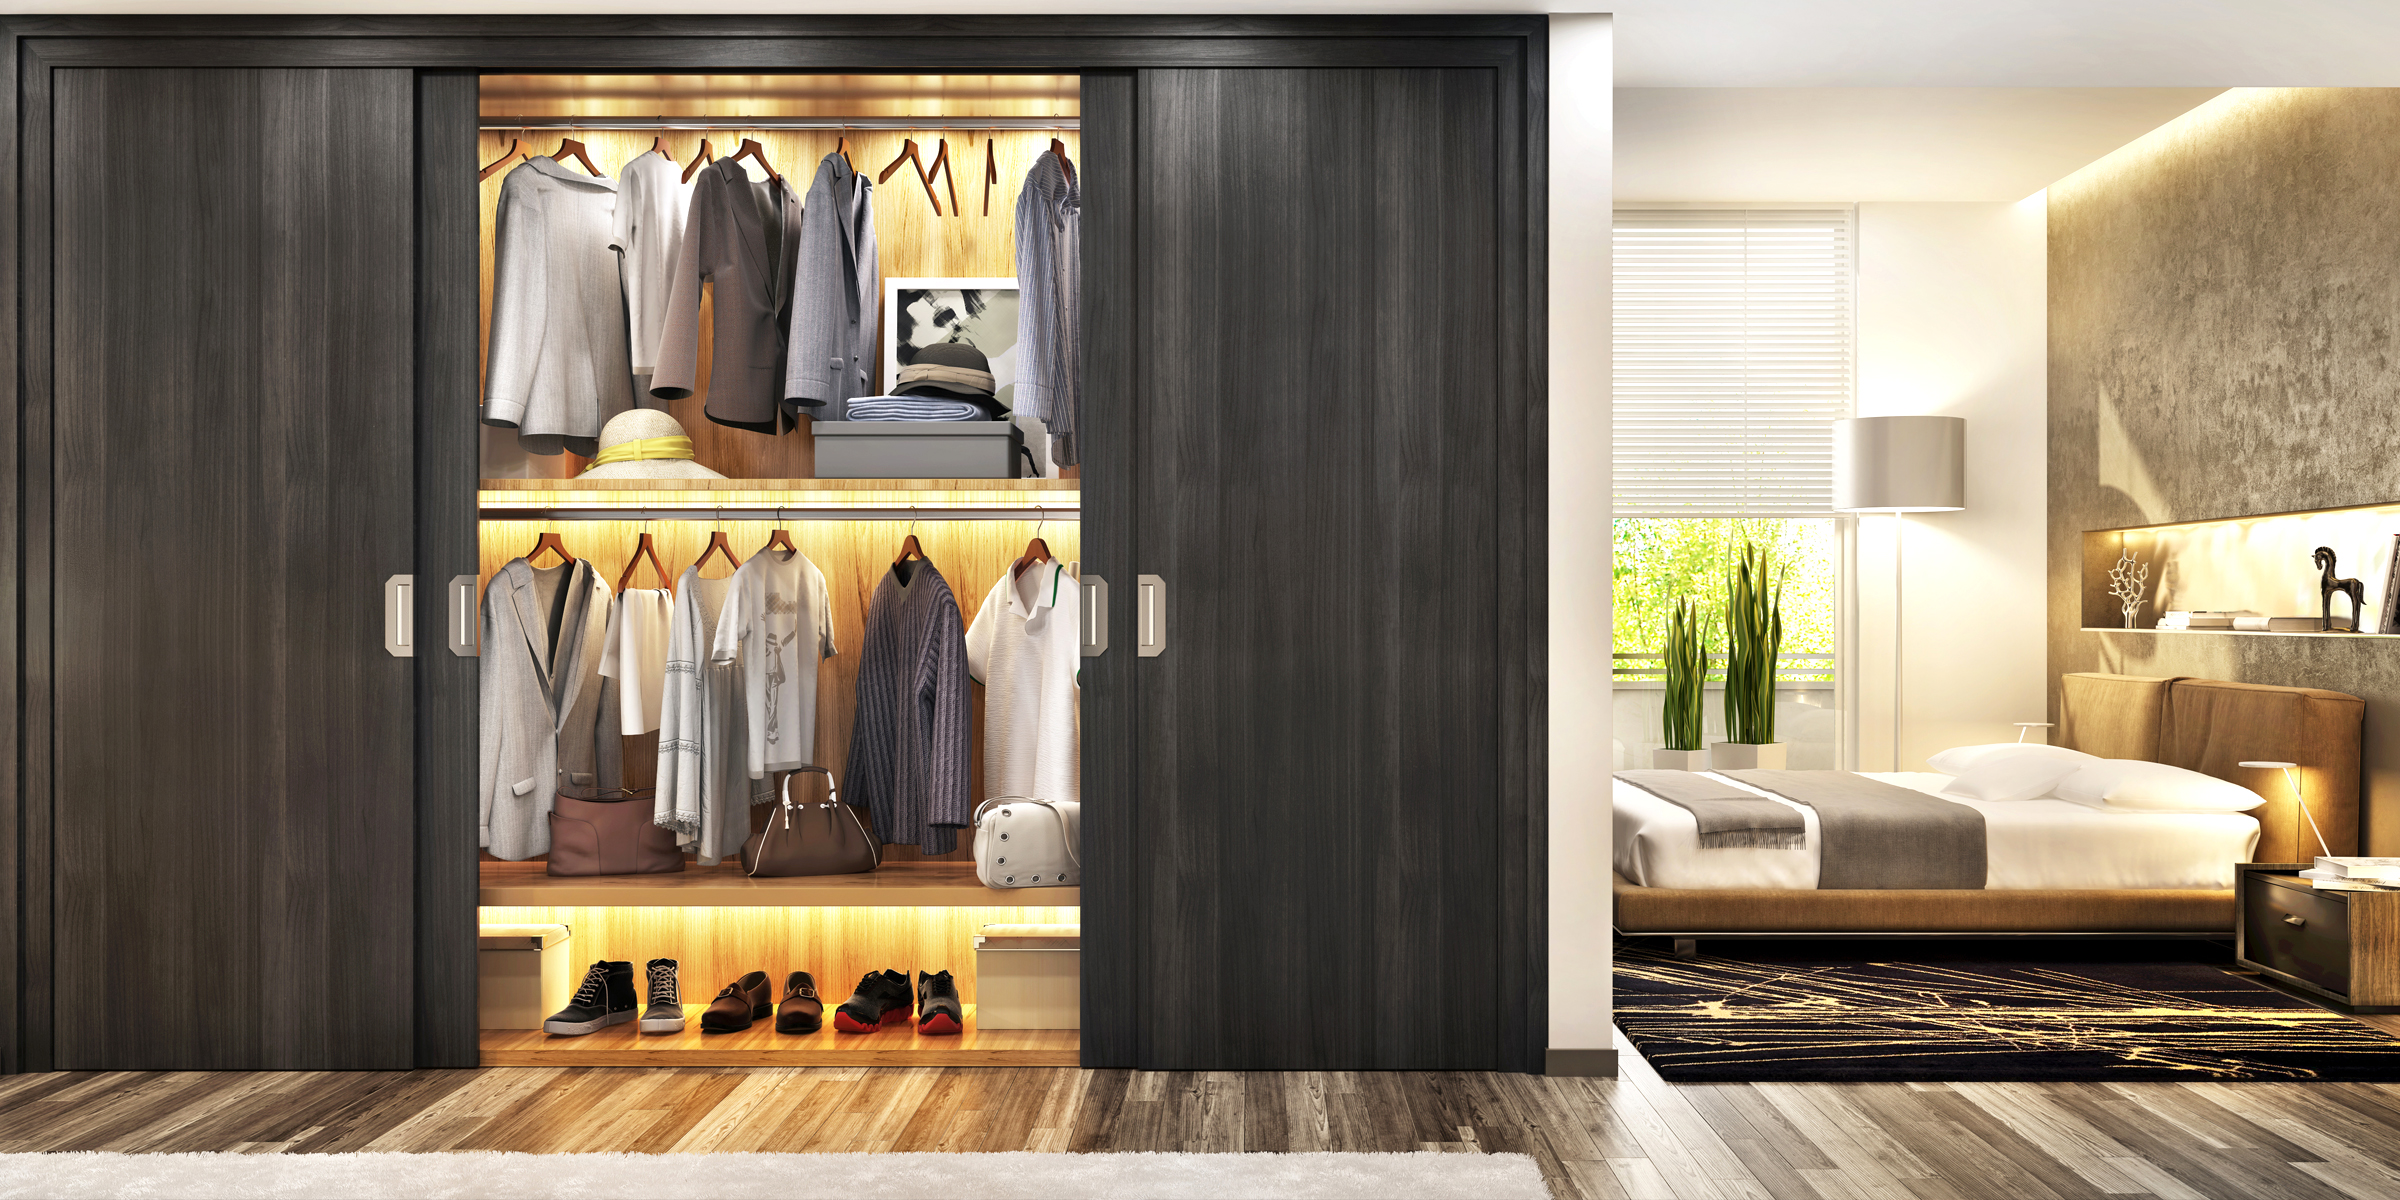
Embark on a creative journey and revamp your bedroom aesthetics with a DIY wardrobe door. With a touch of ingenuity and these simple steps, you can tailor a personalized and budget-friendly solution.
Feb 03, 2024
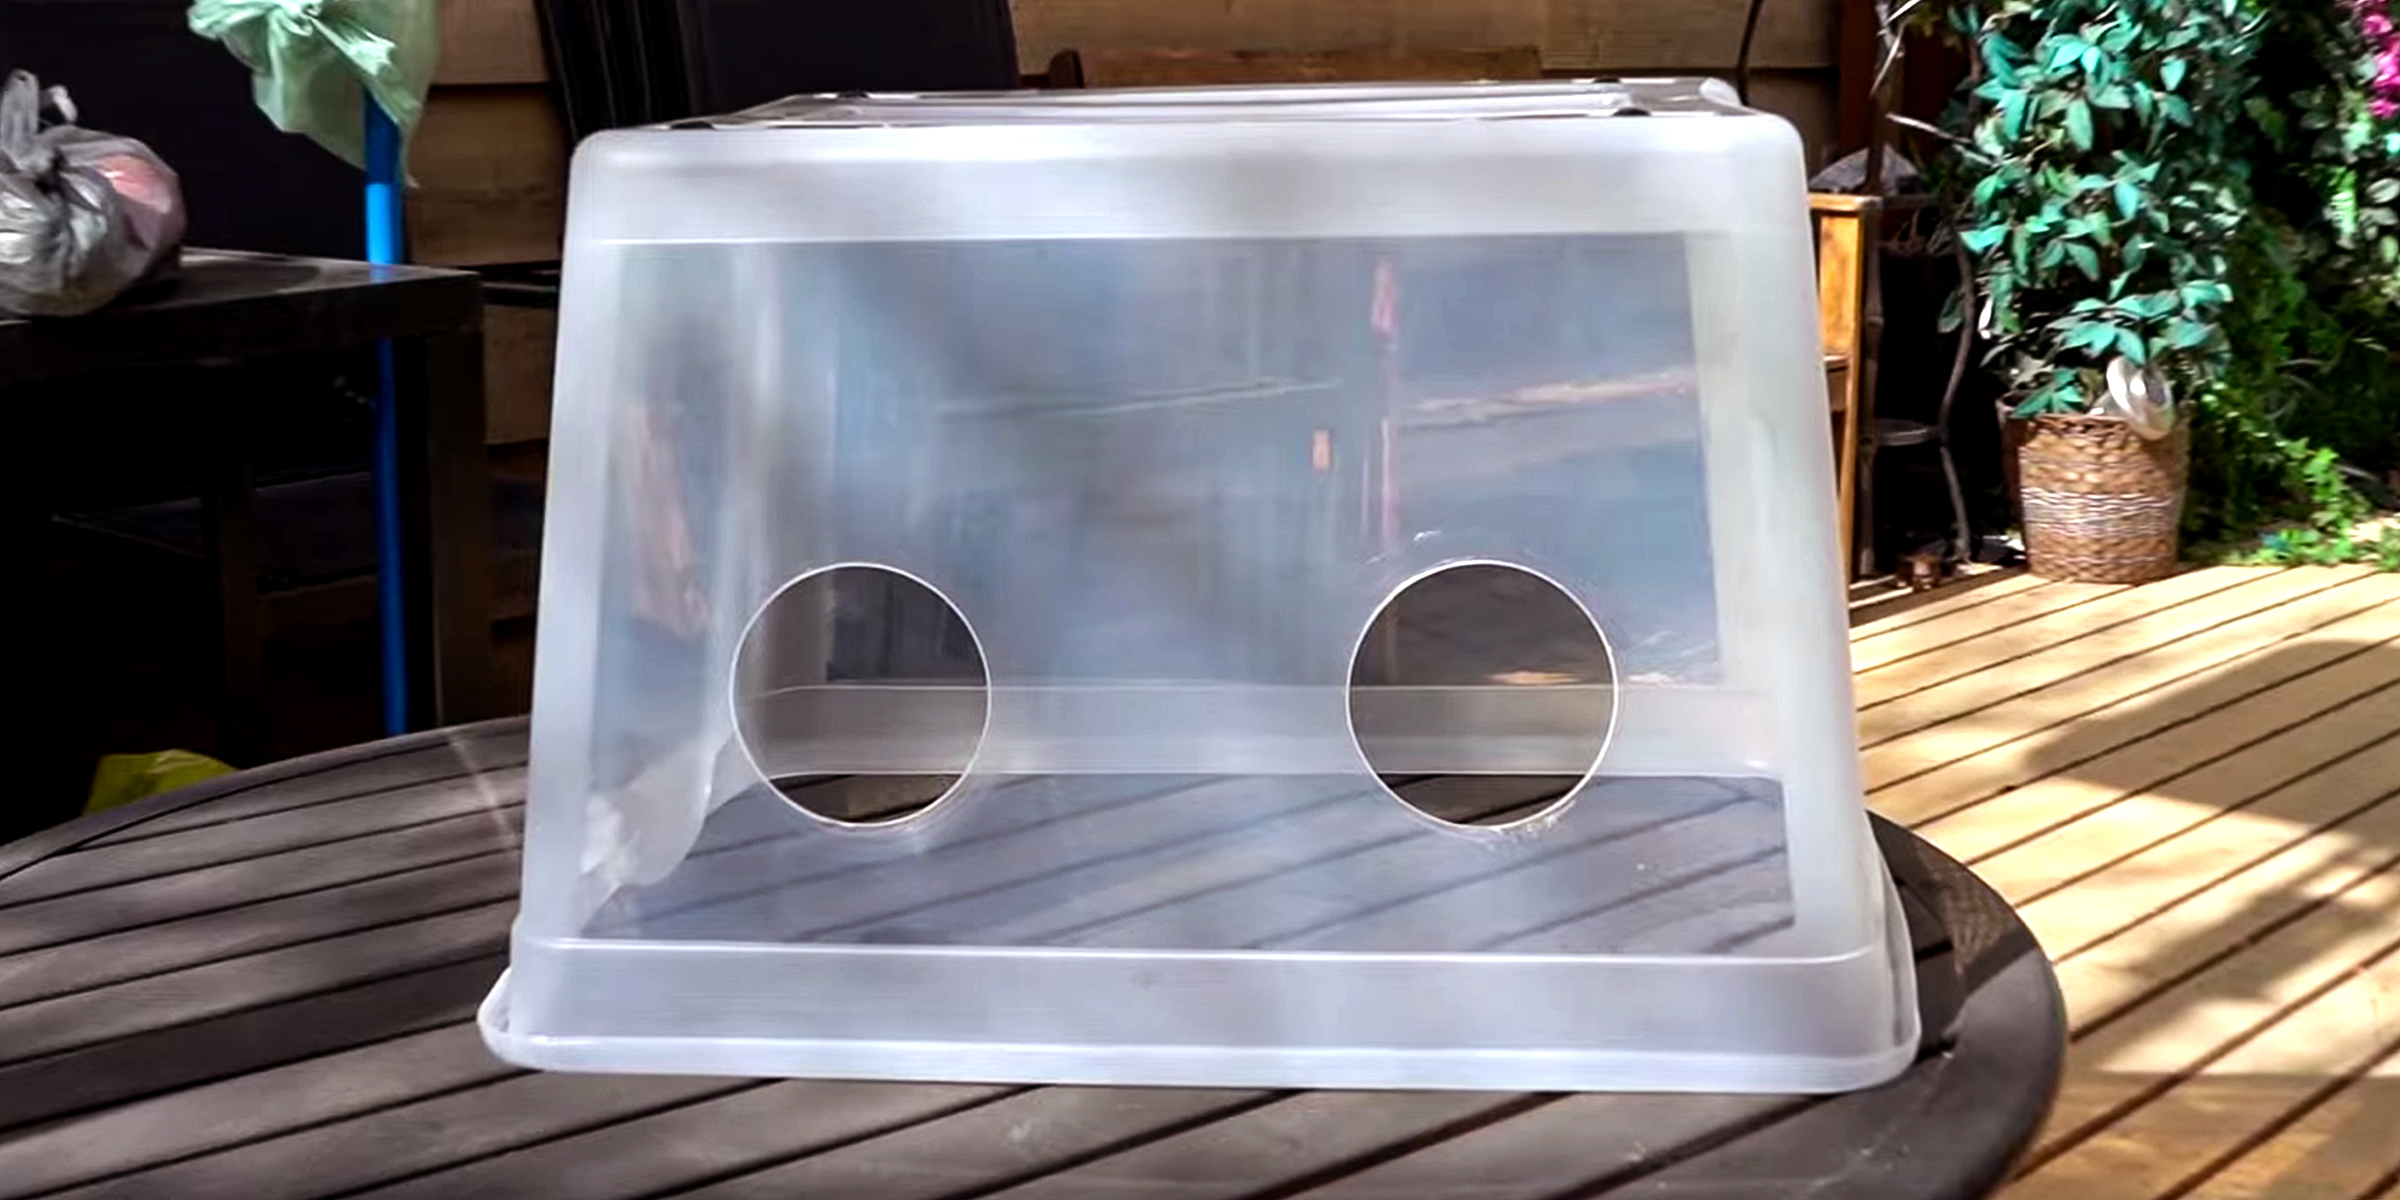
If you're a mycology expert or enthusiast, you probably know the importance of a still air box in your work. However, if you're opposed to buying one, here's how to build a still air box DIY-style.
Feb 08, 2024

Rocking a fantastic pair of jeans can instantly boost your confidence, but taking your denim game to the next level with some DIY aesthetic jeans is like stepping onto your own personal runway. These DIY pieces of denim can turn heads as you walk by.
Dec 12, 2023
Having a BOB Gear stroller means your family can explore the world more freely, whether conquering mountains or enjoying outdoor festivals. The trade-off? Your trusty BOB Gear companion is bound to get a bit dirty. Here's how to clean the stroller properly.
Jan 19, 2024

Crystal suncatchers are not only stunning decorative pieces, but they are also a unique way to fill your home with sunlight and positive energy. Enjoy the almost magical properties of this beautiful ornament with this DIY crystal suncatcher guide.
Jan 15, 2024
Many people love cats because they are quiet, independent, and easy to care for. While these feline companions offer perks like affection and playfulness, owning them has downsides, and a common problem is cat litter on carpets.
Dec 22, 2023
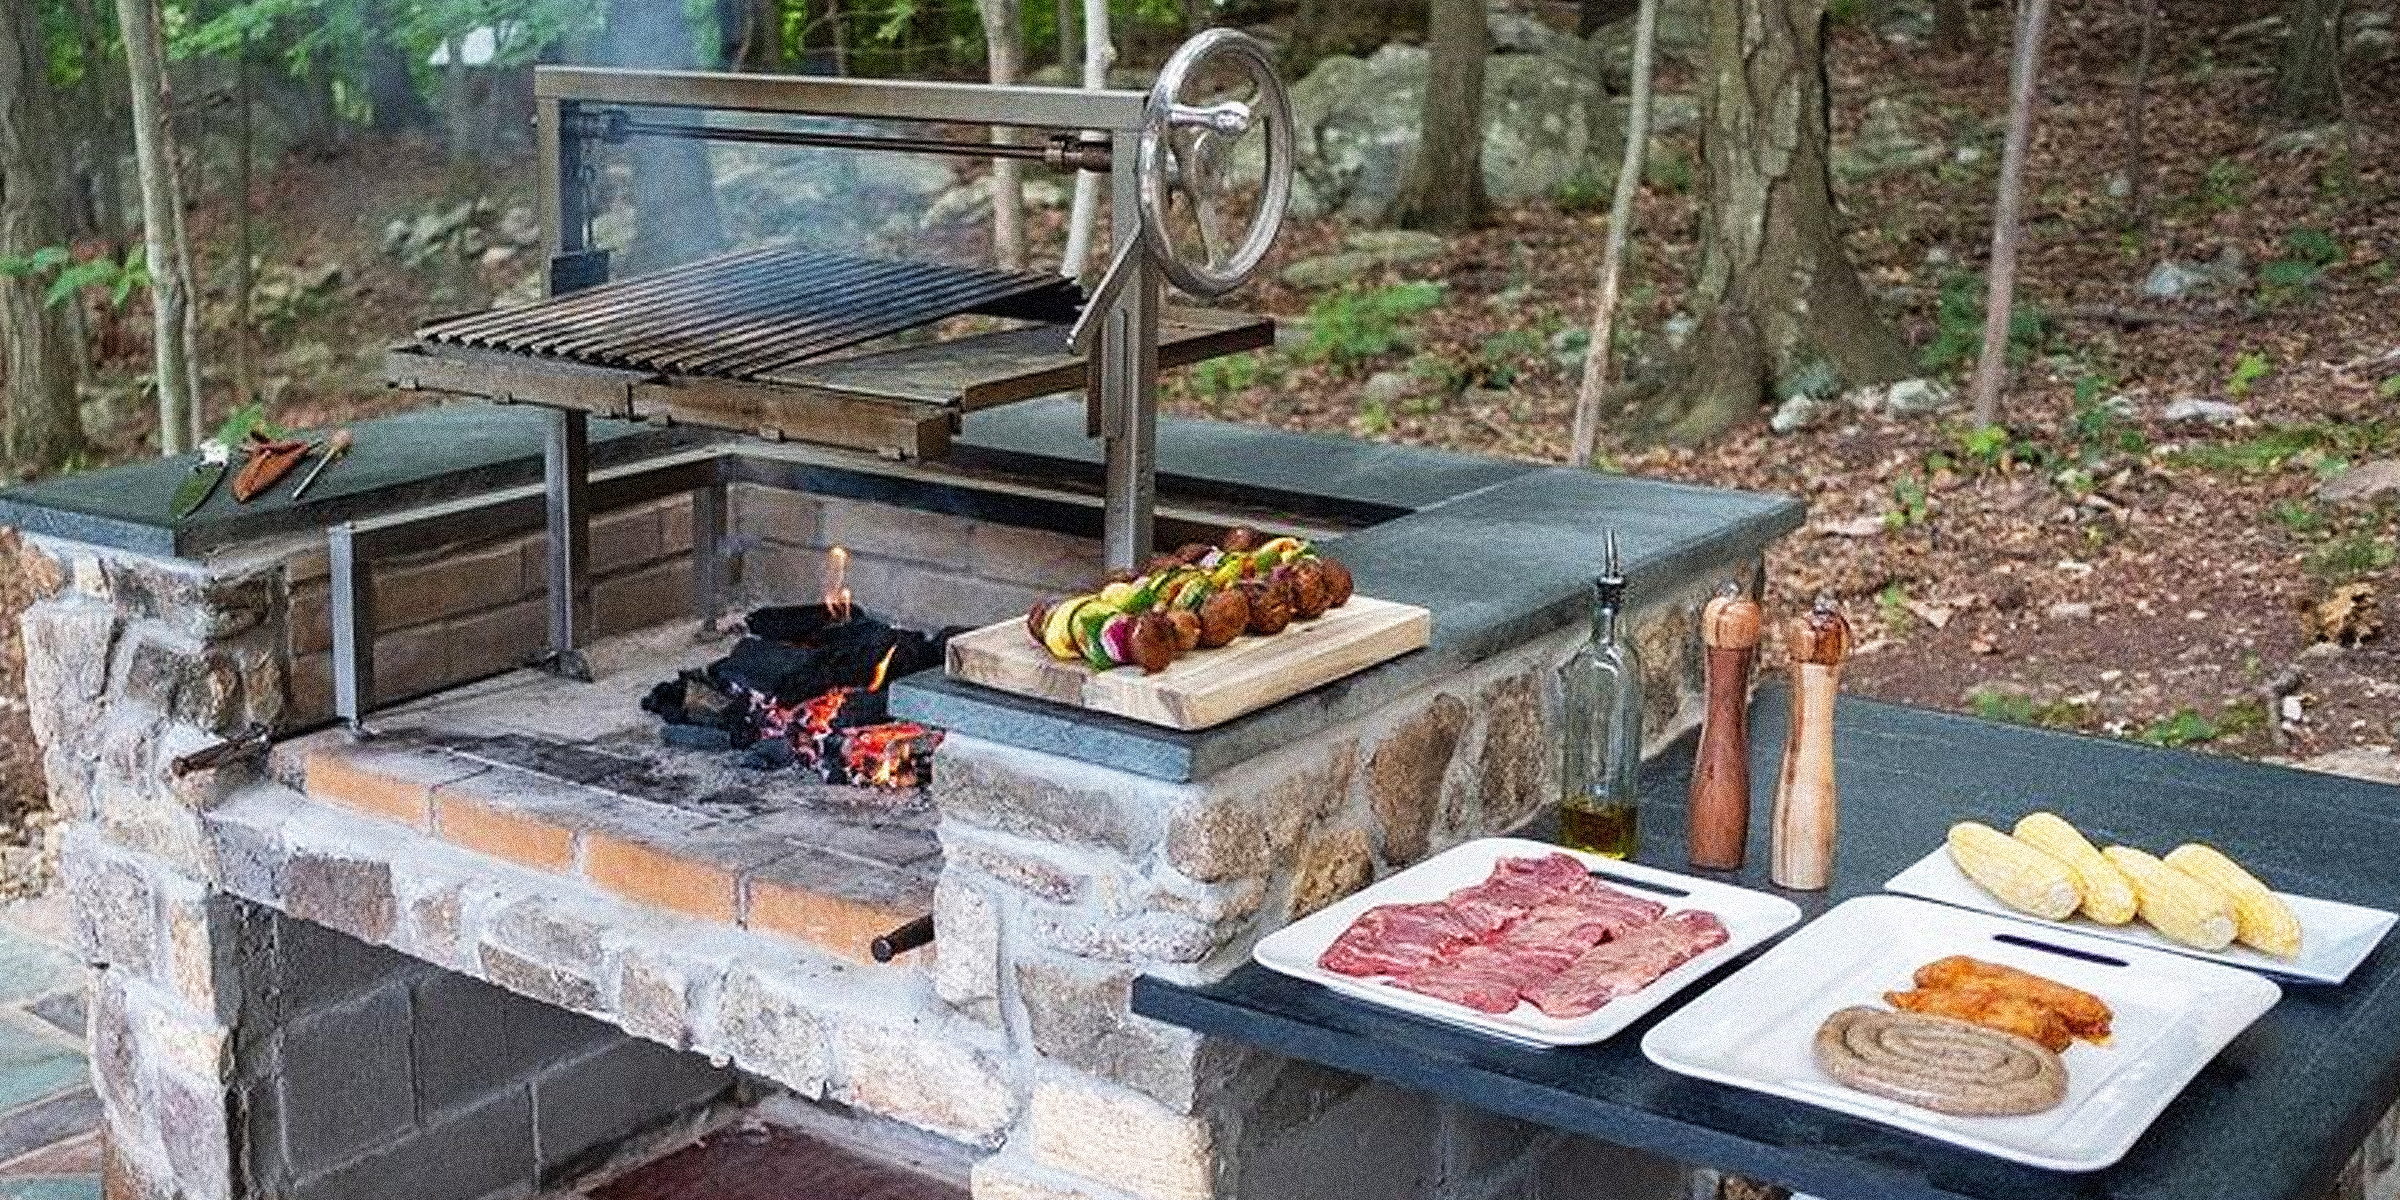
An Argentine grill can be a stellar addition to your garden to entertain family and guests and cook juicy, smokey meat. However, it can cause quite a dent in one's pocket when store-bought. Luckily, it can be installed DIY style.
Dec 11, 2023

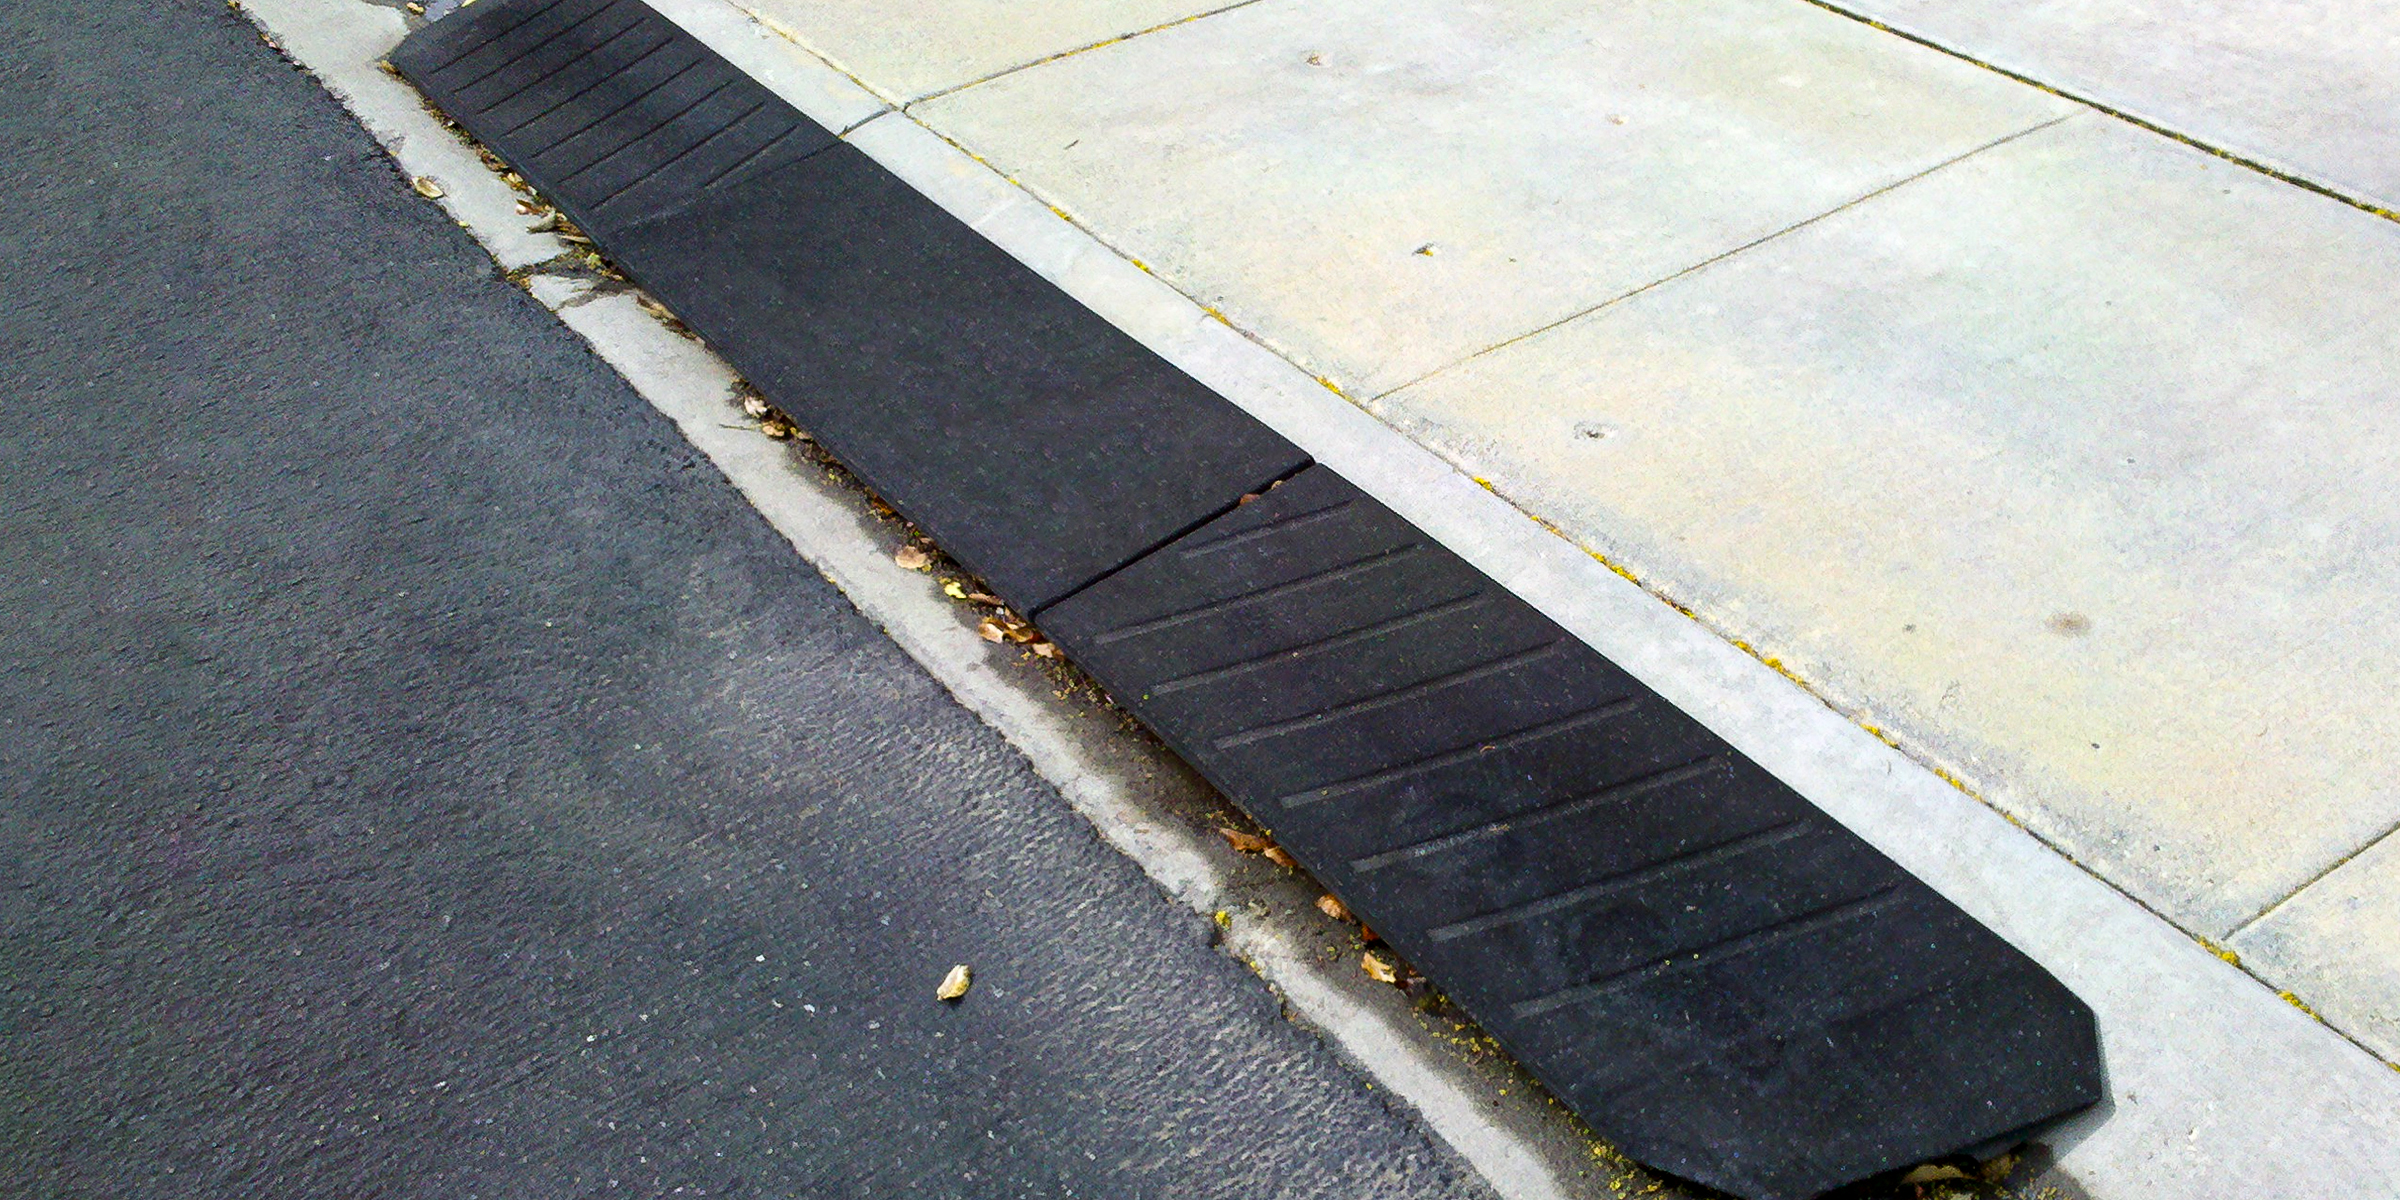
Protect your family from the sun's harsh rays while saving a few dollars with this DIY Shibumi Shade hack for the perfect beach day with your loved ones.
Jan 30, 2024

Handfasting is an old wedding tradition that beautifully demonstrates two people's love and commitment to one another. This symbolic act is said to date back over several millennia.
Dec 14, 2023