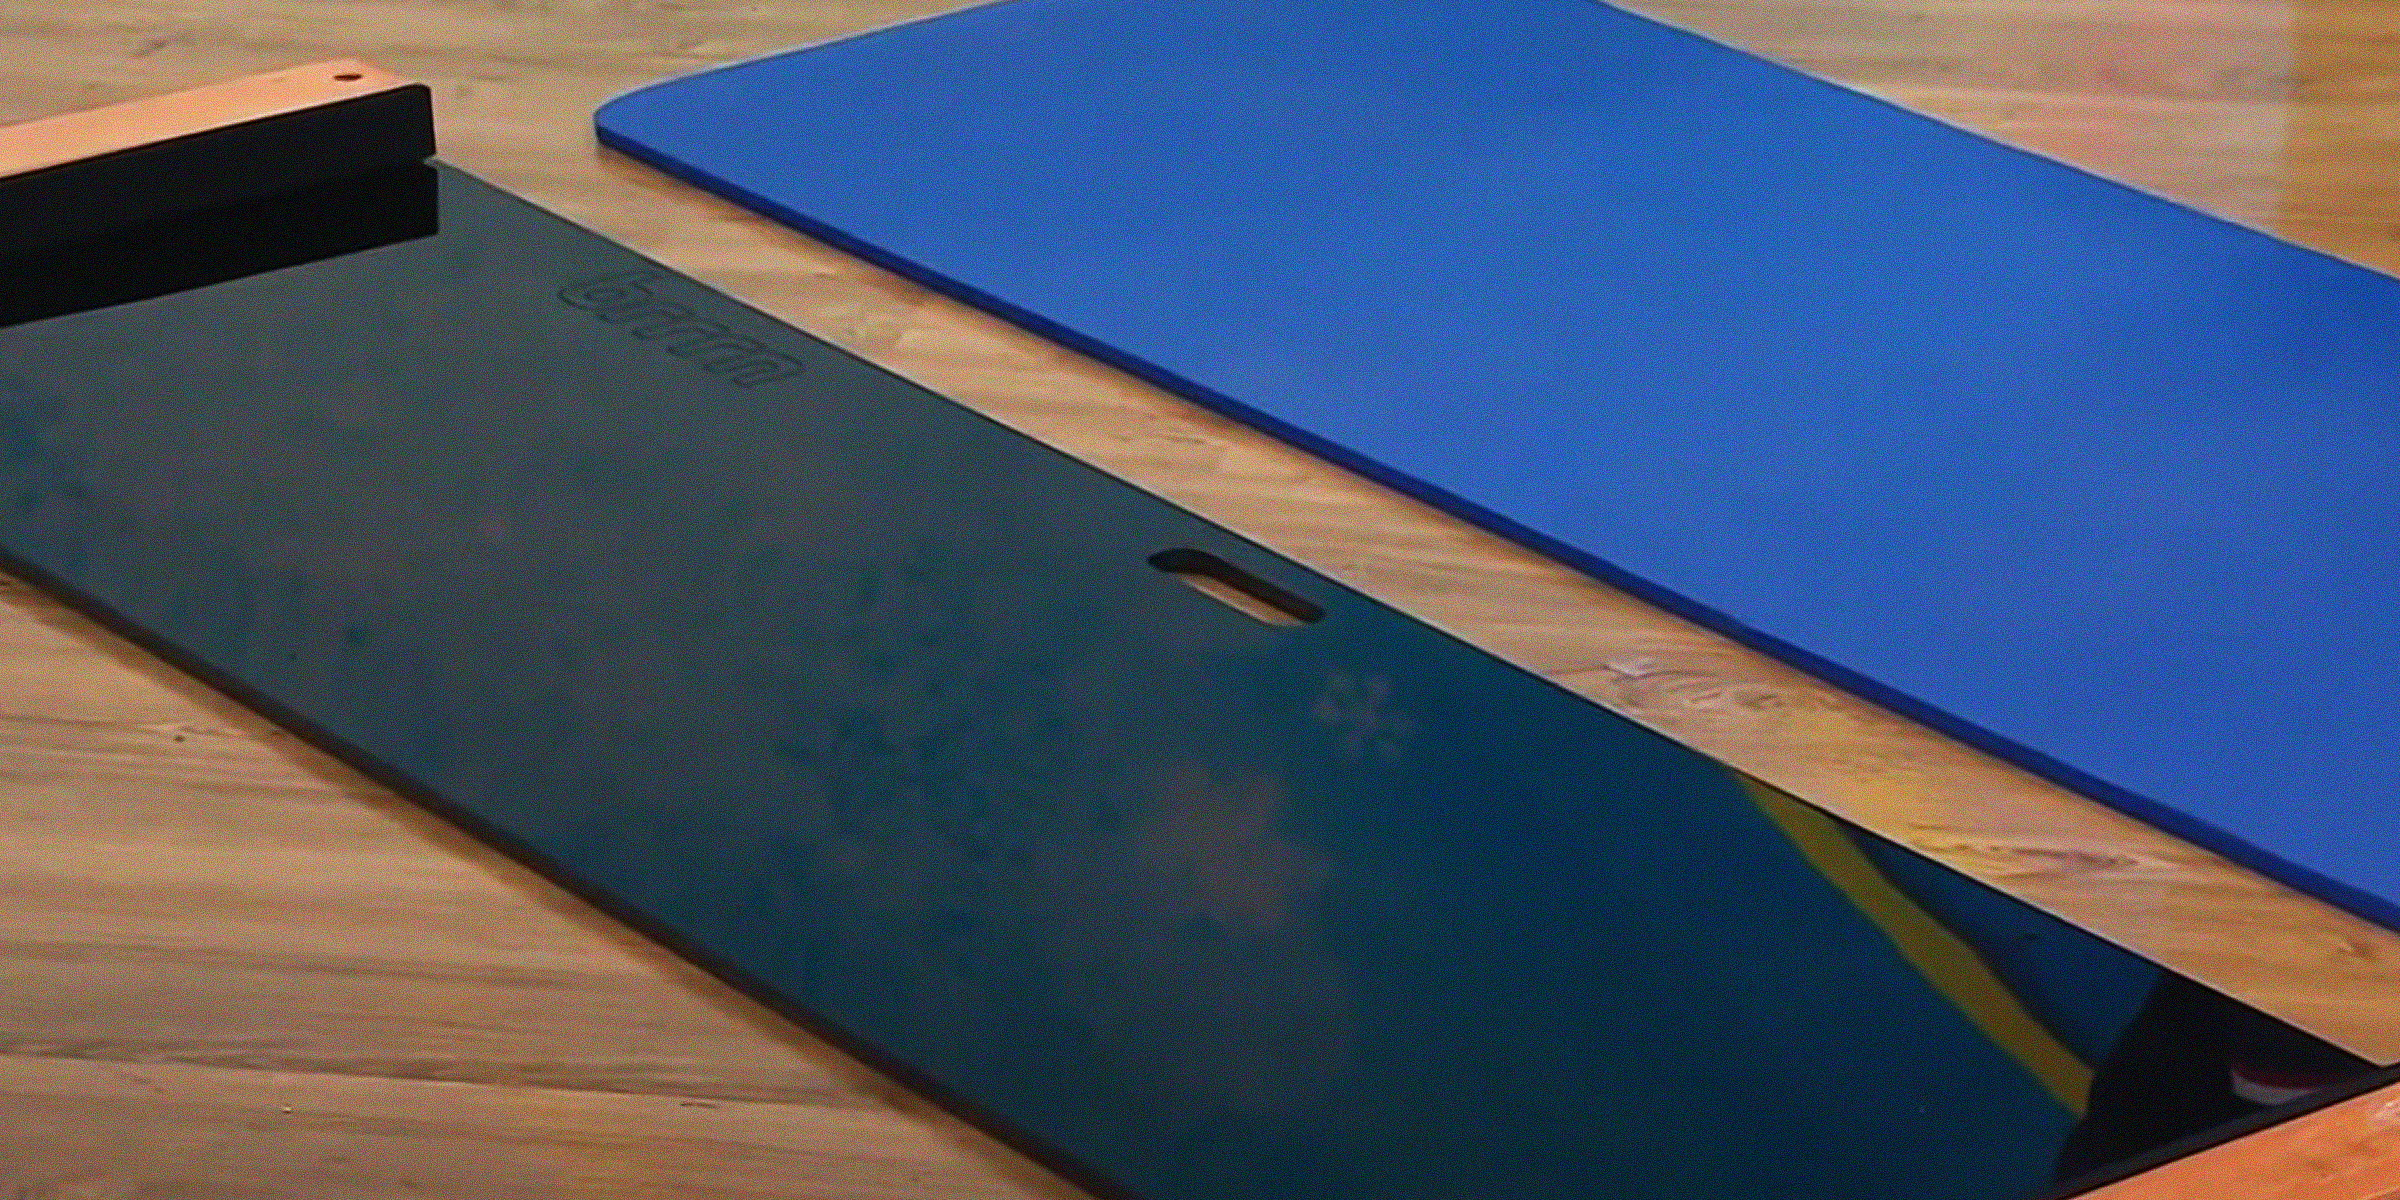
DIY Slide Board — Craft Your Own Athletic Training Tool with Simple Materials
Feb 04, 2024


Embark on a creative journey and revamp your closet aesthetics with a DIY wardrobe door. With a touch of ingenuity and these simple steps, you can tailor a personalized and budget-friendly solution.
Embarking on a wardrobe transformation doesn't have to drain your wallet. Discover the secrets to revamping your space with a touch of creativity and a sprinkle of DIY magic. This article unveils the art of crafting stylish wardrobe doors without the hefty price tag.
Whether you want to upgrade your wardrobe doors or create them from scratch, follow our tips to infuse personality into your closet haven. Get ready to achieve that perfect look you've been dreaming of, all while staying within your budget. With the right tools and inspiration, your DIY wardrobe door adventure begins here! Let's get started.

A slightly opened wardrobe | Source: Pexels

A person screwing two vertical frames together | Source: YouTube/@TheCarpentersDaughterUK

A woman attaching wardrobe doors to frames | Source: YouTube/@TheCarpentersDaughterUK

Wardrobe doors with concealed hinges | Source: YouTube/@TheCarpentersDaughterUK

A person test-fitting wardrobe doors | Source: YouTube/@TheCarpentersDaughterUK

Door knobs | Source: Shutterstock

A woman drilling a hole to hang a wardrobe door | Source: YouTube/@TheCarpentersDaughterUK

A person ensuring hinges are properly aligned with wardrobe door | Source: YouTube/@TheCarpentersDaughterUK

A woman attaching a double-sided tape on a trim piece | Source: YouTube/@TheCarpentersDaughterUK

A woman sticking a trim piece on a wardrobe door frame | Source: YouTube/@TheCarpentersDaughterUK

A woman applying caulk on wardrobe door joints | Source: YouTube/@TheCarpentersDaughterUK
Crafting your DIY wardrobe door at home is a rewarding and achievable project, as demonstrated by the simple steps outlined. The process allows for creativity and customization, ensuring a finished look that suits your preferences. So, roll up your sleeves and give your bedroom the makeover it deserves.

Complete DIY wardrobe door | Source: YouTube/@TheCarpentersDaughterUK
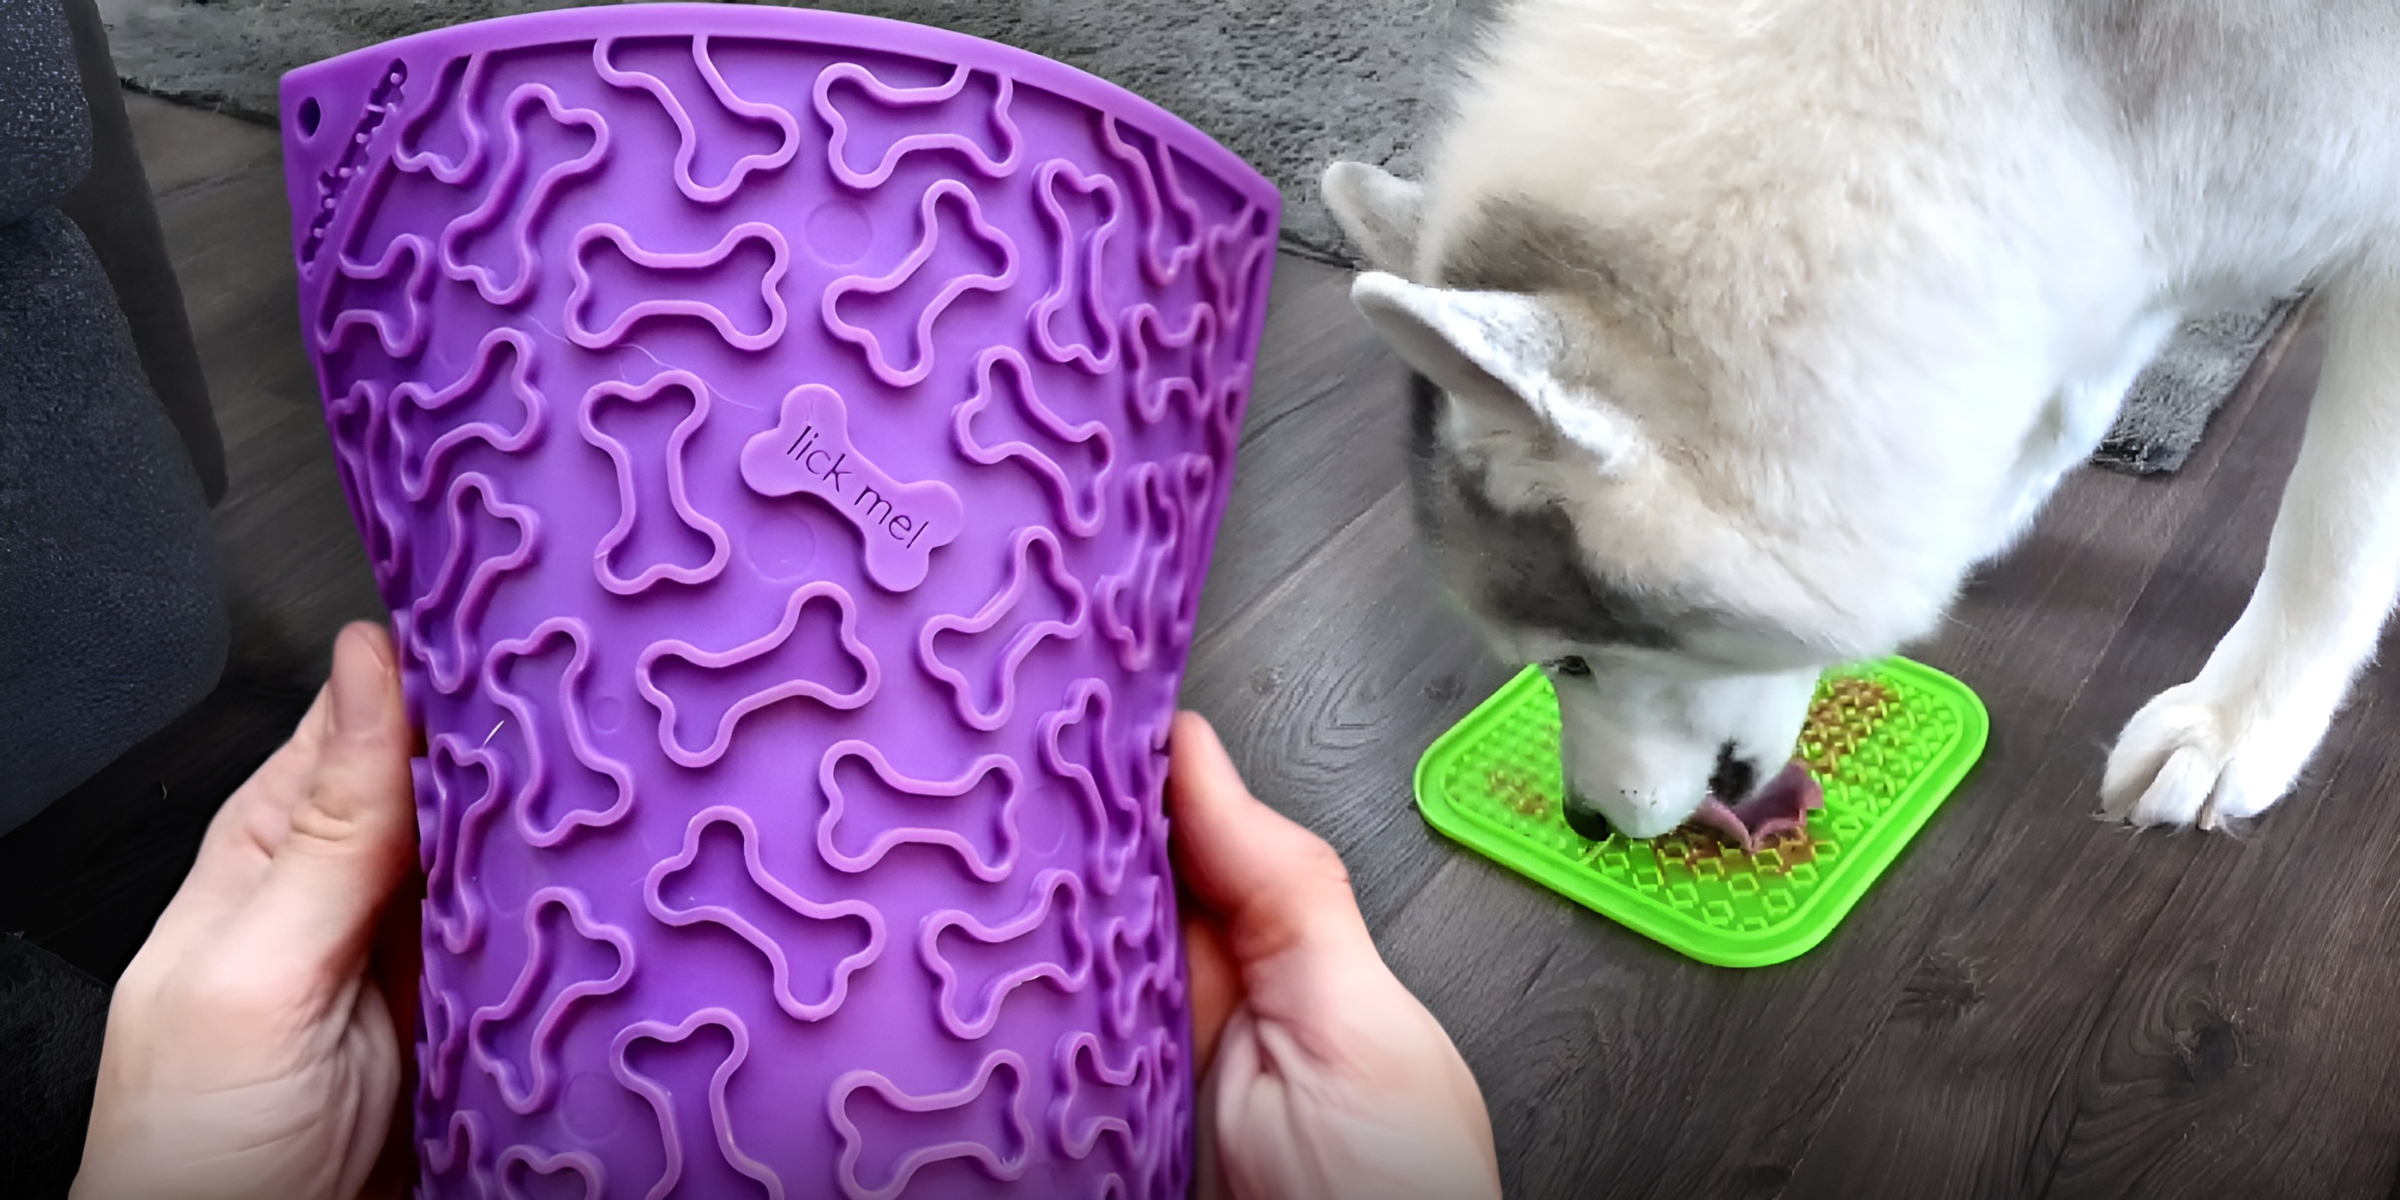
If you enjoy DIY projects, check out how to craft a DIY lick mat for your pet.
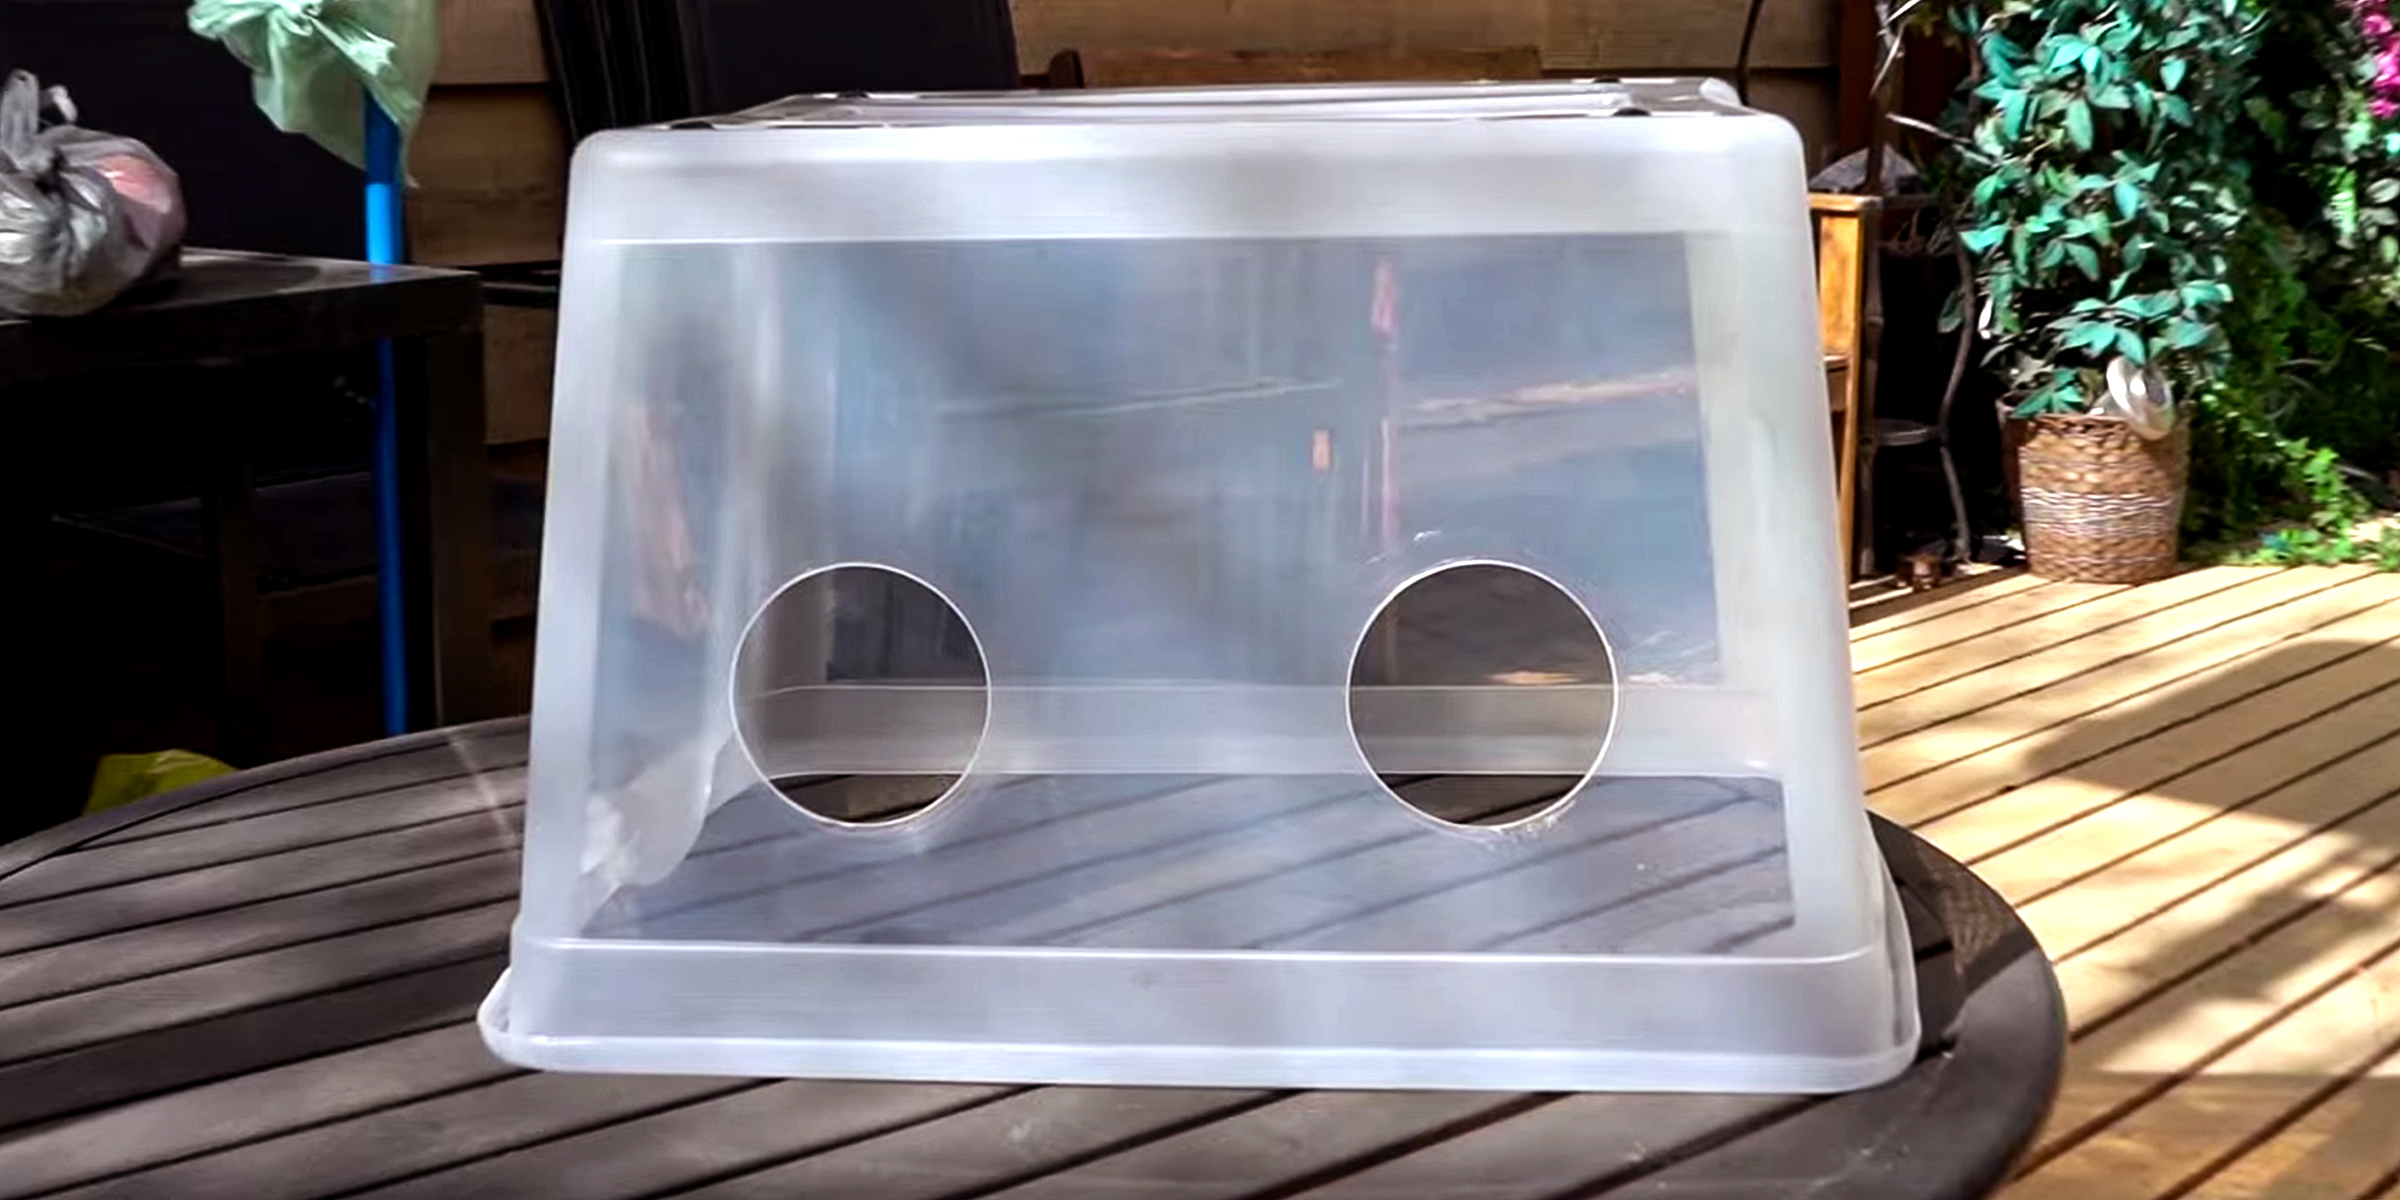
If you're a mycology expert or enthusiast, you probably know the importance of a still air box in your work. However, if you're opposed to buying one, here's how to build a still air box DIY-style.
Feb 08, 2024
If you're dealing with the challenge of little ones struggling to reach faucets, a practical solution is to craft a DIY faucet extender. You can easily accomplish this in just a few simple steps.
Feb 05, 2024
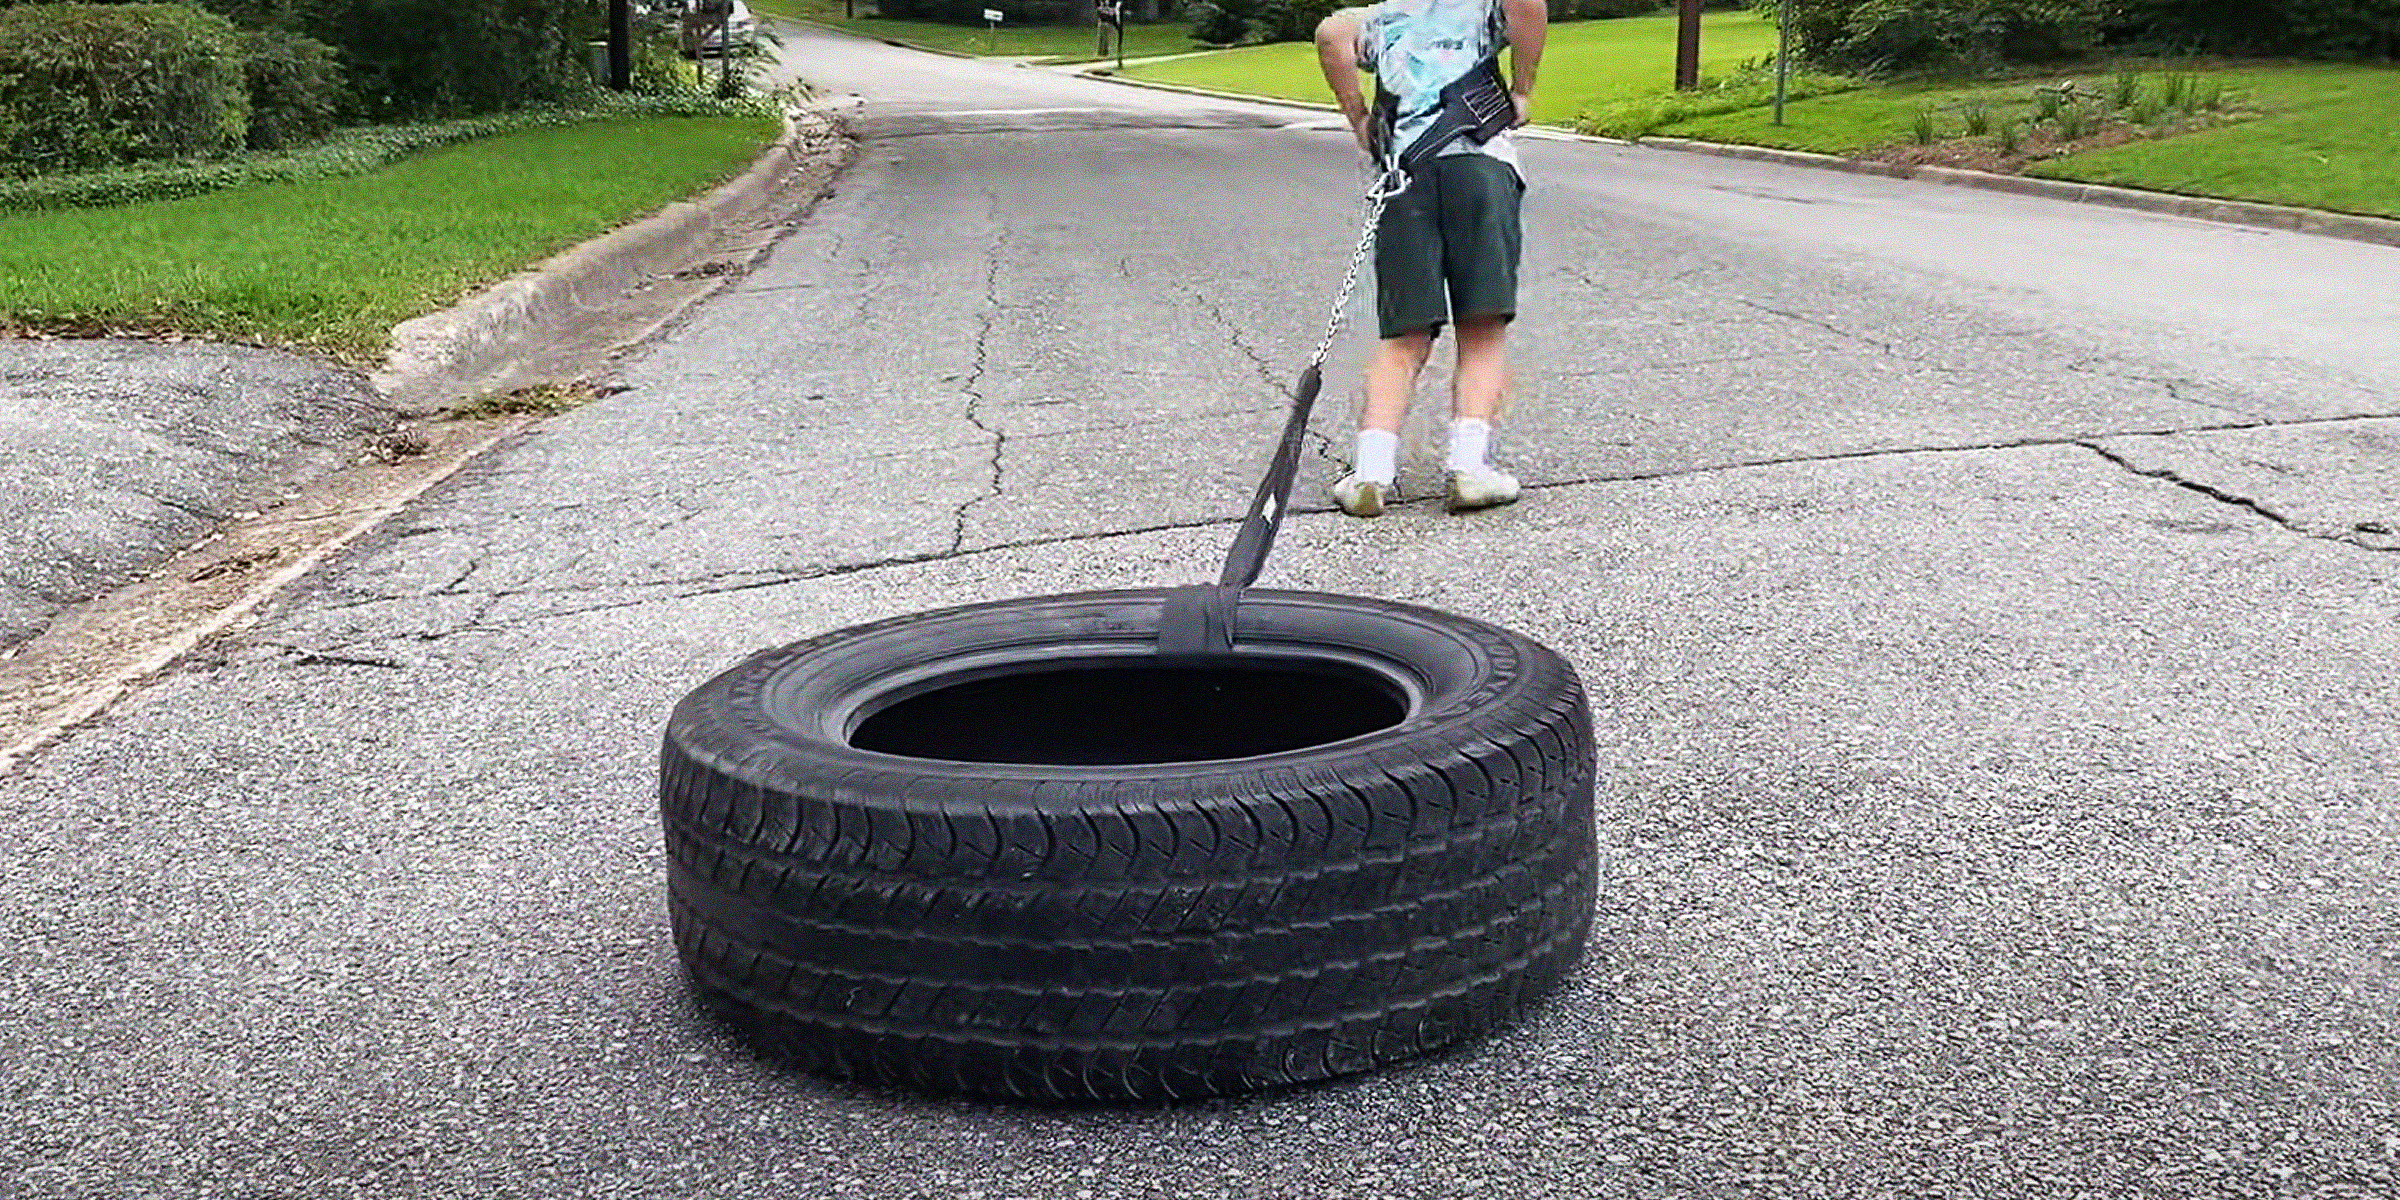
Are you passionate about fitness and eager to enhance your training? A DIY workout sled can come in handy to ensure you reach your desired fitness goals.
Feb 08, 2024

Rocking a fantastic pair of jeans can instantly boost your confidence, but taking your denim game to the next level with some DIY aesthetic jeans is like stepping onto your own personal runway. These DIY pieces of denim can turn heads as you walk by.
Dec 12, 2023
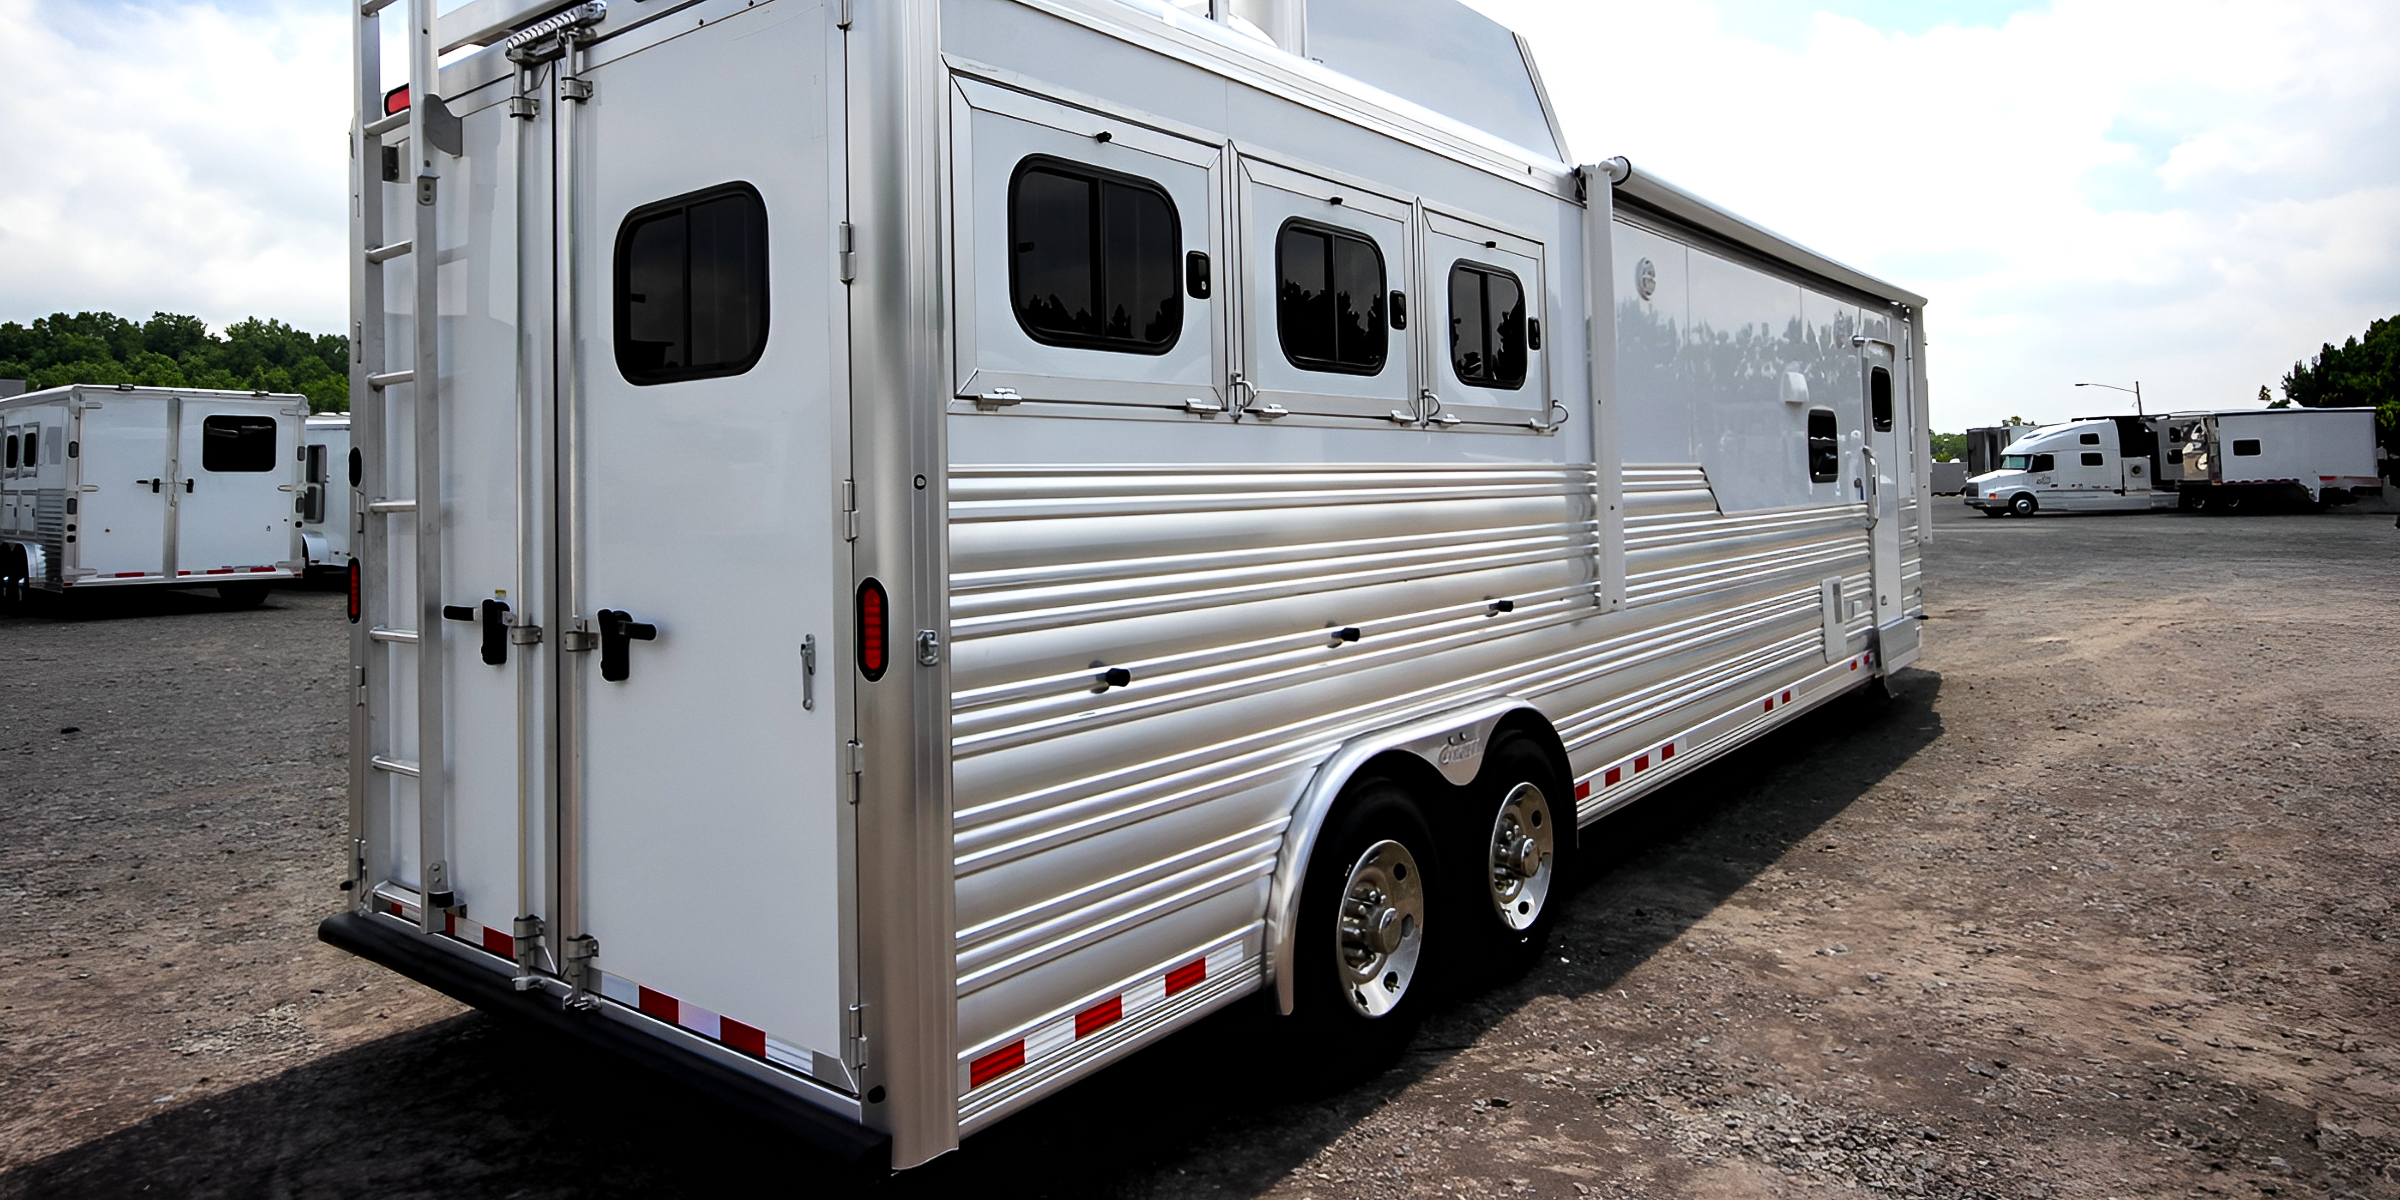
Aluminum trailers play a crucial role in transporting our goods effectively. To keep aluminum trailers looking and performing their best, cleaning them regularly is essential. Here are steps on how to clean aluminum trailers.
Jan 10, 2024

Crystal suncatchers are not only stunning decorative pieces, but they are also a unique way to fill your home with sunlight and positive energy. Enjoy the almost magical properties of this beautiful ornament with this DIY crystal suncatcher guide.
Jan 15, 2024
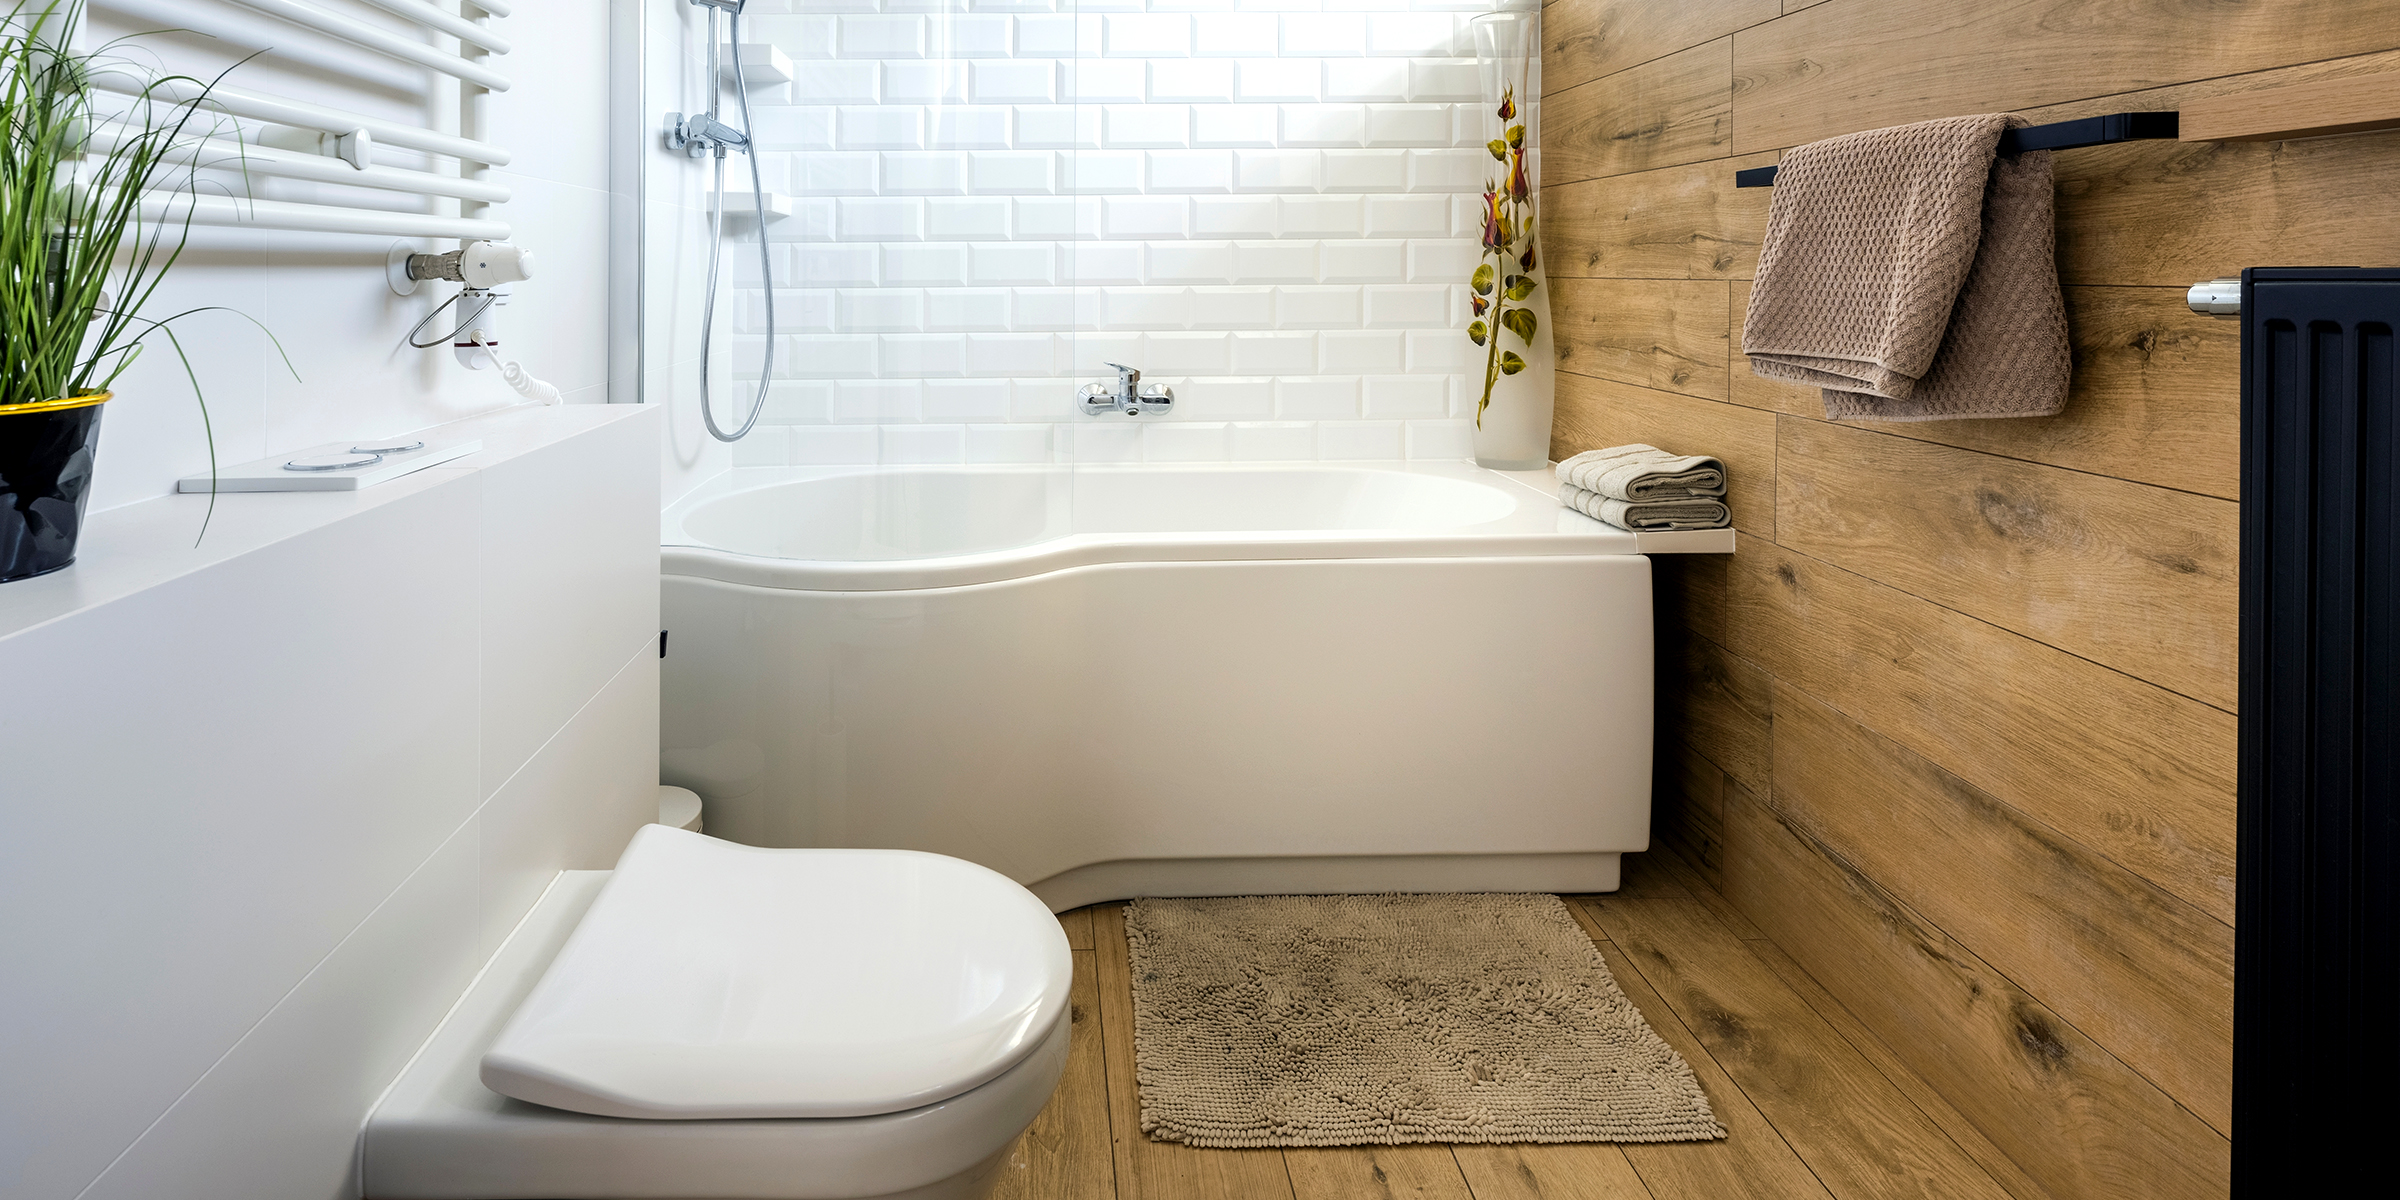
No matter how sophisticated your bathroom is, it can still accumulate odors, which can be embarrassing when hosting guests. The fishy smell in the bathroom can have various causes, and it's crucial to identify and eliminate its source.
Jan 28, 2024

Gift wrapping is not merely about hiding what is inside; it is a way to make a statement, convey care, and transform a simple gesture into a lasting memory.
Dec 21, 2023

Slime is a fun substance anyone can use to mold shapes of all kinds, but clay slime is especially satisfying with its fluffy, creamy texture. If you want to learn how to make yours at home, here's how.
Jan 20, 2024
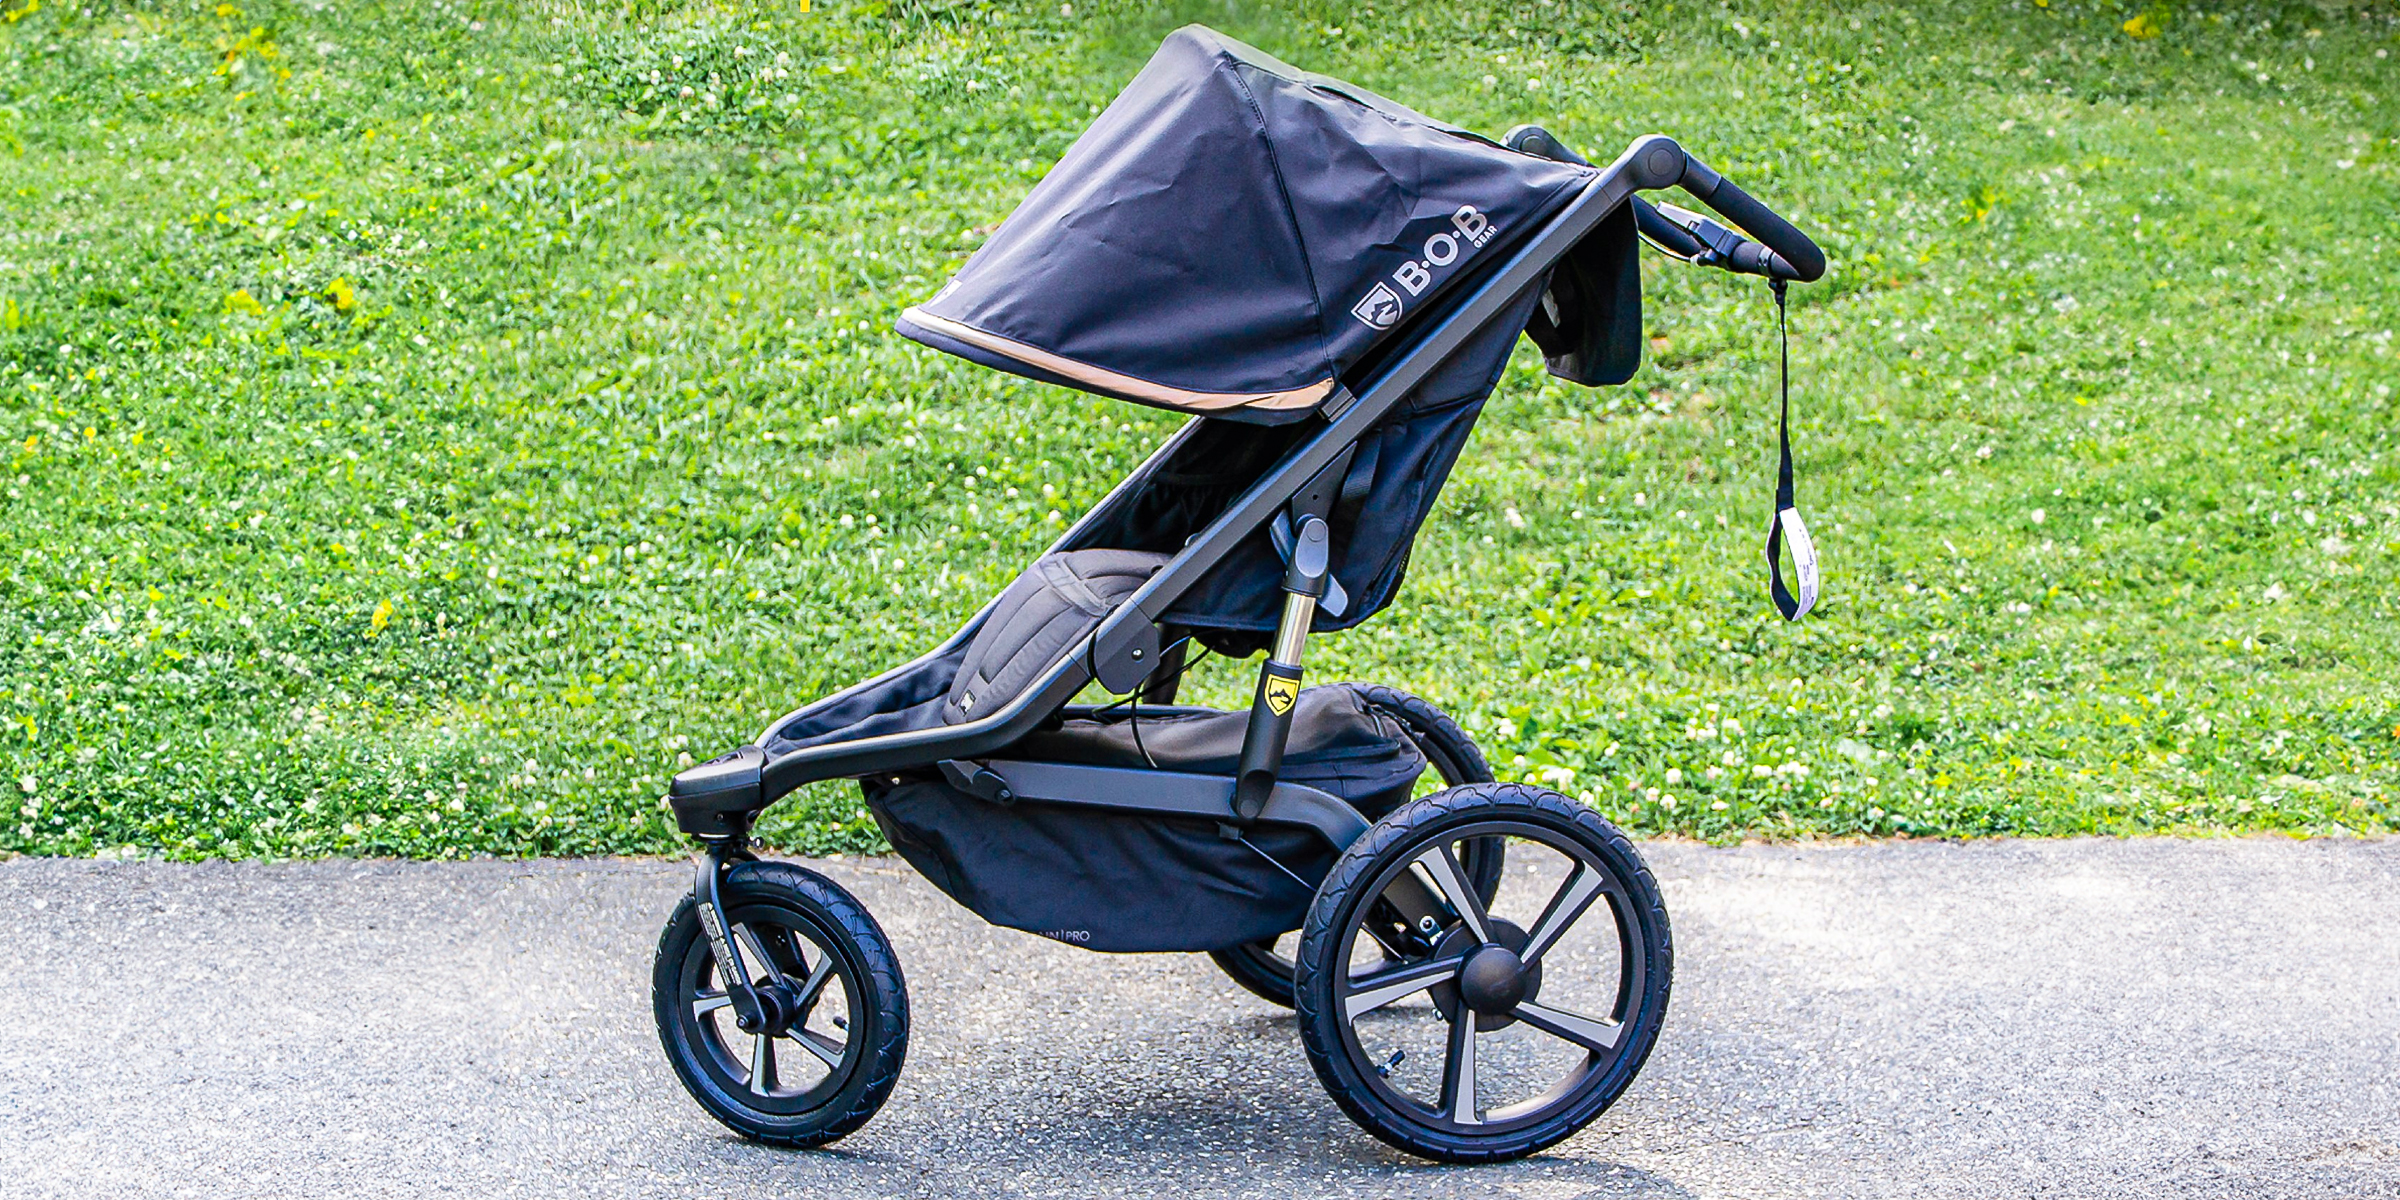
Having a BOB Gear stroller means your family can explore the world more freely, whether conquering mountains or enjoying outdoor festivals. The trade-off? Your trusty BOB Gear companion is bound to get a bit dirty. Here's how to clean the stroller properly.
Jan 19, 2024
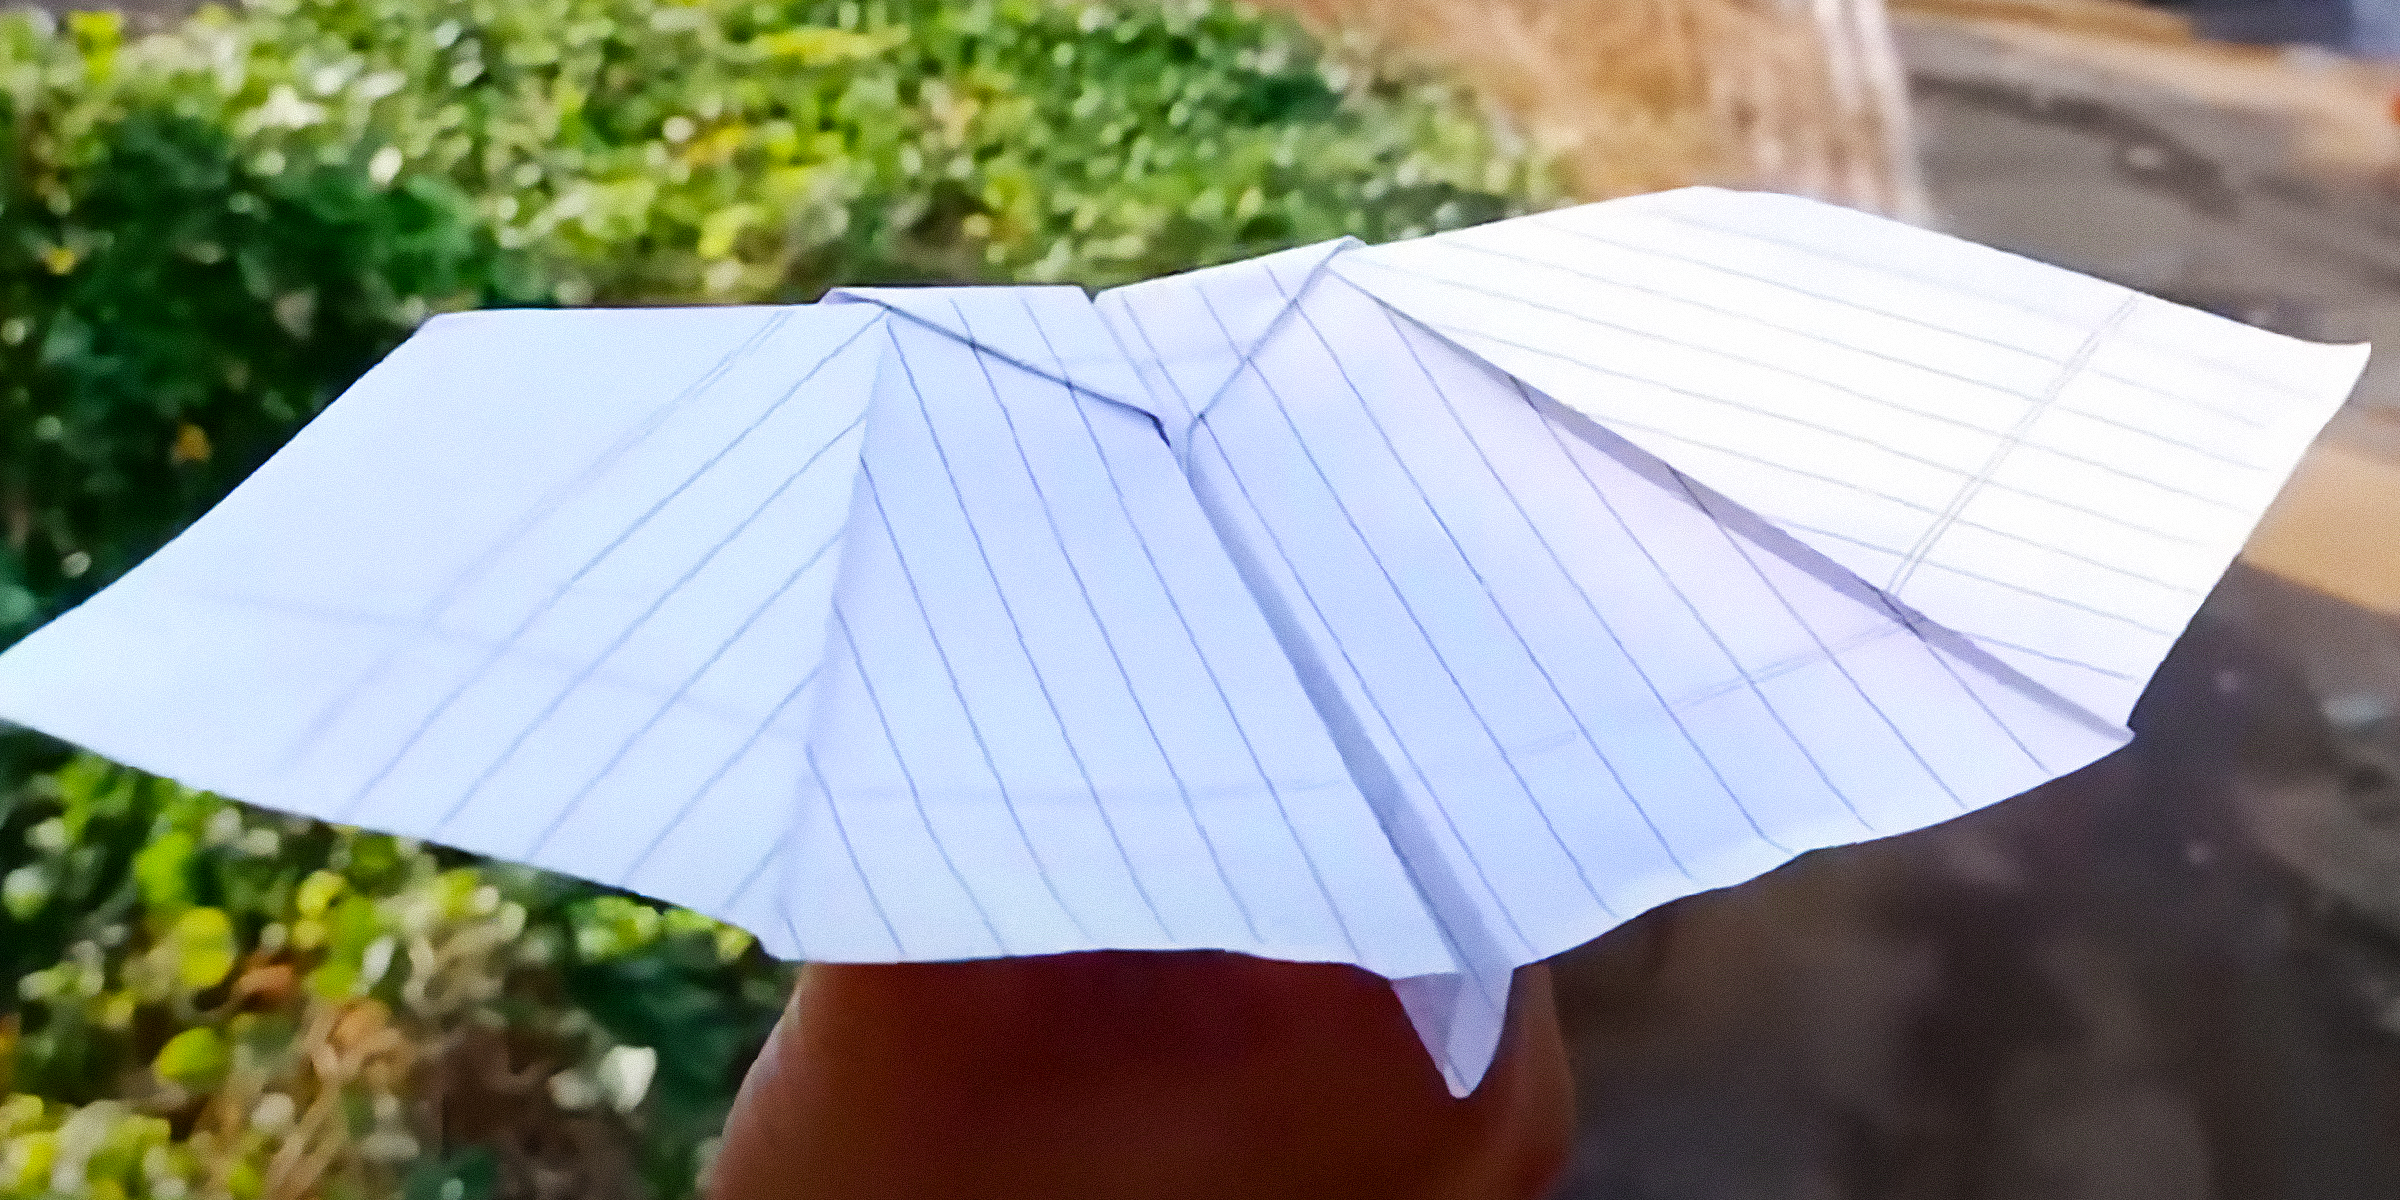
Paper planes have been around for thousands of years and have been the catalysts of human exploration into aerodynamics. In honor of the role these paper gliders have played in the history of this discipline, and simply for good fun, here's how to make a bat paper plane.
Jan 31, 2024
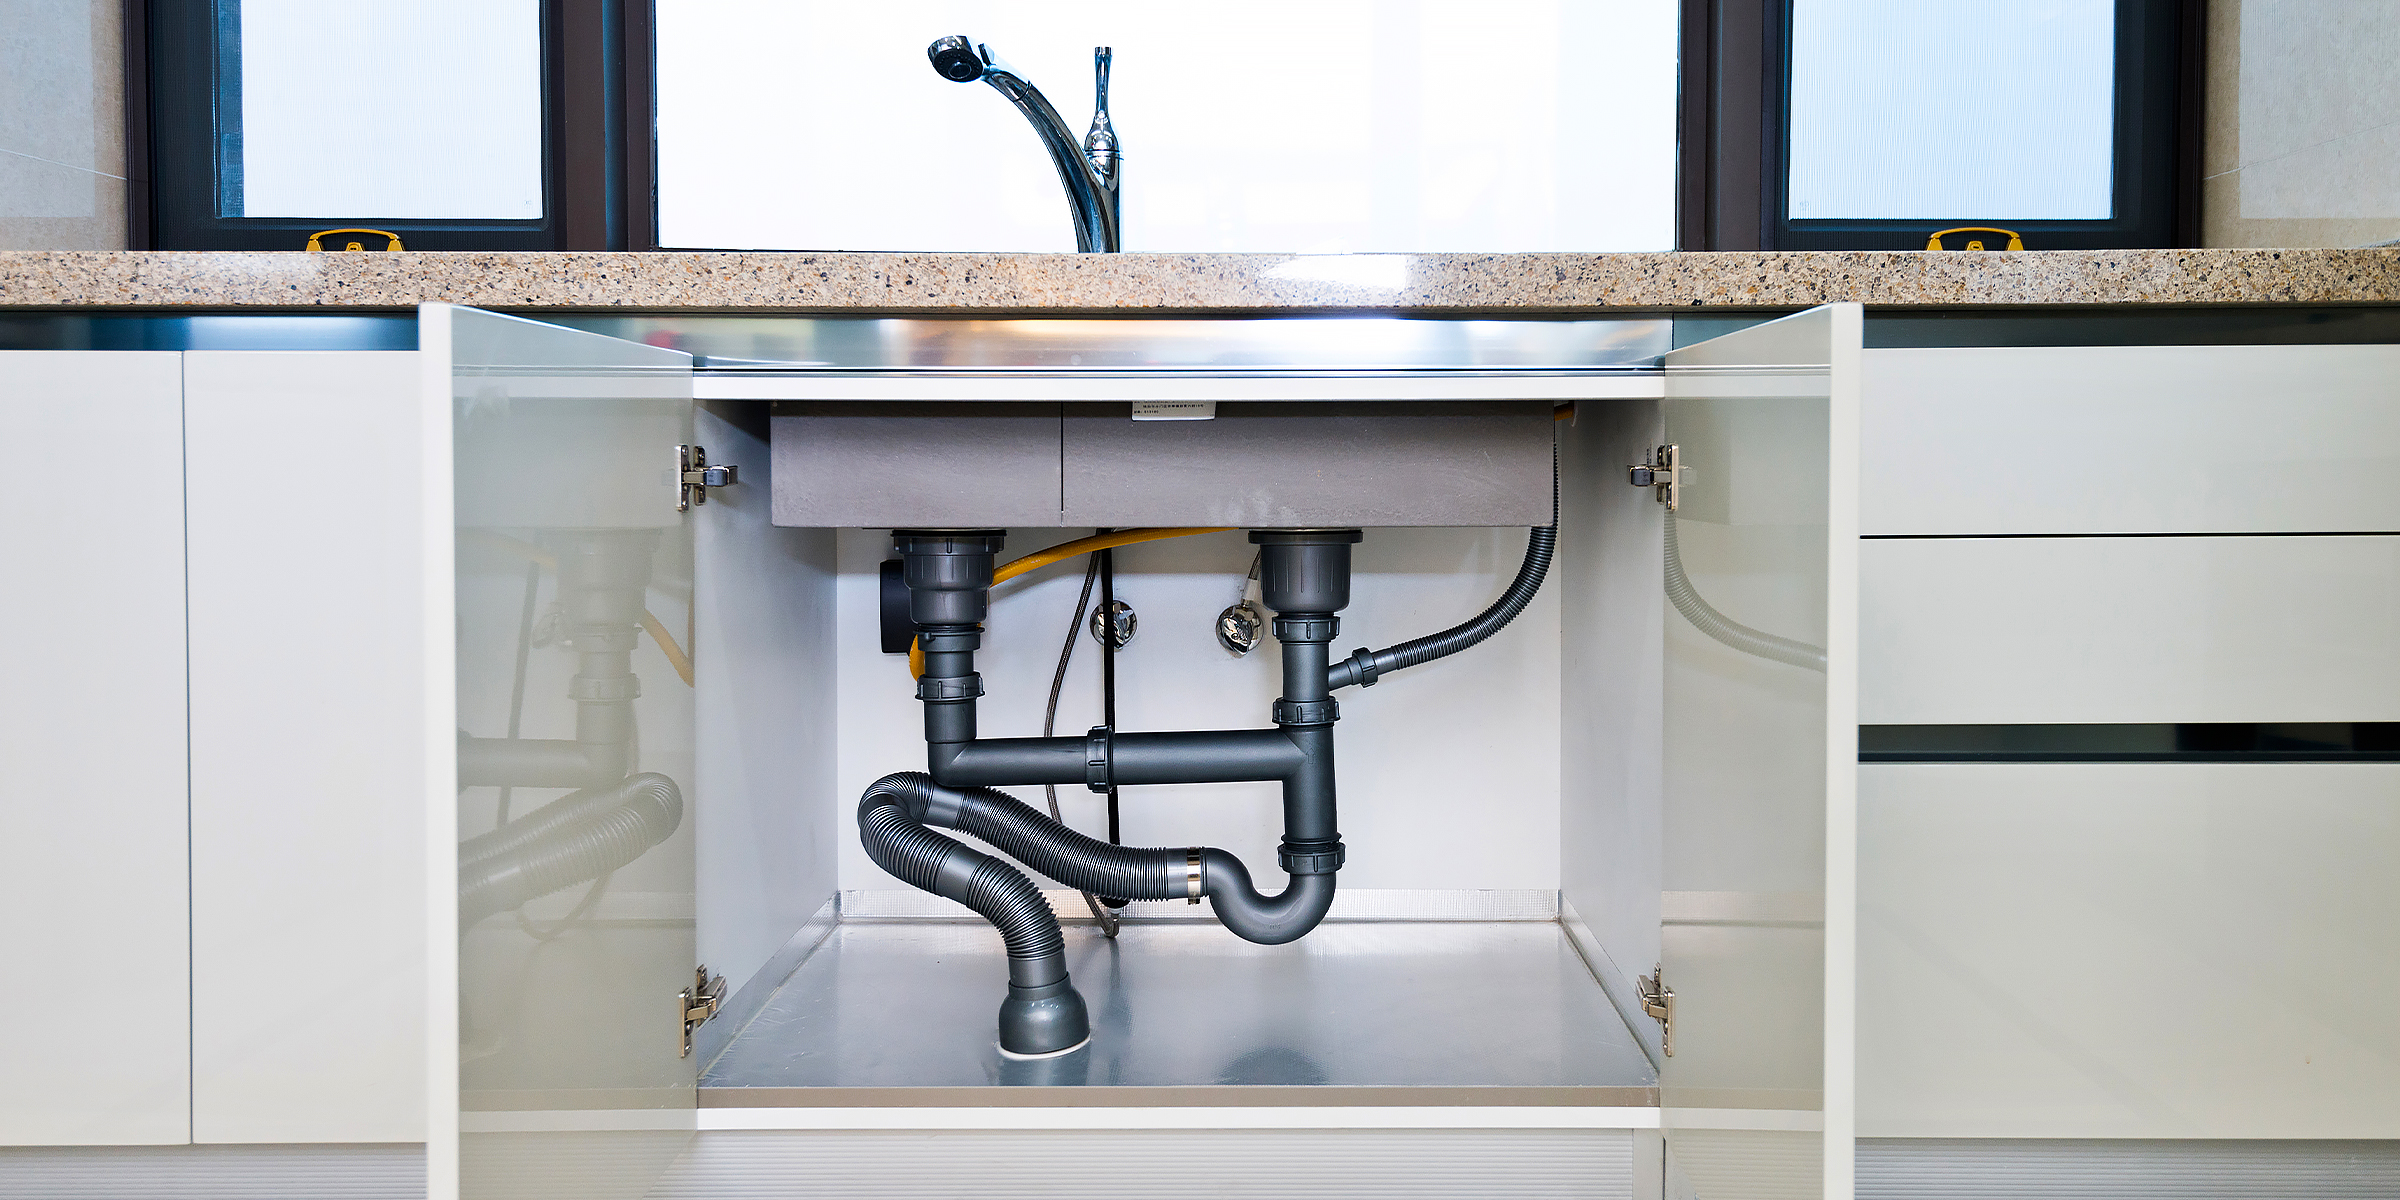
Save a few dollars by following this helpful guide on how to vent a kitchen sink under a window by yourself for a perfeclty functioning plumbing and drainage system in your home.
Feb 02, 2024

One of the most potent senses a deer possesses is its ability to smell. For many years now, hunters have used that as leverage on their hunting trips, acquiring deer attractants to bait their prey. Here's how to make yours at home.
Jan 27, 2024

As many with coily and curly hair know, bonnets are essential to the nighttime hair care routine to ensure your kinks and curls stay intact and in perfect condition. However, regularly and correctly washing your bonnet is equally important.
Dec 12, 2023