DIY Wardrobe Door — Step-by-Step Guide for Beginners
Feb 03, 2024


Discover the cost-effective joy of DIY slide boards! This article guides you through crafting your own, enriching your workout without breaking the bank. Save big while elevating your exercise routine.
If you're eager to elevate your indoor workouts, consider crafting your own slide board. Before delving into the DIY process, let's unravel the essence of a slide board.
Initially embraced by athletes like hockey players and speed skaters, a slide board is a sleek surface equipped with stop blocks on each side, facilitating lateral movements. Originally a staple in professional sports, it has seamlessly transitioned into mainstream fitness and rehabilitation, with physical therapists helping patients recover from ligament injuries or surgeries.
Now, let's explore how to DIY a slide board on a budget for an effective workout experience. Let's get started!

Slideboard | Source: YouTube/@tenwheelshavelland81
1. Cut 6 inches off the top of the plywood and melamine sheets for a 7 1/2 foot-long slide board.
2. Measure and cut the plywood and melamine sheets in half (2 feet each).
3. Apply caulk beads of liquid nails about an inch from the edge of the plywood, running additional beads lengthwise to use up the rest of the liquid nail tube.

Measure the board | Source: YouTube/@tenwheelshavelland81
4. Place the melamine piece on the plywood, ensuring the non-white side faces down.
5. Walk over the whiteboard in socks to ensure a tight fit.
6. Cut 2x4 wood planks into 2-foot lengths.

A person Walking over a whiteboard | Source: YouTube/@tenwheelshavelland81
7. Drill 3/8" holes in the end of 2x4 wood planks, 2" from the far ends and about 1" from the sides for stability on the end blocks.
8. Once the liquid nails dry, align an end block at the edge of the board and drill holes through the slide board using the 2x4 holes as a guide.

A person drilling an end block at the edge of a board | Source: YouTube/@tenwheelshavelland81
9. Thread machine bolts from the bottom and secure with wingnuts. Repeat on the other side.
10. In order to make the slide distance adjustable, remove an end piece and drill 2 or 3 sets of holes every 6 inches. This will make moving one of your end blocks easy and allow people of different levels to use it.

Drill holes every six inch | Source: YouTube/@tenwheelshavelland81
11. Use a sander to clean up the edges of the slide board.
12. Spray furniture polish or armor oil on the slide board for increased slipperiness.

Spray furniture polish on the slideboard | Source: YouTube/@tenwheelshavelland81
Your DIY slide board is ready for use. Obtain slide board booties from an online store or a fitness store for added convenience.
You can create your own slide board effortlessly by following the above simple steps. Enjoy the satisfaction of crafting your DIY slide board and embrace the benefits of a convenient and effective fitness tool.
If you liked this article, you can also check out this one that focuses on crafting a DIY lick mat for your pet.

Crystal suncatchers are not only stunning decorative pieces, but they are also a unique way to fill your home with sunlight and positive energy. Enjoy the almost magical properties of this beautiful ornament with this DIY crystal suncatcher guide.
Jan 15, 2024
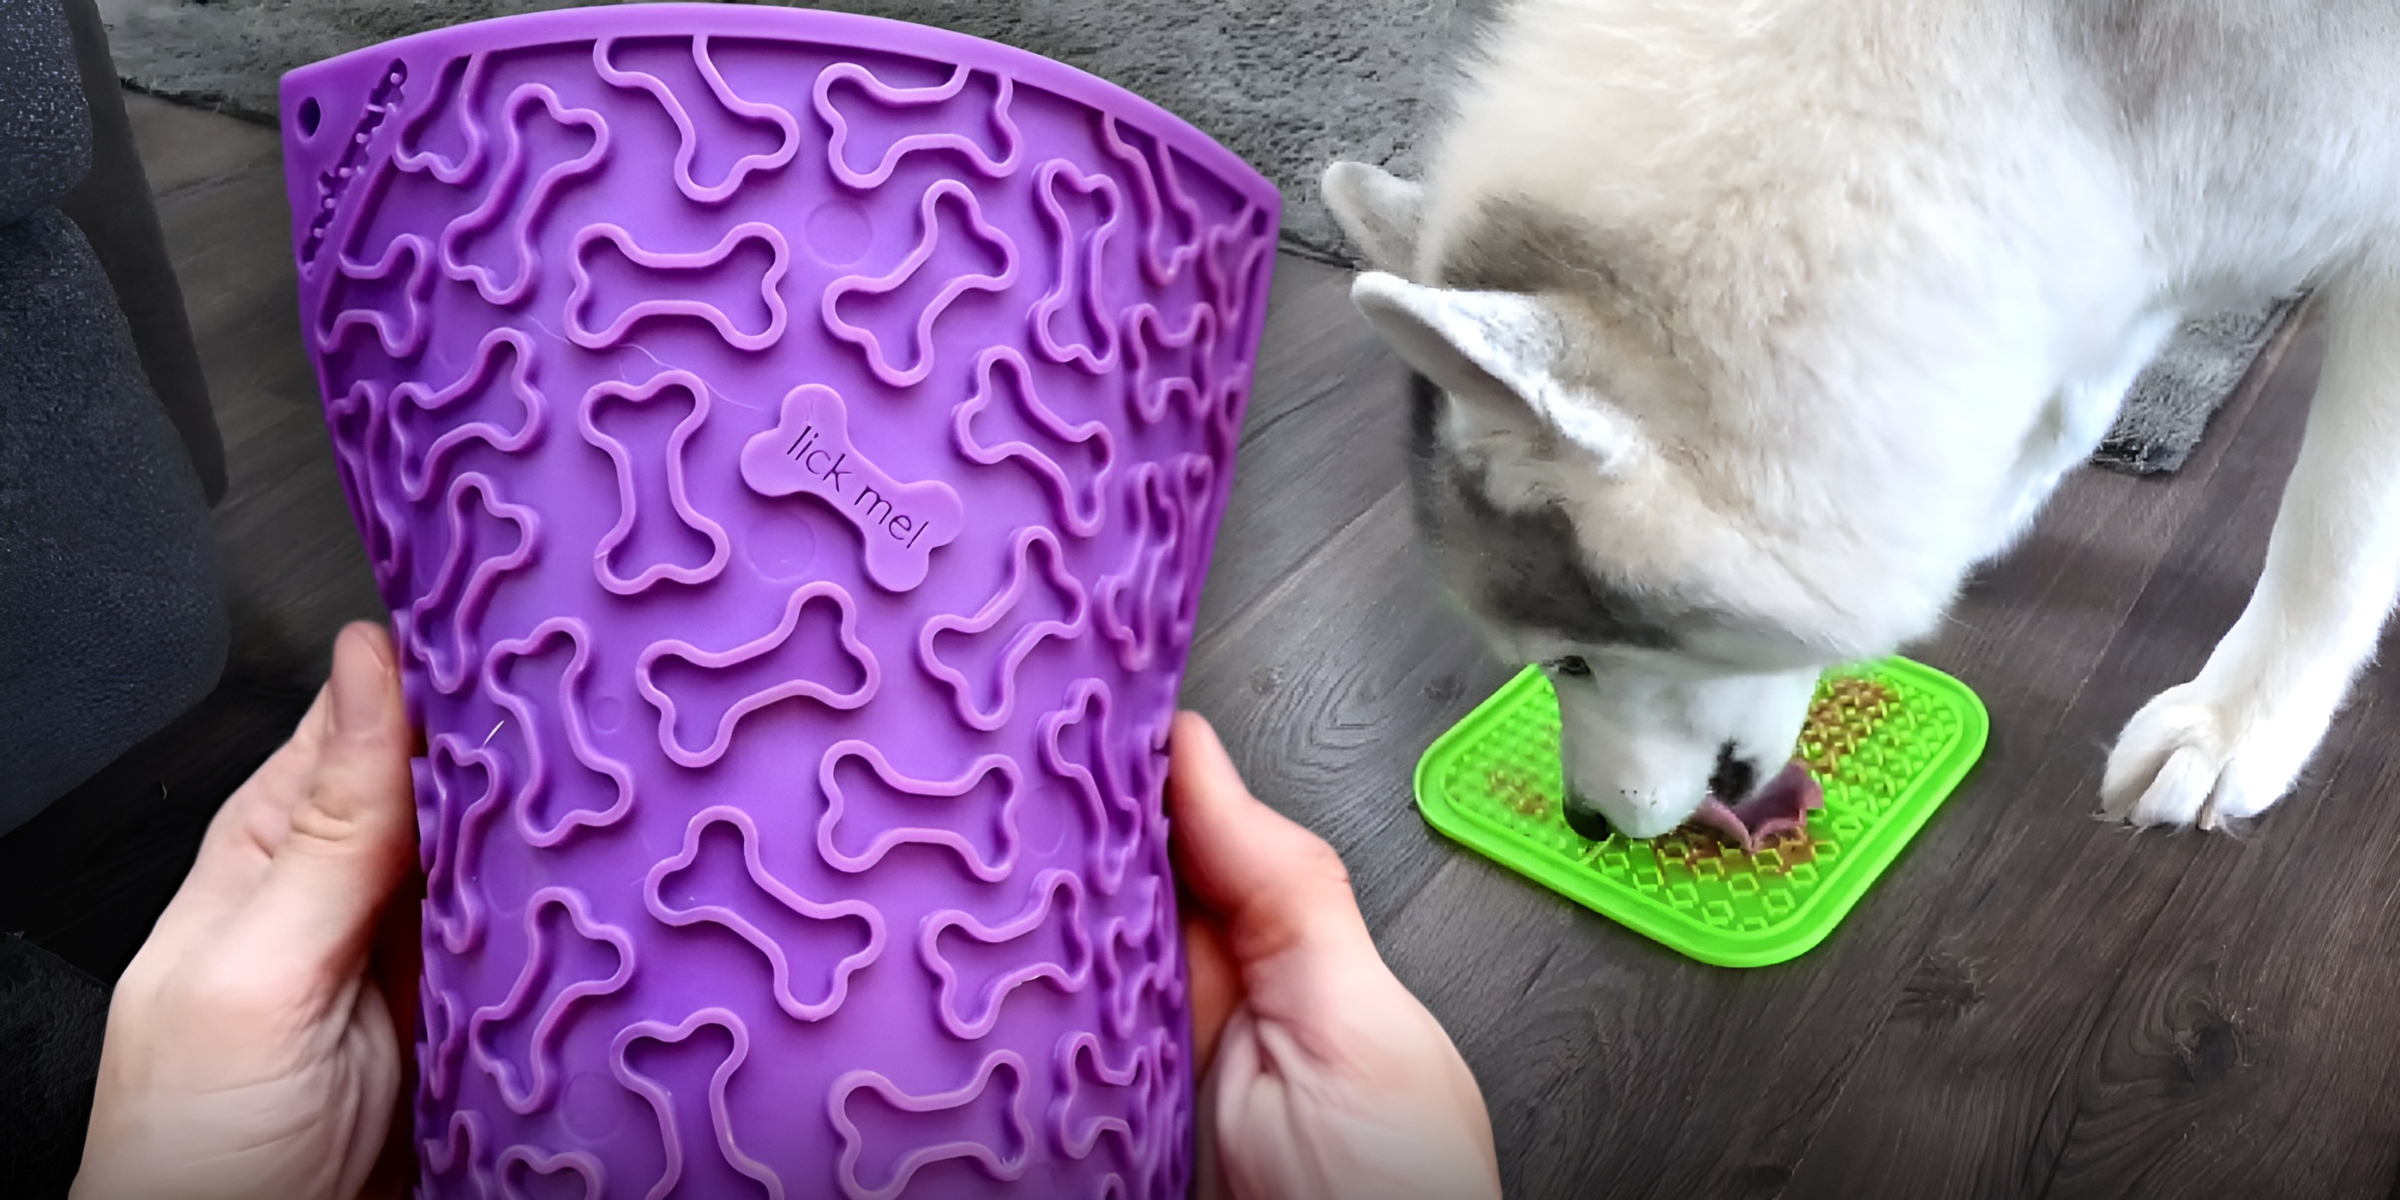
Lick mats for pets are becoming a popular trend, and there are numerous benefits to engaging in this activity. A practical approach to this trend involves creating your own DIY lick mats.
Dec 14, 2023

If your dog has a luxurious coat of fur, short or long, then you understand the necessity to brush your furry friend regularly. Detangler sprays make this routine grooming process easier. Here's how to make yours at home.
Jan 25, 2024

Protect your family from the sun's harsh rays while saving a few dollars with this DIY Shibumi Shade hack for the perfect beach day with your loved ones.
Jan 30, 2024
If you're dealing with the challenge of little ones struggling to reach faucets, a practical solution is to craft a DIY faucet extender. You can easily accomplish this in just a few simple steps.
Feb 05, 2024

Handfasting is an old wedding tradition that beautifully demonstrates two people's love and commitment to one another. This symbolic act is said to date back over several millennia.
Dec 14, 2023

Rocking a fantastic pair of jeans can instantly boost your confidence, but taking your denim game to the next level with some DIY aesthetic jeans is like stepping onto your own personal runway. These DIY pieces of denim can turn heads as you walk by.
Dec 12, 2023

Slime is a fun substance anyone can use to mold shapes of all kinds, but clay slime is especially satisfying with its fluffy, creamy texture. If you want to learn how to make yours at home, here's how.
Jan 20, 2024
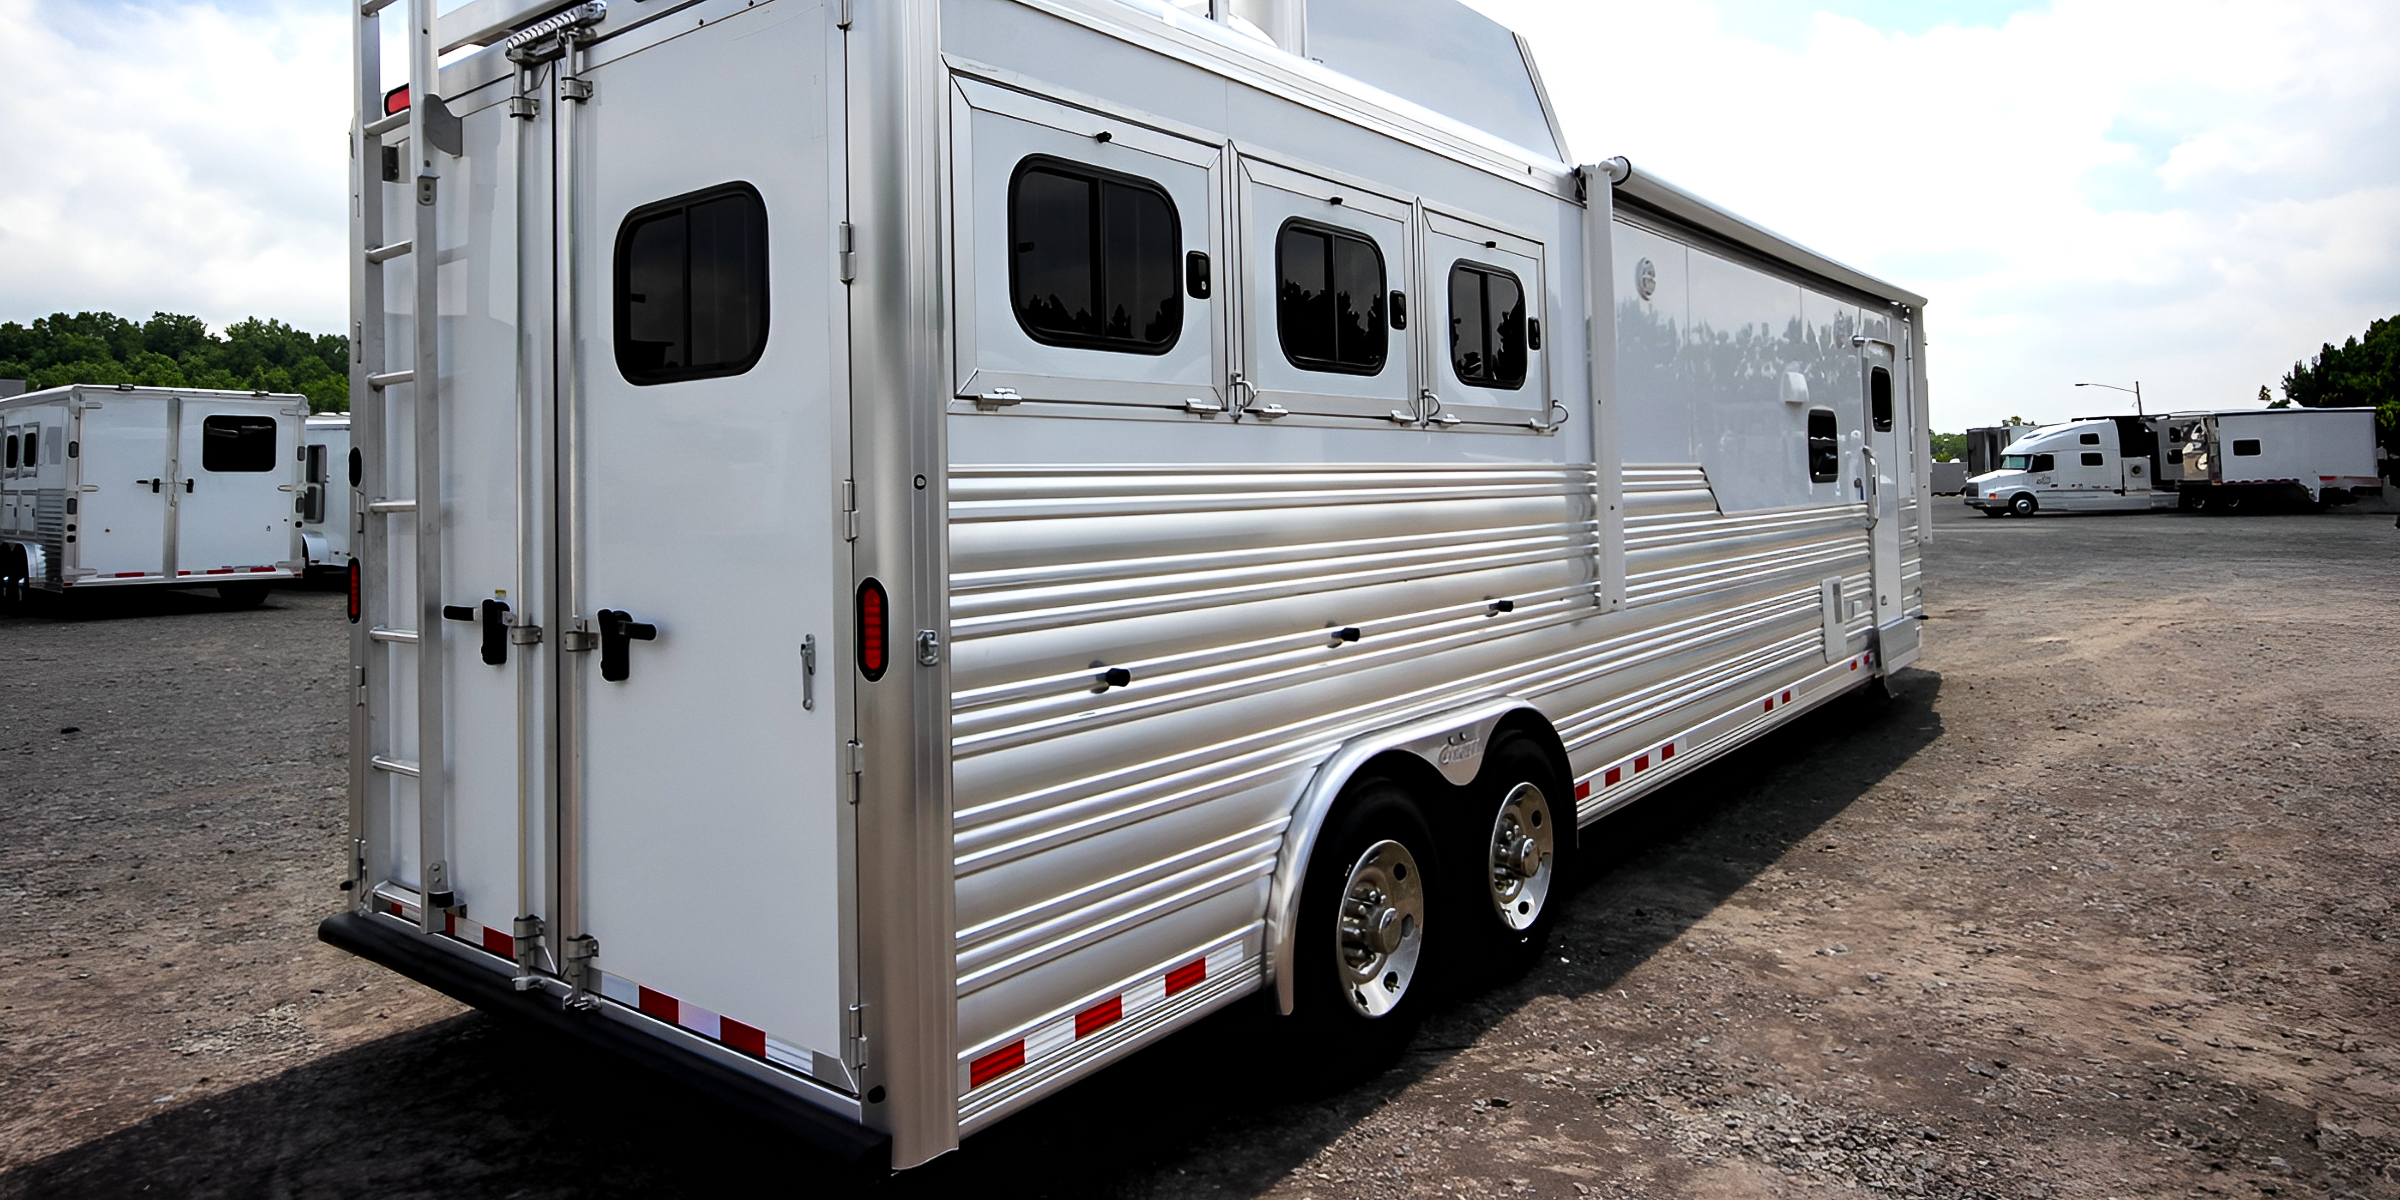
Aluminum trailers play a crucial role in transporting our goods effectively. To keep aluminum trailers looking and performing their best, cleaning them regularly is essential. Here are steps on how to clean aluminum trailers.
Jan 10, 2024
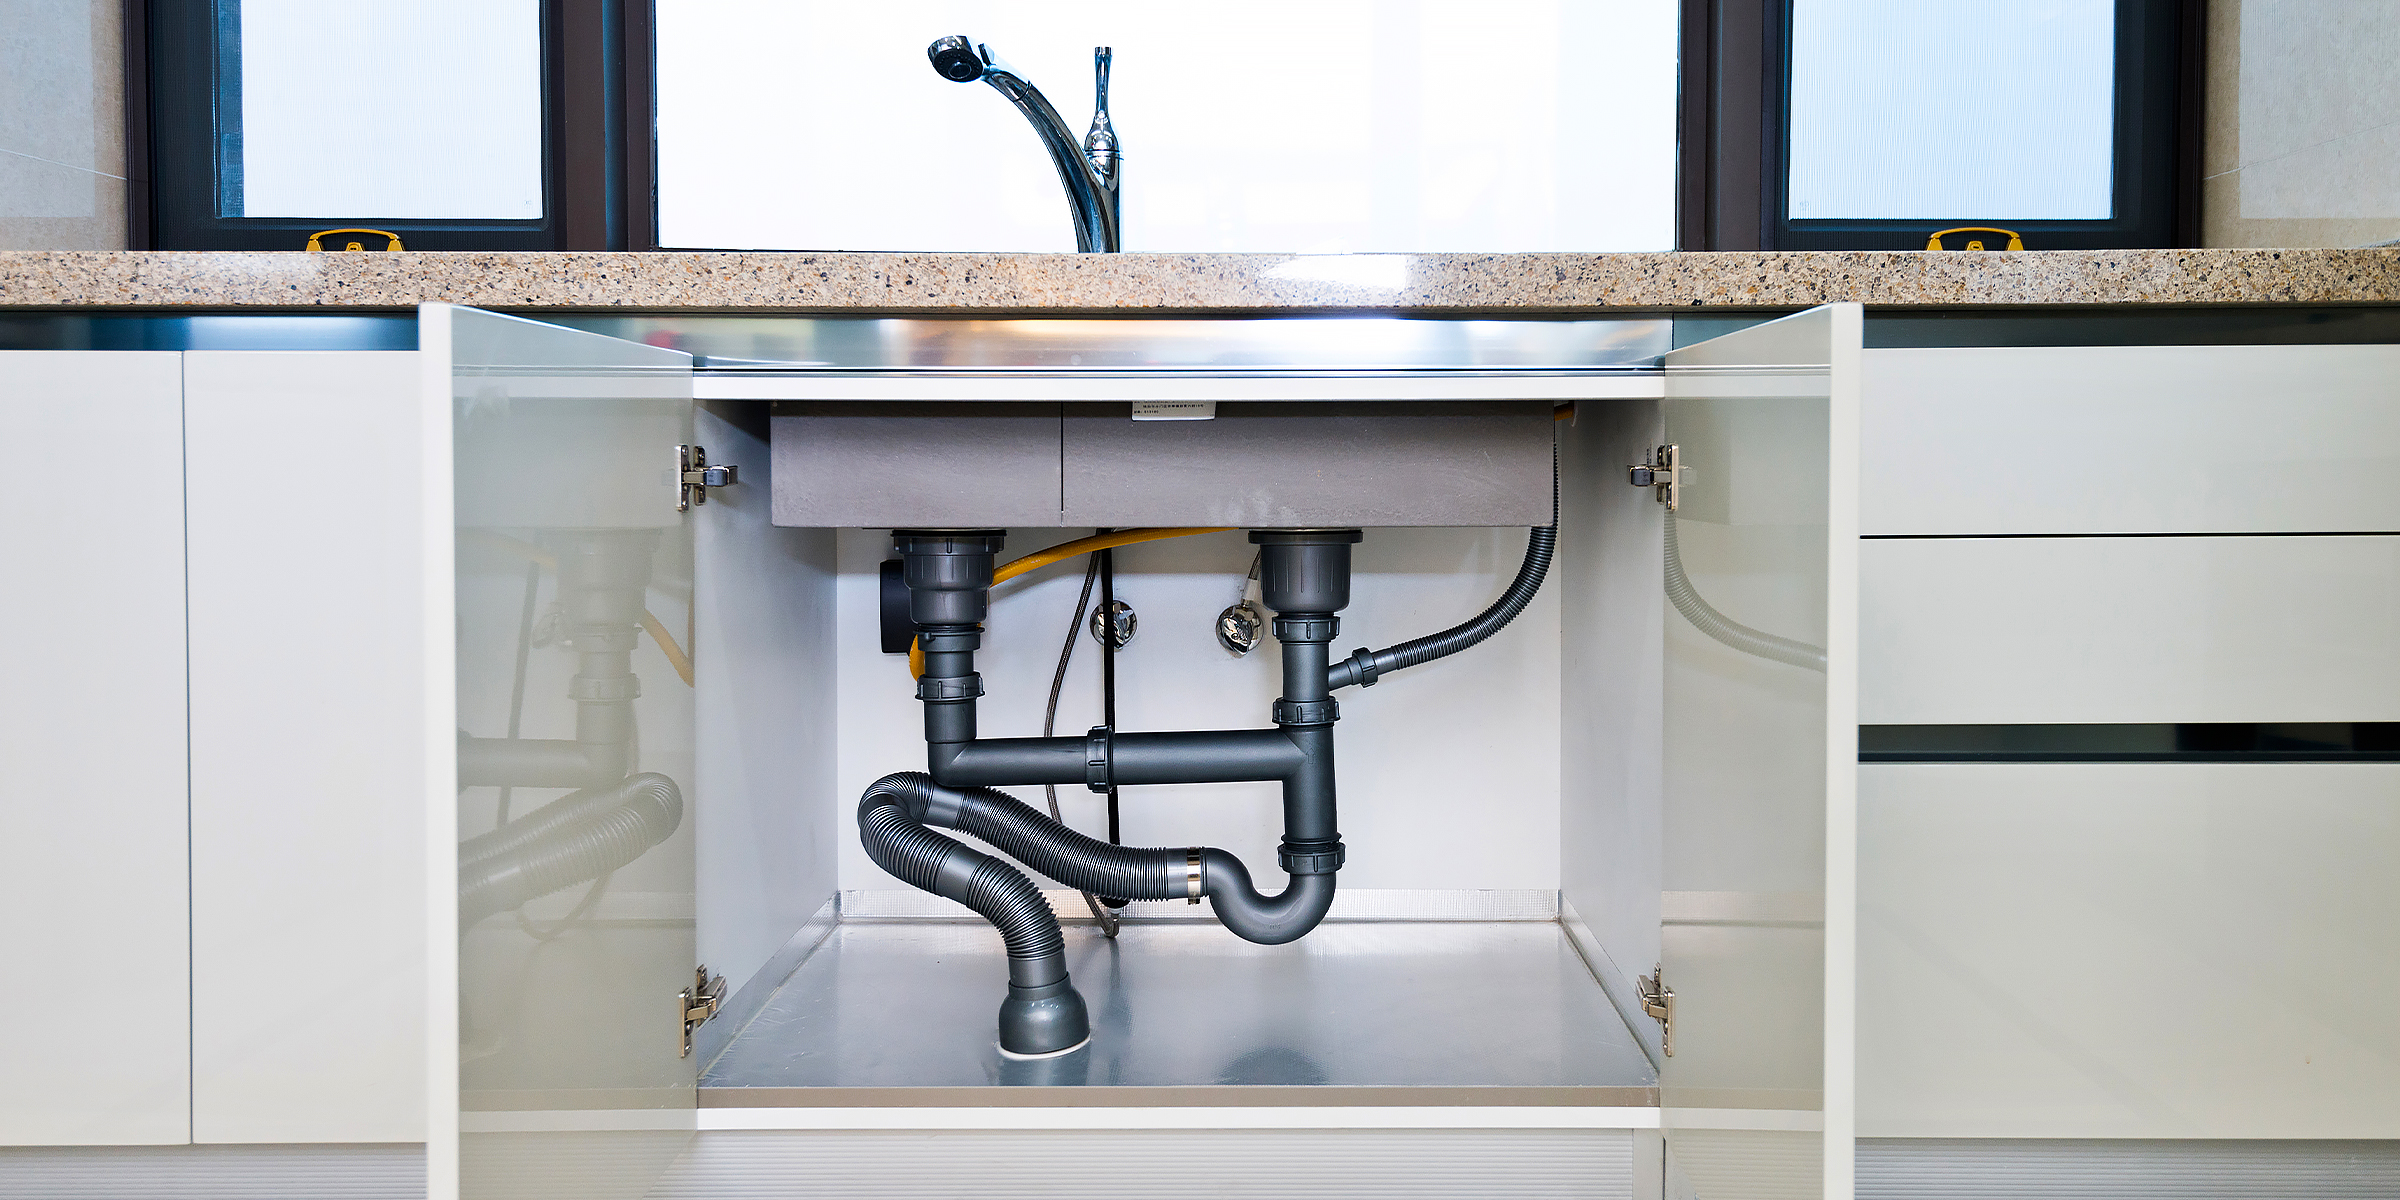
Save a few dollars by following this helpful guide on how to vent a kitchen sink under a window by yourself for a perfeclty functioning plumbing and drainage system in your home.
Feb 02, 2024
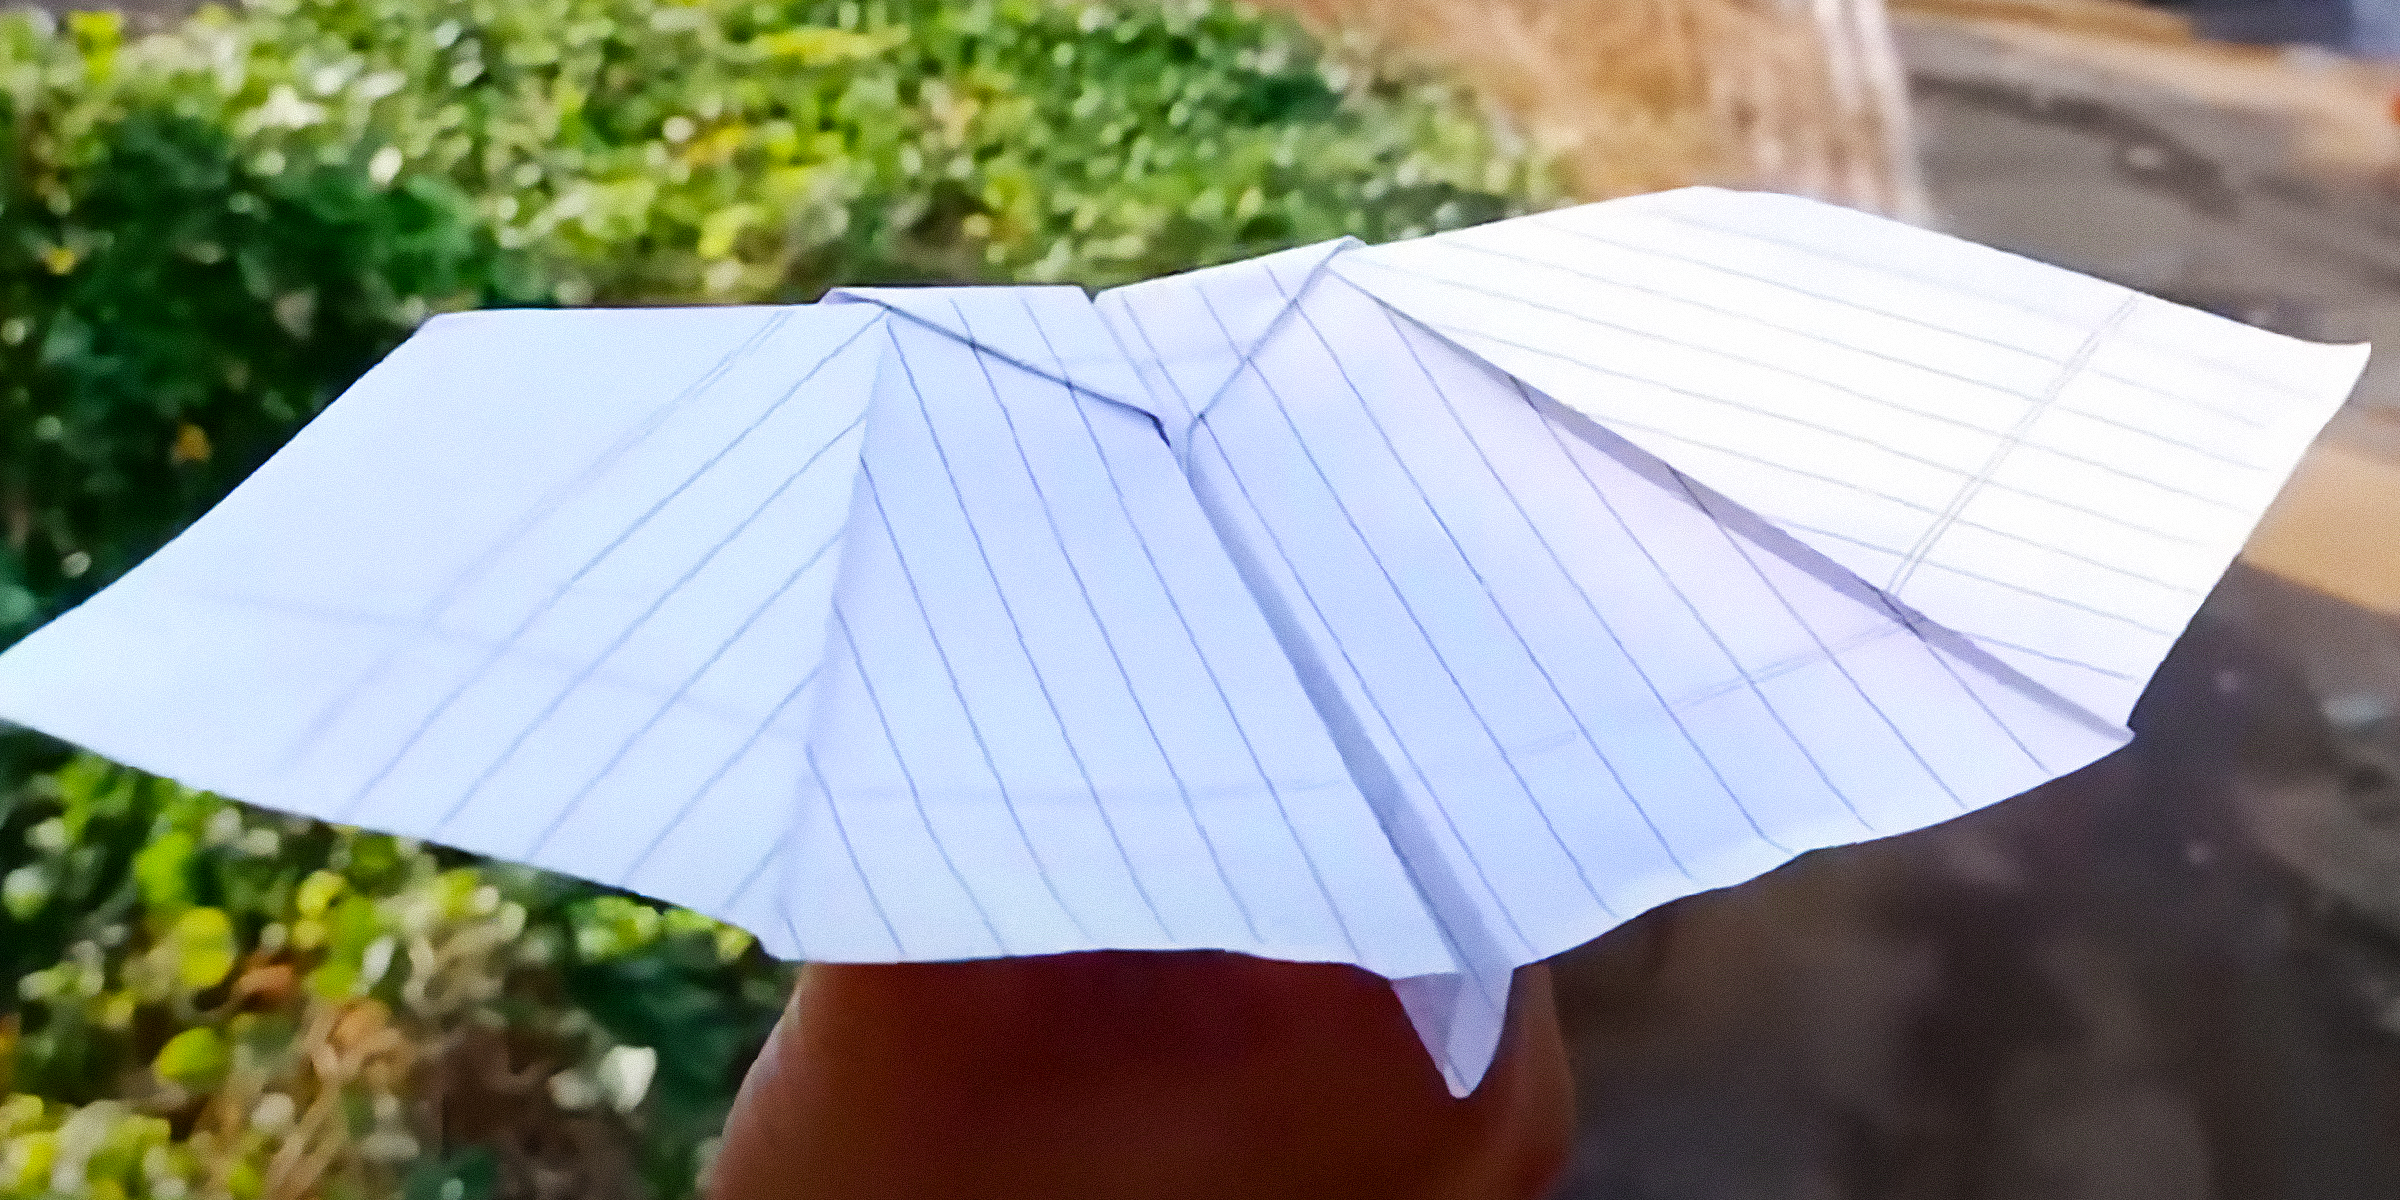
Paper planes have been around for thousands of years and have been the catalysts of human exploration into aerodynamics. In honor of the role these paper gliders have played in the history of this discipline, and simply for good fun, here's how to make a bat paper plane.
Jan 31, 2024
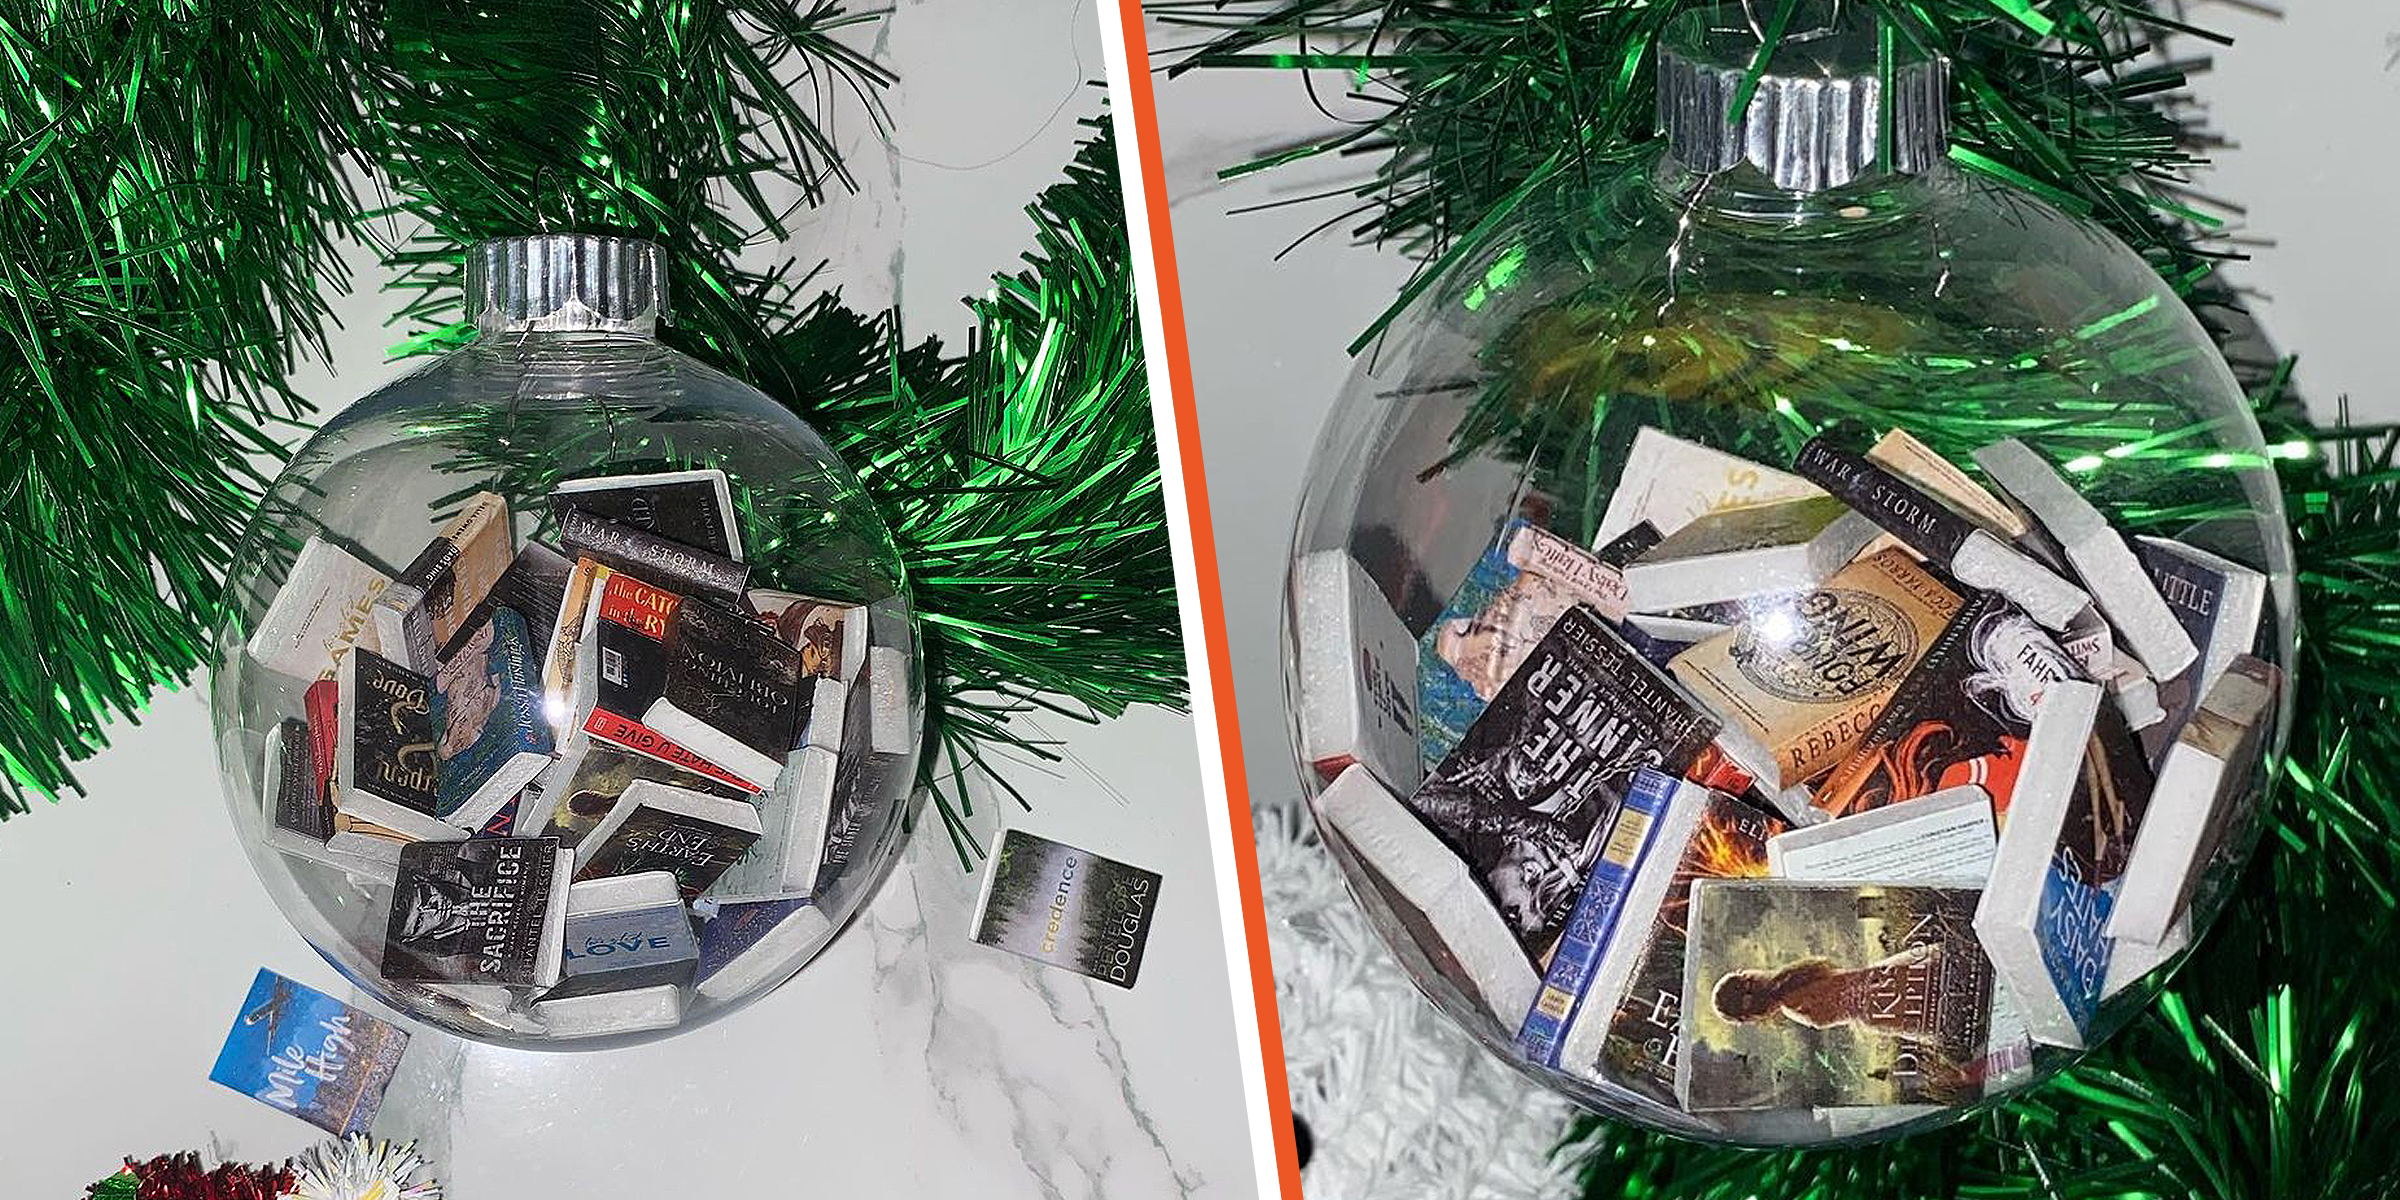
The DIY book ornaments trend has blown up social media for some time, with avid readers finding a fun way to celebrate their love of reading during the festive season.
Dec 16, 2023

One of the most potent senses a deer possesses is its ability to smell. For many years now, hunters have used that as leverage on their hunting trips, acquiring deer attractants to bait their prey. Here's how to make yours at home.
Jan 27, 2024

If ground squirrels have taken over your yard with their burrowing, continue reading for three ways you can fill ground squirrel holes — from the perfect machine to make the process easier to ingredients you can use that you might already have.
Jan 09, 2024