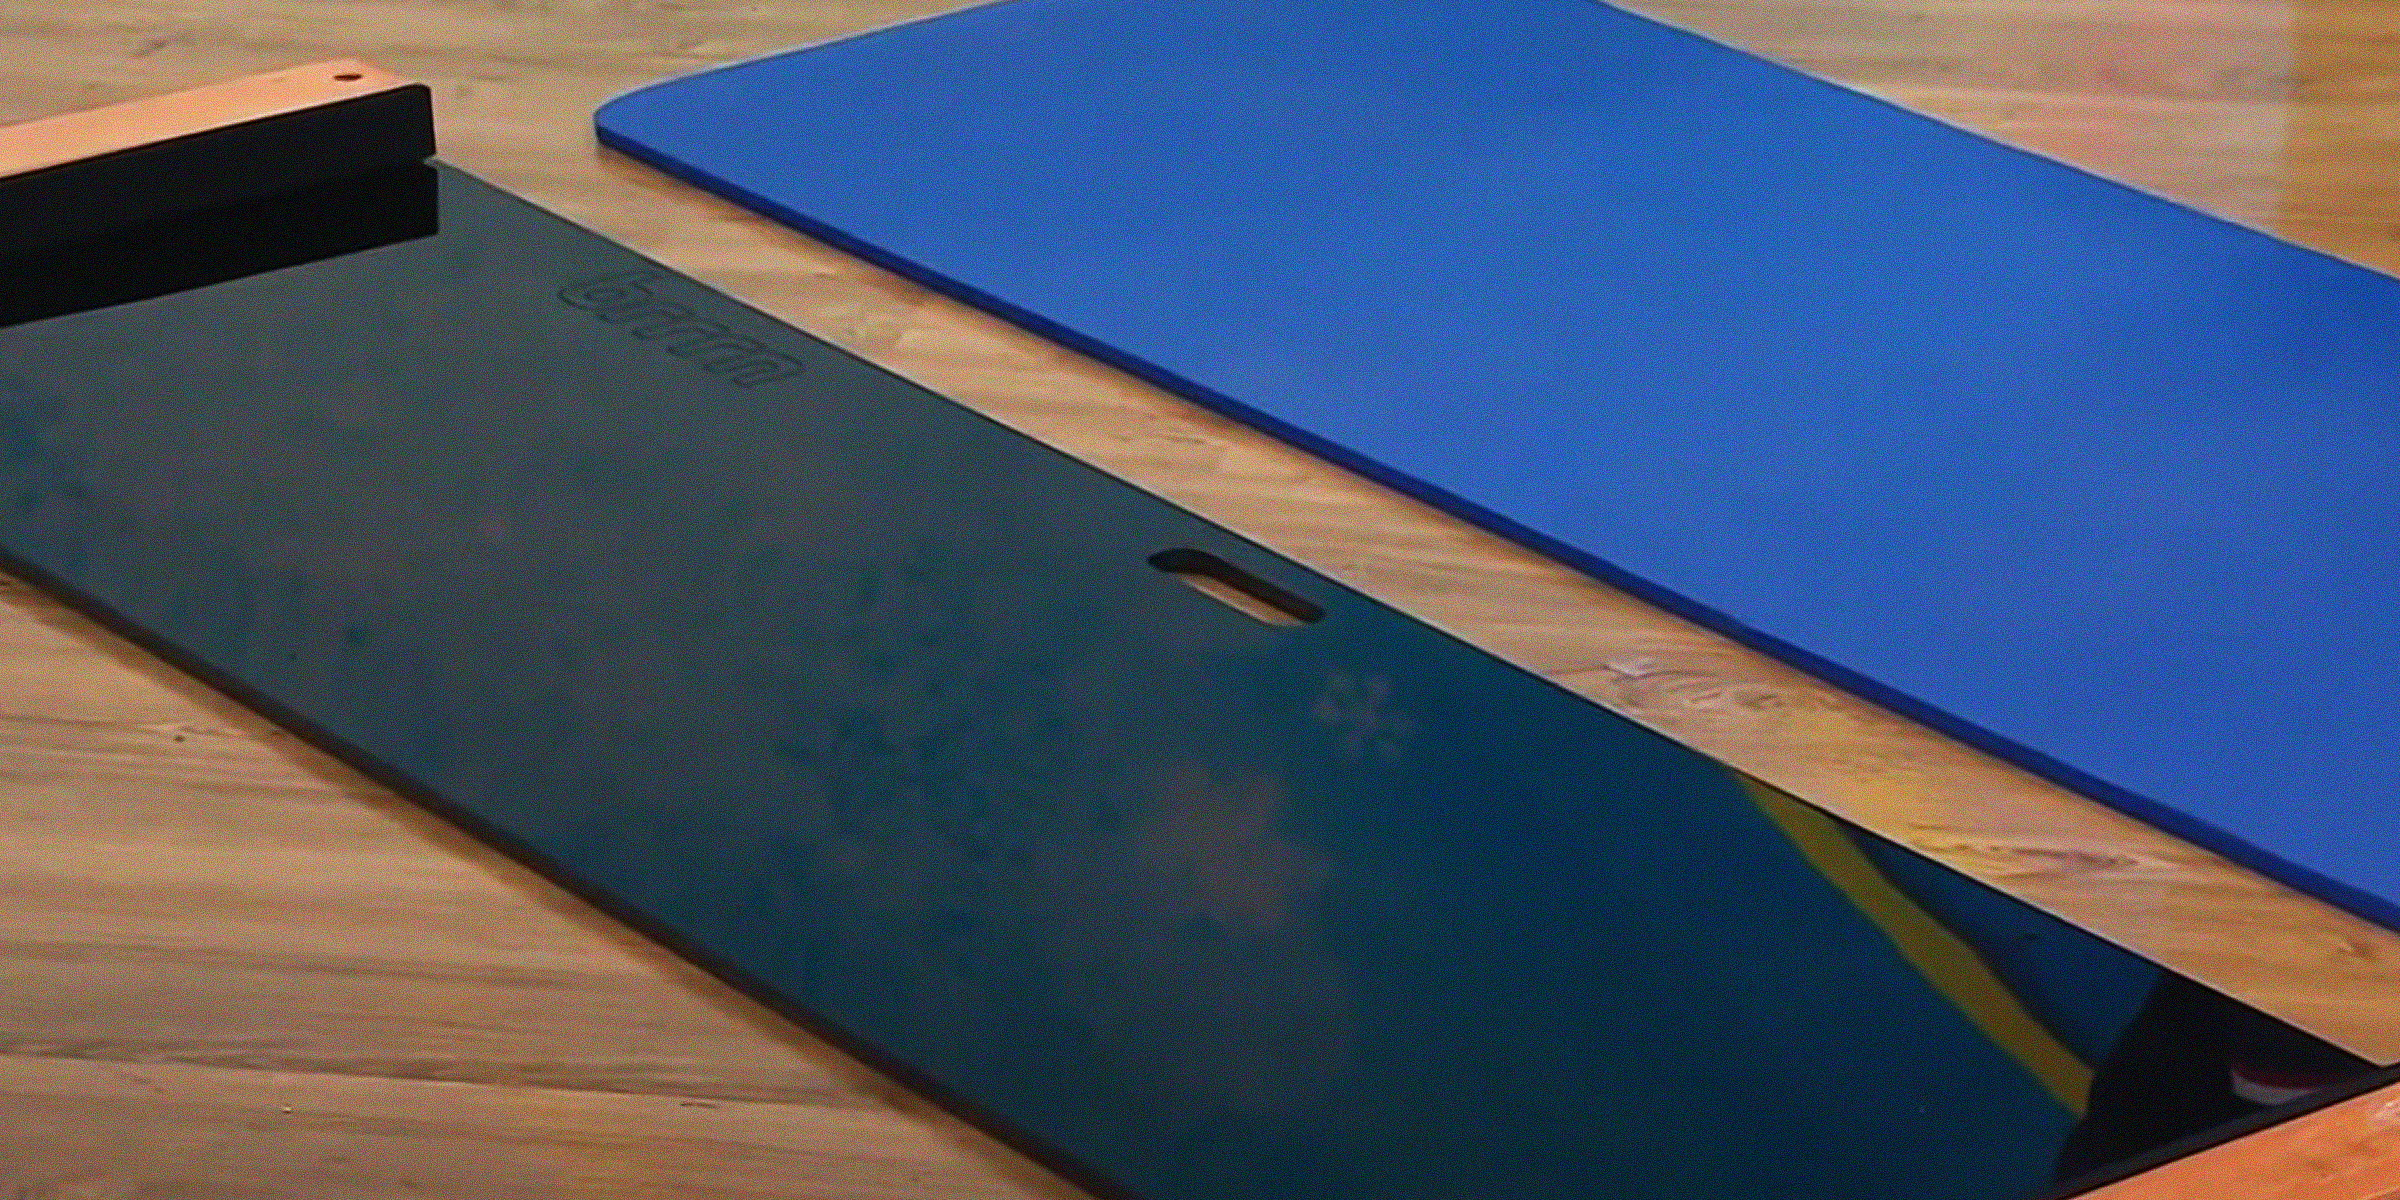
DIY Slide Board — Craft Your Own Athletic Training Tool with Simple Materials
Feb 04, 2024


Creating DIY hurricane shutters is a practical and cost-effective way to protect your home during storm season. As we delve into this guide, we’ll explore the steps and materials needed to craft shutters that stand against the force of nature.
Hurricane shutters are essential for those living in storm-prone areas. They shield windows from the destructive force of hurricane winds and flying debris, preventing damage to the interior of your home.
While commercial options are available, DIY hurricane shutters offer a personalized, affordable alternative. This guide will walk you through the process, ensuring you’re well-prepared when the next storm hits.
1. Measuring Doors and Windows
The first step in crafting your DIY hurricane shutters is to accurately measure all the windows and doors you intend to cover. Using a tape measure, carefully record the dimensions of each opening. For larger windows or doors, it's helpful to have an assistant who can help hold the tape measure and ensure accurate readings.
2. Cutting Plywood Sheets
Once you have your measurements, the next step is to cut the plywood. Purchase enough 4x8 sheets of 5/8-inch exterior-grade plywood to cover all your openings.
Each sheet should be cut to dimensions that are seven inches wider and longer than the openings they are meant to protect. This allows for a 3-4 inch overhang on all sides, which is crucial for securing the panels properly.
3. Locating Framing Studs
For homes with wood framing, locate the framing studs around each window and door using a stud finder. These studs will provide a secure anchor for your shutters. Note the position of the studs as their location is critical for the next step of the installation.
4. Installing the Plywood Hurricane Shutters
With the plywood cut and studs identified, it's time to install the shutters. Position the plywood over the window or door and mark where the studs align on the plywood.
Have one or two helpers hold the plywood in place while you use a power drill to secure the plywood to the studs with 2.5-inch wood screws. Ensuring each screw is anchored into a stud is vital for the stability of the shutter.
If your home is made of concrete block or masonry, the approach differs slightly. Instead of locating studs, drill holes directly into the masonry around the windows, about 2-3 inches from the edges.
Insert 3-inch hanger bolts into these holes. After drilling corresponding holes in the plywood, secure the panels over the bolts using washers and wing nuts for a tight fit.
By following this guide, you've equipped your home with cost-effective, robust DIY hurricane shutters that will stand up to the challenges posed by severe weather.
This DIY project not only enhances the safety of your home but also provides peace of mind knowing that you are well-prepared for hurricane season.
As you consider further safeguarding your home, why not explore additional protective measures? Dive into our article on DIY gutter guards and continue enhancing your home’s defense against the elements.

Looking to discover how to create a Murphy door for your home? You've come to the right place! Incorporate a unique hidden door into your space by crafting your own, following the detailed guide below.
Mar 12, 2024

Whether you're aiming to protect your floor from the warmth of the embers or seeking to add an aesthetic flourish to your living space, this guide will walk you through creating the perfect DIY hearth pad for your home.
Apr 09, 2024

Transforming long car rides with children into fun-filled adventures is possible. Yet, managing sibling conflicts can be tough. Explore inventive solutions to foster peace and harmony between your little ones.
Feb 15, 2024

Crystal suncatchers are not only stunning decorative pieces, but they are also a unique way to fill your home with sunlight and positive energy. Enjoy the almost magical properties of this beautiful ornament with this DIY crystal suncatcher guide.
Jan 15, 2024

Ready to enhance your property with a blend of rustic charm and practicality? Our DIY hog wire fence guide is here to walk you through creating a durable and stylish boundary for your space.
Apr 10, 2024

Unlock the secrets to crafting your own personalized piece of furniture with our DIY wooden bench guide—where simplicity meets elegance in your living space.
Apr 10, 2024

Transform your space with a DIY Litter Robot Enclosure that effortlessly merges smart technology with style. Despite their convenience, high-tech litter boxes can sometimes clash with home aesthetics. Fortunately, there's a stylish DIY solution!
Feb 14, 2024

Bubble walls bring the benefits of surrounding yourself with nature into the comfort of your personal space. If you're considering installing one but want to do so independently, follow this DIY bubble wall guide.
Feb 09, 2024

Tiki huts are making a significant comeback, captivating enthusiasts with their distinctive charm that transports you to a serene paradise. Embark on a journey to transform your backyard into a tranquil oasis with our step-by-step guide on how to make a Tiki Hut.
Mar 20, 2024
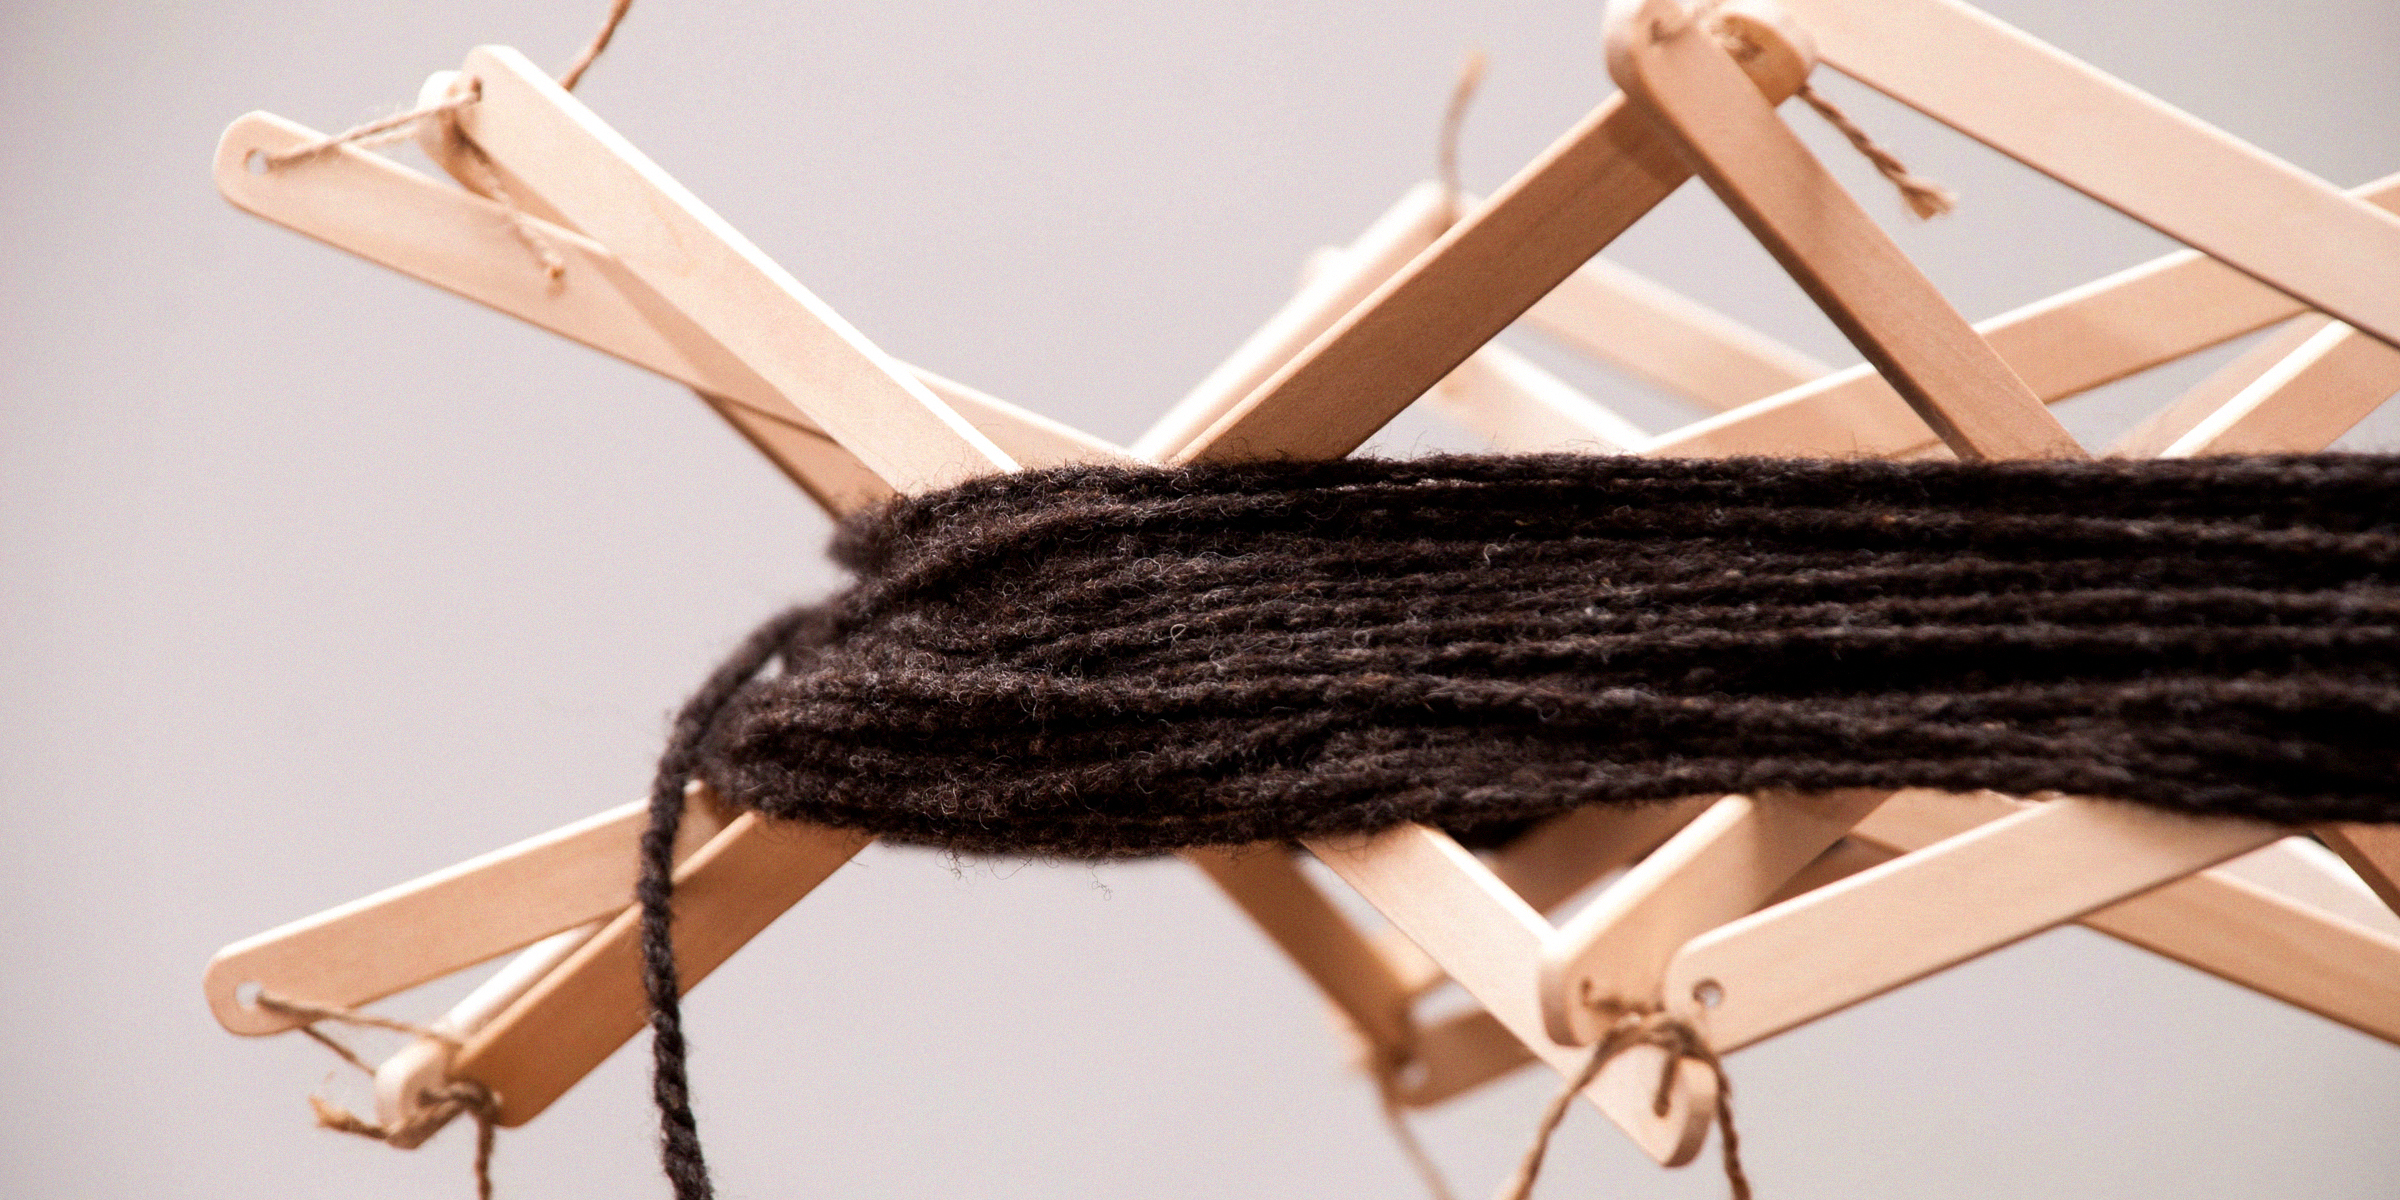
Embark on a journey to elevate your knitting prowess effortlessly and infuse each stitch with a personal touch through a DIY yarn swift. Unleash your creativity as you craft an affordable and convenient tool to elevate your knitting experience.
Feb 01, 2024
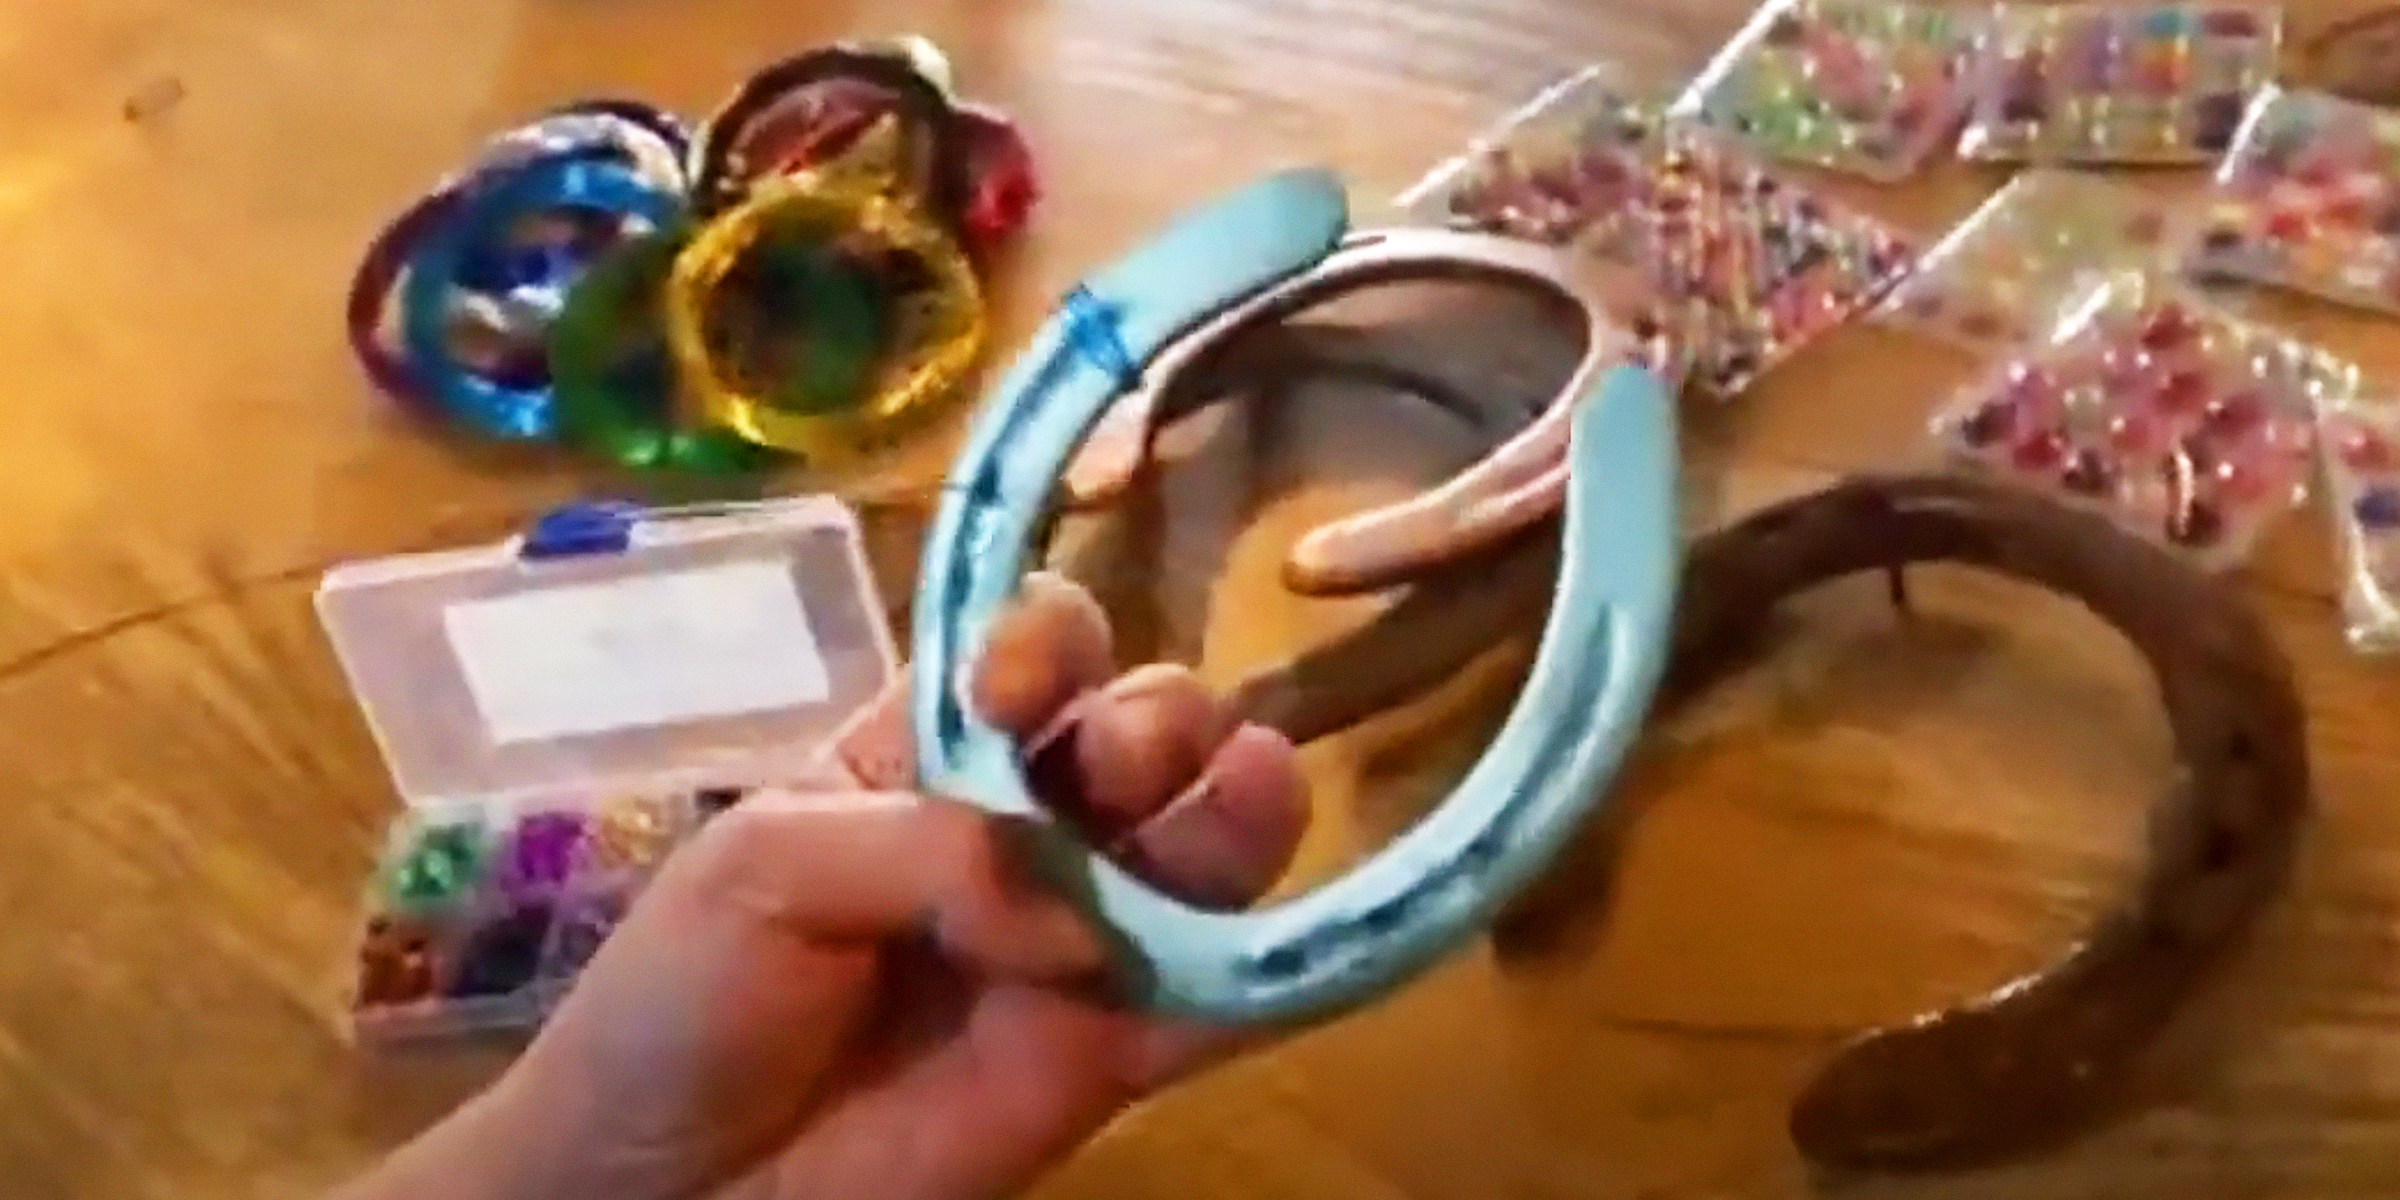
Transform ordinary metal into an extraordinary charm! Learn how to decorate horseshoes with our easy DIY guide, turning them into personalized tokens of luck and gifts for any occasion.
Mar 13, 2024
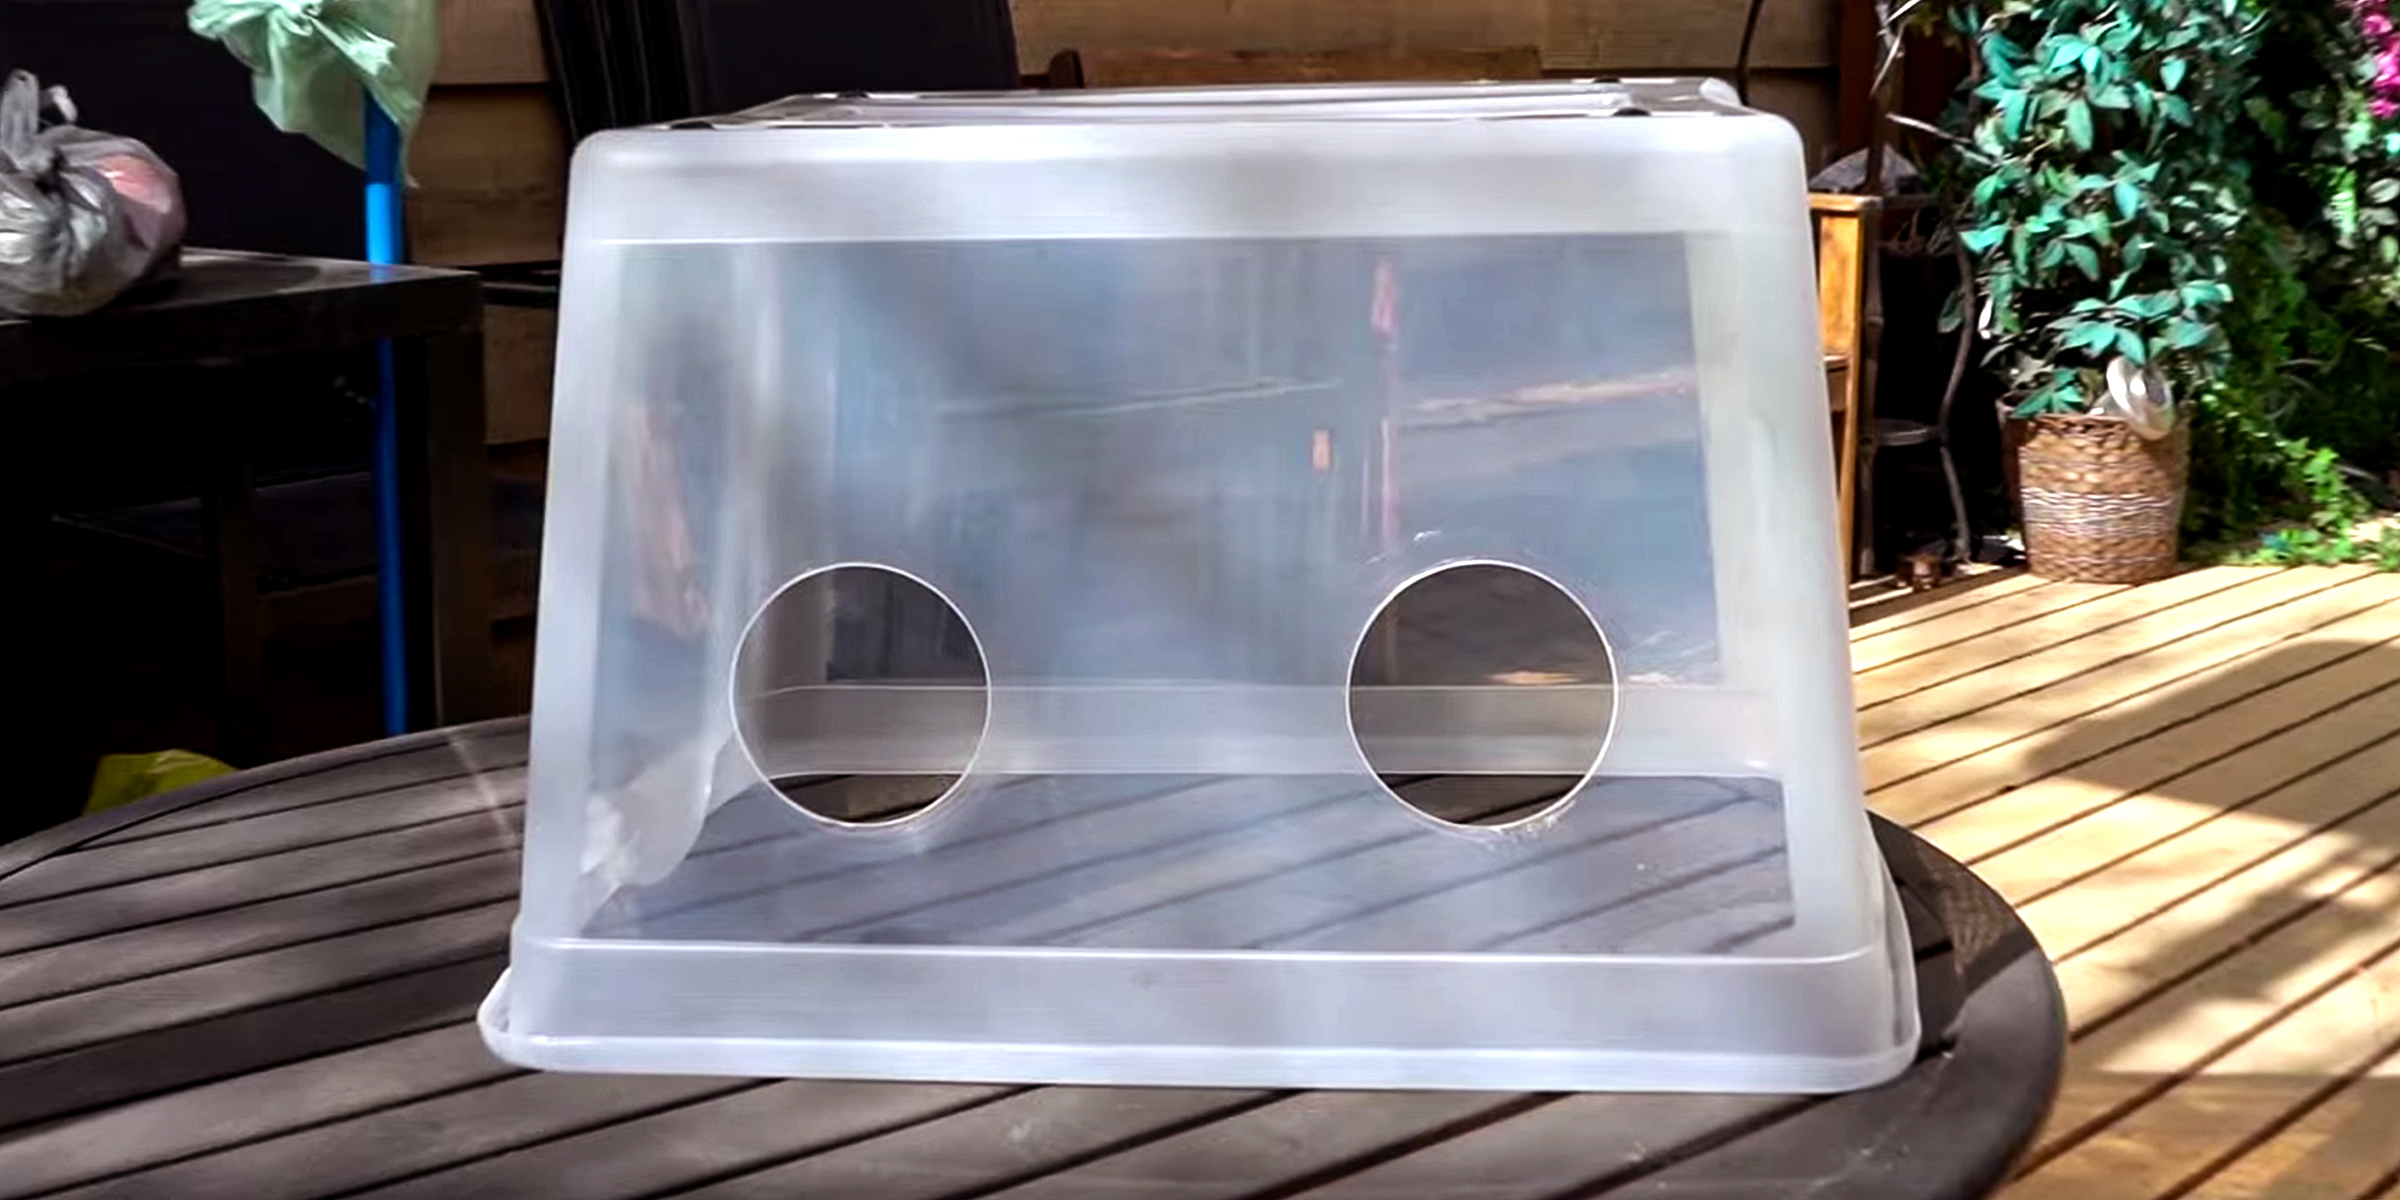
If you're a mycology expert or enthusiast, you probably know the importance of a still air box in your work. However, if you're opposed to buying one, here's how to build a still air box DIY-style.
Feb 08, 2024
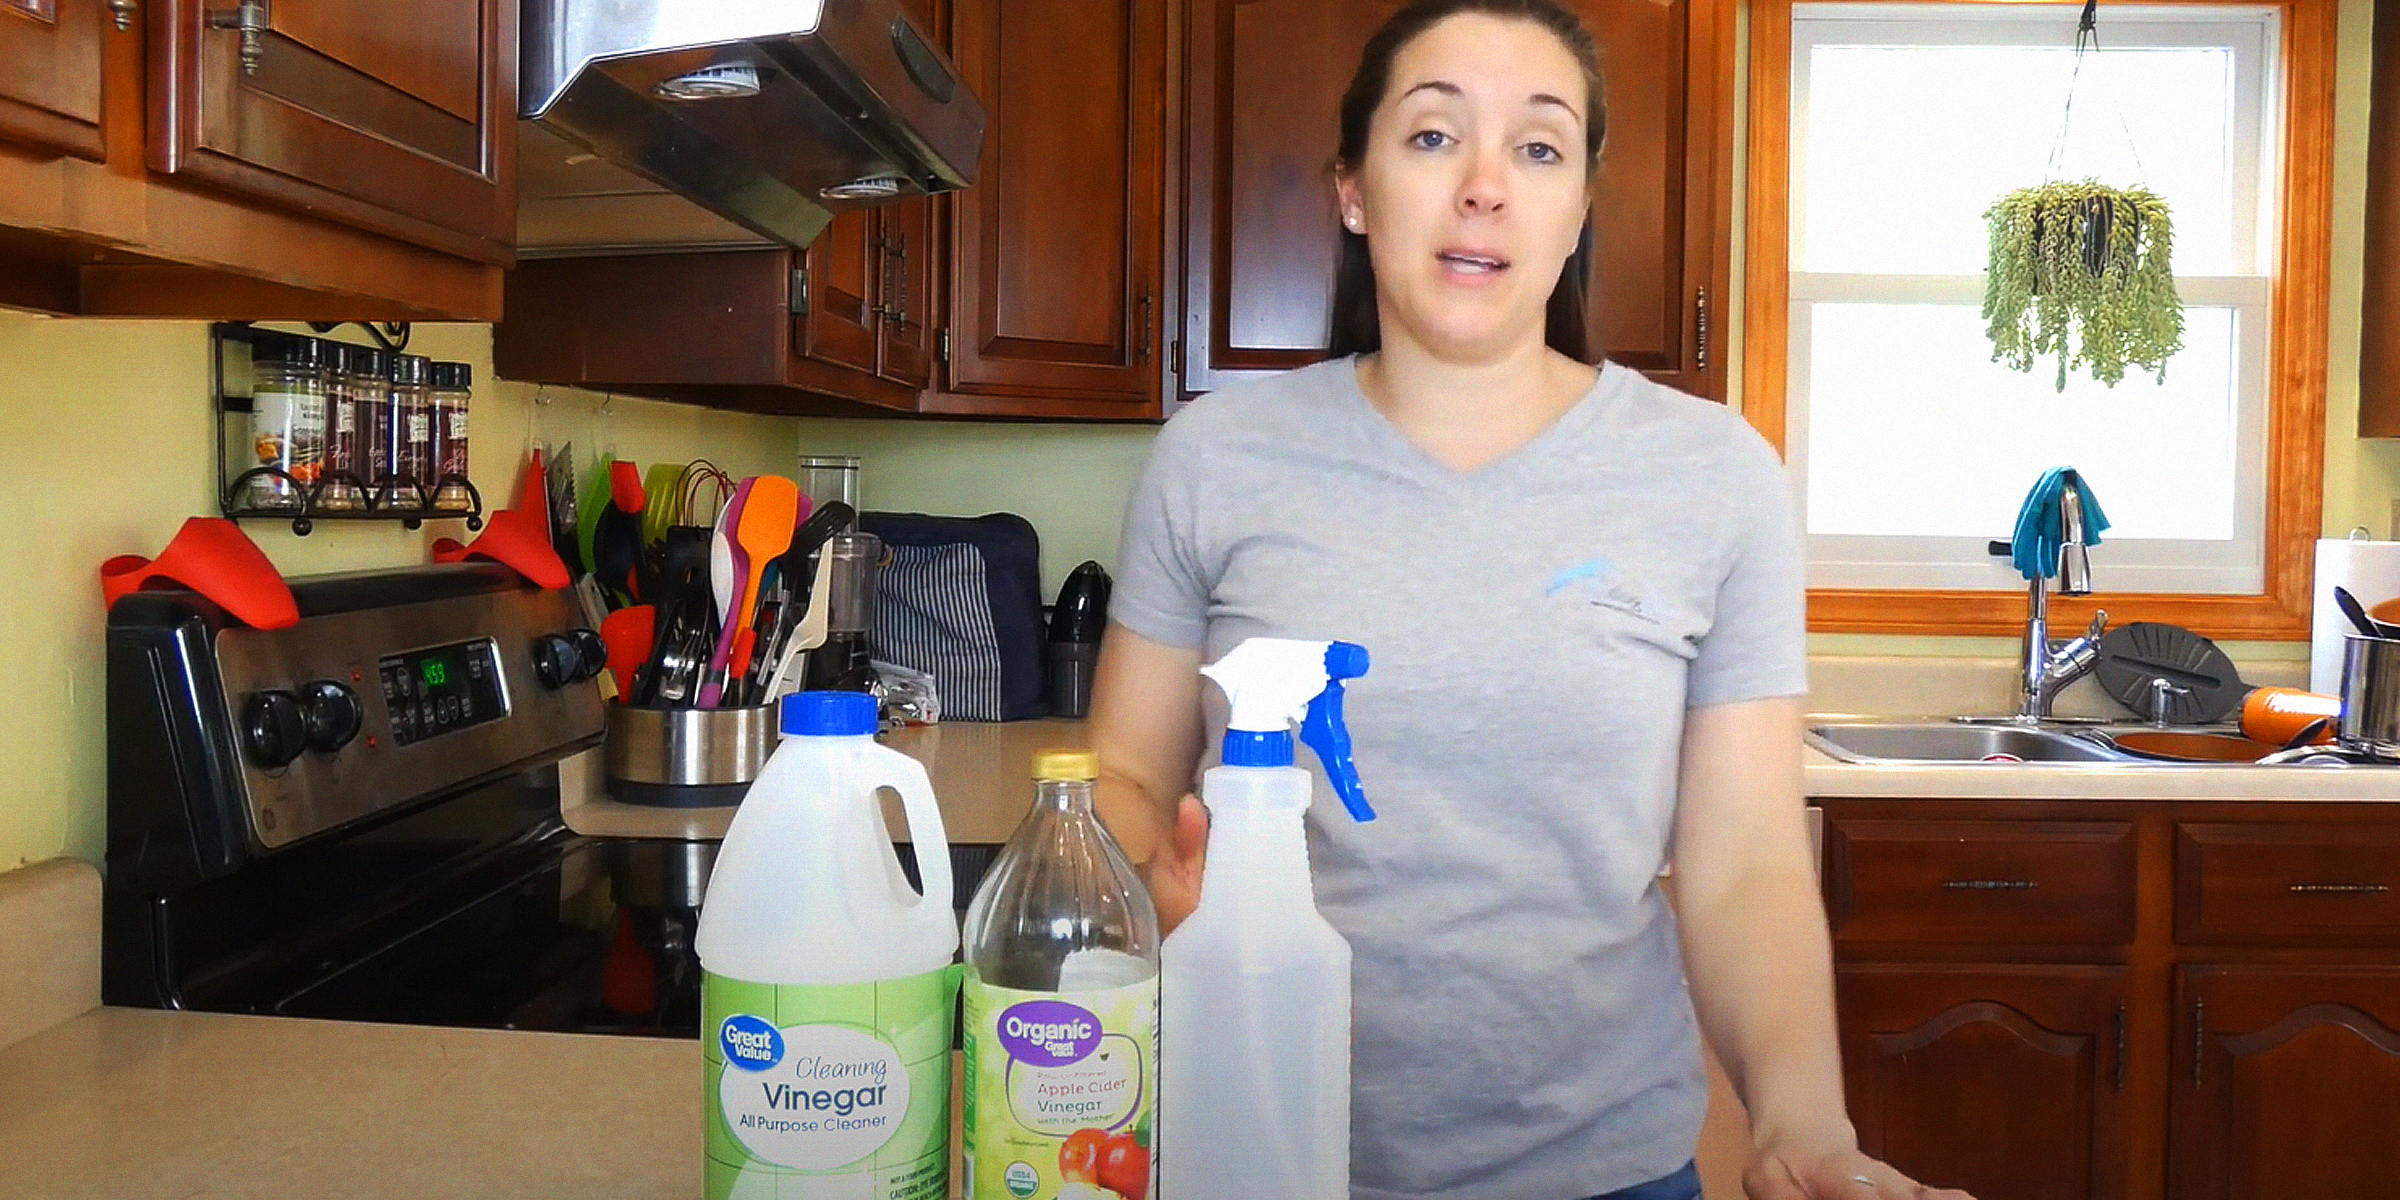
Turn the tables on pesky chewing habits with DIY Bitter Spray for Dogs—a simple, safe, and cost-effective solution to protect your home and train your pet.
Apr 11, 2024
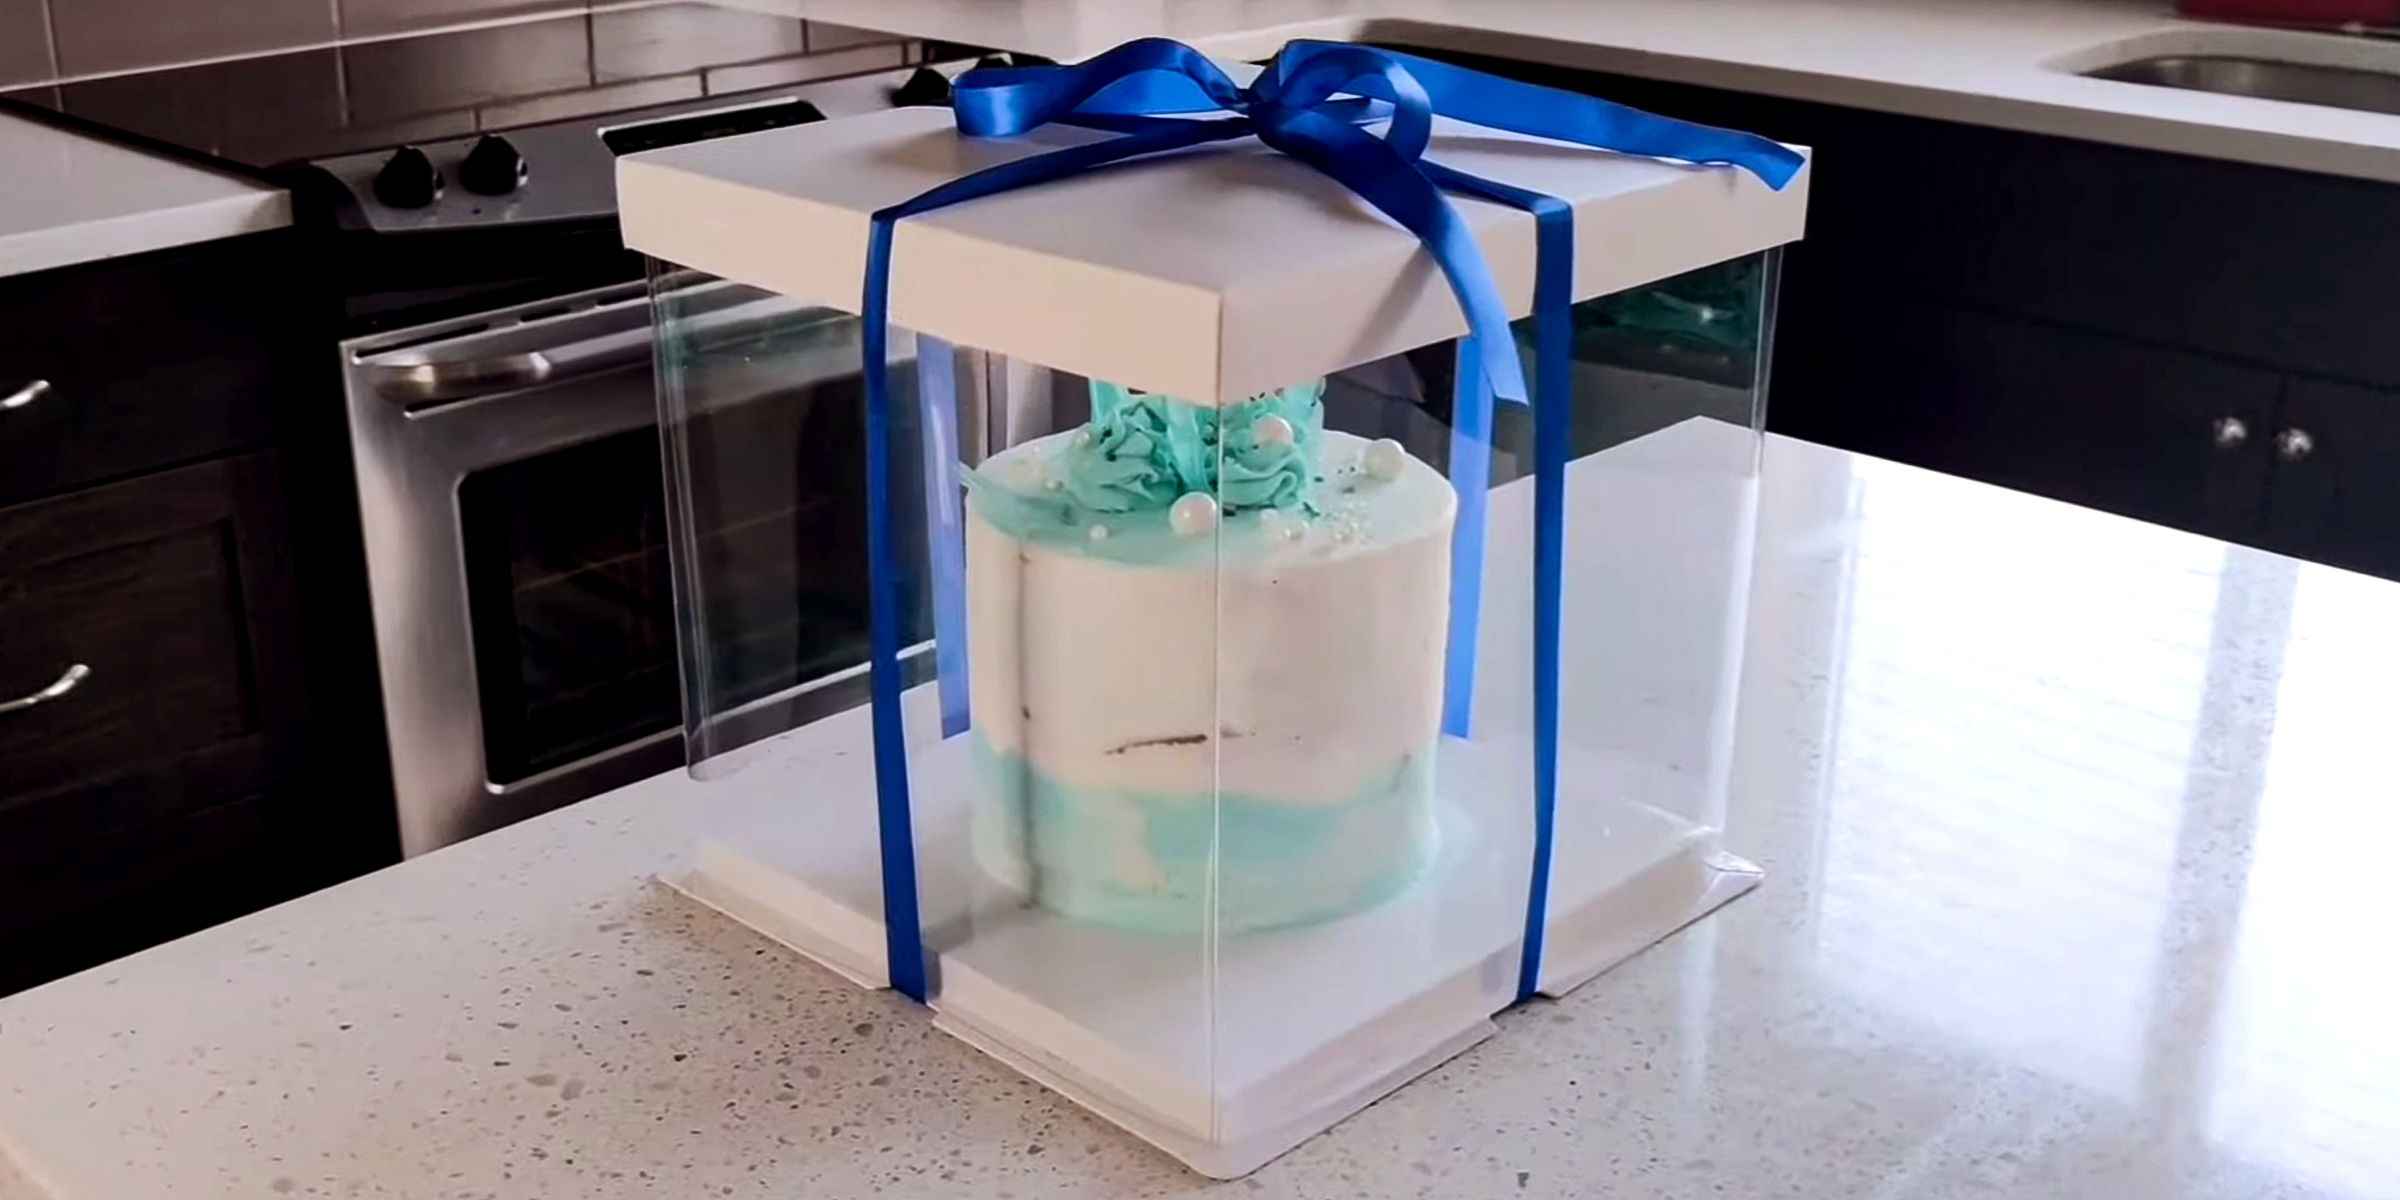
Eager to learn the art of making cake box? Whether you're a baking enthusiast looking to present your creations in style or a DIY crafter eager to add a personal touch to gifts, this step-by-step tutorial on how to make a cake box will transform your packaging game.
Mar 07, 2024