Explore 3 Beautiful DIY Handfasting Cord Ideas and the Art of Crafting Them
Dec 14, 2023


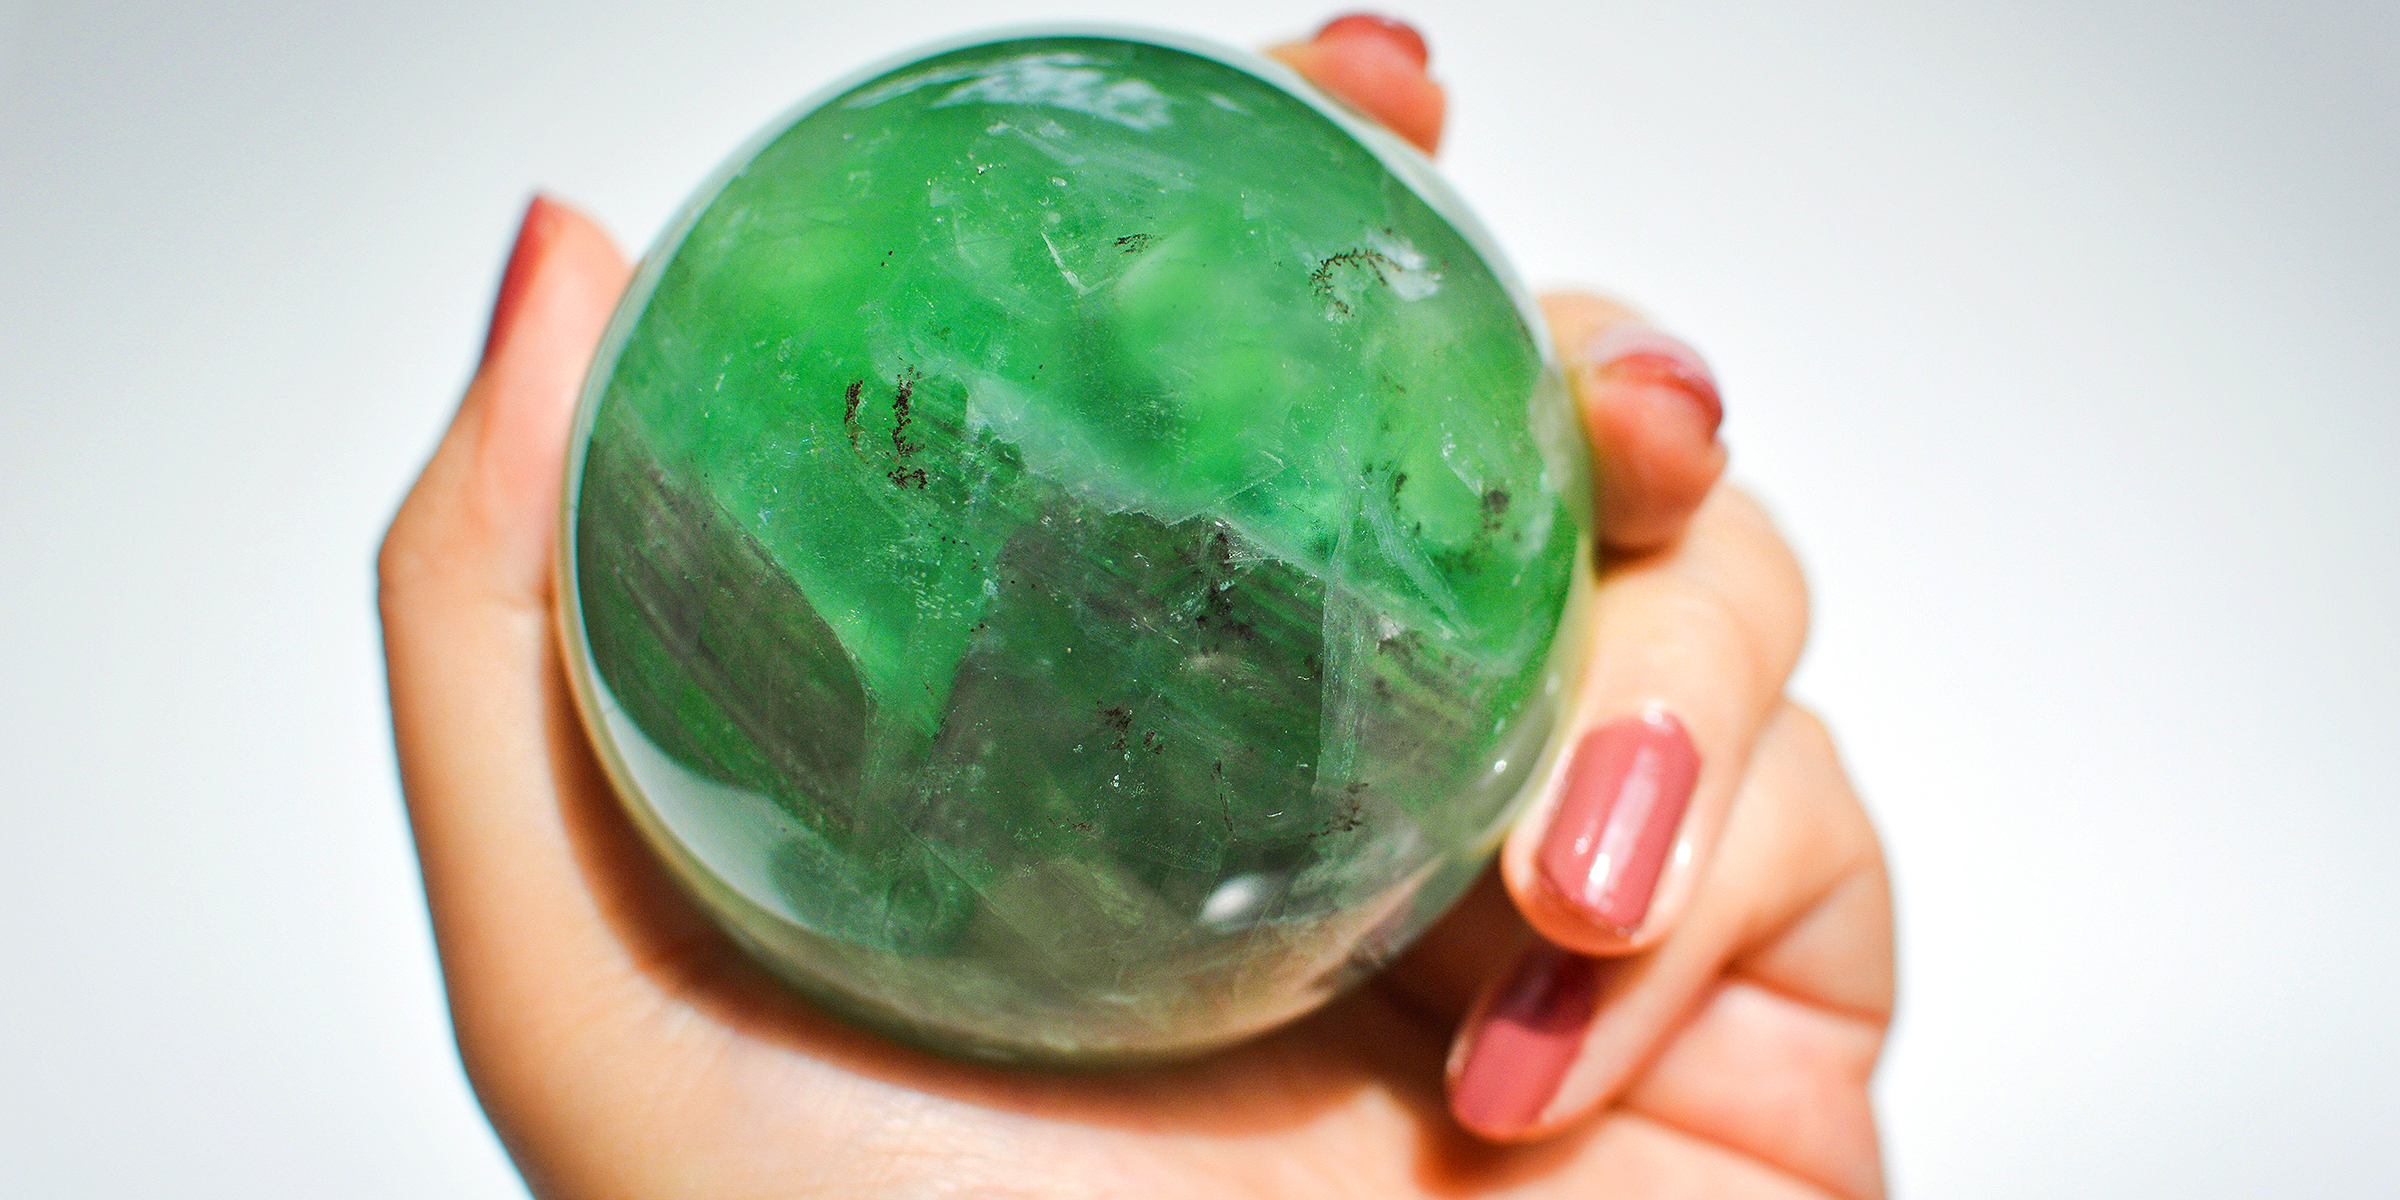
Crystal suncatchers are not only stunning decorative pieces, but they are also a unique way to fill your home with sunlight and positive energy. Enjoy the almost magical properties of this beautiful ornament with this DIY crystal suncatcher guide.
If you've ever seen crystal suncatchers, you've probably caught yourself in awe of the shadows of shapes and vivid colors they fill any room with. However, these decorative pieces are also functional.
Crystal suncatchers are a source of visual harmony as they harmonize your interior and use the bouncing light they pull to align the energy of the space you hang them in. Continue reading to learn more about how to make these charming pieces in the comfort of your home.
Crystal suncatchers come in various designs, making them the perfect crafting hobby for creative expression. However, some of the most common crystal suncatchers are hoop and beaded crystal suncatchers. Find the guide on how to make both kinds below:
1. Start by connecting the 3-inch hoop and one of the 4-inch hoops using a jump ring.
2. Once these rings are attached, connect the second 4-inch hoop to the other end of the 3-inch hoop so that the small hoop is in the middle of the bigger ones.
3. Lay the now-connected three loops onto a flat surface, placing three crystal prisms in the middle of each hoop.

Ensure you connect the hoops so that the smaller one is in the middle | Source: YouTube/Vanir Creations
4. Starting with the crystal prism in the central hoop, use the chain to measure the distance between the left-hand side of the hoop and the crystal prism.
5. Once you have the distance, cut the chain to the appropriate length using plyers and connect it to a jump ring. Connect the crystal prism to the same jump ring.
6. Connect the other end of the chain with the middle crystal prism to the jump ring holding the hoops to the left of the middle crystal prism.

Once the chain and the middle crystal prism are connected to the same jump ring, attach the other end of the chain to the jump ring to the left of the middle hoop. | Source: YouTube/Vanir Creations
7. Repeat steps 4 and 5 with the crystal prism on the far right and attach the loose end of the chain you use for this step to the jump ring to the left of the prism.

After repeating steps 4 and 5, attach the prism to the far right to the jump ring on its left using the loose end of the chain. | Source: YouTube/Vanir Creations
8. Repeat steps 4 and 5 with the crystal prism on the far left. However, this time, attach the loose end of the chain to another jump ring and connect that to the left-hand side of the hoop.

For the prism on the far left, repeat steps 4 and 5 but attach the loose end of the chain to another jump ring and connect that to the left-hand side of the hoop. | Source: YouTube/Vanir Creations
9. Lastly, attach the remaining chain piece to a jump ring on one end, and connect the other end of the chain to the jump ring on the left-hand side of the hoop on the far left. Now, hang the crystal prism anywhere in your home and bask in its beauty.
1. Cut the string or nylon cord to your desired length with snips or scissors, remembering to leave room at both ends of the string for loops.
2. Slide a single crimp bead onto the string. Follow the crimp bead with one of your crystal prisms.
3. Take the end you used to slide the crimp bead and the prism and slide it back through the crimp bead, creating a loop.

Create a loop with the one end of the string by sliding it back through the crimp bead. | Source: YouTube/Jacobs Trading Ye Olde Rock Shop
4. Once you have a loop, use plyers to flatten the crimp bead — leaving enough wiggle room between the bead and the prism — to secure the loop. Use scissors to cut away any excess string behind the crimp bead for a neater finish.
5. In the next step, you will add beads, and you can do so in two ways. First, you can fill the remaining length of the string with beads and create the same loop in step 4 using a crimp bead to secure and finish off the suncatcher.

If you choose to fill the length of the string with beads, it will look something like this across the whole string. | Source: YouTube/Jacobs Trading Ye Olde Rock Shop
6. Alternatively, you can decorate the suncatcher with floating beads. Start by sliding on as many beads as you want and leaving about an inch or two of space before sliding on a crimping bead.
7. Slide on more beads, followed by an inch or two of space and another crimping bead. Repeat this process until you've reached close to the end of the string, ensuring the last bead is a crimping bead.

If you choose to fill the length of the string with floating beads, it will look something like this across the whole string. | Source: YouTube/Jacobs Trading Ye Olde Rock Shop
8. Once you've added the last crimping bead, add a jump ring to the string and loop the string back through the crimping bead, similar to step 3.
9. Lastly, flatten the crimp bead with plyers, cut away any excess string behind it, and your suncatcher is ready to be hung.
Now that you know how to create DIY crystal suncatchers, you can fill your home with the warm rays of the sun as well as harmonize the space. Crystal suncatchers are also very customizable, allowing you to make them as simple or as intricate as you want.
If you would like to further put your DIY skills to the test, here is a guide on a DIY Argentine grill for you to tackle.

Rocking a fantastic pair of jeans can instantly boost your confidence, but taking your denim game to the next level with some DIY aesthetic jeans is like stepping onto your own personal runway. These DIY pieces of denim can turn heads as you walk by.
Dec 12, 2023
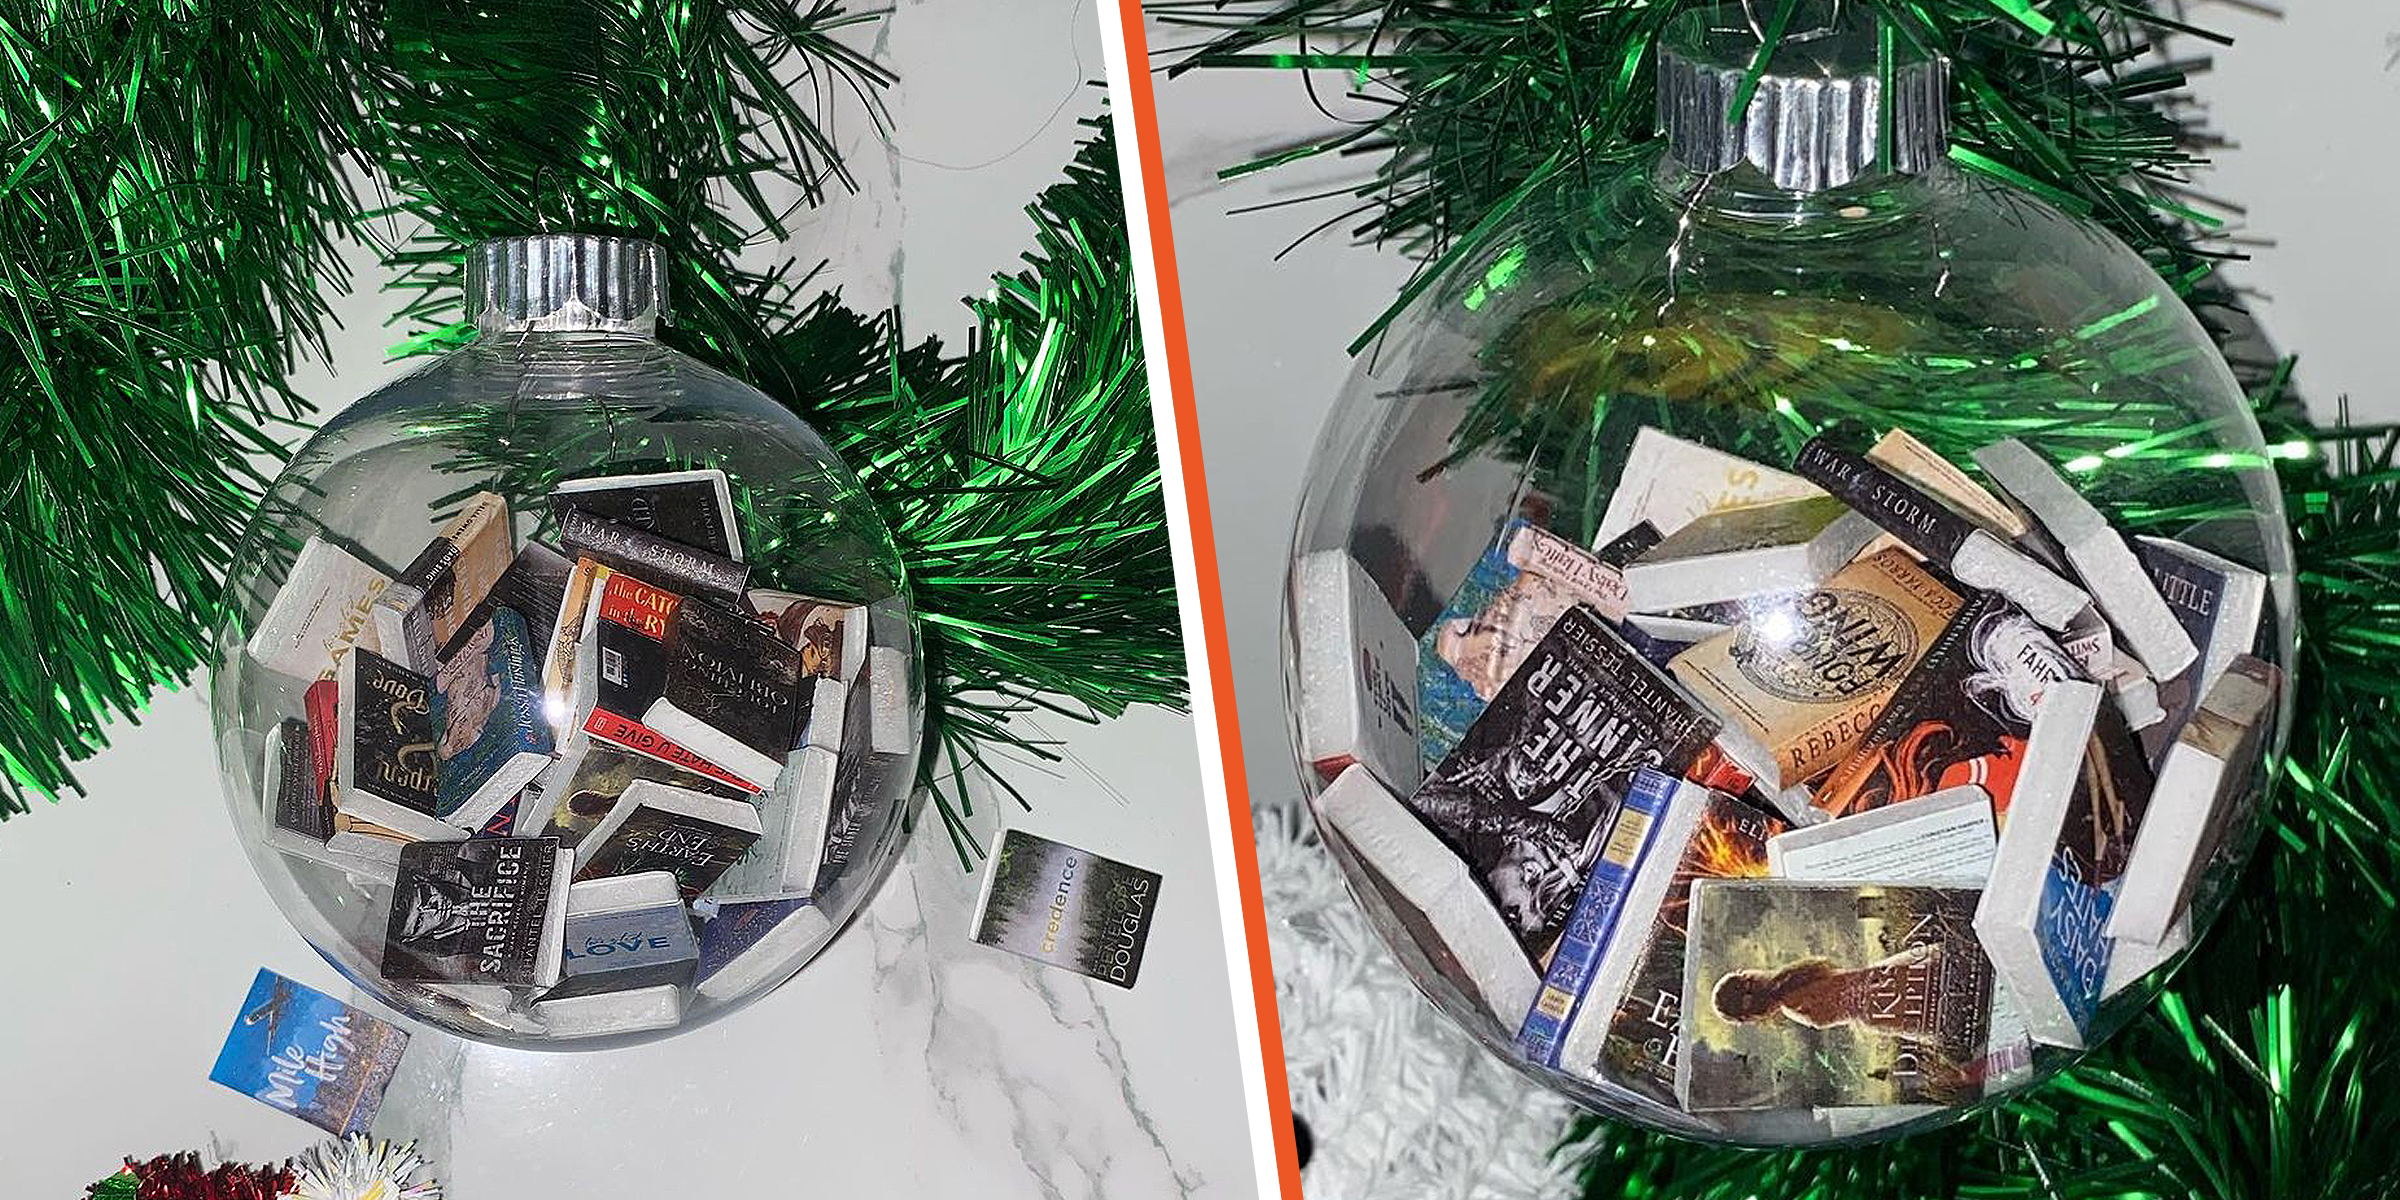
The DIY book ornaments trend has blown up social media for some time, with avid readers finding a fun way to celebrate their love of reading during the festive season.
Dec 16, 2023

Aluminum trailers play a crucial role in transporting our goods effectively. To keep aluminum trailers looking and performing their best, cleaning them regularly is essential. Here are steps on how to clean aluminum trailers.
Jan 10, 2024

Gift wrapping is not merely about hiding what is inside; it is a way to make a statement, convey care, and transform a simple gesture into a lasting memory.
Dec 21, 2023

While dreamcatchers help filter away nightmares while you sleep, these spiritual devices still need to be cared for to continue working effectively. Read on to find out how.
Dec 18, 2023
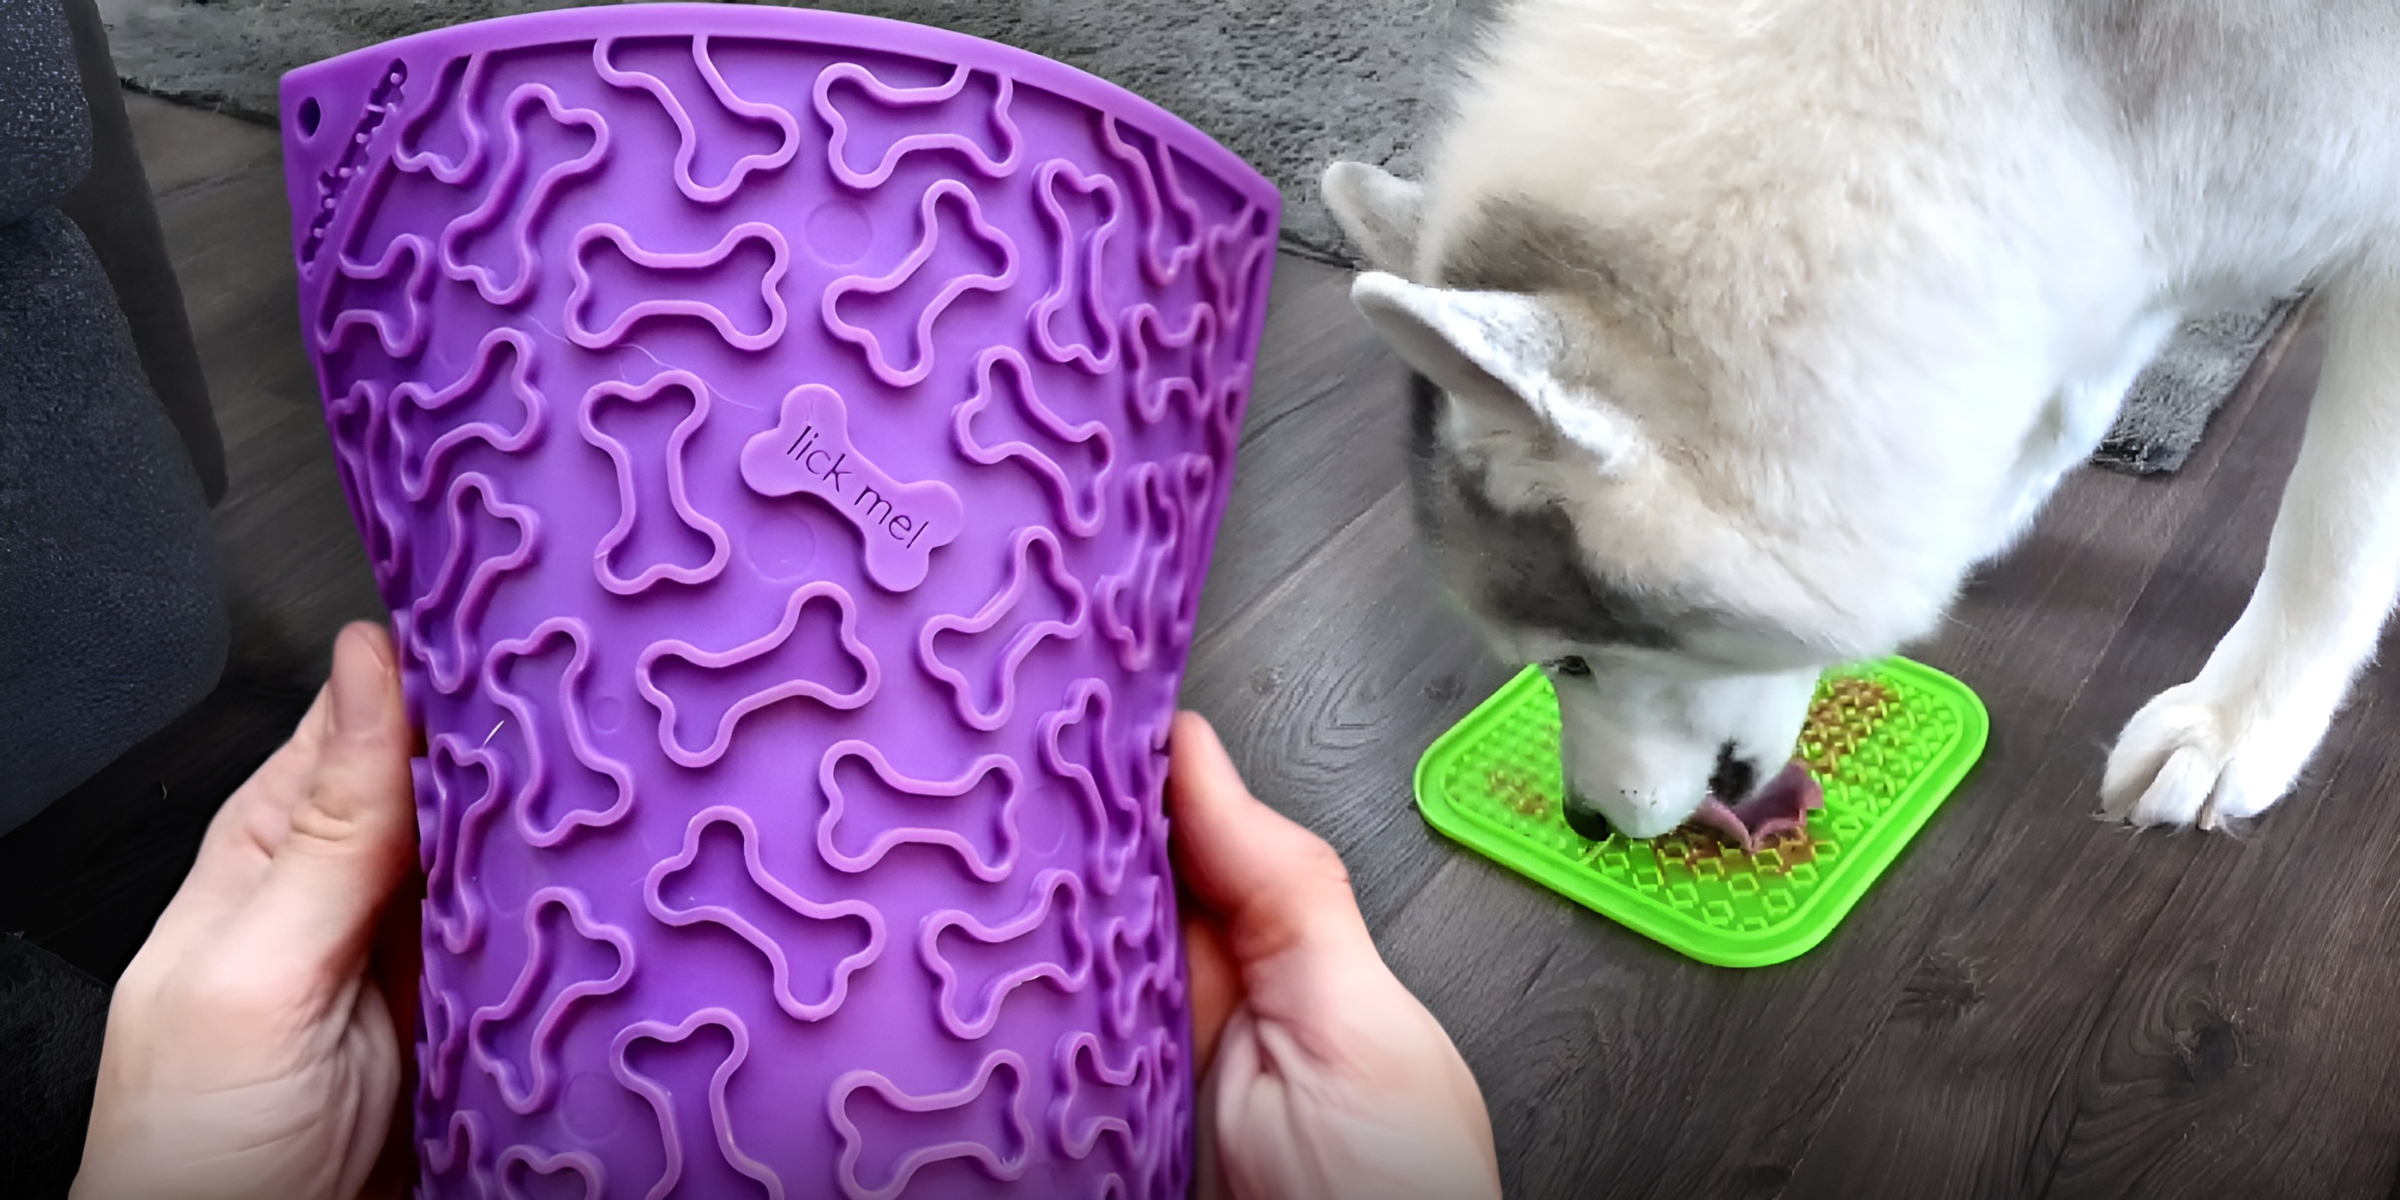
Lick mats for pets are becoming a popular trend, and there are numerous benefits to engaging in this activity. A practical approach to this trend involves creating your own DIY lick mats.
Dec 14, 2023

If ground squirrels have taken over your yard with their burrowing, continue reading for three ways you can fill ground squirrel holes — from the perfect machine to make the process easier to ingredients you can use that you might already have.
Jan 09, 2024

Seint is a well-known beauty brand specializing in cosmetic applicators like makeup brushes and blenders. Knowing how to clean Seint brushes not only has hygienic purposes but also preserves the quality of the makeup tools.
Jan 09, 2024
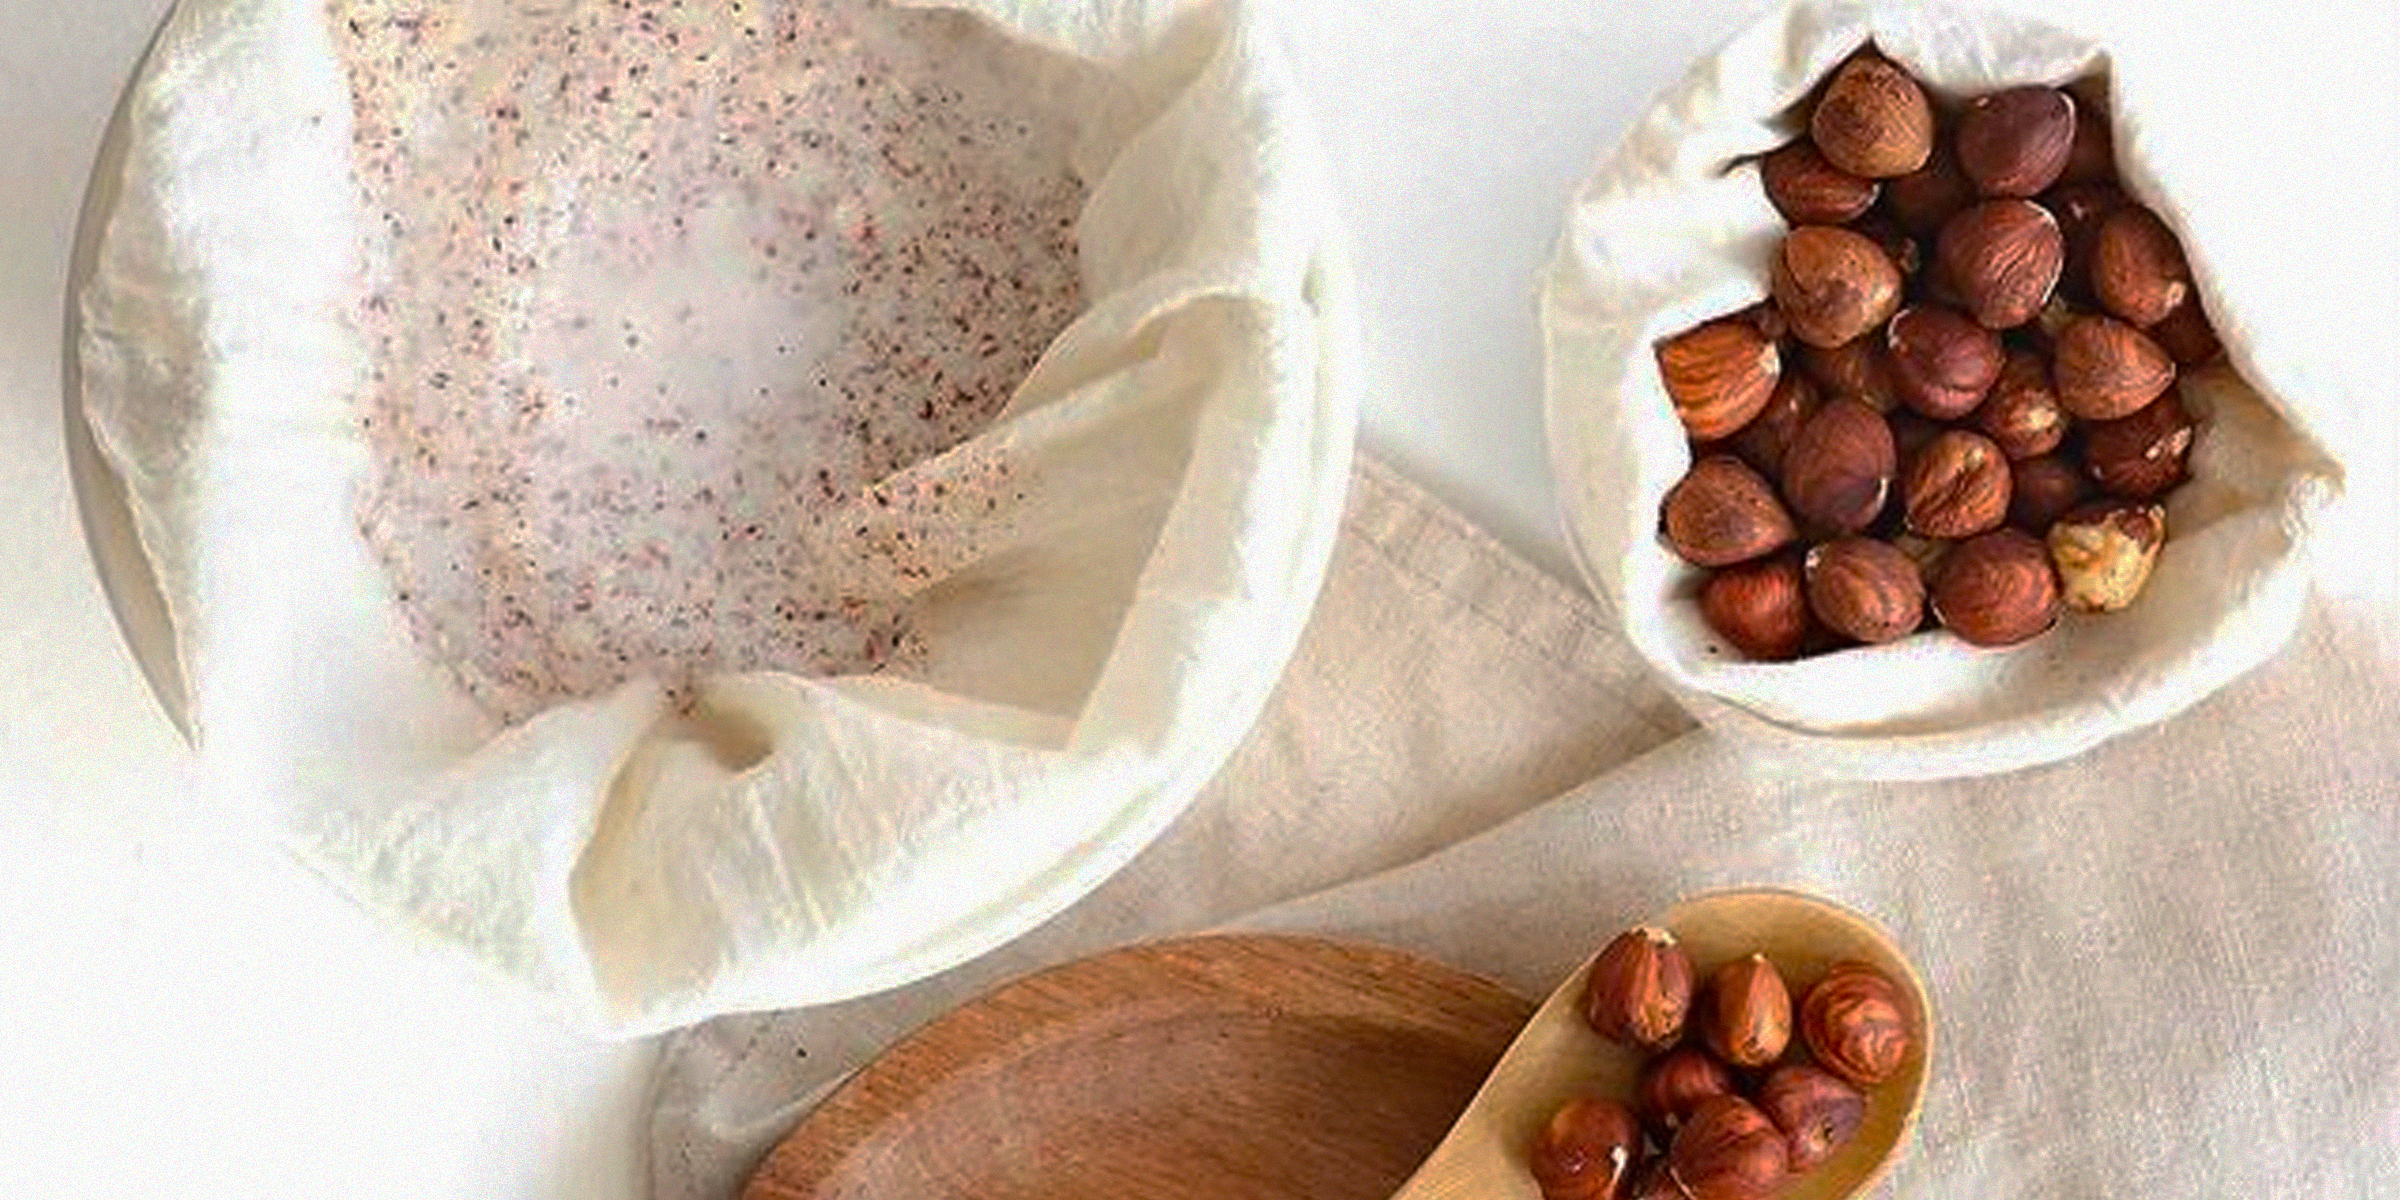
Embarking on making your nut milk at home can be a rewarding experience, but the cleanup process, especially regarding the nut milk bag, may seem less appealing. However, regularly cleaning your nut milk bag is advised to prevent bacteria or mold from growing, and you can do so in five easy steps.
Dec 31, 2023

An Argentine grill can be a stellar addition to your garden to entertain family and guests and cook juicy, smokey meat. However, it can cause quite a dent in one's pocket when store-bought. Luckily, it can be installed DIY style.
Dec 11, 2023

Whiskey stones are tiny rocks that cool whiskey without watering it down, making them perfect for lovers of the liquor, who want to keep its original flavor. As these stones can be reused, it is important to clean them, and we'll show you how.
Jan 13, 2024

Faux fur rugs are a popular and often more affordable option to decorate a space. There are numerous advantages to having a faux fur rug, but like the genuine kind, they need regular maintenance and the occasional deep cleaning.
Jan 14, 2024

Having a scratched mirror at home can be frustrating, turning an essential household item into an eyesore and, even worse, distorting the reflection you see daily. But don't rush to buy a replacement just yet; a scratched mirror doesn't necessarily mean it's time to invest in a new one.
Dec 15, 2023
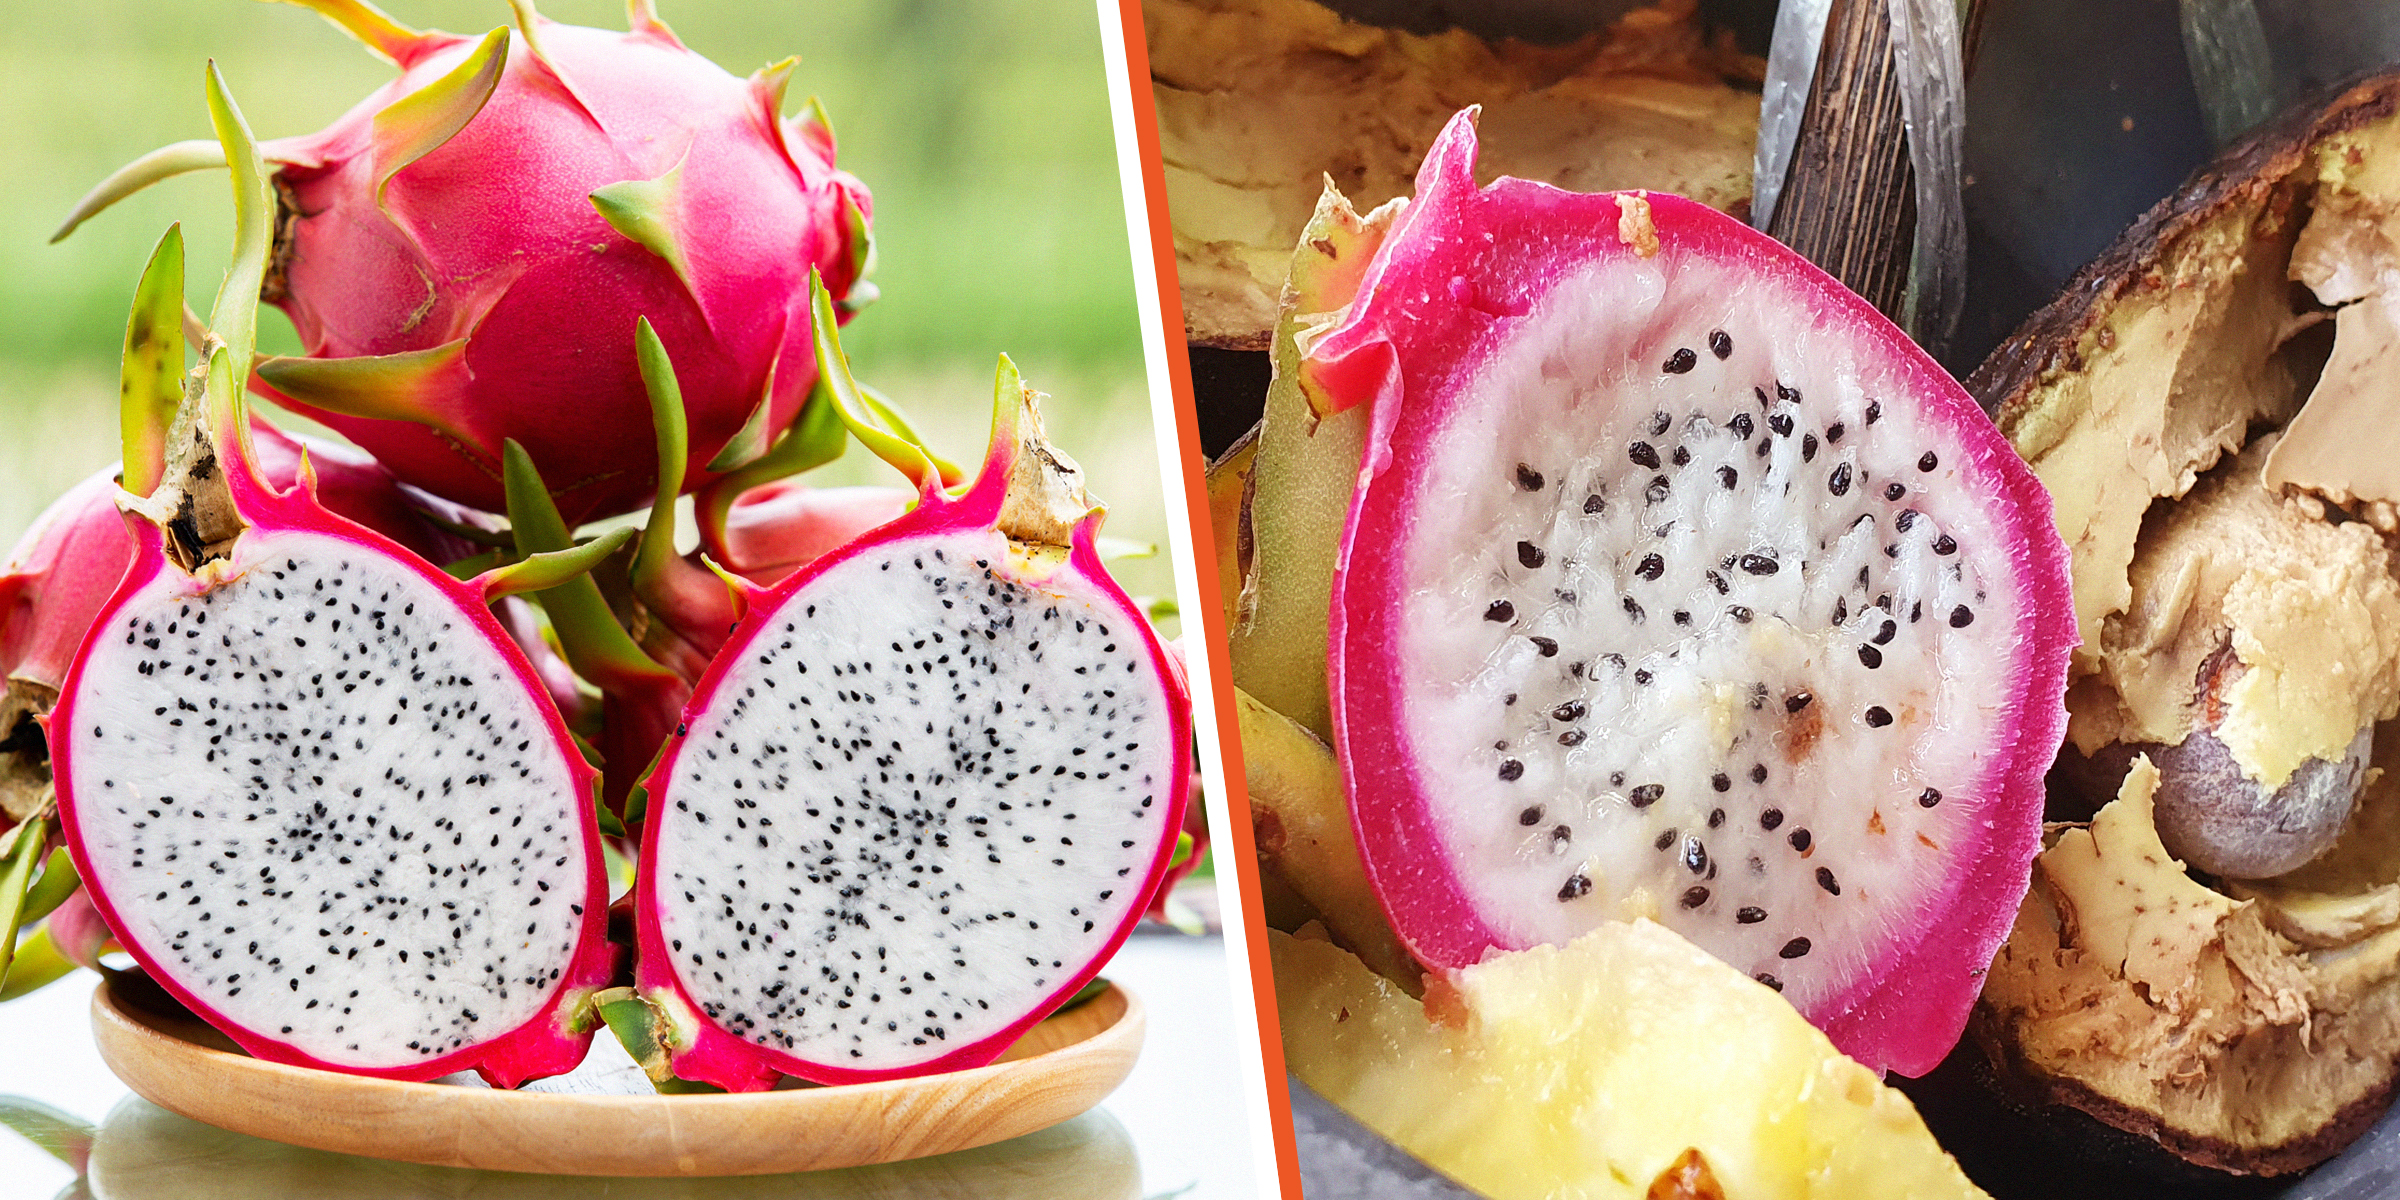
A somewhat sweet tropical delight, dragon fruit is quite a treat. You can enjoy this delicacy for up to two weeks with the proper storage method. However, if you're unsure whether it's still suitable for eating, here are the telltale signs.
Dec 15, 2023