DIY Crystal Suncatcher: Illuminate Your Home with This Helpful Tutorial on Crafting the Ornament
Jan 15, 2024


From photography to decor, a wooden arch backdrop can make all the difference in a desired aesthetic. If you're looking to acquire one without spending too much, here's a DIY wooden arch backdrop tutorial.
In recent years, decorative backdrops have become increasingly trendy and essential when planning the aesthetic for special occasions, and there's quite a wide range to choose from.
From birthdays to graduation and gender reveal parties, you'll see curtain backdrops, floral backdrops, vinyl backdrops, wooden backdrops, or some combination of these basic options.
Speaking of wooden backdrops, particularly wooden arch backdrops, these are pretty versatile, and with a bit of creativity, they can be paired with anything.
They come in different widths and lengths and can be customized to your liking. If you're opposed to buying one at a decor shop, here's a step-by-step DIY wooden arch backdrop guide. Happy crafting!
1. Using the tape measure, find the center of the plywood portraitwise, then measure 2 feet from the top to the center. Measure the same distance from the side to the center.

Find the center of your plywood sheet. | Source: YouTube/The Pop-Up Party Co.
2. Wrap and secure a piece of string around the bottom of your pencil. Place the other end of the string firmly on your marked center and your pencil on the edge. Ensure these two points are aligned.
3. Draw your arch, maintaining the distance between the center and the pencil.

Draw your arch. | Source: YouTube/The Pop-Up Party Co.
4. Cut along the drawn arch line with your jig or hand saw, and smoothen the arch edge with sandpaper.

Cut your arch with a jig or hand saw. | Source: YouTube/The Pop-Up Party Co.
5. Build a stand or buy detachable feet for your DIY wooden arch backdrop to keep it steady when in use.
And there you have it! A completed DIY wooden arch backdrop ready to be adorned to your heart's content. If you've enjoyed this crafting tutorial, why don't you try this DIY crystal suncatcher?
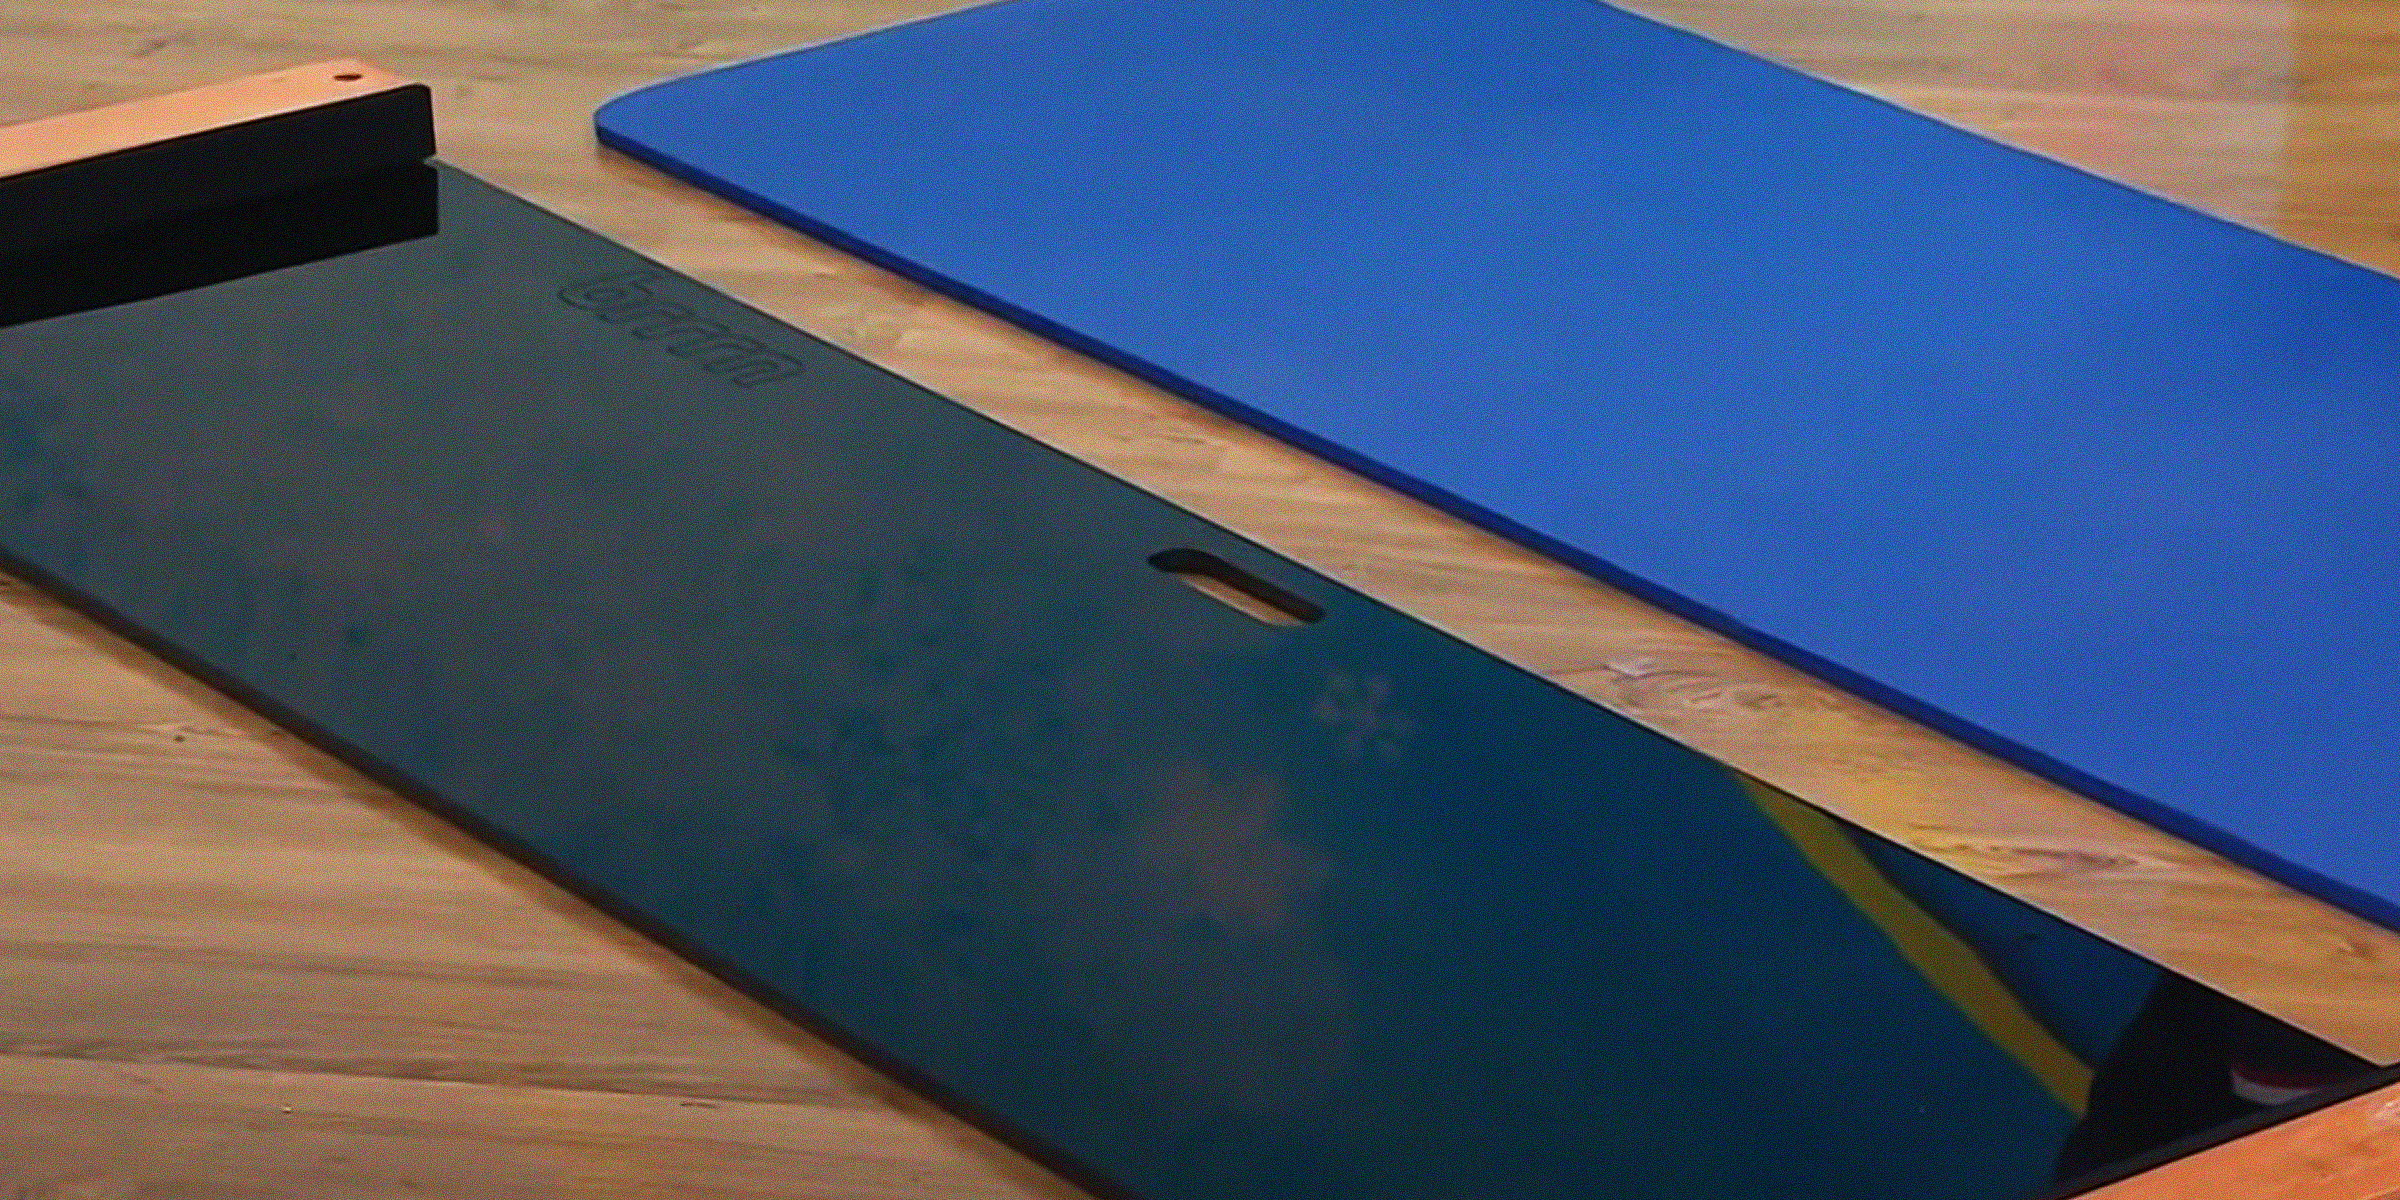
Discover the cost-effective joy of DIY slide boards! This article guides you through crafting your own, enriching your workout without breaking the bank. Save big while elevating your exercise routine.
Feb 04, 2024

One of the most potent senses a deer possesses is its ability to smell. For many years now, hunters have used that as leverage on their hunting trips, acquiring deer attractants to bait their prey. Here's how to make yours at home.
Jan 27, 2024

Slime is a fun substance anyone can use to mold shapes of all kinds, but clay slime is especially satisfying with its fluffy, creamy texture. If you want to learn how to make yours at home, here's how.
Jan 20, 2024

If your dog has a luxurious coat of fur, short or long, then you understand the necessity to brush your furry friend regularly. Detangler sprays make this routine grooming process easier. Here's how to make yours at home.
Jan 25, 2024

Rocking a fantastic pair of jeans can instantly boost your confidence, but taking your denim game to the next level with some DIY aesthetic jeans is like stepping onto your own personal runway. These DIY pieces of denim can turn heads as you walk by.
Dec 12, 2023

If you're an avid golfer or someone looking to join the sport, having a golf net can be super advantageous to work on or improve your skills. But if you're opposed to buying one, here's how to build a DIY golf net.
Feb 10, 2024

Bubble walls bring the benefits of surrounding yourself with nature into the comfort of your personal space. If you're considering installing one but want to do so independently, follow this DIY bubble wall guide.
Feb 09, 2024

Are you passionate about fitness and eager to enhance your training? A DIY workout sled can come in handy to ensure you reach your desired fitness goals.
Feb 08, 2024

Protect your family from the sun's harsh rays while saving a few dollars with this DIY Shibumi Shade hack for the perfect beach day with your loved ones.
Jan 30, 2024

Embark on a creative journey and revamp your bedroom aesthetics with a DIY wardrobe door. With a touch of ingenuity and these simple steps, you can tailor a personalized and budget-friendly solution.
Feb 03, 2024
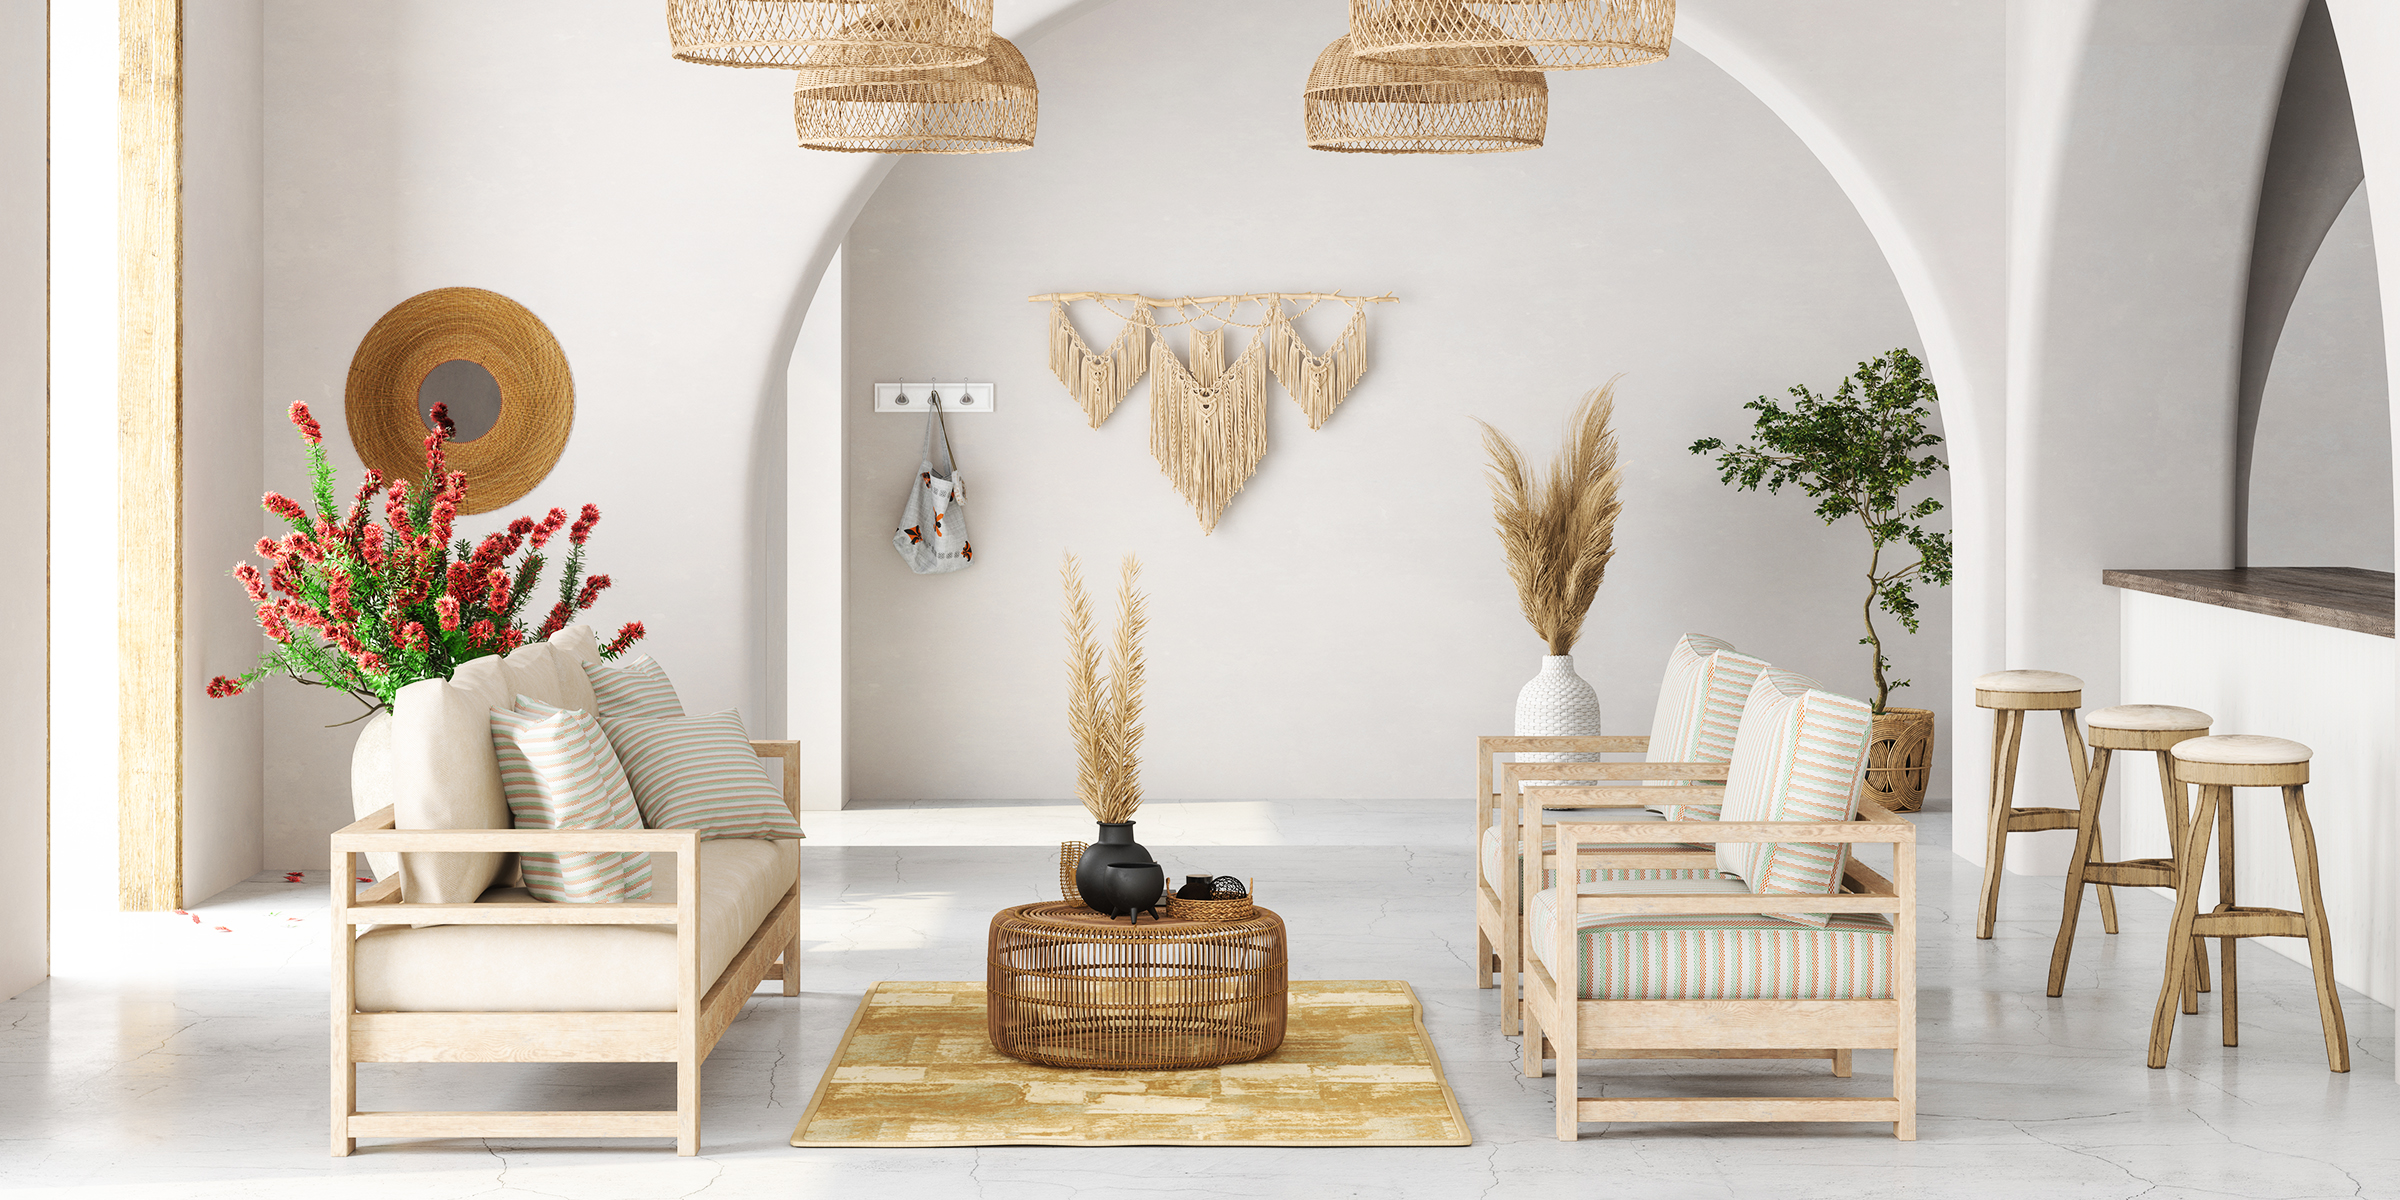
If you're looking to create the perfect balance of boho and rustic in your living room, continue reading for essential interior design tips to perfectly encapsulate the charming touch and natural finish of these two styles.
Jan 29, 2024
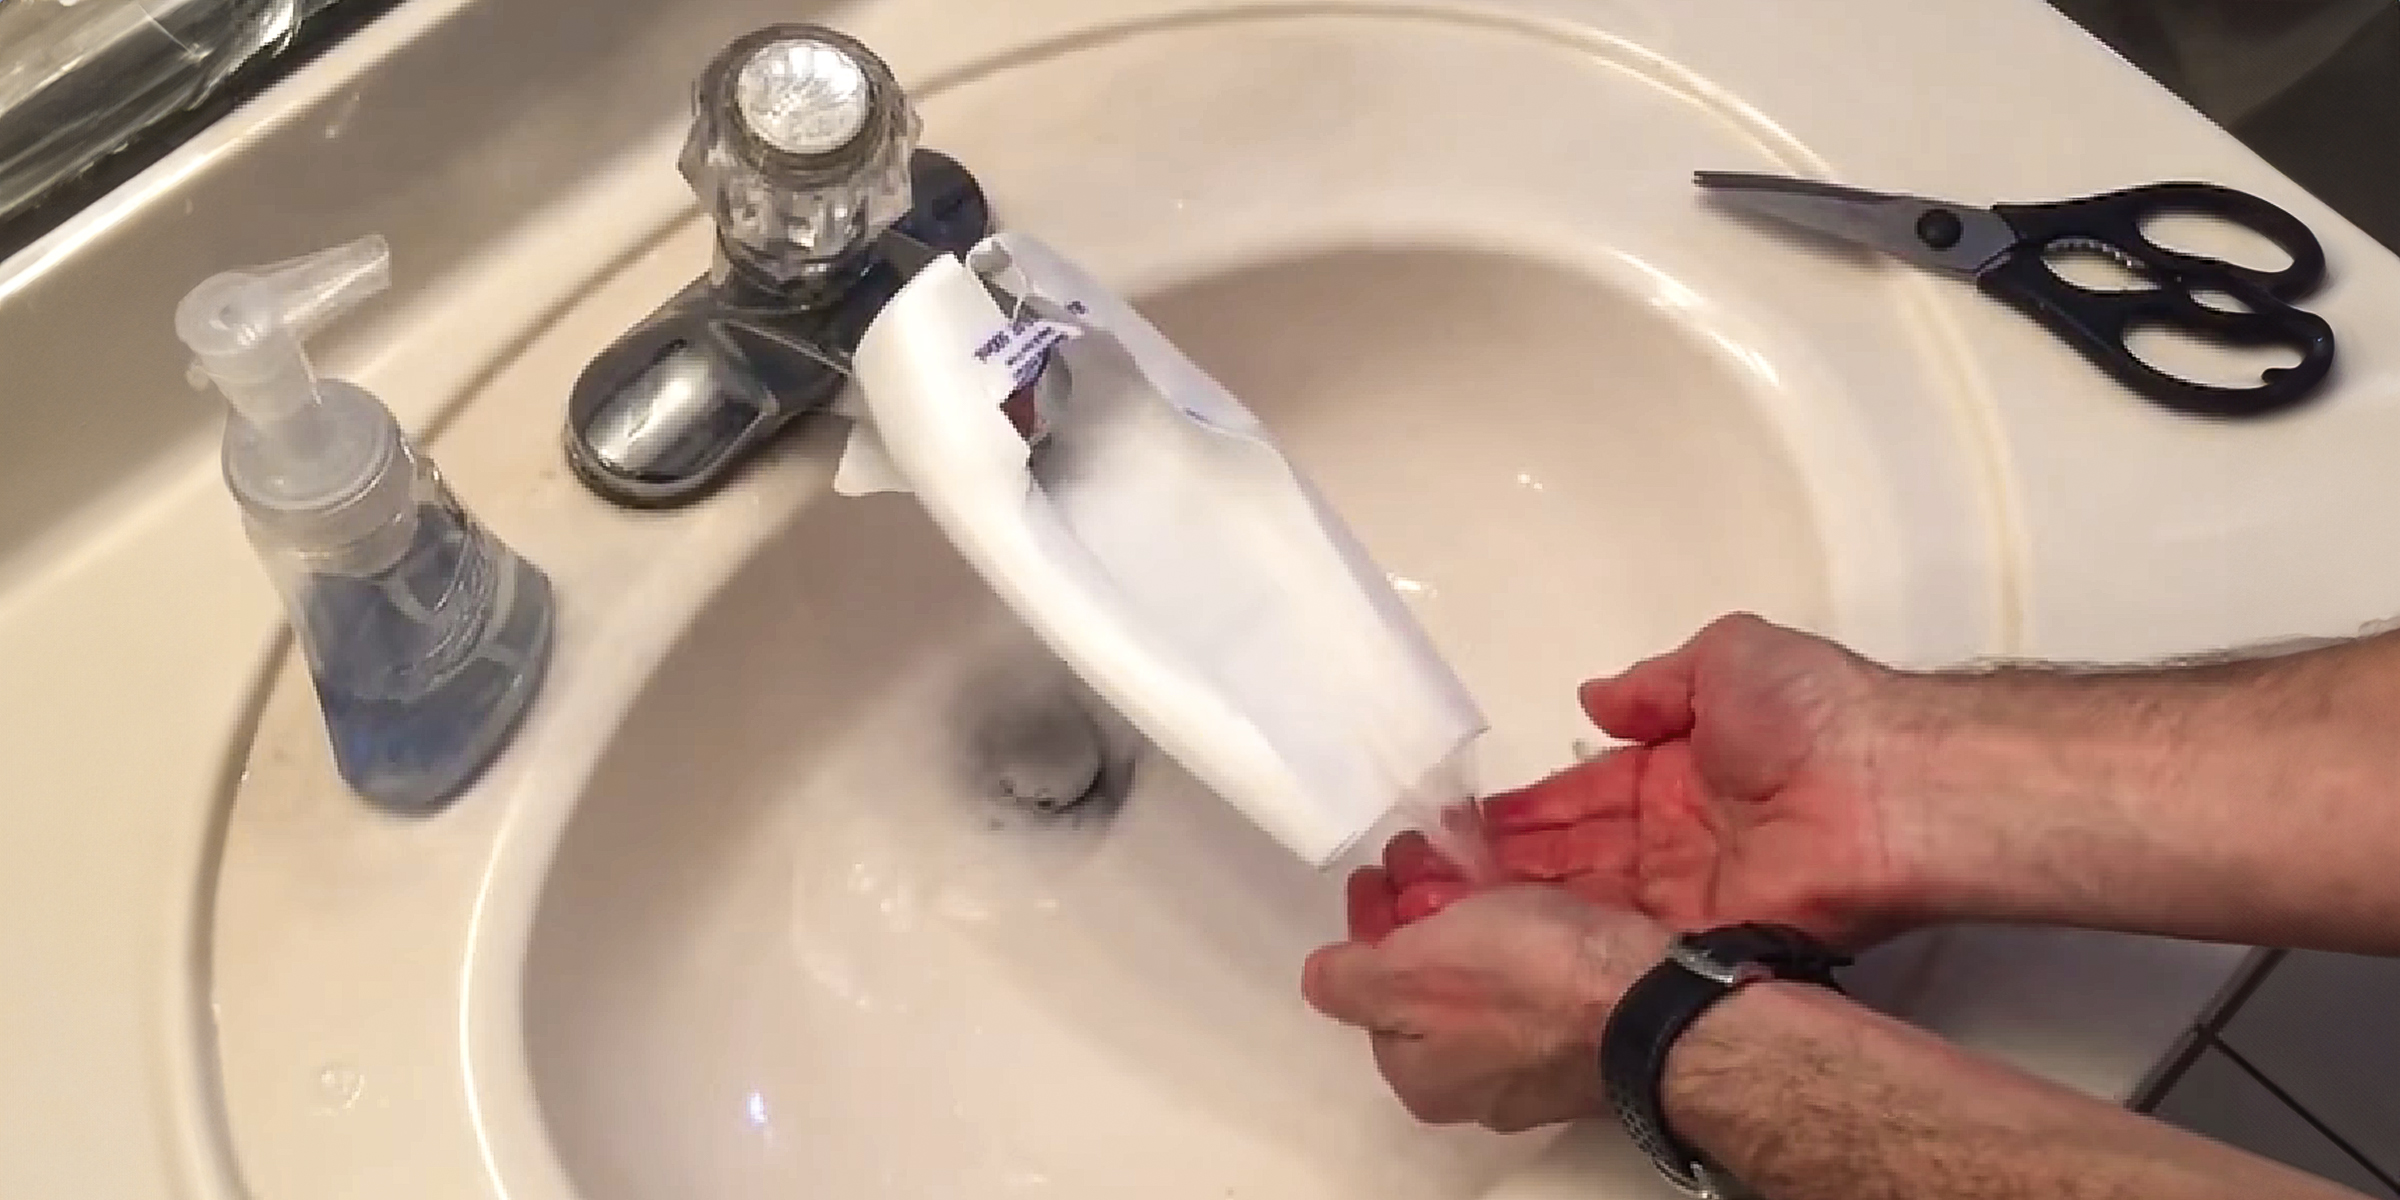
If you're dealing with the challenge of little ones struggling to reach faucets, a practical solution is to craft a DIY faucet extender. You can easily accomplish this in just a few simple steps.
Feb 05, 2024

Embark on a journey to elevate your knitting prowess effortlessly and infuse each stitch with a personal touch through a DIY yarn swift. Unleash your creativity as you craft an affordable and convenient tool to elevate your knitting experience.
Feb 01, 2024
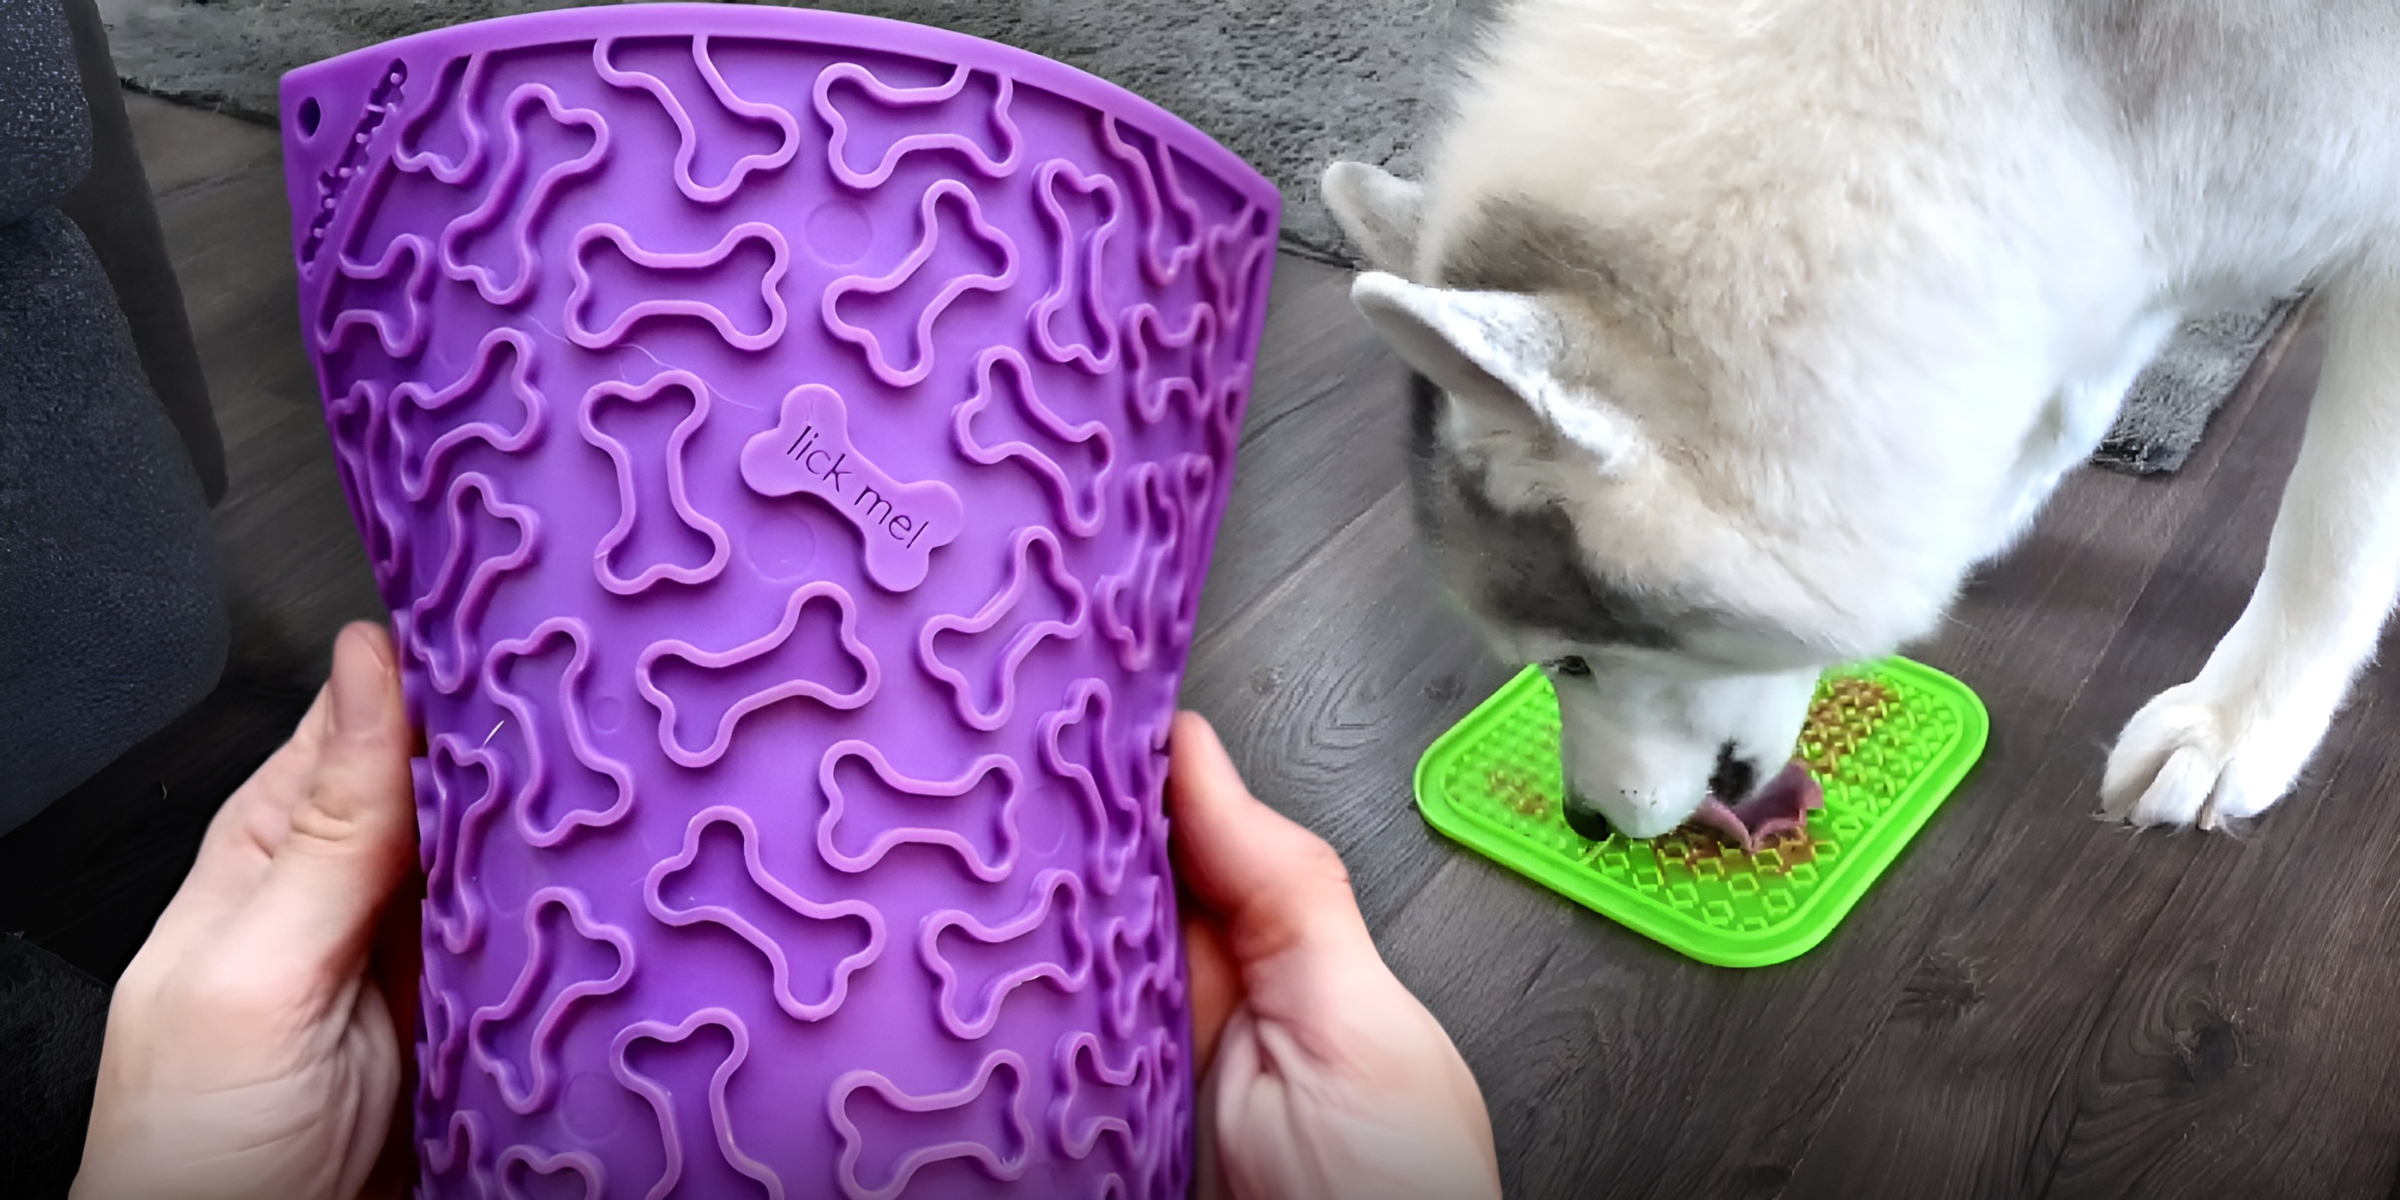
Lick mats for pets are becoming a popular trend, and there are numerous benefits to engaging in this activity. A practical approach to this trend involves creating your own DIY lick mats.
Dec 14, 2023