DIY Slide Board — Craft Your Own Athletic Training Tool with Simple Materials
Feb 04, 2024


If you're a mycology expert or enthusiast, you probably know the importance of a still air box in your work. However, if you're opposed to buying one, here's how to build a still air box DIY-style.
A still air box is typically a clear box-shaped container with two openings where a user inserts their arms. It is built to restrict airflow, preventing airborne contaminants like spores and bacteria from entering.
It's a vital tool for mycologists (biologists who study fungi) and mycology enthusiasts when working and experimenting with the fungi kingdom, from grain spawn to agar cultures.
A still air box may not be a foolproof solution for protecting sensitive mycological projects, but it's effective when well sterilized (regularly, too). If you'd rather make one than buy one, then follow these steps to craft your own still air box DIY-style.
1. Determine the desired center mark of your armholes and mark it in front of your tote container.

Mark the center point of your armholes. | Source: YouTube/Fresno Mycology Society
2. Line your male ABS adapters relative to the center point and trace the inner diameter of the side that will go through the hole with your marker. Ensure the holes are symmetrically aligned.

Trace the diameter of your holes. | Source: YouTube/Fresno Mycology Society
3. Drill your holes with a small circular blade. Ensure you take your time.

Drill your holes. | Source: YouTube/Fresno Mycology Society
Note: Alternatively, if you can find a tin with a suitable diameter for your armholes, heat the metal edge of the tin and melt it through the holes you've marked on your tote container.
4. Use sandpaper (or a deburring tool) to smoothen the edges of the holes.

Smoothen the edges of your holes. | Source: YouTube/Fresno Mycology Society
5. Insert your male ABS adapters into the holes from the outside and secure them with the female adapters on the inside.

Attach your ABS adapters | Source: YouTube/Fresno Mycology Society
6. Apply plastic epoxy with a cotton bud around the edges of the male adapters from the surface of the container to keep them from rotating or moving.

Apply plastic epoxy with a cotton bud around the outer edges. | Source: YouTube/Fresno Mycology Society
7. Apply a silicon ring around the edges of the female adapter from the surface of the container for extra security from airborne contaminants.

Appky a silicon ring around the inner edges of the adapter. | Source: YouTube/Fresno Mycology Society
8. Attach the gloves to the female adapters on the inside and secure them with black tape and a silicon ring.

Secure the gloves with duct tape and a silicon ring. | Source: YouTube/Fresno Mycology Society
9. Line the foam weather stripping along the edge of the container's lid for extra protection from airborne contaminants.
And there you have it. Your completed DIY still air box is ready for use. That wasn't so hard, was it? And since you've already caught the do-it-yourself bug, why not move on to making a DIY Shibumi shade?

Embark on a journey to elevate your knitting prowess effortlessly and infuse each stitch with a personal touch through a DIY yarn swift. Unleash your creativity as you craft an affordable and convenient tool to elevate your knitting experience.
Feb 01, 2024
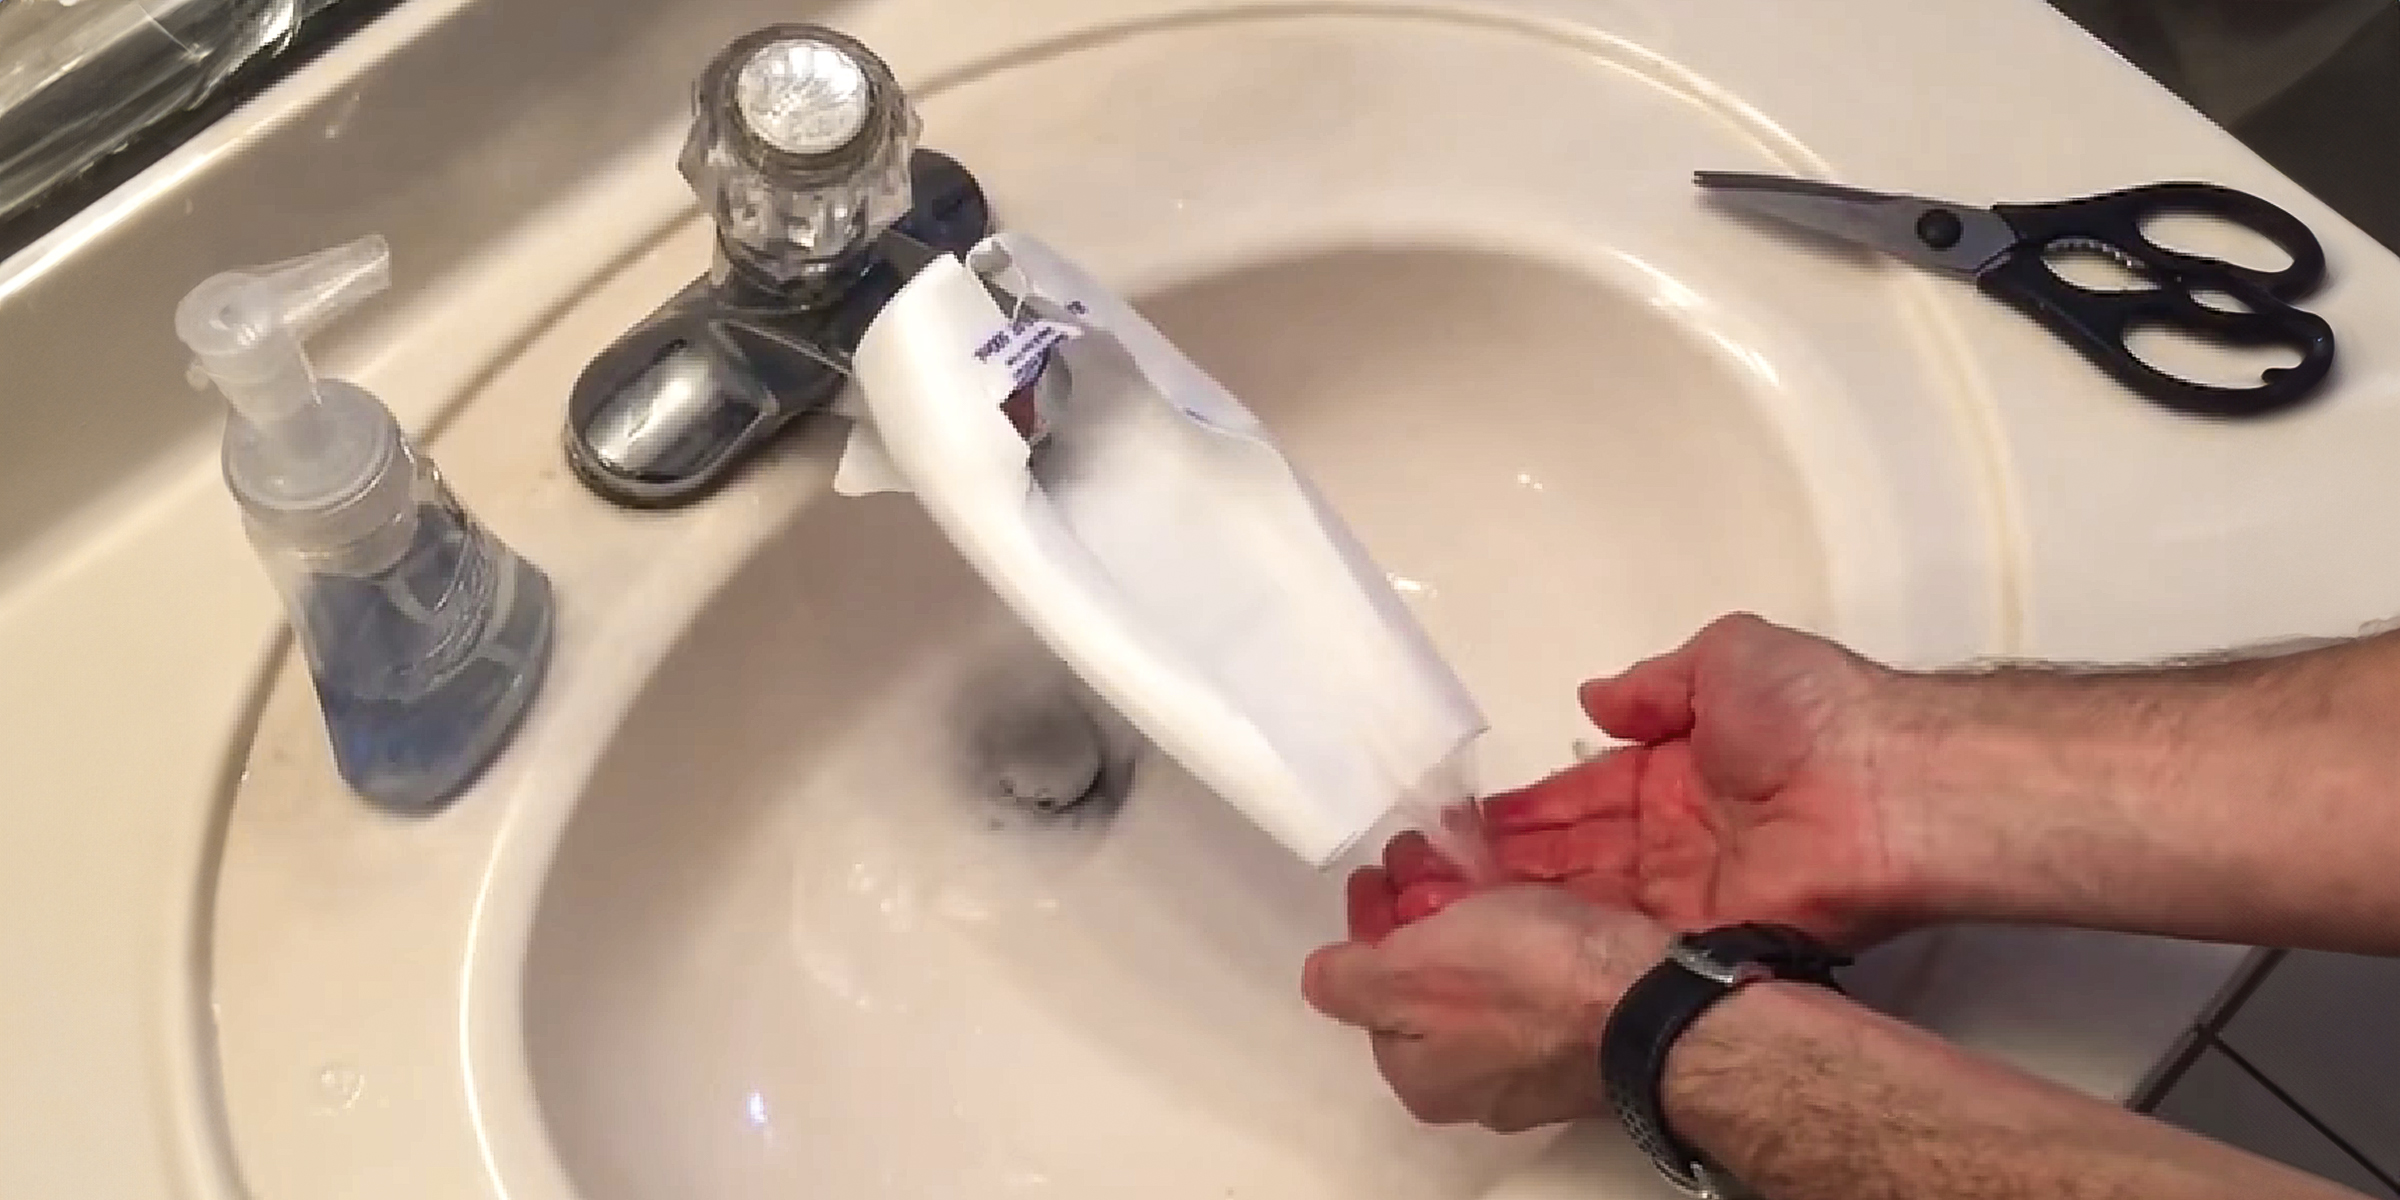
If you're dealing with the challenge of little ones struggling to reach faucets, a practical solution is to craft a DIY faucet extender. You can easily accomplish this in just a few simple steps.
Feb 05, 2024

Whiskey stones are tiny rocks that cool whiskey without watering it down, making them perfect for lovers of the liquor, who want to keep its original flavor. As these stones can be reused, it is important to clean them, and we'll show you how.
Jan 13, 2024
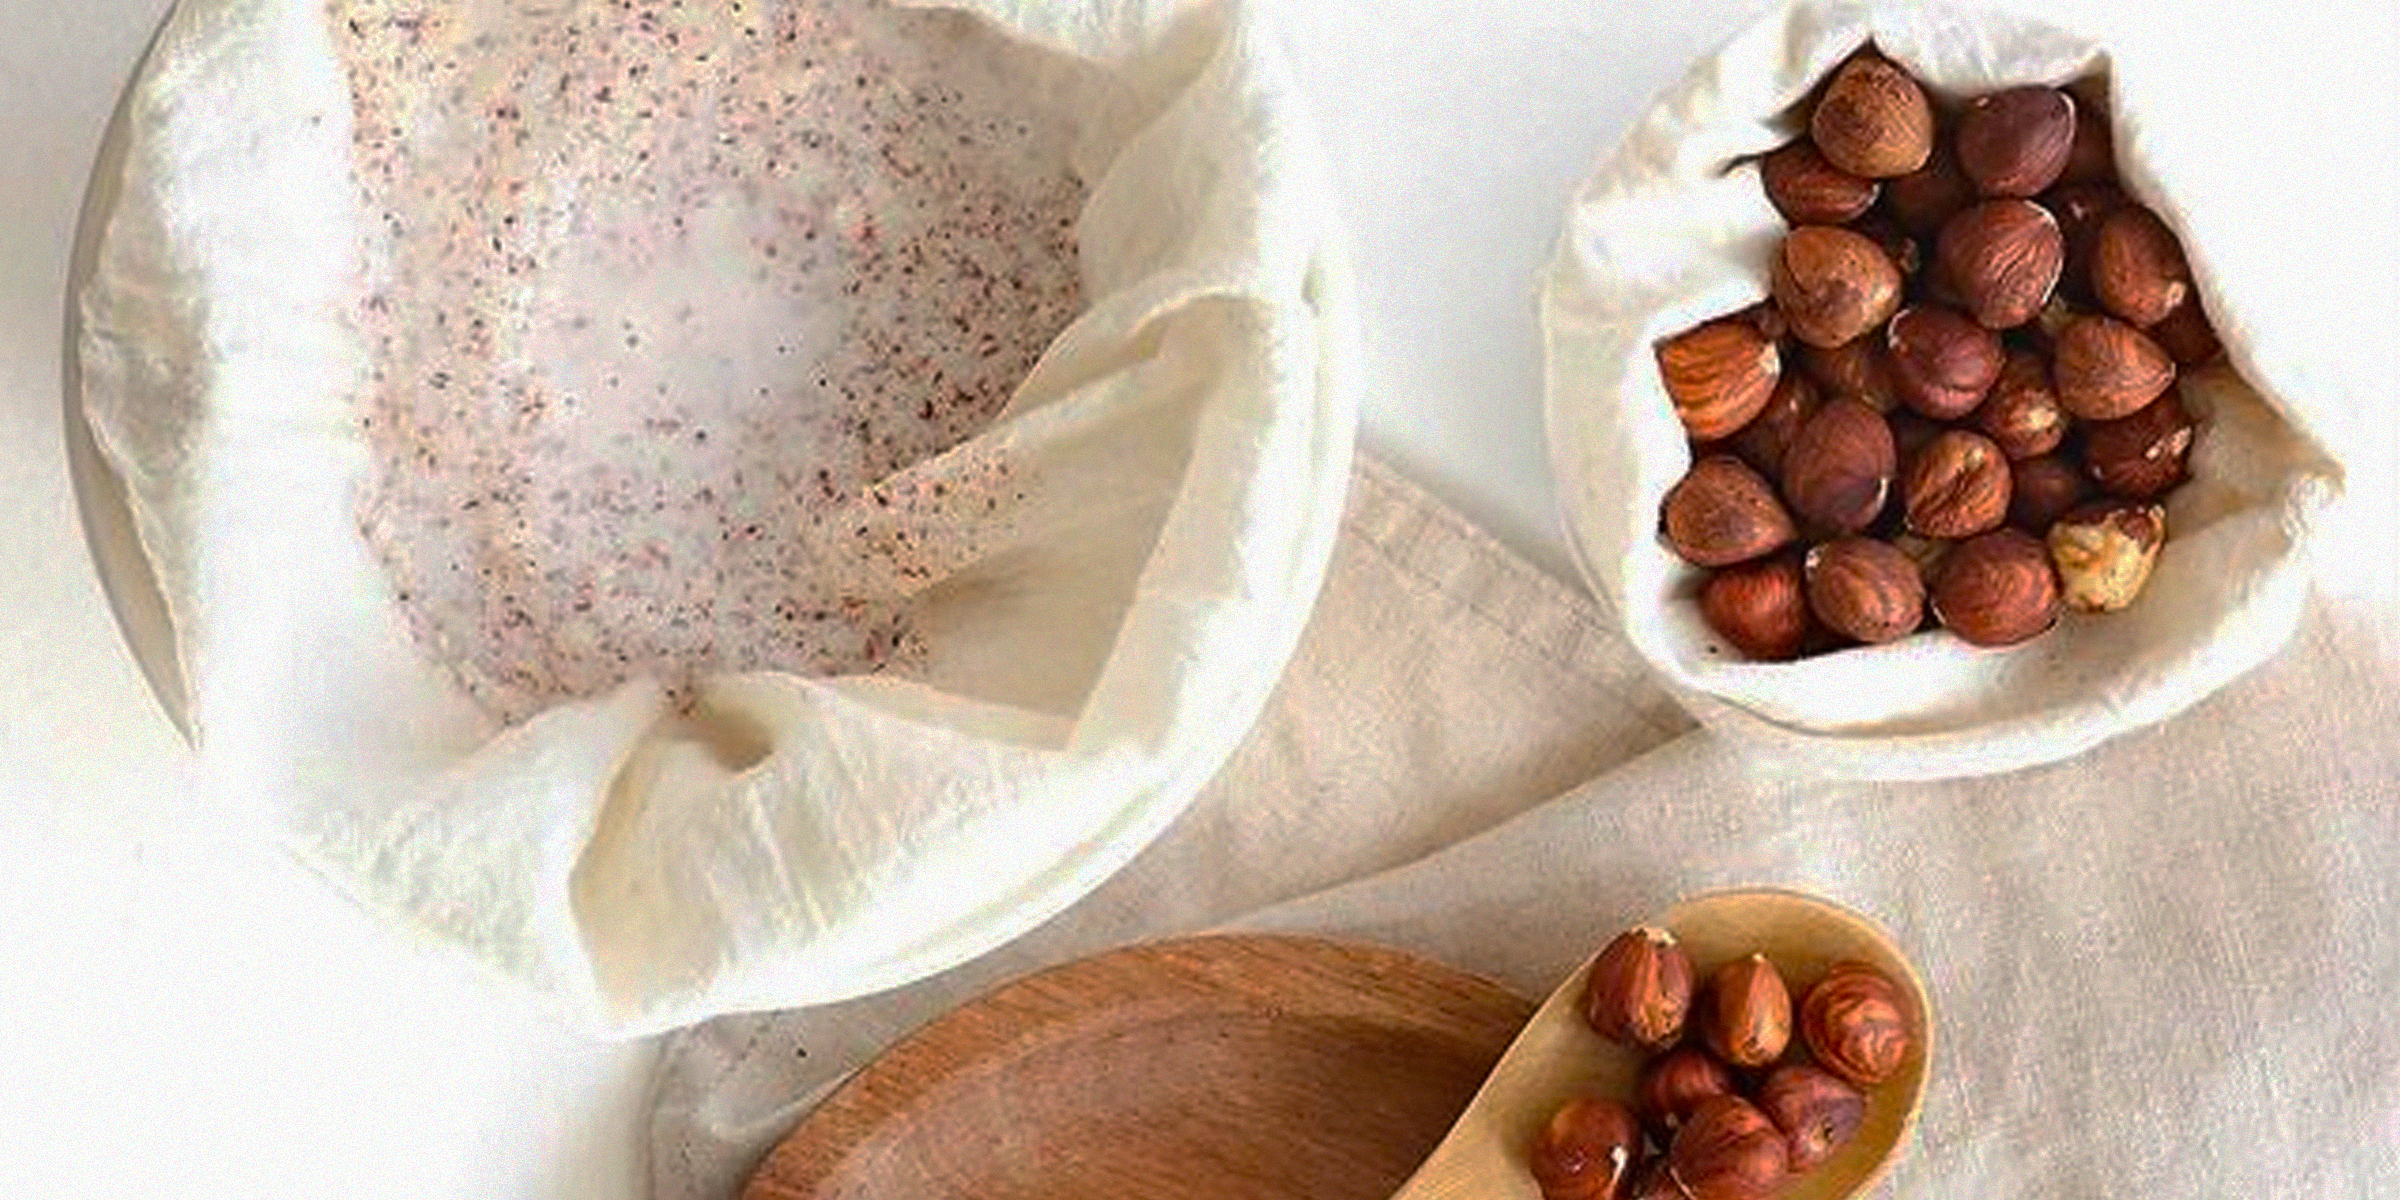
Embarking on making your nut milk at home can be a rewarding experience, but the cleanup process, especially regarding the nut milk bag, may seem less appealing. However, regularly cleaning your nut milk bag is advised to prevent bacteria or mold from growing, and you can do so in five easy steps.
Dec 31, 2023

Embark on a creative journey and revamp your bedroom aesthetics with a DIY wardrobe door. With a touch of ingenuity and these simple steps, you can tailor a personalized and budget-friendly solution.
Feb 03, 2024
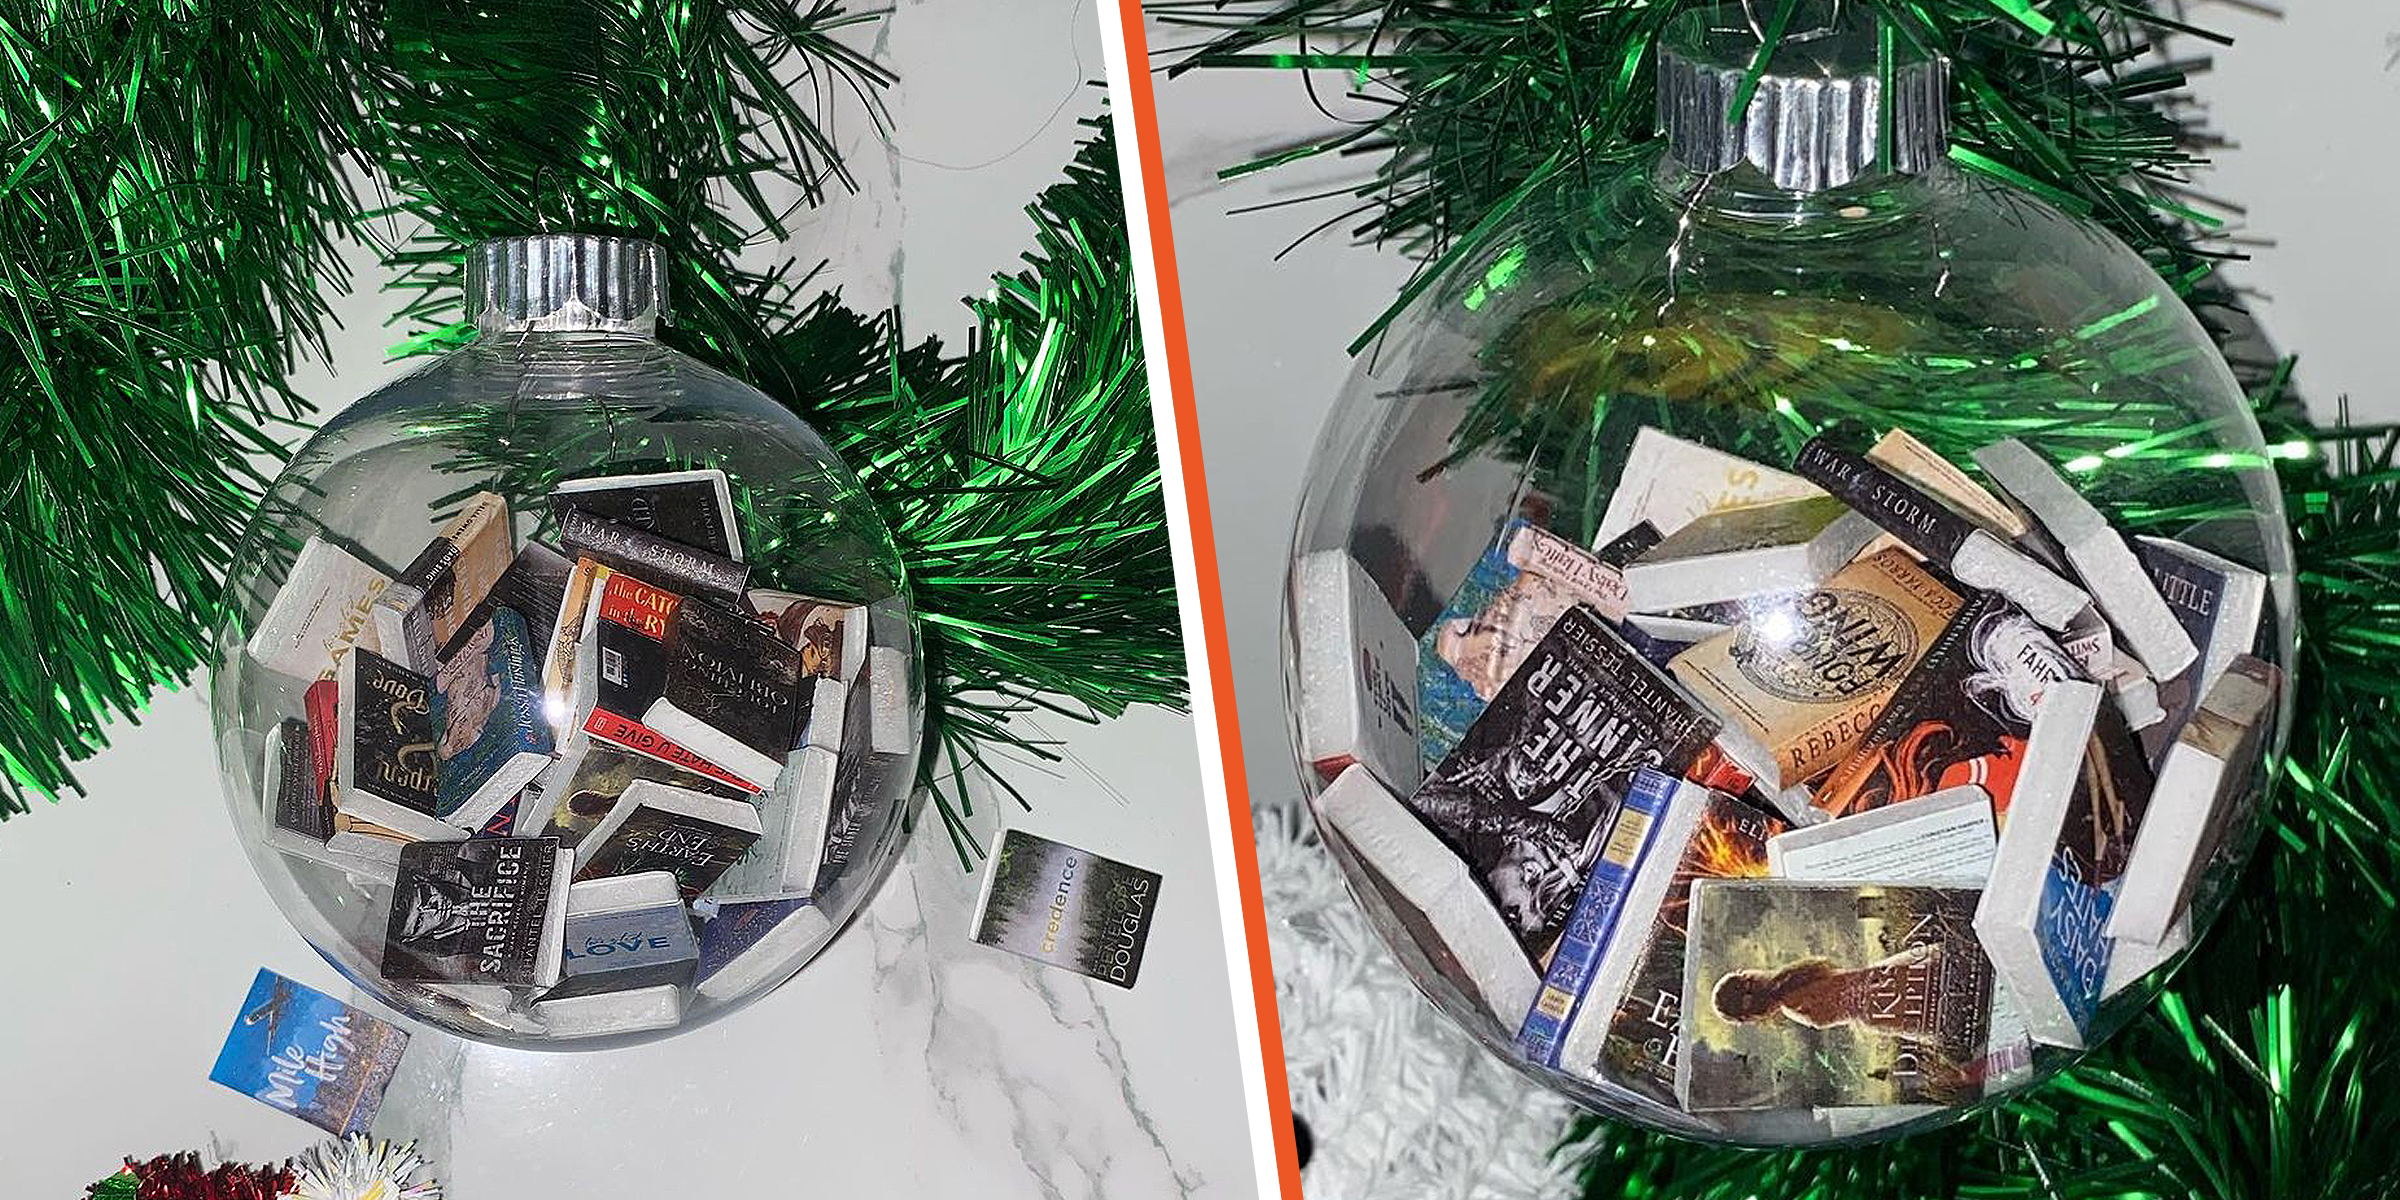
The DIY book ornaments trend has blown up social media for some time, with avid readers finding a fun way to celebrate their love of reading during the festive season.
Dec 16, 2023

Crystal suncatchers are not only stunning decorative pieces, but they are also a unique way to fill your home with sunlight and positive energy. Enjoy the almost magical properties of this beautiful ornament with this DIY crystal suncatcher guide.
Jan 15, 2024

Create a space that promotes independence and a thirst for knowledge in your child, all in the comfort of your home, with this helpful DIY Montessori bookshelf guide.
Feb 04, 2024

Protect your family from the sun's harsh rays while saving a few dollars with this DIY Shibumi Shade hack for the perfect beach day with your loved ones.
Jan 30, 2024

As many with coily and curly hair know, bonnets are essential to the nighttime hair care routine to ensure your kinks and curls stay intact and in perfect condition. However, regularly and correctly washing your bonnet is equally important.
Dec 12, 2023
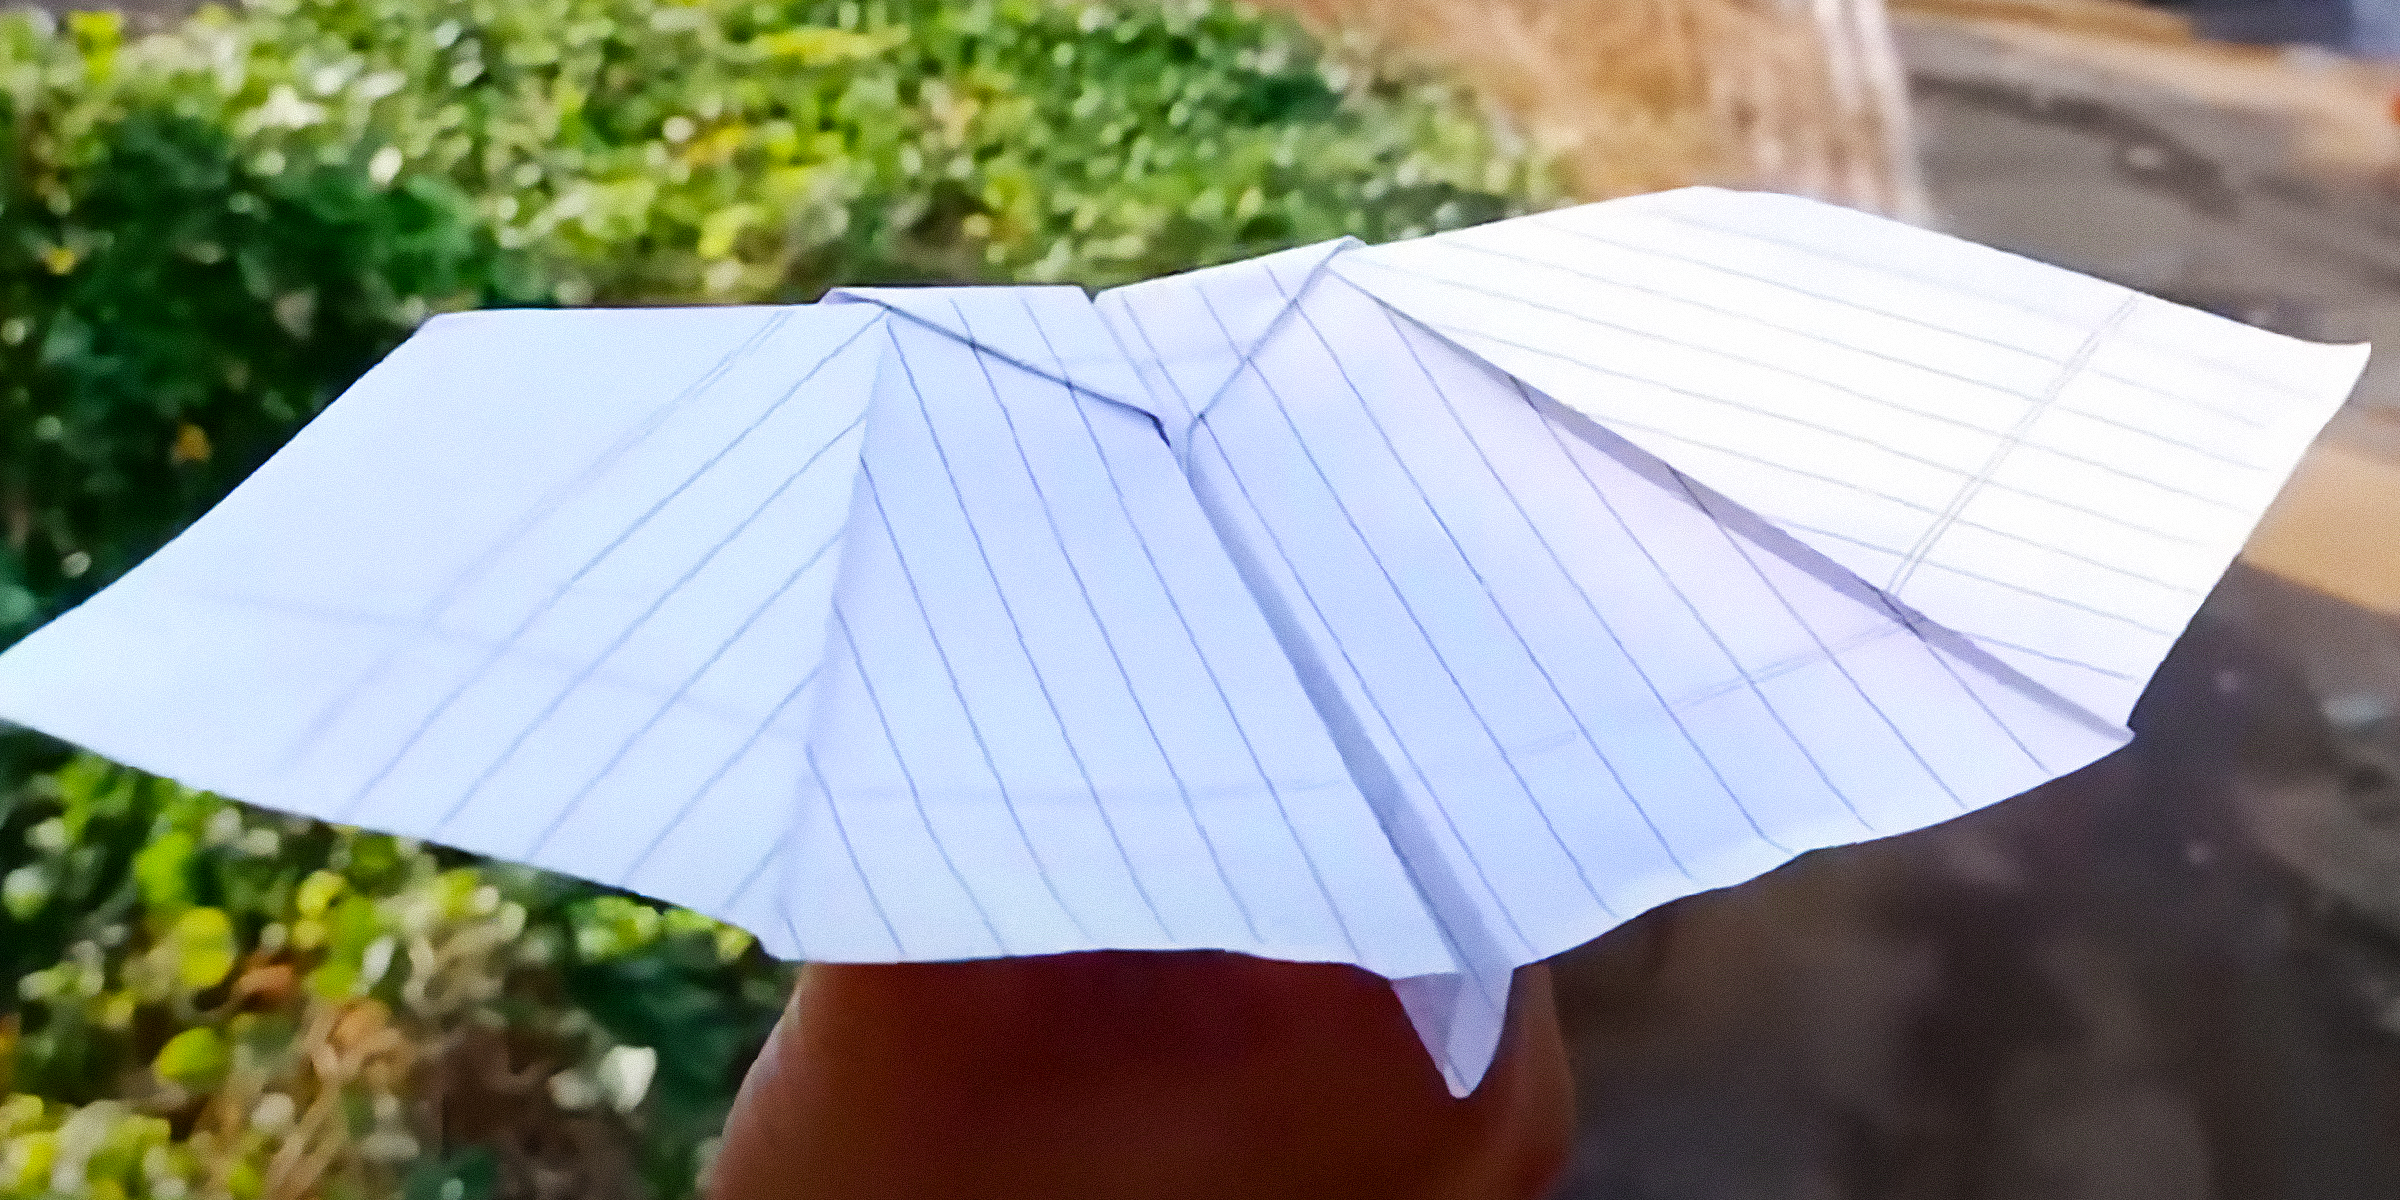
Paper planes have been around for thousands of years and have been the catalysts of human exploration into aerodynamics. In honor of the role these paper gliders have played in the history of this discipline, and simply for good fun, here's how to make a bat paper plane.
Jan 31, 2024

If ground squirrels have taken over your yard with their burrowing, continue reading for three ways you can fill ground squirrel holes — from the perfect machine to make the process easier to ingredients you can use that you might already have.
Jan 09, 2024

Slime is a fun substance anyone can use to mold shapes of all kinds, but clay slime is especially satisfying with its fluffy, creamy texture. If you want to learn how to make yours at home, here's how.
Jan 20, 2024

Handfasting is an old wedding tradition that beautifully demonstrates two people's love and commitment to one another. This symbolic act is said to date back over several millennia.
Dec 14, 2023