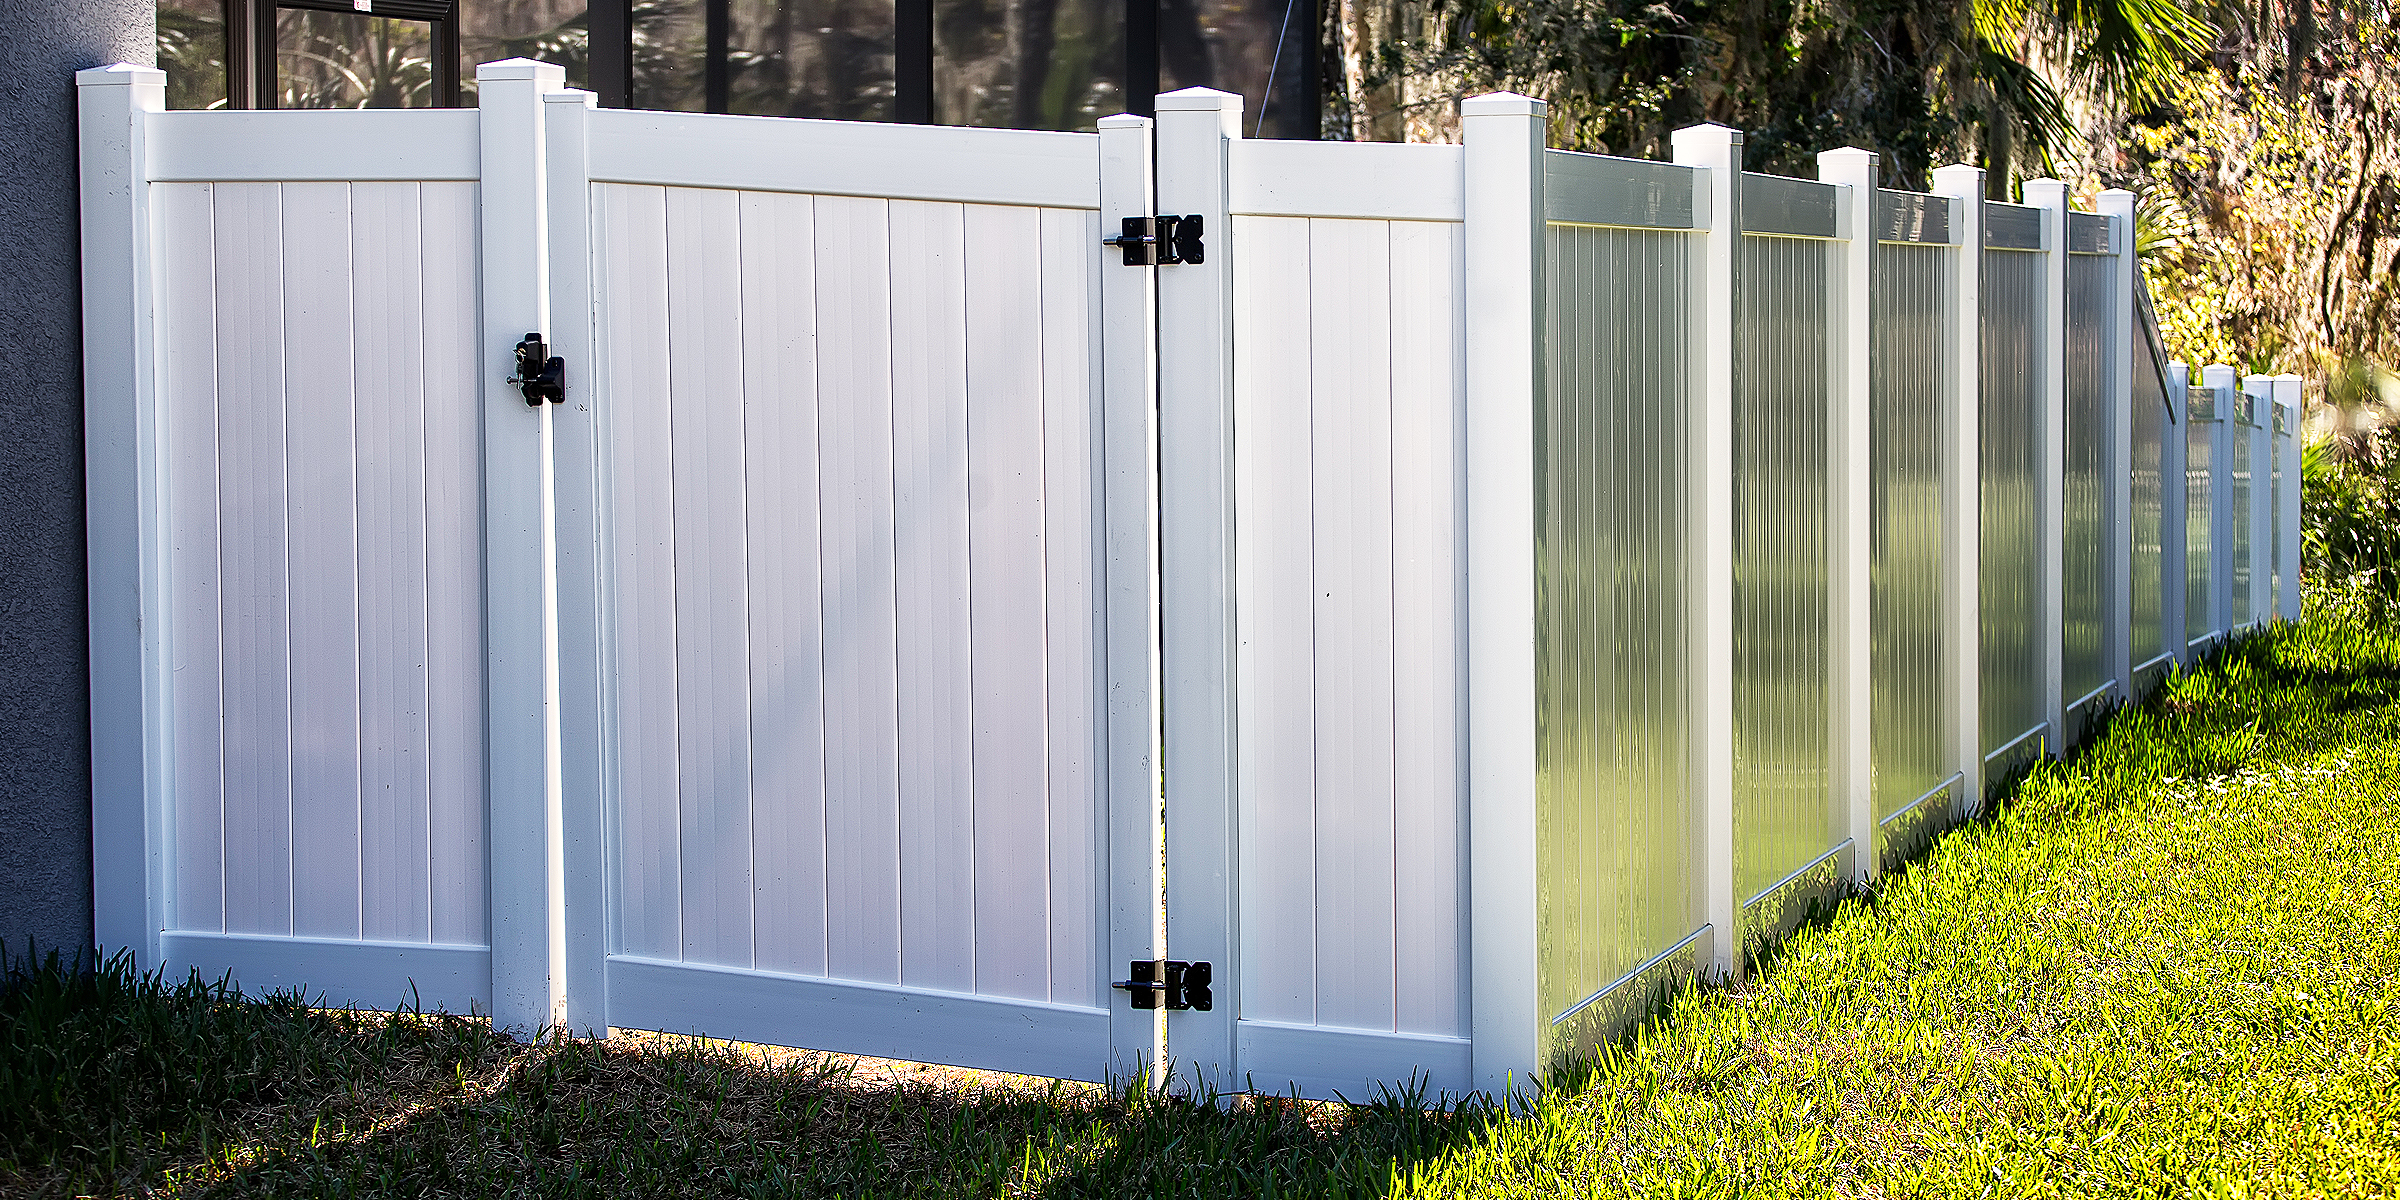
Vinyl Fence Decorating Ideas — Transform Your Outdoor Space with Style!
Mar 13, 2024


Ready to enhance your property with a blend of rustic charm and practicality? Our DIY hog wire fence guide is here to walk you through creating a durable and stylish boundary for your space.
Embarking on a DIY project to enhance your property’s perimeter with a hog wire fence not only adds to its aesthetic appeal but also brings a sense of accomplishment. Whether you're aiming to secure your garden, keep pets safe, or simply define your property lines, a hog wire fence is a durable and practical choice.
This type of fence, with its robust welded wire construction and corrosion-resistant galvanization, offers both functionality and rustic charm. Originally designed to contain livestock on farms, its versatility has made it a popular choice for residential projects as well.
As we delve into this step-by-step guide, you'll gain the knowledge and confidence to construct your own hog wire fence, transforming your outdoor space with a blend of security and style.
1. Assessing the Area for Fencing: Evaluate the landscape and potential obstacles to plan your fence layout.
2. Determining the Fence Height and Length: Decide on the fence’s purpose to establish the right height and measure the perimeter.
3. Creating a Materials List: List all necessary materials, including panels, posts, and concrete, for a smooth project flow.
4. Gathering the Tools Needed for the Project: Collect essential tools like a post-hole digger, level, and tape measure for installation.
5. Marking the Fence Line: Use stakes and string to outline where the fence will be, ensuring accuracy.
6. Placing the Fence Posts: Set posts at regular intervals along the fence line, considering panel dimensions.
7. Ensuring Proper Spacing Between Posts: Keep spacing consistent for structural stability and panel fitting.
8. Using a Level to Ensure Evenness: Check posts with a level to ensure they’re vertical for a straight fence.
9. Installing the Fence Posts: Dig holes to recommended depths and insert posts, checking for alignment.
10. Securing Posts with Concrete: Stabilize posts with concrete, removing air pockets for a solid base.
11. Checking for Stability and Straightness: After concrete sets, ensure posts are stable and straight with a level.
12. Attaching Hog Wire Panels: Securely fasten hog wire panels to posts, maintaining tension for a neat finish.
With these steps, you'll craft a durable and stylish DIY hog wire fence, enhancing your property's appeal and functionality.
Ready for more outdoor projects? Explore our guide on patio ground ideas next.

Dreaming of a garden that glimmers? Discover how to make rocks look wet permanently and elevate your outdoor space with stones that boast an everlasting shine, no tumbler required.
Mar 07, 2024
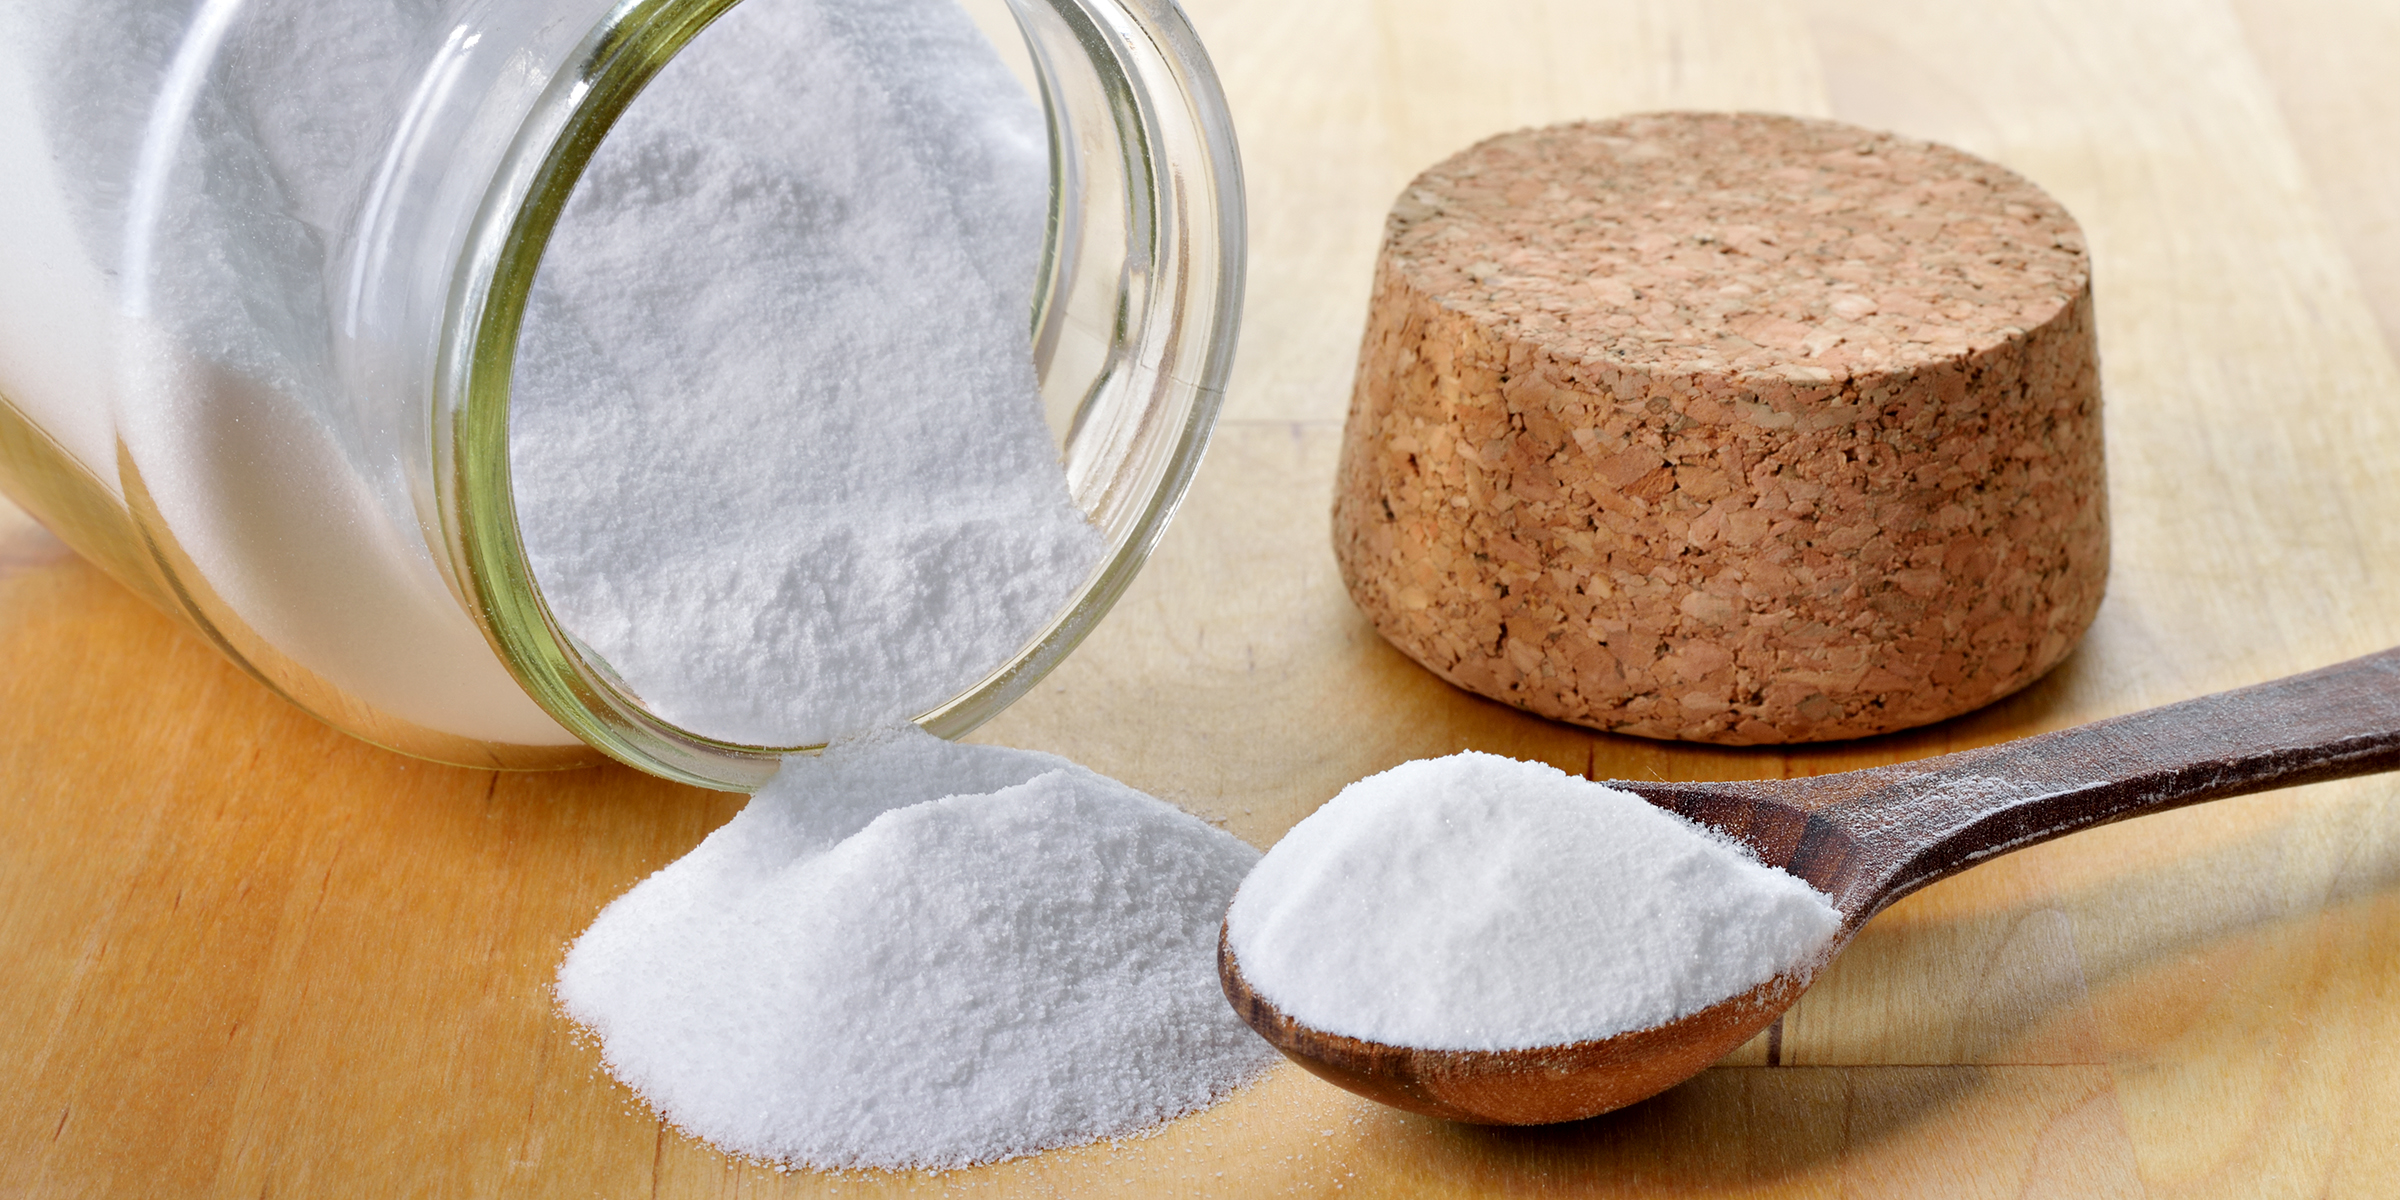
Unlock the secret to vibrant textiles and more with our guide on how to make soda ash from a simple household ingredient. Transform baking soda into a powerful dyeing agent in a few easy steps.
Mar 12, 2024
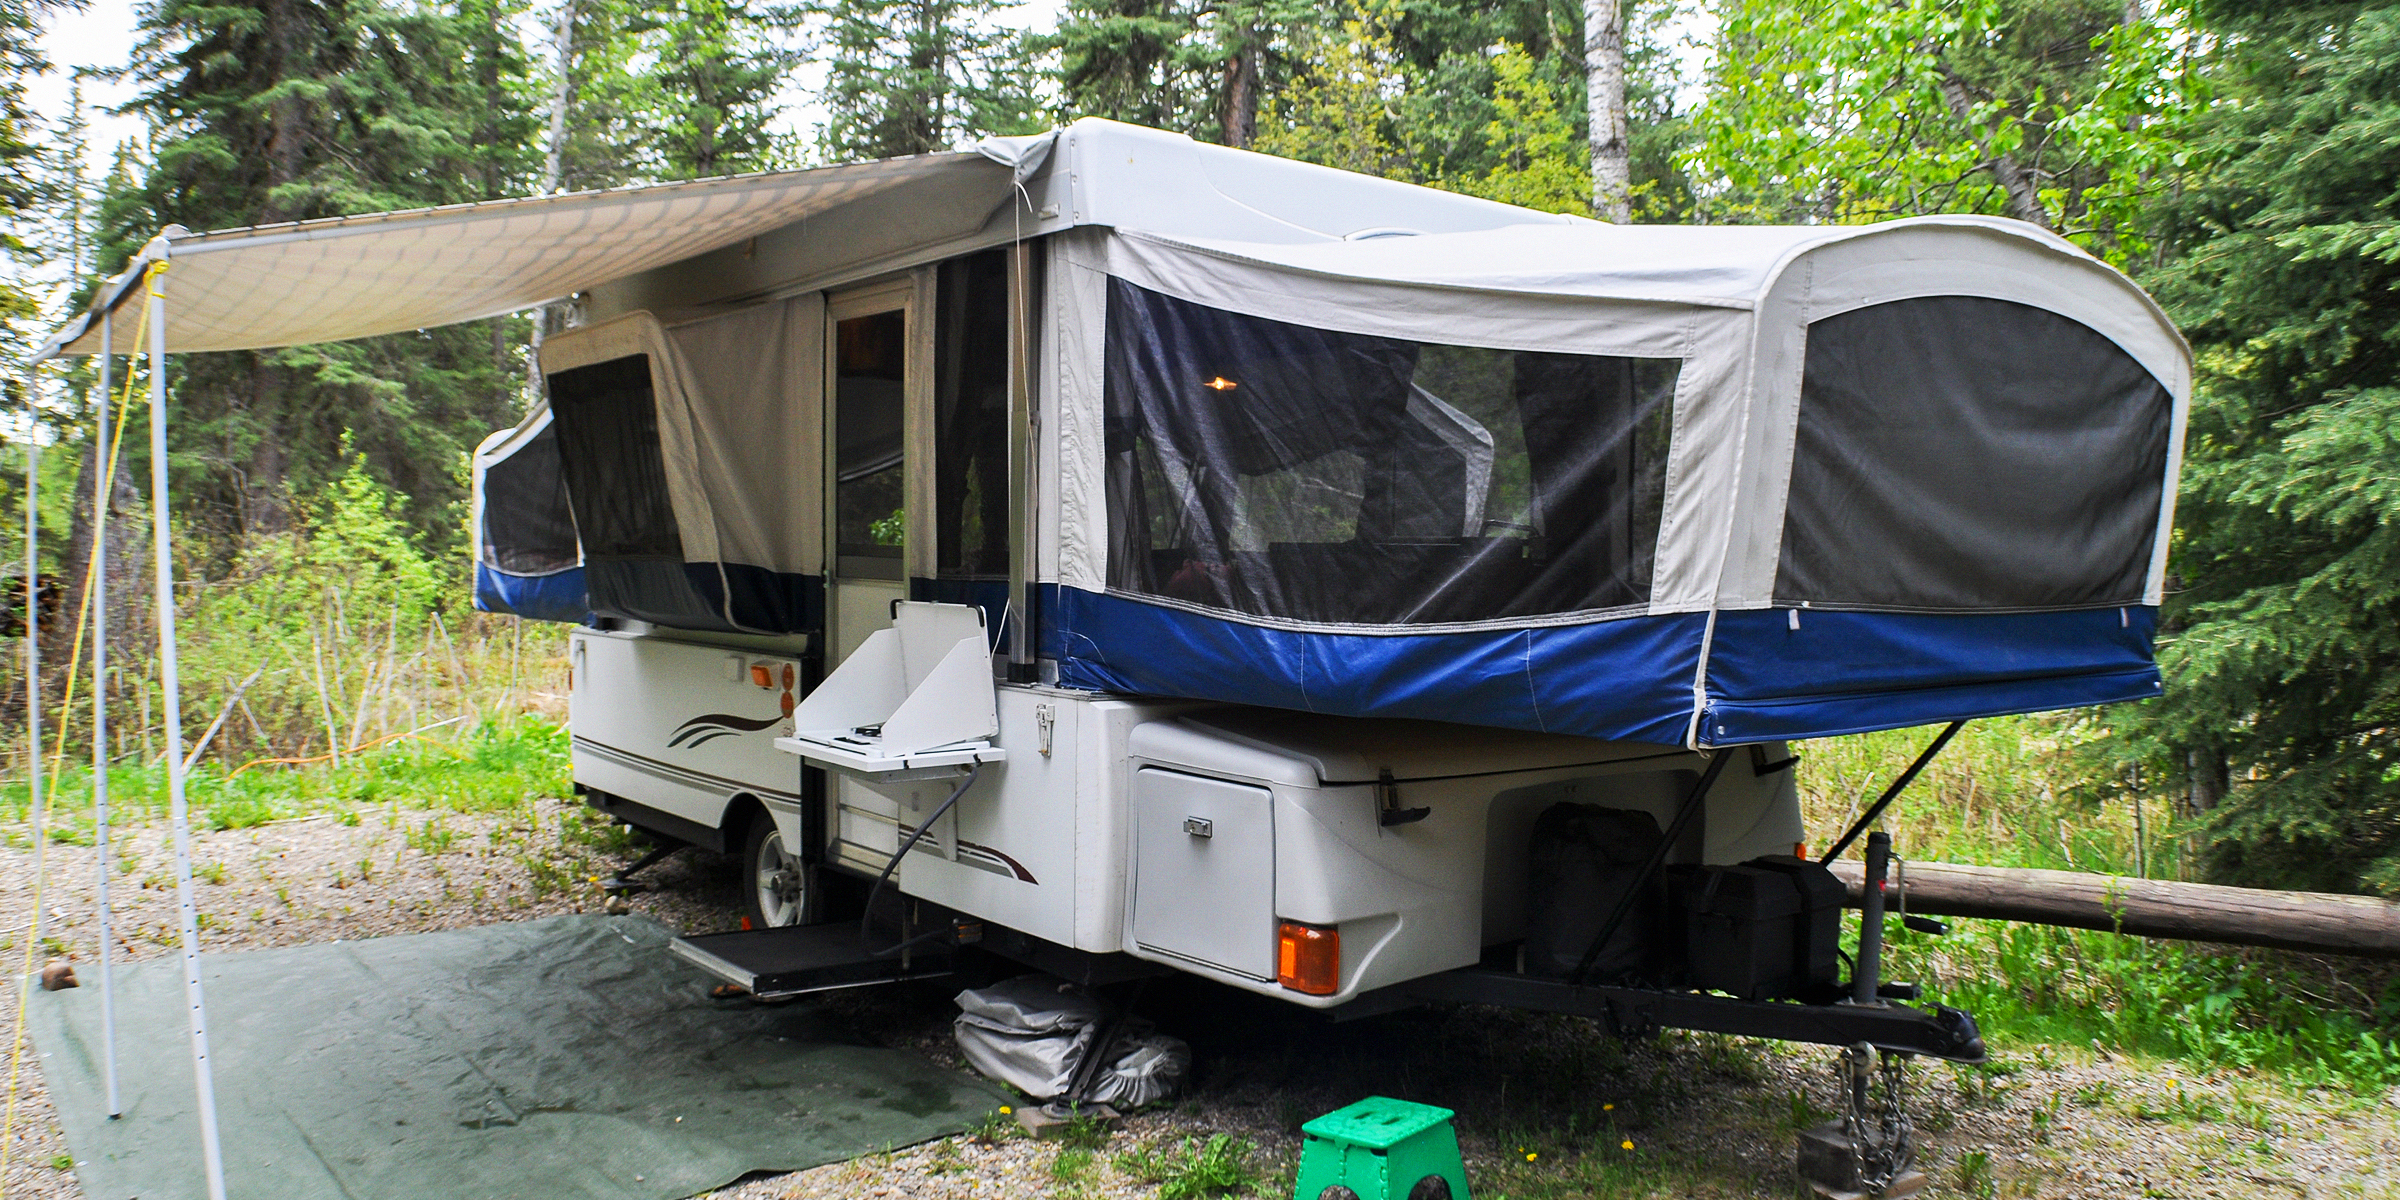
Are you dreaming of a mobile retreat that mirrors the comfort of your home? Dive into our collection of pop-up camper renovation ideas and discover how to transform your travel experiences with creative, cozy upgrades.
Mar 06, 2024

Whether you're aiming to protect your floor from the warmth of the embers or seeking to add an aesthetic flourish to your living space, this guide will walk you through creating the perfect DIY hearth pad for your home.
Apr 09, 2024
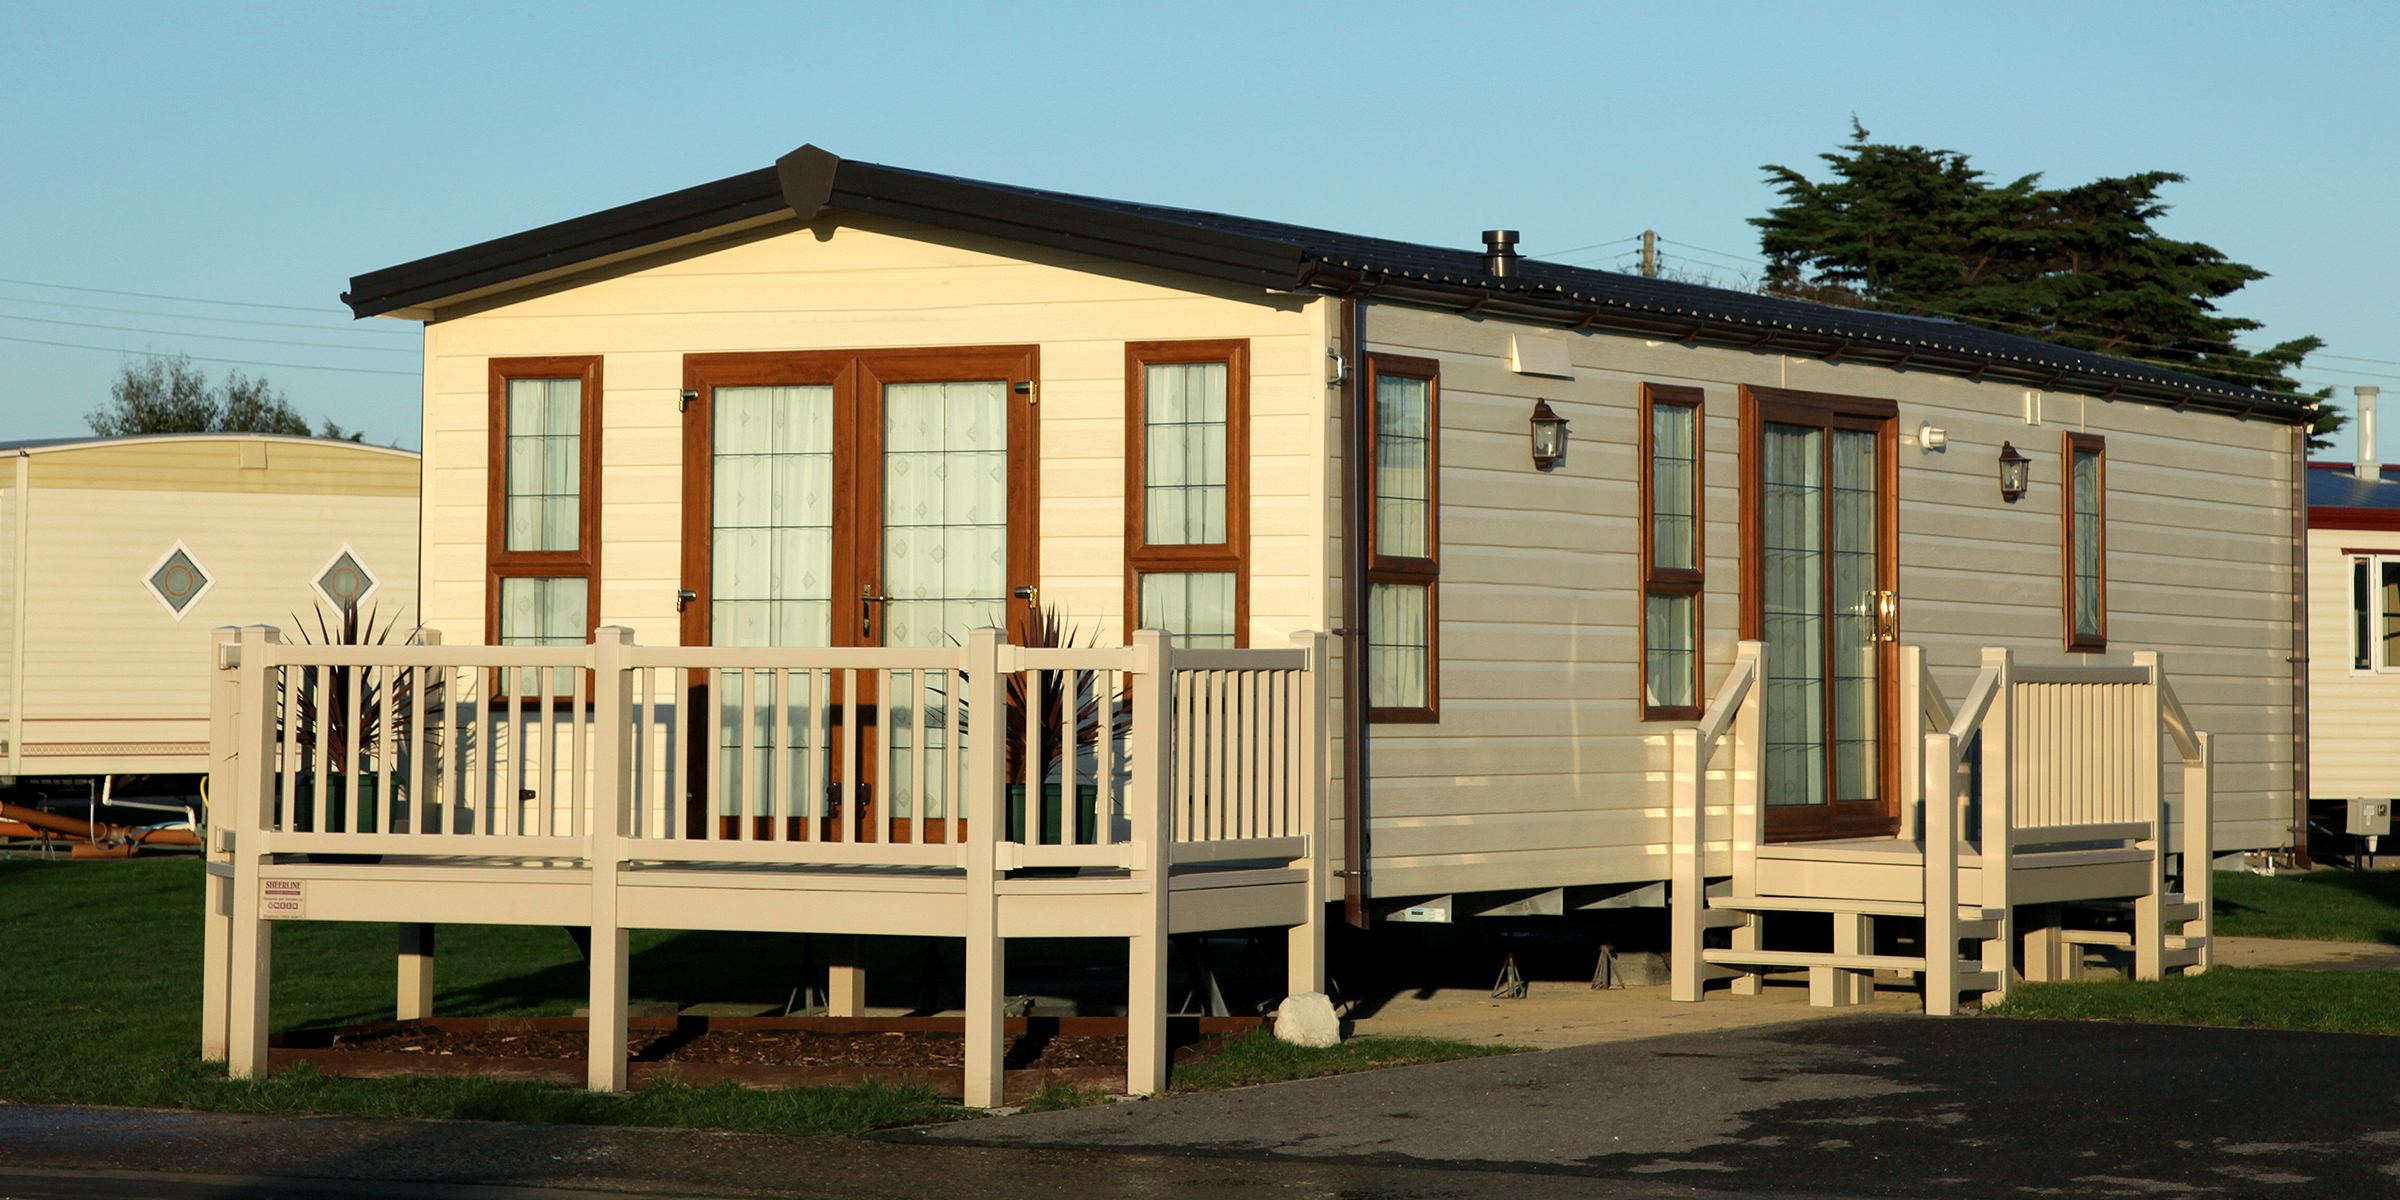
For those considering giving their mobile space a facelift, one pressing question looms: how much does it cost to remodel a mobile home? The answer isn't straightforward, as costs can vary widely based on several factors.
Feb 21, 2024
Transform your kitchen into a gourmet oasis without stretching your budget. Discover the joy and simplicity of DIY meal kit crafting, where culinary creativity meets convenience.
Apr 05, 2024

Want to envelop your event in an aura of mystery? Master how to make fog juice with our straightforward DIY guide, and transform any space into an enchanting mist-filled wonderland.
Mar 10, 2024

Tiki huts are making a significant comeback, captivating enthusiasts with their distinctive charm that transports you to a serene paradise. Embark on a journey to transform your backyard into a tranquil oasis with our step-by-step guide on how to make a Tiki Hut.
Mar 20, 2024

Unlock the secrets to crafting your own personalized piece of furniture with our DIY wooden bench guide—where simplicity meets elegance in your living space.
Apr 10, 2024
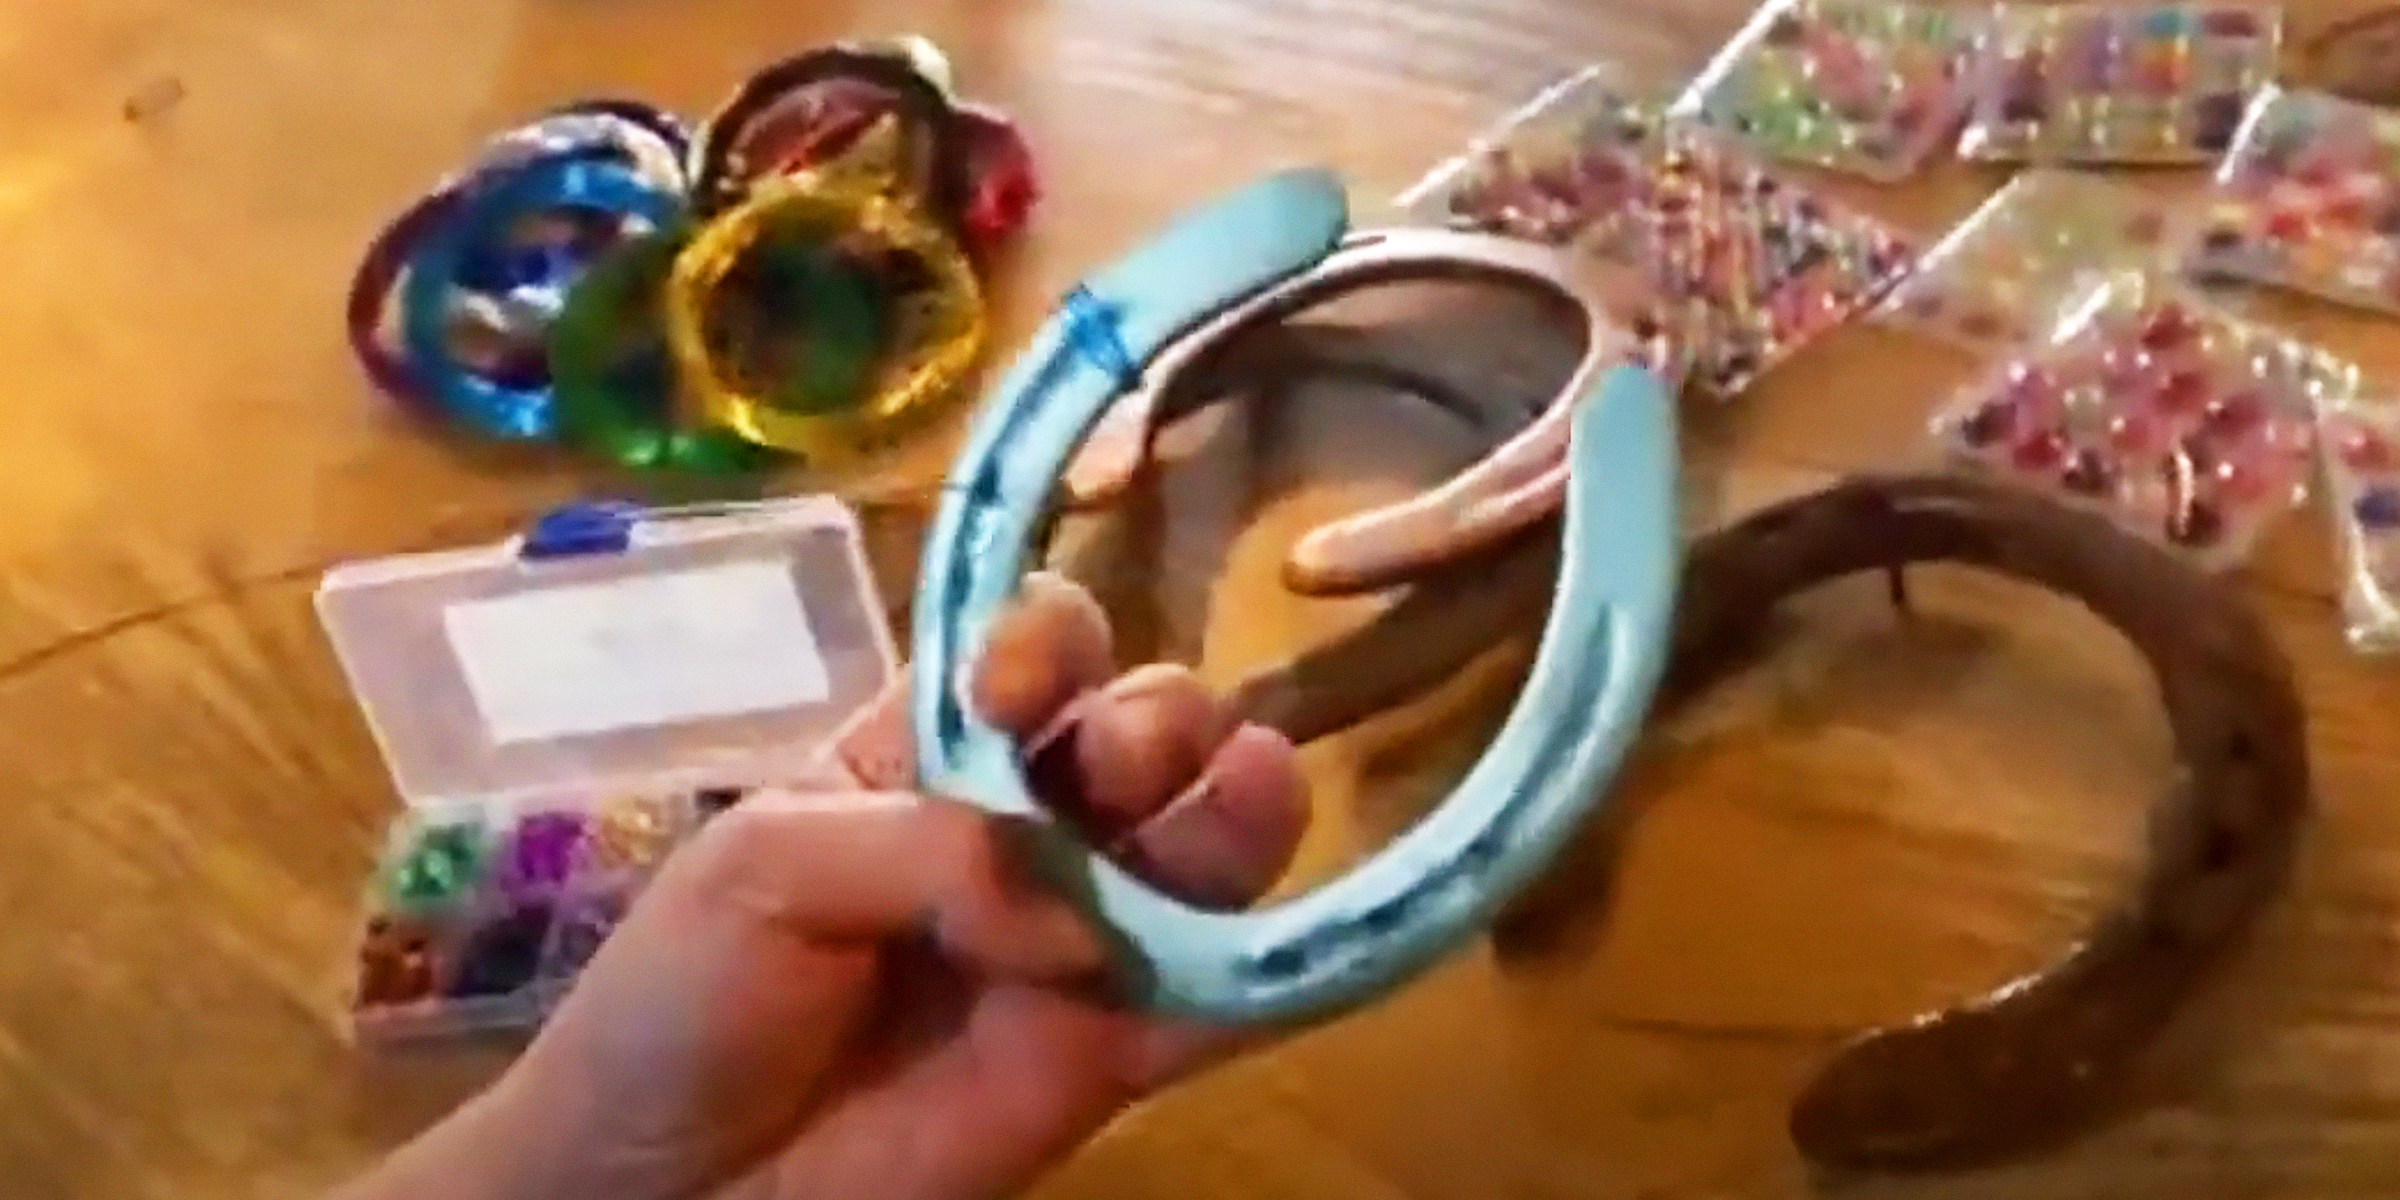
Transform ordinary metal into an extraordinary charm! Learn how to decorate horseshoes with our easy DIY guide, turning them into personalized tokens of luck and gifts for any occasion.
Mar 13, 2024

Unlock the ancient secrets of wellness with our guide to creating a DIY castor oil pack wrap, a soothing remedy to nourish and heal your body naturally.
Apr 08, 2024

Light up the season with Christmas decorating pole ideas that will turn your neighborhood into a dazzling winter wonderland. Discover how to sprinkle festive magic in every corner, from twinkling lights to festive decorations.
Apr 04, 2024

Bubble walls bring the benefits of surrounding yourself with nature into the comfort of your personal space. If you're considering installing one but want to do so independently, follow this DIY bubble wall guide.
Feb 09, 2024

Unlock the secret to vibrant, custom designs with our guide on how to make sublimation coating for stainless steel, and turn everyday objects into personalized pieces of art.
Mar 21, 2024