How to Make a Murphy Door — DIY Outswing Installation Guide
Mar 12, 2024


Discover how easy and rewarding it is to make your own chicken feeders DIY—a practical project to ensure your chickens are fed efficiently and economically. Let's start building!
Raising chickens can be rewarding and practical, but ensuring they have consistent access to food is crucial for their health and happiness. Creating a DIY chicken feeder is not only an economical solution but also a satisfying project that enhances your poultry-keeping experience.
With a few basic tools and some ingenuity, you can easily construct a feeder that keeps your feathered friends well-fed and content. In this guide, we’ll explore various creative and cost-effective ways to build DIY chicken feeders, using simple steps that anyone can follow.
1. Using a two-inch hole saw, drill four evenly spaced holes around the lower sides of the bucket. This will allow the feed to pour out slowly.

A white bucket with round holes | Source: YouTube/@randomthingschannel979
2. Next, drill a single hole in the center of the bucket’s bottom. This will be used to attach the bucket to the pan.

A white bucket being drilled upside down | Source: YouTube/@randomthingschannel979
3. Drill a corresponding hole in the center of the pan. This hole should align with the hole in the bucket for proper assembly.

A person drilling a pan | Source: YouTube/@randomthingschannel979
4. Place a bolt through the hole in the pan from the underside. Then, set the bucket on top of the pan, aligning the central holes, and thread the bolt through the bucket.

White bucket attached to a pan | Source: YouTube/@randomthingschannel979
5. Fasten the structure by screwing a wing nut onto the bolt from inside the bucket. Ensure it's tight to stabilize the feeder.

White bucket attached firmly with a wing nut | Source: YouTube/@randomthingschannel979
6. Your DIY chicken feeder is ready! Fill the bucket with chicken feed. The feed will flow into the pan, allowing your chickens easy access to their food.

A complete DIY chicken feeder | Source: YouTube/@randomthingschannel979
Congratulations on crafting your homemade chicken feeder! Your feathered friends will appreciate the steady supply of food.
Ready for another rewarding project? Check out our guide on building a DIY hog wire fence, perfect for keeping your chickens safe and enhancing your backyard functionality.

Unlock the secrets to crafting your own personalized piece of furniture with our DIY wooden bench guide—where simplicity meets elegance in your living space.
Apr 10, 2024

In our modern toolkit, electric drills are indispensable for creating holes in wood, but what happens when one isn't available? Fear not! Even in the absence of a drill, a plethora of creative avenues remain open to us. Here's how to make a hole in wood without a drill.
Mar 18, 2024

Ready to enhance your property with a blend of rustic charm and practicality? Our DIY hog wire fence guide is here to walk you through creating a durable and stylish boundary for your space.
Apr 10, 2024
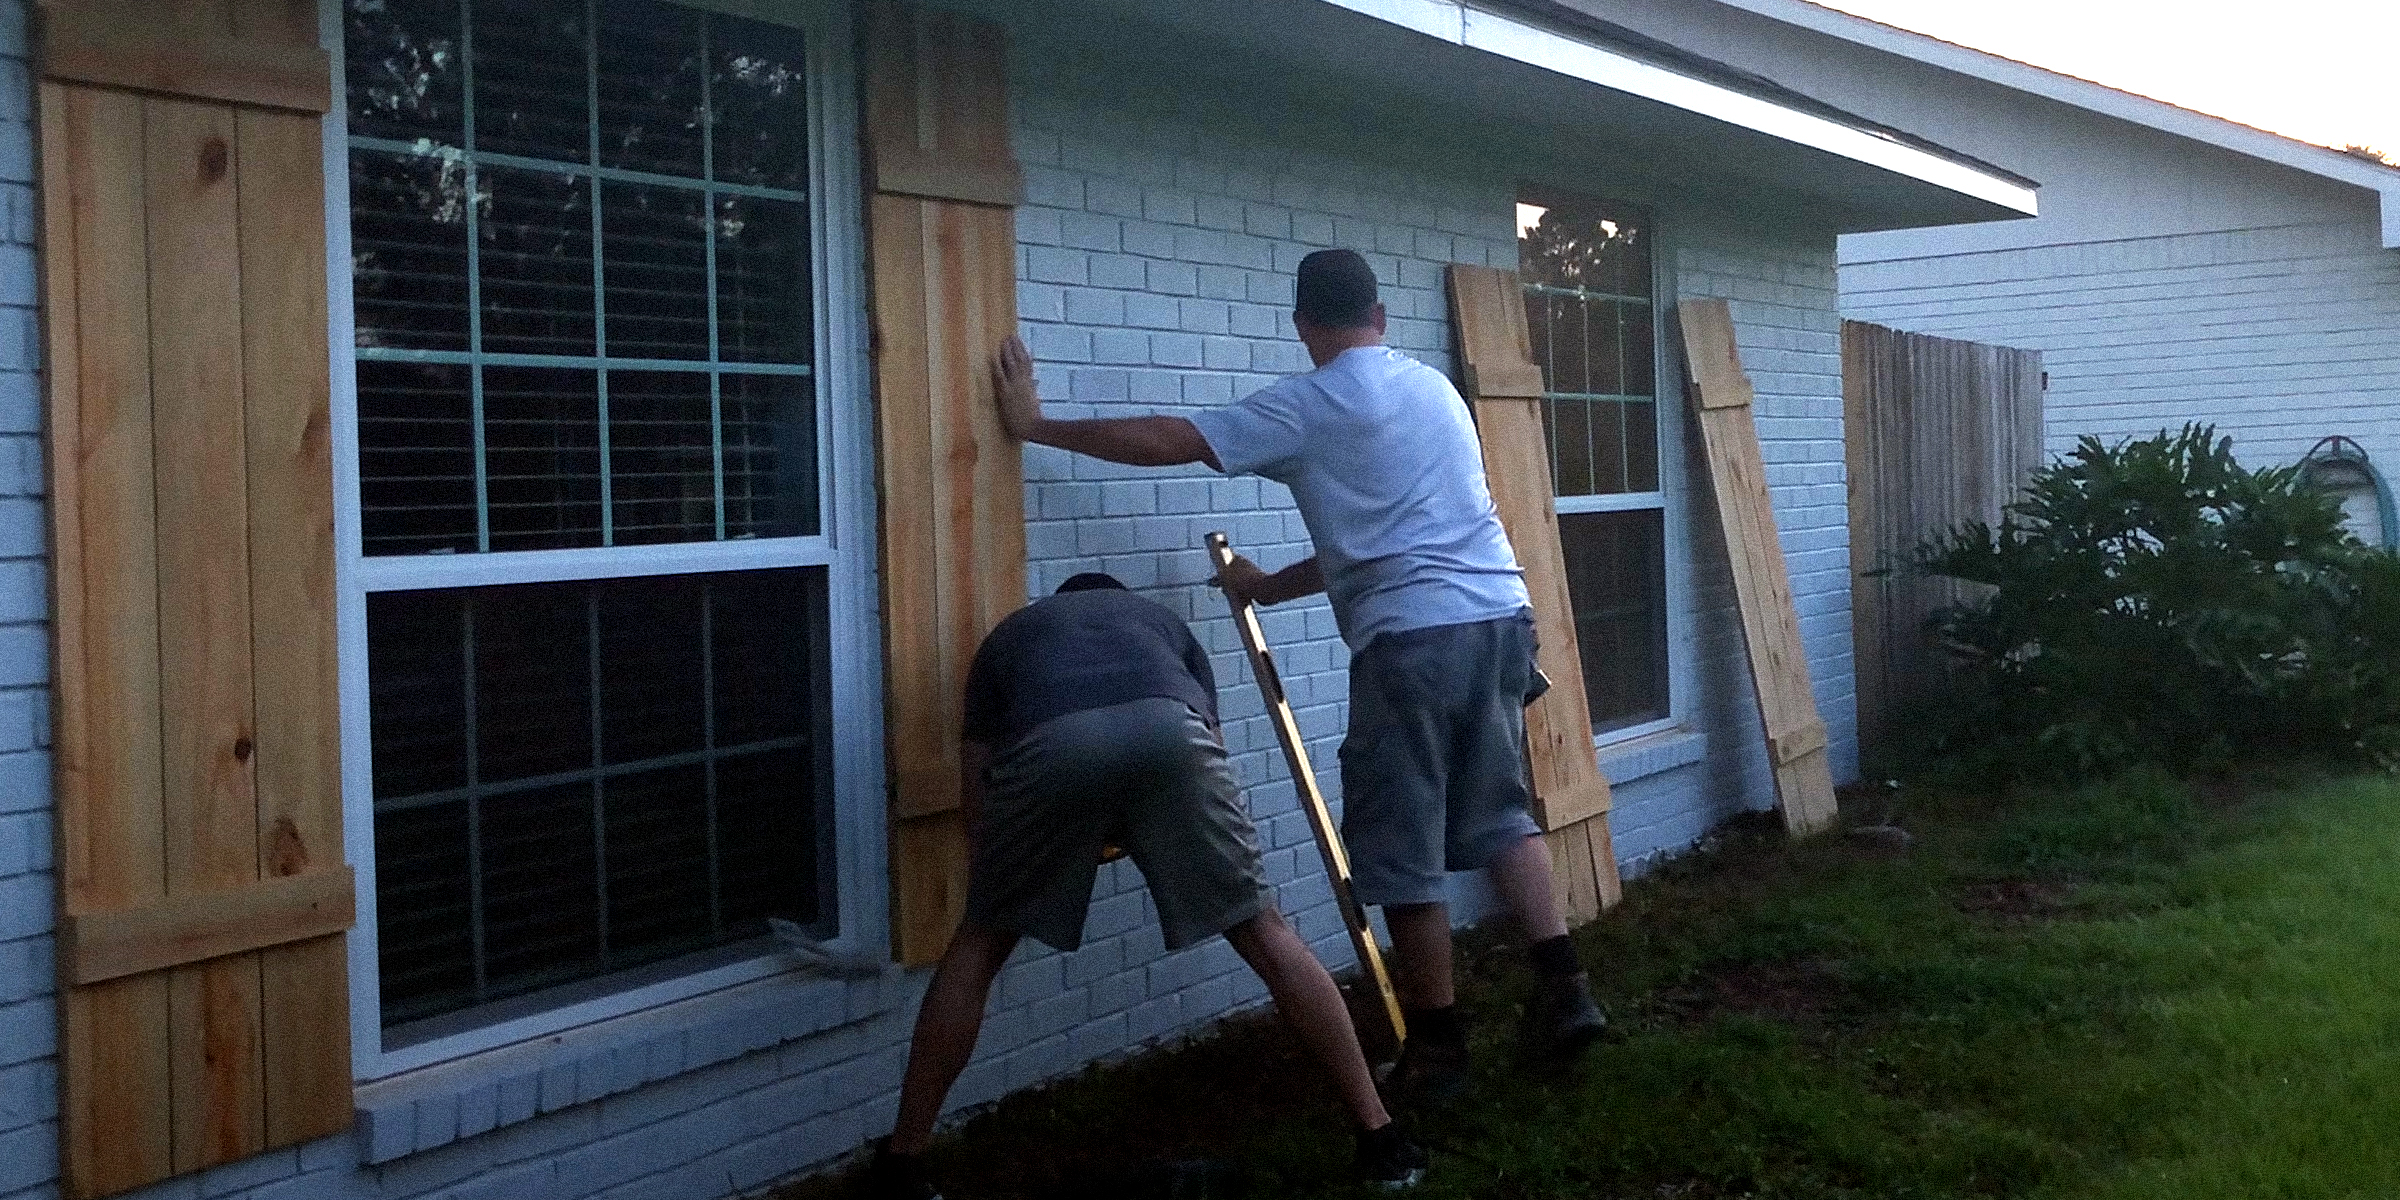
Creating DIY hurricane shutters is a practical and cost-effective way to protect your home during storm season. As we delve into this guide, we’ll explore the steps and materials needed to craft shutters that stand against the force of nature.
Apr 15, 2024
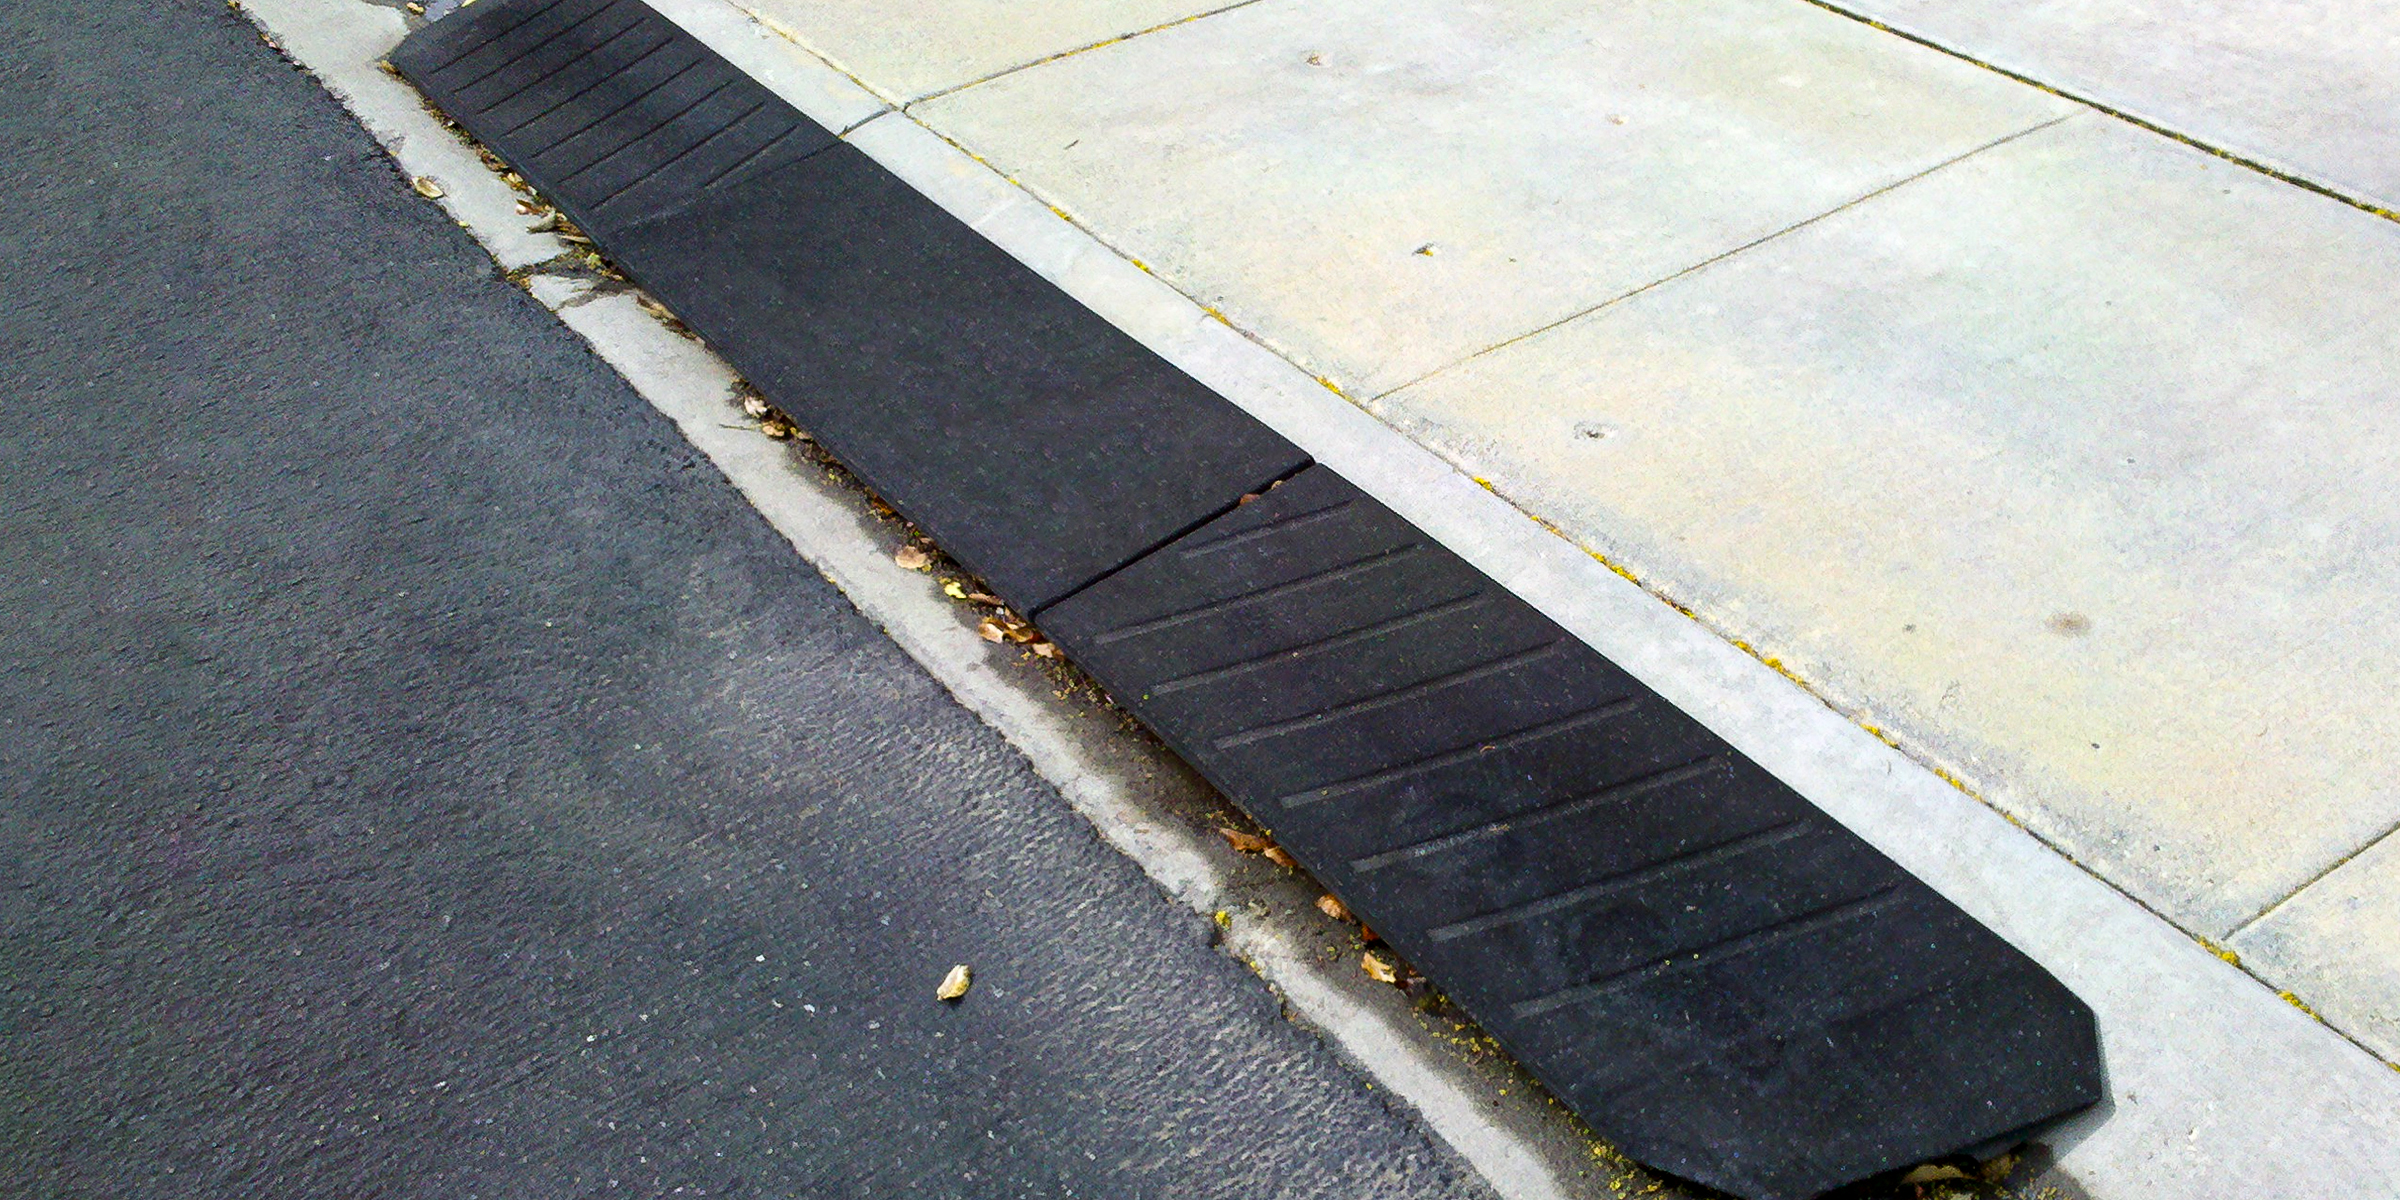
If you're a homeowner without a curb ramp for your car, don't worry! You can make one yourself, ensuring smooth access to your driveway for everyone. Here's how it's done.
Feb 13, 2024
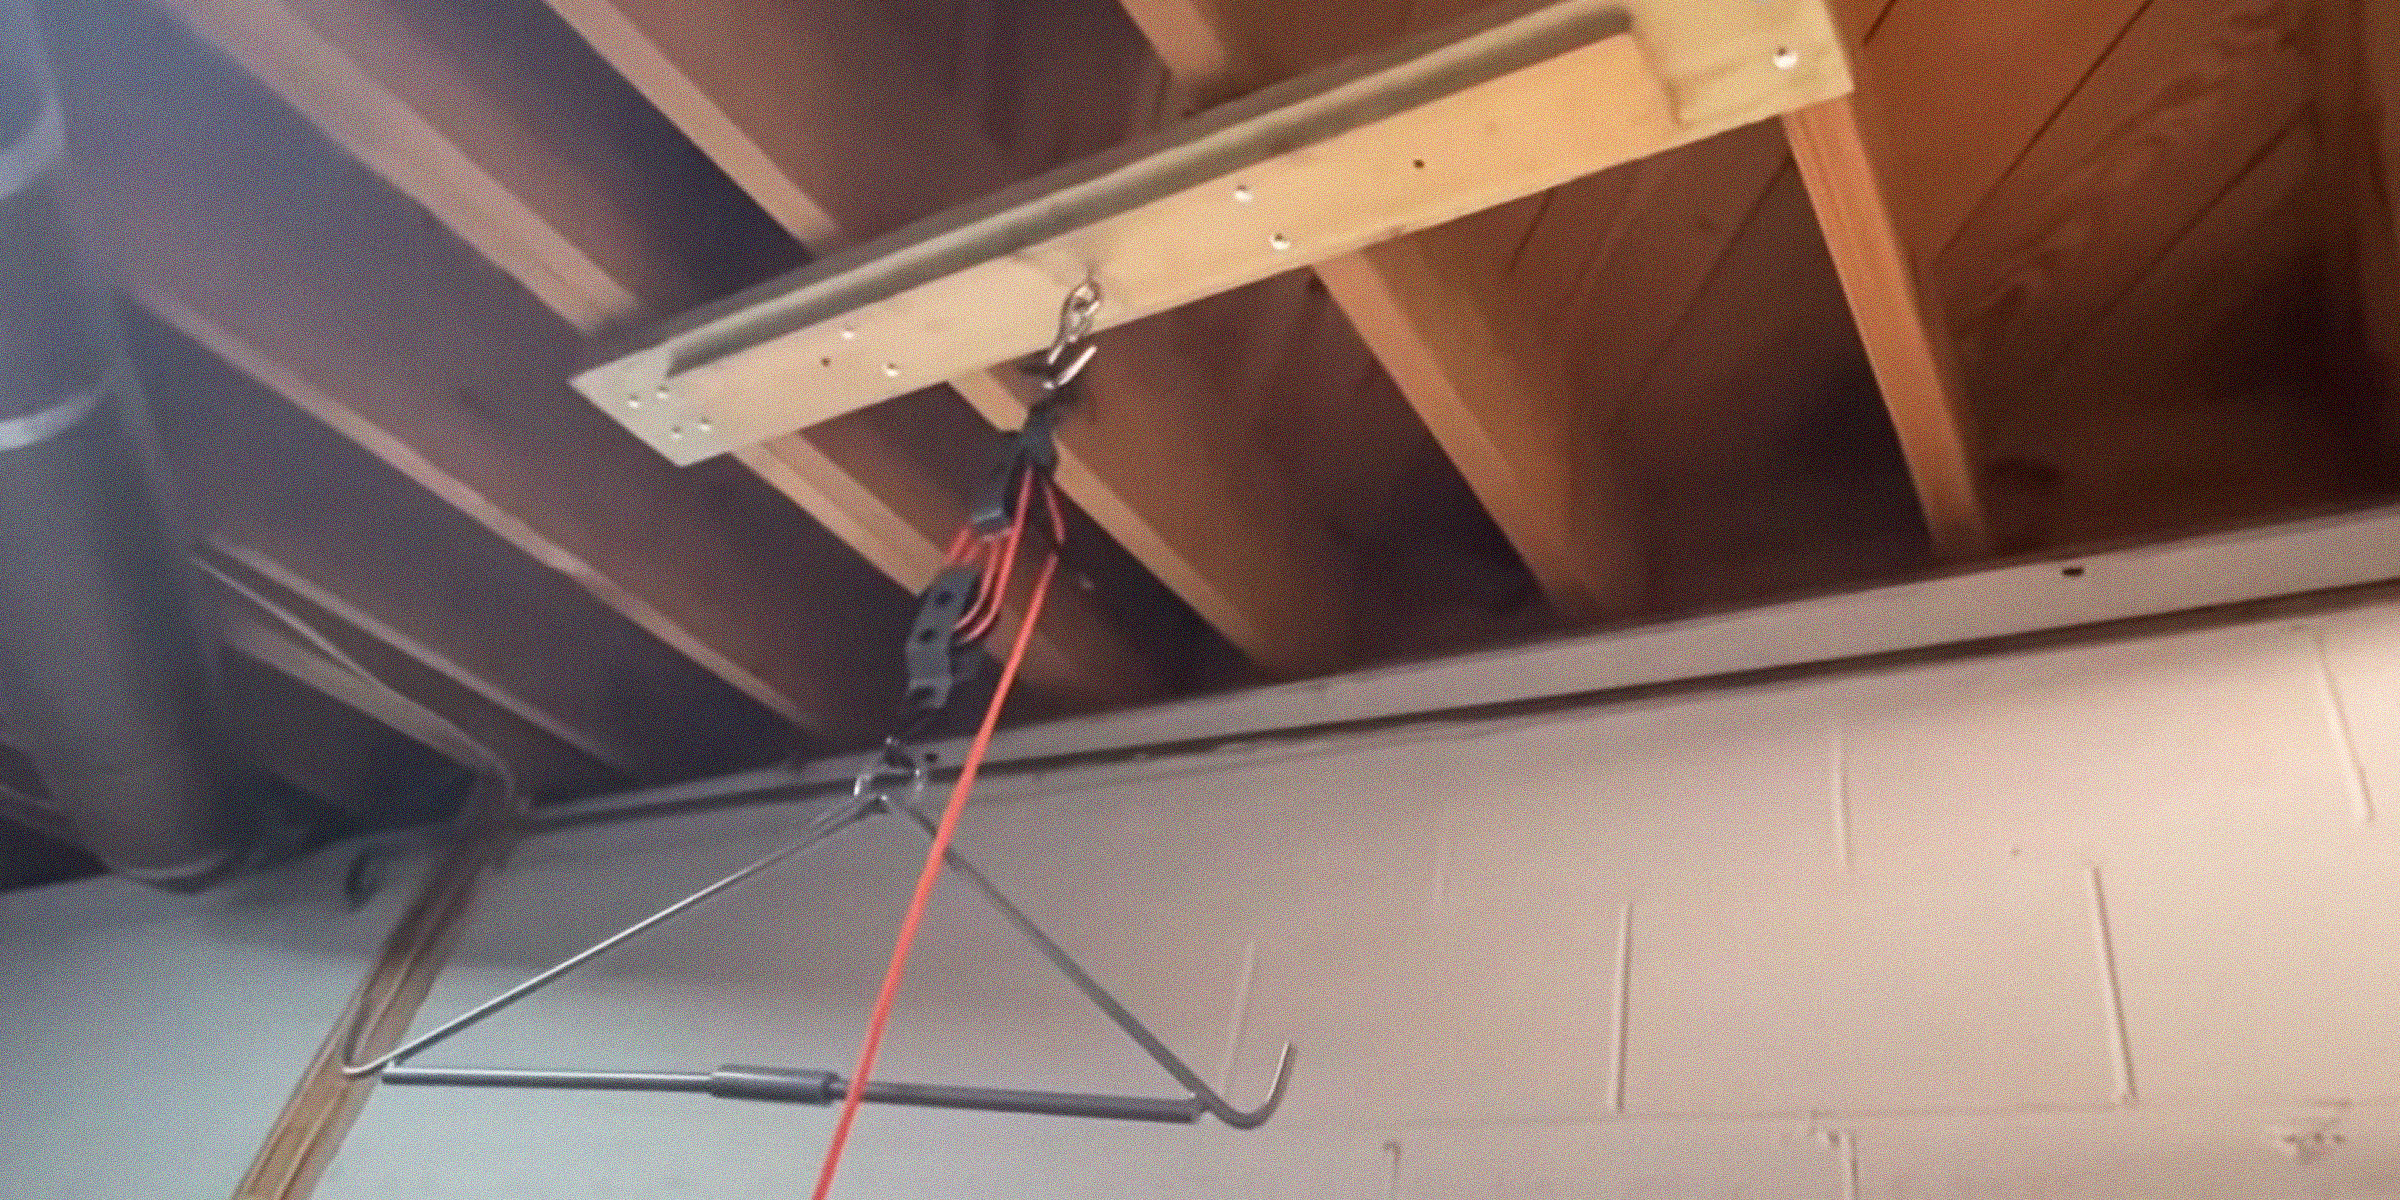
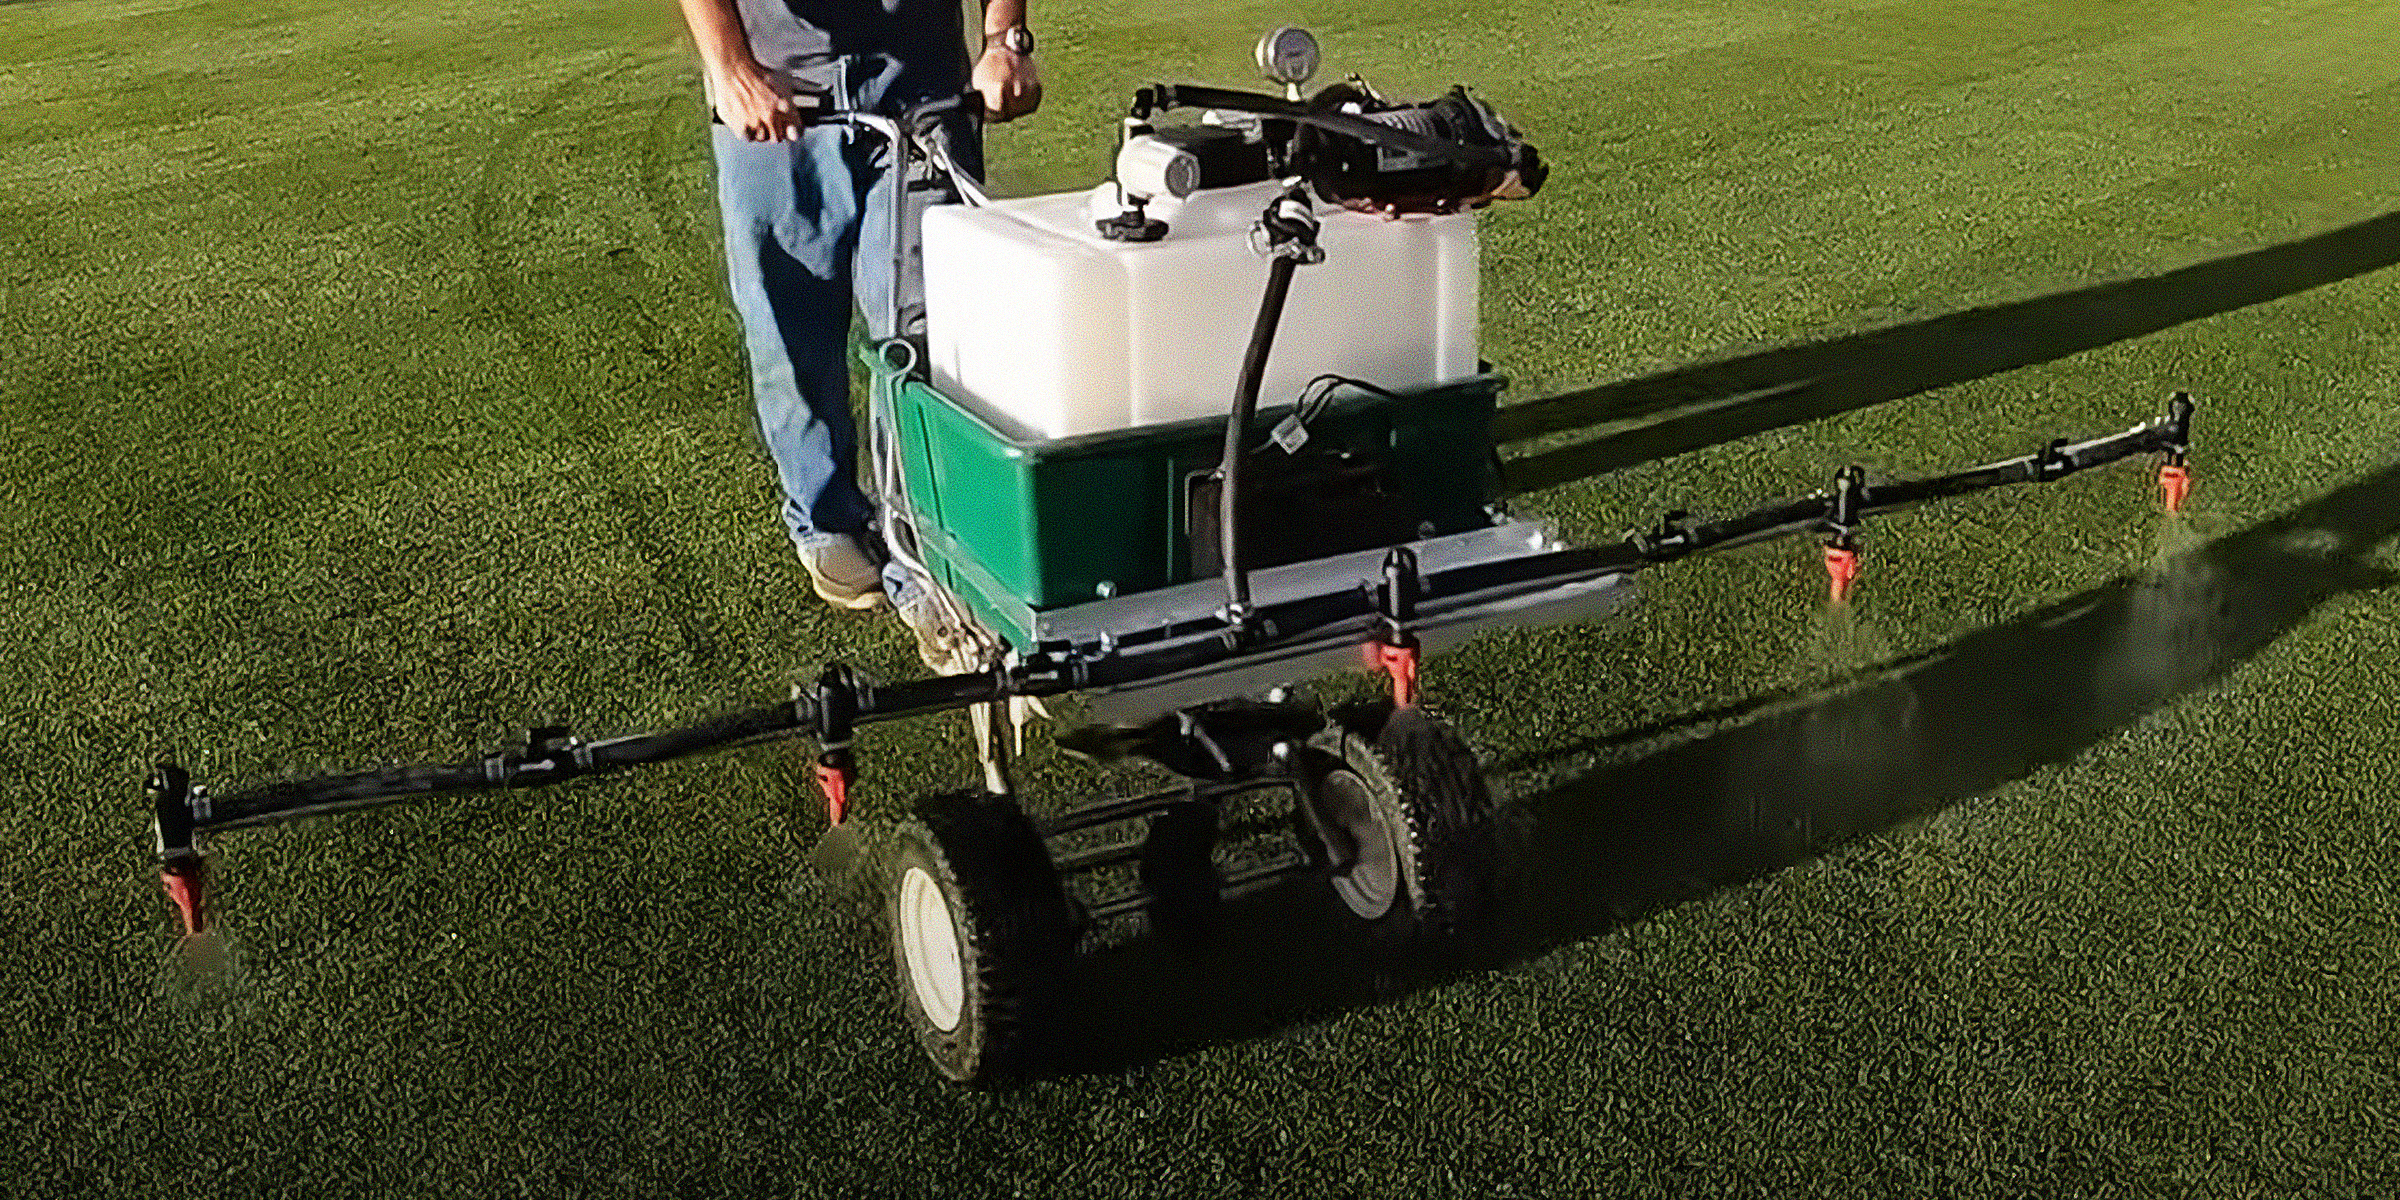
Whether you're a seasoned hunter or just getting started, a deer hoist is a helpful tool when hunting these large animals, and now, you can make this device in comfort of your home with this simple DIY deer hoist guide.
Feb 09, 2024
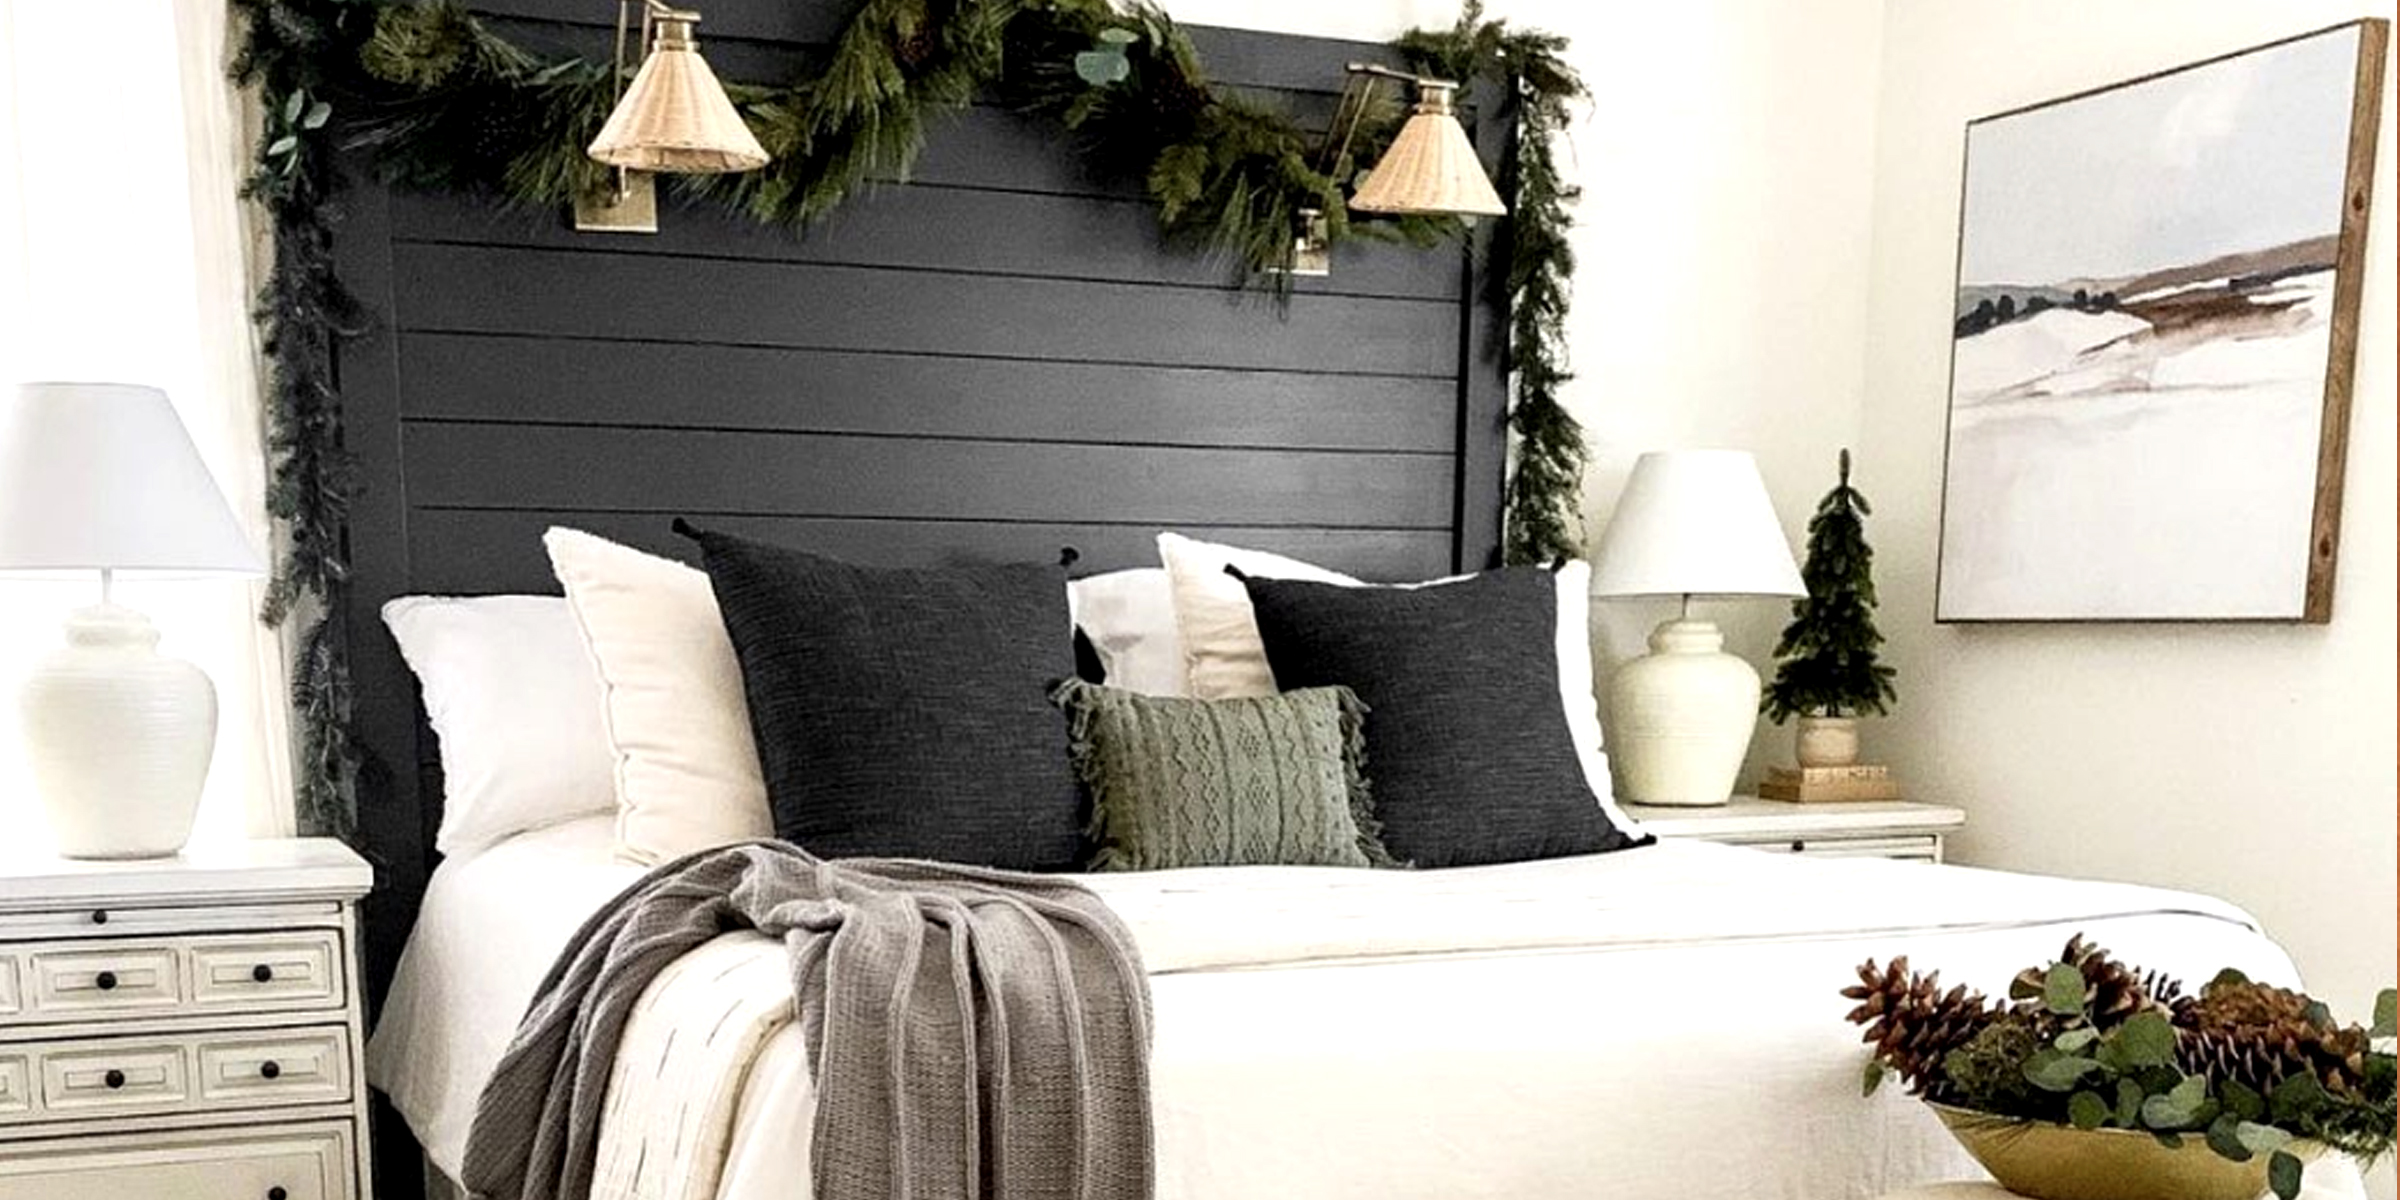
Elevate your bedroom's style with a personalized touch by crafting a DIY shiplap headboard. This project not only adds a rustic, farmhouse flair to your space but also allows you to create a custom focal point that is both functional and stylish.
Apr 18, 2024
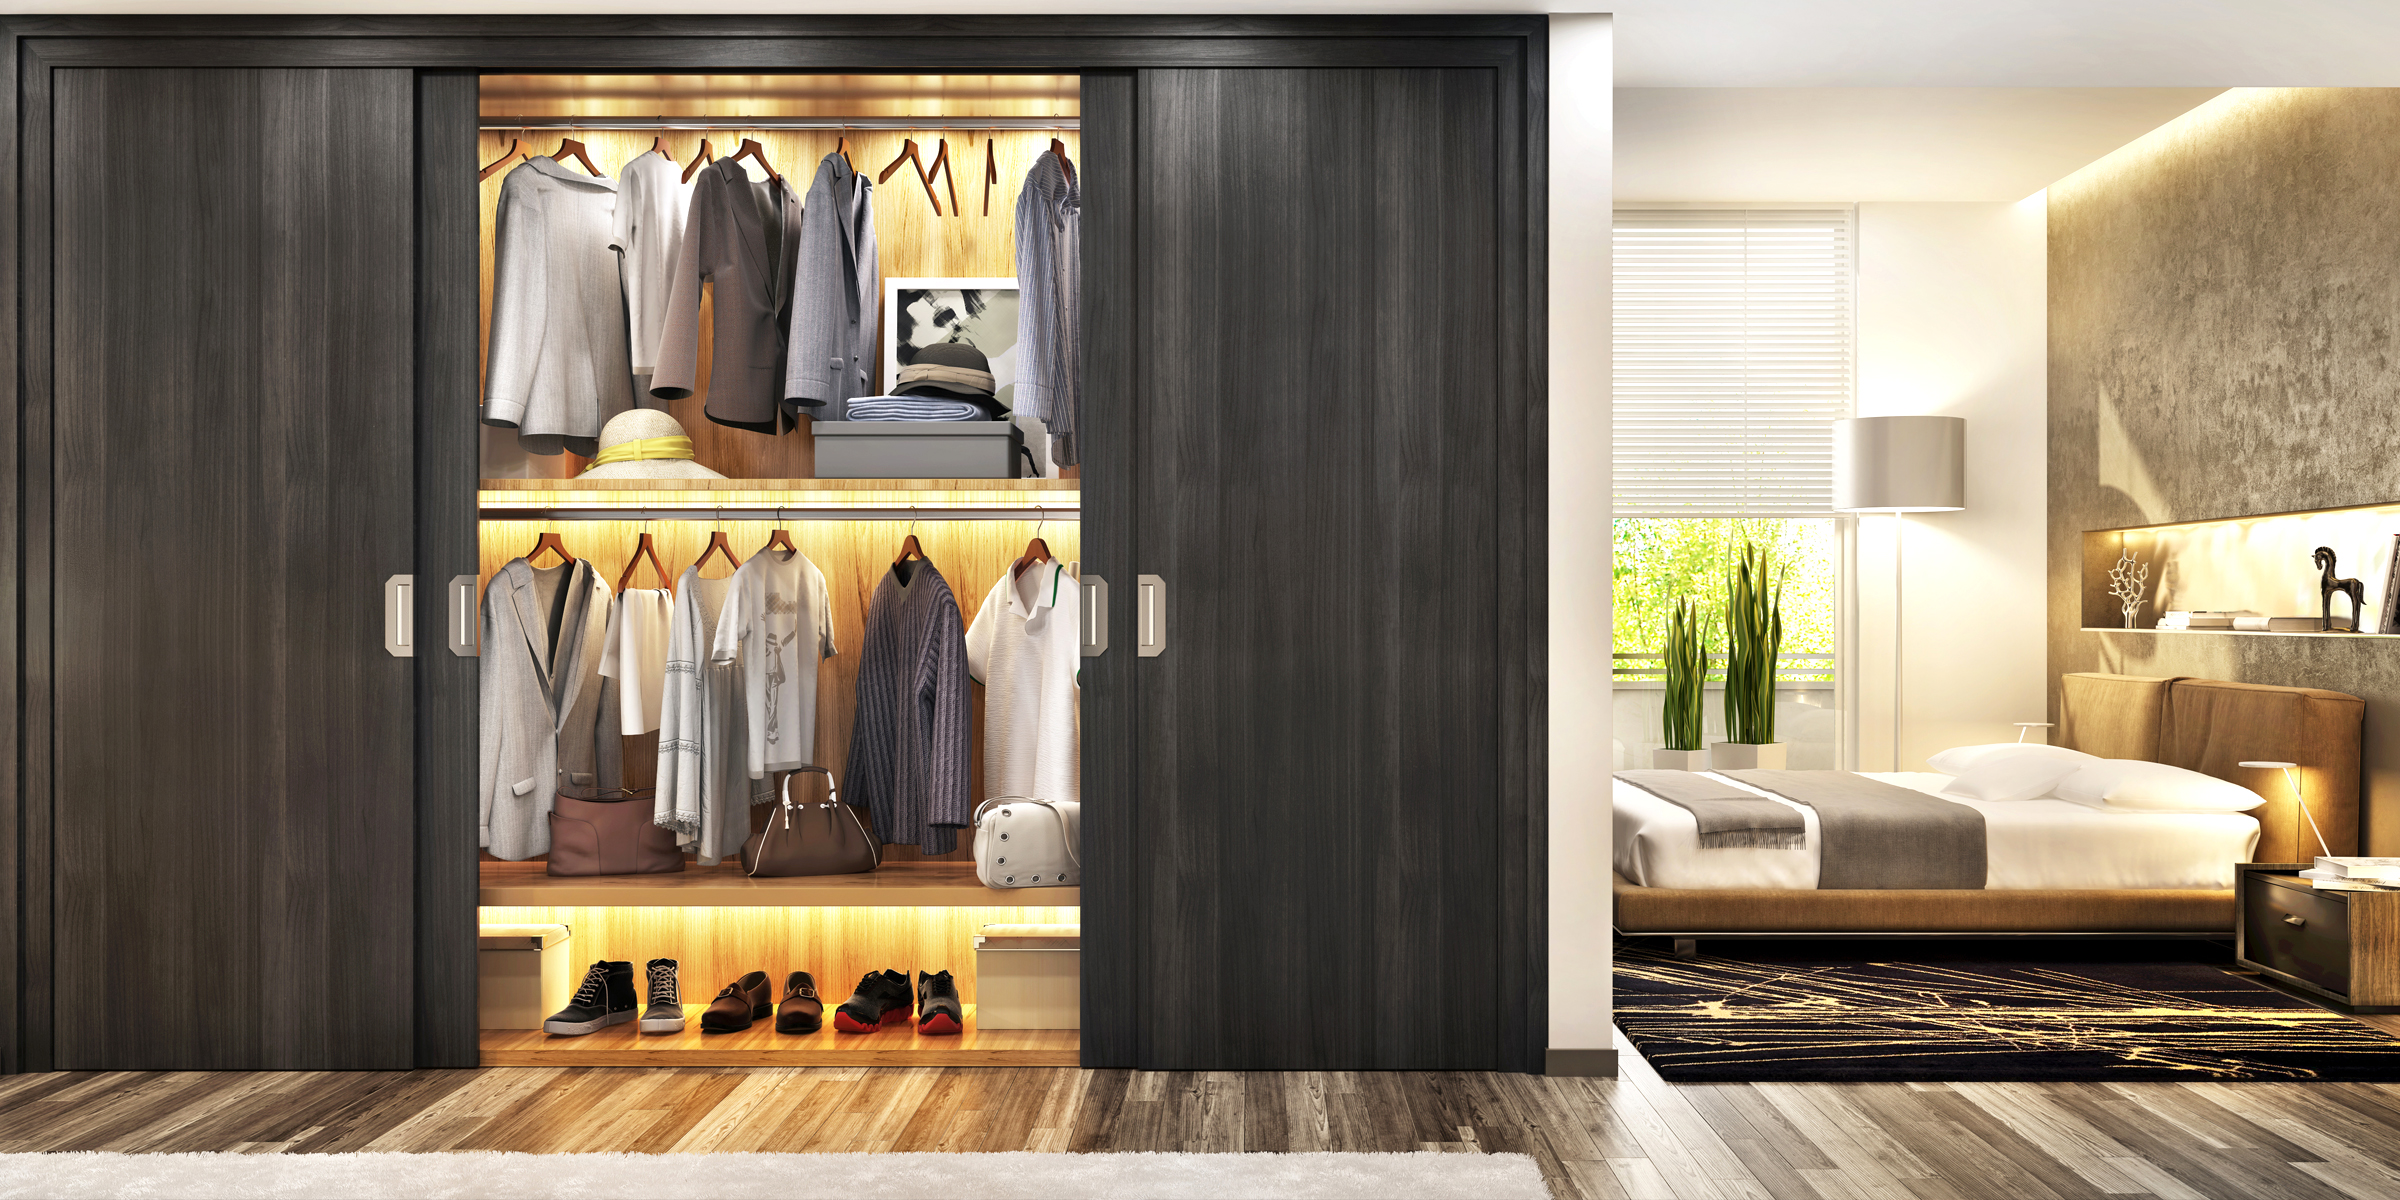
Embark on a creative journey and revamp your bedroom aesthetics with a DIY wardrobe door. With a touch of ingenuity and these simple steps, you can tailor a personalized and budget-friendly solution.
Feb 03, 2024
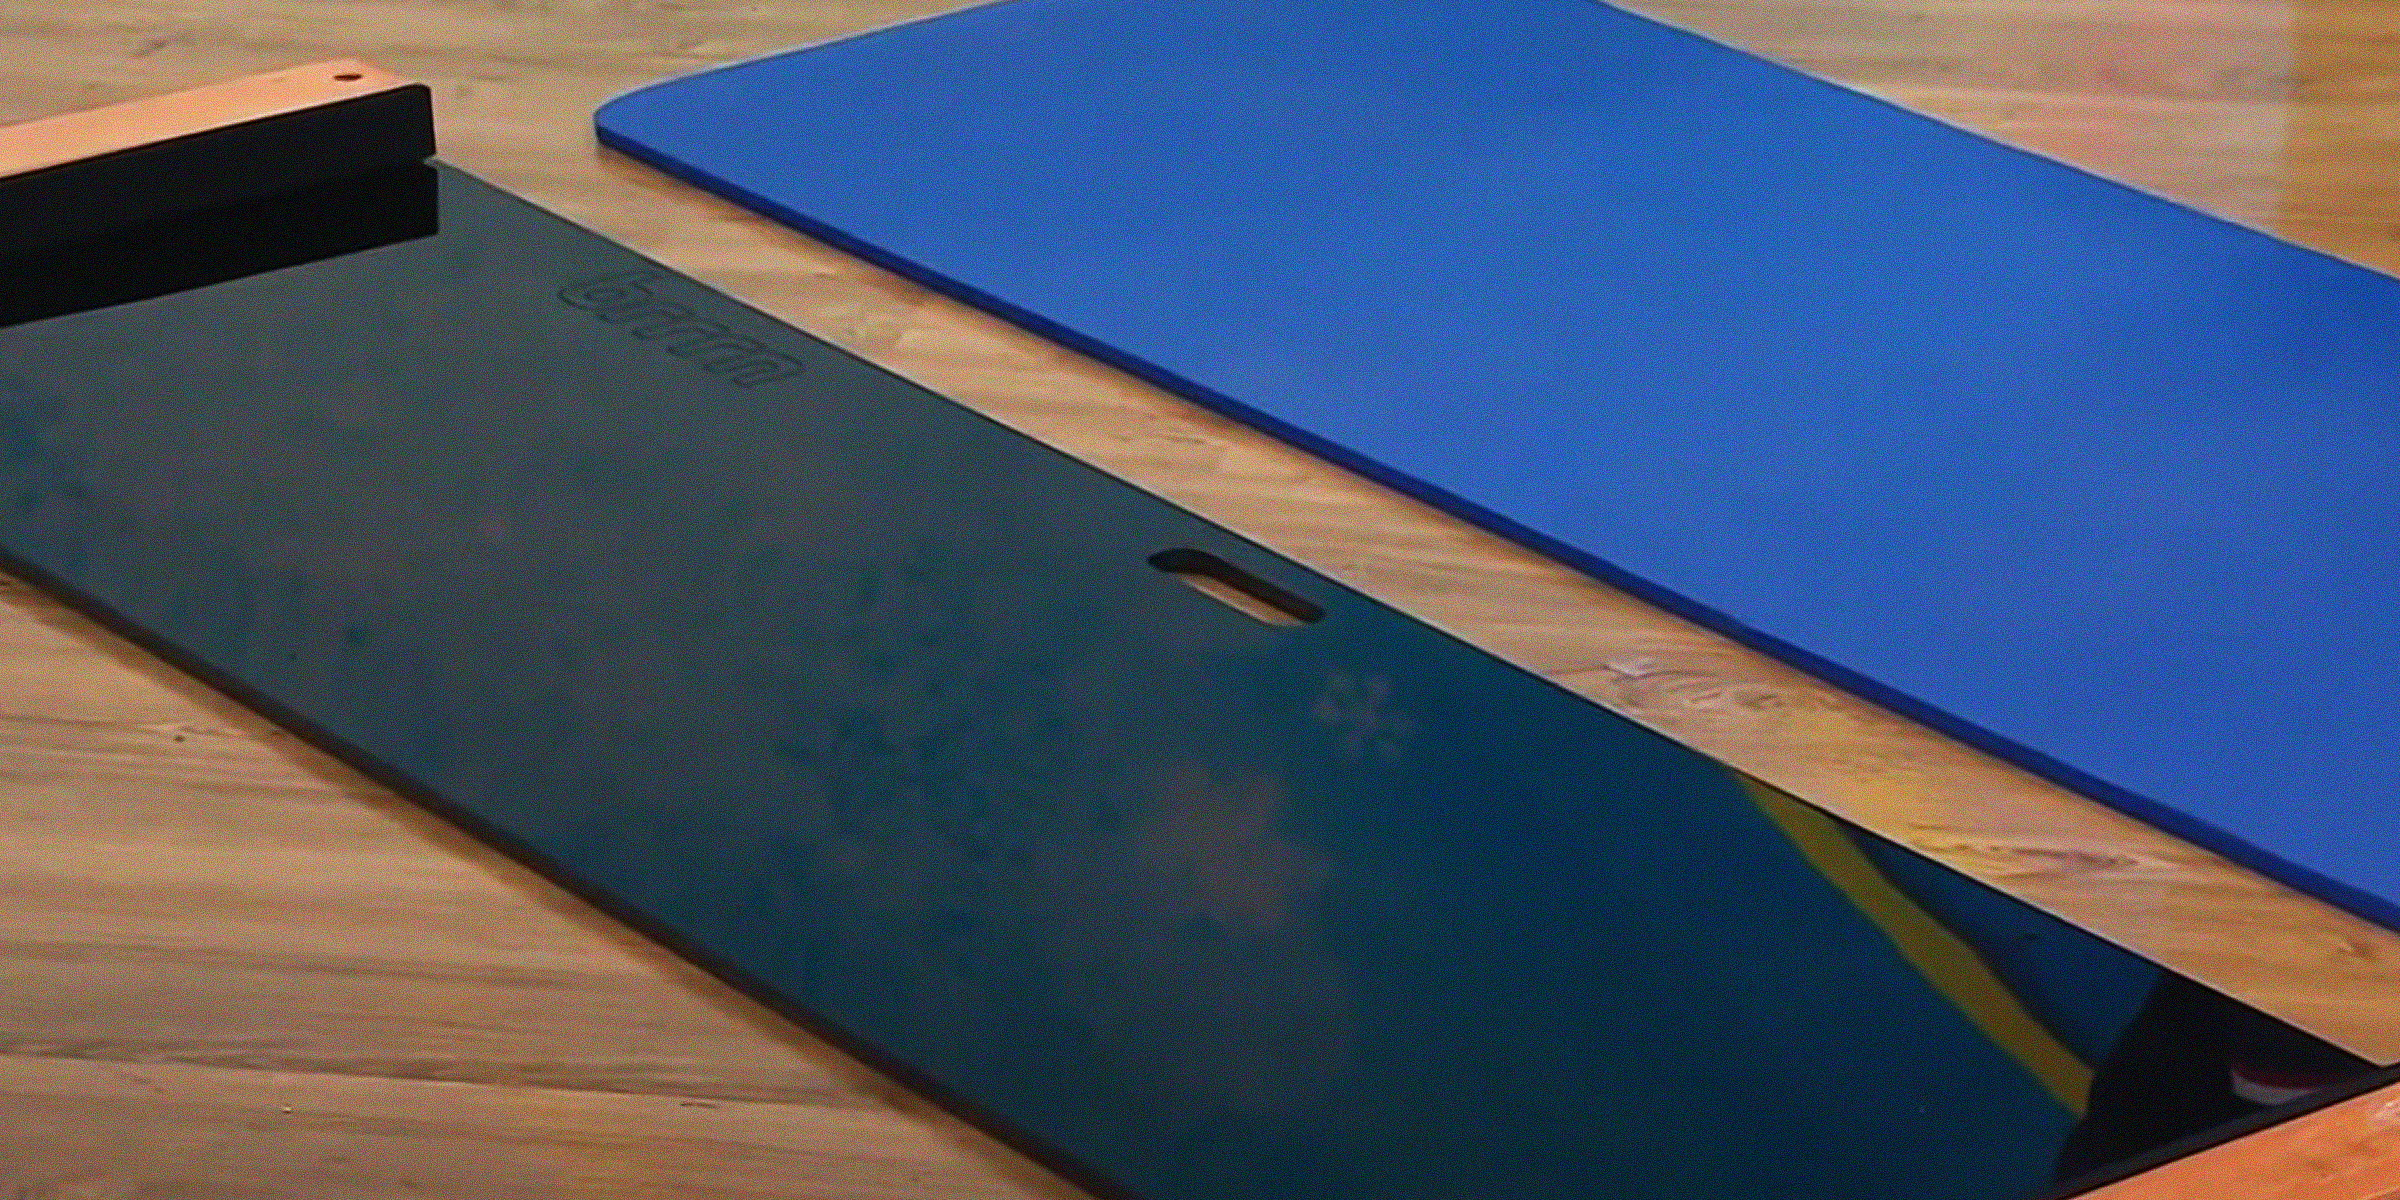
Discover the cost-effective joy of DIY slide boards! This article guides you through crafting your own, enriching your workout without breaking the bank. Save big while elevating your exercise routine.
Feb 04, 2024

Are you passionate about fitness and eager to enhance your training? A DIY workout sled can come in handy to ensure you reach your desired fitness goals.
Feb 08, 2024
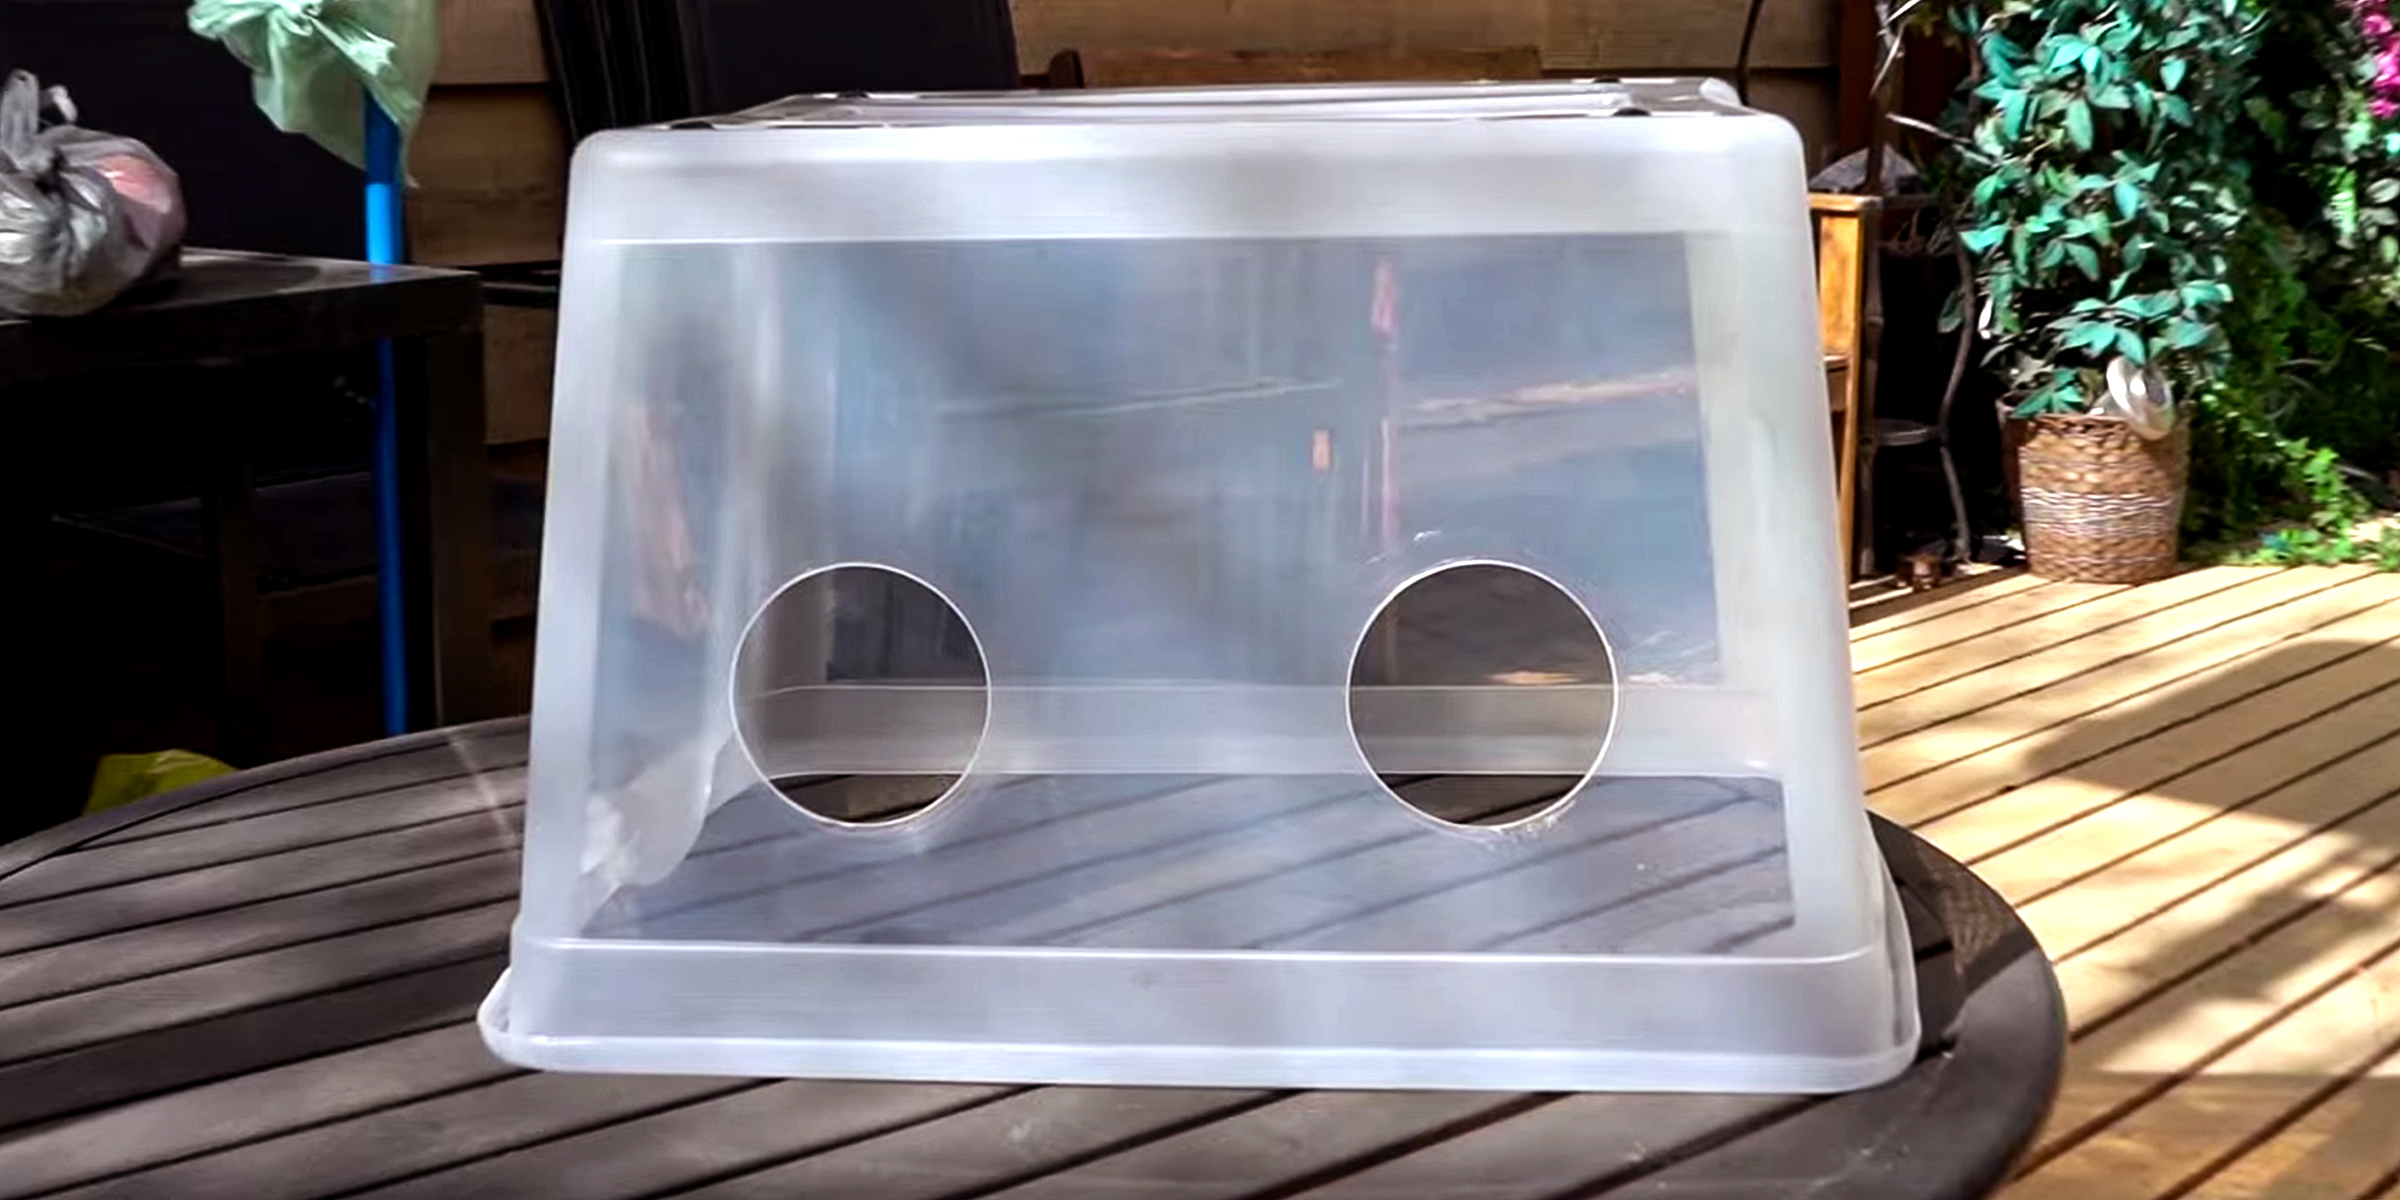
If you're a mycology expert or enthusiast, you probably know the importance of a still air box in your work. However, if you're opposed to buying one, here's how to build a still air box DIY-style.
Feb 08, 2024
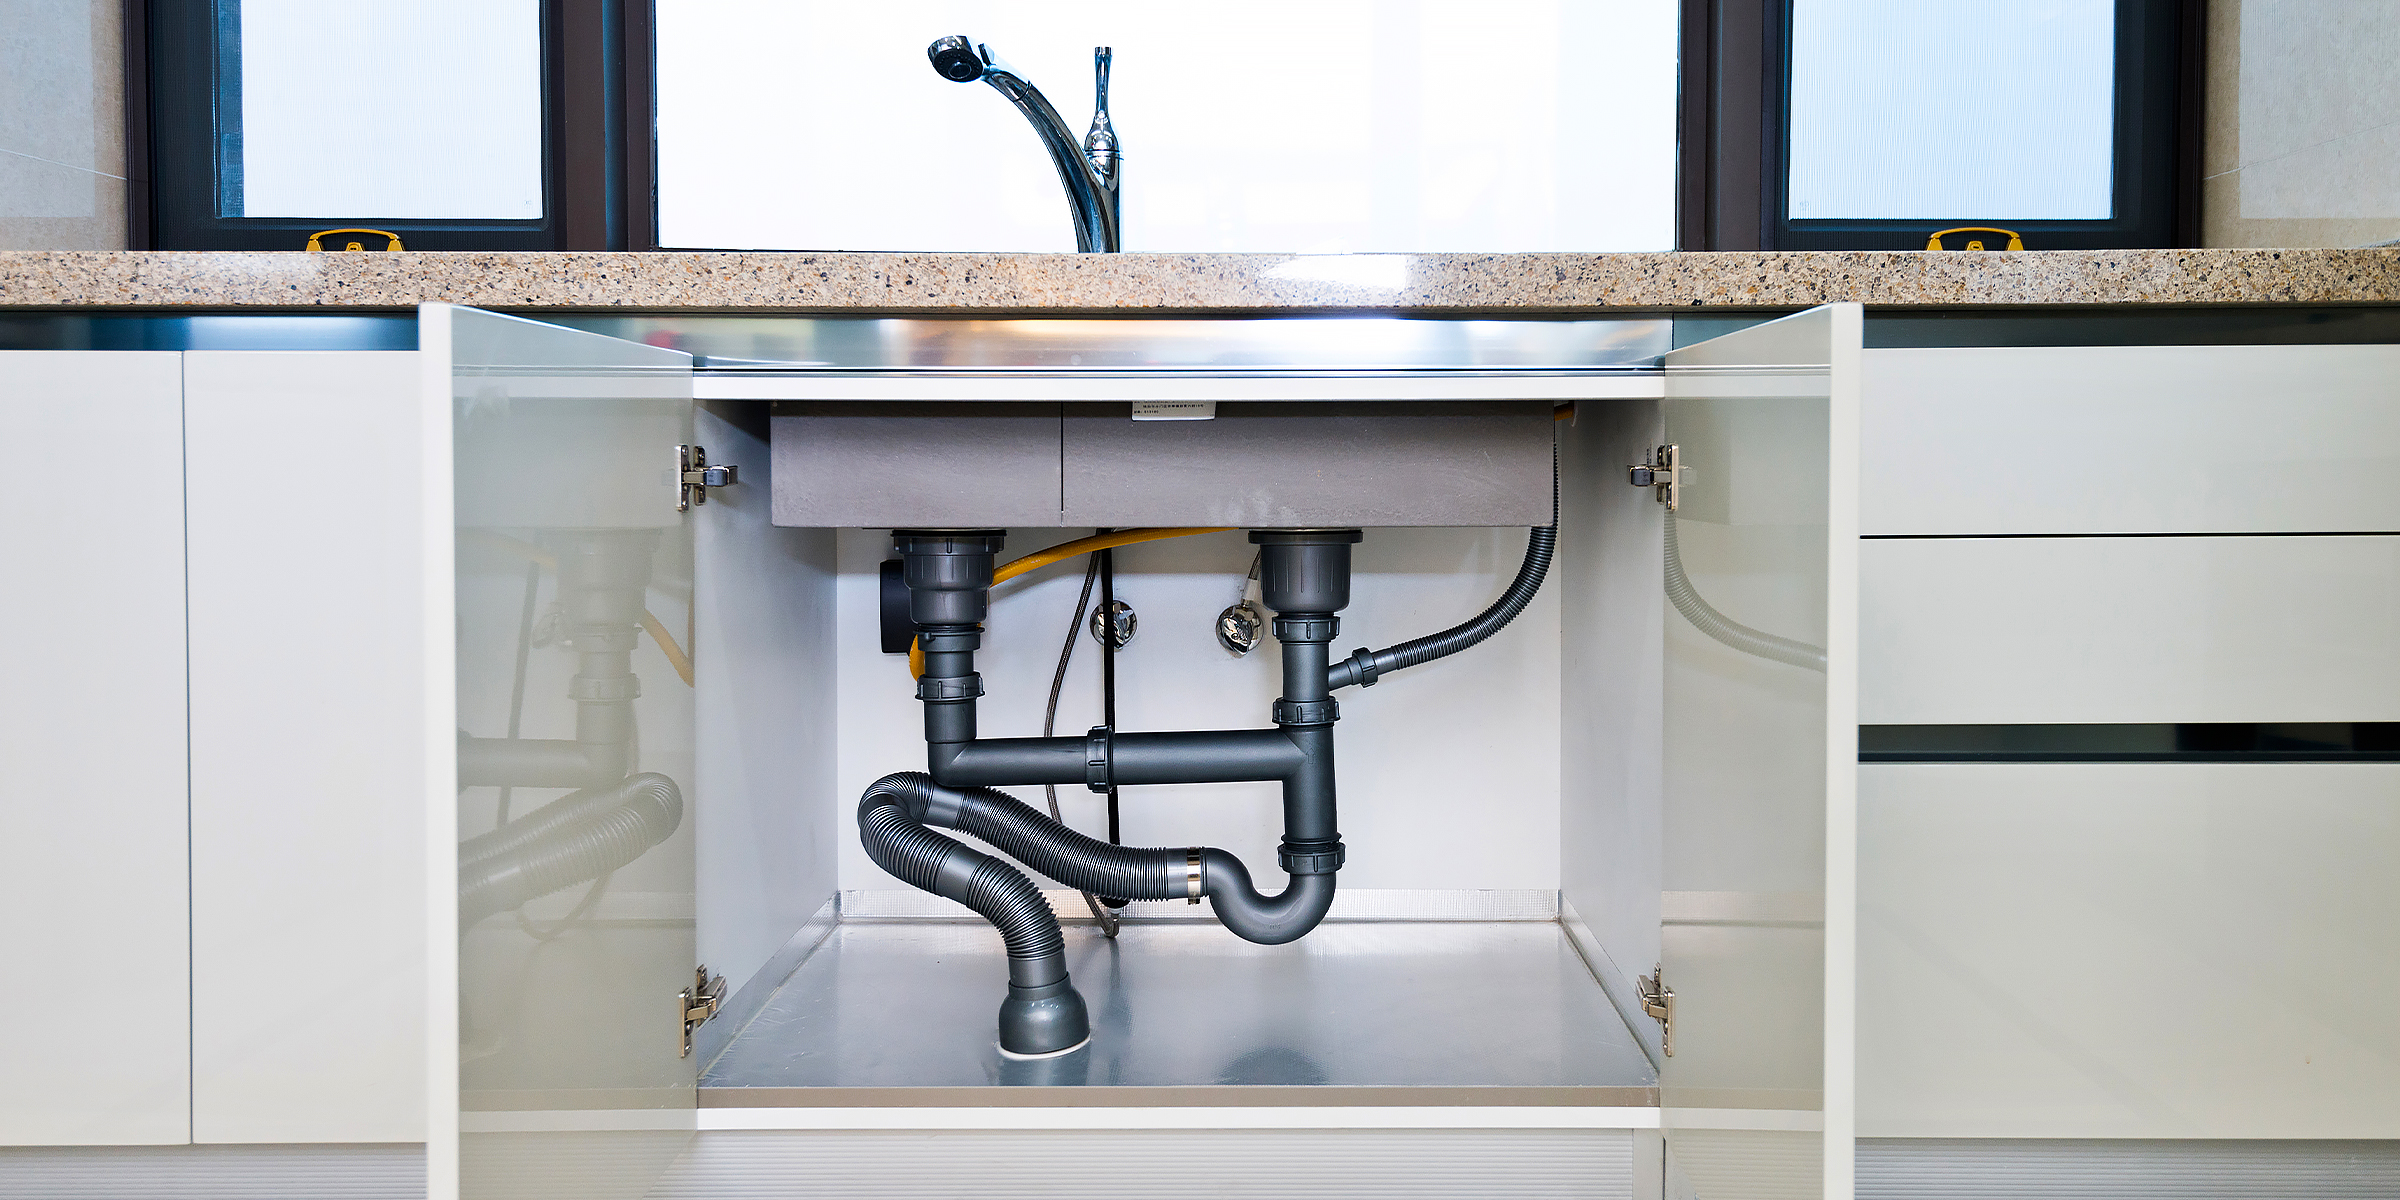
Save a few dollars by following this helpful guide on how to vent a kitchen sink under a window by yourself for a perfeclty functioning plumbing and drainage system in your home.
Feb 02, 2024

Unleash your creativity with our guide to gourd decorating ideas, perfect for both seasoned artisans and beginners alike. Discover innovative techniques that will elevate your gourd decorations to new heights!
Mar 11, 2024
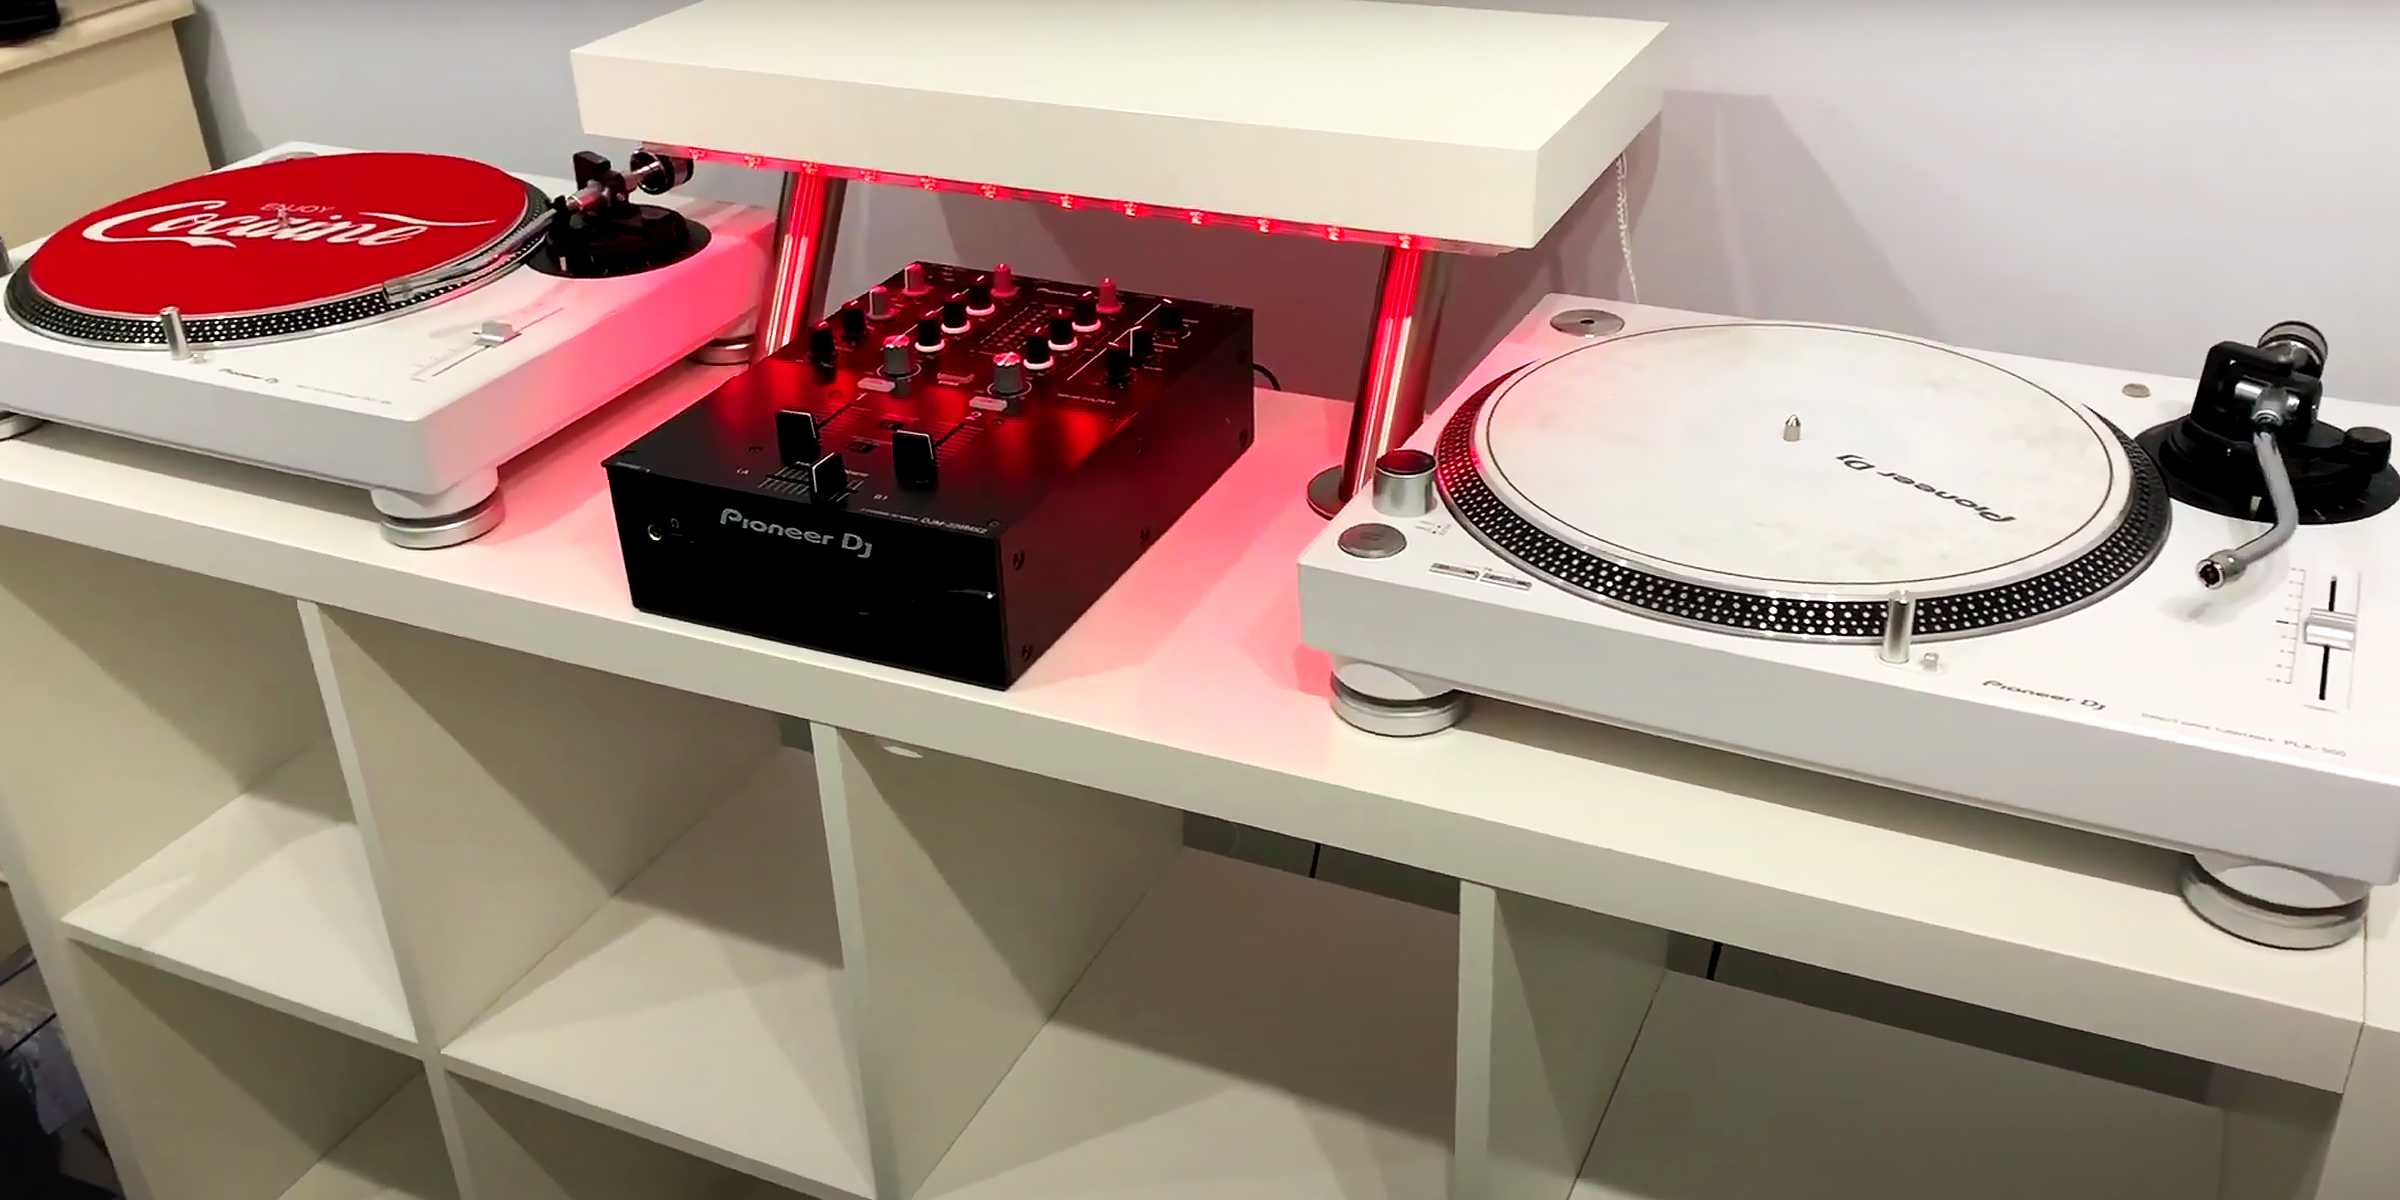
Discover how to transform your space into a DJ's dream with our guide to crafting a DIY DJ booth. From assembling IKEA furniture to adding personalized touches. It's time to unleash your creativity and elevate your DJing experience.
Feb 17, 2024