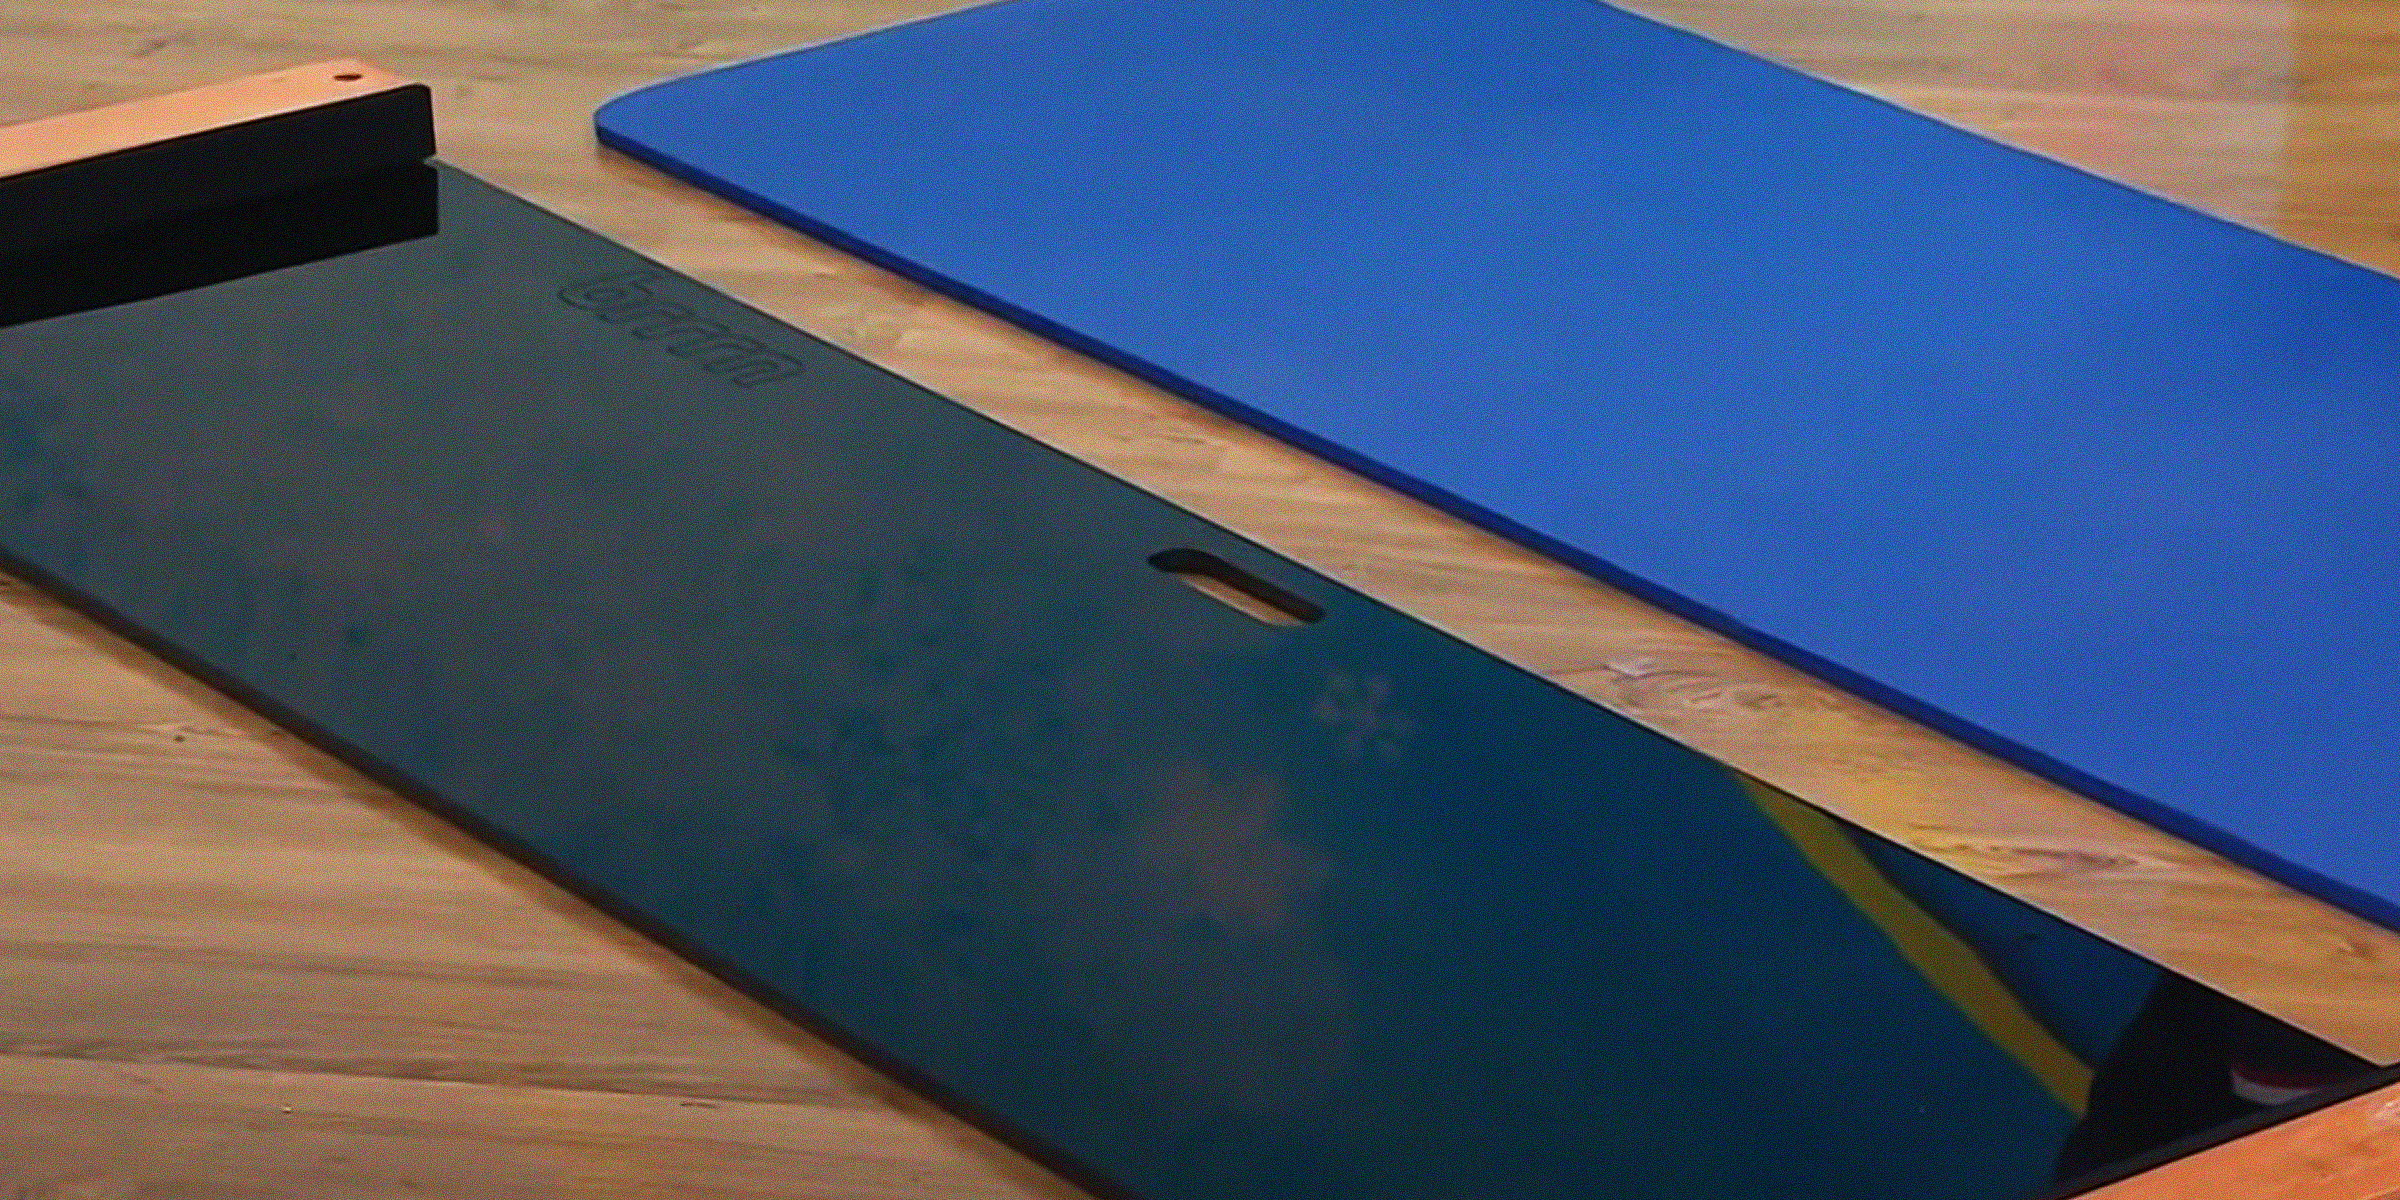
DIY Slide Board — Craft Your Own Athletic Training Tool with Simple Materials
Feb 04, 2024


Elevate your bedroom's style with a personalized touch by crafting a DIY shiplap headboard. This project not only adds a rustic, farmhouse flair to your space but also allows you to create a custom focal point that is both functional and stylish.
Whether you're aiming for a cozy beach cottage vibe or a more minimalist country aesthetic, transform your bedroom with a stunning centerpiece that combines both rustic charm and modern aesthetics: the shiplap headboard.
Crafting your own shiplap headboard is not only a rewarding DIY project but also an instant style upgrade for your bedroom. It's also the perfect solution for anyone looking to personalize their space without the steep price tag of store-bought options.
So, whether you’re a seasoned DIY enthusiast or a beginner looking to tackle a new project, follow along for detailed instructions on how to achieve the perfect rustic yet refined DIY shiplap headboard.
1. Cut and Prepare the Wood
Begin by cutting all wood to the specified sizes. Use a table saw to notch out the two sides of the headboard or, if unavailable, use the 1x3 inch pine board to create a clean edge.
Remove the top notch from the first piece of shiplap; this will be positioned at the top of your headboard. Sand all sharp corners lightly to maintain the rustic texture yet ensure they are safe to touch.
2. Apply Finish
Using the HomeRight Finish Max Super Paint Sprayer fitted with a blue spray tip, apply an even coat of Varathane Weathered Wood Accelerator to all wooden pieces.
This step is crucial for achieving that sought-after weathered, reclaimed wood appearance. Ensure all visible sides are evenly coated, including the three sides of the top board.
3. Install the Braces:
Secure the 2x4 braces to your wall, ensuring they align with the studs for maximum stability. Check that each brace is vertically straight with the help of your level. Attach them using Liquid Nails followed by 3-inch screws, positioning the lower end on the baseboard.
4. Attach the Shiplap:
Start with the first piece of shiplap, aligning the cut side at the top. Fix it to the 2x4 braces using the Brad nailer. Continue adding planks, applying a thin line of Liquid Nails to ensure a firm attachment to the previous board and the wall braces.
5. Finishing Touches - Sides and Top:
Add the 1x3 inch sideboards by applying Liquid Nails and securing them with the brad nailer. Ensure they are flush with the top of the headboard planks for a neat finish. Finally, attach the top board using Liquid Nails, adjusting for an even overhang on each side before securing it.
Congratulations on completing your DIY shiplap headboard! This addition not only enhances the aesthetic appeal of your bedroom but also brings a sense of accomplishment from creating something beautiful and functional with your own hands.
If you enjoyed this project and are looking for your next DIY challenge, consider exploring our guide on crafting a DIY hearth pad. Perfect for protecting your floors and adding an element of style to your fireplace area.
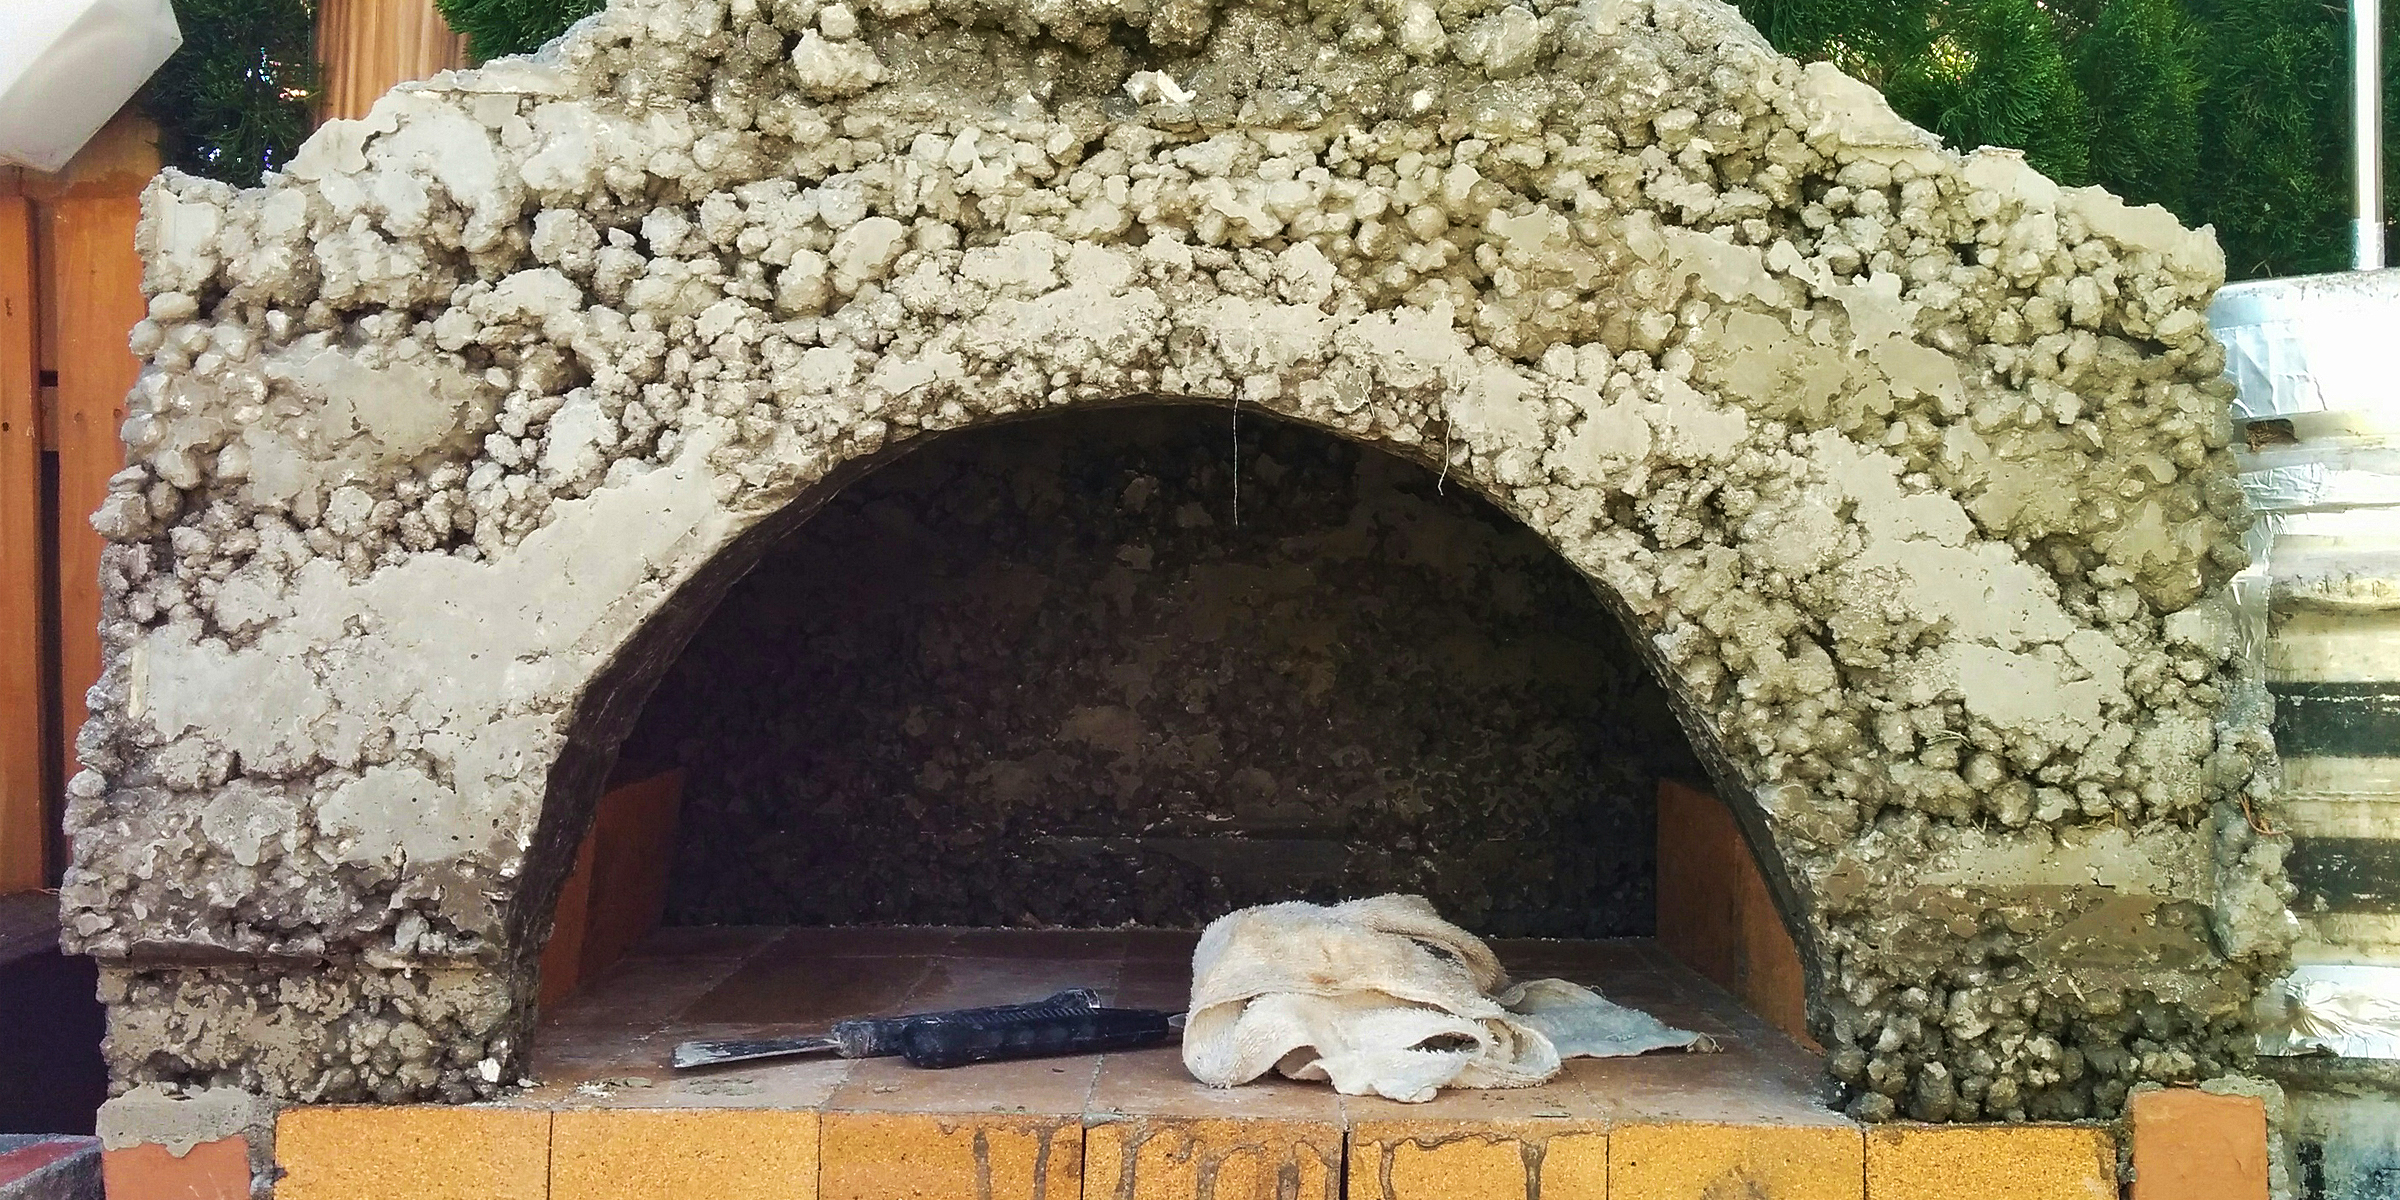
Elevate your culinary skills and backyard aesthetics by building your own DIY pizza oven. This comprehensive guide will equip you with the knowledge and step-by-step instructions to construct a functional and stylish pizza oven.
Apr 16, 2024
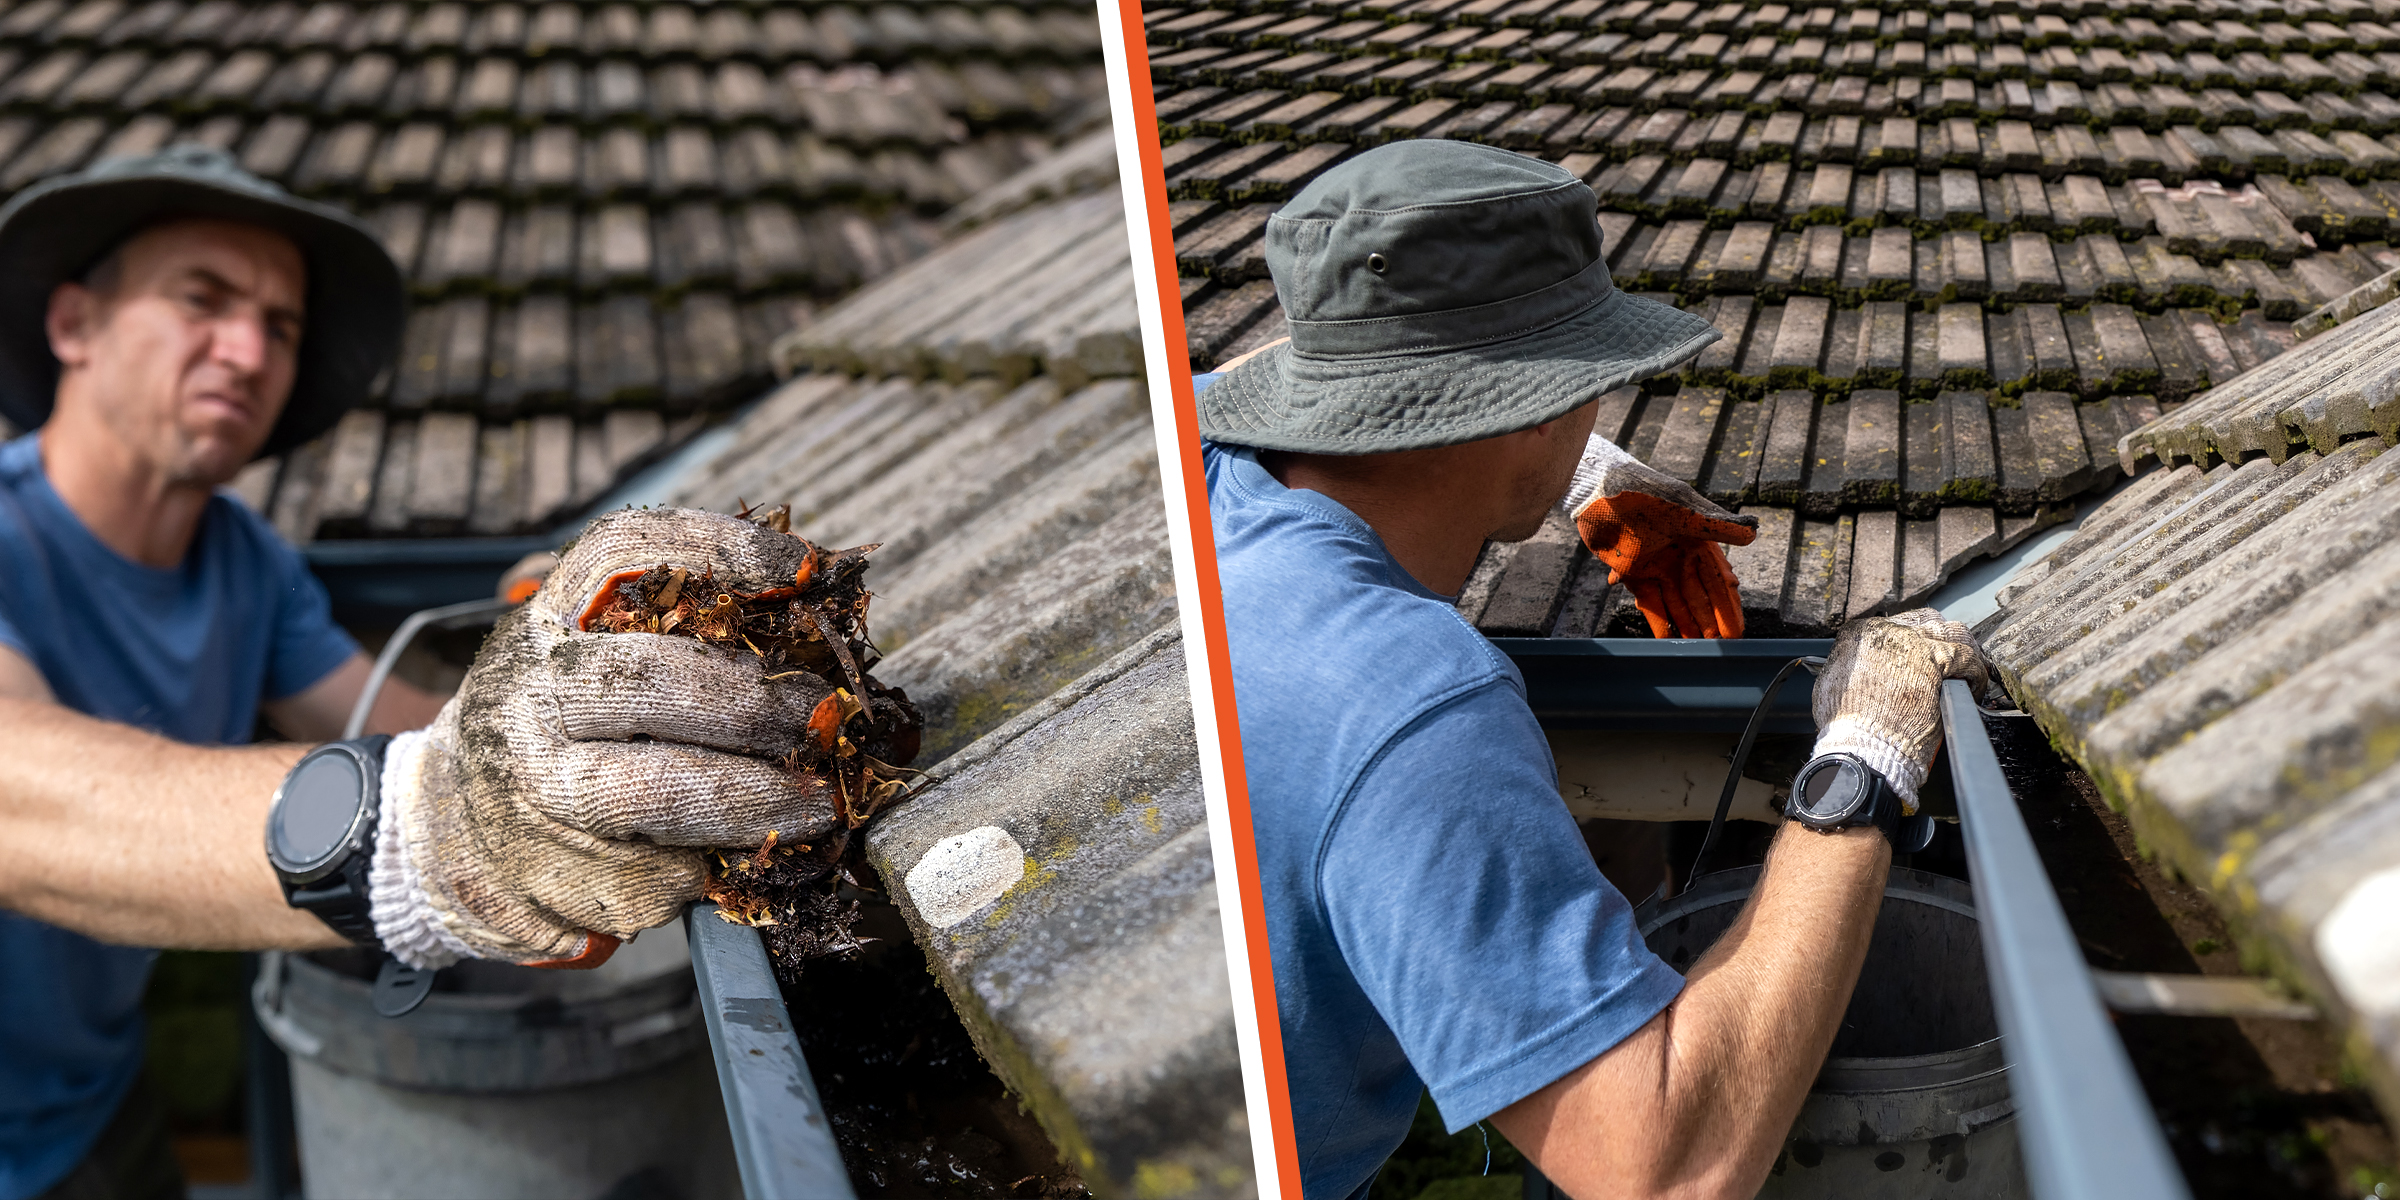
In a world where convenience is king, the quest for efficient home maintenance solutions is never-ending. Enter the revolutionary concept of DIY gutter guards — your ultimate ally against the tedious task of gutter cleaning.
Apr 12, 2024

Dive into the rejuvenating world of cold water therapy with our straightforward guide to creating your very own DIY cold plunge container. Get ready to unlock the secrets to crafting a homemade cold plunge container that promises the icy embrace of wellness without the luxury expense.
Apr 14, 2024

Crystal suncatchers are not only stunning decorative pieces, but they are also a unique way to fill your home with sunlight and positive energy. Enjoy the almost magical properties of this beautiful ornament with this DIY crystal suncatcher guide.
Jan 15, 2024

Transforming long car rides with children into fun-filled adventures is possible. Yet, managing sibling conflicts can be tough. Explore inventive solutions to foster peace and harmony between your little ones.
Feb 15, 2024

Create a space that promotes independence and a thirst for knowledge in your child, all in the comfort of your home, with this helpful DIY Montessori bookshelf guide.
Feb 04, 2024
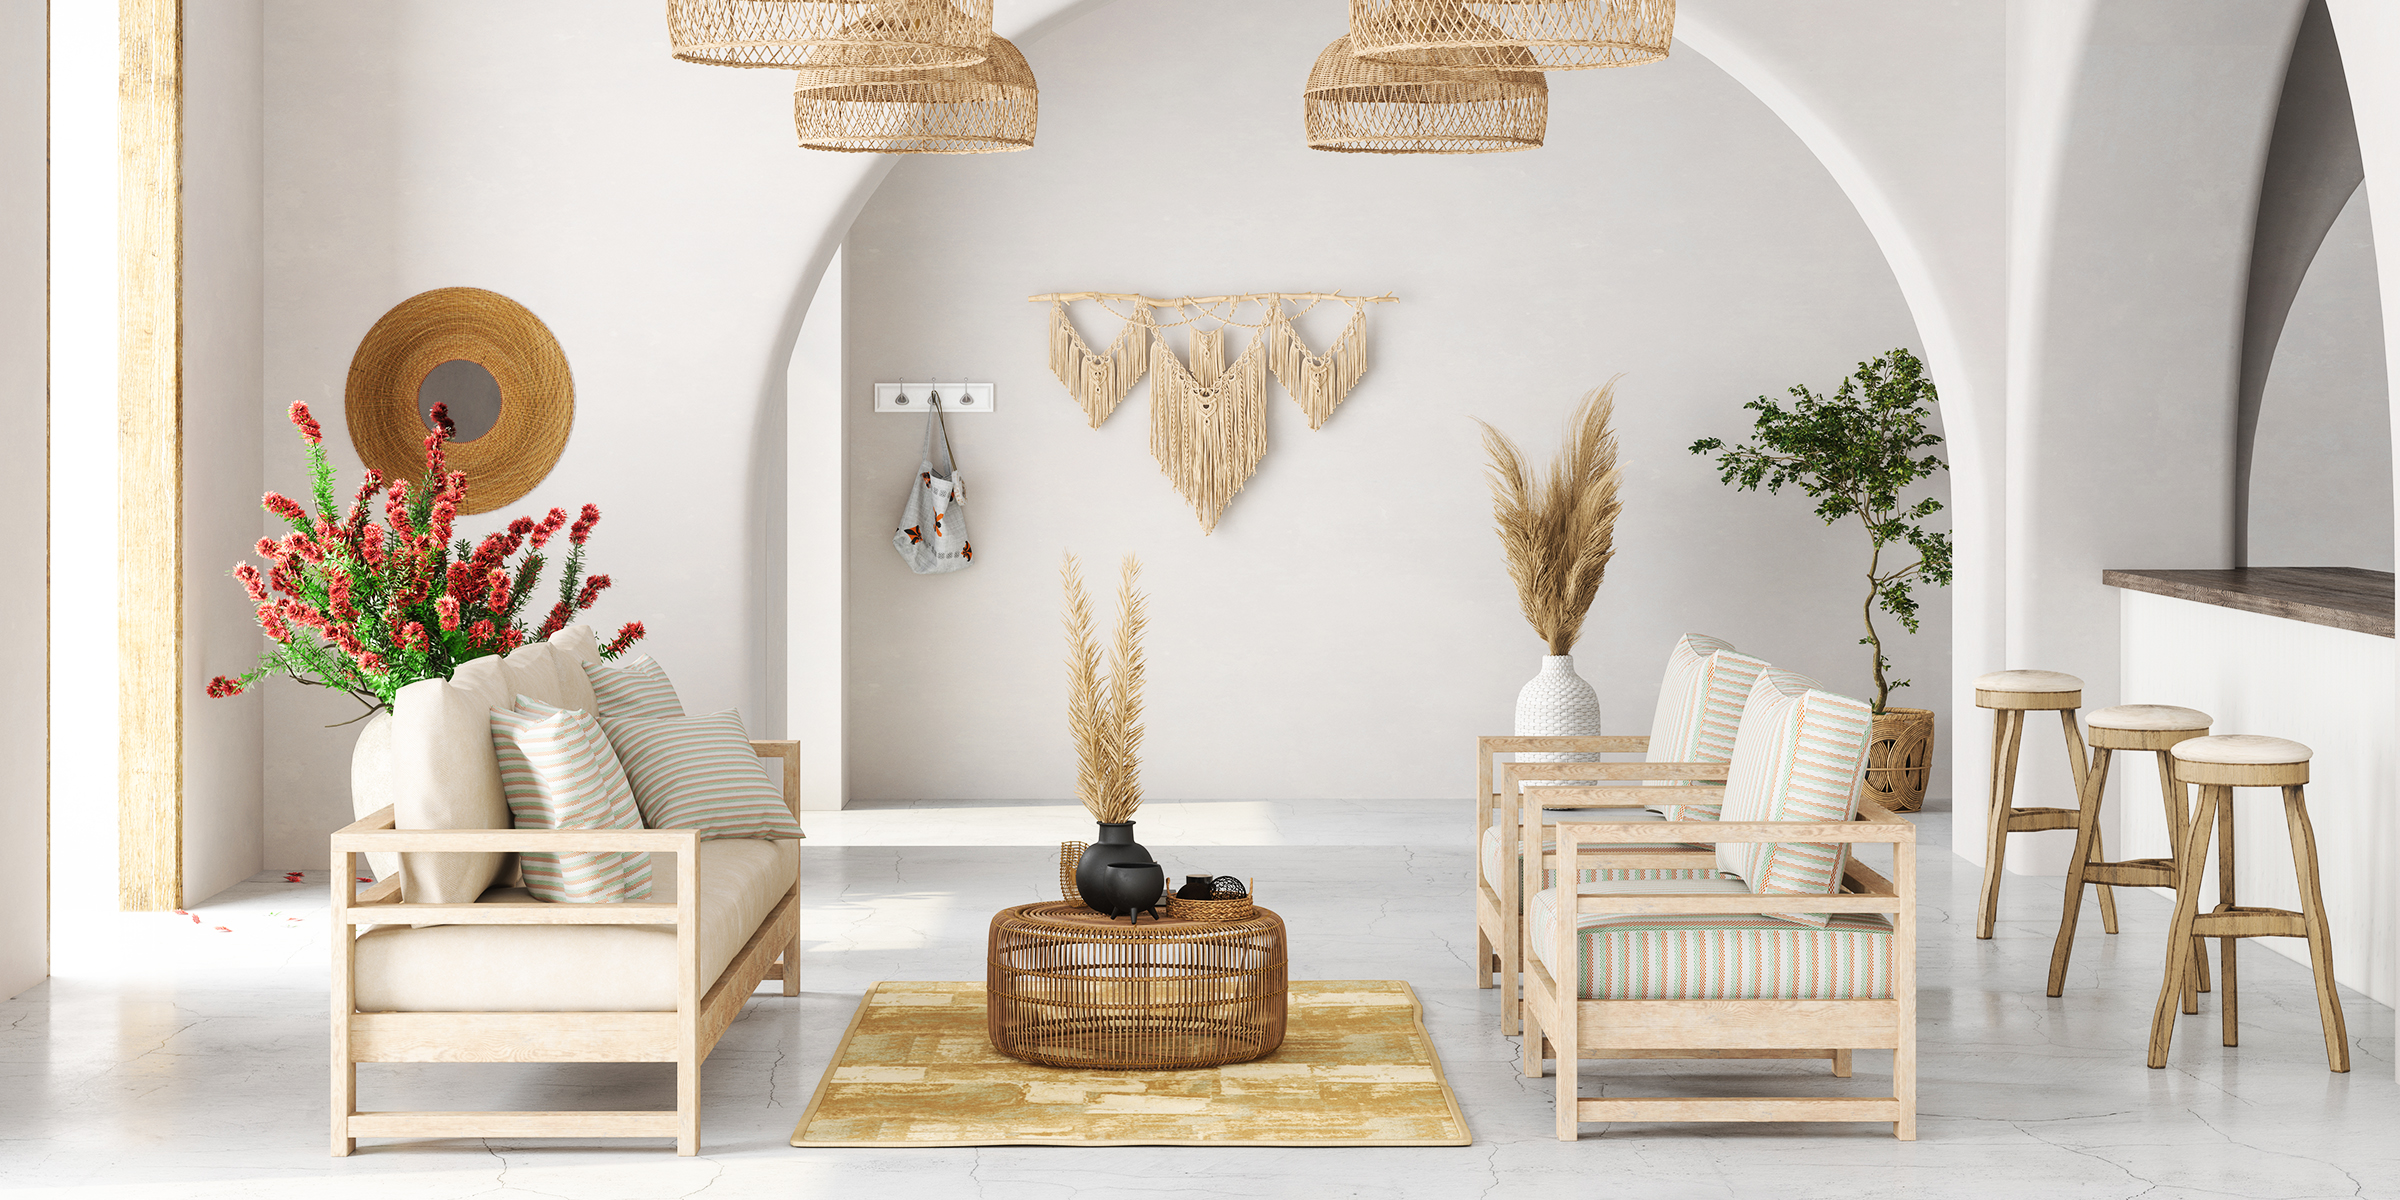
If you're looking to create the perfect balance of boho and rustic in your living room, continue reading for essential interior design tips to perfectly encapsulate the charming touch and natural finish of these two styles.
Jan 29, 2024

Are you passionate about fitness and eager to enhance your training? A DIY workout sled can come in handy to ensure you reach your desired fitness goals.
Feb 08, 2024
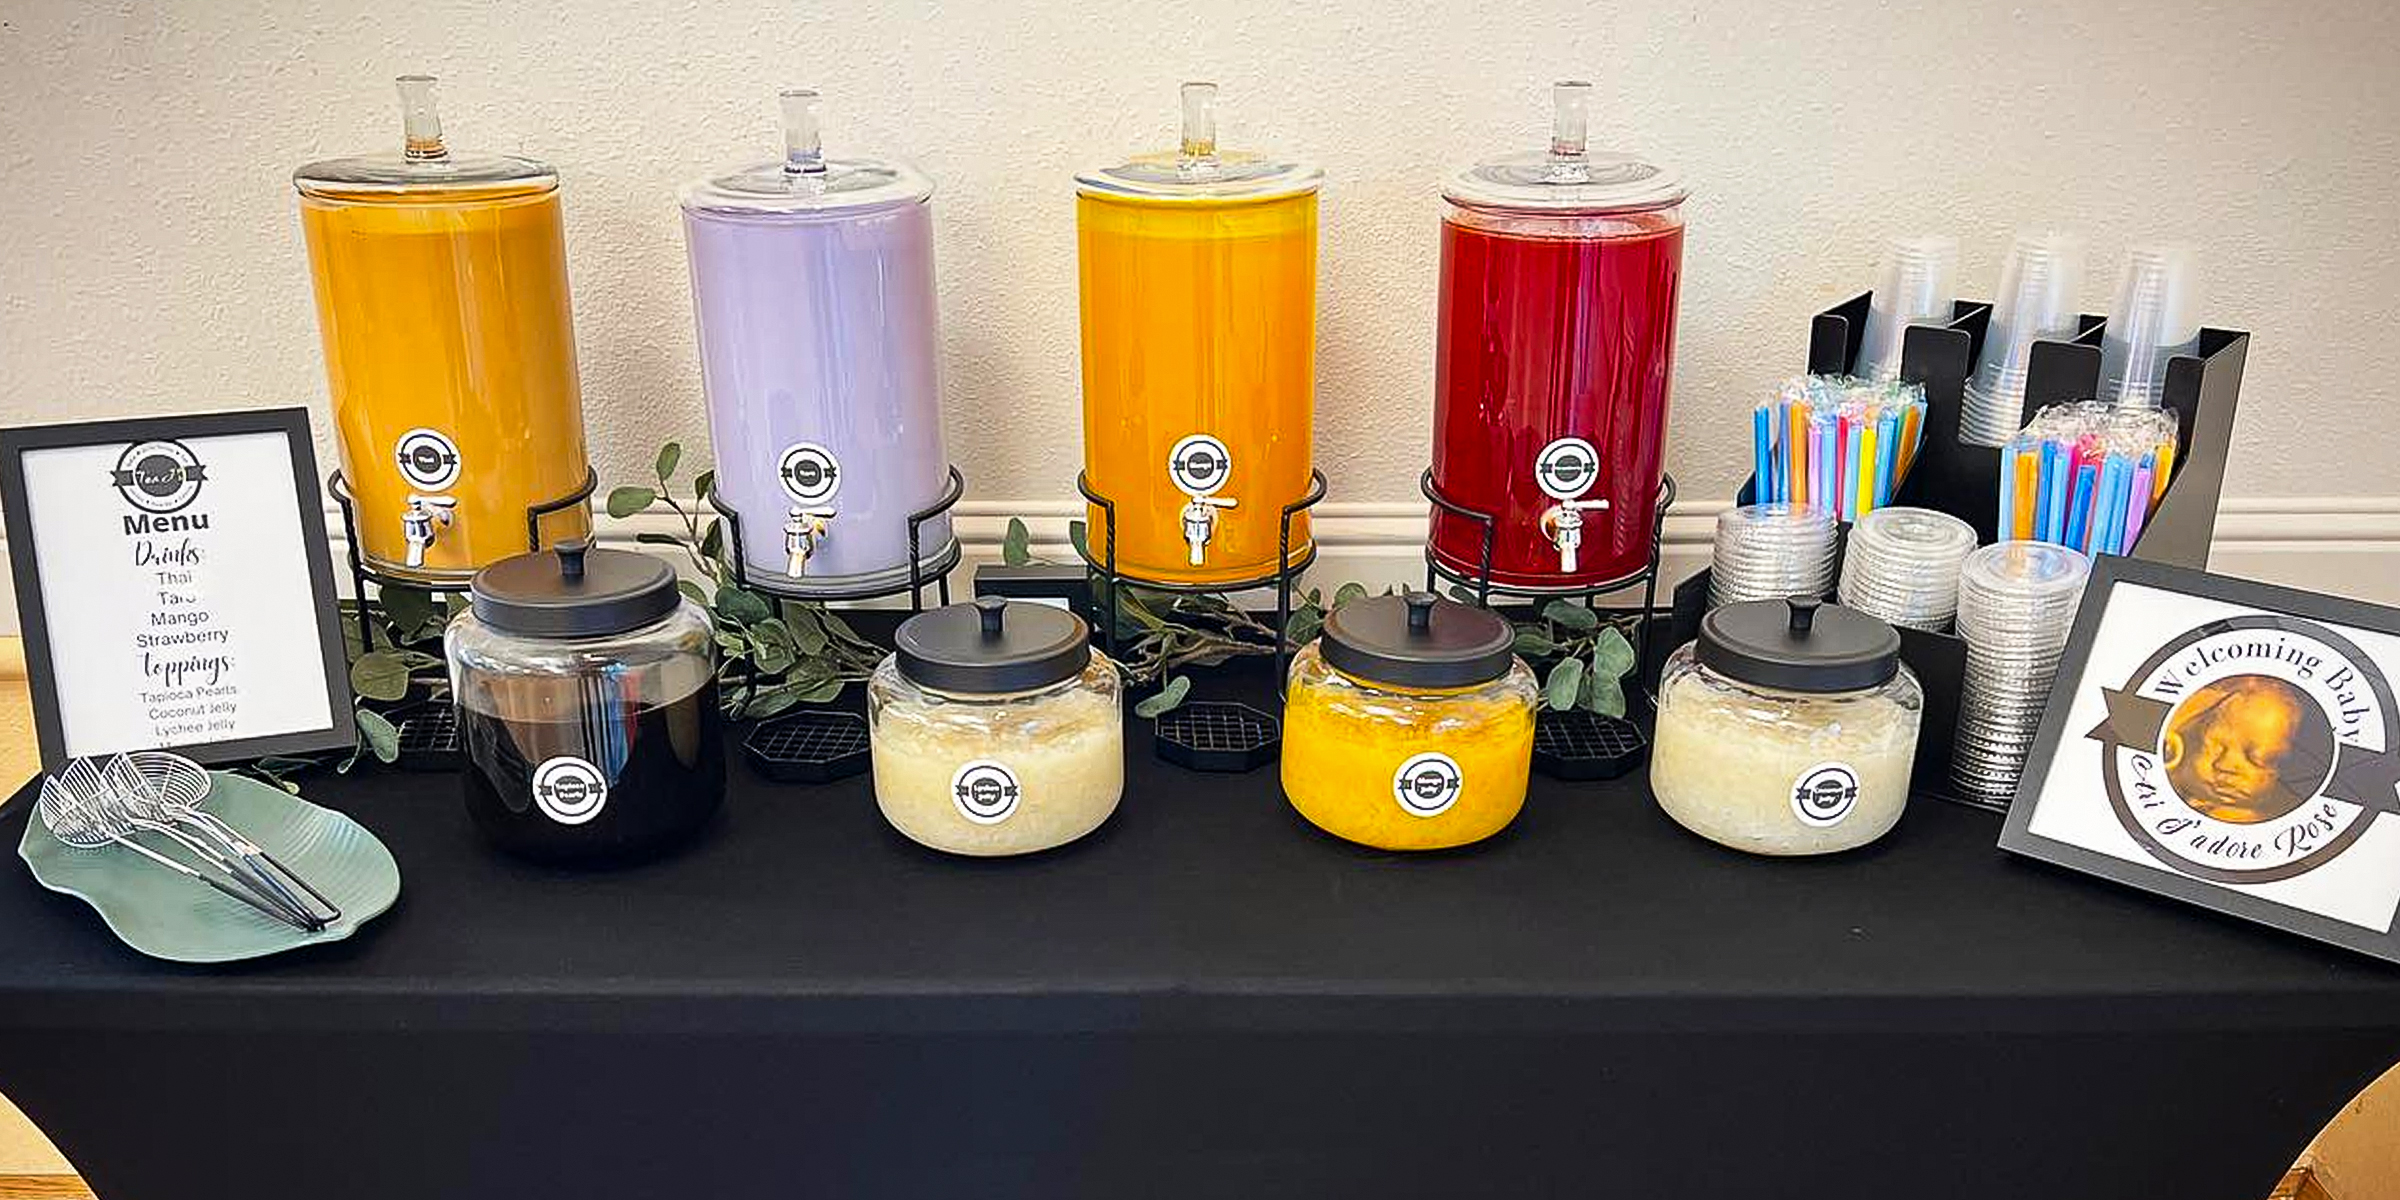
To elevate your next soirée with a DIY Boba bar, continue reading for the essentials to give your guests the perfect Boba tea experience they will never forget.
Feb 07, 2024

Protect your family from the sun's harsh rays while saving a few dollars with this DIY Shibumi Shade hack for the perfect beach day with your loved ones.
Jan 30, 2024

Seint is a well-known beauty brand specializing in cosmetic applicators like makeup brushes and blenders. Knowing how to clean Seint brushes not only has hygienic purposes but also preserves the quality of the makeup tools.
Jan 09, 2024
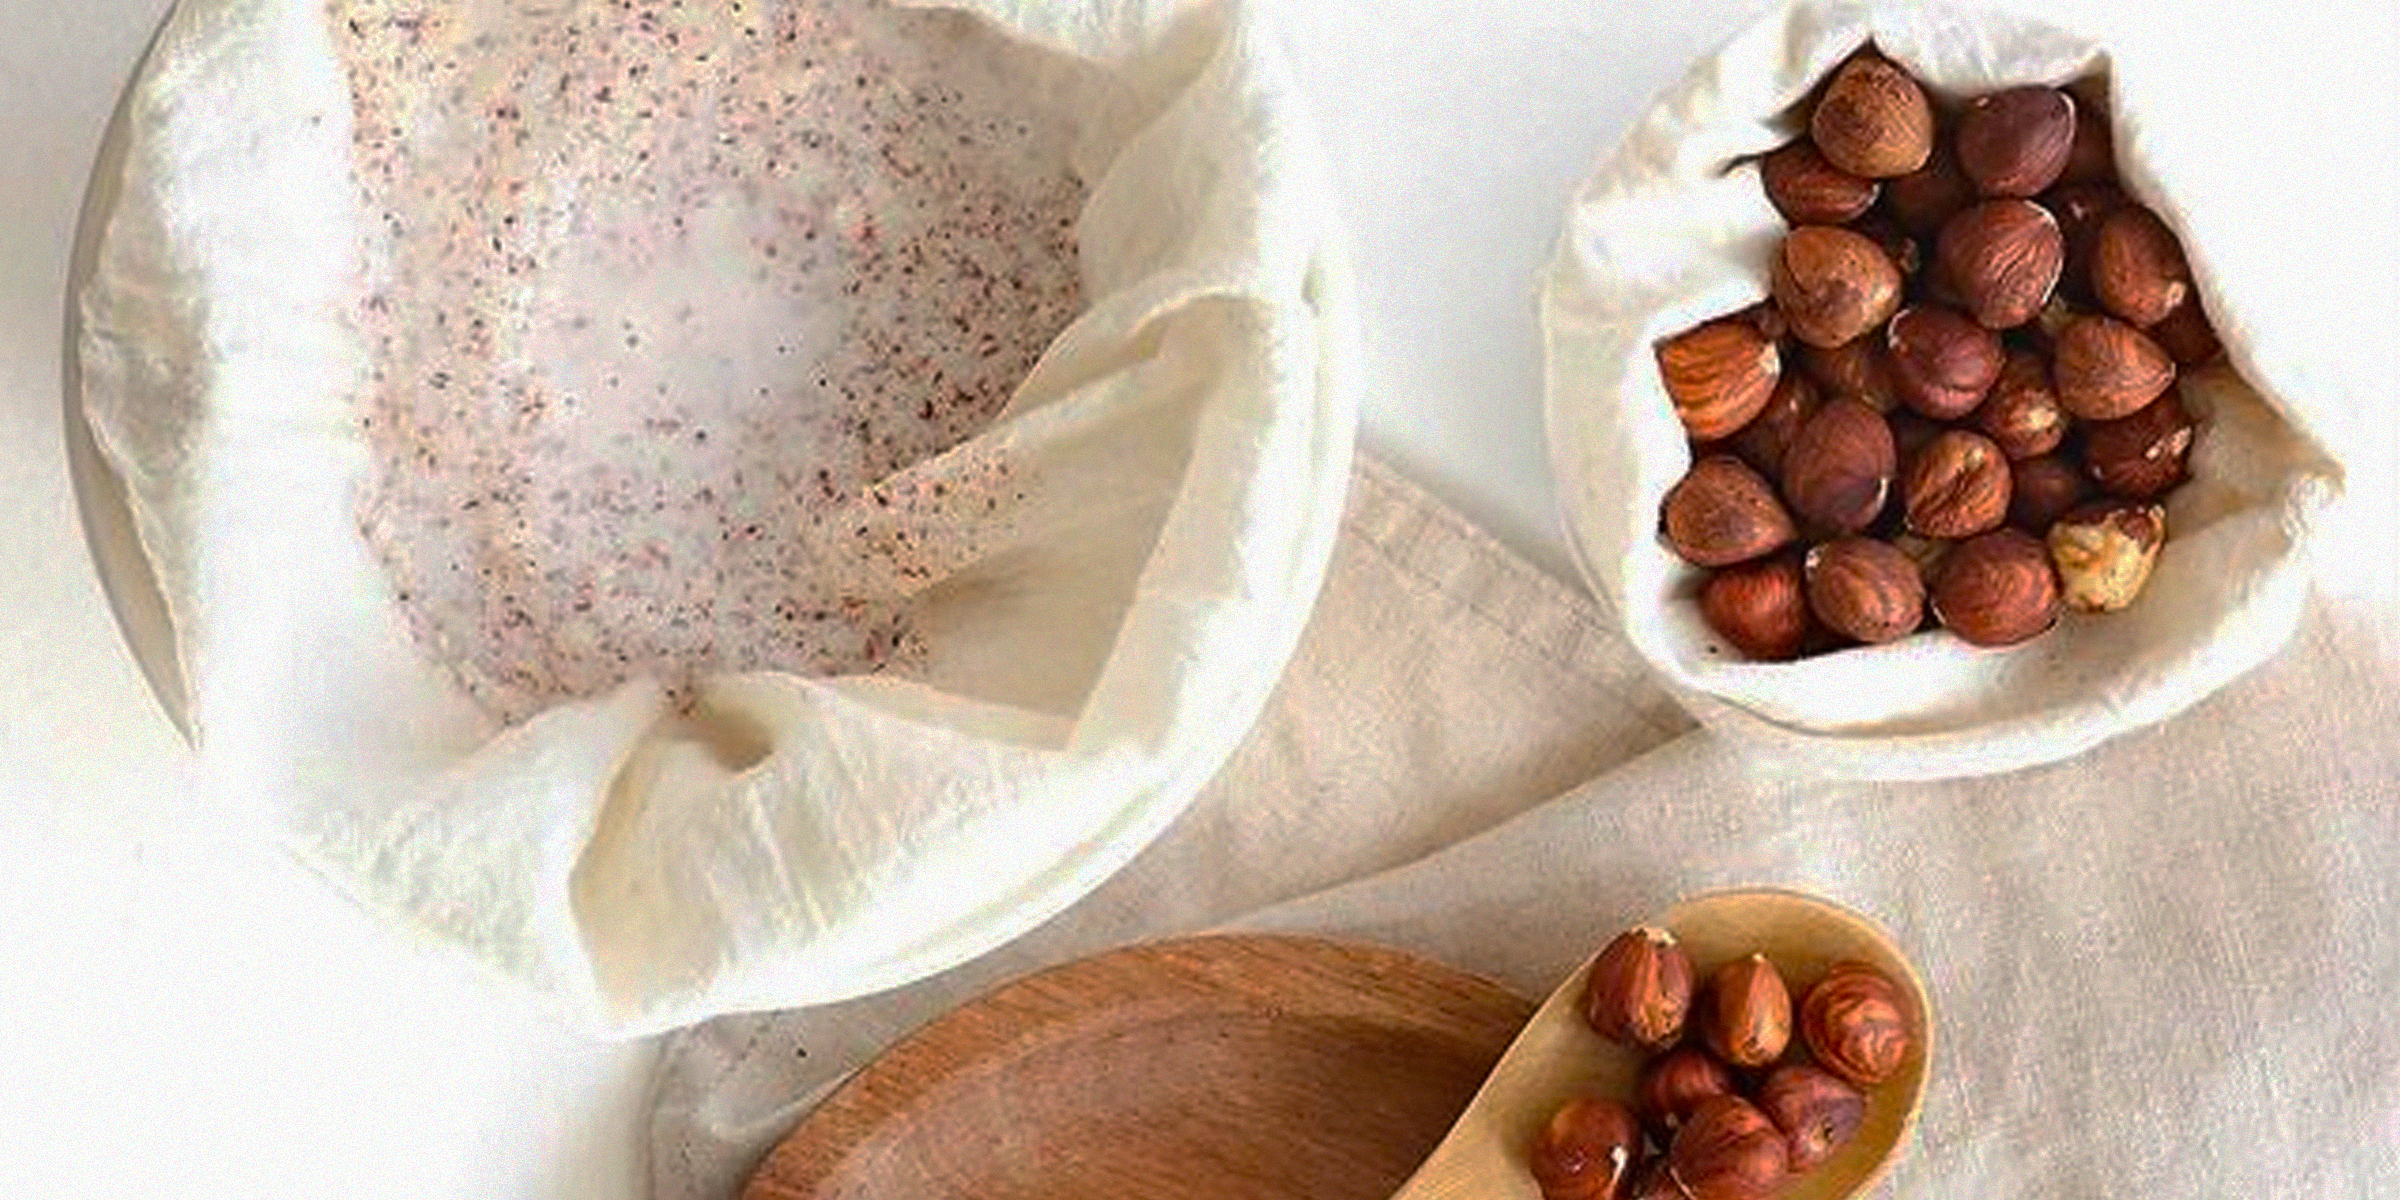
Embarking on making your nut milk at home can be a rewarding experience, but the cleanup process, especially regarding the nut milk bag, may seem less appealing. However, regularly cleaning your nut milk bag is advised to prevent bacteria or mold from growing, and you can do so in five easy steps.
Dec 31, 2023
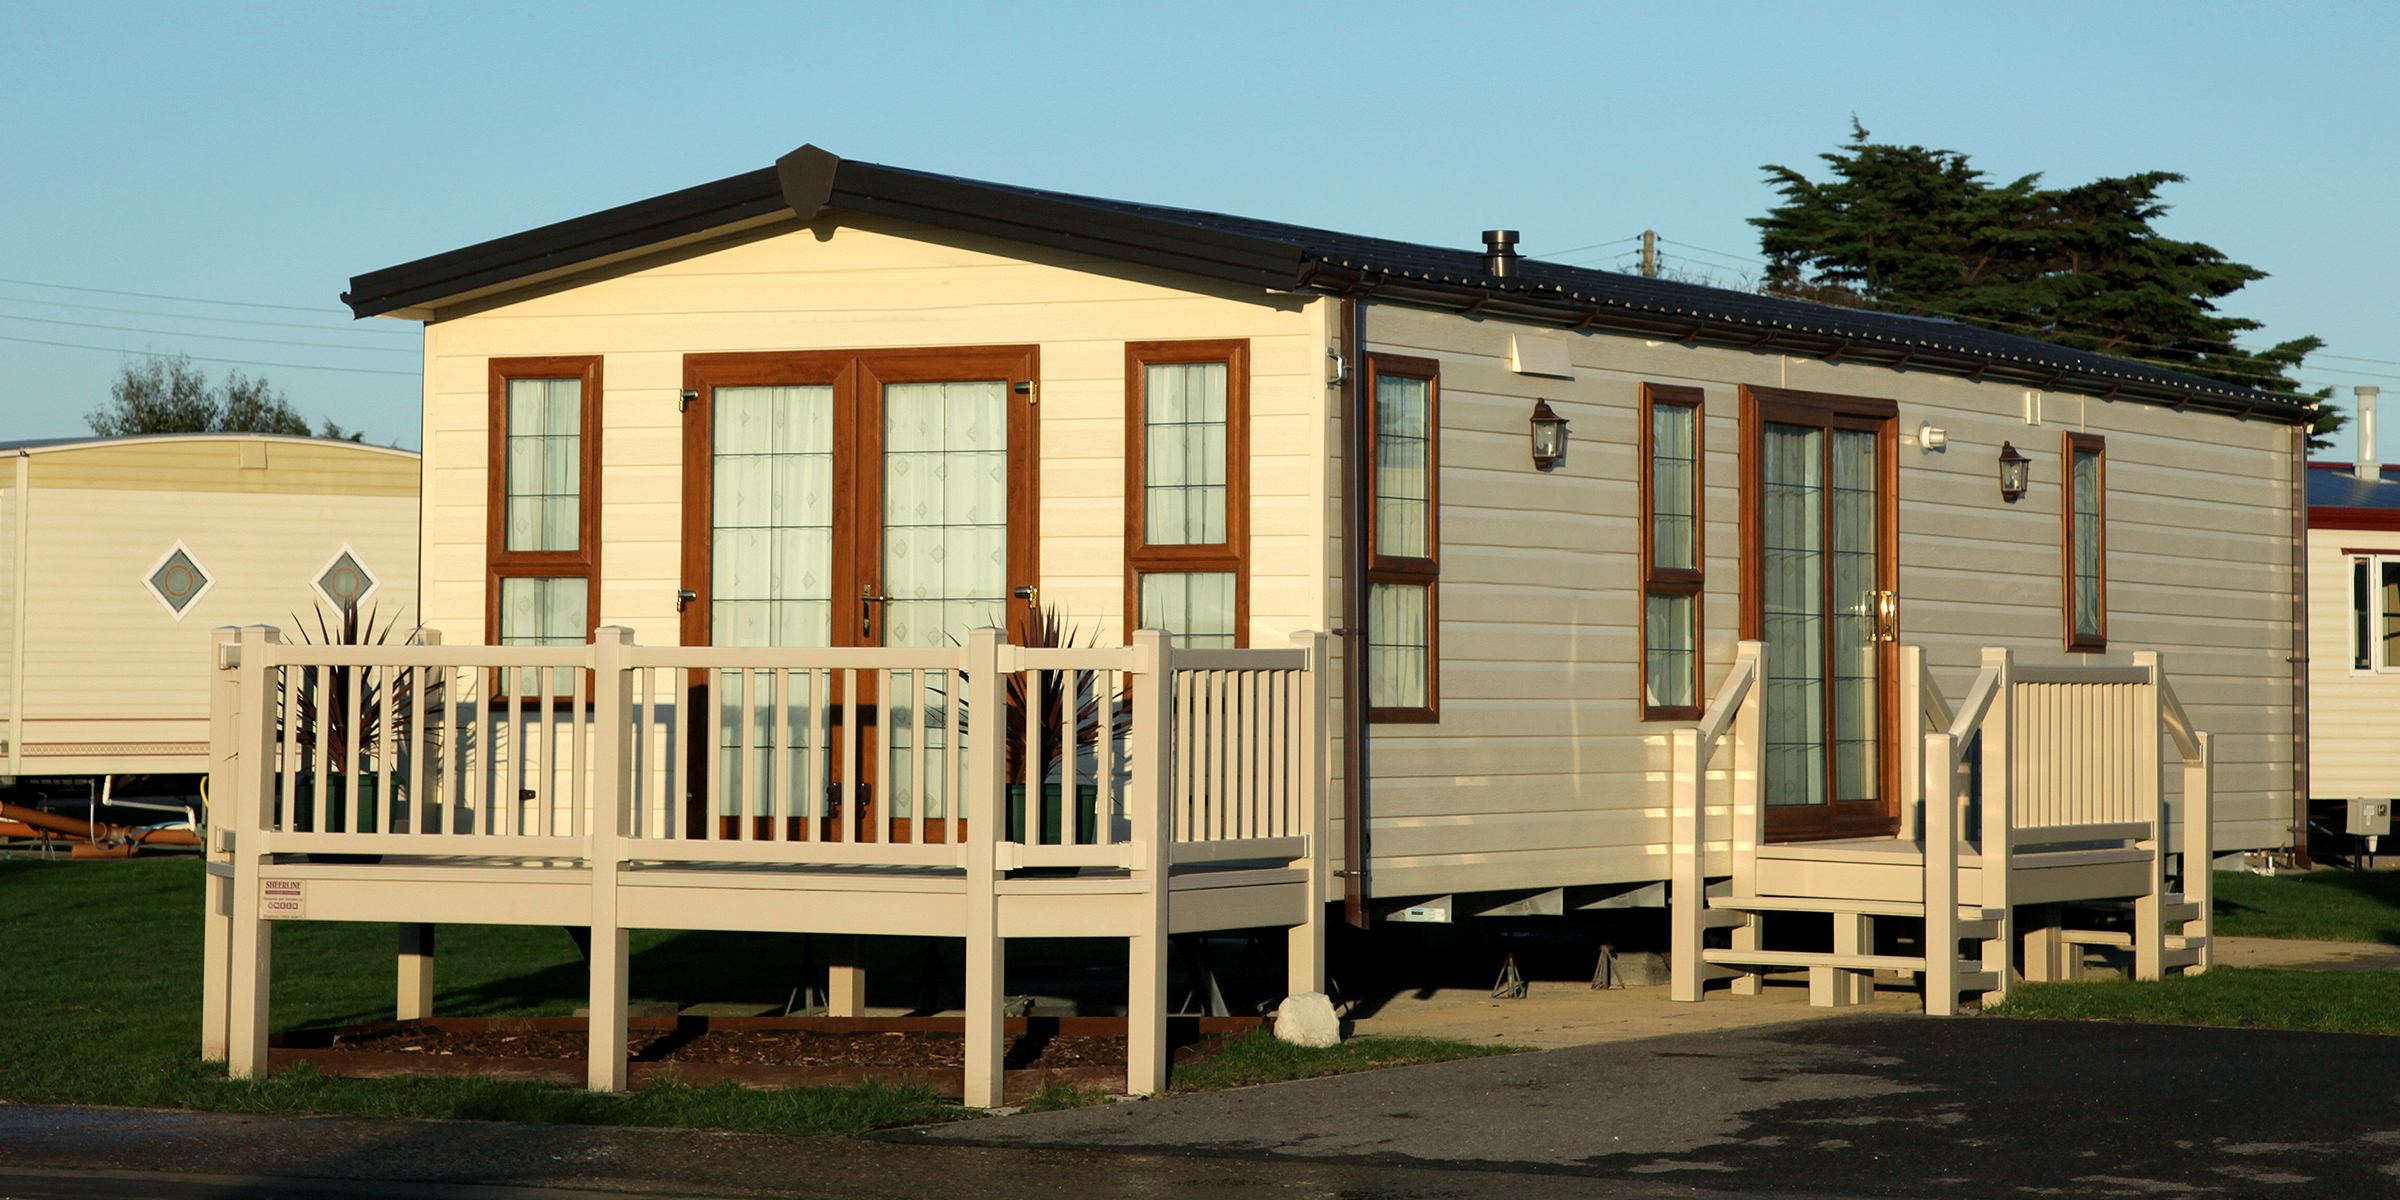
For those considering giving their mobile space a facelift, one pressing question looms: how much does it cost to remodel a mobile home? The answer isn't straightforward, as costs can vary widely based on several factors.
Feb 21, 2024

Looking to discover how to create a Murphy door for your home? You've come to the right place! Incorporate a unique hidden door into your space by crafting your own, following the detailed guide below.
Mar 12, 2024