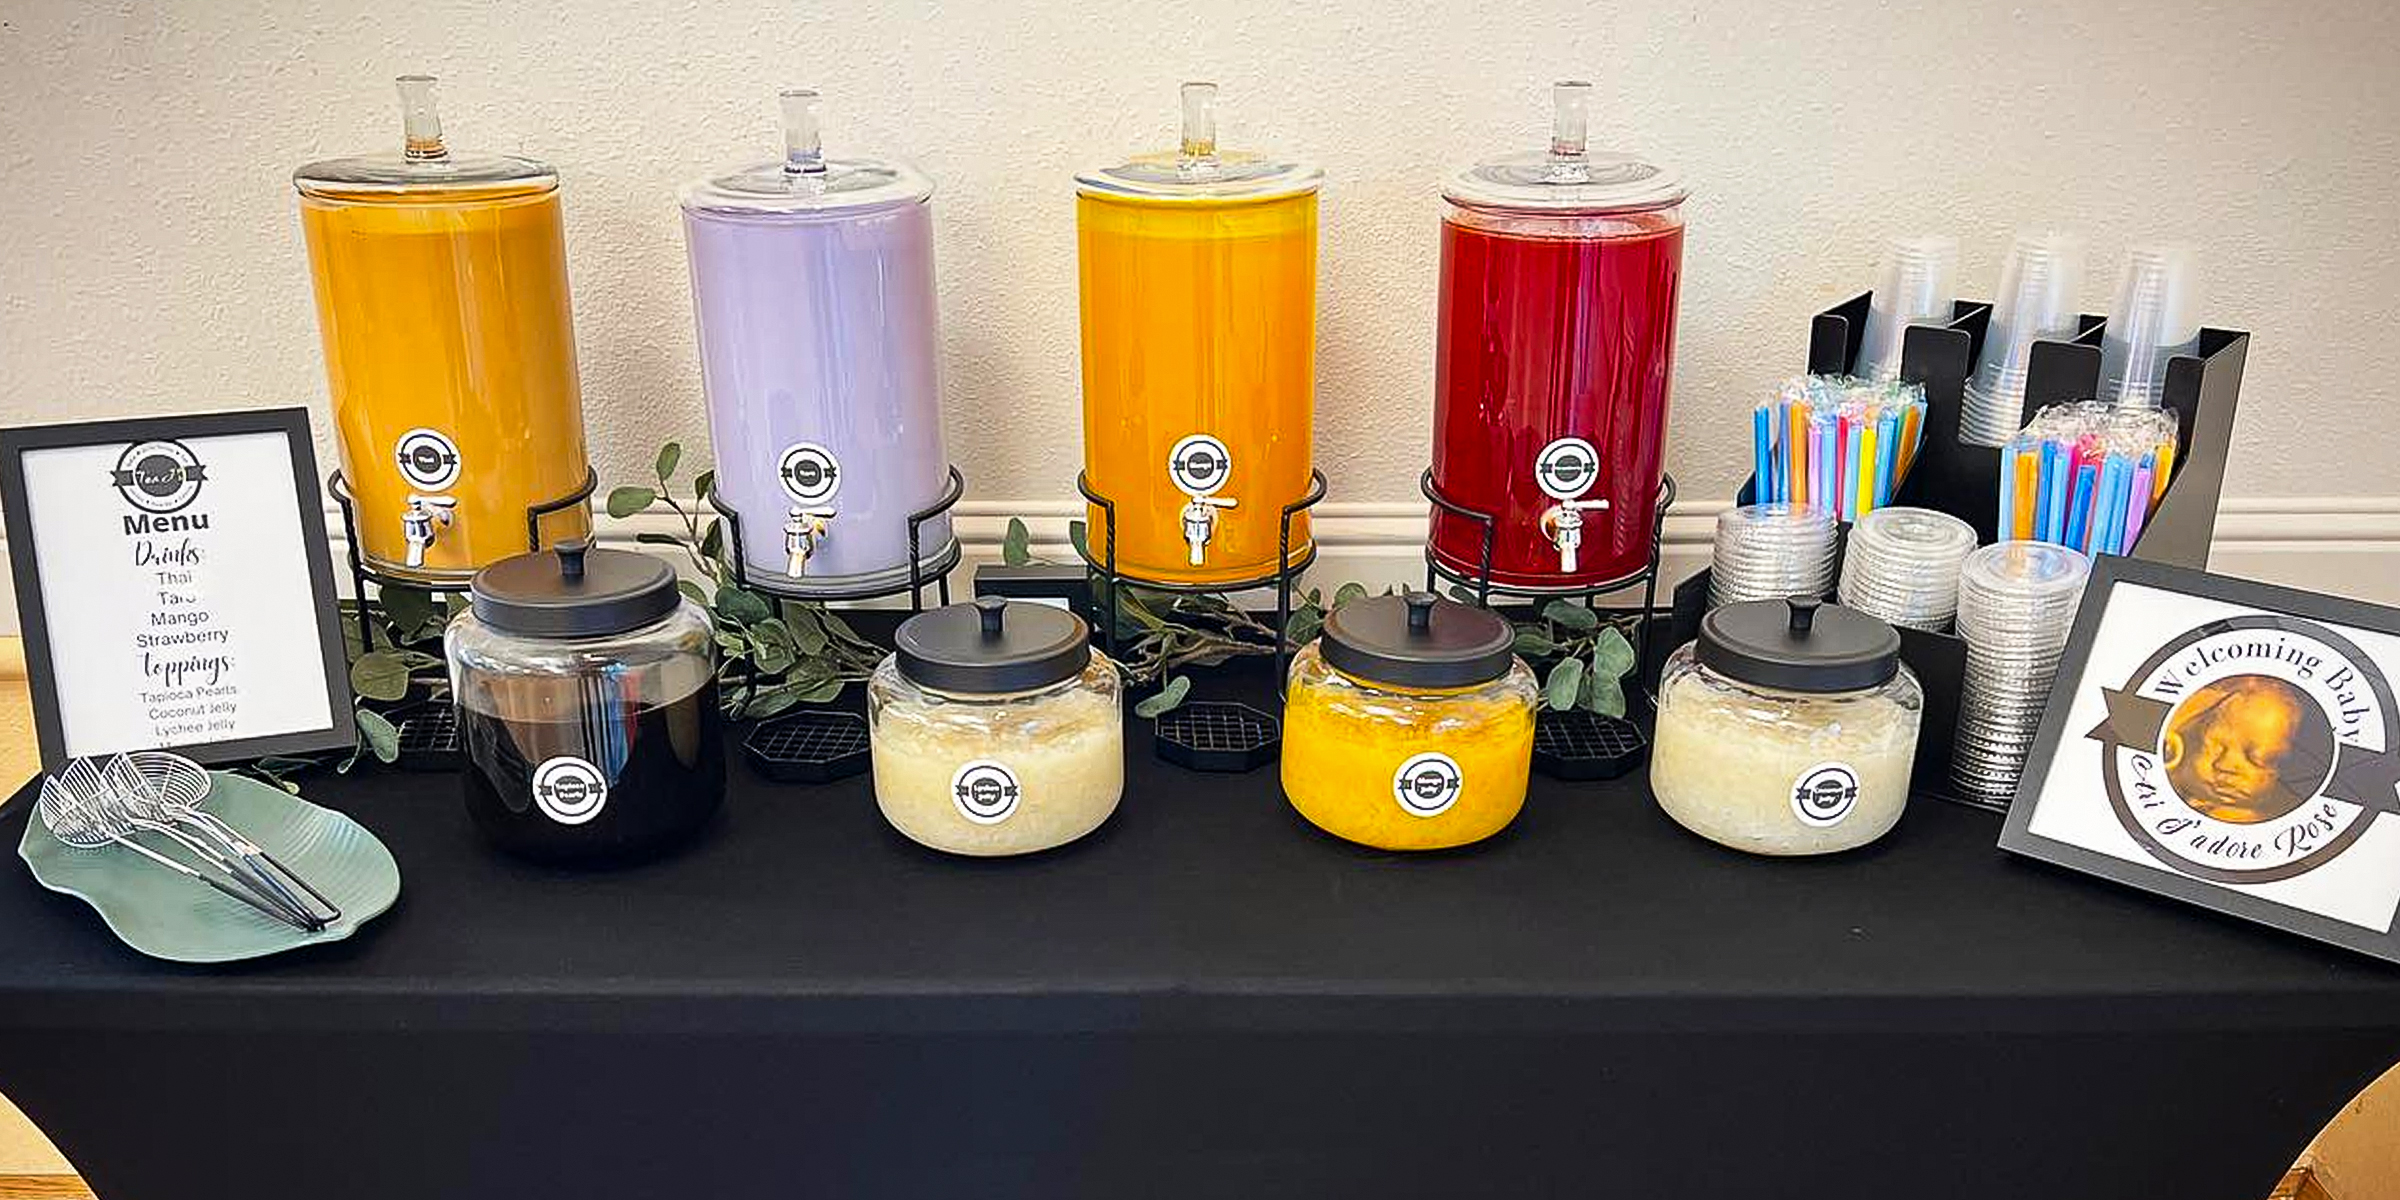
DIY Boba Bar Essentials for a Home Set-Up
Feb 07, 2024


An Argentine grill can be a stellar addition to your garden to entertain family and guests and cook juicy, smokey meat. However, it can cause quite a dent in your pocket when store-bought. Luckily, you can create one DIY style.
As the term suggests, the Argentine grill originates from Argentina. The people of this South American country have been said to foster a deep appreciation for cattle and, by extension, beef.
They pioneered the Argentine grill, which offers a unique and versatile way of cooking meat. Argentine grills can differ based on structure—some are made mostly of steel and are portable, and some are made from brick and mortar—but they also share fundamental similarities.
Among the defining characteristics of the Argentine grill's mechanism is a movable cooking surface that hovers above heated charcoals and can be lowered or hoisted based on the temperature required for cooking.
Many also use the V-grate, which is the steel cooking surface of an Argentine grill characterized by its V-shaped grooves. The benefit of using a V-grate is that as the meat sears, the juices that drip from it travel through the V-grooves and settle into a drip pan. The juices can then be re-purposed or used to re-baste the meat.
It is worth noting that while some Argentine grills—also referred to as the Gaucho Grill or Santa Maria Grill—can be purchased, the price can be hefty, ranging upwards of $1000. Building one DIY-style can be half the starting price, and below is a guide on how to go about it.

Grilled meat on an Argentine grill | Source: Pexels
As experts will note, the location of your Argentine grill is an essential factor to consider. Most people often install or build them in their gardens or backyards. That being said, choosing a spot least affected by winds is essential so the heat and fire aren't extinguished while grilling.
The distance between the grill and the dining place must likewise be considered for the safety and comfort of guests or family. It is also essential to build it away from easily flammable or combustible materials.
The grill's height must be similar to that of a table to avoid having to stoop down if it's too low or having difficulty reaching the food at the back of the grill because it's too high.
The size of your grill will be determined by the size of your chosen location.

A screenshot of an Argentine grill foundation being laid | Source: YouTube/Joris Velden

A screenshot of the lower walls of the Argentine grill under construction | Source: YouTube/Joris Velden

A screenshot of the countertop being filled with cement | Source: YouTube/Joris Velden

A screenshot of the finished structure of an Argentine grill. | Source: YouTube/Joris Velden
Although this is said to be optional, installing a fire cradle can help manage the heat more efficiently when grilling. Another optional addition is a chimney above the grill, which can also be beneficial. Now that your Argentine grill is finished, it's time to enjoy your creation.
Sometimes doing something yourself is much better than buying something new, like when there's a need to Fix a Scratched Mirror.

Crystal suncatchers are not only stunning decorative pieces, but they are also a unique way to fill your home with sunlight and positive energy. Enjoy the almost magical properties of this beautiful ornament with this DIY crystal suncatcher guide.
Jan 15, 2024

Mortar is a commonly used bonding agent that you can clean off tiles in many ways. However, follow these three methods of cleaning mortar off tiles for the convenience of using products you probably already have in your home.
Jan 19, 2024

Protect your family from the sun's harsh rays while saving a few dollars with this DIY Shibumi Shade hack for the perfect beach day with your loved ones.
Jan 30, 2024

Having an exhaust fan is essential for keeping moist at bay in your bathroom and maintaining a sanitary space for your everyday business in there. If yours is making weird, annoying noises, there are a few probable reasons to consider.
Jan 26, 2024
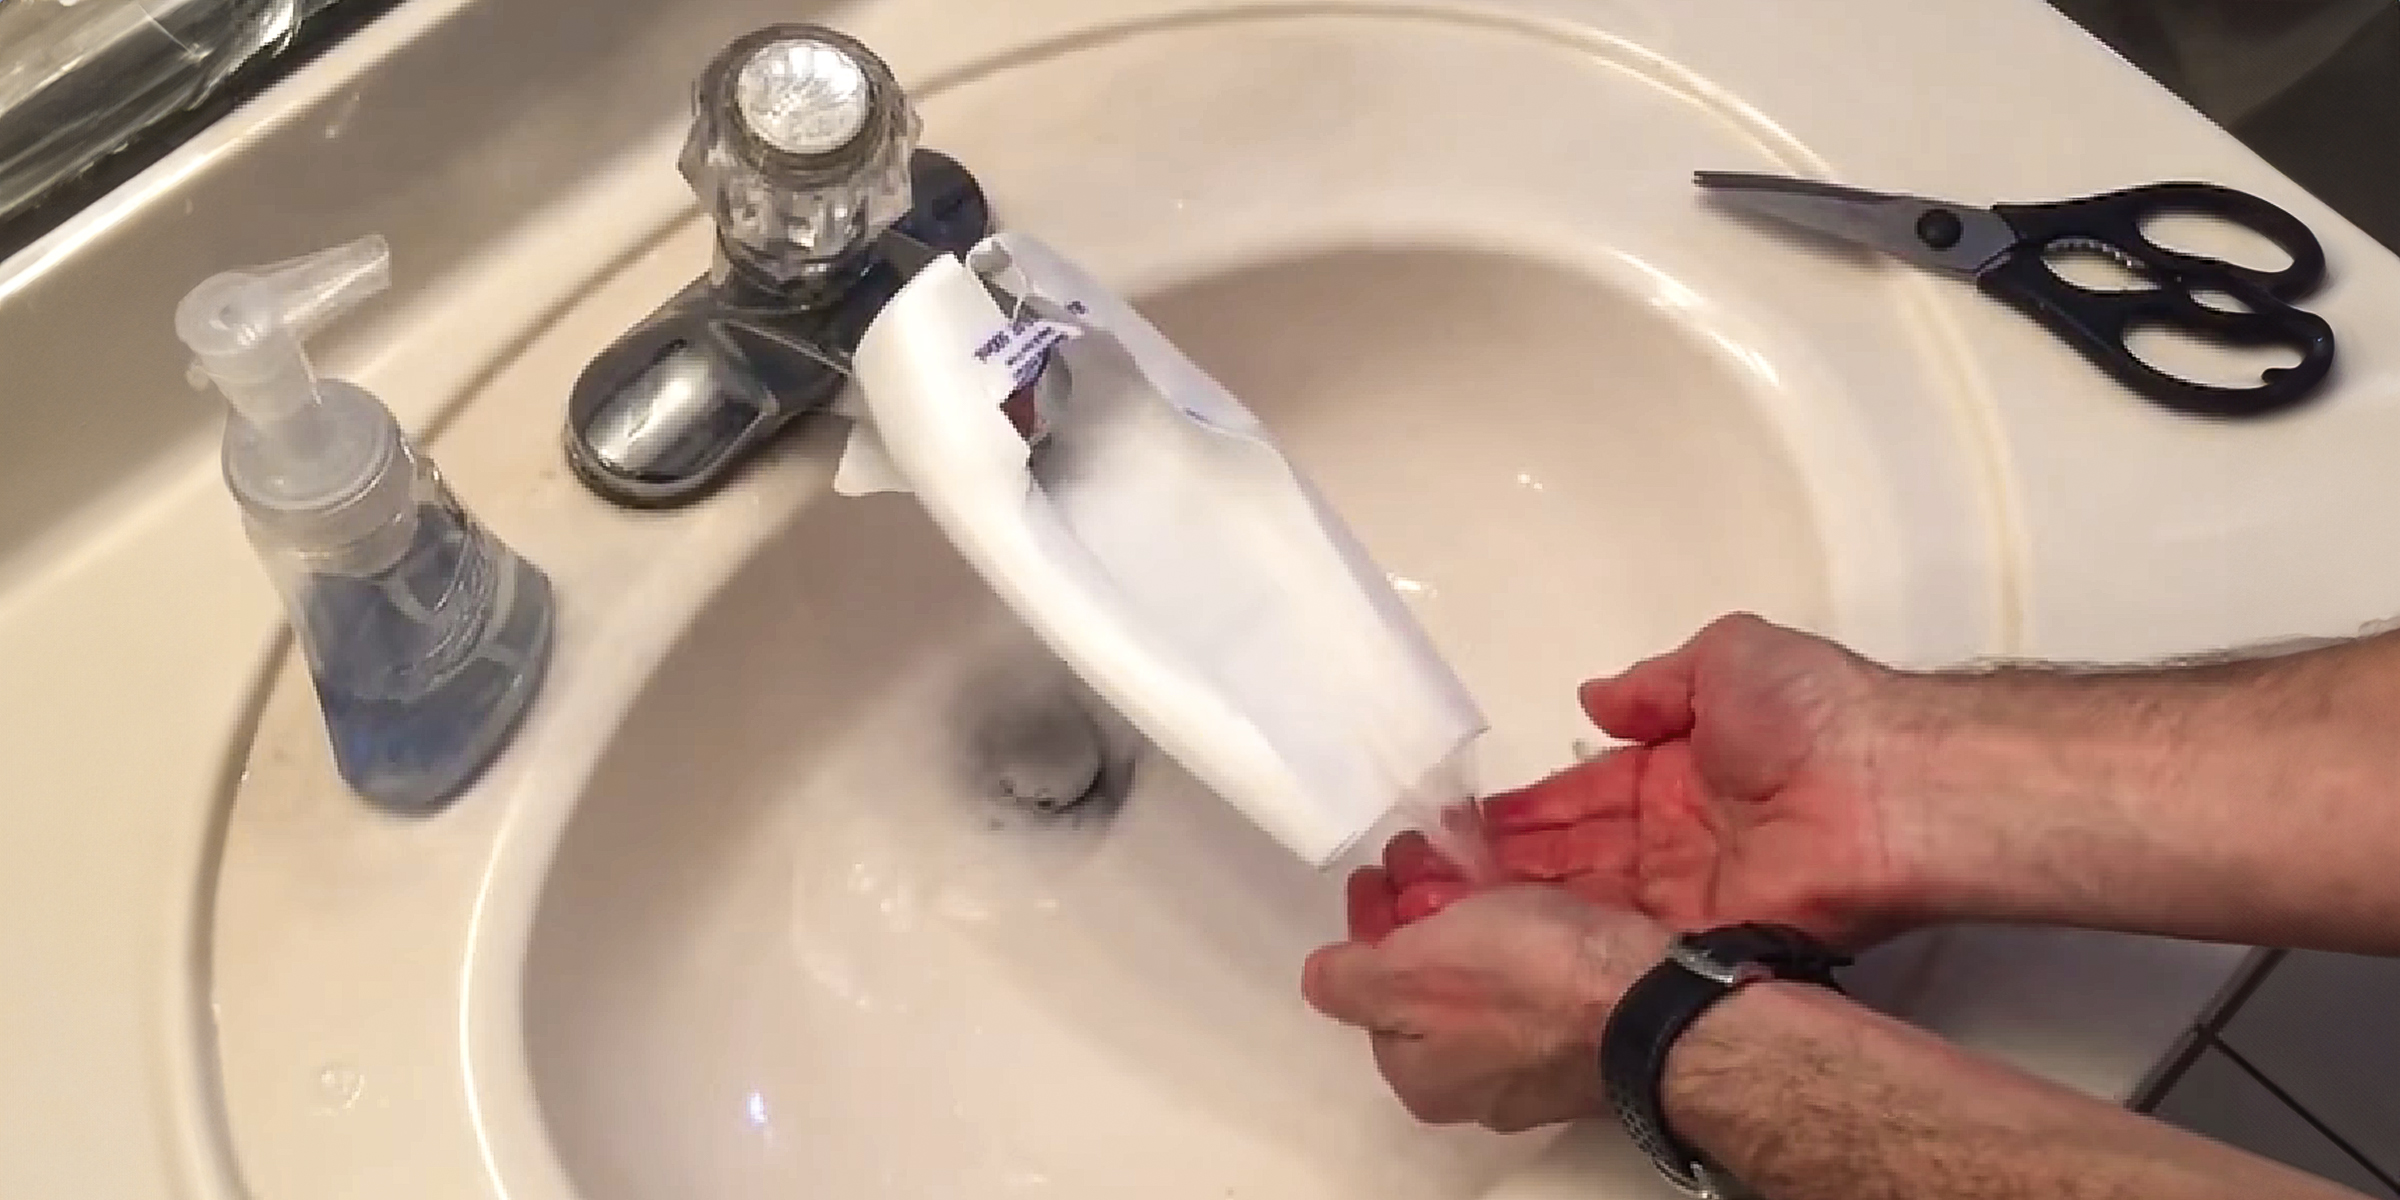
If you're dealing with the challenge of little ones struggling to reach faucets, a practical solution is to craft a DIY faucet extender. You can easily accomplish this in just a few simple steps.
Feb 05, 2024

Handfasting is an old wedding tradition that beautifully demonstrates two people's love and commitment to one another. This symbolic act is said to date back over several millennia.
Dec 14, 2023

Embark on a creative journey and revamp your bedroom aesthetics with a DIY wardrobe door. With a touch of ingenuity and these simple steps, you can tailor a personalized and budget-friendly solution.
Feb 03, 2024
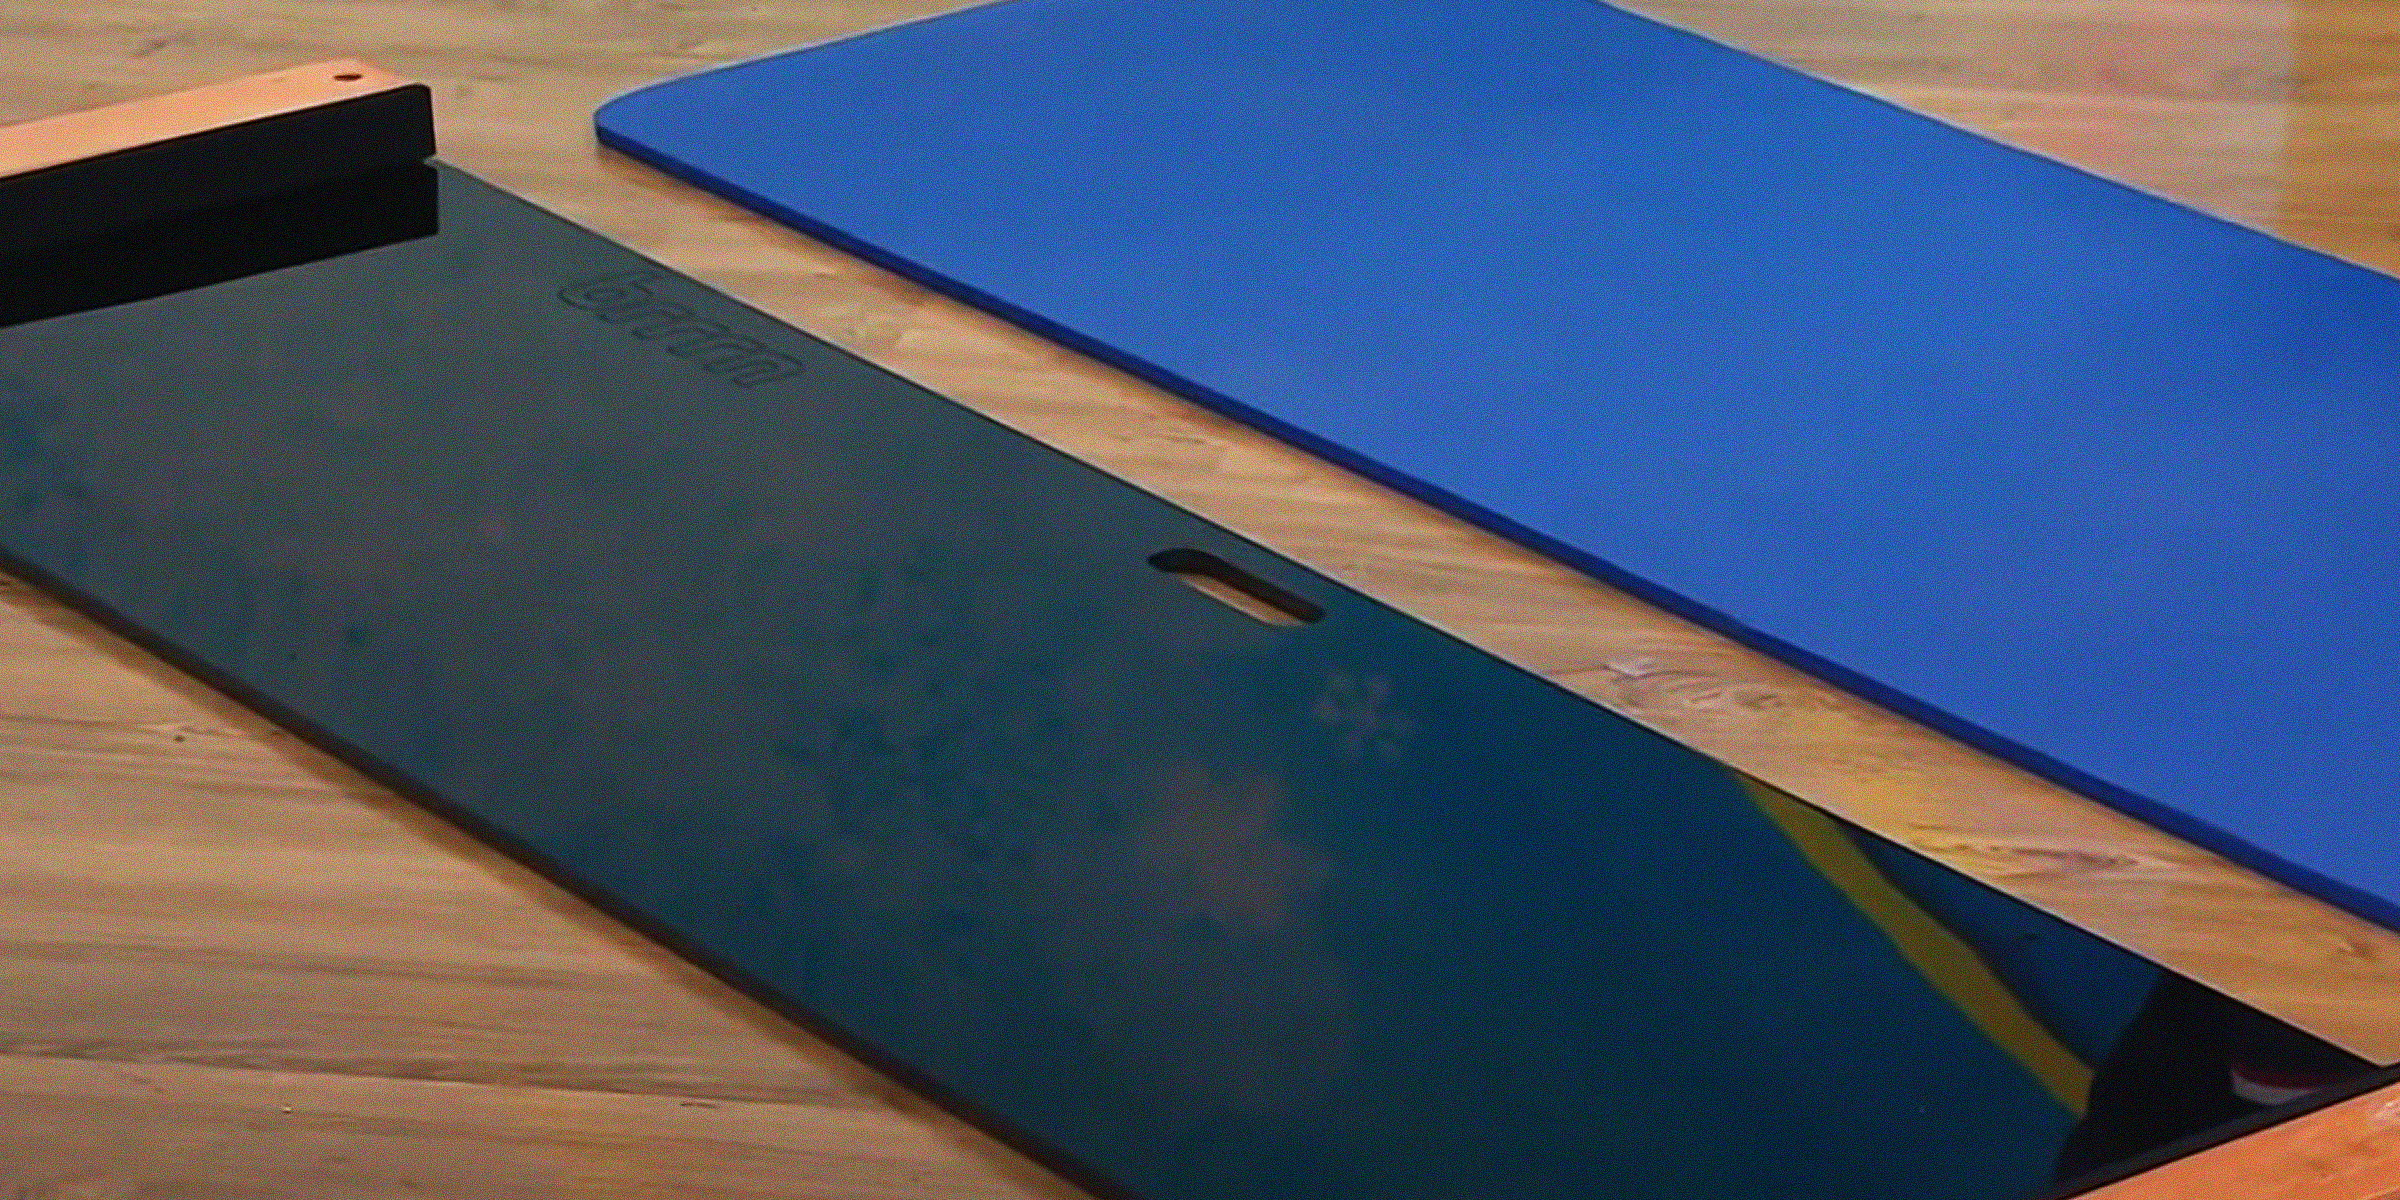
Discover the cost-effective joy of DIY slide boards! This article guides you through crafting your own, enriching your workout without breaking the bank. Save big while elevating your exercise routine.
Feb 04, 2024

Faux fur rugs are a popular and often more affordable option to decorate a space. There are numerous advantages to having a faux fur rug, but like the genuine kind, they need regular maintenance and the occasional deep cleaning.
Jan 14, 2024

One of the most potent senses a deer possesses is its ability to smell. For many years now, hunters have used that as leverage on their hunting trips, acquiring deer attractants to bait their prey. Here's how to make yours at home.
Jan 27, 2024
Matte porcelain tiles are the perfect choice if you're going for a more rustic and natural aesthetic in your living space. However, you want to prolong their lifespan and maintain their appearance with proper cleaning methods.
Jan 12, 2024

Rocking a fantastic pair of jeans can instantly boost your confidence, but taking your denim game to the next level with some DIY aesthetic jeans is like stepping onto your own personal runway. These DIY pieces of denim can turn heads as you walk by.
Dec 12, 2023

Embark on a journey to elevate your knitting prowess effortlessly and infuse each stitch with a personal touch through a DIY yarn swift. Unleash your creativity as you craft an affordable and convenient tool to elevate your knitting experience.
Feb 01, 2024

Gift wrapping is not merely about hiding what is inside; it is a way to make a statement, convey care, and transform a simple gesture into a lasting memory.
Dec 21, 2023