How to Vent a Kitchen Sink under a Window — a DIY Guide
Feb 02, 2024


If you're an avid golfer or someone looking to join the sport, having a golf net can be super advantageous to work on or improve your skills. But if you're opposed to buying one, here's how to build a DIY golf net.
The golf net or golf practicing net was invented for golfers—amateur, professional, and everything in between—to practice the sport within a confined space without the ball traveling a long distance. It reduces the risk of the ball's potential to cause injury to a person or damage to property upon landing.
Now, because practicing with a golf net is done within a significantly smaller space, many might see that as a limitation. You don't see your ball in full flight, so you miss out on the outcome of your shot.

A golfer standing by her indoor golfing net | Source: Getty Images
However, the flip side is that, with a golf net, you don't need to worry about the outcome. Instead, you focus more on your technique.
Additionally, having a golf net is convenient and cost-effective. However, if you don't feel like buying one, here's how to build a DIY golf net at home.

A man practicing golf at a driving range | Source: Getty Images
1. If you're creating your DIY golf net for indoor use, it may be best to first measure the space you've chosen, then adjust the length of your pipes and netting material as necessary.

Gather your materials | Source: YouTube/DannyBirdGolf
2. Assemble the bottom frame of your cage by connecting two 10' PVC pipes and two 5' PVC pipes with four 3-way corner elbow PVC fittings so they form a rectangle. Ensure the remaining ends of the elbow fittings are facing upwards.
3. In the remaining elbow fitting openings, insert four 10' PVC pipes.
4. Insert four 3-way elbow fittings on the top ends of the PVC pipes, then connect two 10' PVC pipes and two 5' PVC pipes to create the top frame.

Assemble your cage. | Source: YouTube/DannyBirdGolf
5. Hang the 8' x 8' net at the back of your cage and the 8' x 5' nets at the sides and the top. Secure your nets using the loops at the corners if your nets have them, and if not, secure them using the cable ties, leaving 3-4 squares between each tie.
6. Leave an opening of about 6" on the sides of your top frame from the back of the cage. This is where you'll insert your impact screen.

Hang and secure your nets. | Source: YouTube/DannyBirdGolf
7. Take your king-sized sheet or similar material and loop the top over the 1" x 10' PVC pipe, then mark where you want to sew the seam.
8. Once the loop is sewn, insert the 1" x 10' PVC pipe through it and place each end of the pipe within the cage at the reserved 6" spaces.
9. Secure the 1" x 10' PVC with the cable ties; connect two cable ties to make longer ones so they wrap around easily.
And there you have it. Your very own DIY golf net. Hope you enjoyed the crafting process, but there's more to come. The next time you feel like doing something productive and fun with your hands, save this DIY Montessori bookshelf tutorial.
Discover the cost-effective joy of DIY slide boards! This article guides you through crafting your own, enriching your workout without breaking the bank. Save big while elevating your exercise routine.
Feb 04, 2024

Rocking a fantastic pair of jeans can instantly boost your confidence, but taking your denim game to the next level with some DIY aesthetic jeans is like stepping onto your own personal runway. These DIY pieces of denim can turn heads as you walk by.
Dec 12, 2023
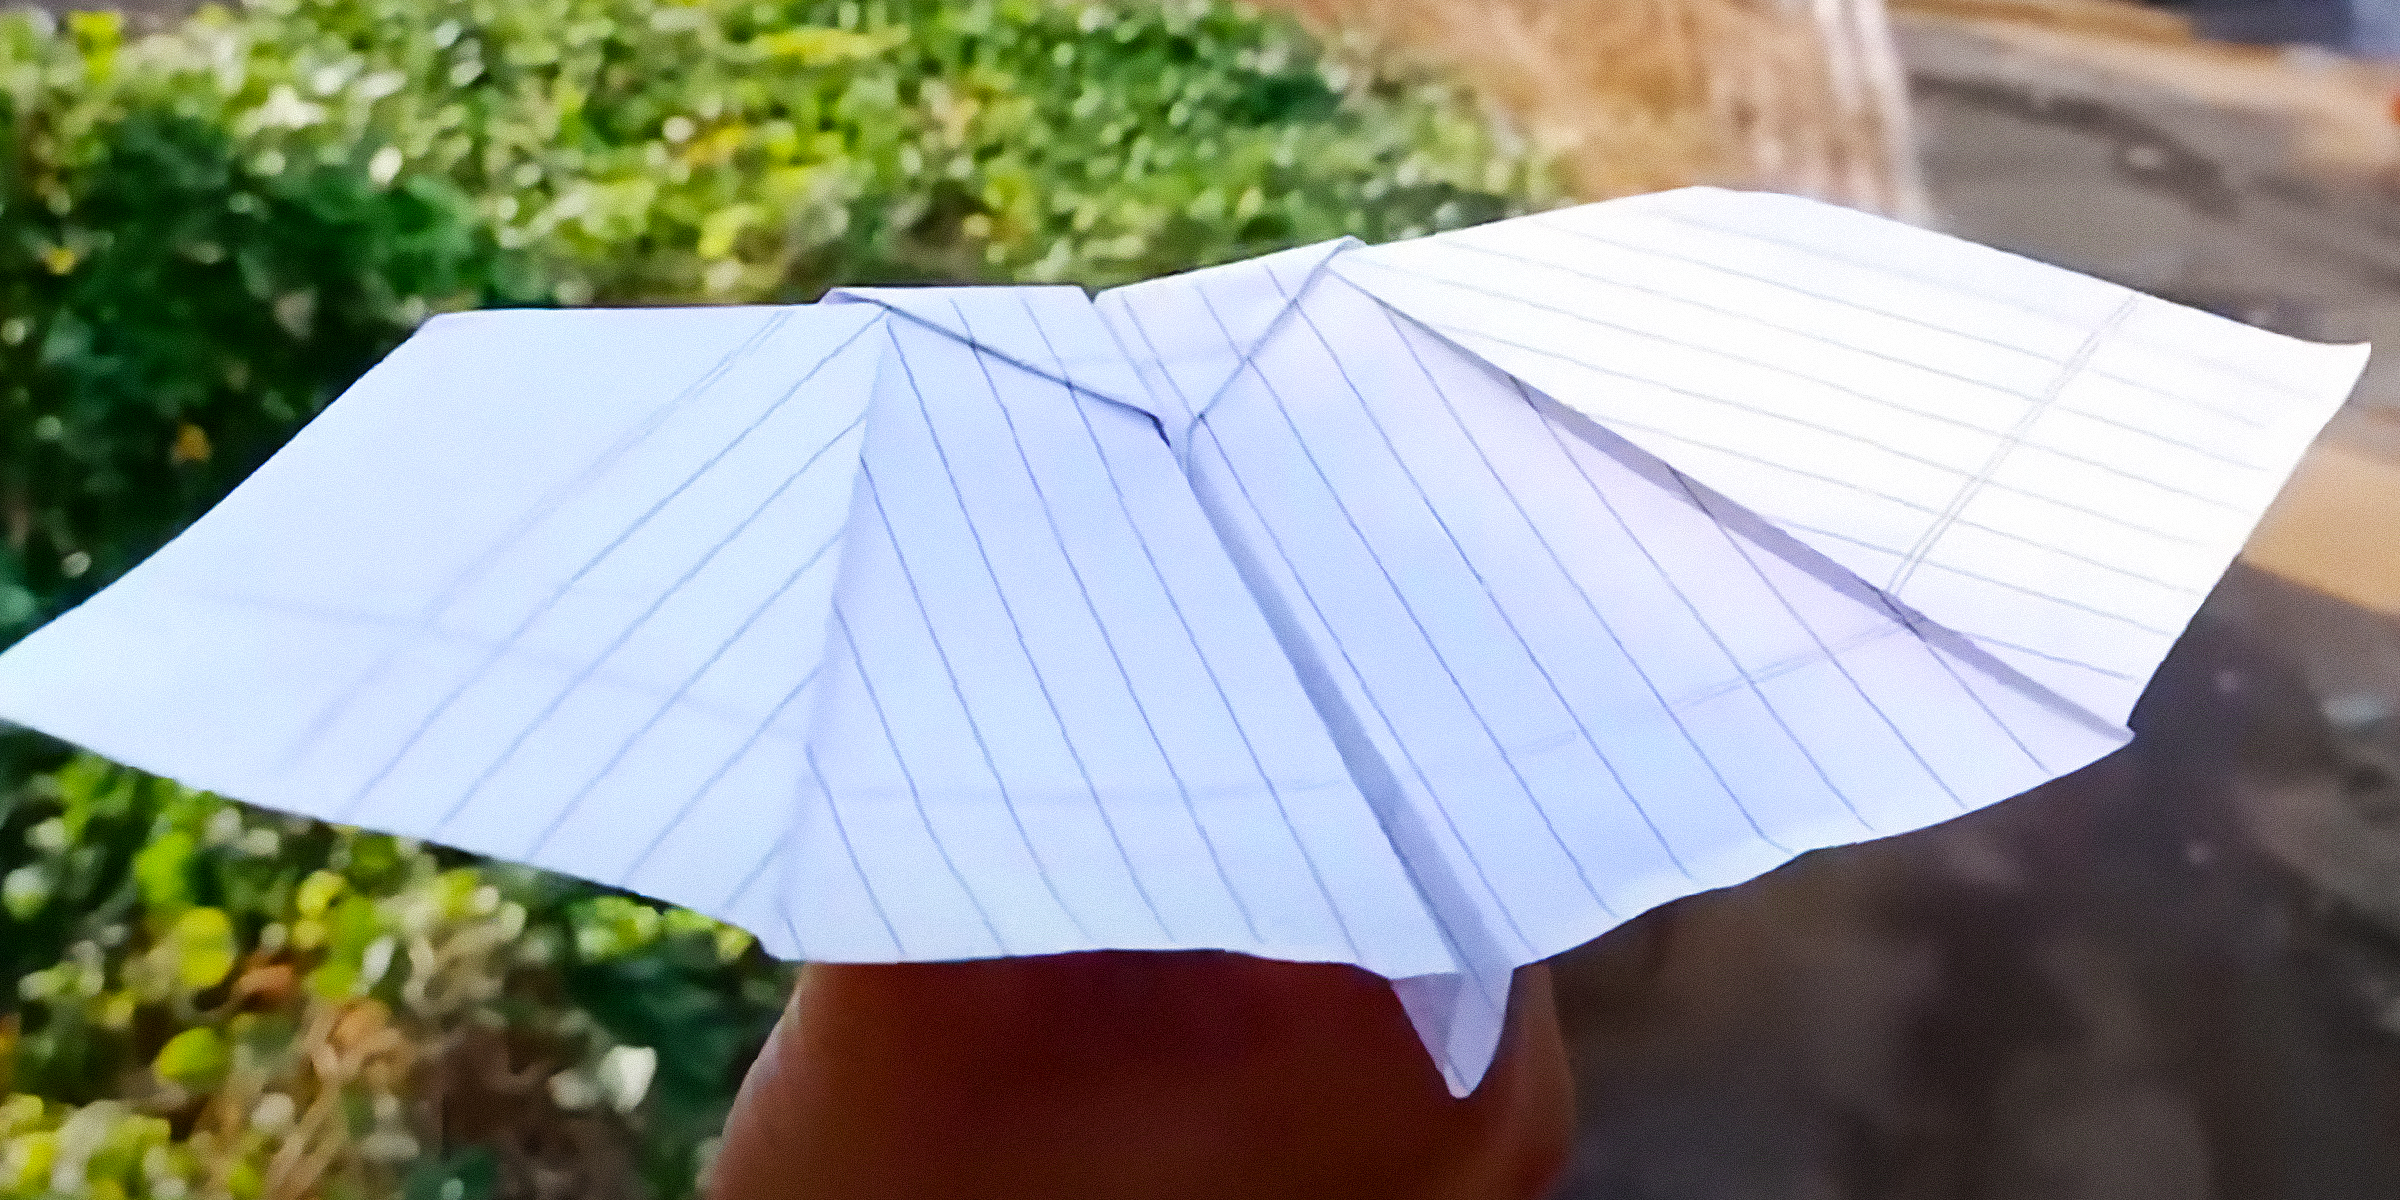
Paper planes have been around for thousands of years and have been the catalysts of human exploration into aerodynamics. In honor of the role these paper gliders have played in the history of this discipline, and simply for good fun, here's how to make a bat paper plane.
Jan 31, 2024
If you're dealing with the challenge of little ones struggling to reach faucets, a practical solution is to craft a DIY faucet extender. You can easily accomplish this in just a few simple steps.
Feb 05, 2024

Gift wrapping is not merely about hiding what is inside; it is a way to make a statement, convey care, and transform a simple gesture into a lasting memory.
Dec 21, 2023

Slime is a fun substance anyone can use to mold shapes of all kinds, but clay slime is especially satisfying with its fluffy, creamy texture. If you want to learn how to make yours at home, here's how.
Jan 20, 2024

Embark on a creative journey and revamp your bedroom aesthetics with a DIY wardrobe door. With a touch of ingenuity and these simple steps, you can tailor a personalized and budget-friendly solution.
Feb 03, 2024
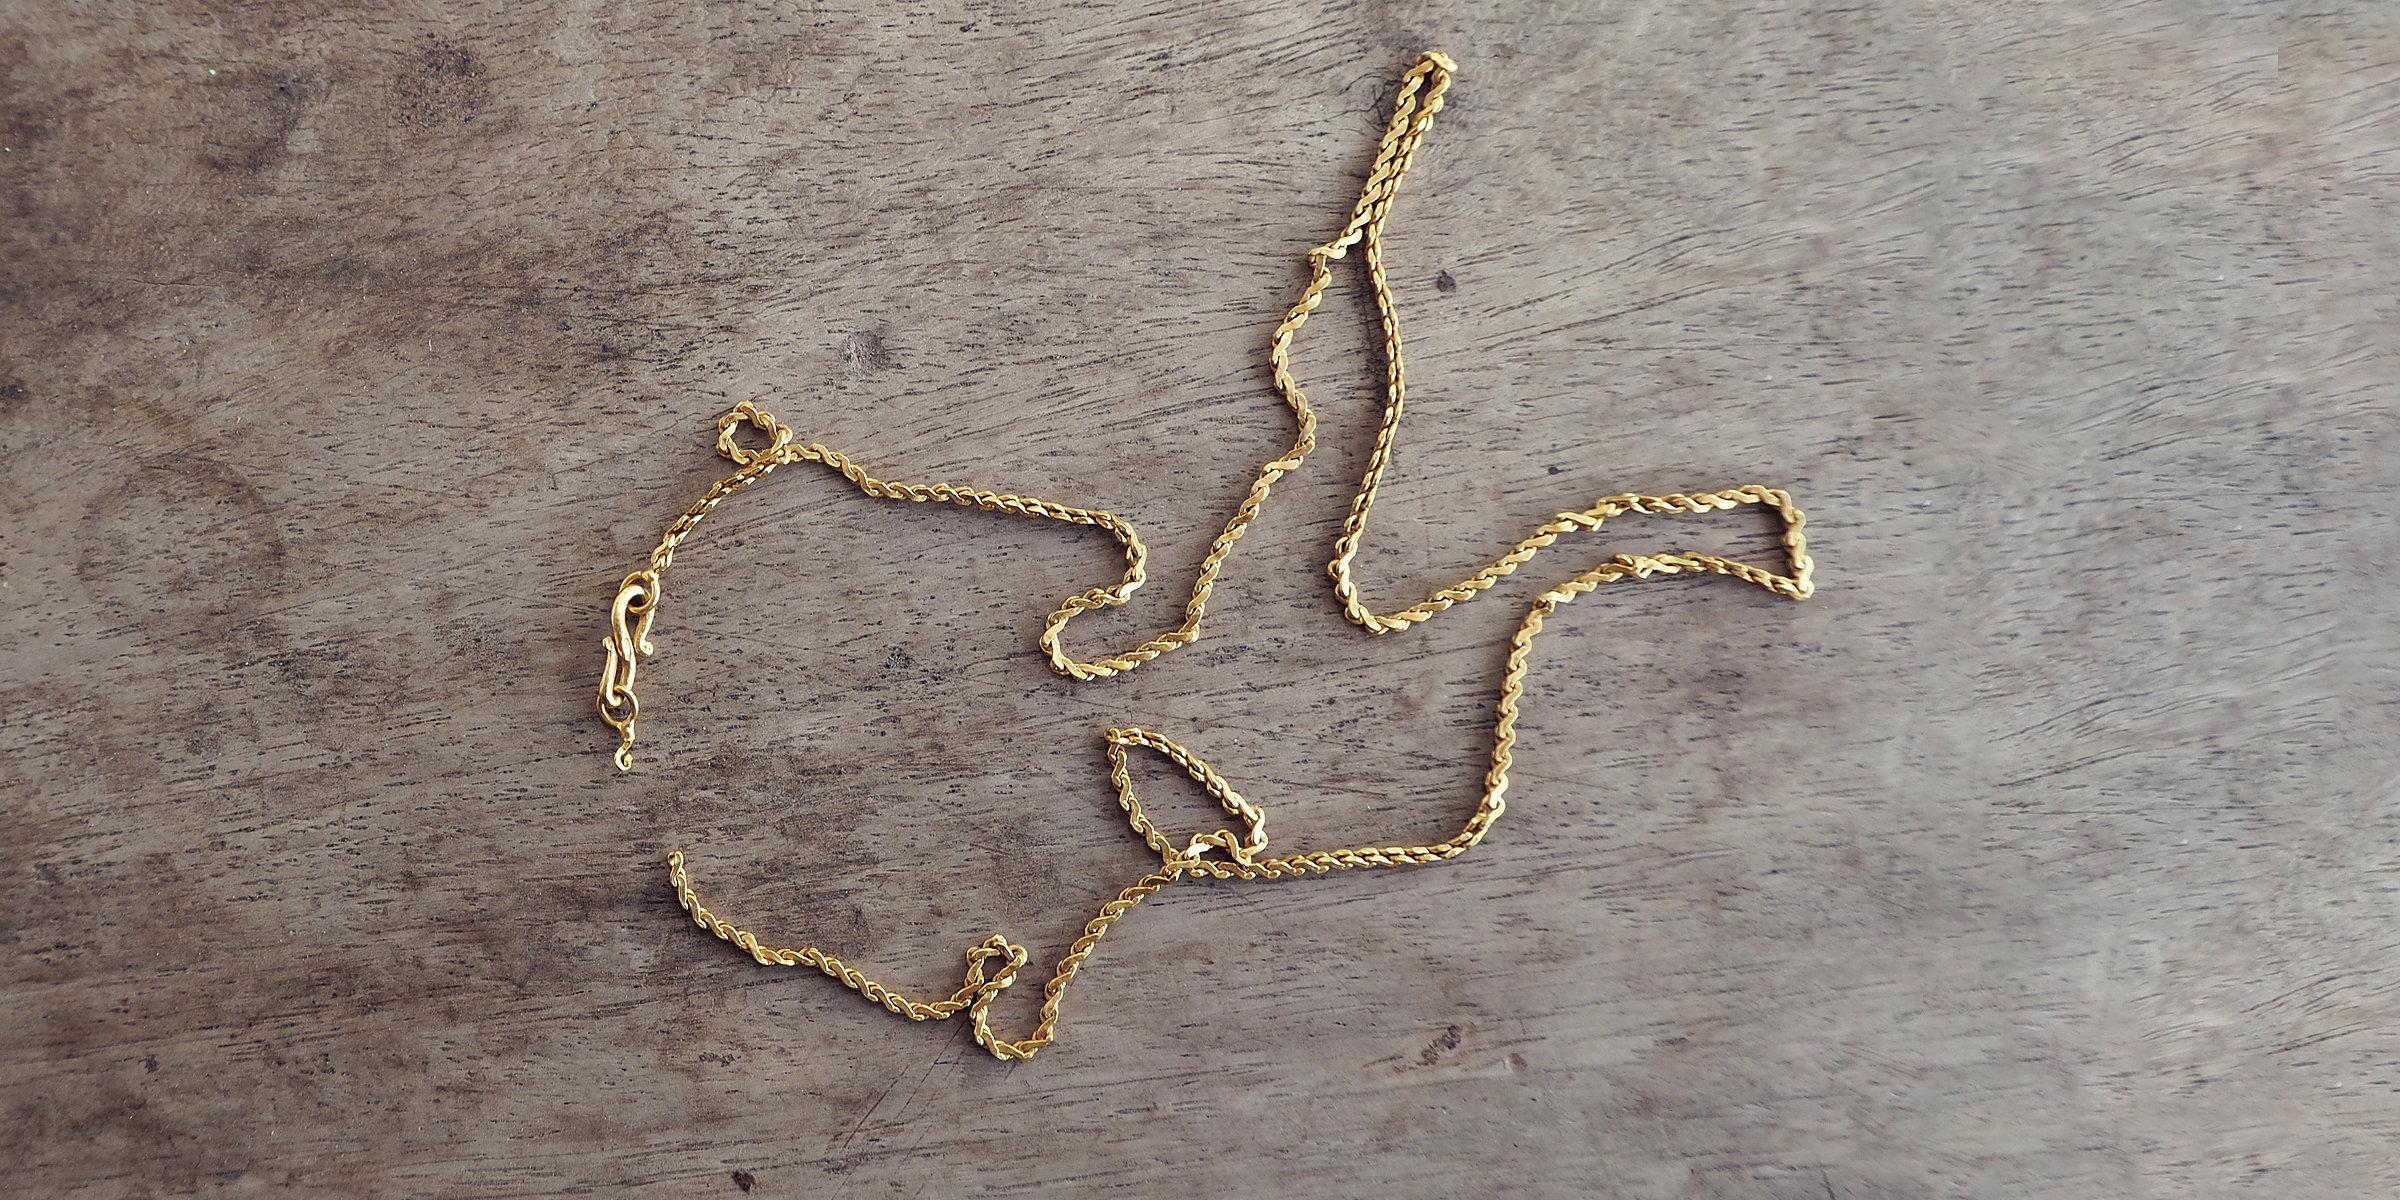
Whether your necklace holds great sentimental value or is a piece of jewelry you're not yet ready to chuck, seeing it broken can be defeating. Luckily for you, there's a helpful hack to undo the damage. Here's how to fix a broken necklace chain using thread.
Feb 06, 2024

If your dog has a luxurious coat of fur, short or long, then you understand the necessity to brush your furry friend regularly. Detangler sprays make this routine grooming process easier. Here's how to make yours at home.
Jan 25, 2024

Crystal suncatchers are not only stunning decorative pieces, but they are also a unique way to fill your home with sunlight and positive energy. Enjoy the almost magical properties of this beautiful ornament with this DIY crystal suncatcher guide.
Jan 15, 2024

Handfasting is an old wedding tradition that beautifully demonstrates two people's love and commitment to one another. This symbolic act is said to date back over several millennia.
Dec 14, 2023

Aluminum trailers play a crucial role in transporting our goods effectively. To keep aluminum trailers looking and performing their best, cleaning them regularly is essential. Here are steps on how to clean aluminum trailers.
Jan 10, 2024
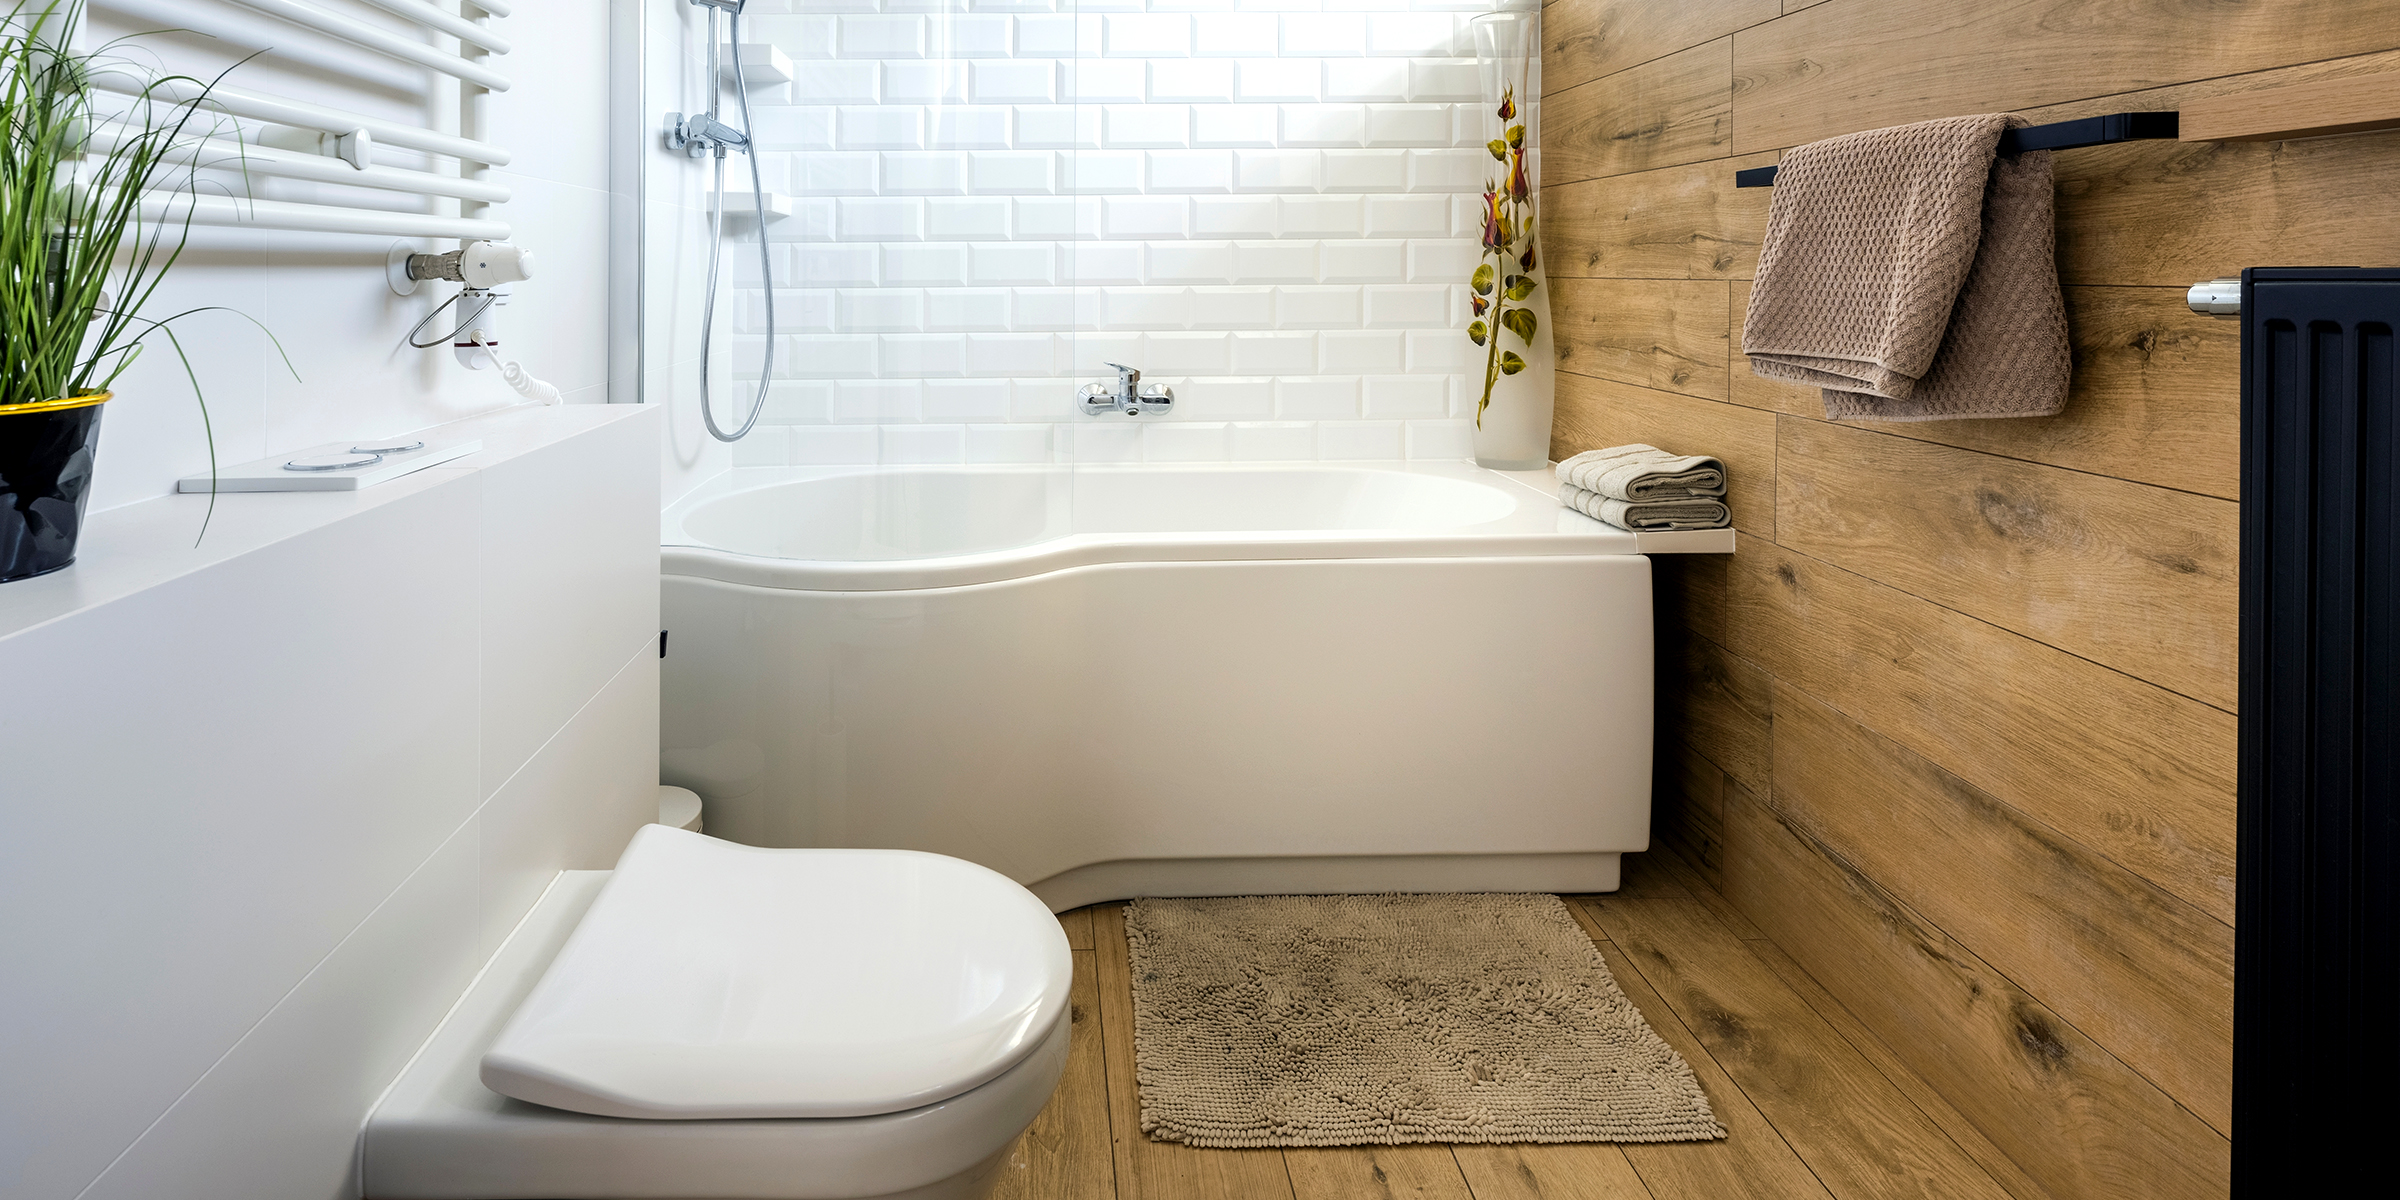
No matter how sophisticated your bathroom is, it can still accumulate odors, which can be embarrassing when hosting guests. The fishy smell in the bathroom can have various causes, and it's crucial to identify and eliminate its source.
Jan 28, 2024
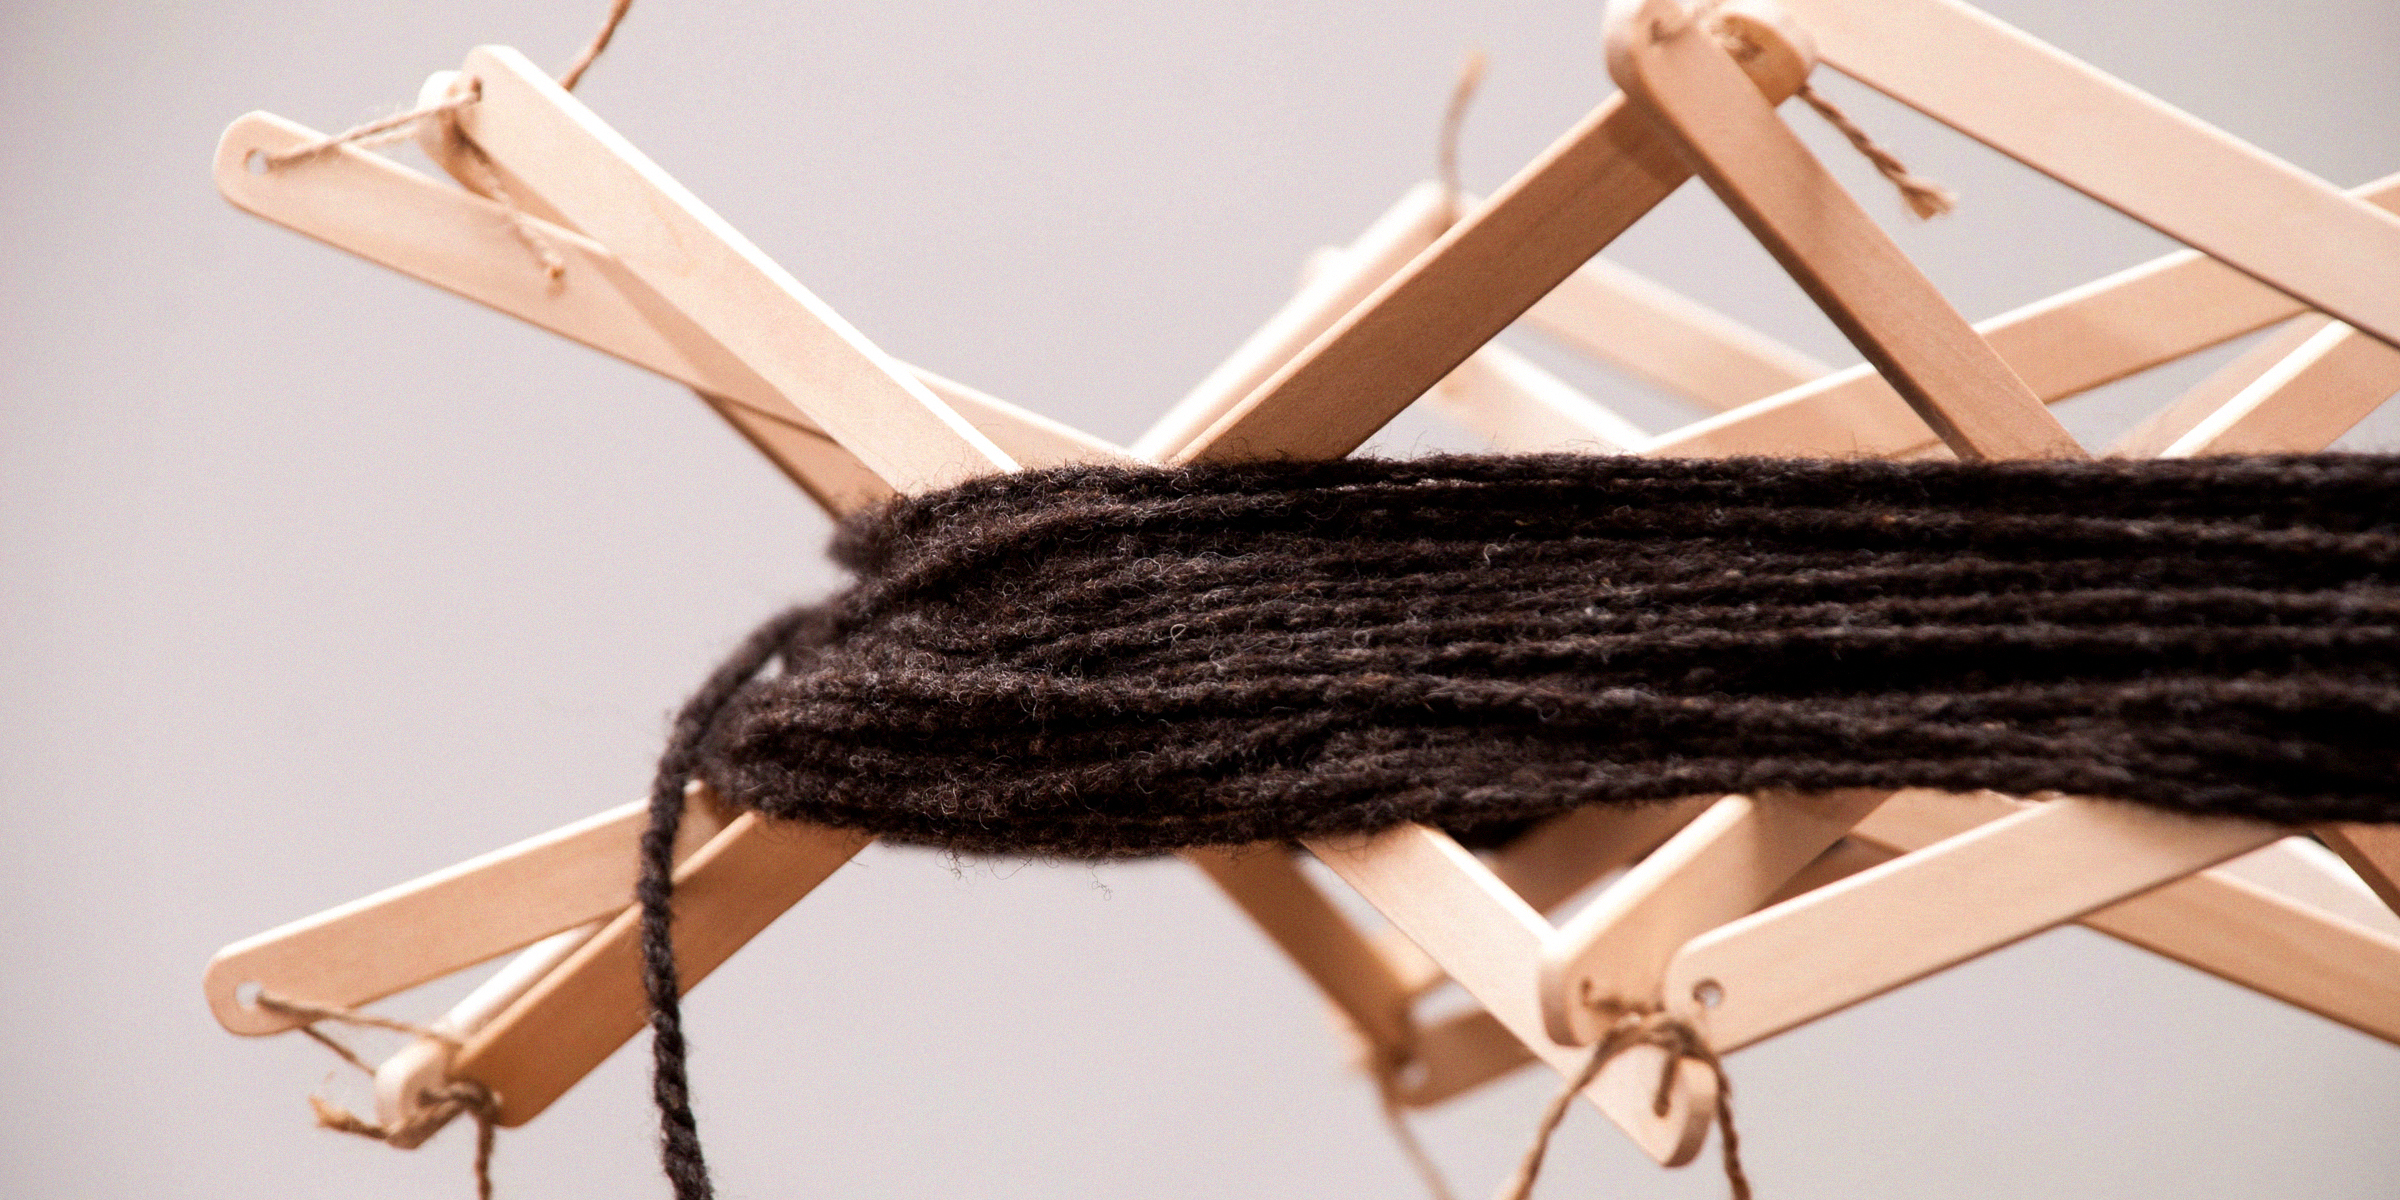
Embark on a journey to elevate your knitting prowess effortlessly and infuse each stitch with a personal touch through a DIY yarn swift. Unleash your creativity as you craft an affordable and convenient tool to elevate your knitting experience.
Feb 01, 2024