DIY DJ Booth — Elevate Your Event with a Customized Setup
Feb 17, 2024


Wondering how to make a balloon garland with a strip to create an eye-catching centerpiece? You’re in the right place! We’ve got you covered with a comprehensive guide on crafting stunning balloon garlands that will elevate any event.
Balloon garlands are a delightful way to add color and festivity to any occasion, from birthdays to baby showers. And when it comes to creating these whimsical decorations, using a strip to guide your balloon arrangement can make the process much smoother and more efficient.
In this comprehensive guide, we'll walk you through the steps on how to make a balloon garland with strip!

A balloon garland featuring green, gray, and light blue colors. | Source: Shutterstock

Assorted party balloons in various colors. | Source: Shutterstock
Gather balloons that match your party's color scheme. Mix up the sizes for a more interesting look. Inflating balloons is a breeze with an electric pump, though involving friends and family can add to the fun.
Tie each balloon securely, and keep some smaller ones aside to fill in any gaps later on, adding to the fullness and visual appeal of your garland. Smaller balloons work wonders for filling in spaces, giving your garland that extra finesse.

Inflate the balloon with an electric pump. | Source: YouTube/ShimmerConfetti
Decide on the pattern for your garland. Whether you're aiming for a seamless color sequence or a dynamic cluster effect, it's time to get creative. Use a balloon decorating strip to hold your balloons in place, threading the knots from larger to smaller holes.
Leave some of the strip unutilized at both ends for easy hanging. Additional advice—mix up colors and sizes as you attach the balloons for a truly unique design that reflects your style.

Use a balloon decorating strip to hold your balloons in place. | Source: YouTube/ShimmerConfetti
The shape of your garland makes a big difference to how it looks. Mark with a pencil where you'll place hooks on your chosen wall or surface, experimenting with different shapes and arrangements until you find the perfect layout.
Look for inspiration from various sources to find a shape that fits both your space and theme.

Use a guide to help you put the ballon garland in place. | Source: YouTube/ShimmerConfetti
Now it's time to carefully hang your garland, section by section. Use the empty holes in your decorating strip to securely attach the garland to hooks or nails on your wall. Having someone to help can make this process much smoother, allowing for adjustments and ensuring that everything stays in place.

Attach the garland securely to hooks on your wall using the strip's empty holes. | Source: YouTube/ShimmerConfetti
Once your garland is up, take a close look for any gaps. Use the smaller balloons you set aside earlier to fill these in, sticking them on with glue strips to prevent any popping. This step is key for achieving a seamless, lush look.
Consider adding decorations around the area to tie everything together. For example, a DIY tulle table skirt can add an elegant touch beneath your balloon masterpiece, bringing the whole room's decor together.

Use smaller balloons to fill gaps and stick them with glue strips to prevent popping in the garland. | Source: YouTube/ShimmerConfetti
By following these steps and unleashing your creativity, you’ll be well on your way to crafting beautiful balloon garlands that are sure to impress! So gather your materials, clear some space, and get ready to unleash your inner balloon artist!
To further enhance your DIY balloon garland strip ideas, why not explore your creativity by making cake boxes? Learn how to make a cake box and add another delightful touch to your party decorations!
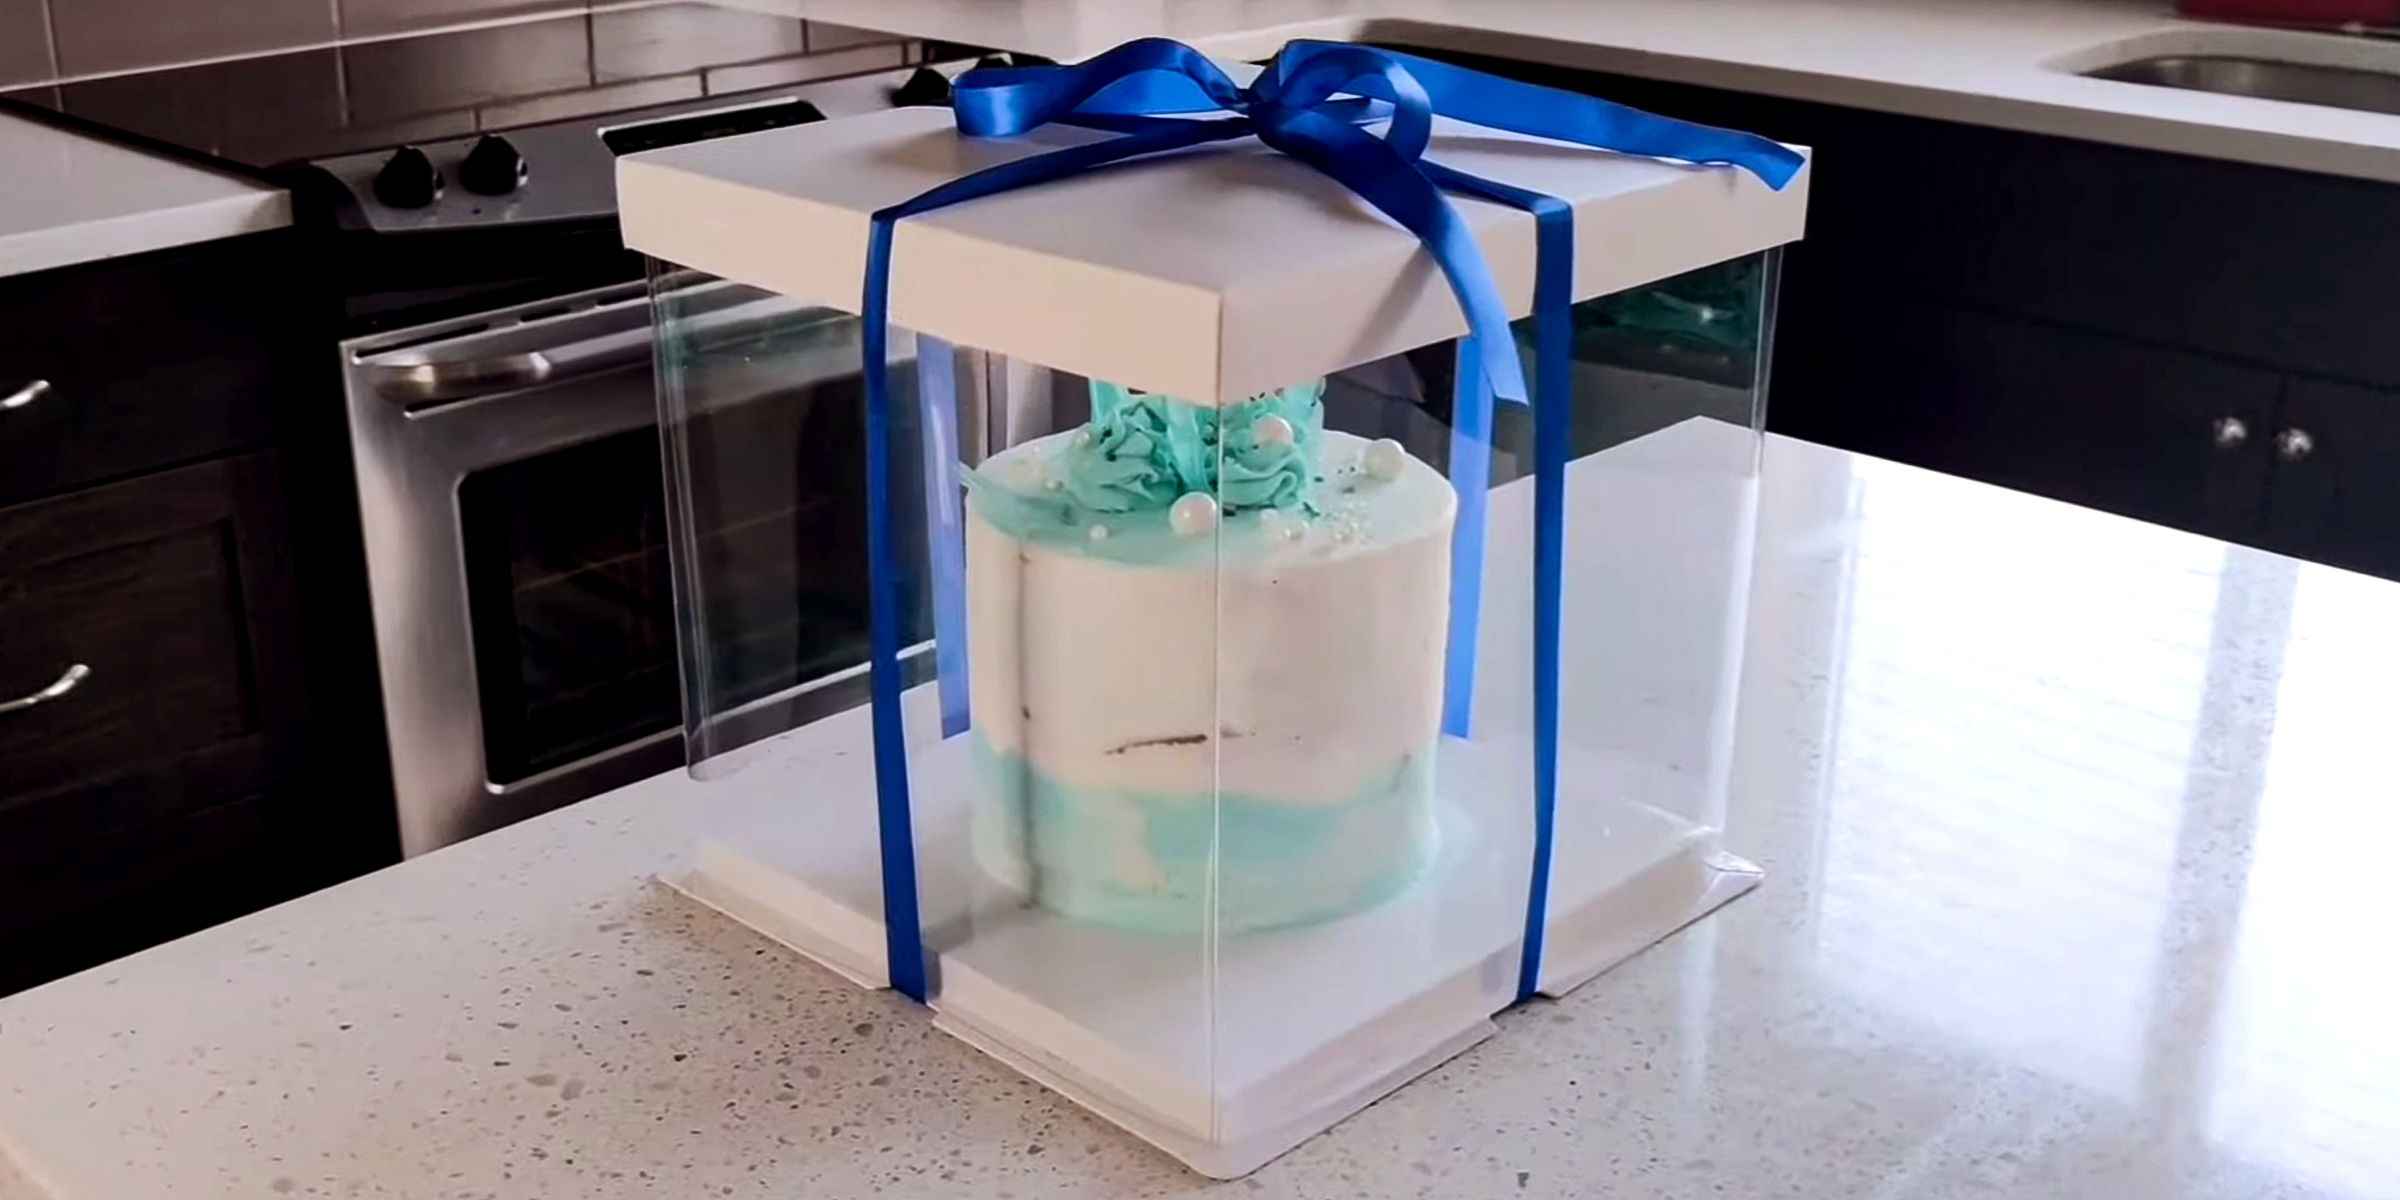
Eager to learn the art of making cake box? Whether you're a baking enthusiast looking to present your creations in style or a DIY crafter eager to add a personal touch to gifts, this step-by-step tutorial on how to make a cake box will transform your packaging game.
Mar 07, 2024
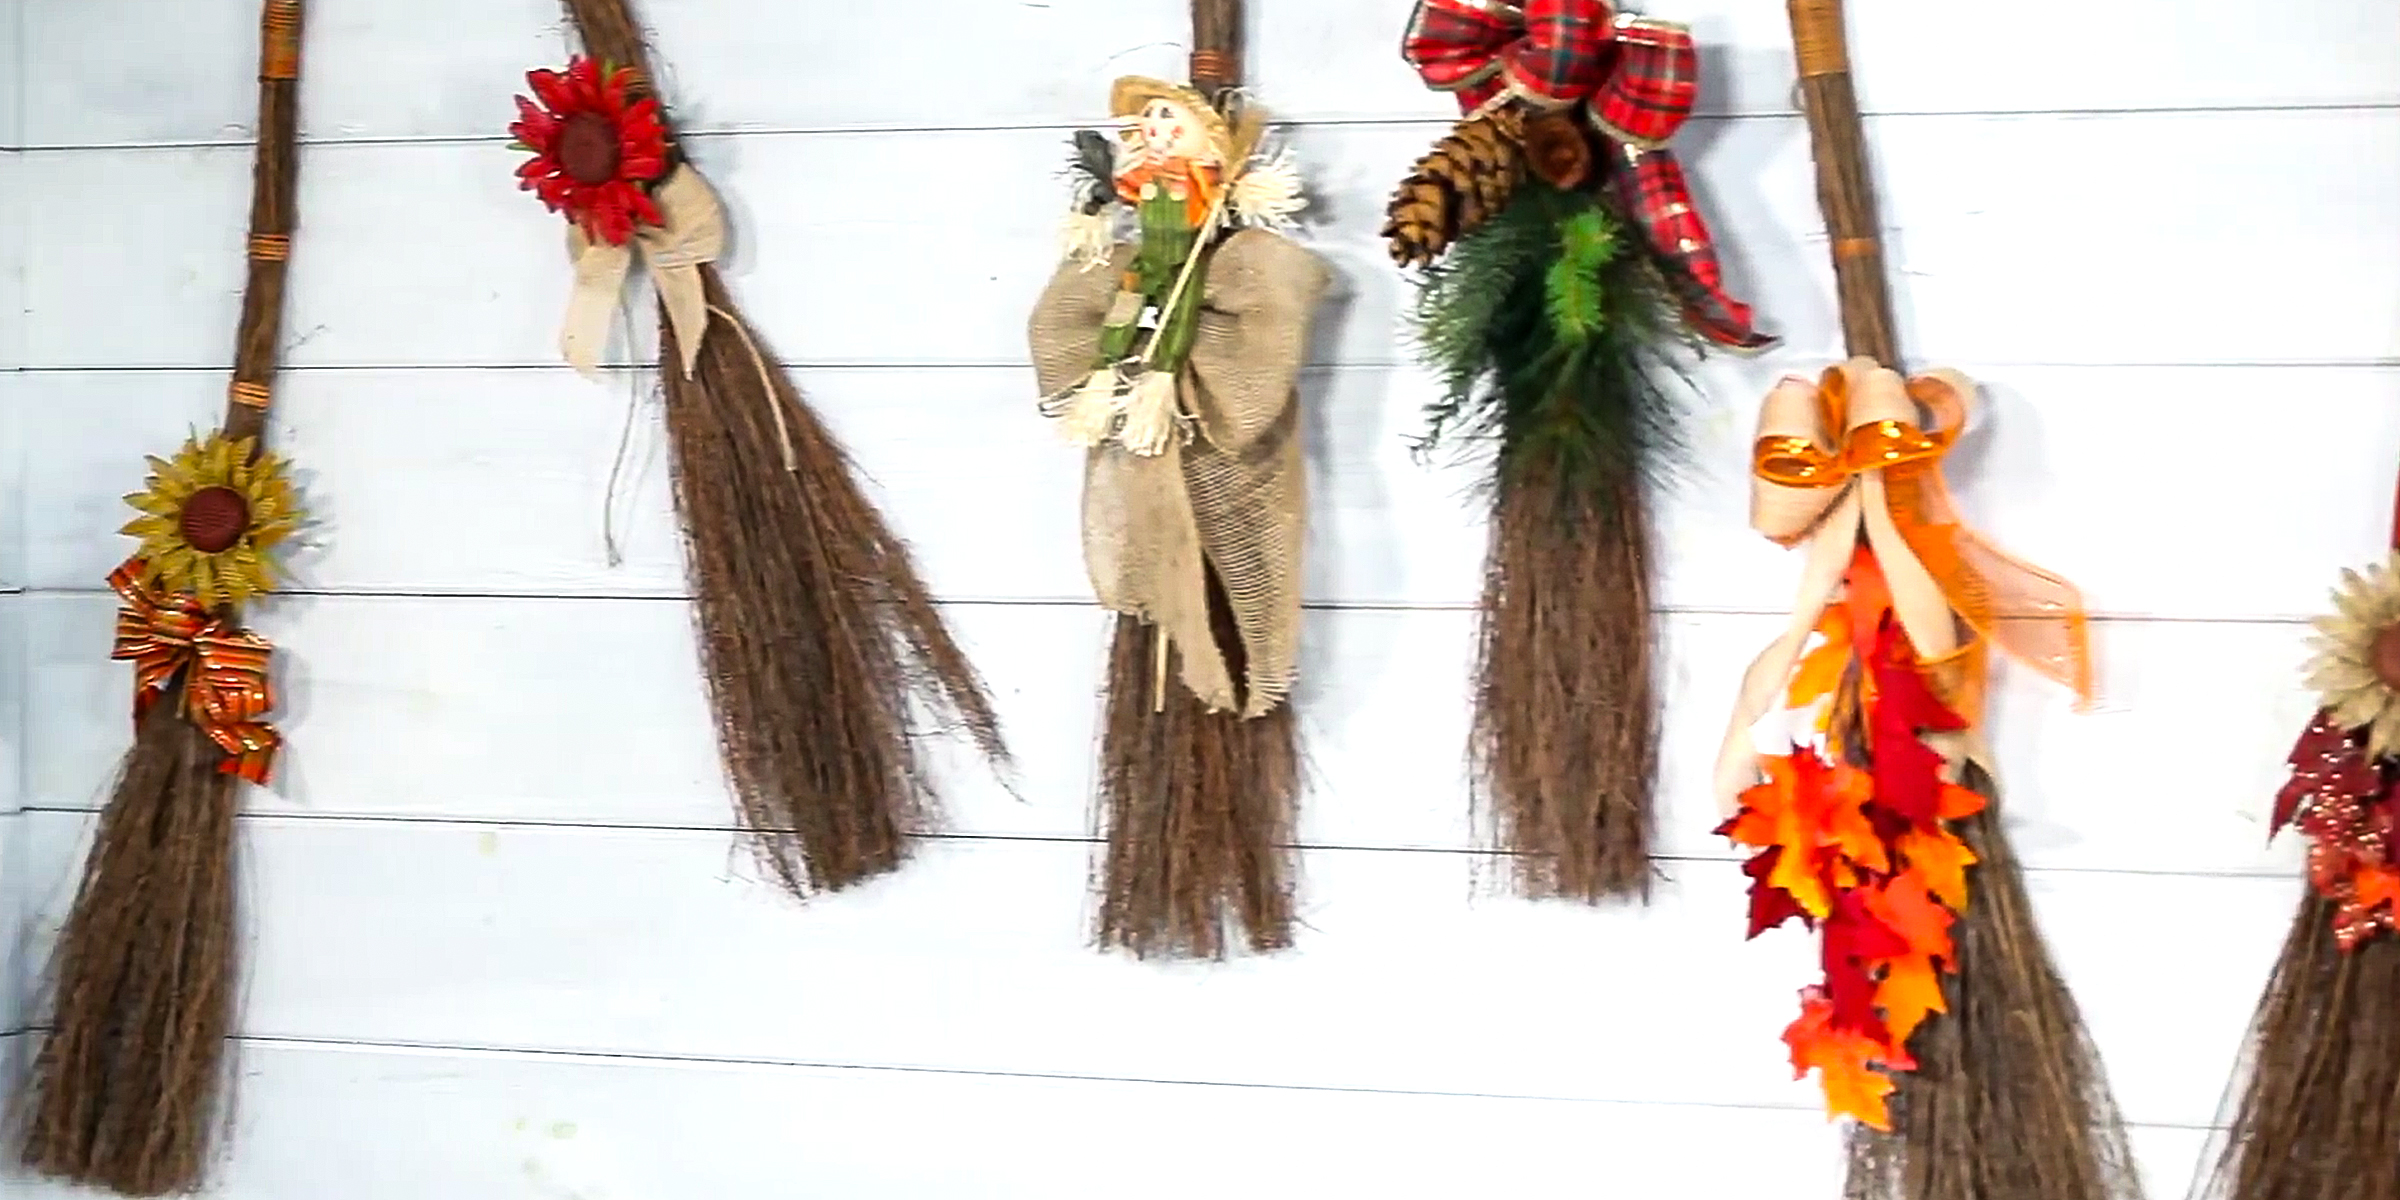
Looking for creative ways to enhance your space with cinnamon brooms? Discover inspiring cinnamon broom decorating ideas to add warmth and charm to your home.
Mar 11, 2024
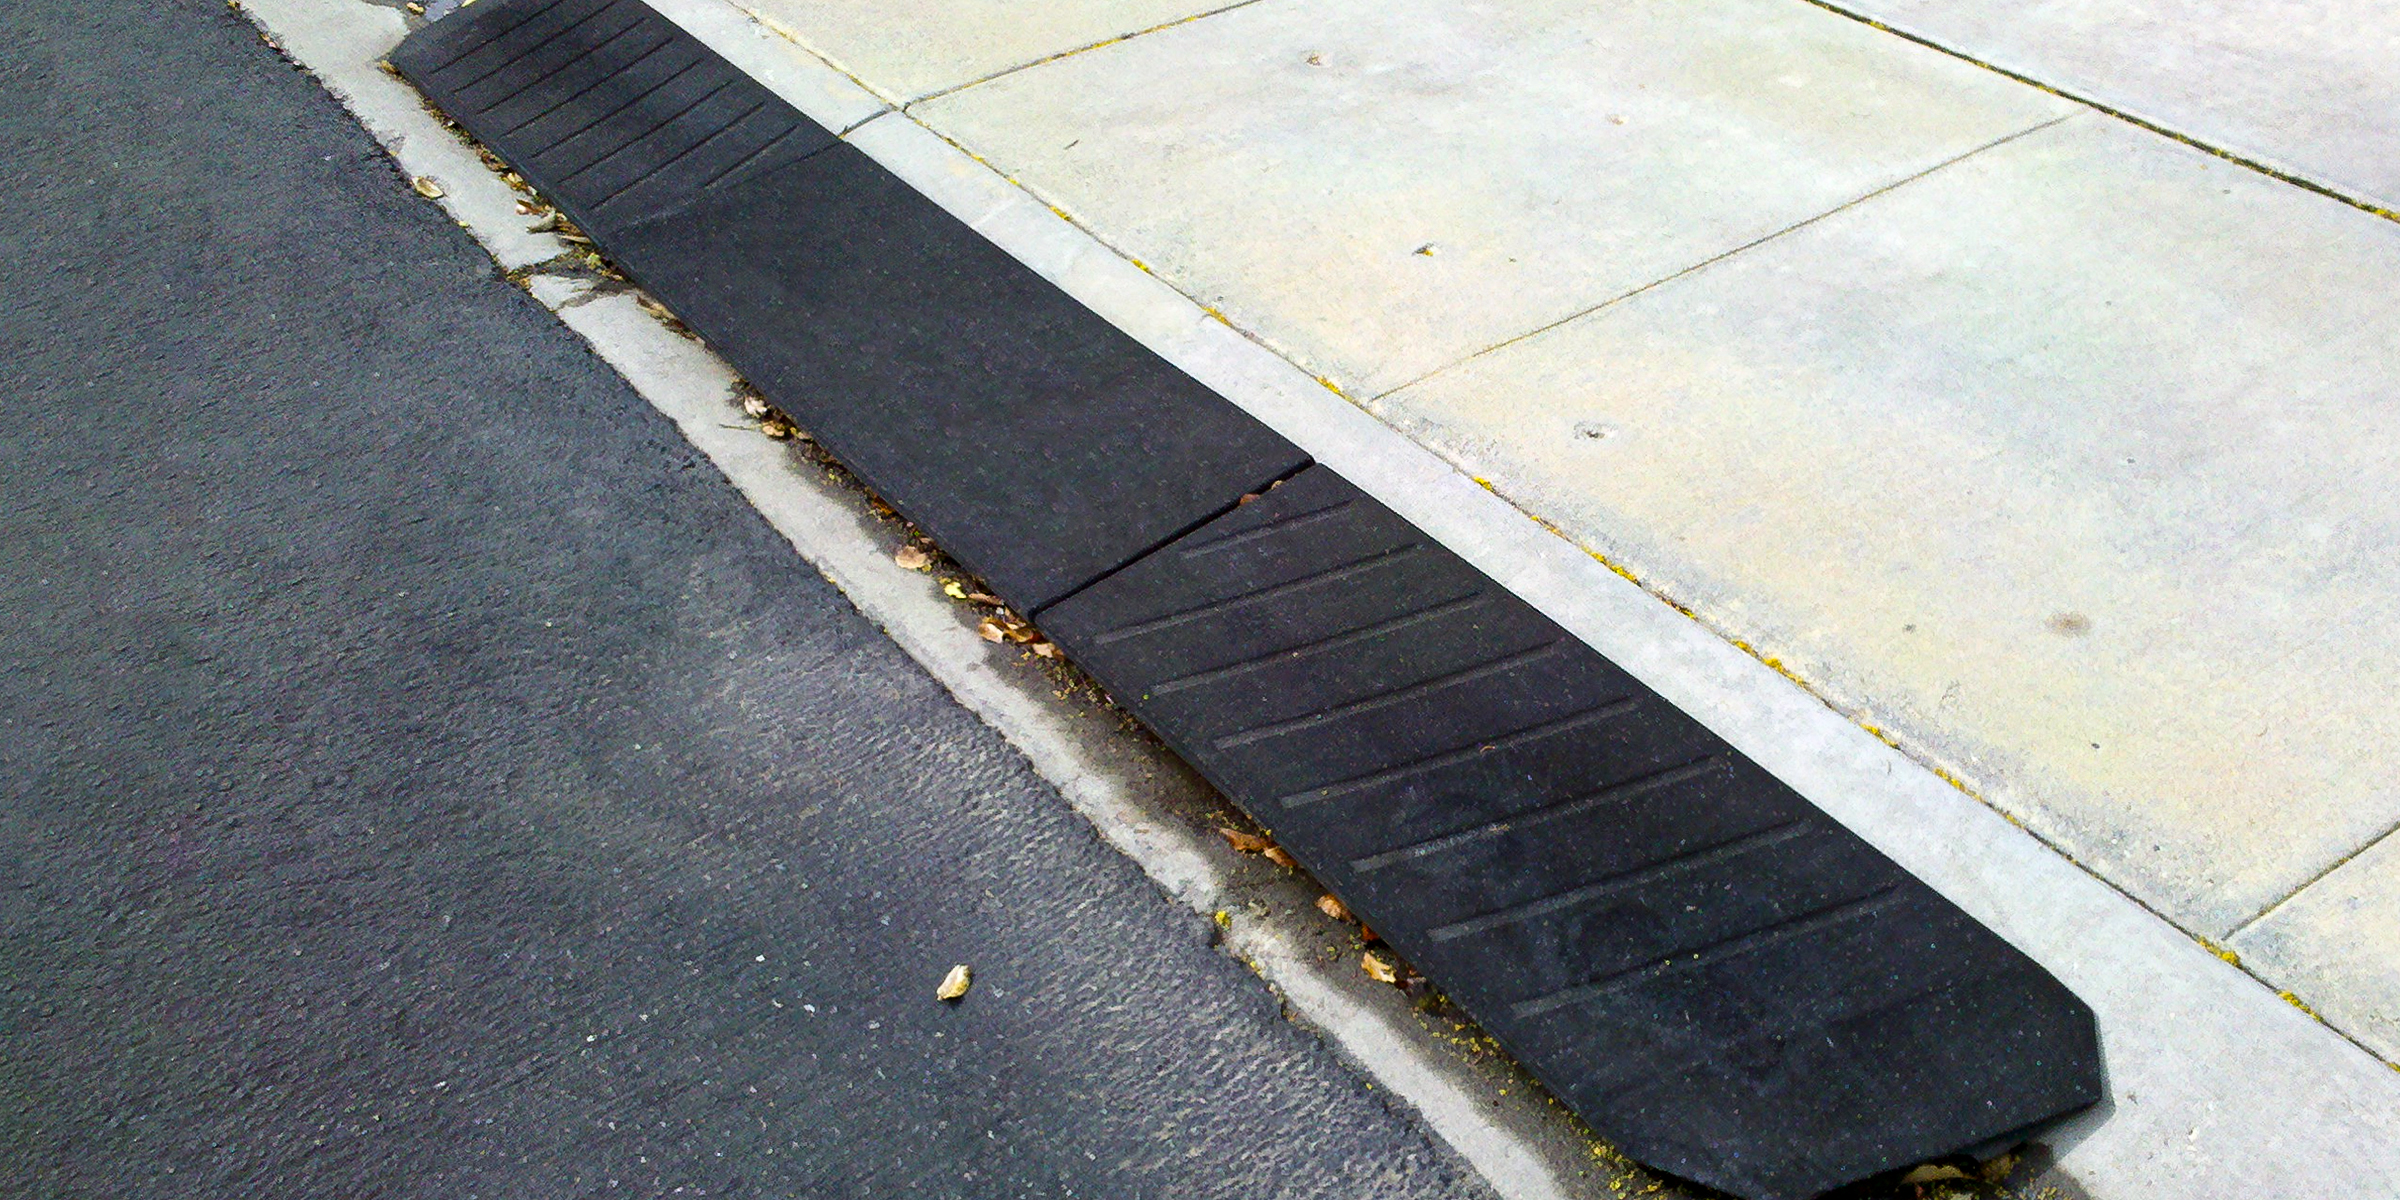
If you're a homeowner without a curb ramp for your car, don't worry! You can make one yourself, ensuring smooth access to your driveway for everyone. Here's how it's done.
Feb 13, 2024
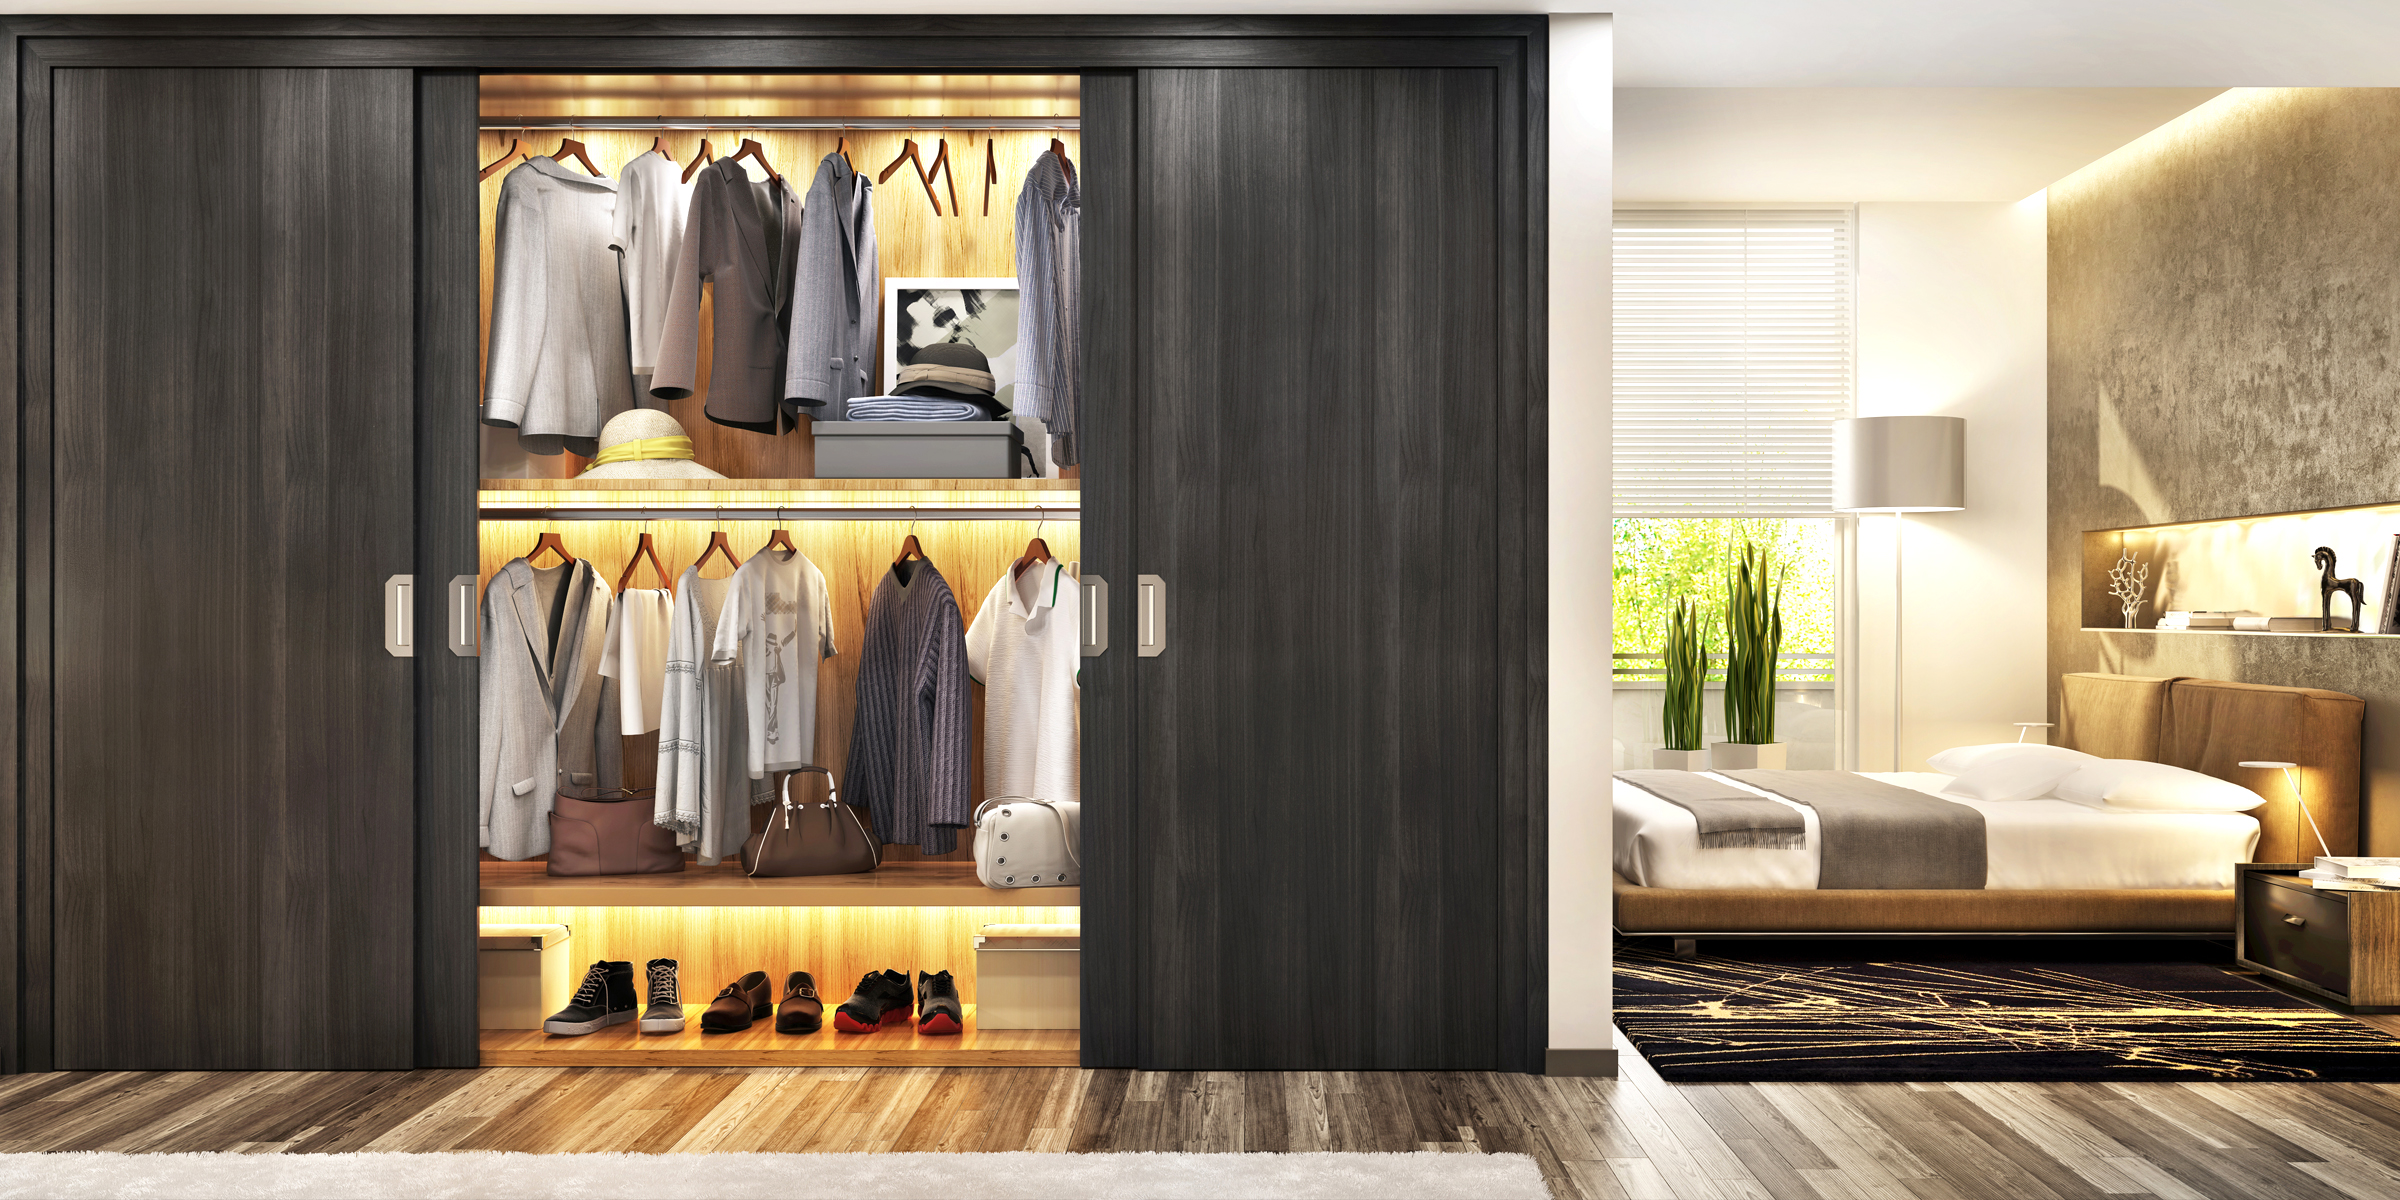
Embark on a creative journey and revamp your bedroom aesthetics with a DIY wardrobe door. With a touch of ingenuity and these simple steps, you can tailor a personalized and budget-friendly solution.
Feb 03, 2024

Transforming long car rides with children into fun-filled adventures is possible. Yet, managing sibling conflicts can be tough. Explore inventive solutions to foster peace and harmony between your little ones.
Feb 15, 2024

Transform your space with a DIY Litter Robot Enclosure that effortlessly merges smart technology with style. Despite their convenience, high-tech litter boxes can sometimes clash with home aesthetics. Fortunately, there's a stylish DIY solution!
Feb 14, 2024
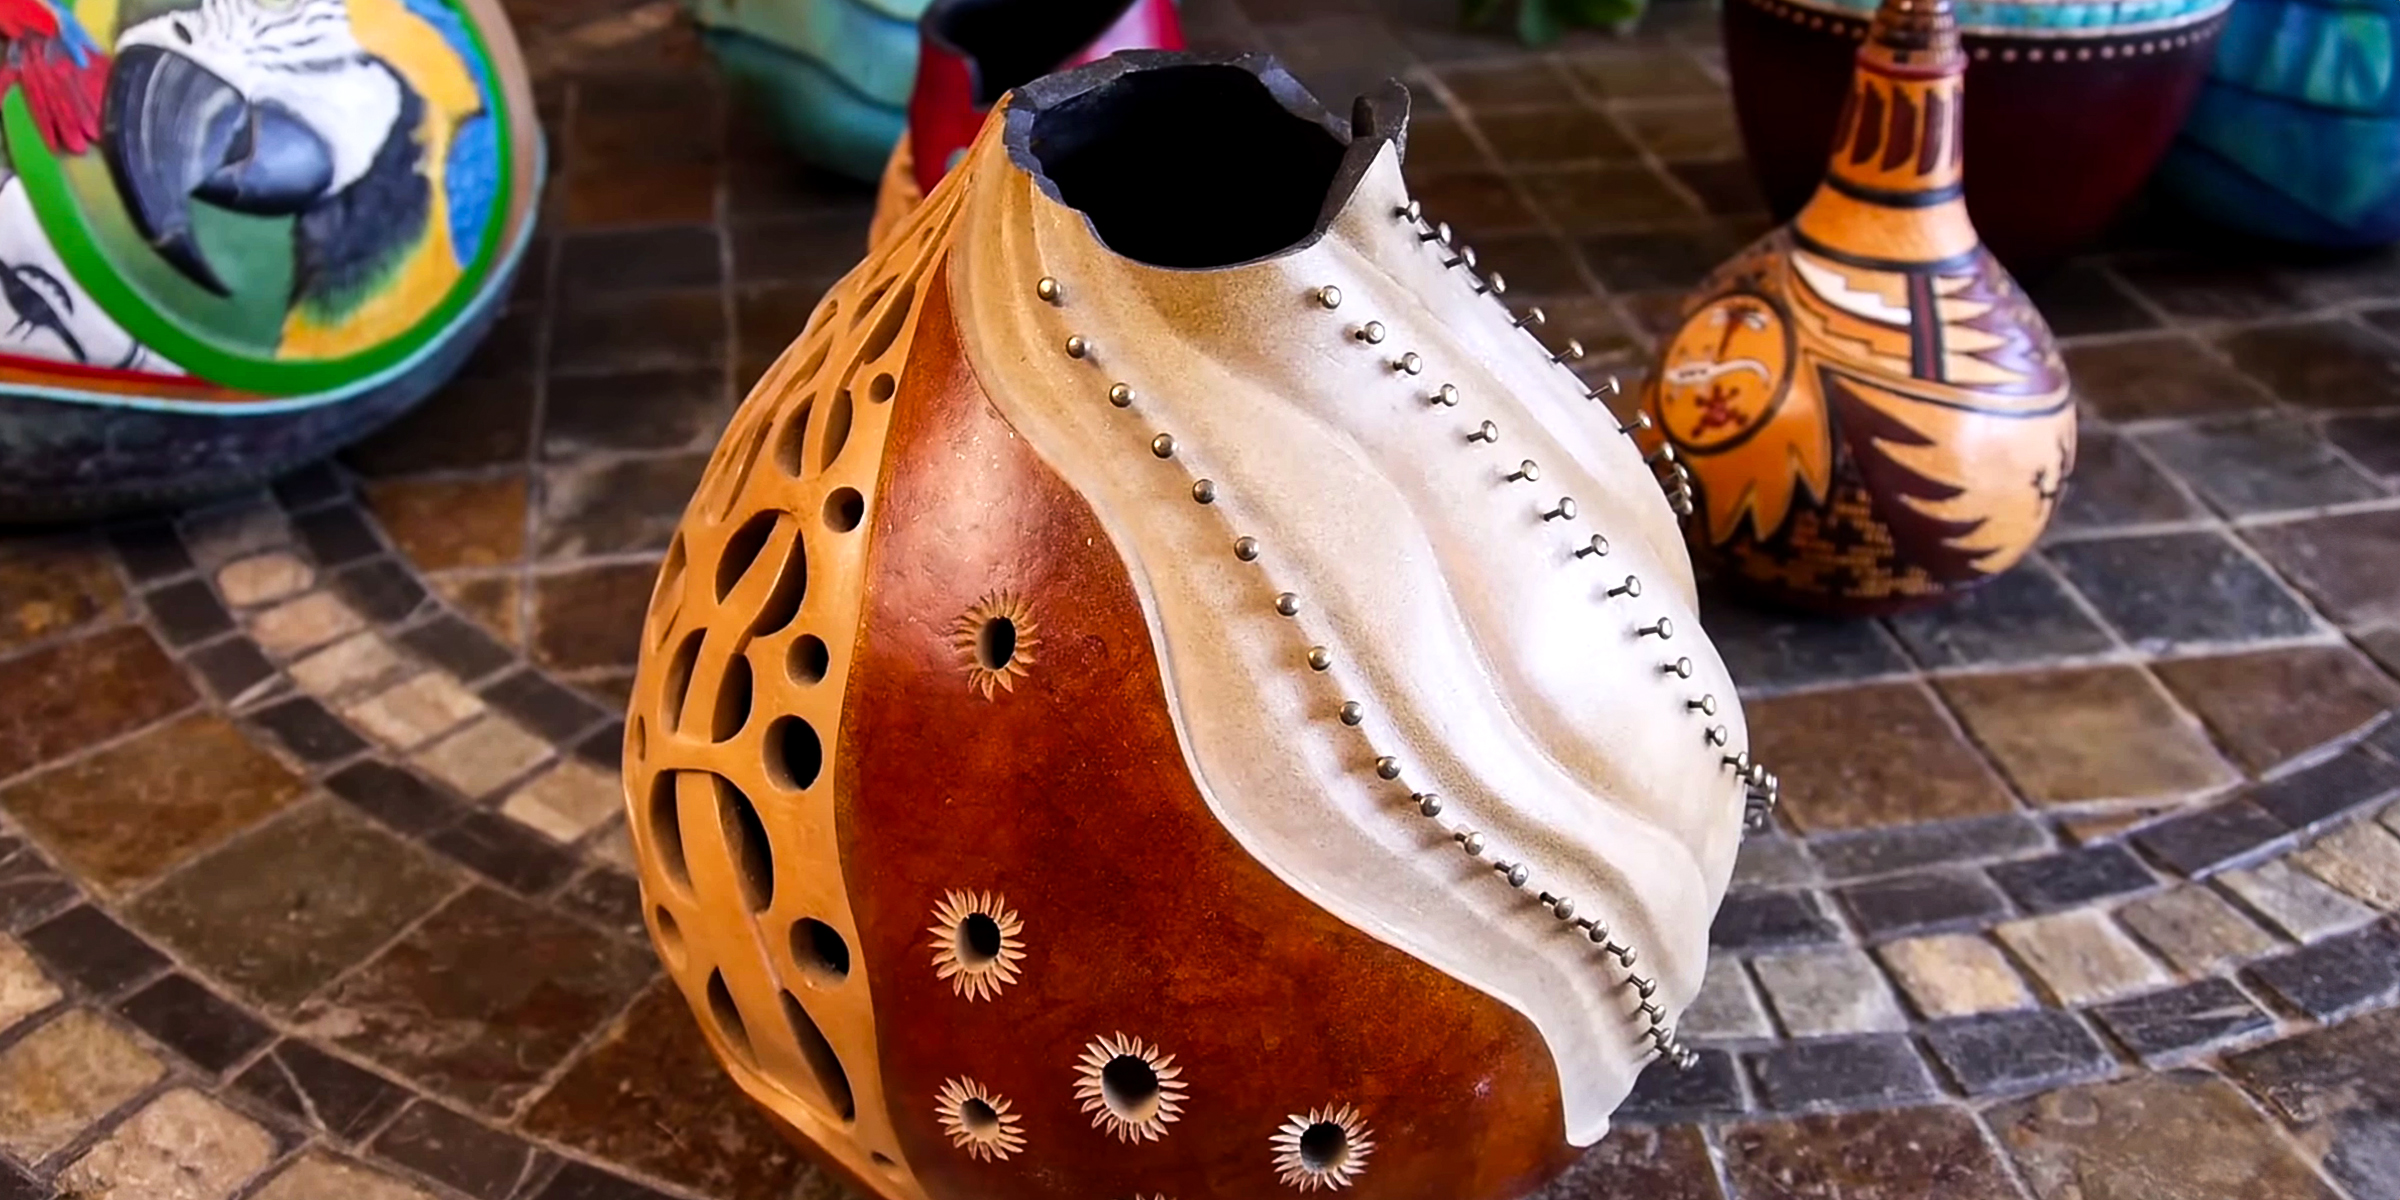
Unleash your creativity with our guide to gourd decorating ideas, perfect for both seasoned artisans and beginners alike. Discover innovative techniques that will elevate your gourd decorations to new heights!
Mar 11, 2024
Looking to discover how to create a Murphy door for your home? You've come to the right place! Incorporate a unique hidden door into your space by crafting your own, following the detailed guide below.
Mar 12, 2024
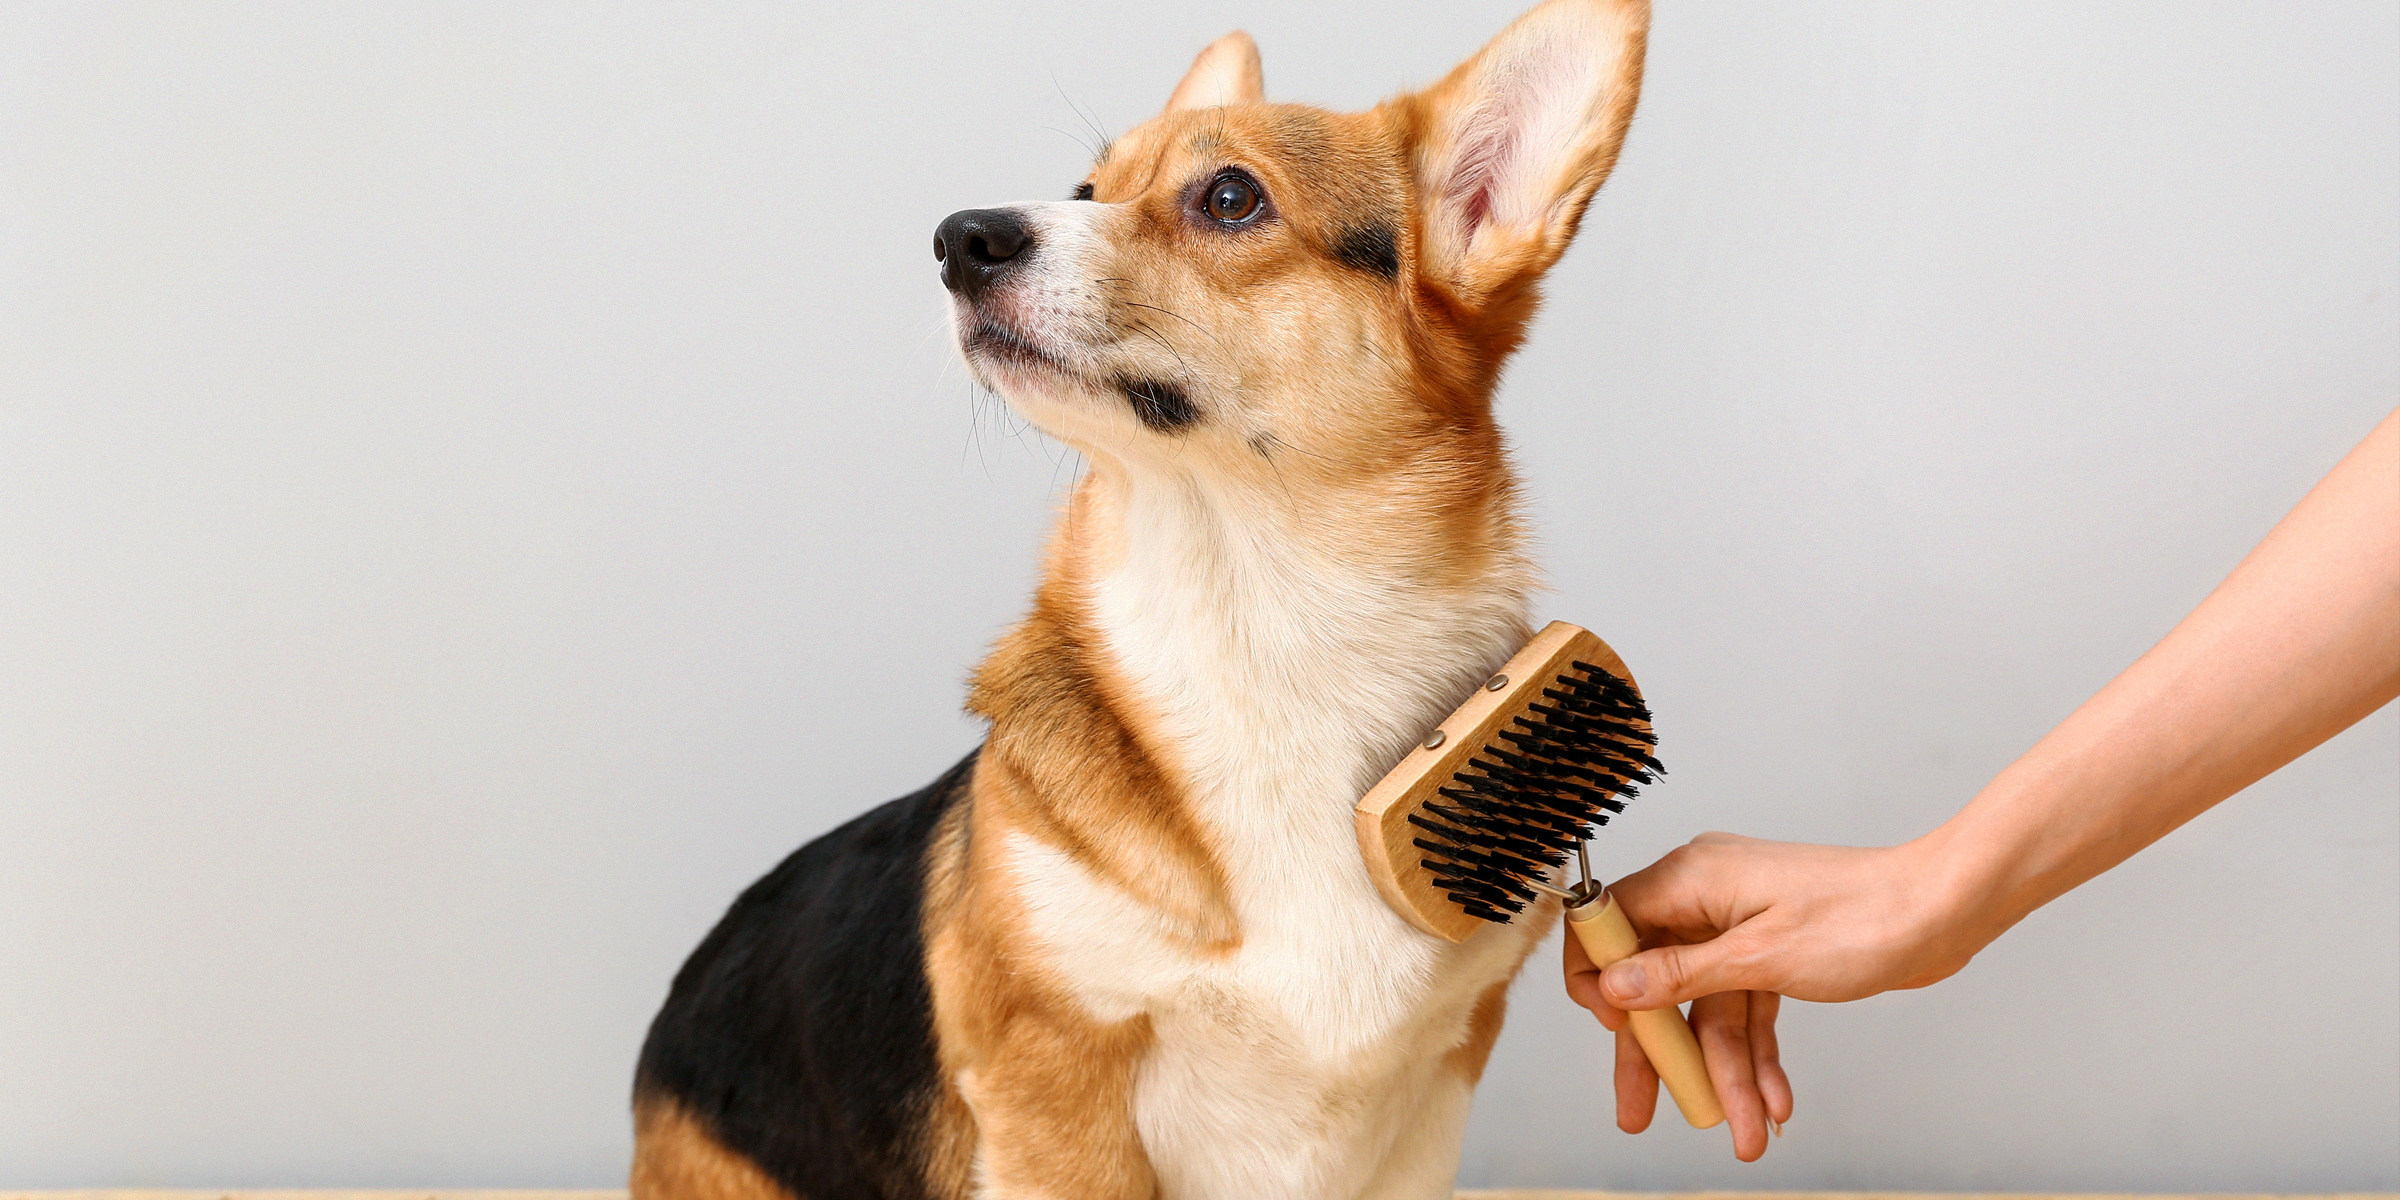
If your dog has a luxurious coat of fur, short or long, then you understand the necessity to brush your furry friend regularly. Detangler sprays make this routine grooming process easier. Here's how to make yours at home.
Jan 25, 2024
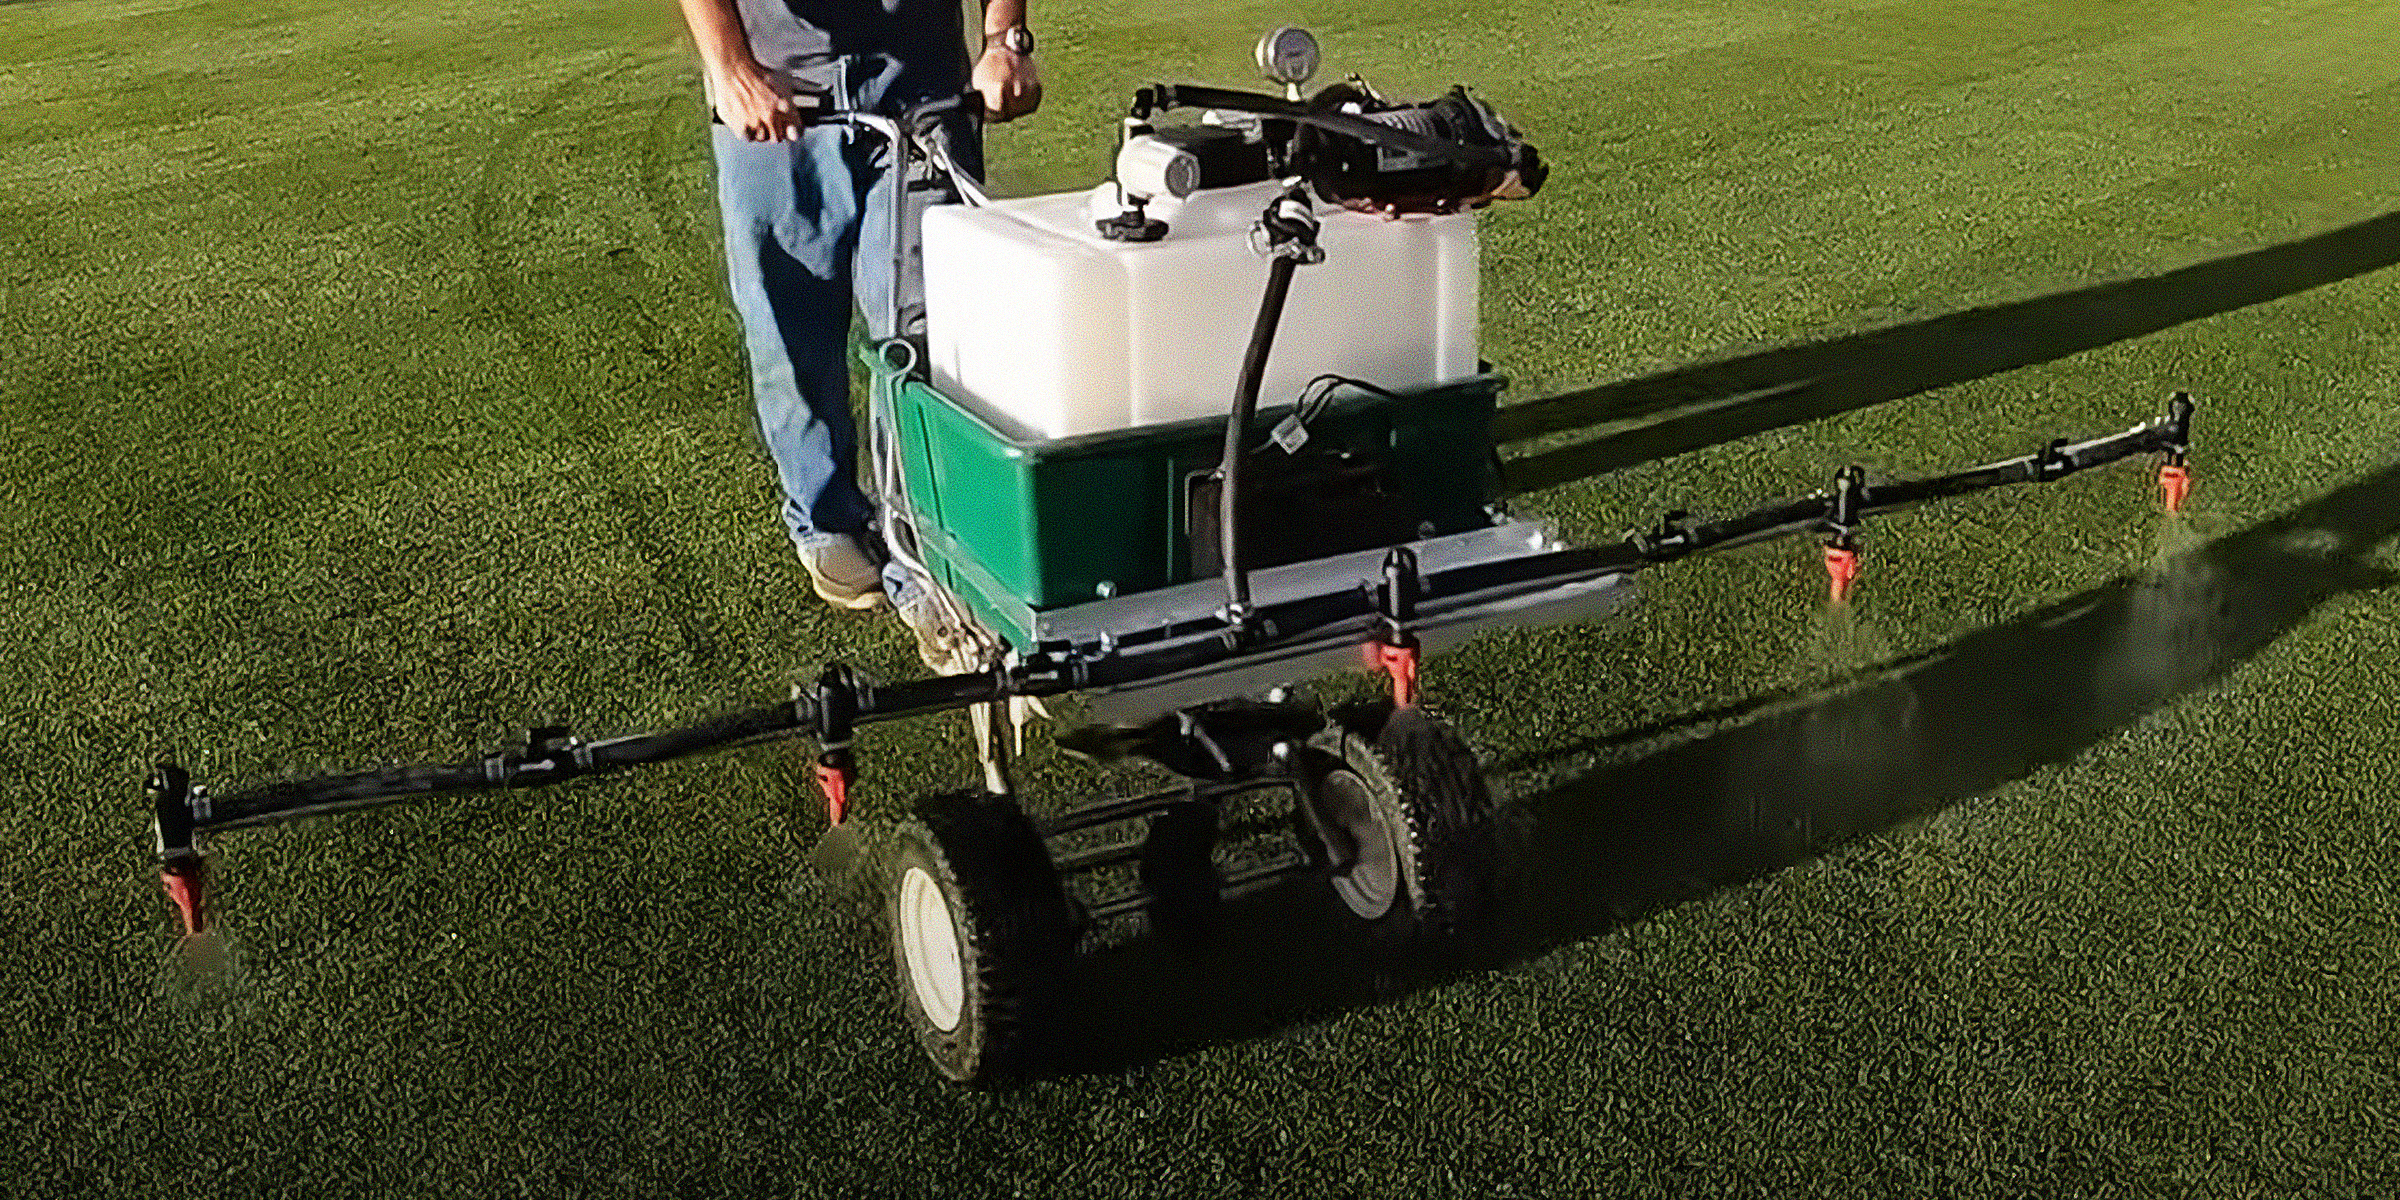
Whether you're a seasoned DIY enthusiast or new to the world of homemade gadgets, continue reading for a step-by-step tutorial that will help you create a functional and reliable DIY boom sprayer.
Feb 18, 2024
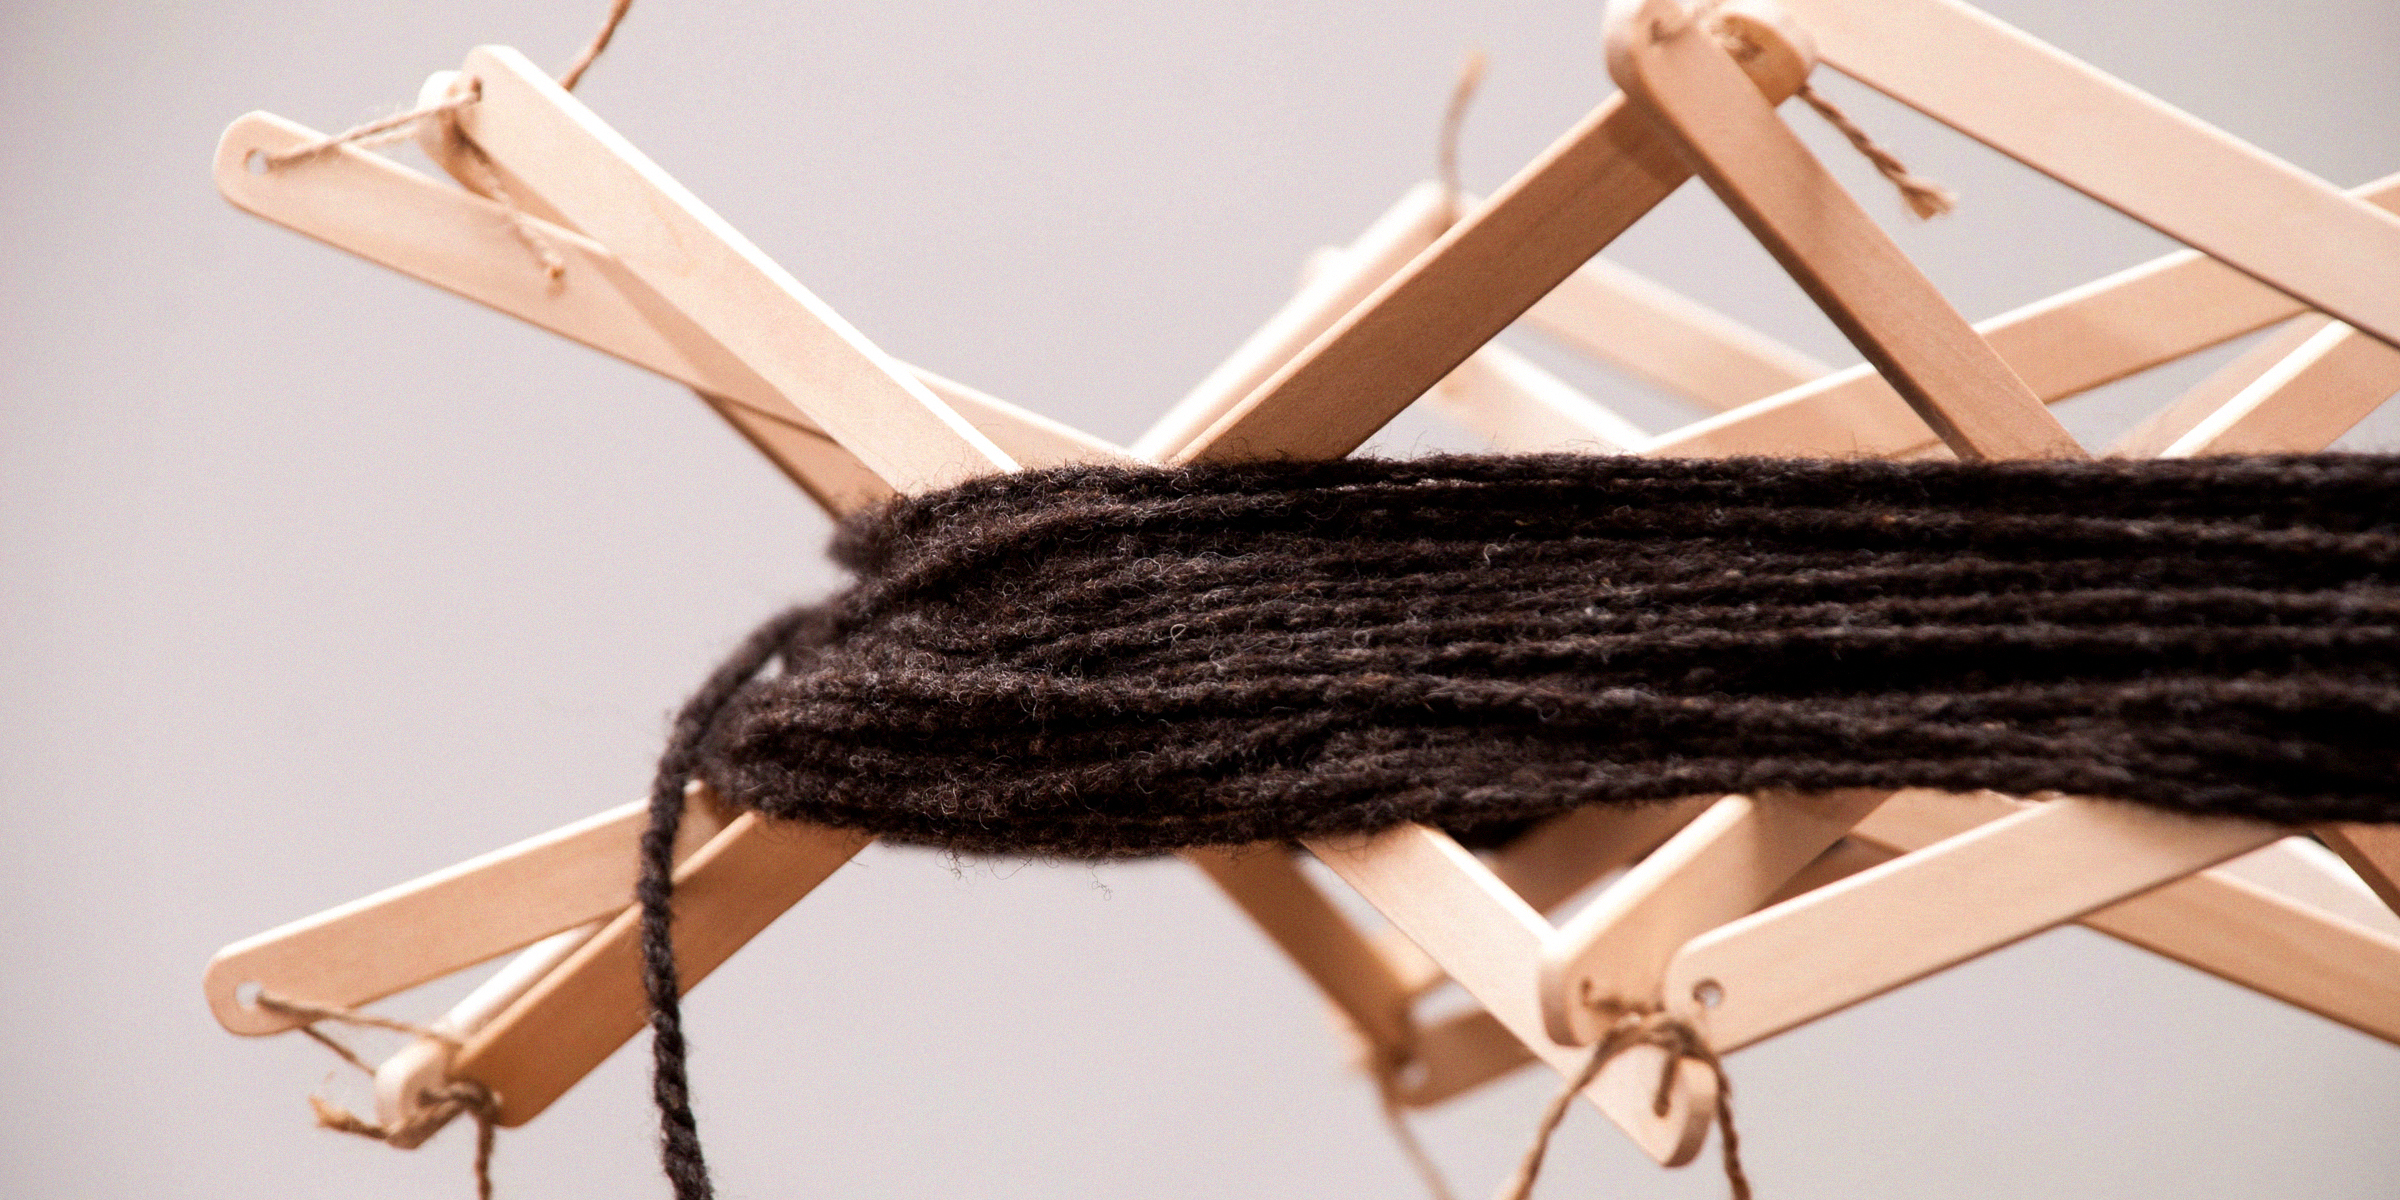
Embark on a journey to elevate your knitting prowess effortlessly and infuse each stitch with a personal touch through a DIY yarn swift. Unleash your creativity as you craft an affordable and convenient tool to elevate your knitting experience.
Feb 01, 2024
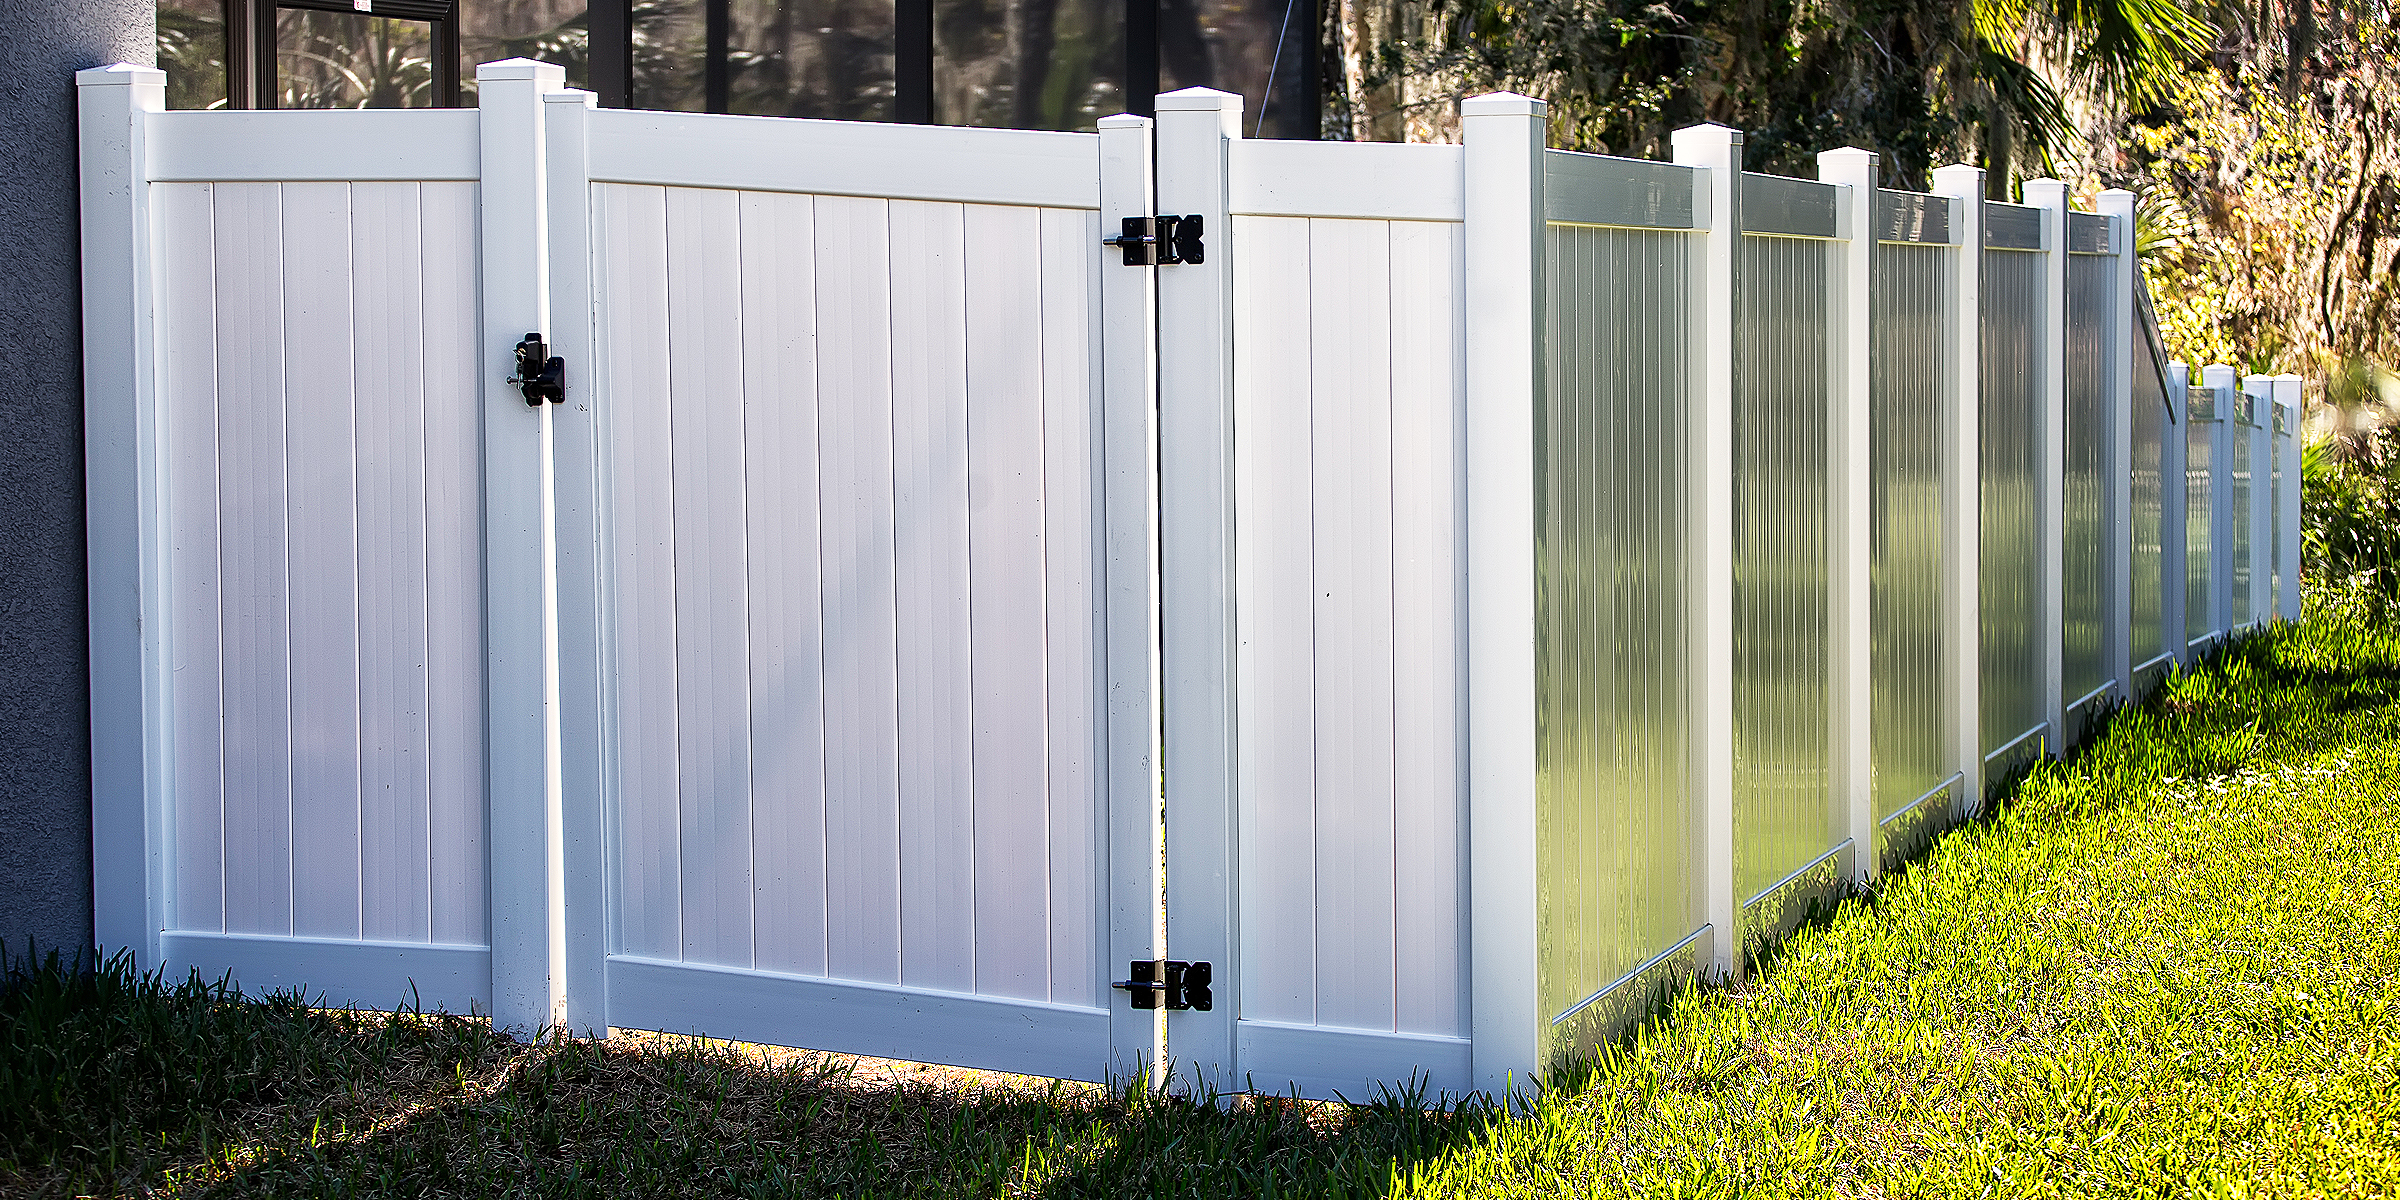
Revamp your outdoor sanctuary with our vinyl fence decorating ideas, transforming your perimeter into a masterpiece of style and privacy. Let's turn that plain barrier into a vibrant highlight of your home's exterior.
Mar 13, 2024
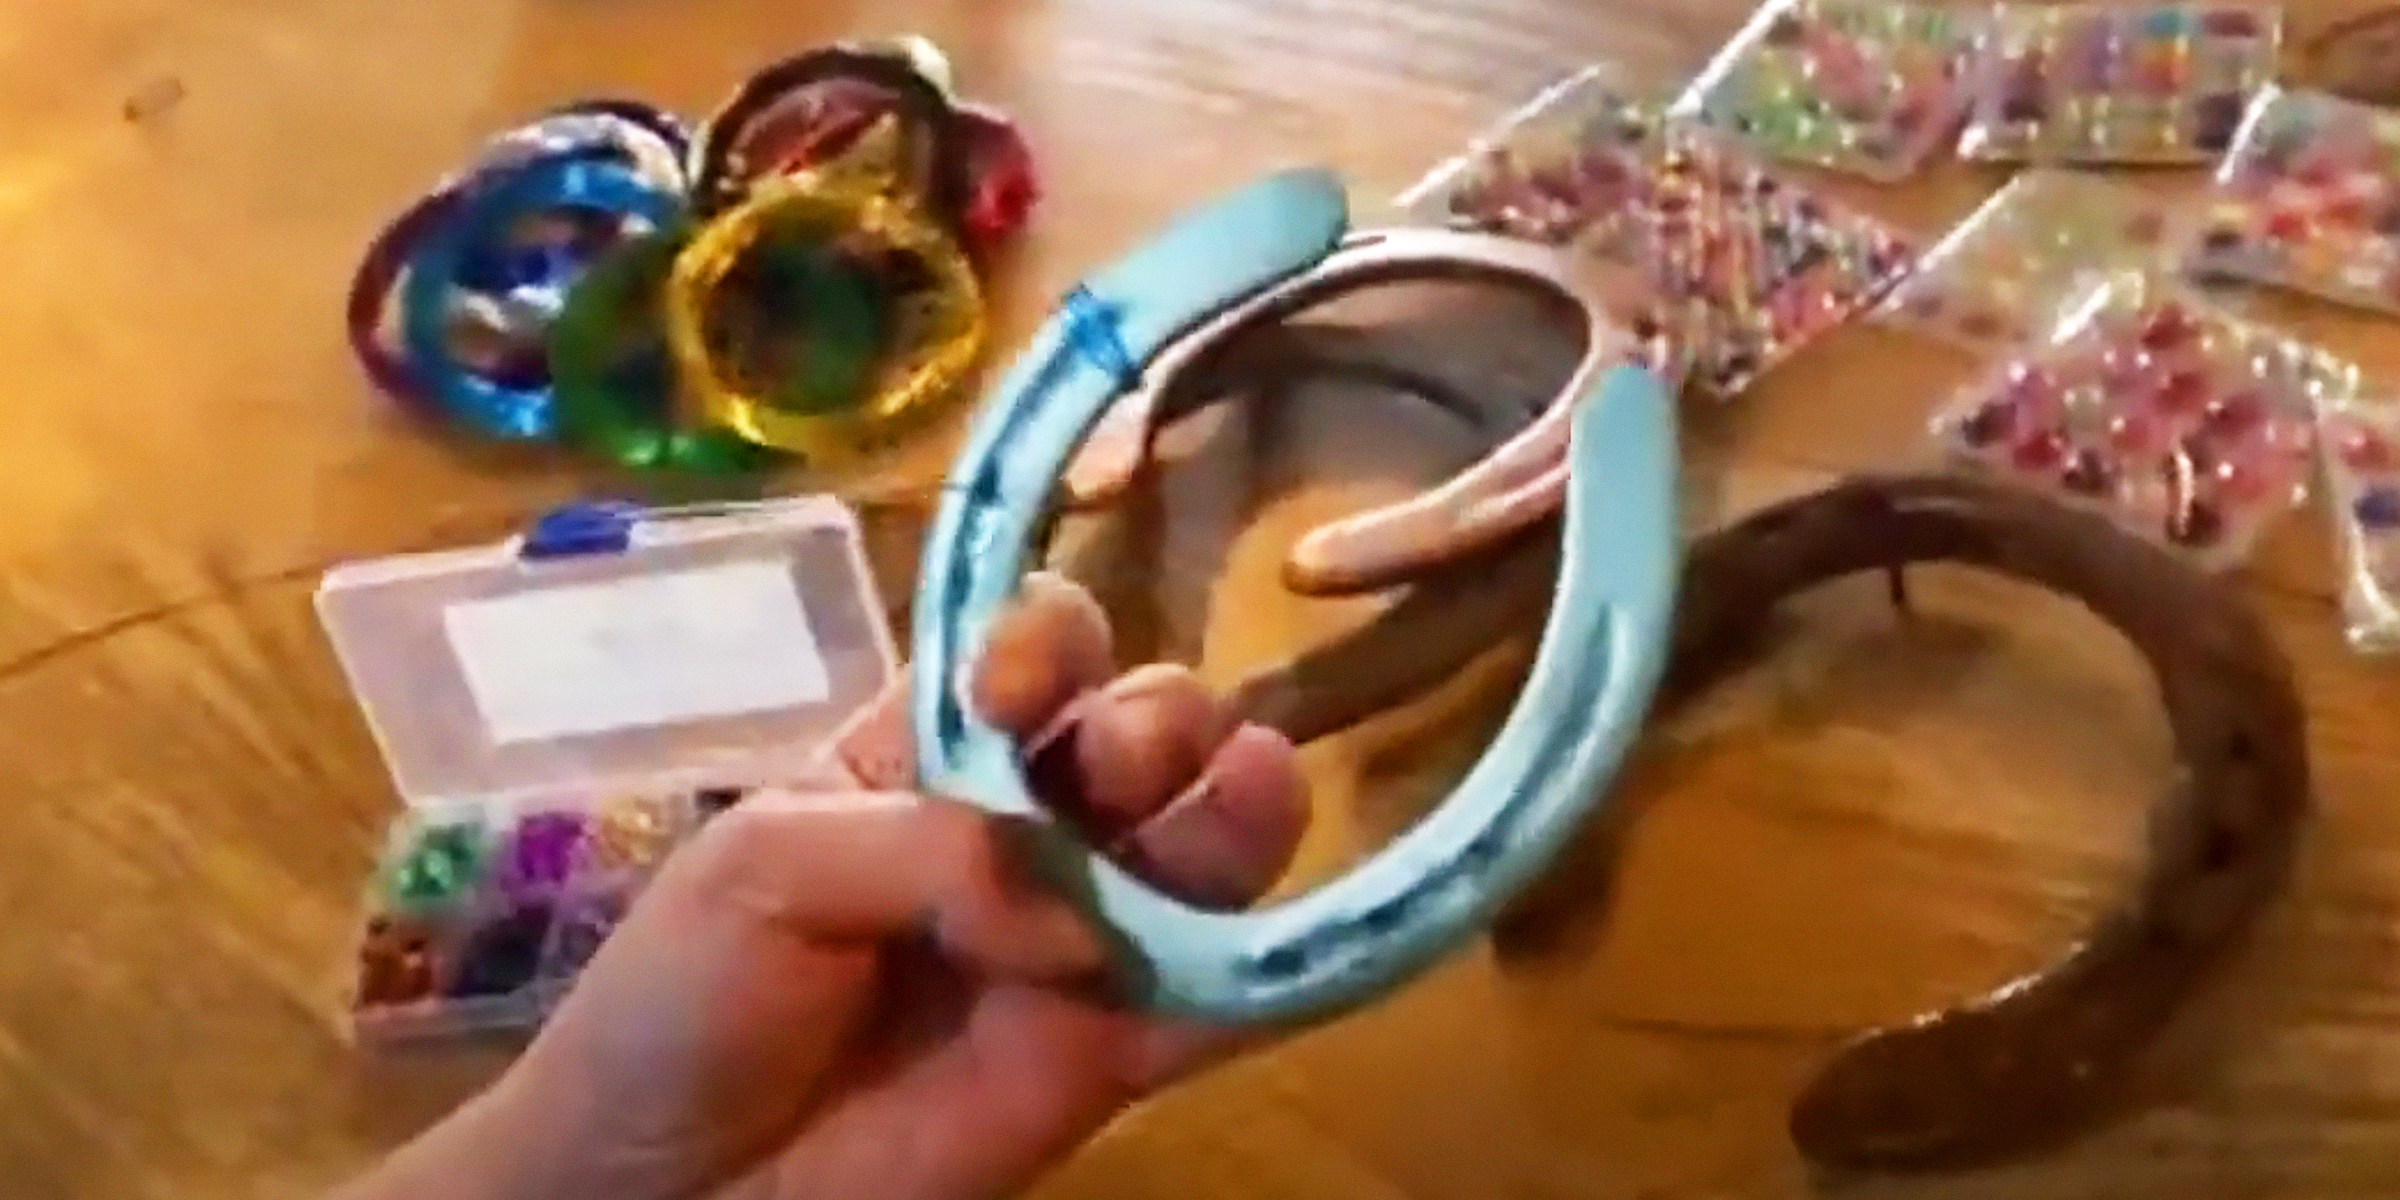
Transform ordinary metal into an extraordinary charm! Learn how to decorate horseshoes with our easy DIY guide, turning them into personalized tokens of luck and gifts for any occasion.
Mar 13, 2024
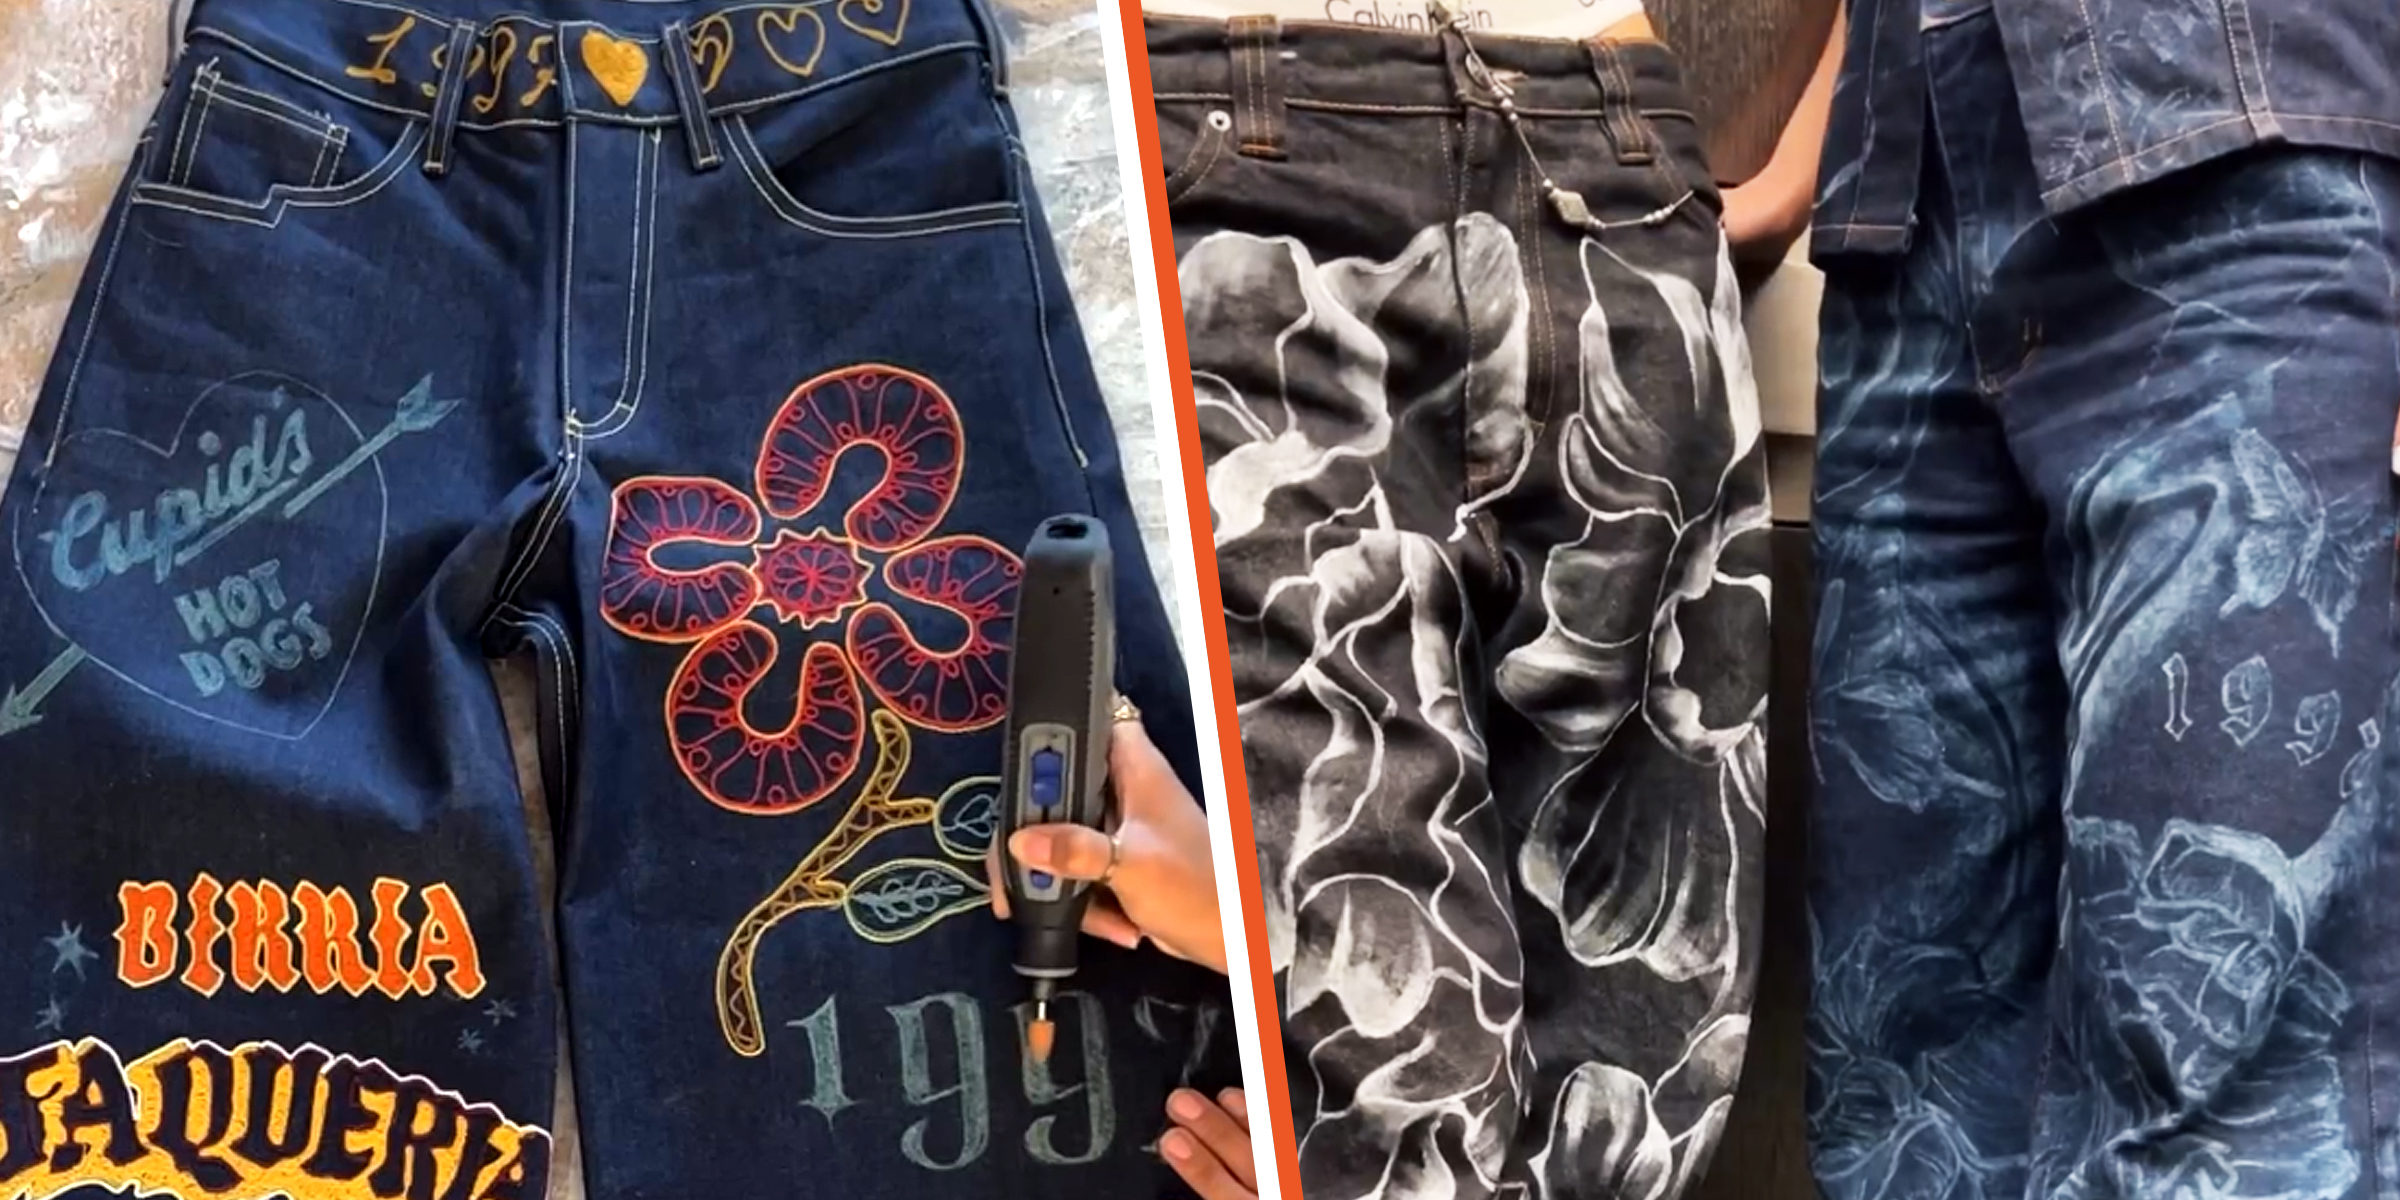
Rocking a fantastic pair of jeans can instantly boost your confidence, but taking your denim game to the next level with some DIY aesthetic jeans is like stepping onto your own personal runway. These DIY pieces of denim can turn heads as you walk by.
Dec 12, 2023