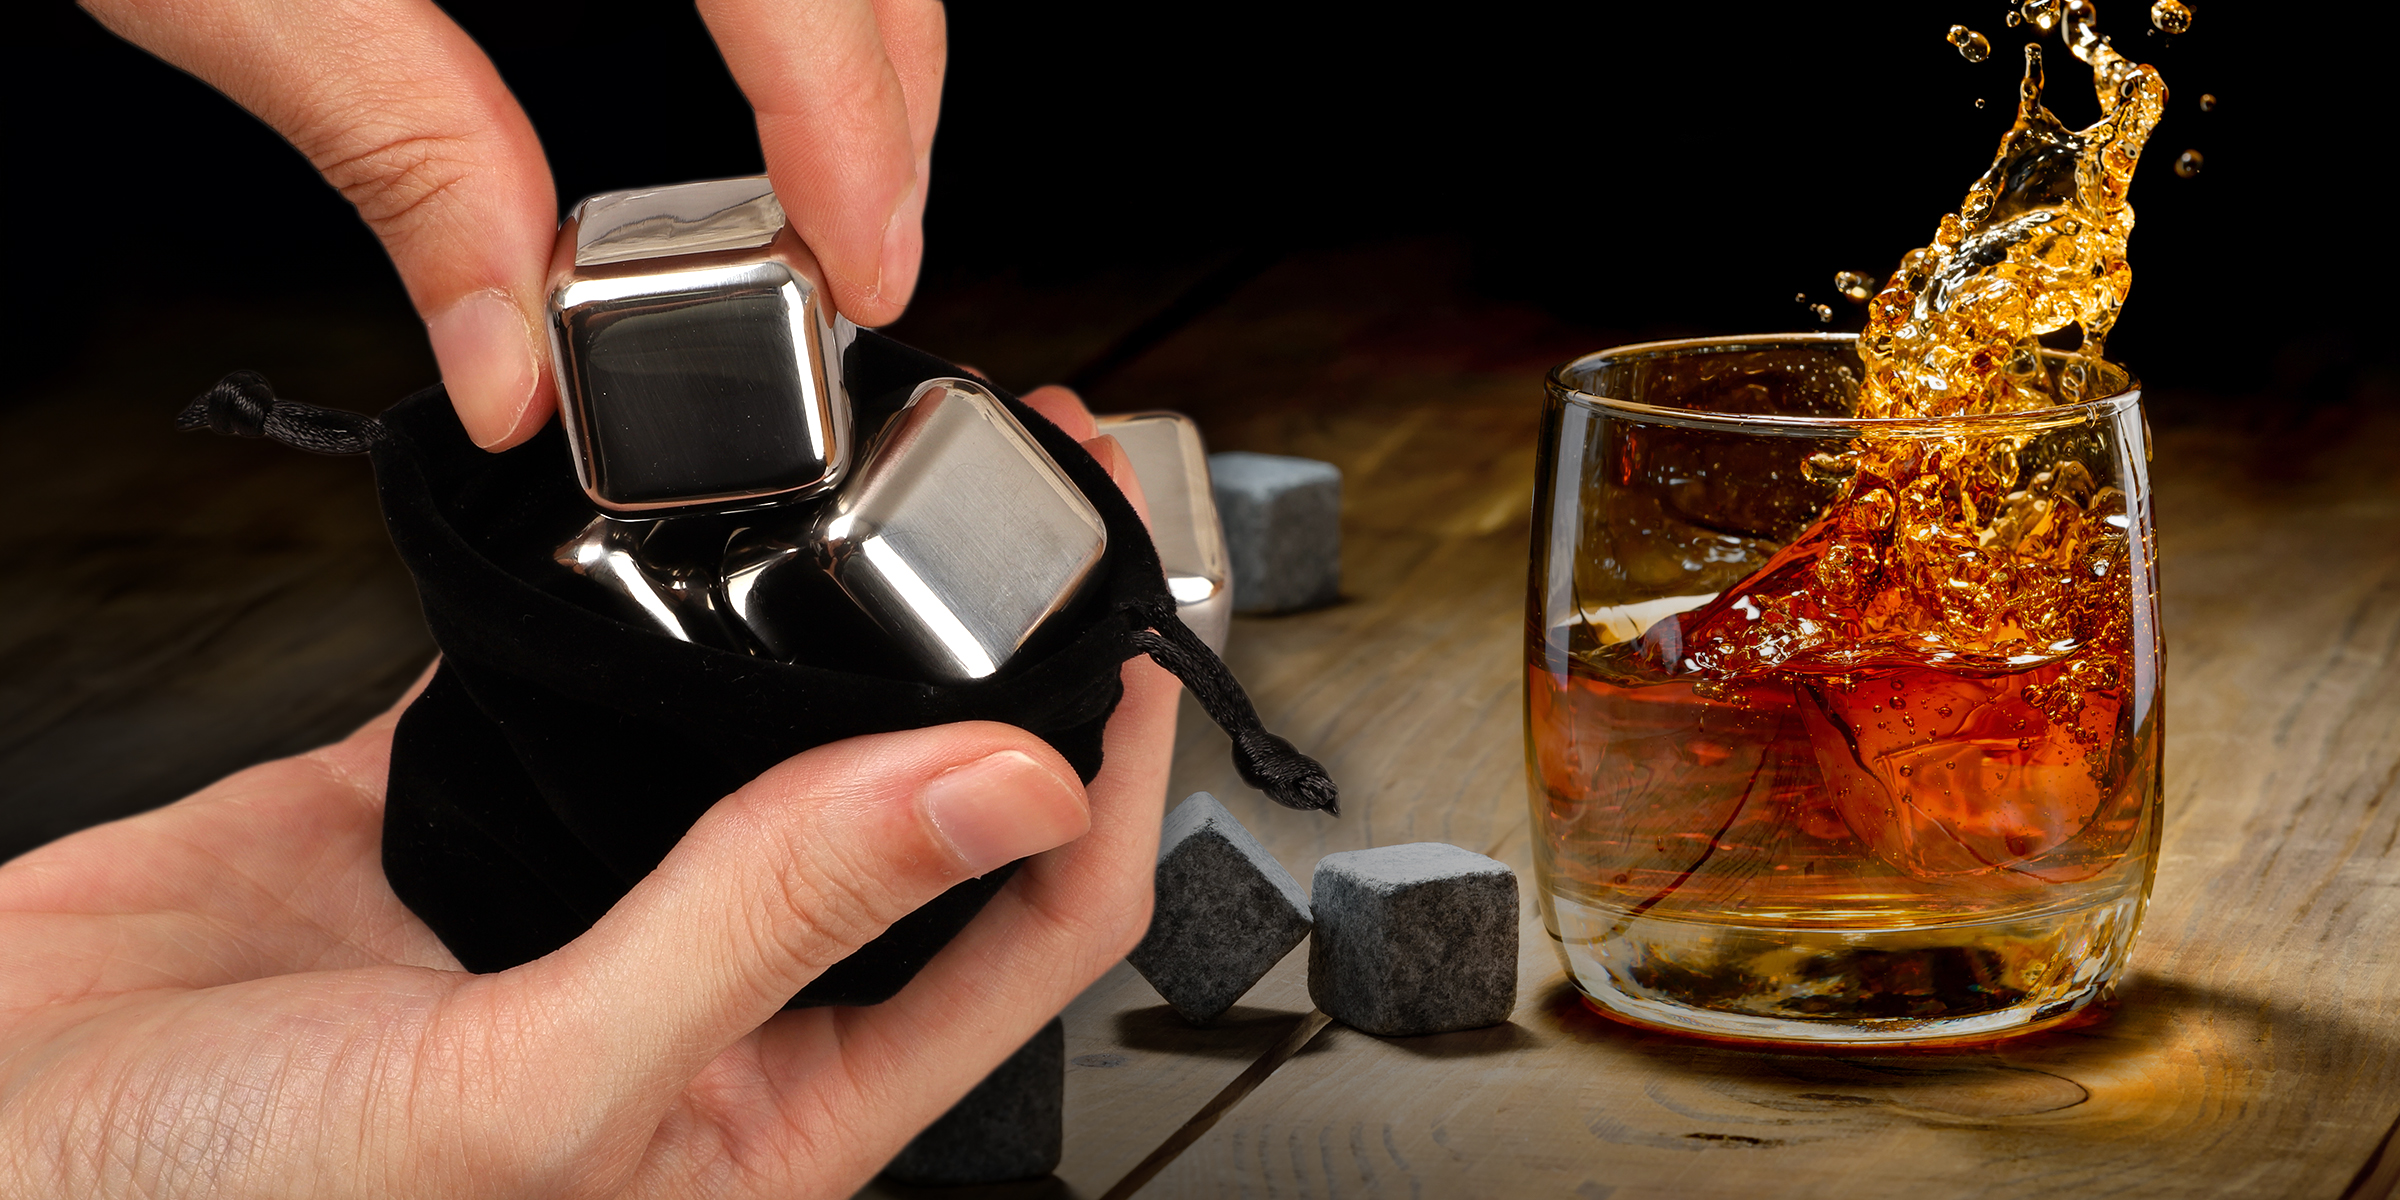
How to Clean Whiskey Stones in 6 Steps
Jan 13, 2024


If you're dealing with the challenge of little ones struggling to reach faucets, a practical solution is to craft a DIY faucet extender. You can easily accomplish this in just a few simple steps.
It's a typical morning rush at home, and your little one excitedly wants to wash their hands, but the sink seems like a towering mountain to climb. Frustration sets in as their tiny arms barely reach the water, and the short faucet only adds to the challenge.
But with a quick homemade extender using an empty bottle, the sink can become more accessible for your little explorer. Whether you're trying to teach sink independence or simply looking for a convenient solution, follow these easy steps for your little kid to reach the sink.

A mother assisting her daughter in washing her hands at the sink | Source: Shutterstock
To begin crafting your DIY faucet extender, the first step is to gather the required materials. For this project, you'll need a bottle – old baby lotion bottles work well, but other soap bottles are suitable, too.
To ensure precision in your cutting, have scissors or a craft knife on hand, or even both if you prefer. Grab some spray paint to add a personal touch and a marker for outlining. Smoothing out any sharp edges is essential, so keep sandpaper or steel wool handy too.

Prepare scissors and am empty bottle to make a DIY faucet extender. | Source: YouTube/news4jax
After gathering the materials, thoroughly wash the chosen bottles to ensure they are clean. Begin by pouring out the contents of the bottles, then flush a combination of soap and water through them until the inner surface is entirely clear of any remaining lotion or soap.
While this step is optional, as your bottle might already be clean, washing, rinsing, and drying the bottle thoroughly are recommended to eliminate any leftover soap residue.
Consider completing this cleaning process before you start cutting to prevent any slipperiness caused by soap residue, making the cutting process smoother and safer.

Wash the bottle to eliminate any dirt and residue. | Source: Facebook/OutoftheboxEcoStore
Moving on to the next step, it's time to mark the cutting points on the bottle to create your DIY faucet extender. There are three cuts to make: (1) cut a hole at the bottom of the bottle; (2) remove the entire top end of the bottle; and (3) optionally, cut the top end of the bottle lengthwise to fashion an open funnel for water flow
You may use a craft knife to remove the narrow lid and create a channel for the water. Exercise caution during this process, particularly when cutting the top and bottom areas, as they are thicker and more resistant.
Don't worry if the cutting deviates slightly from the marker outline; it serves as a general guide. After the initial cutting, you can go back and refine the edges for a neater finish.

Trim the upper section of the bottle lengthwise to craft an open funnel, allowing for water flow. | Source: YouTube/news4jax
Once you've completed the cutting process, the next step is to slip the DIY extender over the faucet. However, you may paint your faucet extender for aesthetic purposes.
Before painting, ensure the bottle is clean, dry, and free of cutting scraps. If there's any lingering lotion or soap, it's crucial to remove it, as painting over it can cause the paint to peel off.
After thoroughly drying the paint, your DIY faucet extender is ready for action. Just slip it over the faucet, attach it to your sink, and with a turn of the water, you're good to go!

Slide on the DIY faucet extender, allowing your little one to wash their hands with ease. | Source: YouTube/news4jax
Making your own faucet extender from a lotion bottle is a quick and easy fix for kids struggling with short faucets. It's a simple project with helpful results. Now, your little ones can reach the sink with ease, and you've added a bit of creativity to your home.
Meanwhile, if you're seeking budget-friendly ways to keep your kids entertained, explore the realm of DIY clay slime.
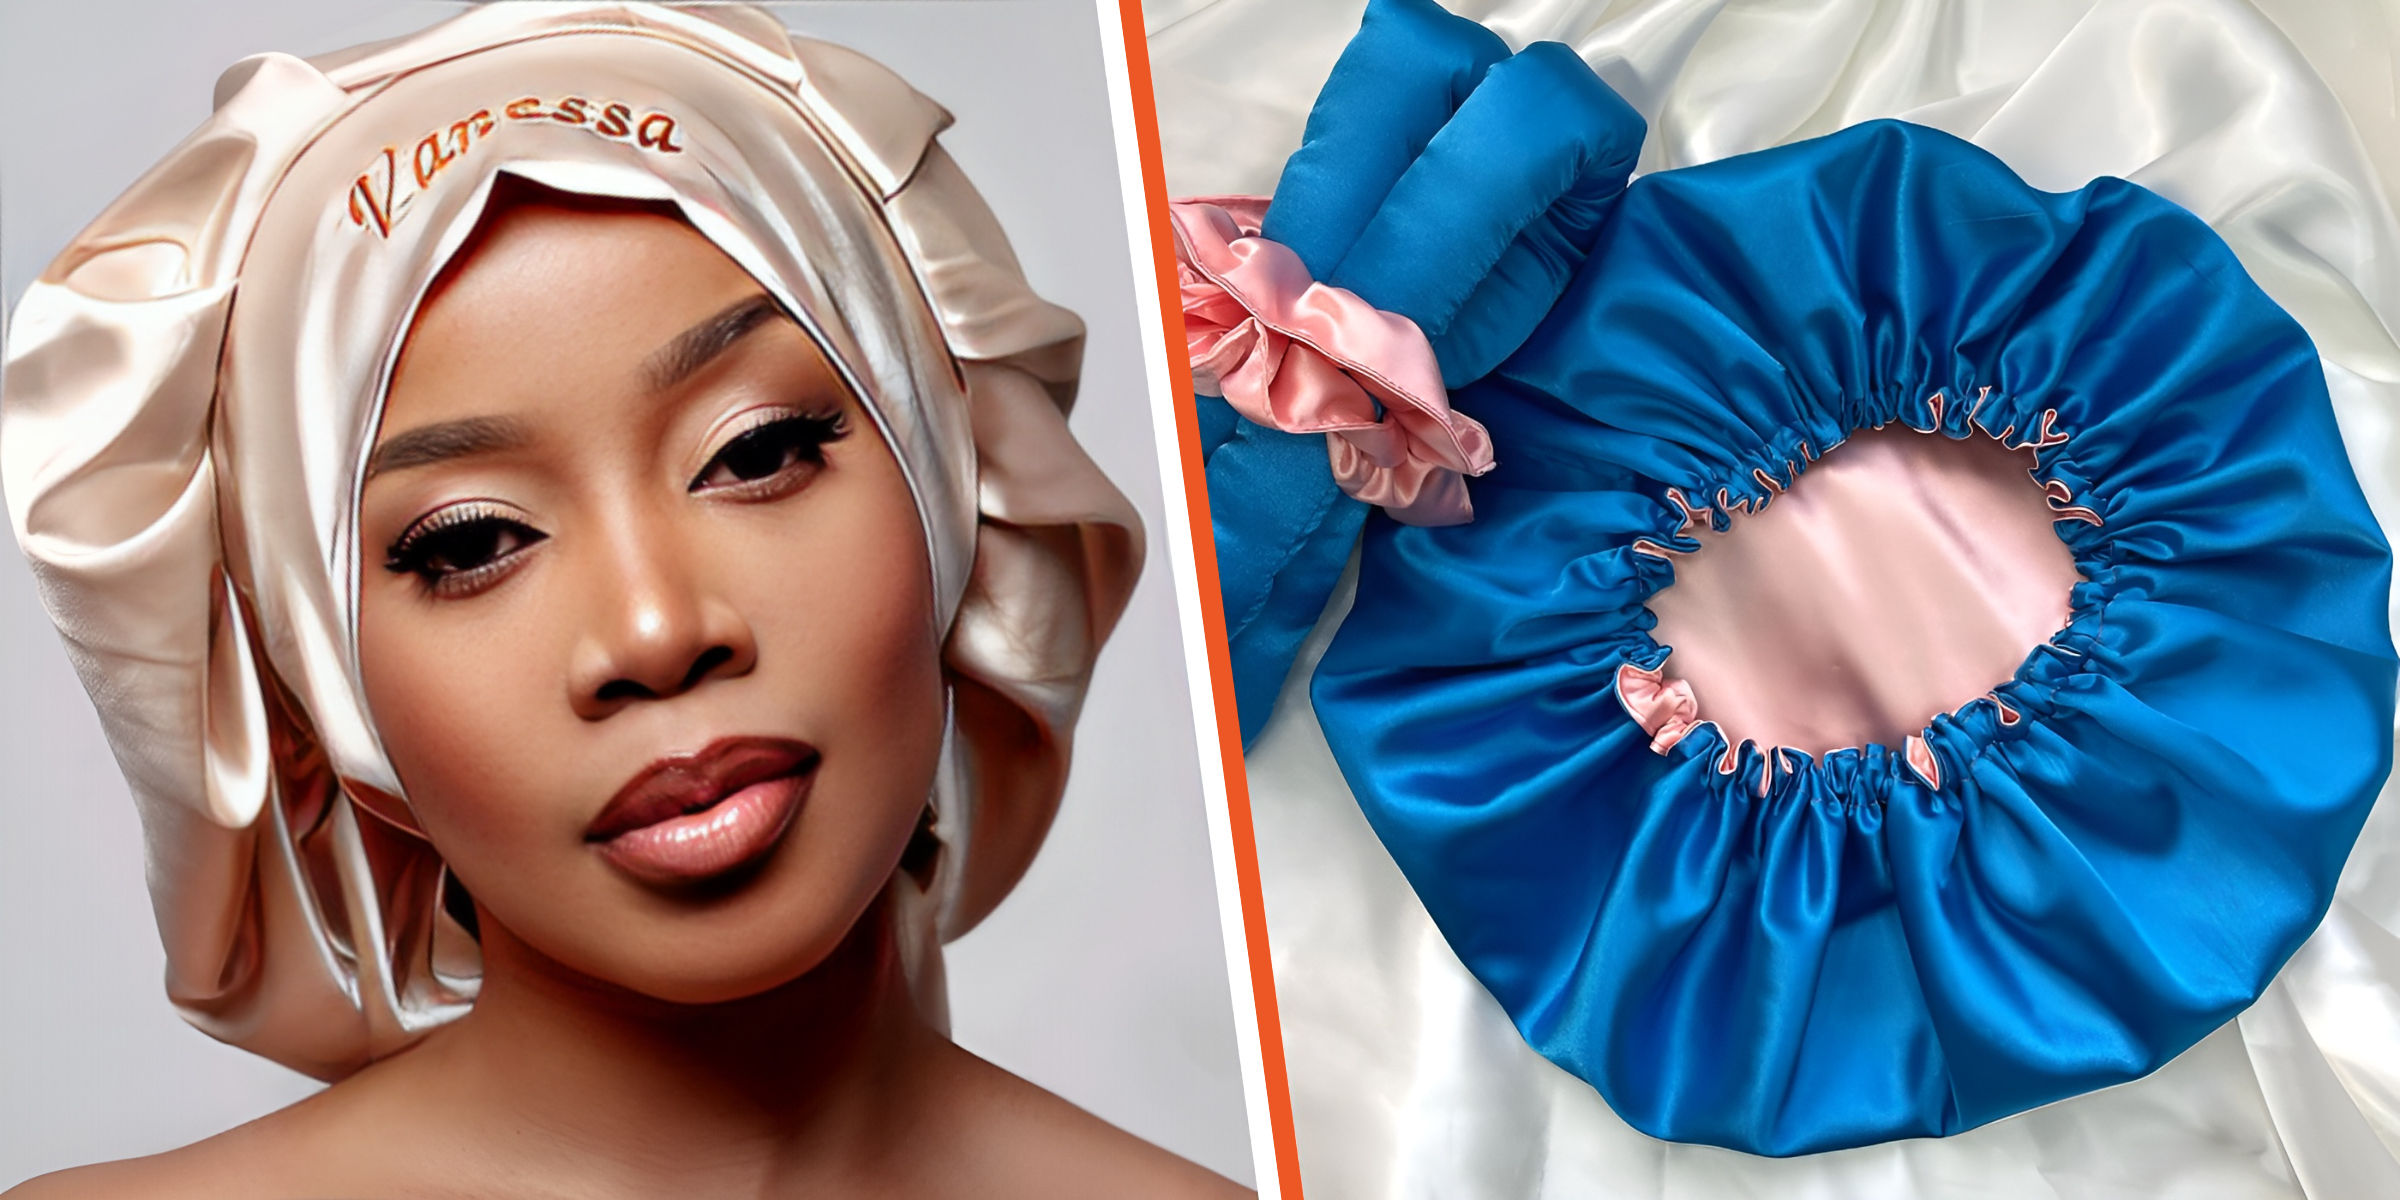
As many with coily and curly hair know, bonnets are essential to the nighttime hair care routine to ensure your kinks and curls stay intact and in perfect condition. However, regularly and correctly washing your bonnet is equally important.
Dec 12, 2023
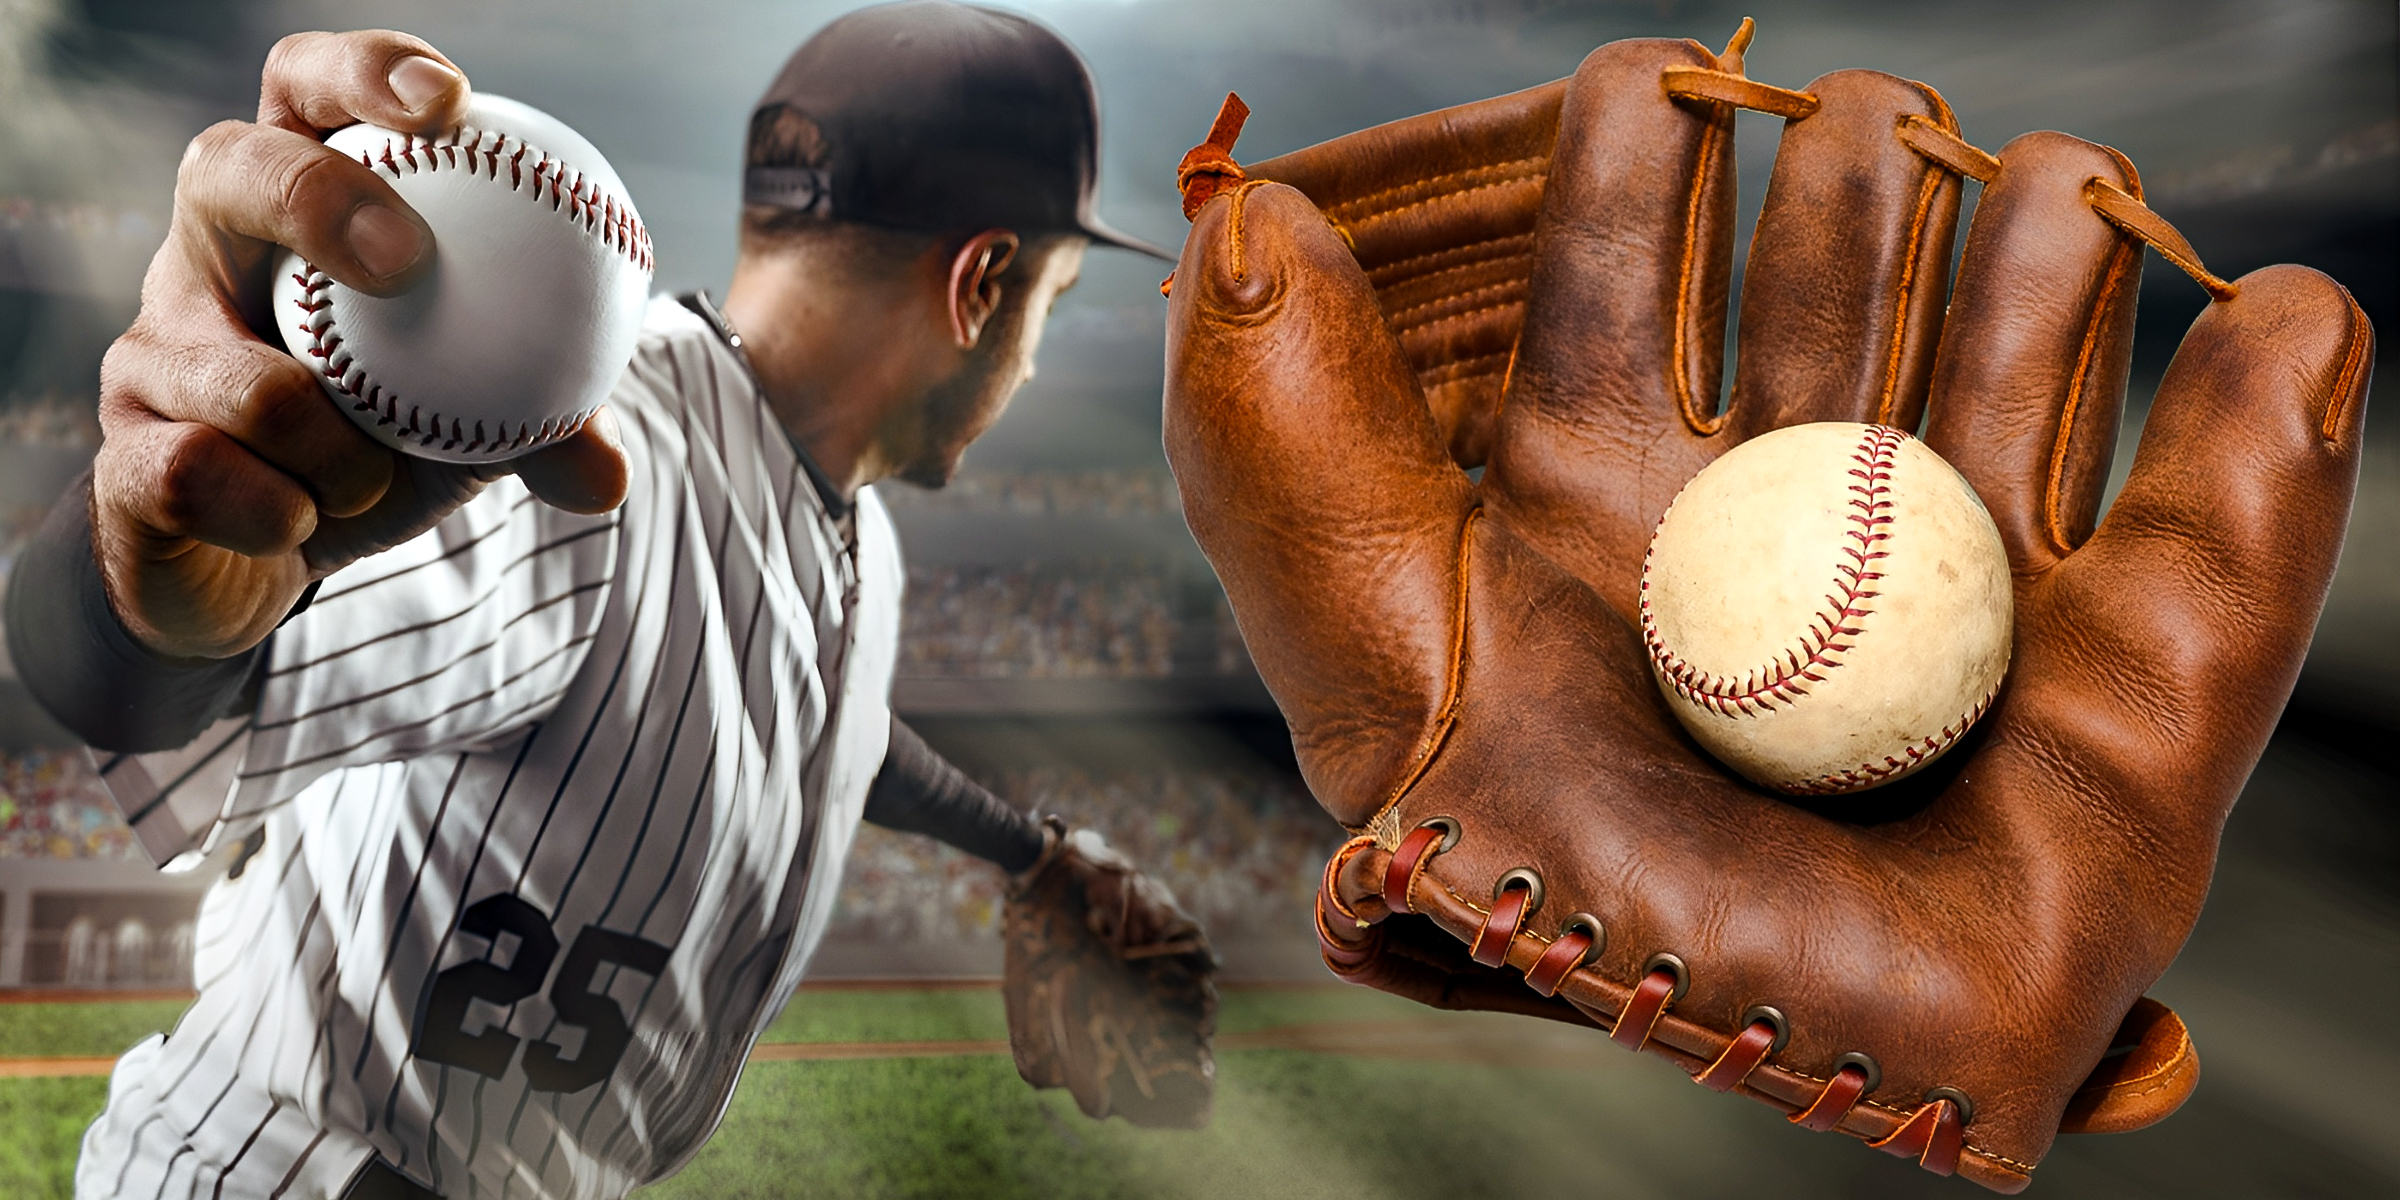
Maintaining the condition of your baseball glove is essential; it's all about preserving its leather and ensuring your game hits its peak performance. Here are steps on how to clean a baseball glove for top-notch care.
Dec 29, 2023
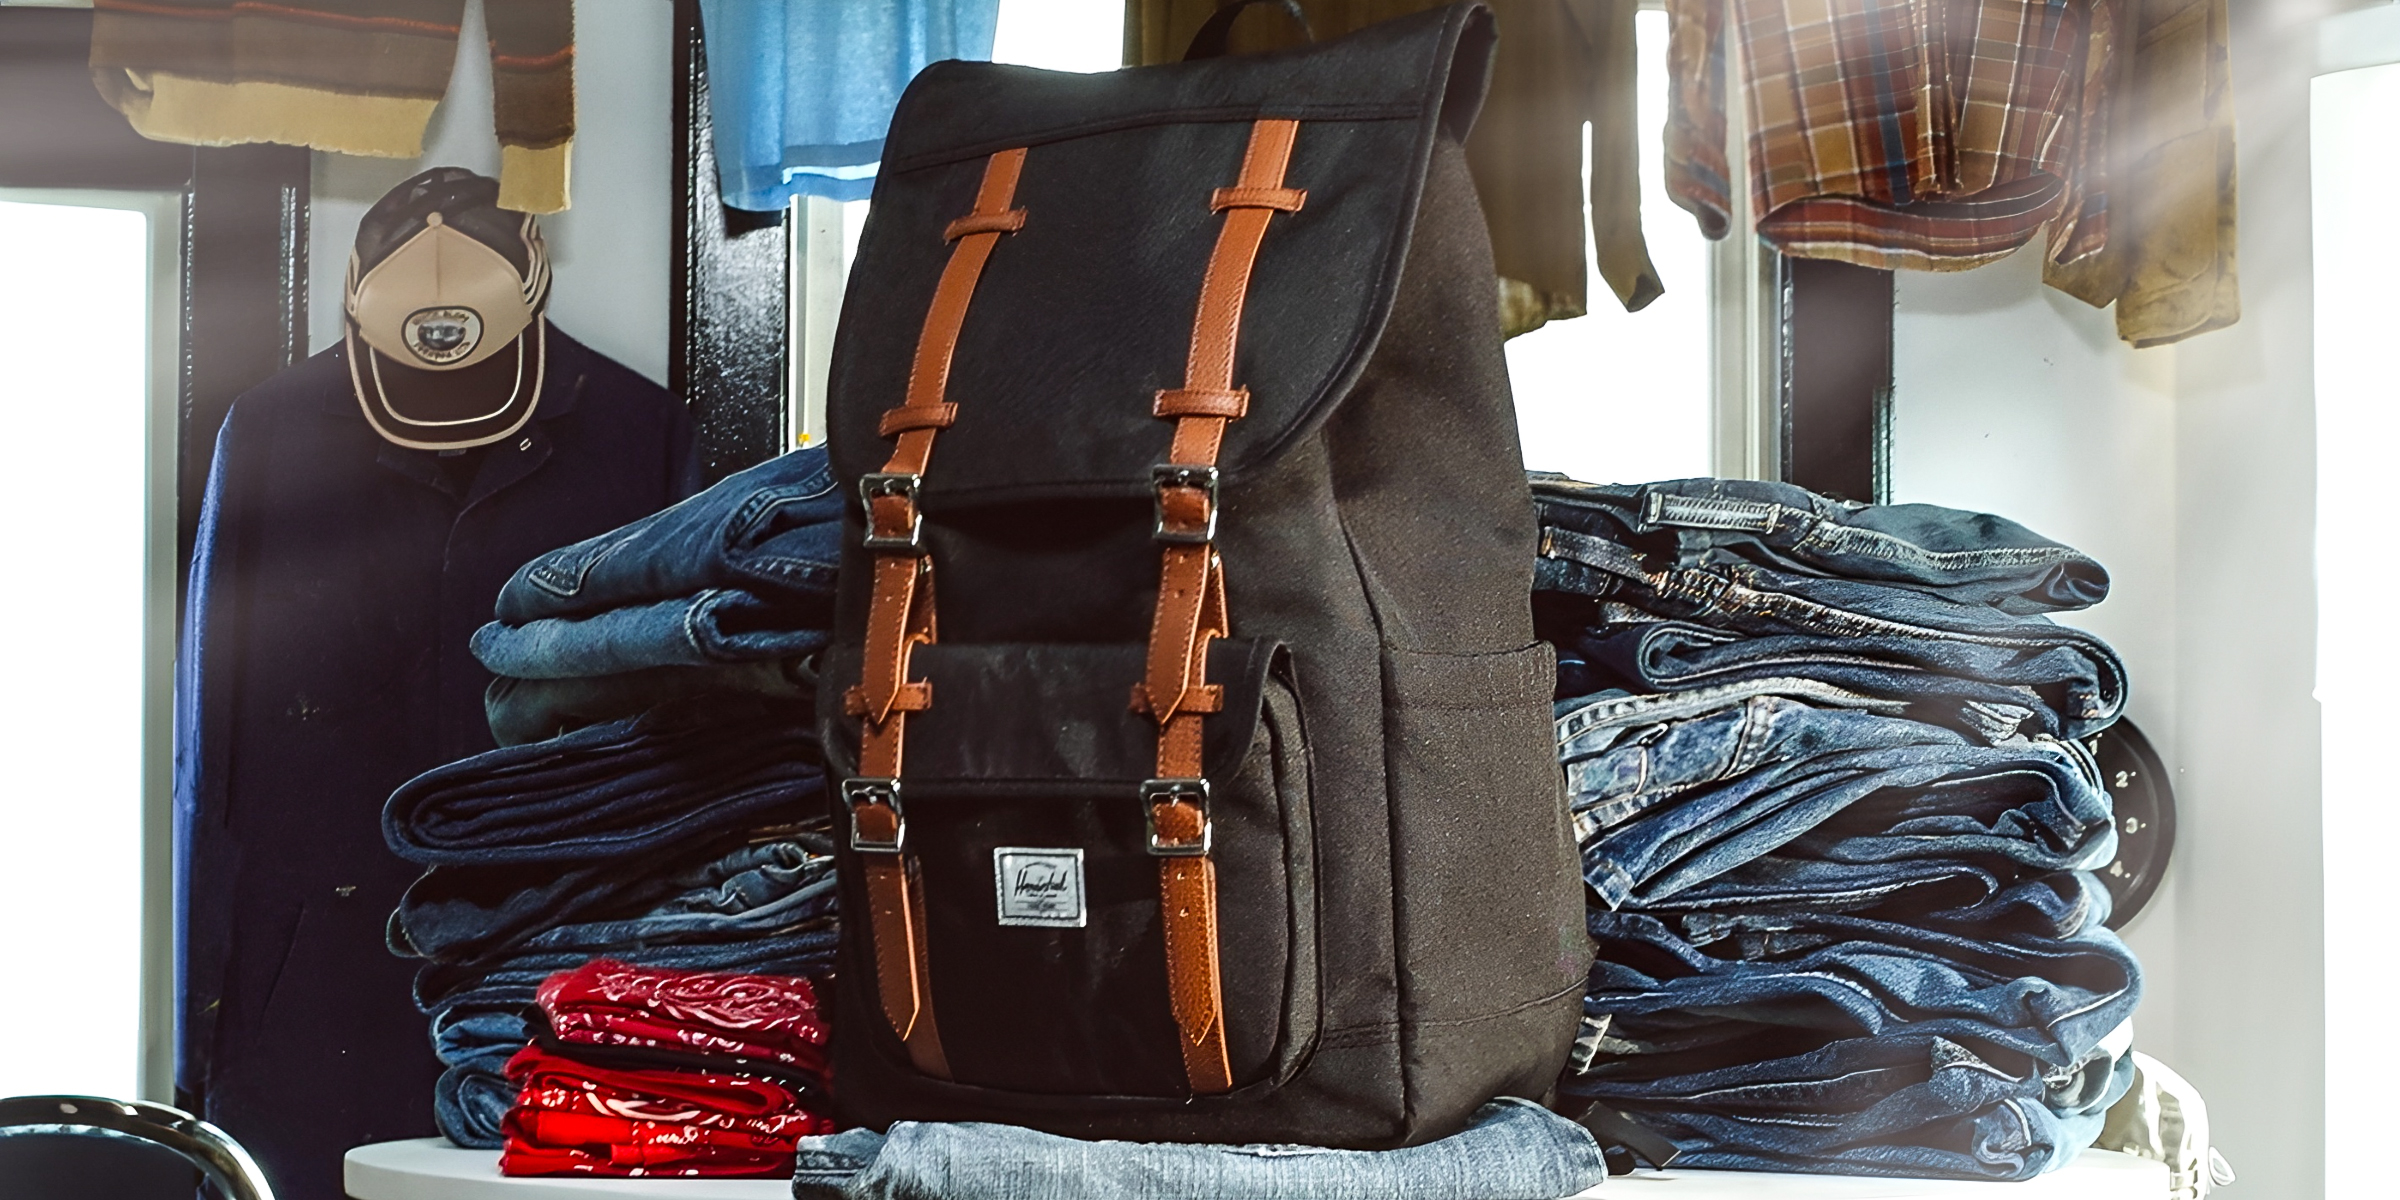
If your Herschel backpack looks worse for wear and you're considering cleaning it yourself, worry not! There's a safe method to do so. Here are the steps on how to wash a Herschel backpack, and it's not the typical "washing" you might be thinking of.
Jan 12, 2024
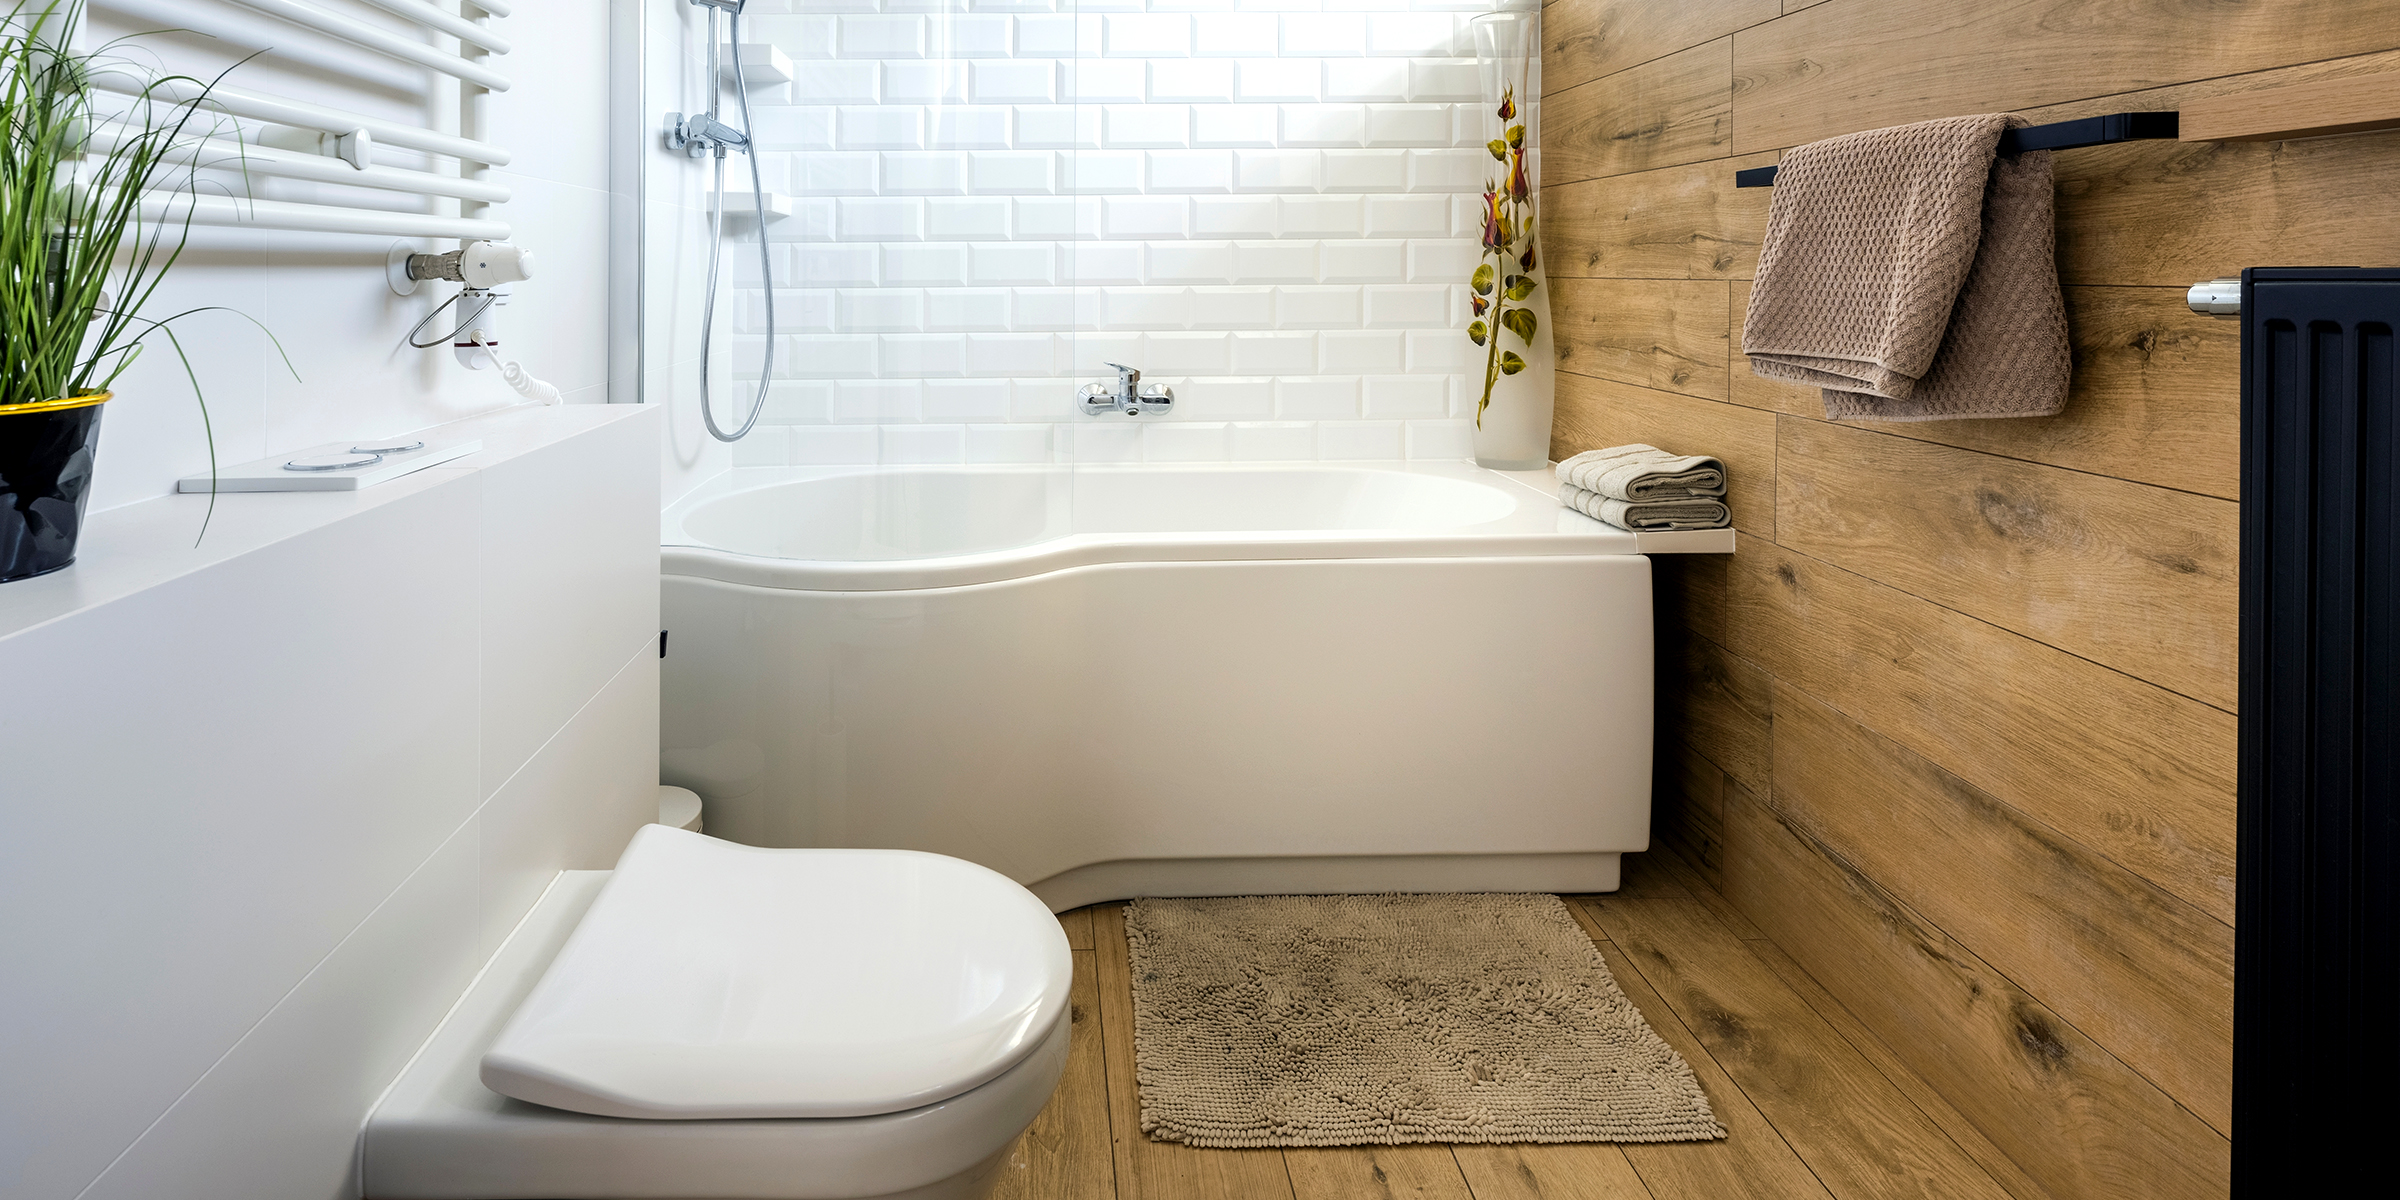
No matter how sophisticated your bathroom is, it can still accumulate odors, which can be embarrassing when hosting guests. The fishy smell in the bathroom can have various causes, and it's crucial to identify and eliminate its source.
Jan 28, 2024
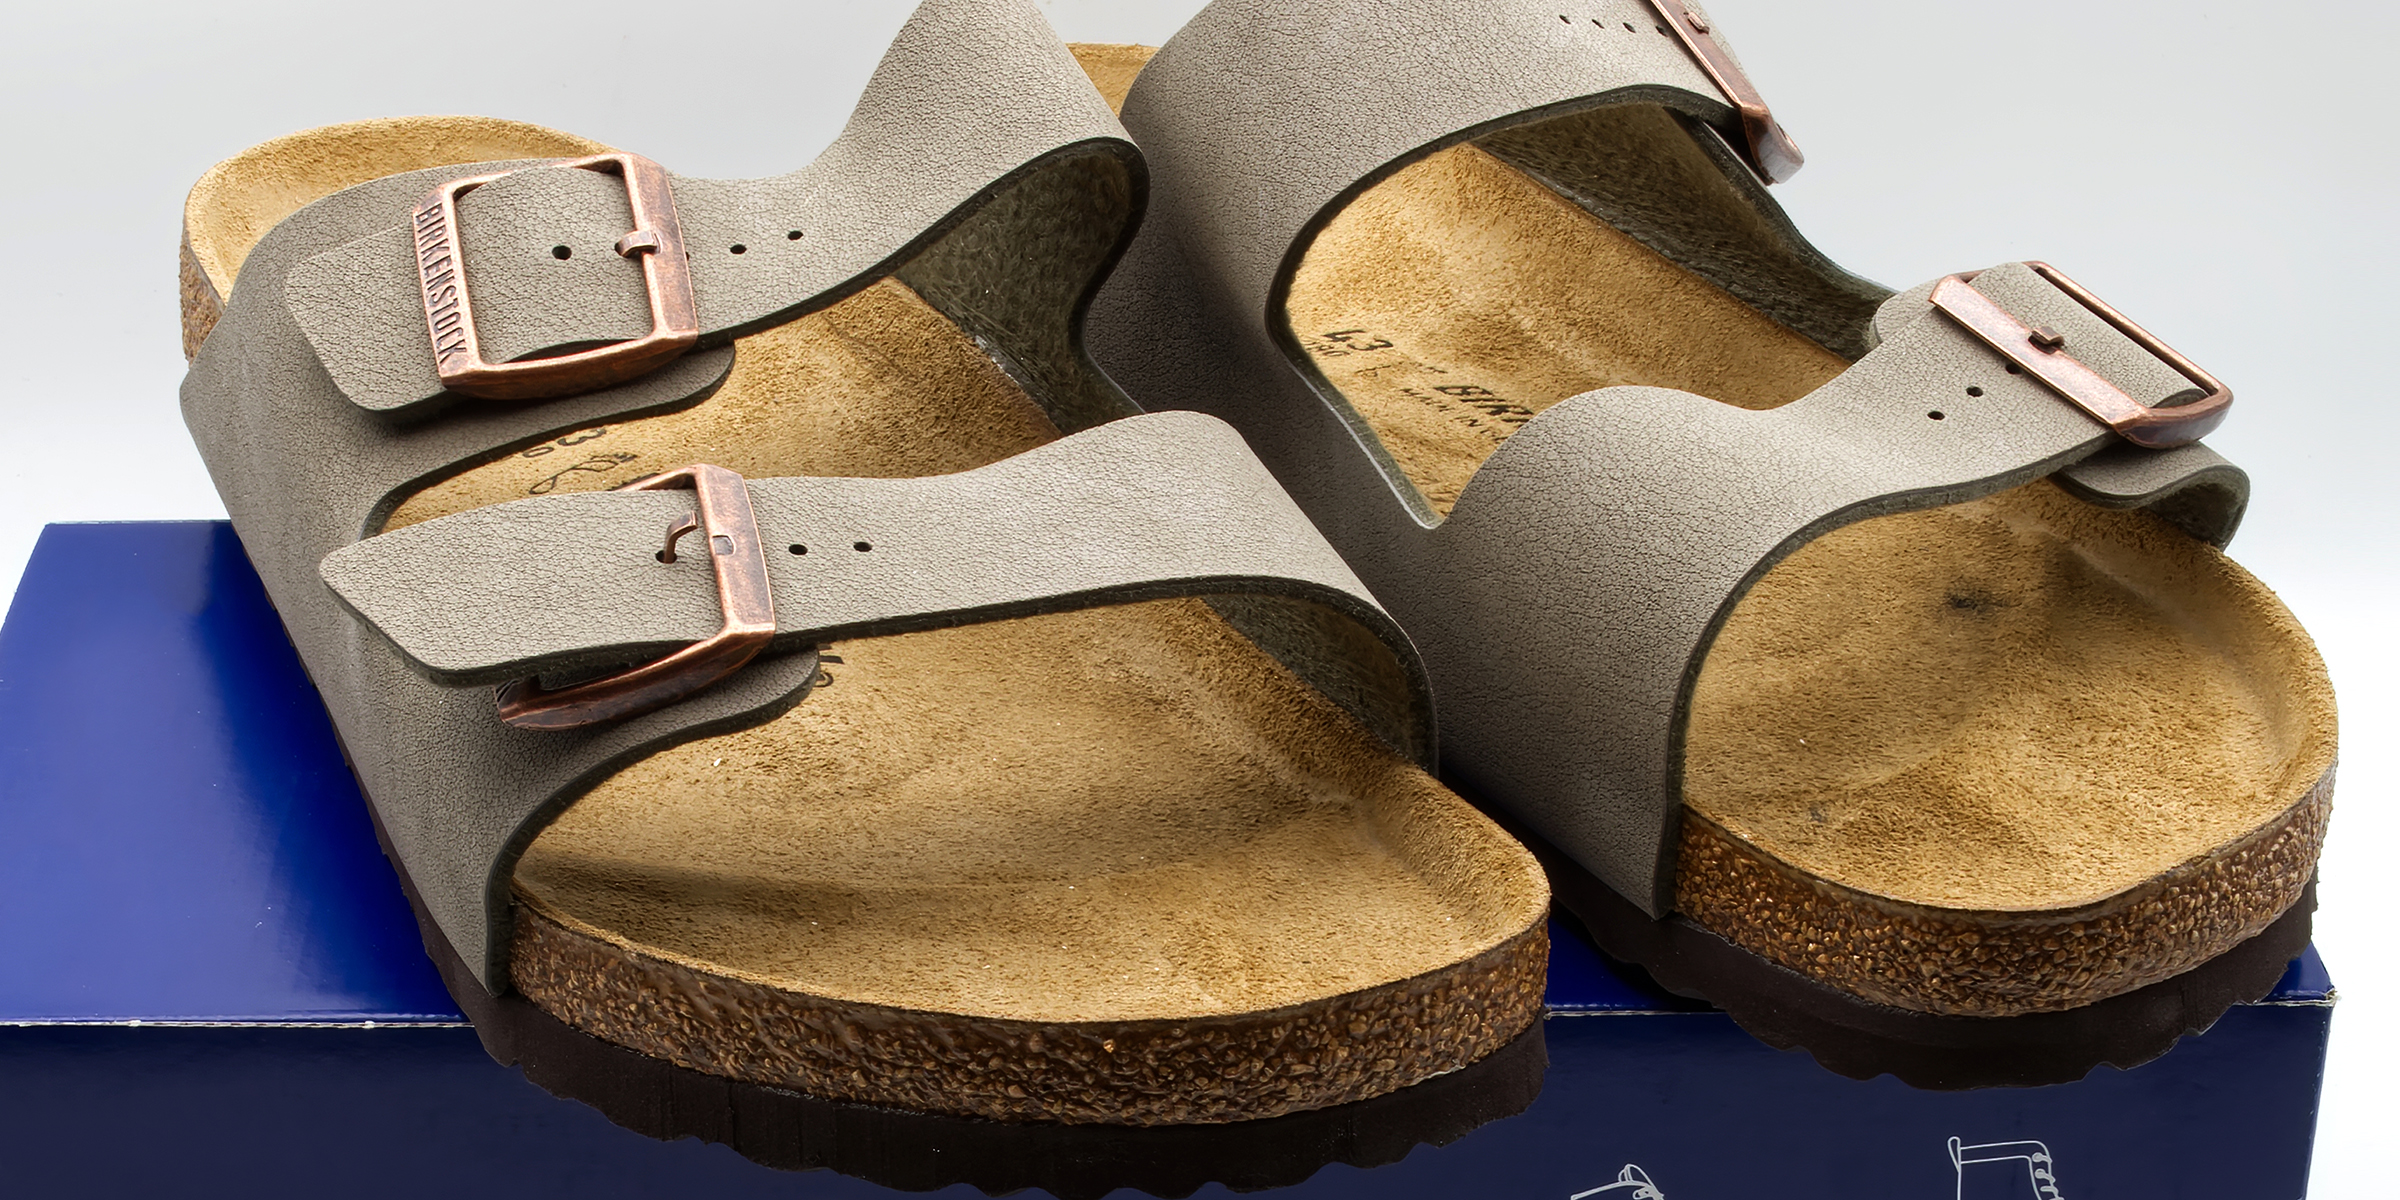
With their unique blend of comfort and style, cork shoes have become a staple in fashion and comfort. However, just like any shoes, they can get dirty and smelly over time. Here are five easy steps on how to clean your cork shoes.
Dec 27, 2023
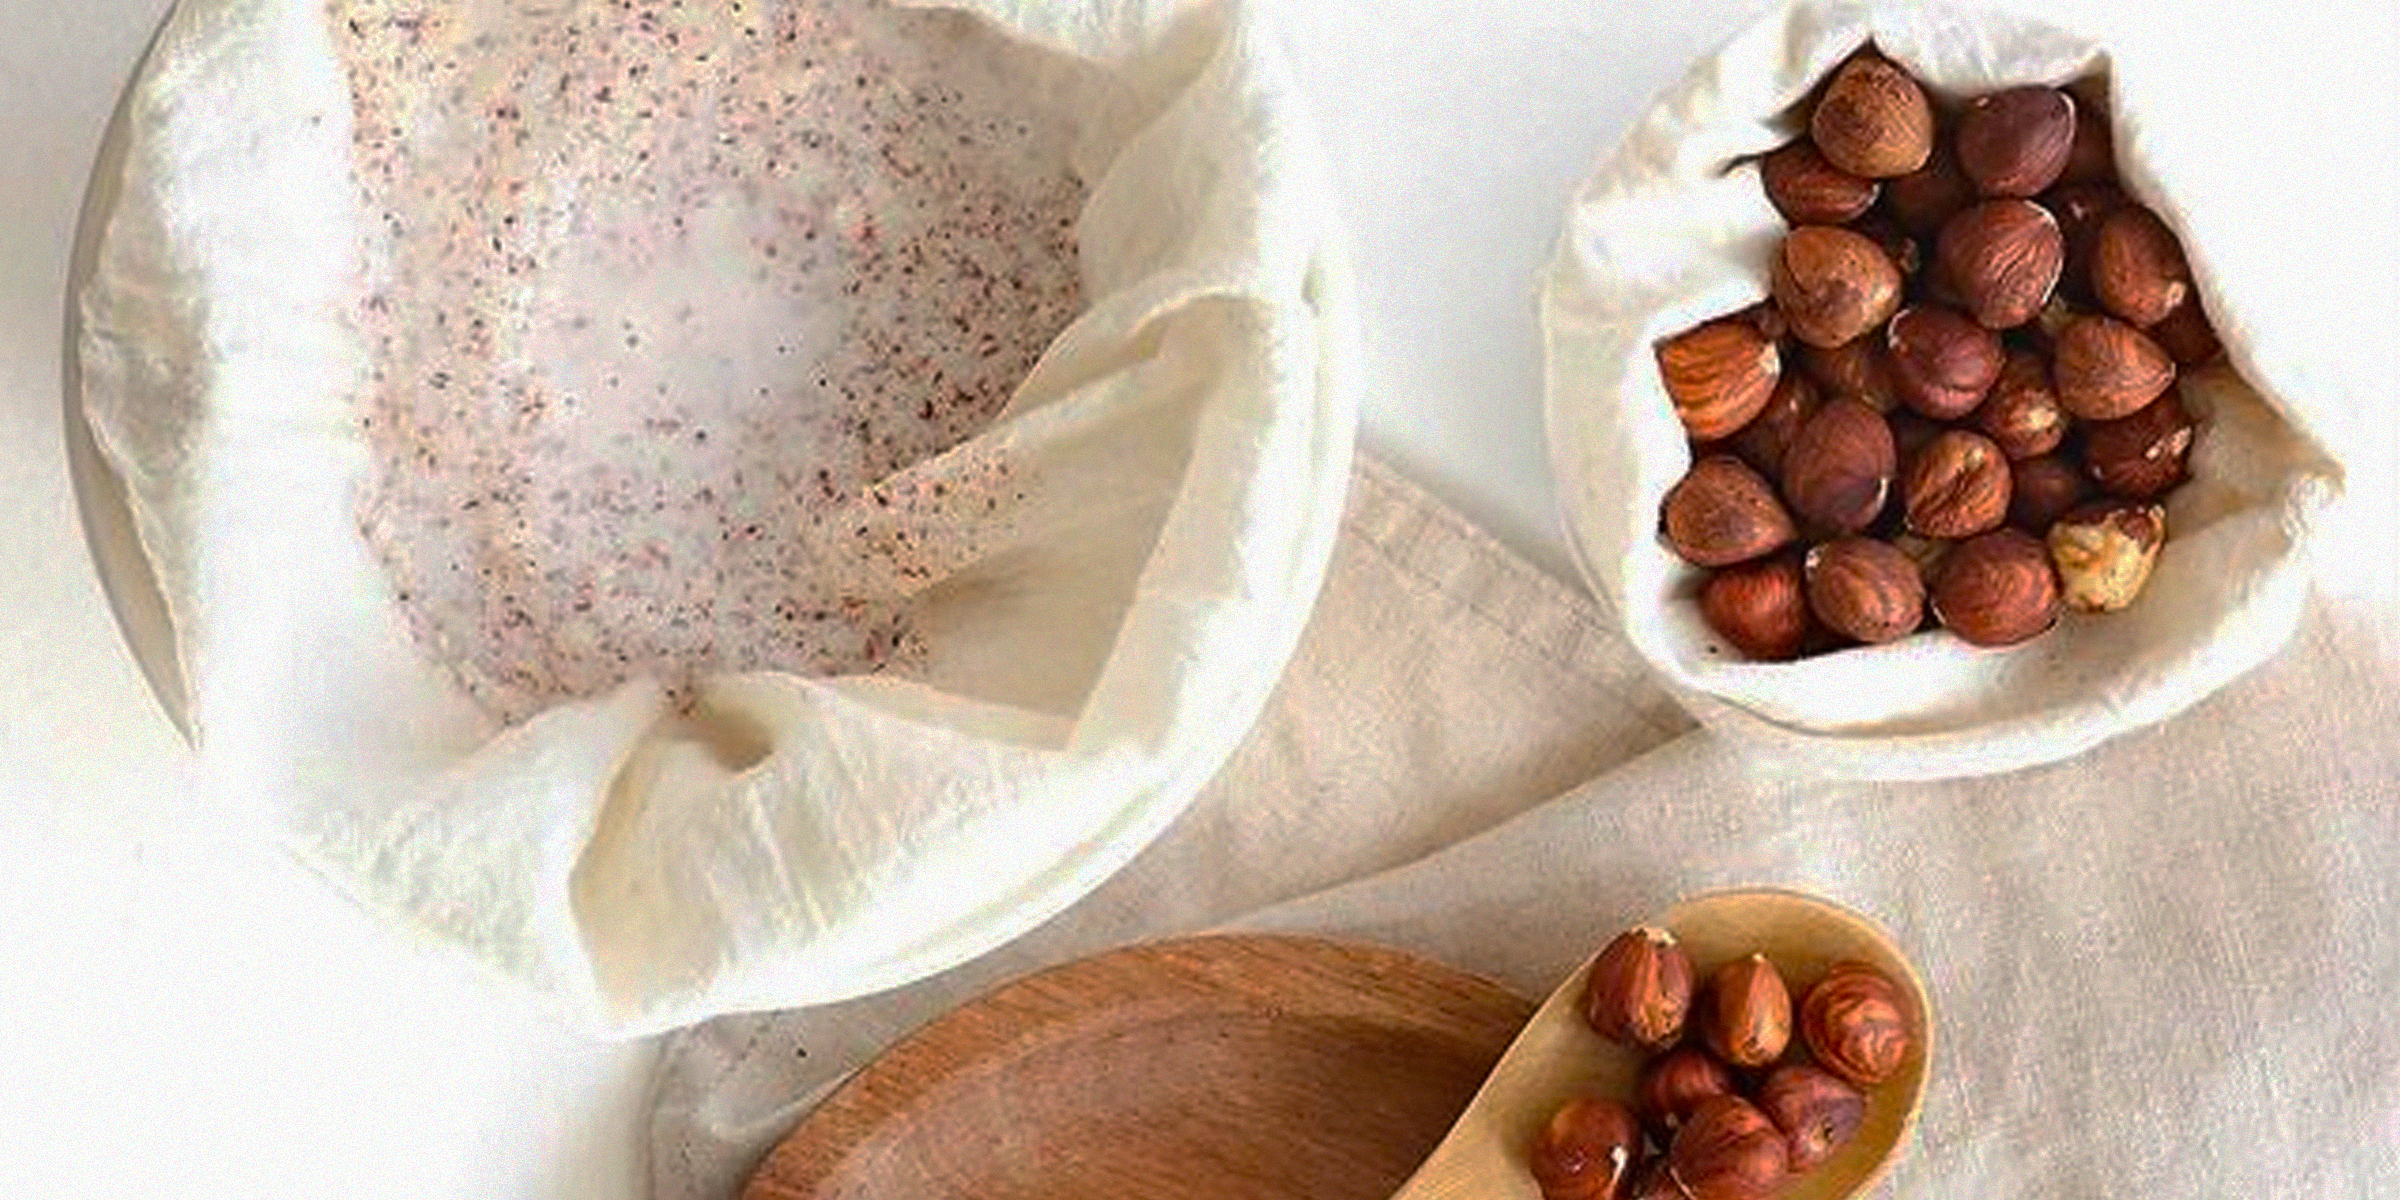
Embarking on making your nut milk at home can be a rewarding experience, but the cleanup process, especially regarding the nut milk bag, may seem less appealing. However, regularly cleaning your nut milk bag is advised to prevent bacteria or mold from growing, and you can do so in five easy steps.
Dec 31, 2023

If you're a collector of rocks, it's crucial to know how to clean them properly. Using the wrong cleaning products could easily ruin the beauty of your precious finds.
Feb 01, 2024
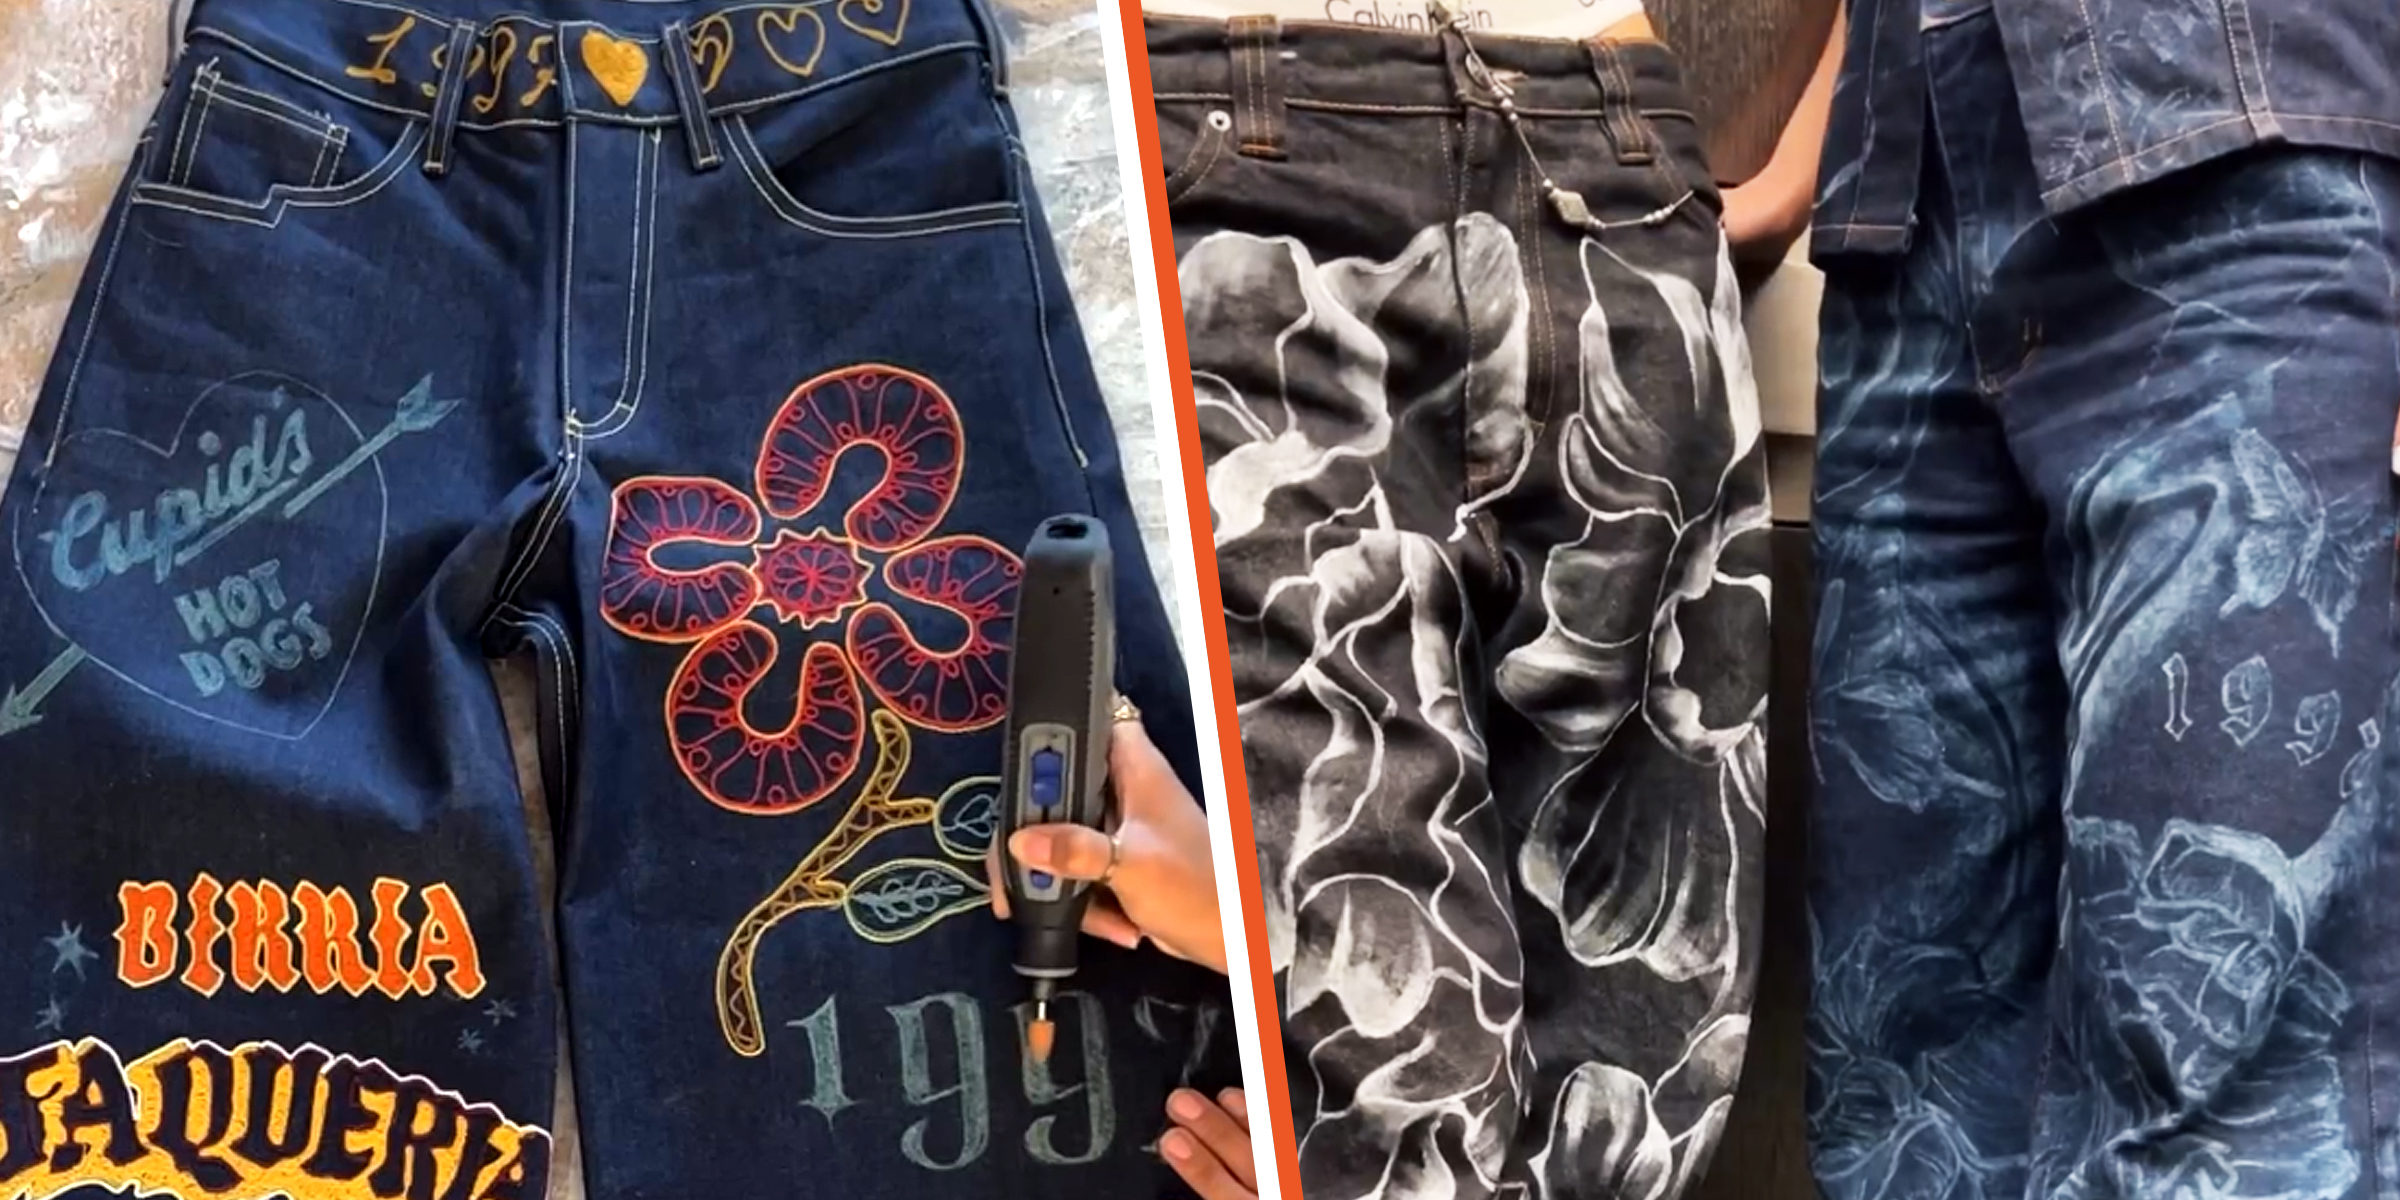
Rocking a fantastic pair of jeans can instantly boost your confidence, but taking your denim game to the next level with some DIY aesthetic jeans is like stepping onto your own personal runway. These DIY pieces of denim can turn heads as you walk by.
Dec 12, 2023

Mexican blankets, or Serape, enhance home decor with vibrant colors and intricate designs. However, they require proper care to stay clean and cozy. Without further ado, here's how you can clean a Mexican blanket.
Jan 18, 2024
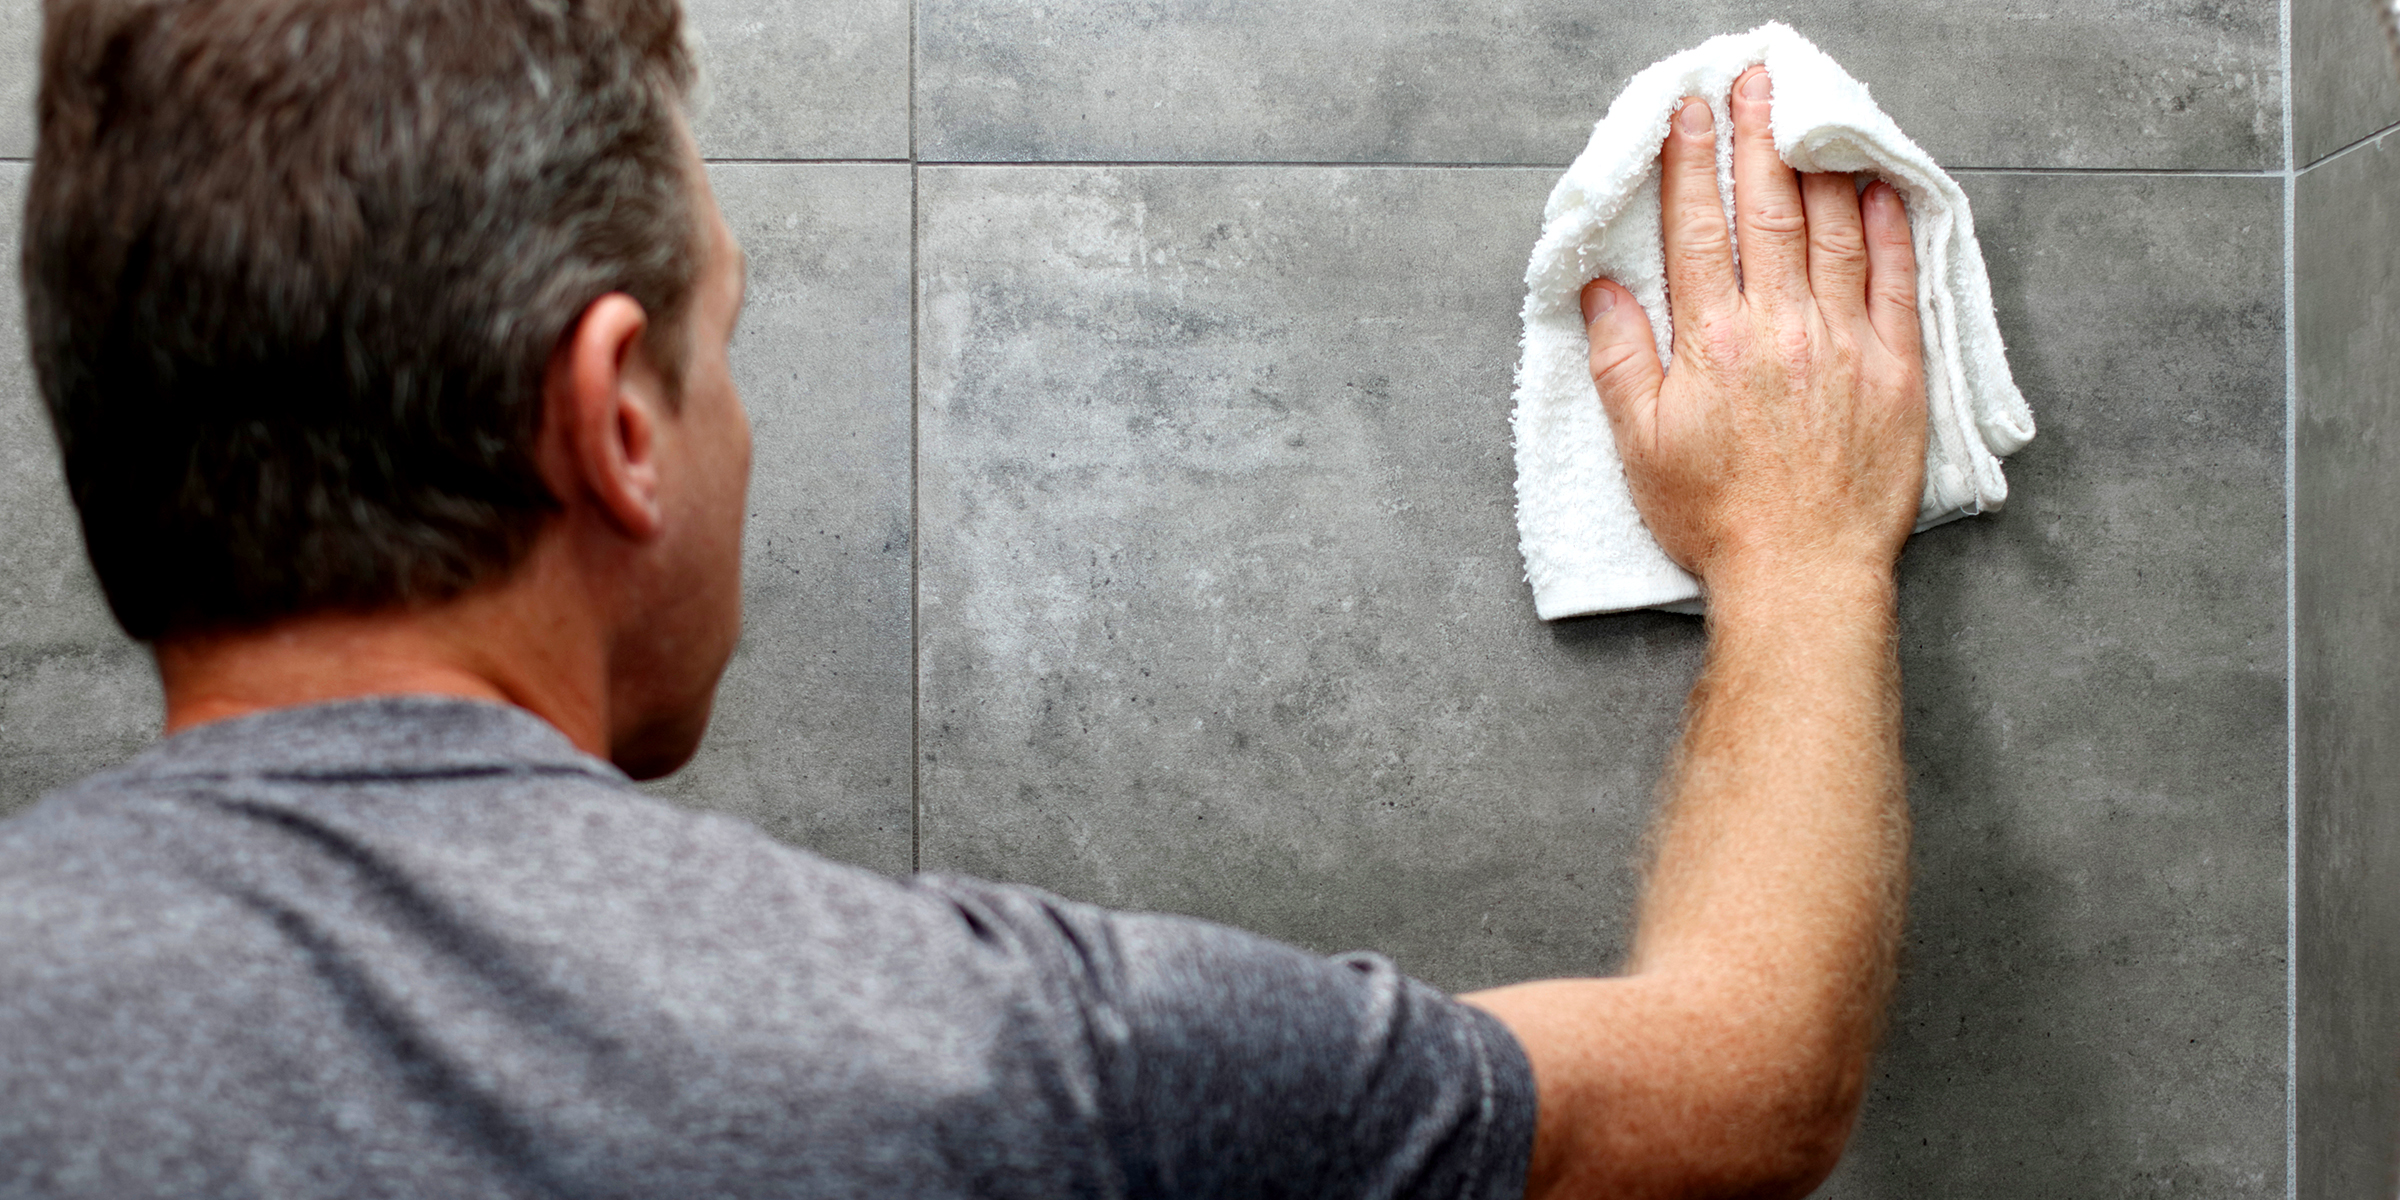
Matte porcelain tiles are the perfect choice if you're going for a more rustic and natural aesthetic in your living space. However, you want to prolong their lifespan and maintain their appearance with proper cleaning methods.
Jan 12, 2024
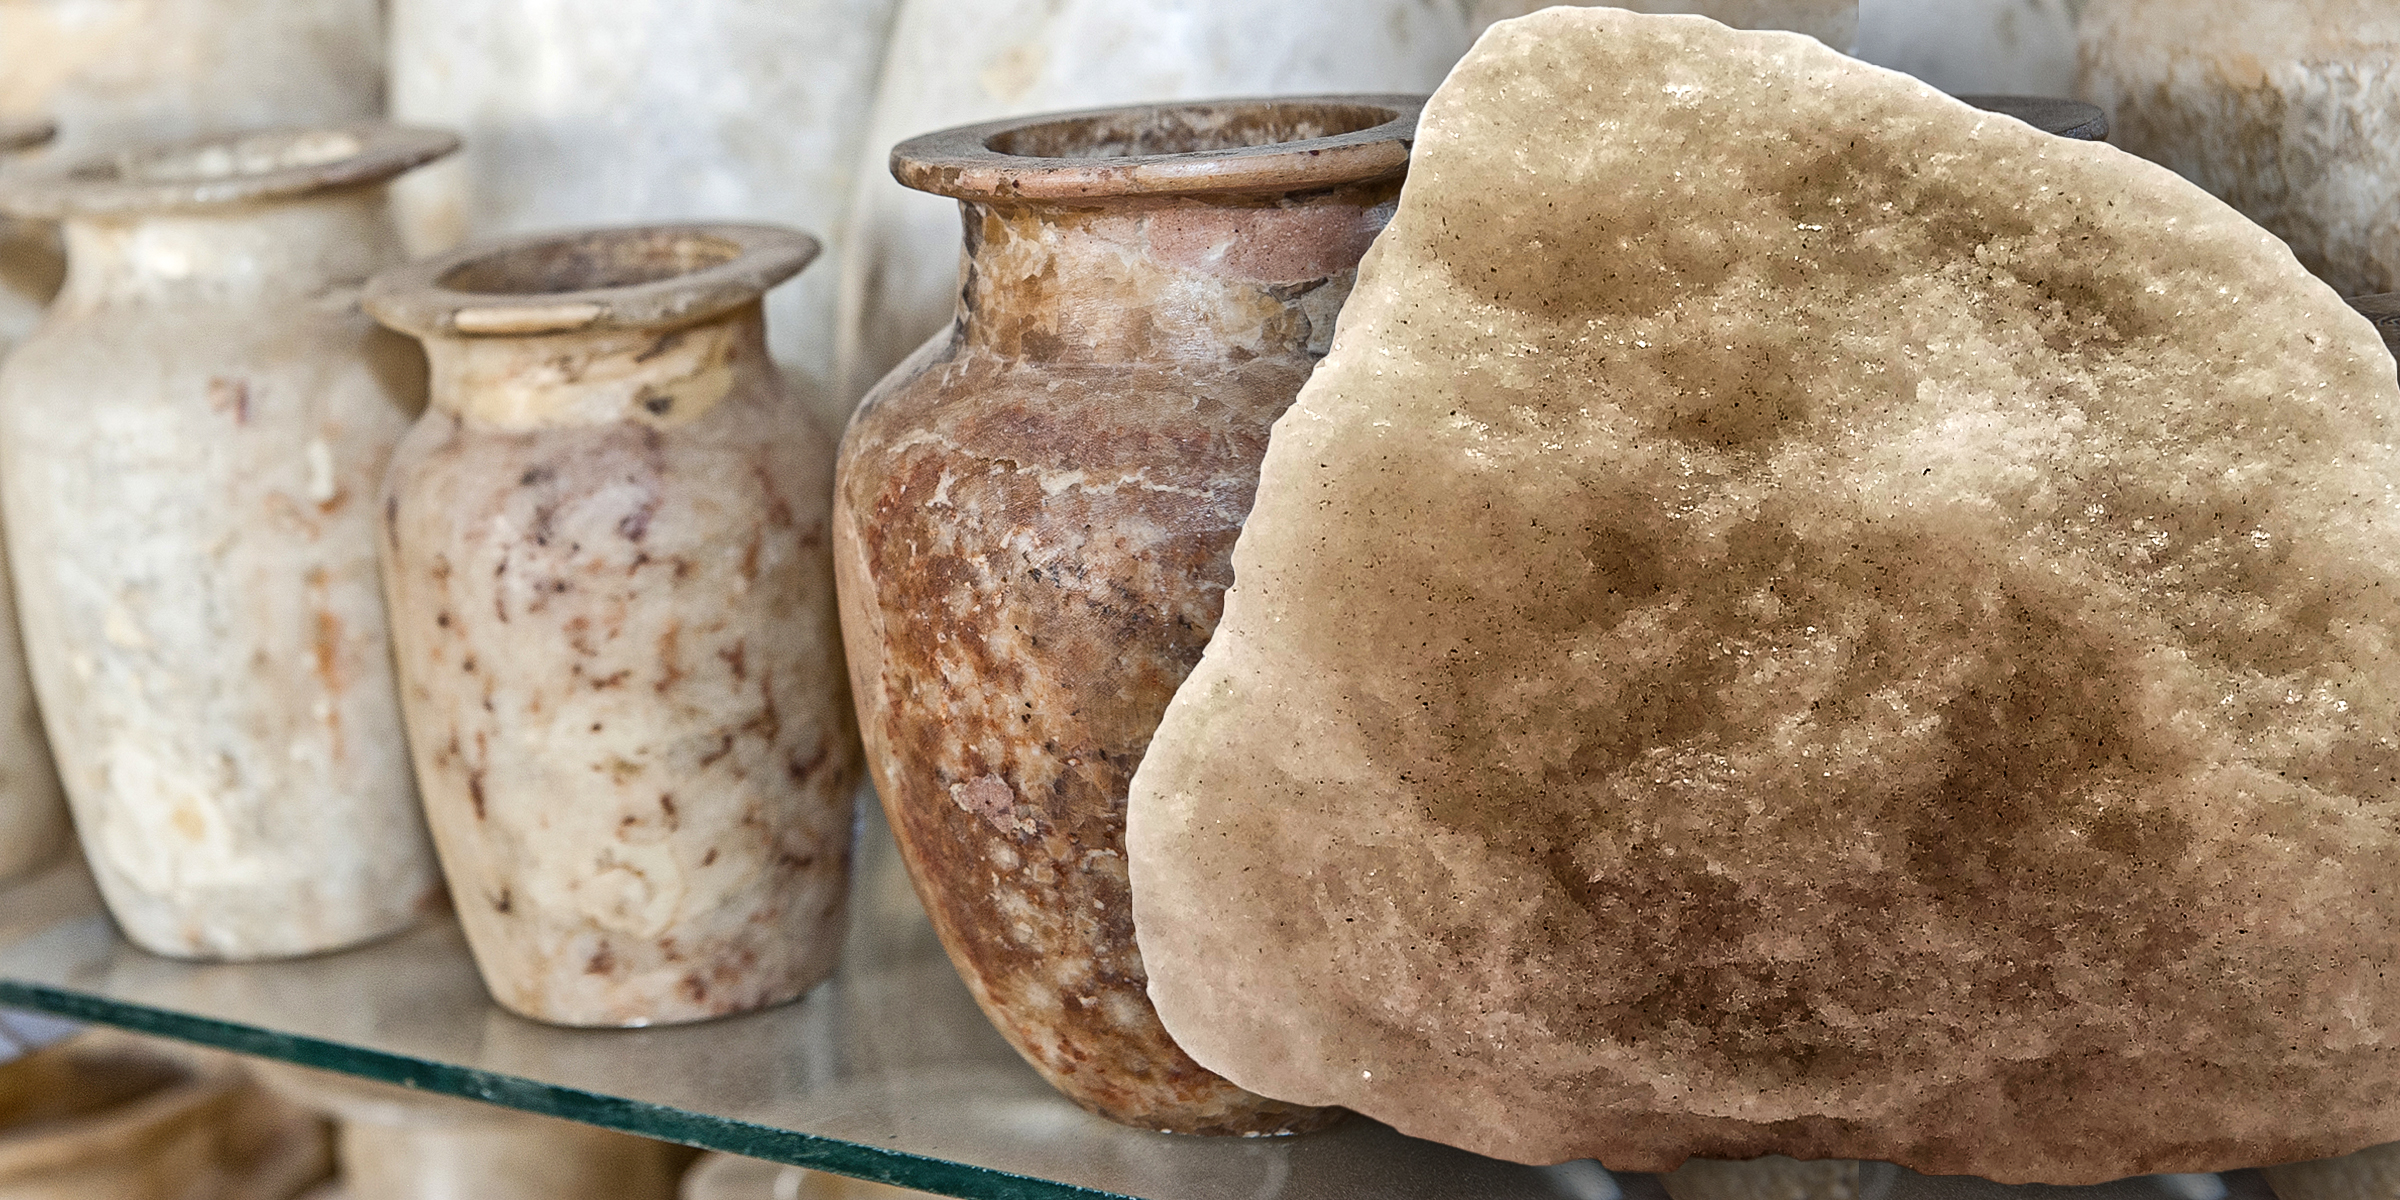
Stone carvers have been fascinated by alabaster for centuries. Although alluring, this kind of stone is prone to scratching. If you're curious about how to clean alabaster on your own, follow these easy steps for effective cleansing.
Jan 11, 2024
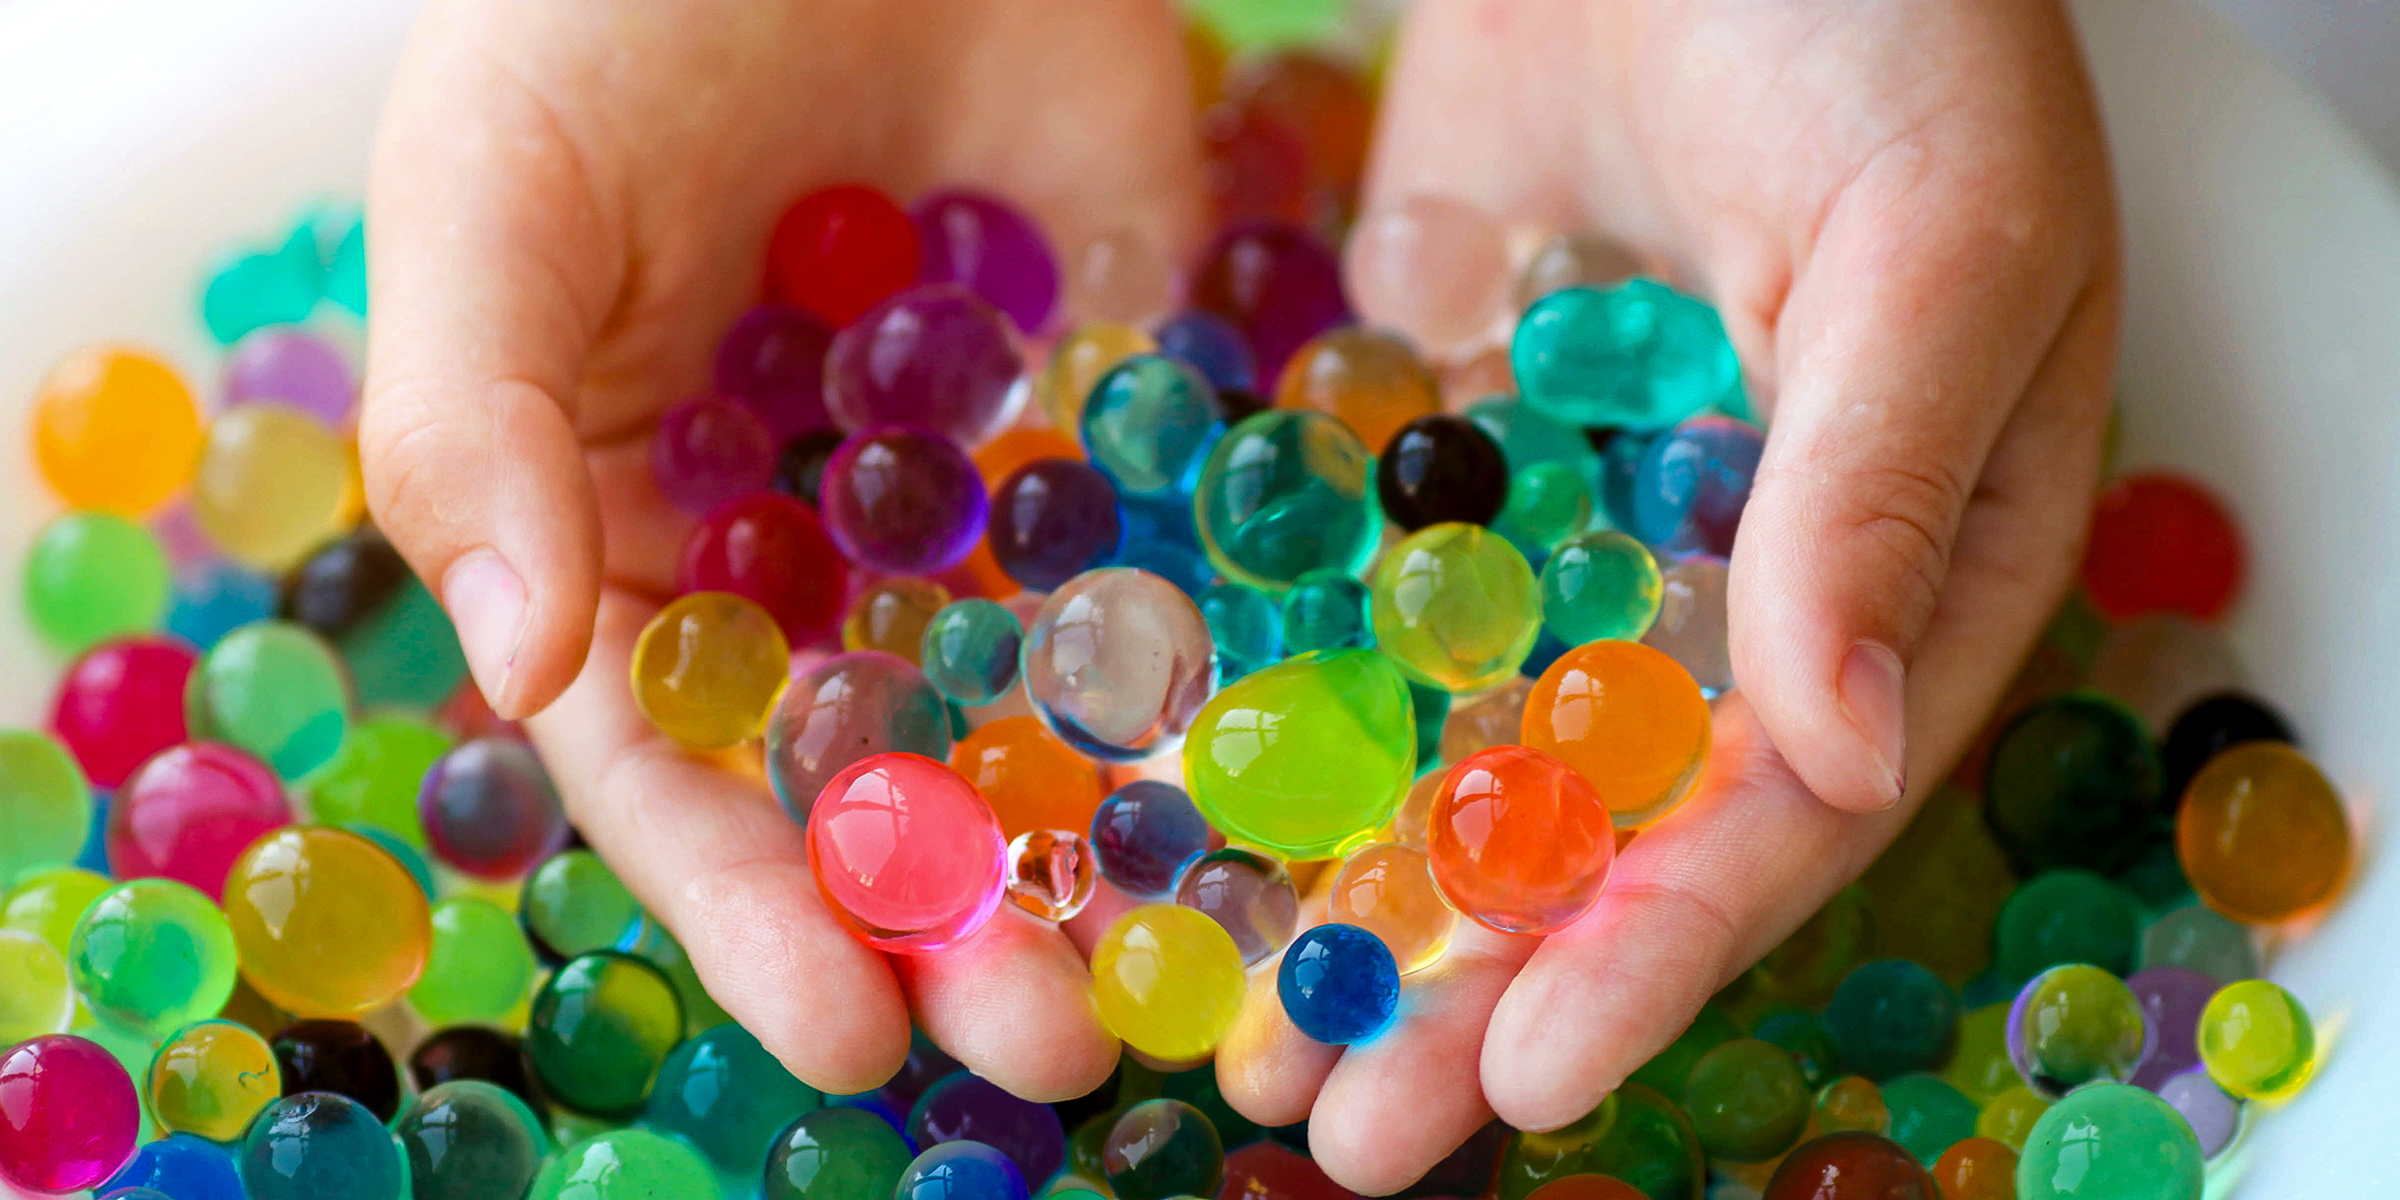
Orbeez, known as gel balls, can soak up water and expand into soft, jelly-like balls. Fans of this fun toy often want to make their Orbeez grow faster. Here are five simple ways to speed up the process.
Jan 20, 2024

Balconies are exposed to elements and need regular cleaning. But city apartment dwellers face a unique challenge: how to keep their balconies clean without disturbing neighbors living nearby.
Dec 28, 2023

Having a scratched mirror at home can be frustrating, turning an essential household item into an eyesore and, even worse, distorting the reflection you see daily. But don't rush to buy a replacement just yet; a scratched mirror doesn't necessarily mean it's time to invest in a new one.
Dec 15, 2023