DIY Hearth Pad — A Helpful Guide To Crafting The Perfect Homemade Fireplace Protector
Apr 09, 2024


Elevate your culinary skills and backyard aesthetics by building your own DIY pizza oven. This comprehensive guide will equip you with the knowledge and step-by-step instructions to construct a functional and stylish pizza oven.
Nothing quite compares to the allure of a pizza fresh out of the oven — the aroma of bubbling cheese and freshly baked dough is irresistible. But imagine taking this a notch higher by pulling that steaming pie out of your very own pizza oven, right in your backyard!
Whether you're a seasoned DIY enthusiast or a novice looking to tackle a rewarding project, our guide ensures that your homemade pizzas come out perfectly crisp and delicious every time. Get ready to impress your guests with a slice of homemade perfection, straight from your DIY pizza oven.
Congratulations on completing your DIY pizza oven! With patience and precision, you've built not just an oven, but a centerpiece for countless gastronomic adventures in your own backyard.
As you prepare to host pizza nights that will wow your friends and family, why not consider your next big project? If you loved building your pizza oven, you might find crafting a DIY Argentine grill equally rewarding.
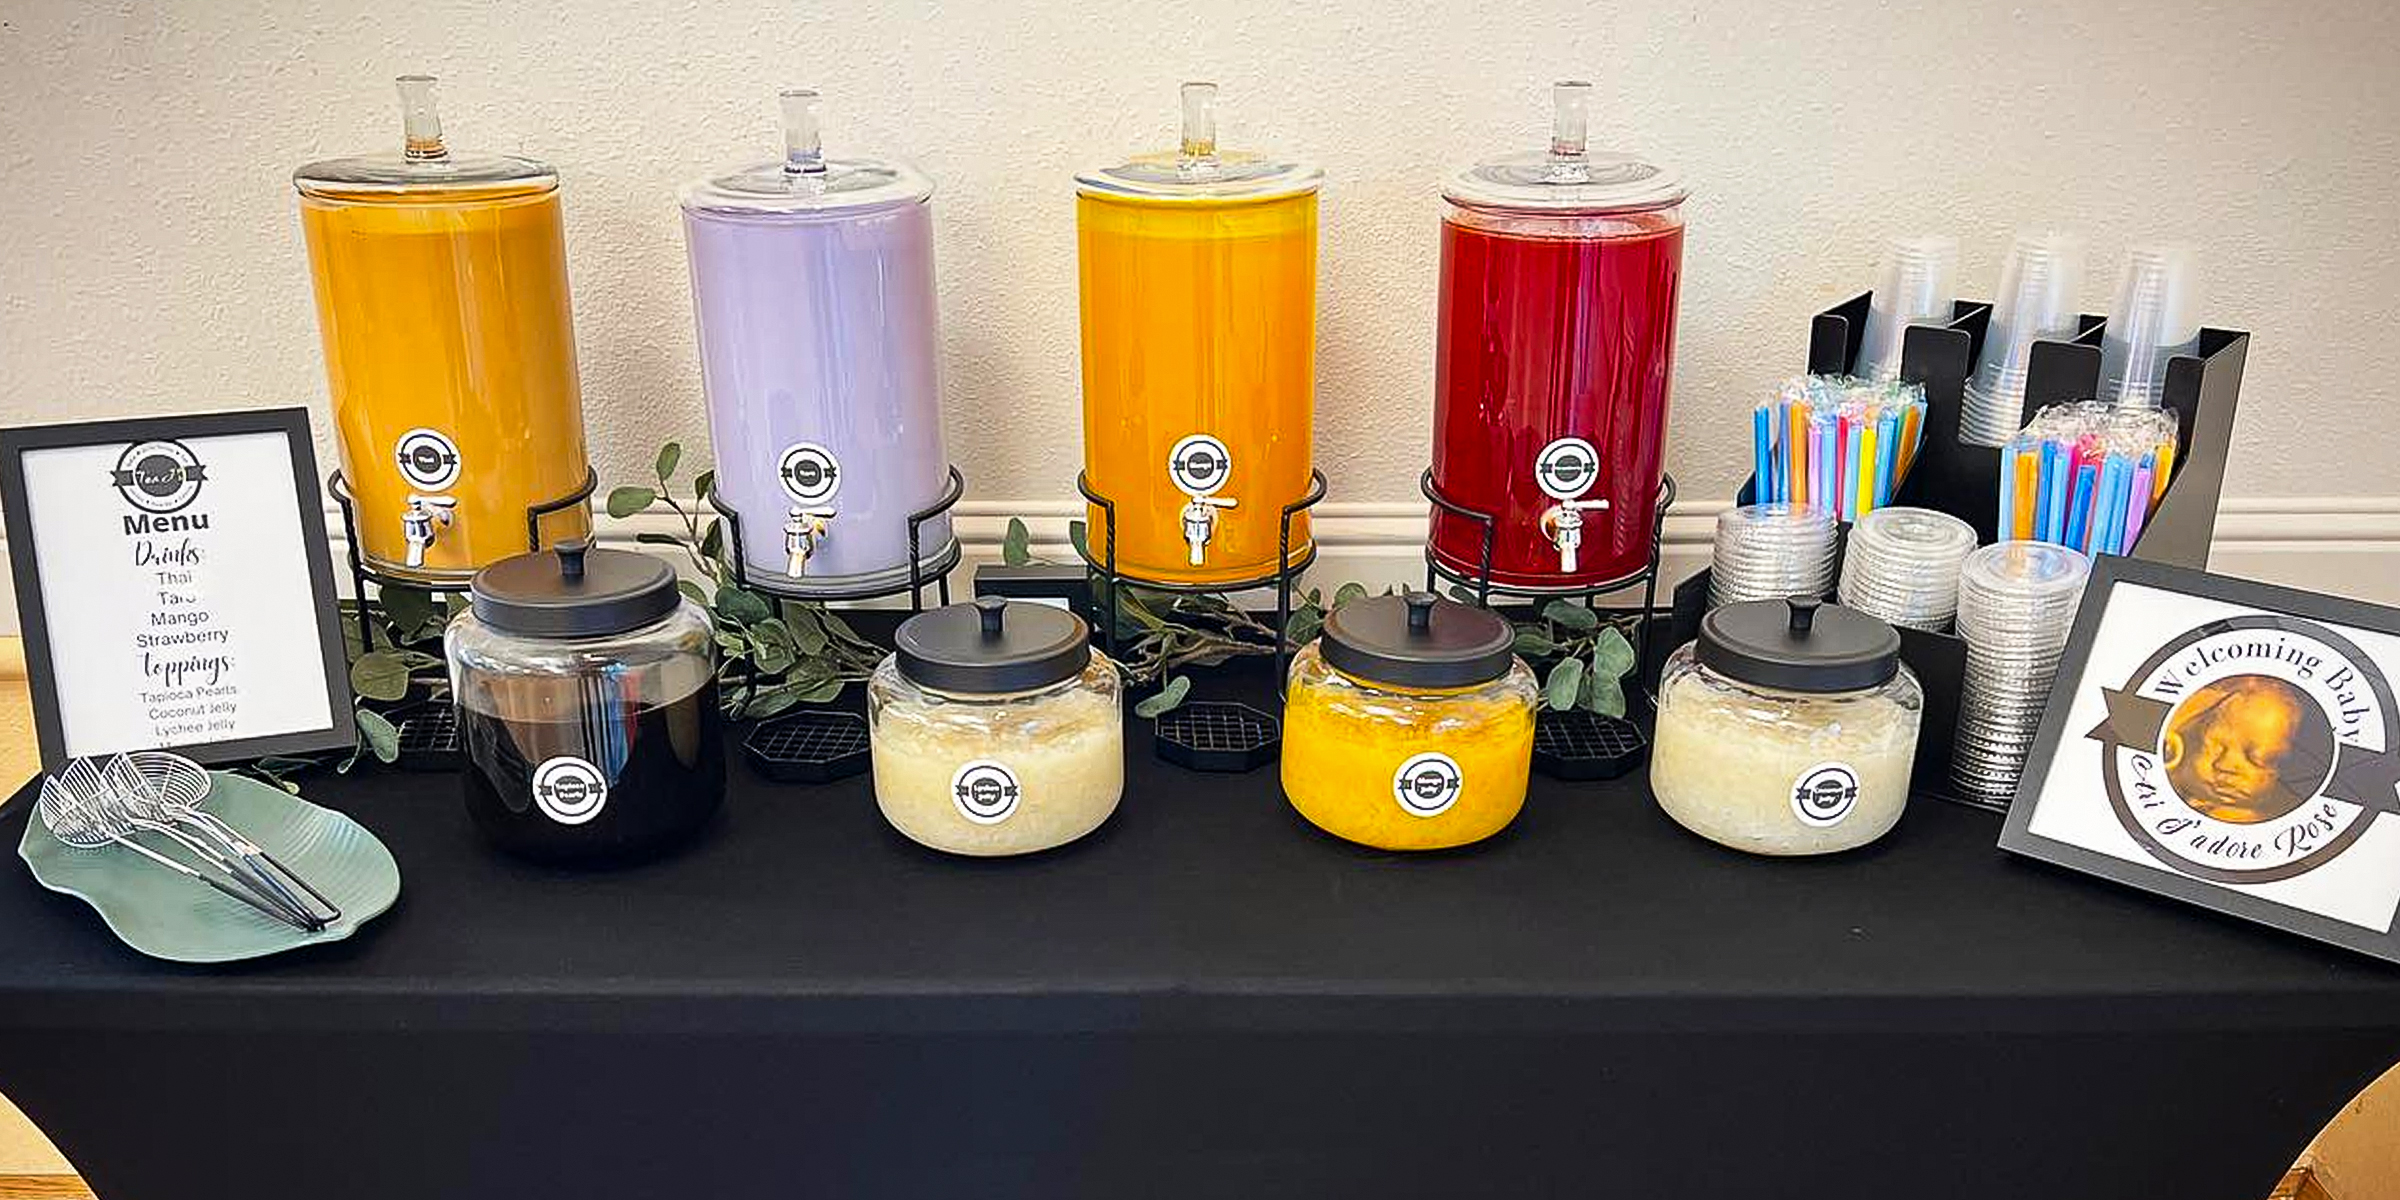
To elevate your next soirée with a DIY Boba bar, continue reading for the essentials to give your guests the perfect Boba tea experience they will never forget.
Feb 07, 2024
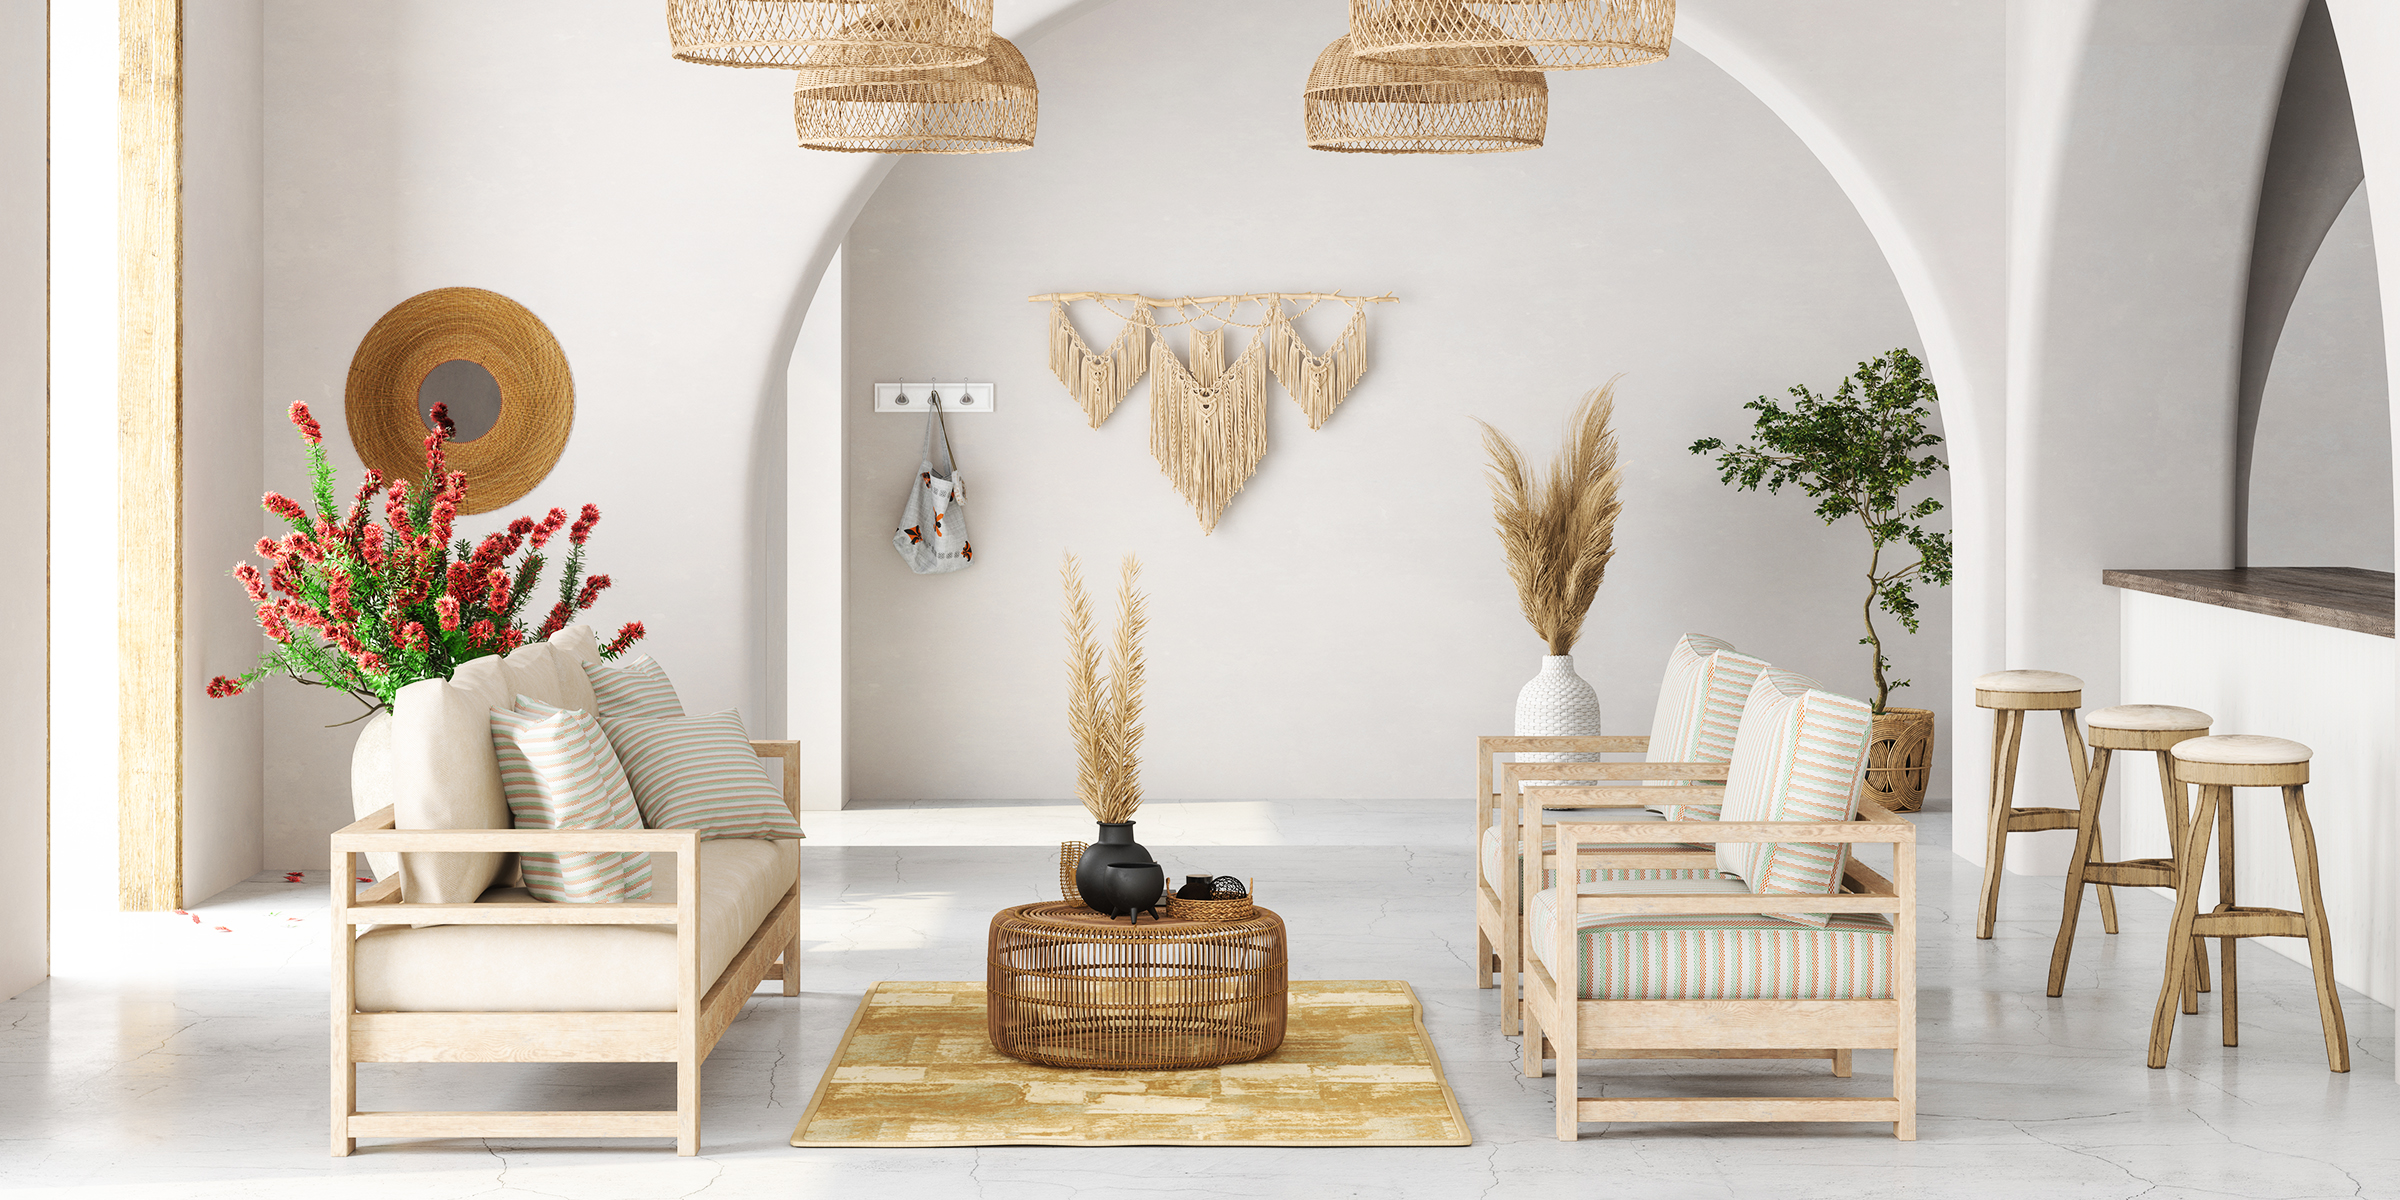
If you're looking to create the perfect balance of boho and rustic in your living room, continue reading for essential interior design tips to perfectly encapsulate the charming touch and natural finish of these two styles.
Jan 29, 2024

Create a space that promotes independence and a thirst for knowledge in your child, all in the comfort of your home, with this helpful DIY Montessori bookshelf guide.
Feb 04, 2024

Crystal suncatchers are not only stunning decorative pieces, but they are also a unique way to fill your home with sunlight and positive energy. Enjoy the almost magical properties of this beautiful ornament with this DIY crystal suncatcher guide.
Jan 15, 2024

For those considering giving their mobile space a facelift, one pressing question looms: how much does it cost to remodel a mobile home? The answer isn't straightforward, as costs can vary widely based on several factors.
Feb 21, 2024
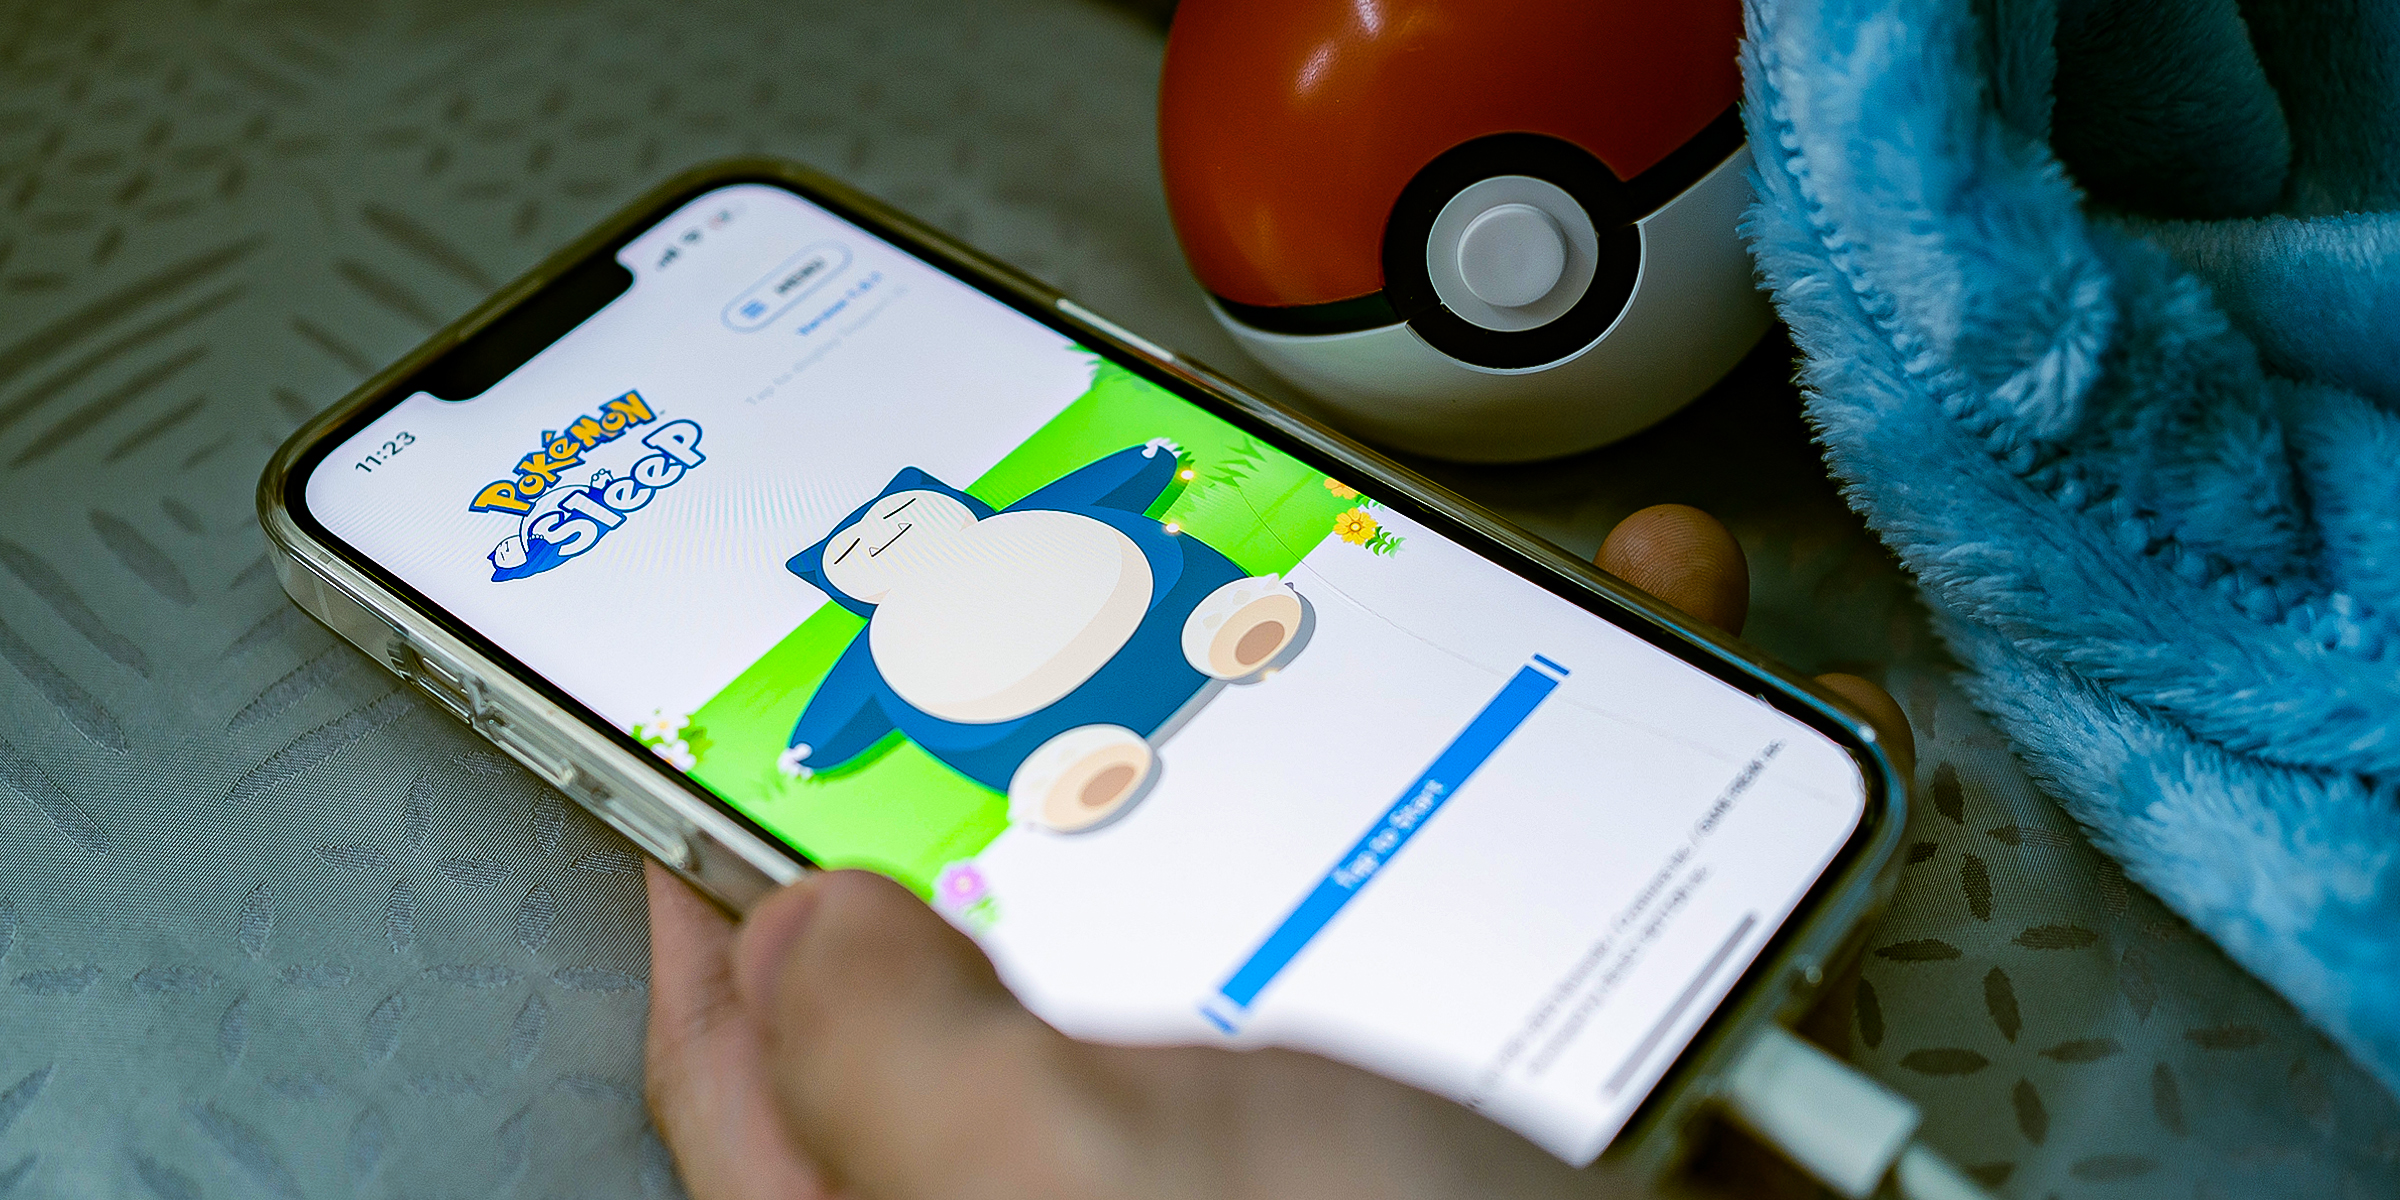
Stuck trying to figure out how to make your Pokémon happy in "Pokémon Sleep?" Look no further than this guide, as we uncover the secrets to your Pokémon's happiness for a delightful gaming experience.
Mar 30, 2024
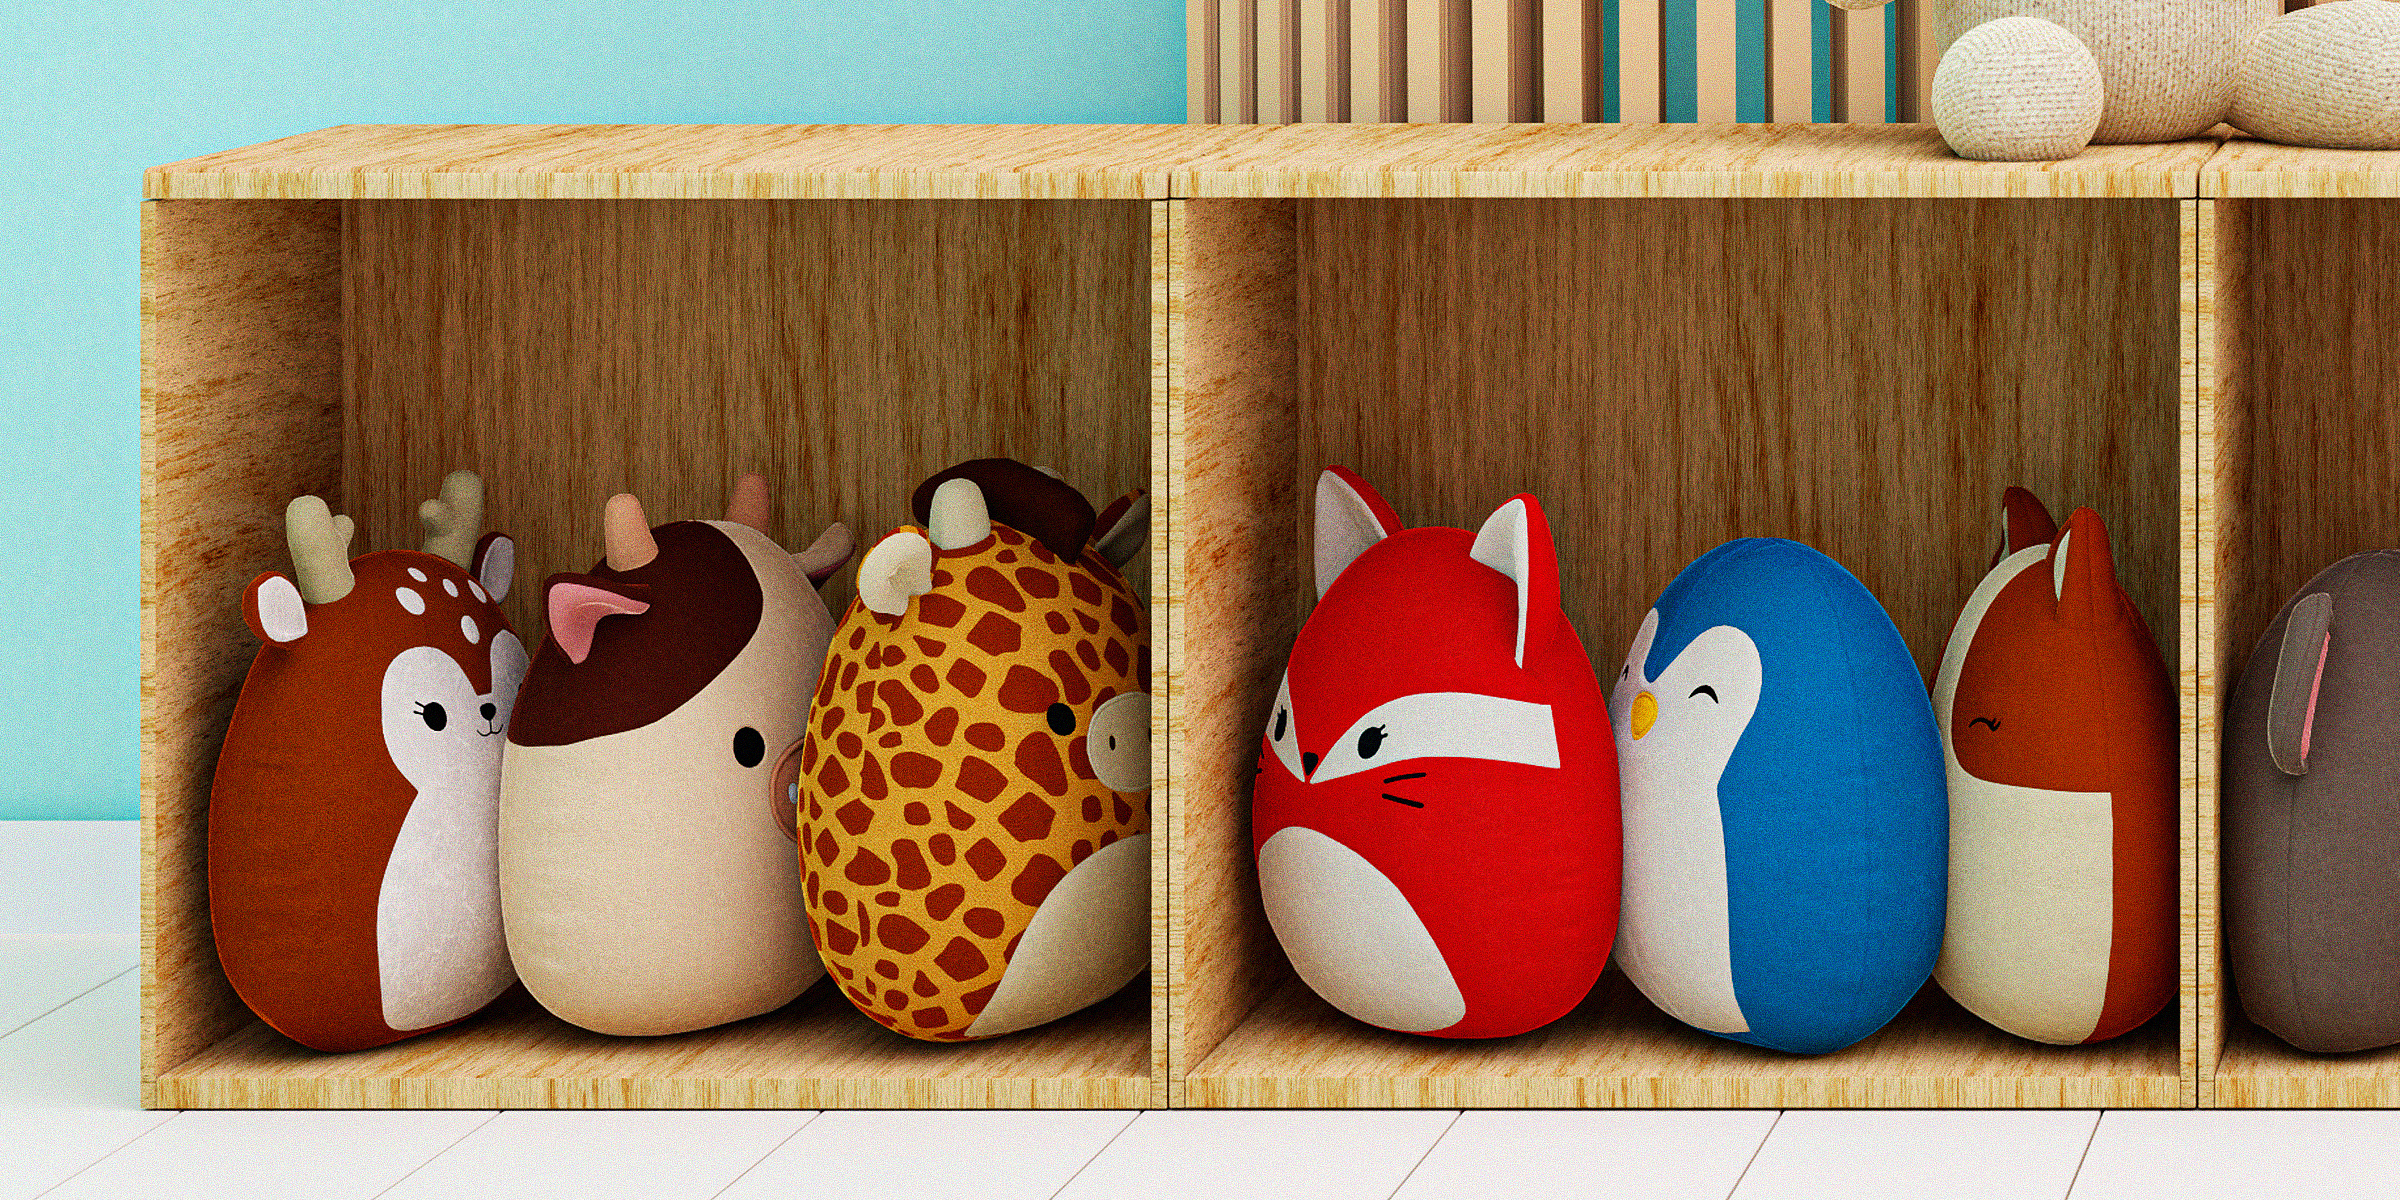
Discover the secret to bringing your child's favorite Squishmallow back to life with our easy guide on how to make a Squishmallow clean and fluffy again.
Mar 08, 2024

If ground squirrels have taken over your yard with their burrowing, continue reading for three ways you can fill ground squirrel holes — from the perfect machine to make the process easier to ingredients you can use that you might already have.
Jan 09, 2024
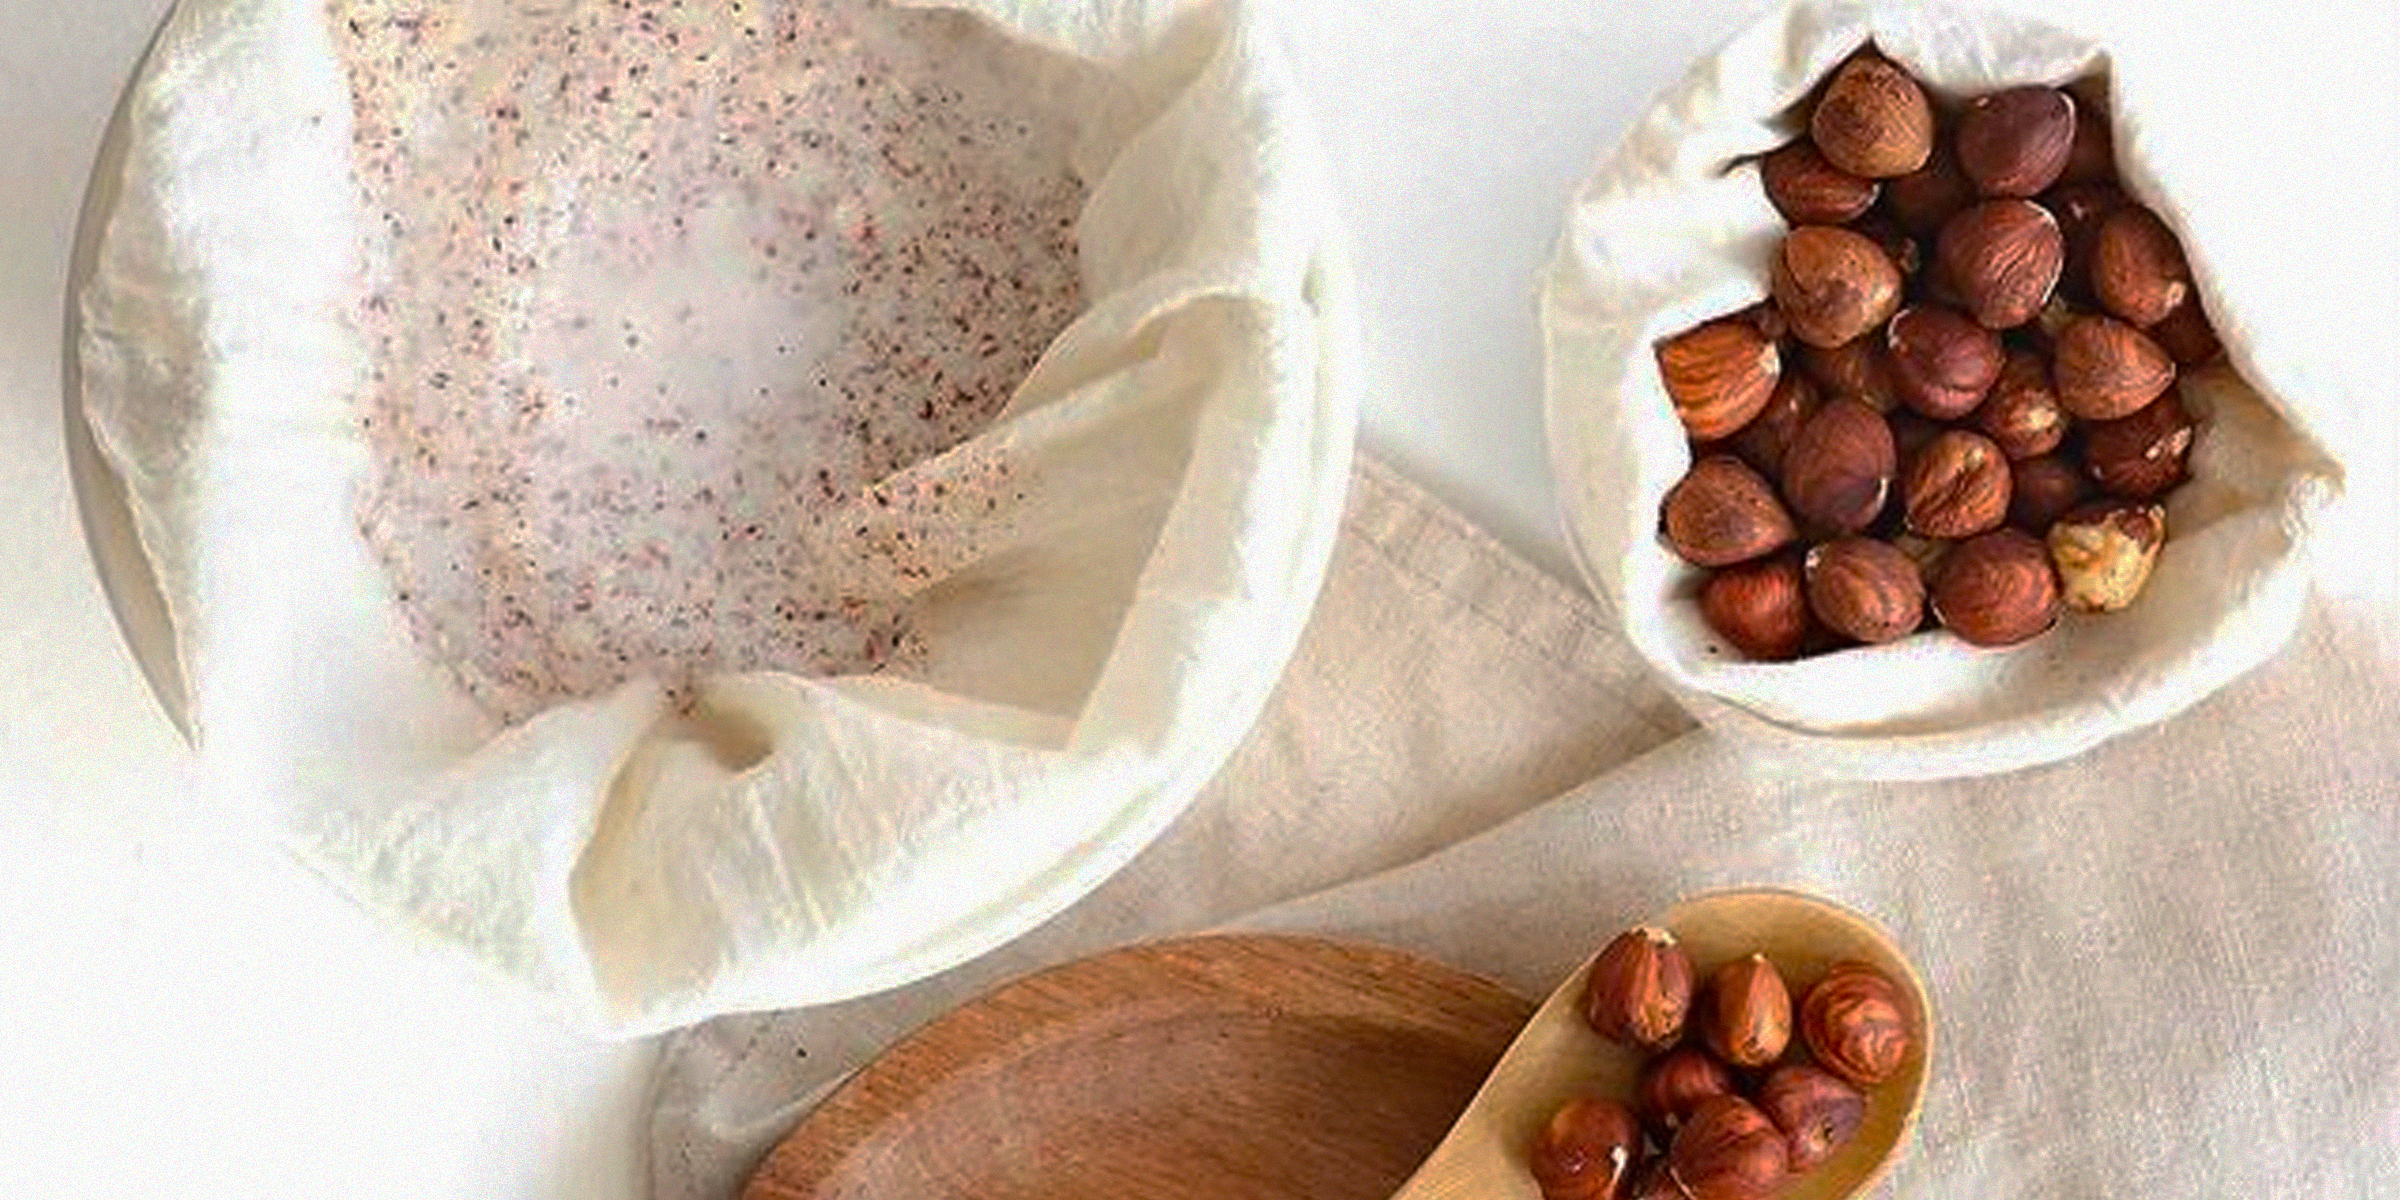
Embarking on making your nut milk at home can be a rewarding experience, but the cleanup process, especially regarding the nut milk bag, may seem less appealing. However, regularly cleaning your nut milk bag is advised to prevent bacteria or mold from growing, and you can do so in five easy steps.
Dec 31, 2023

Struggling with a faintly scented room despite your diffuser running all day? The secret to a luxuriously fragrant space lies not just in the oils you choose but in how to make an oil diffuser smell stronger.
Feb 25, 2024

Granular loss is something most roofs experience and can be addressed in two ways. Continue reading for tips on both methods to repair granular loss and what you can do to prevent damage to your roof.
Jan 24, 2024
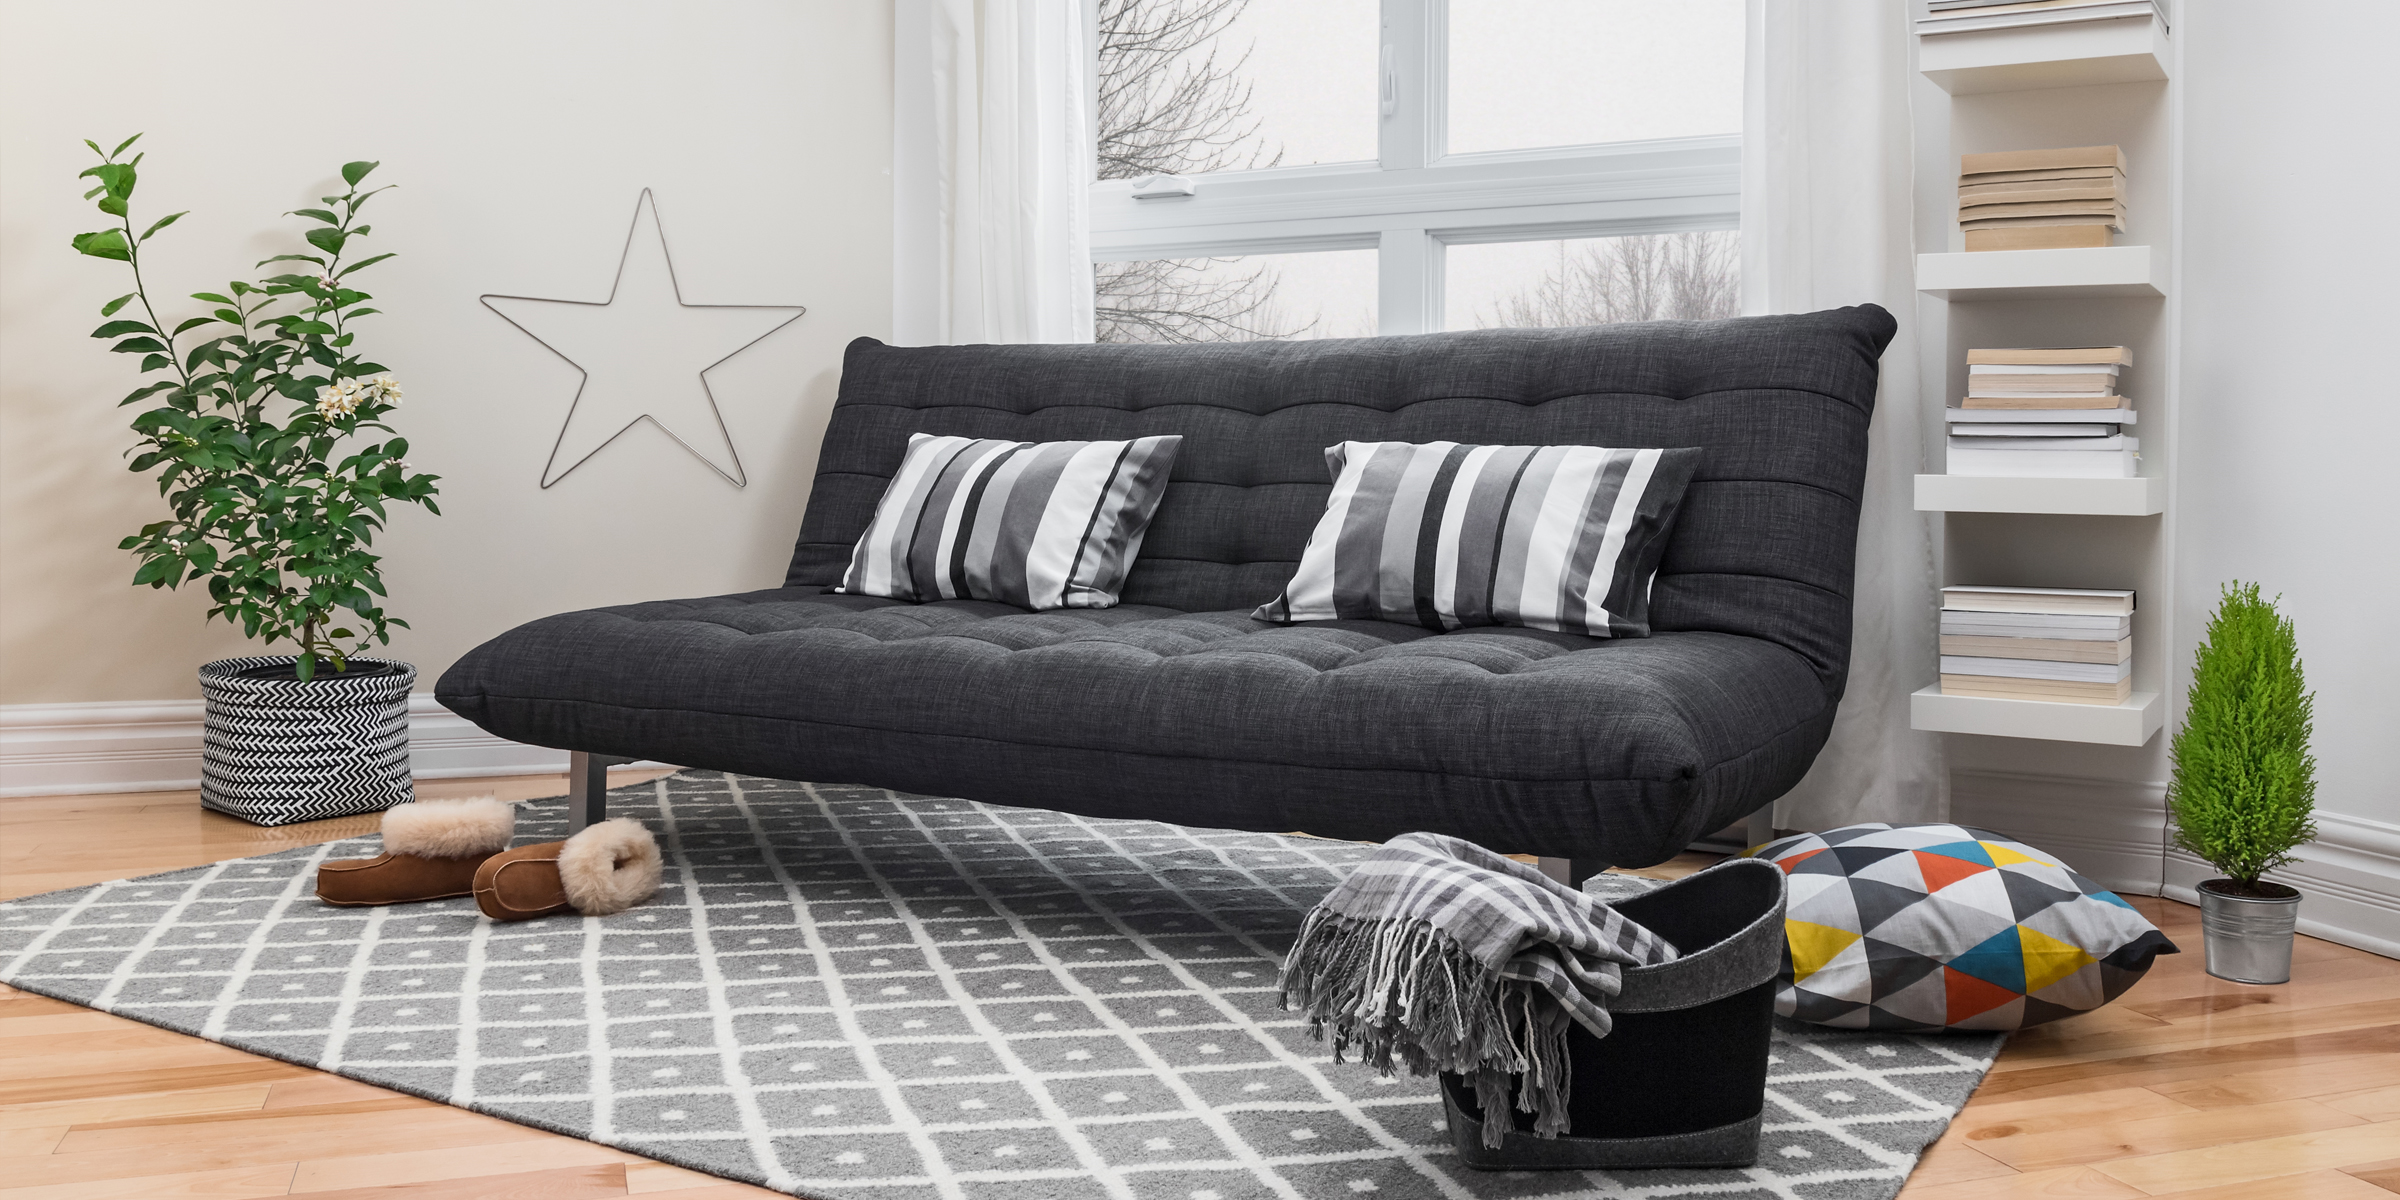
Searching for ways to transform your futon from merely functional to fabulously comfortable? Look no further than this guide, as we explore four easy and effective tips to turn your futon into a cozy oasis.
Mar 15, 2024

Seint is a well-known beauty brand specializing in cosmetic applicators like makeup brushes and blenders. Knowing how to clean Seint brushes not only has hygienic purposes but also preserves the quality of the makeup tools.
Jan 09, 2024

If you're looking to seamlessly combine wood and tile flooring in your home, continue reading for helpful tips, including tricks on blending these two flooring types for a harmonious finish.
Jan 23, 2024