
DIY Hearth Pad — A Helpful Guide To Crafting The Perfect Homemade Fireplace Protector
Apr 09, 2024


Take the wheel in style and comfort by crafting your very own DIY steering wheel cover! Perfect for enhancing grip and adding a personal touch to your vehicle, this simple project is not only rewarding but also provides a practical upgrade to your driving experience.
For many car enthusiasts and daily drivers alike, the steering wheel is more than just a component; it's where the journey begins and comfort meets control.
However, the joy of driving can quickly diminish if your steering wheel is uncomfortably hard or slippery. This is where a steering wheel cover shines, as it not only adds a layer of safety by enhancing grip but also personalizes your vehicle's interior.
For a practical and cost-effective solution compared to purchasing pre-made covers, keep reading for a comprehensive guide on how to craft the perfect DIY steering wheel cover.
Measuring Your Steering Wheel
Constructing Your Steering Wheel Cover
Step 1: Create the Base
Step 2: Prepare for Elastic
Step 3: Sew the Cover
Step 4: Insert the Elastic
Step 5: Secure the Elastic and Finish

Congratulations on completing your DIY steering wheel cover! Not only have you enhanced the comfort and safety of your driving experience, but you've also added a personalized touch to your vehicle.
Looking to add even more personalization to your car? Why not try creating your own car freshener with simple ingredients from home with the guidance of our article on how to make your own car freshener?

Tiki huts are making a significant comeback, captivating enthusiasts with their distinctive charm that transports you to a serene paradise. Embark on a journey to transform your backyard into a tranquil oasis with our step-by-step guide on how to make a Tiki Hut.
Mar 20, 2024

Create a space that promotes independence and a thirst for knowledge in your child, all in the comfort of your home, with this helpful DIY Montessori bookshelf guide.
Feb 04, 2024
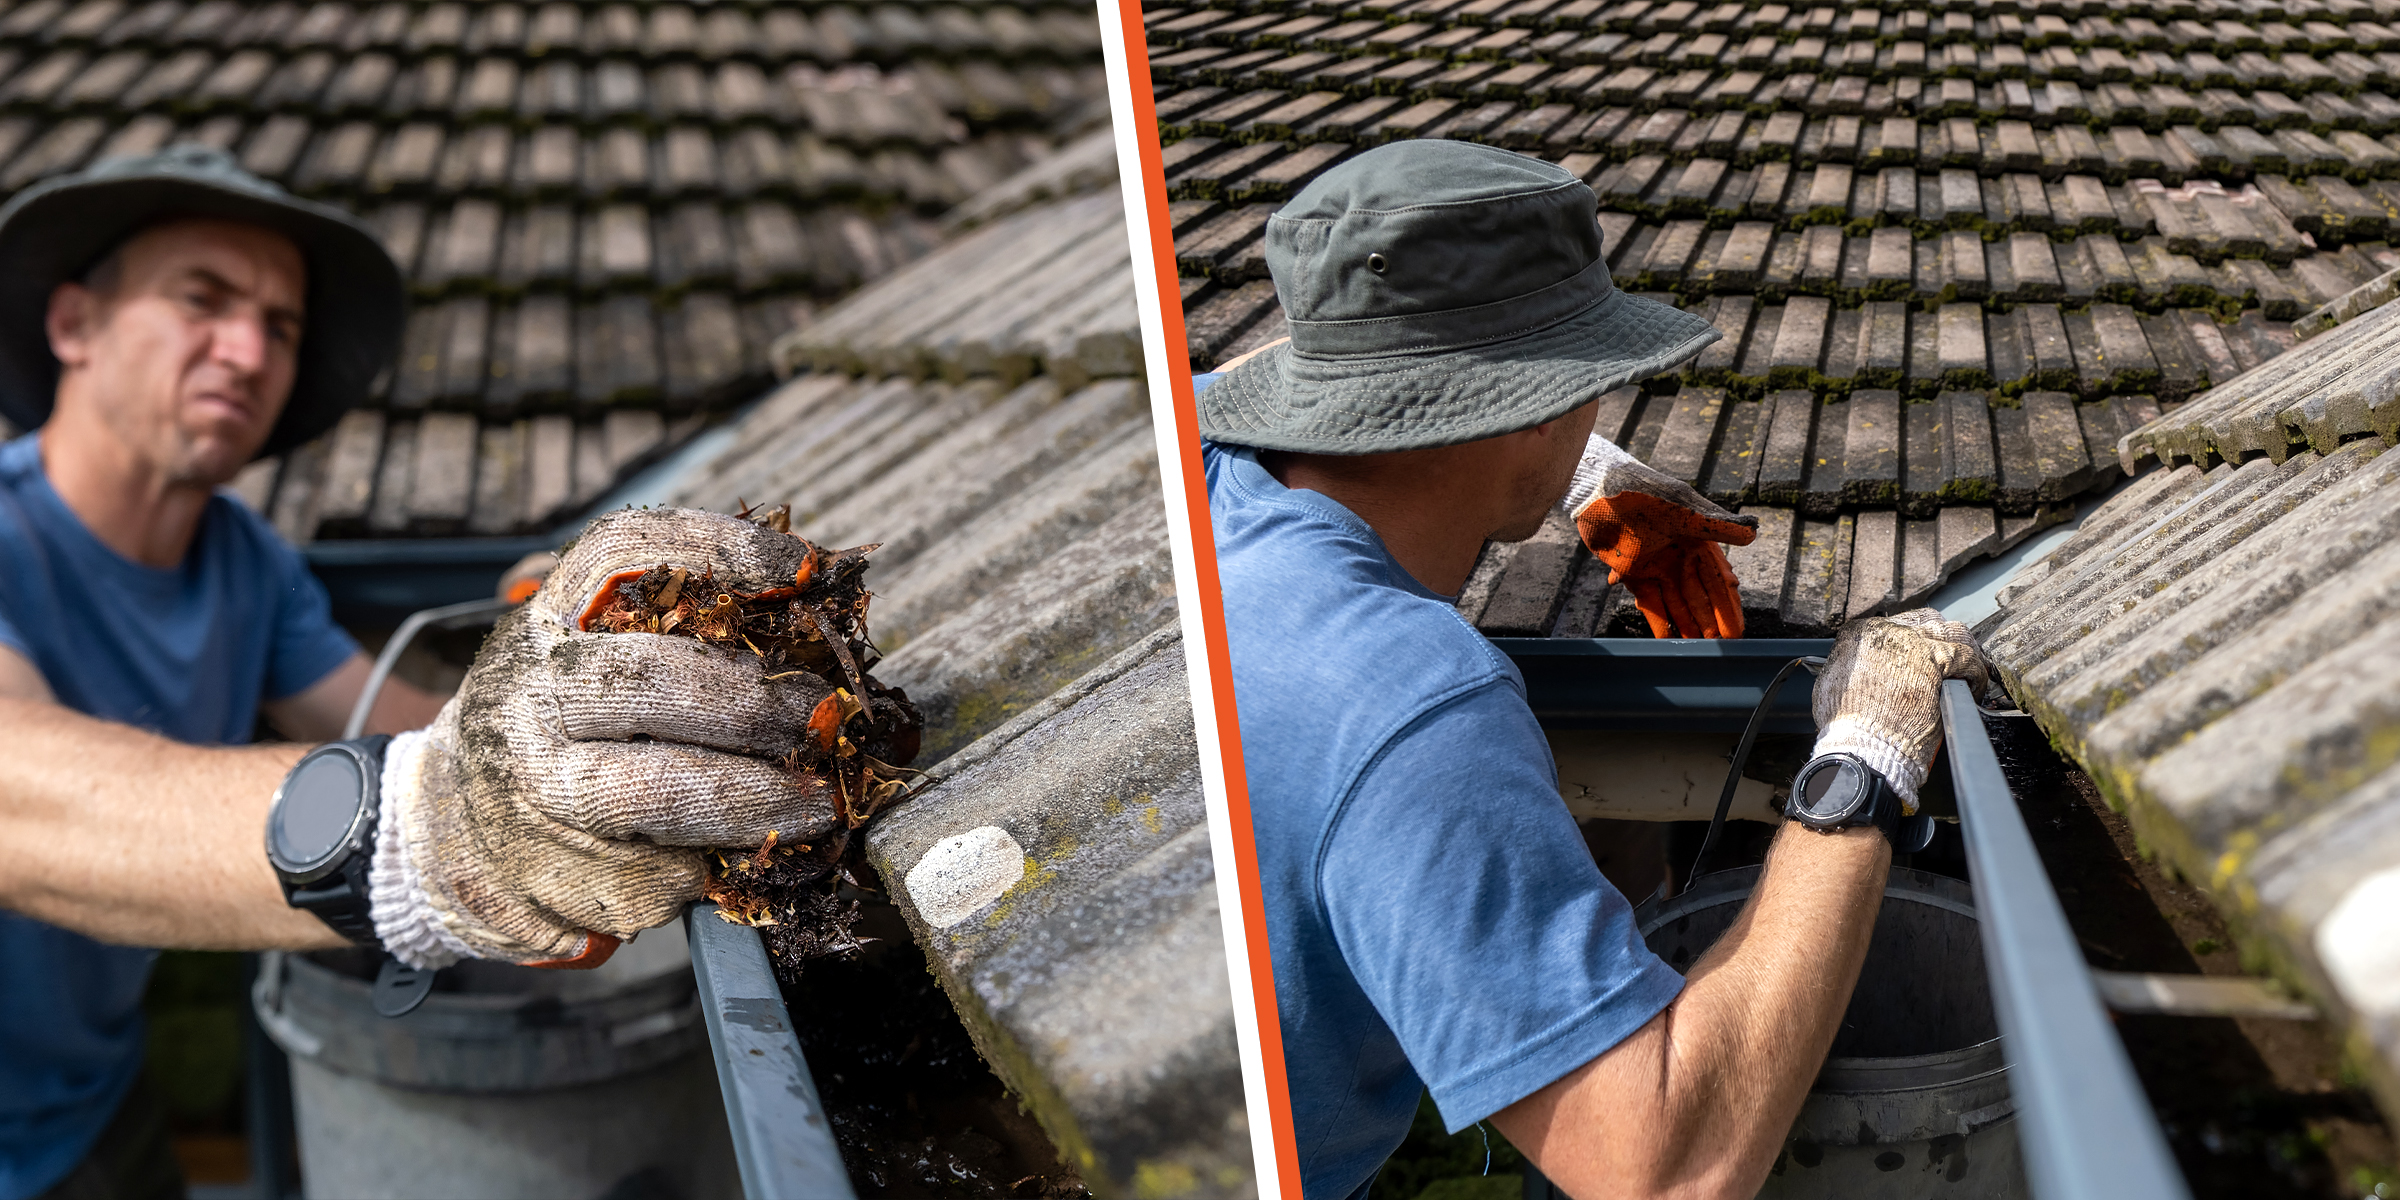
In a world where convenience is king, the quest for efficient home maintenance solutions is never-ending. Enter the revolutionary concept of DIY gutter guards — your ultimate ally against the tedious task of gutter cleaning.
Apr 12, 2024
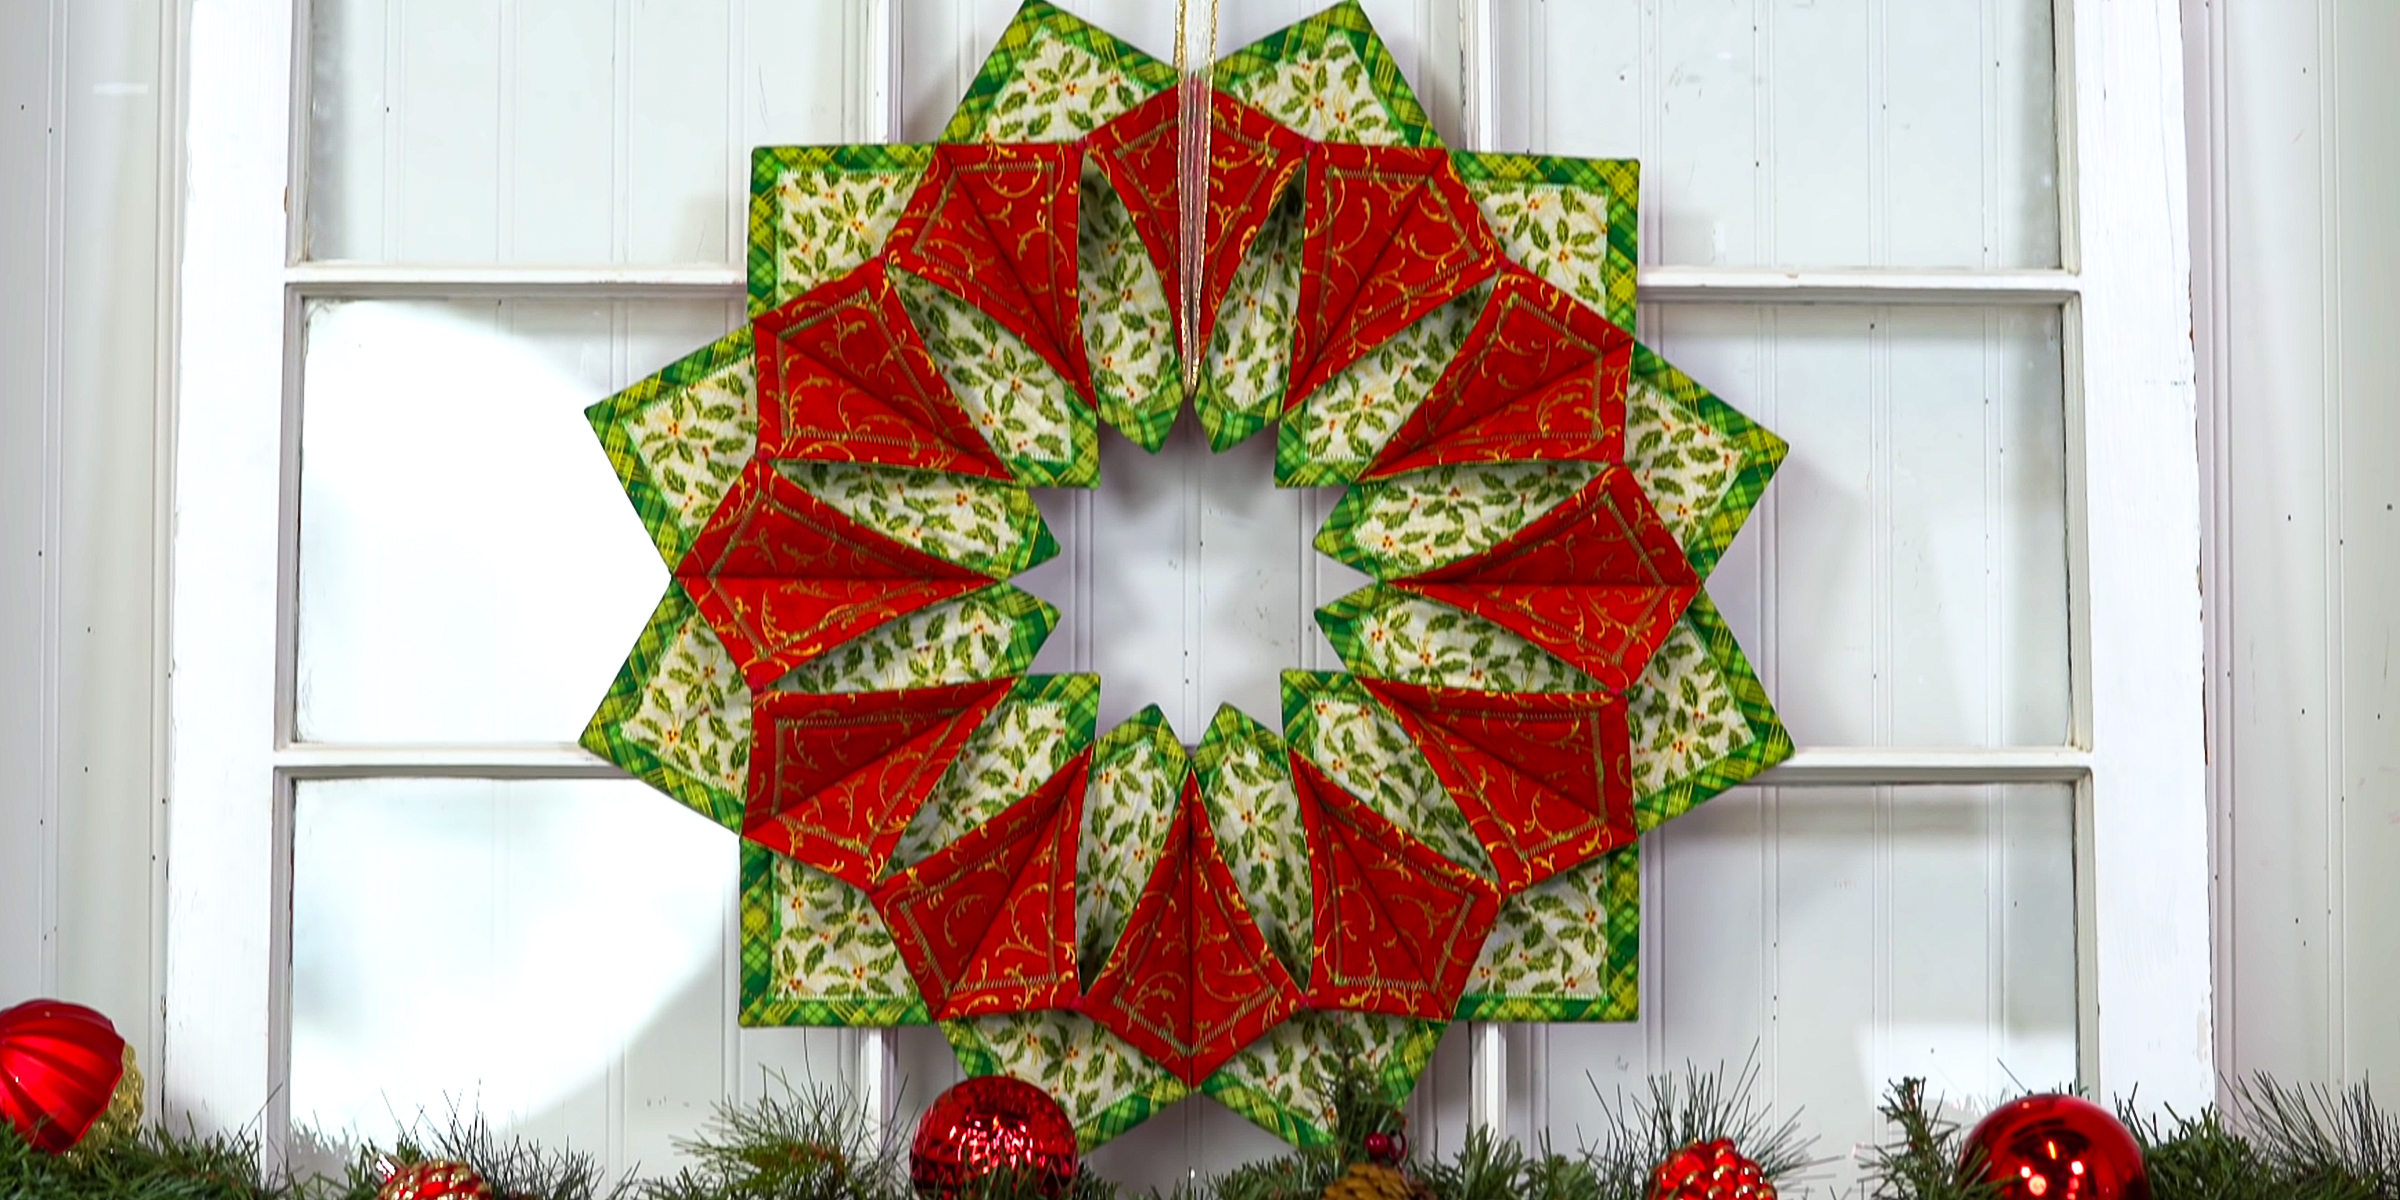
Explore how to make a fold and stitch wreath! With easy-to-follow steps and plenty of creative flair, you'll be amazed at how much joy and personality you can infuse into your home decor.
Mar 16, 2024
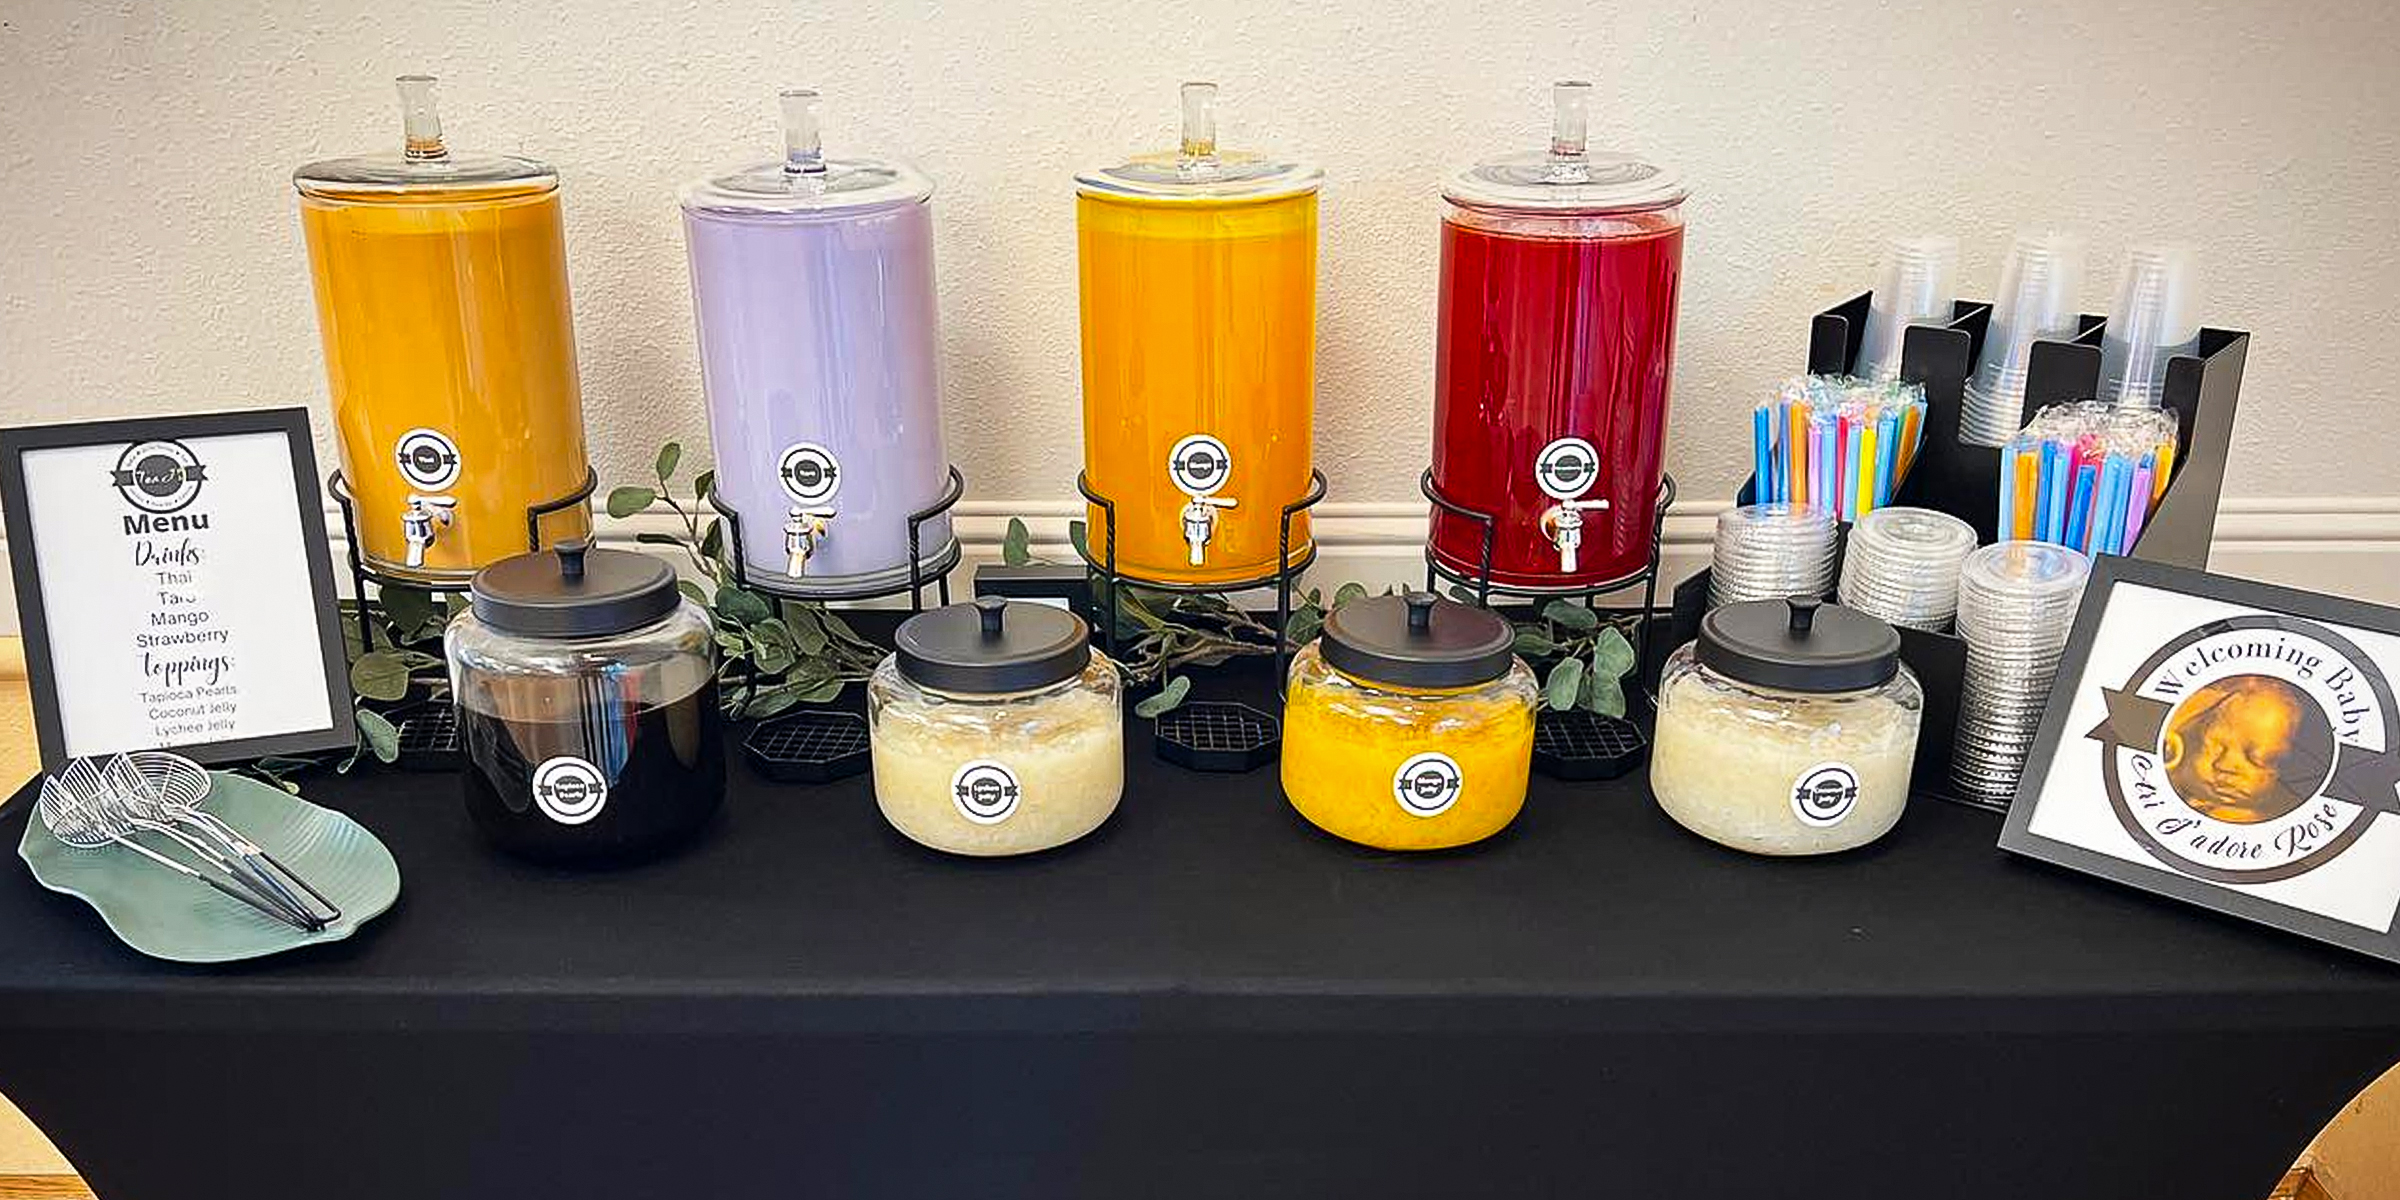
To elevate your next soirée with a DIY Boba bar, continue reading for the essentials to give your guests the perfect Boba tea experience they will never forget.
Feb 07, 2024
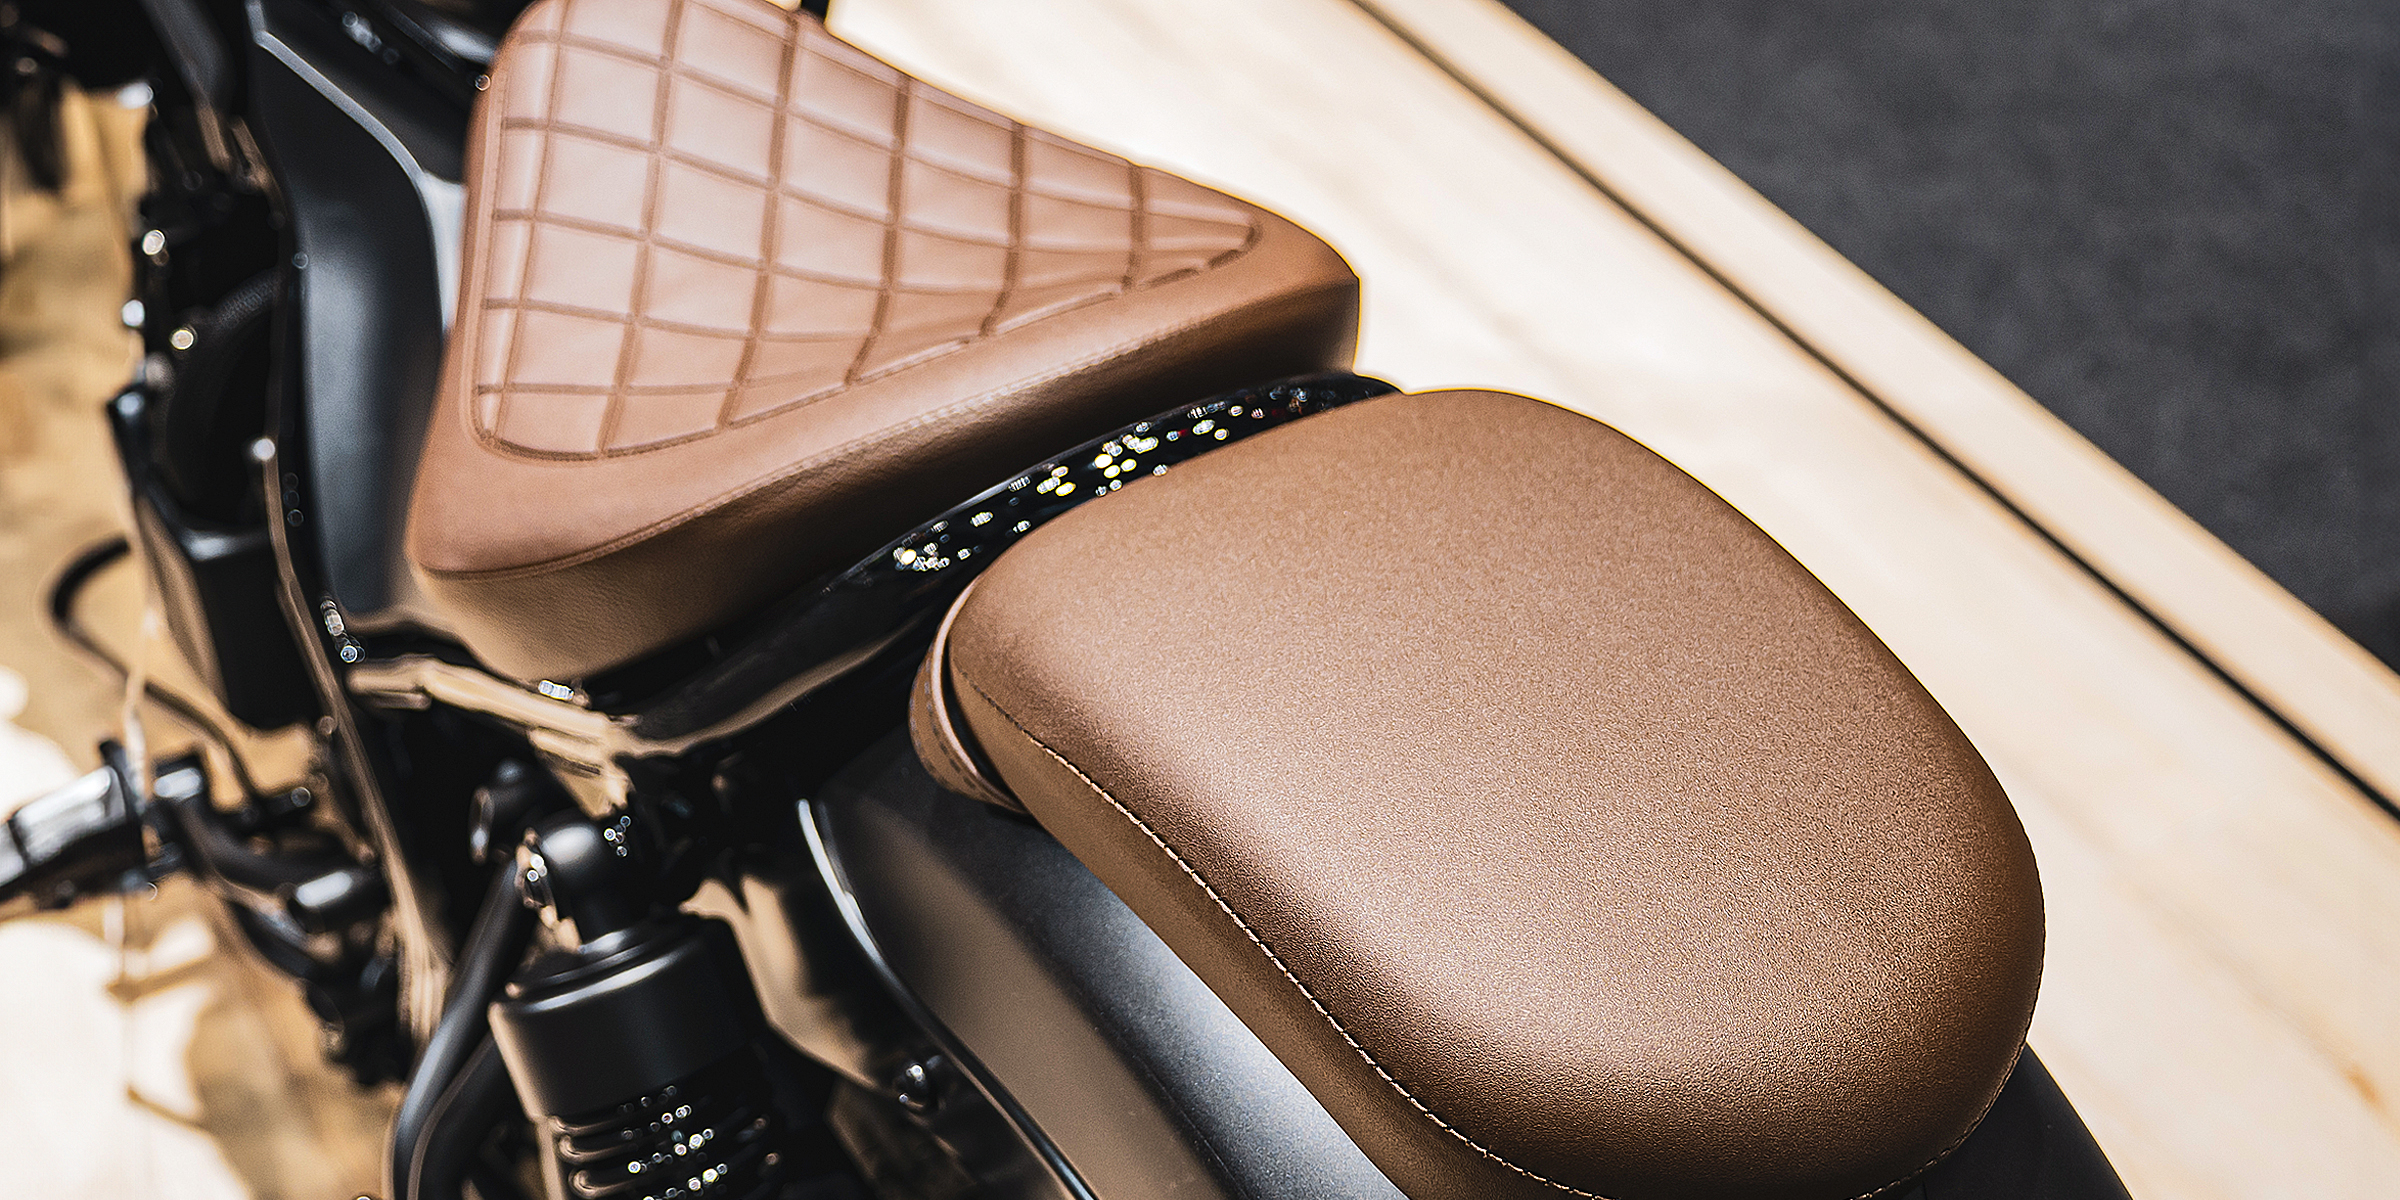
Learning how to make a motorcycle seat can be immensely rewarding. With the right supplies, tools, and dedication, mastering the craft of creating your own seat is within reach.
Mar 19, 2024
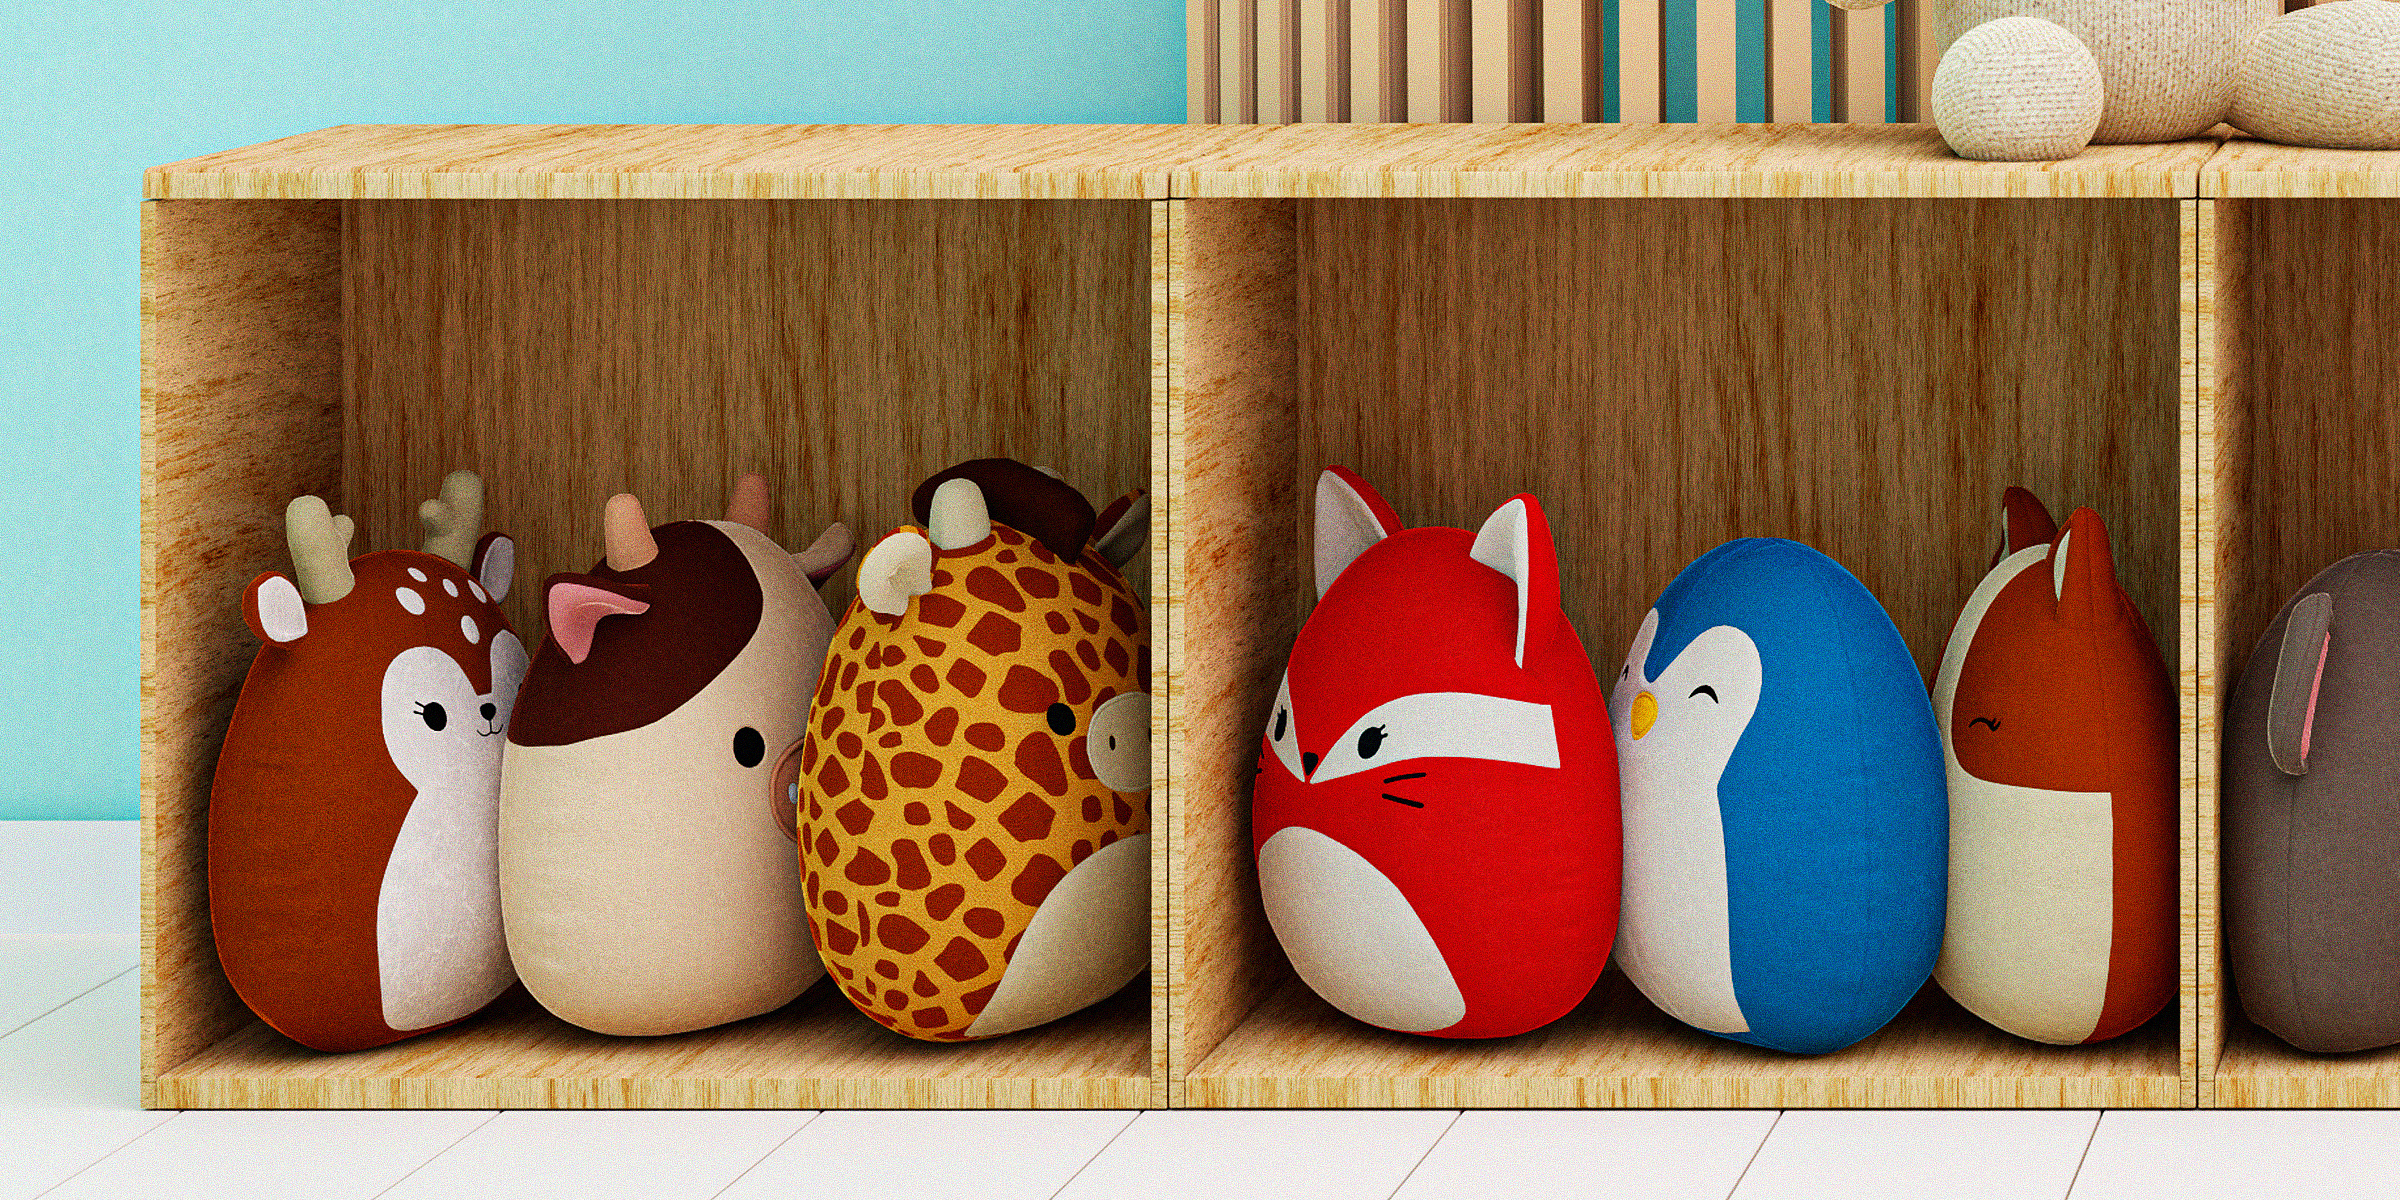
Discover the secret to bringing your child's favorite Squishmallow back to life with our easy guide on how to make a Squishmallow clean and fluffy again.
Mar 08, 2024

Looking to discover how to create a Murphy door for your home? You've come to the right place! Incorporate a unique hidden door into your space by crafting your own, following the detailed guide below.
Mar 12, 2024

For those considering giving their mobile space a facelift, one pressing question looms: how much does it cost to remodel a mobile home? The answer isn't straightforward, as costs can vary widely based on several factors.
Feb 21, 2024

Struggling with a faintly scented room despite your diffuser running all day? The secret to a luxuriously fragrant space lies not just in the oils you choose but in how to make an oil diffuser smell stronger.
Feb 25, 2024

If you're looking to create the perfect balance of boho and rustic in your living room, continue reading for essential interior design tips to perfectly encapsulate the charming touch and natural finish of these two styles.
Jan 29, 2024

Protect your family from the sun's harsh rays while saving a few dollars with this DIY Shibumi Shade hack for the perfect beach day with your loved ones.
Jan 30, 2024
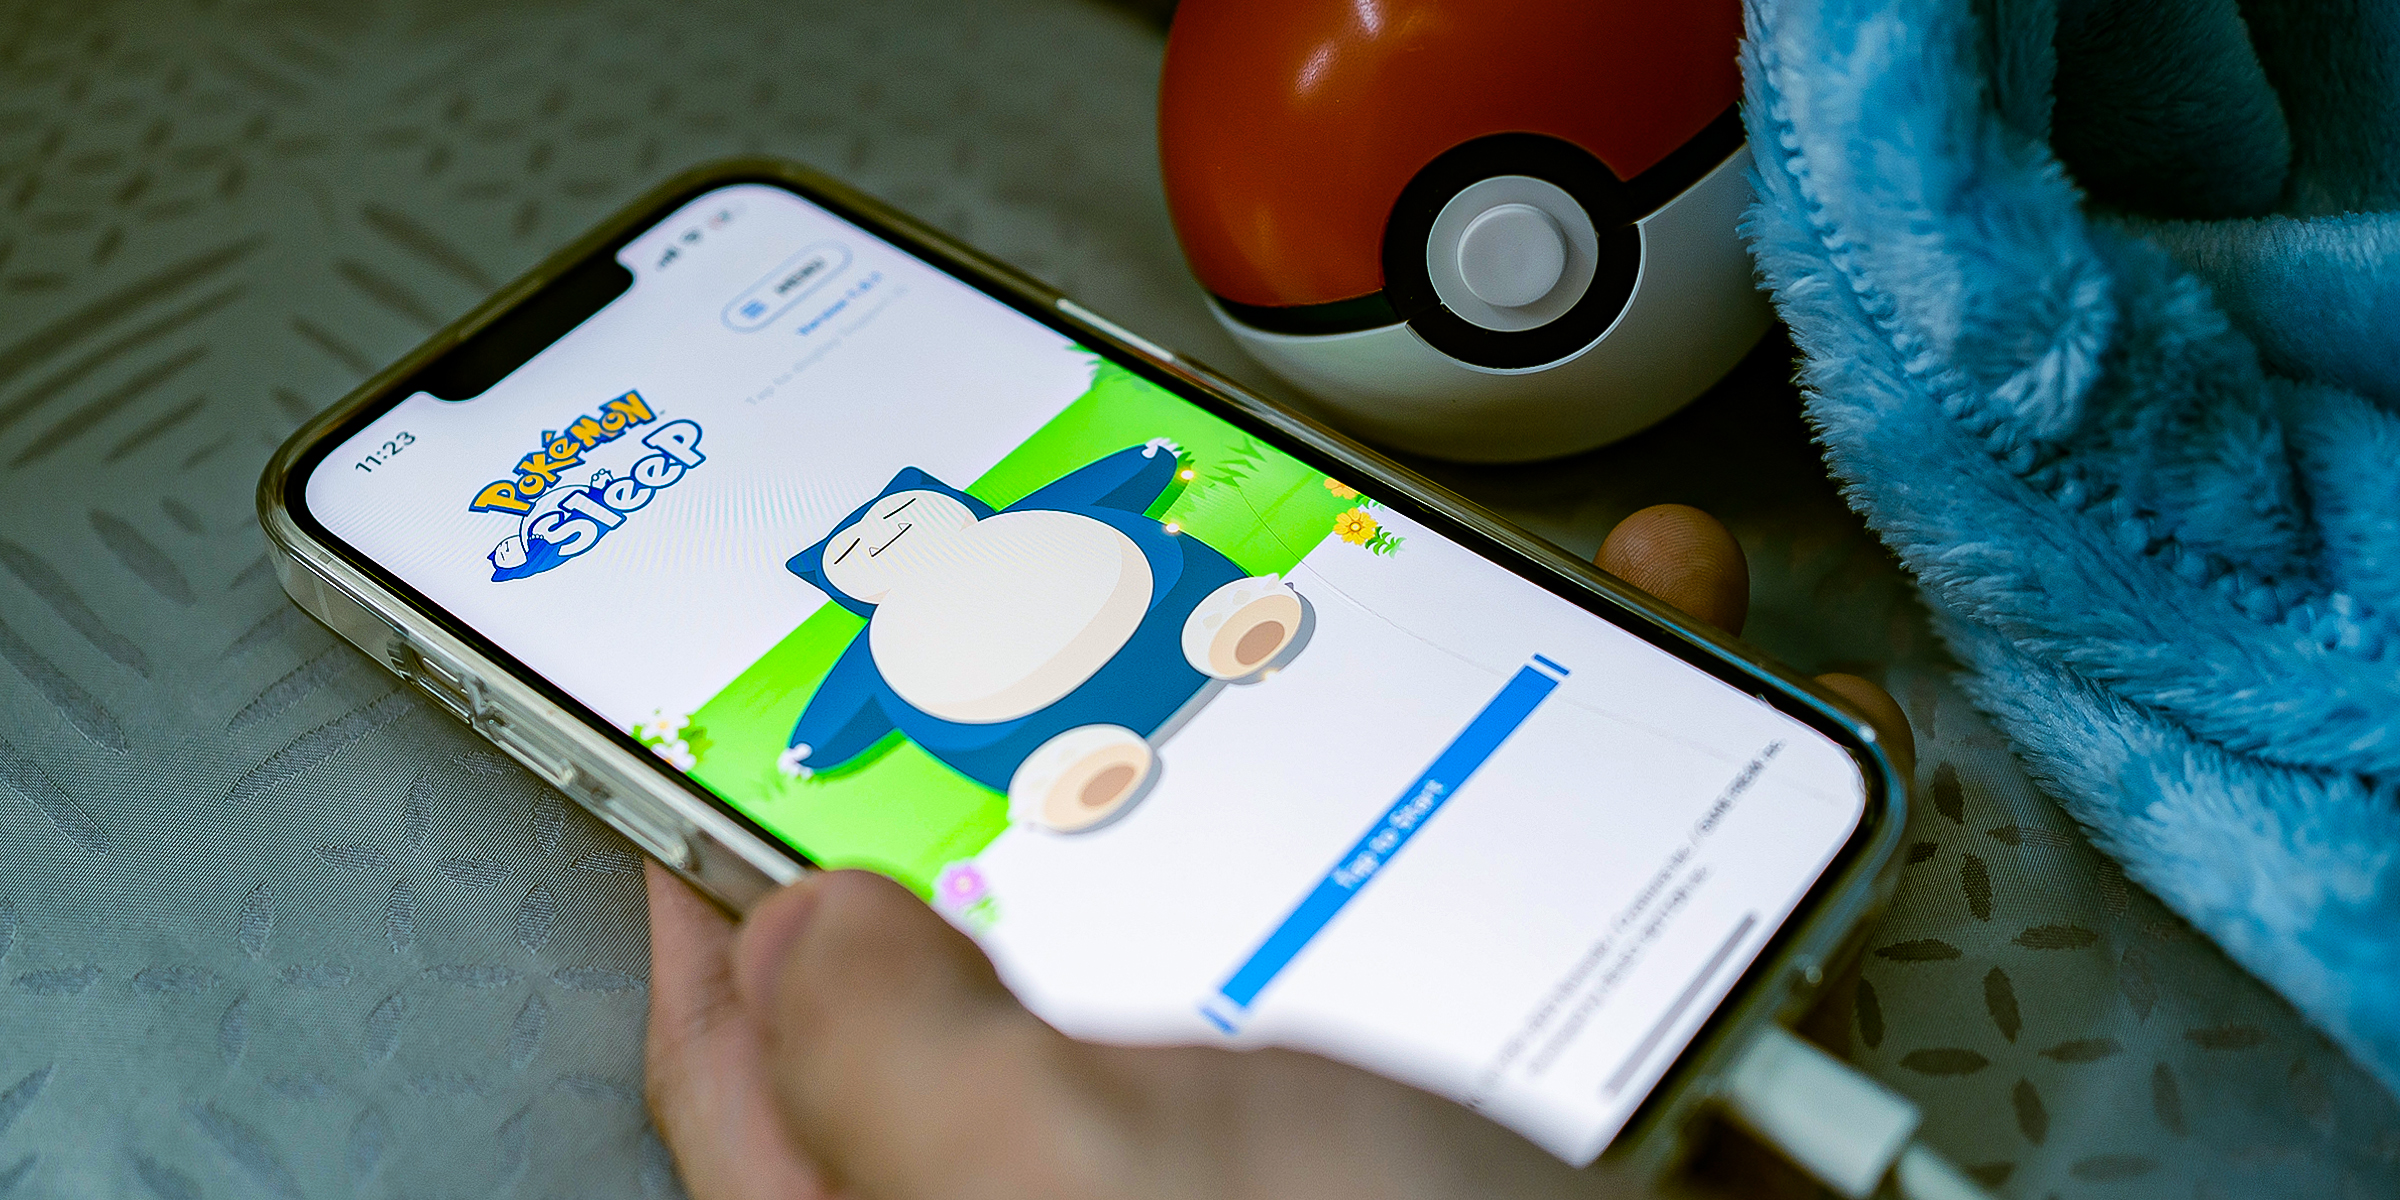
Stuck trying to figure out how to make your Pokémon happy in "Pokémon Sleep?" Look no further than this guide, as we uncover the secrets to your Pokémon's happiness for a delightful gaming experience.
Mar 30, 2024
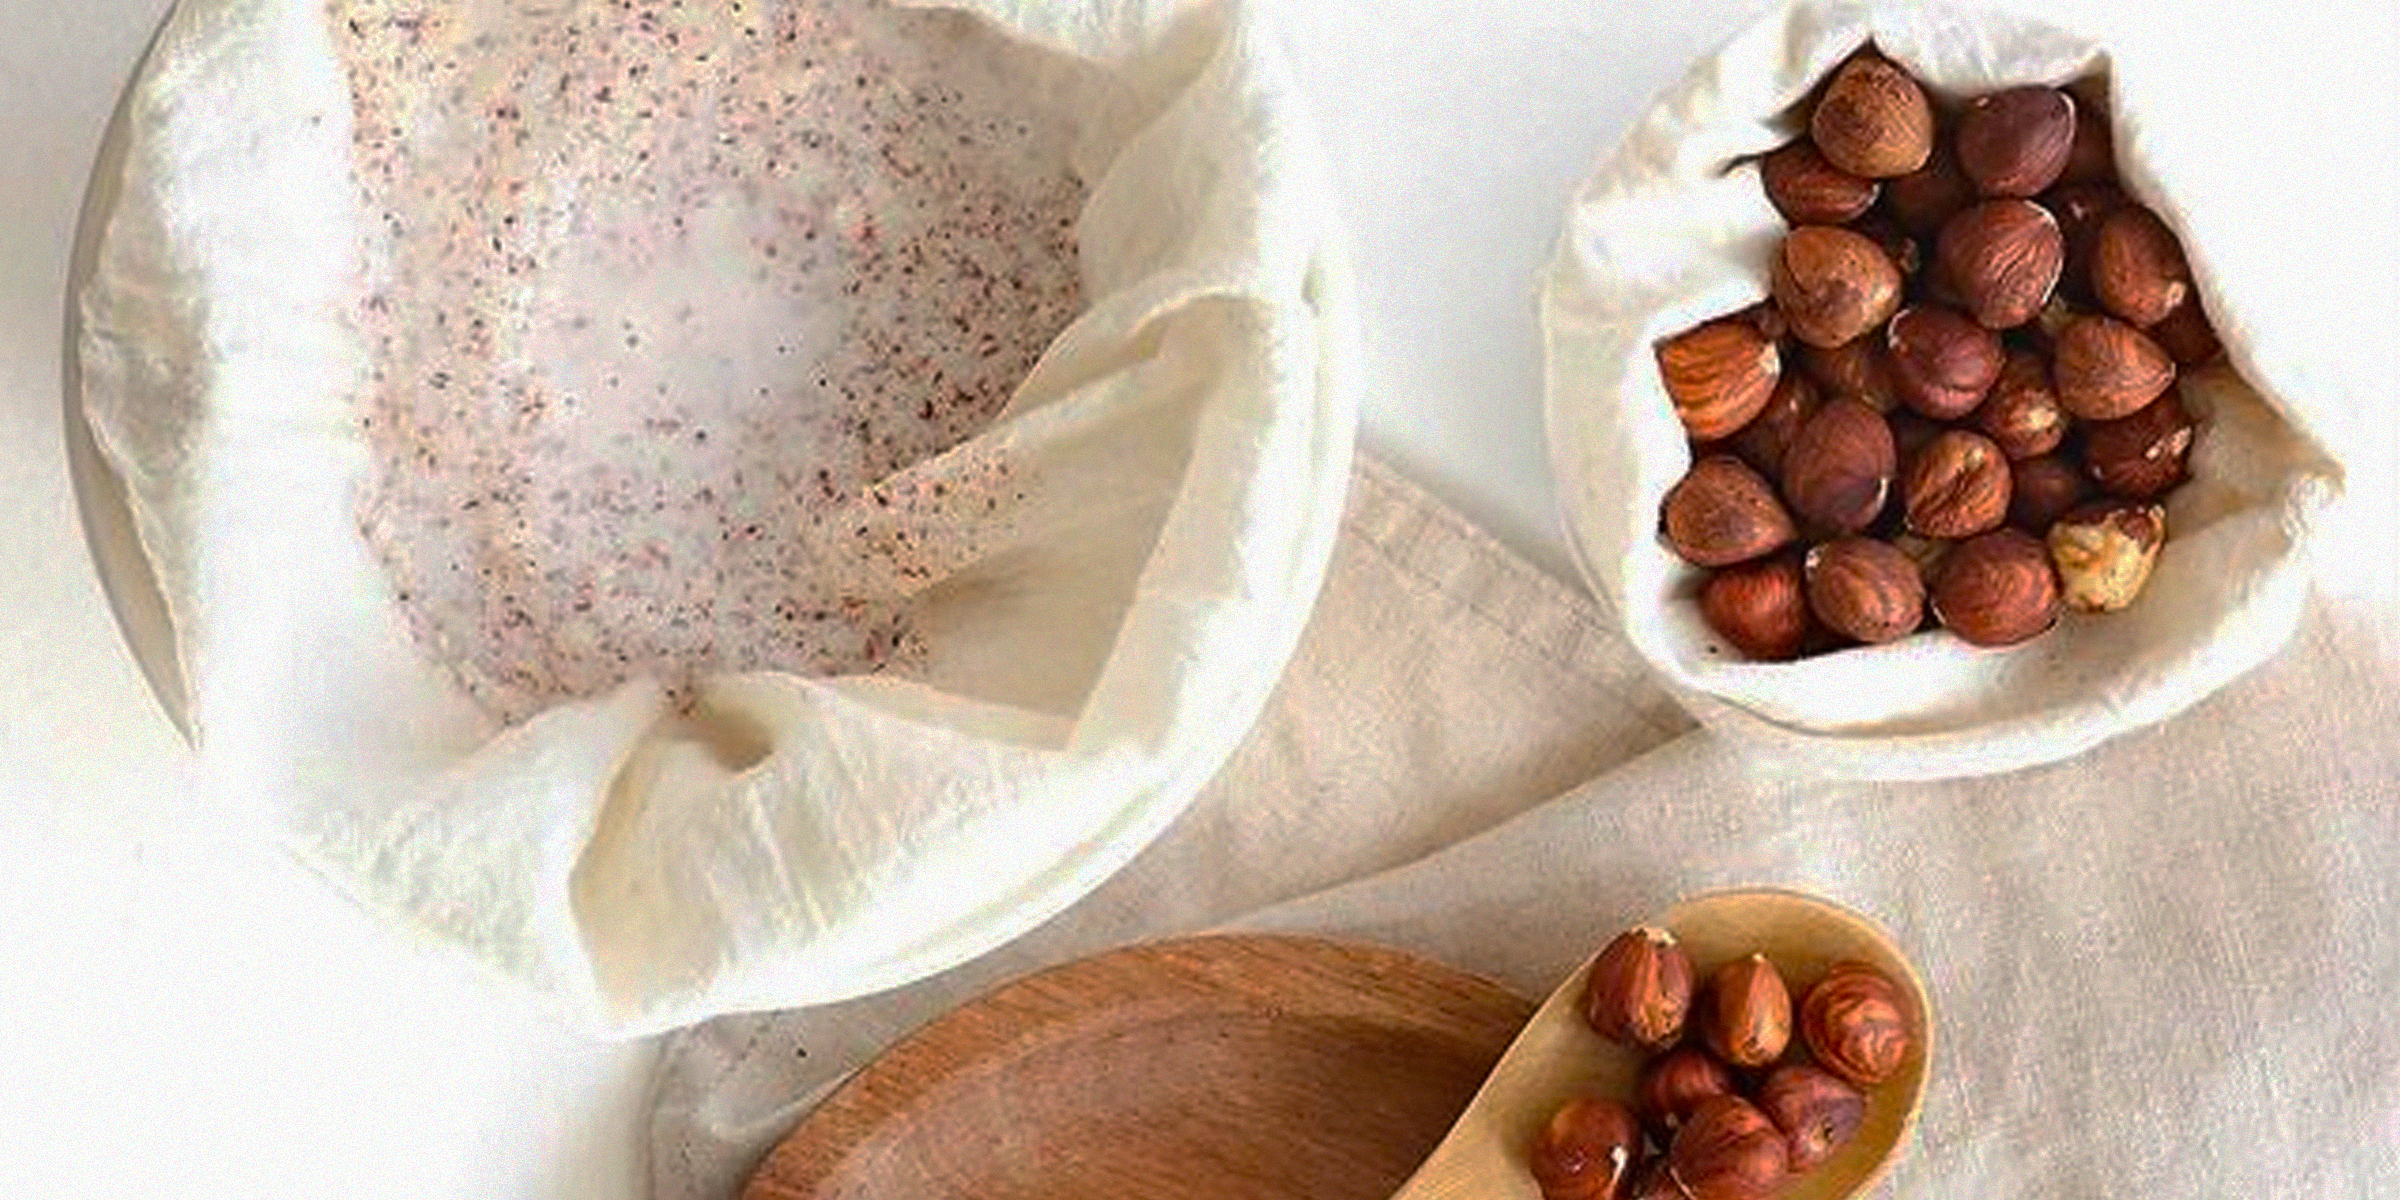
Embarking on making your nut milk at home can be a rewarding experience, but the cleanup process, especially regarding the nut milk bag, may seem less appealing. However, regularly cleaning your nut milk bag is advised to prevent bacteria or mold from growing, and you can do so in five easy steps.
Dec 31, 2023