How to Make a Ribbon Rosette — A Step-by-Step Guide
Mar 24, 2024


Explore how to make a fold and stitch wreath! With easy-to-follow steps and plenty of creative flair, you'll be amazed at how much joy and personality you can infuse into your home decor.
Sewing not only sparks creativity but also offers a budget-friendly and eco-conscious approach to decorating your home. So, why not embrace the joy of crafting and personalize your surroundings with unique flair?
Introducing the fold and stitch wreath, a charming quilt design that seamlessly blends simplicity with elegance. Despite its intricate appearance, this pattern is surprisingly beginner-friendly, making it perfect for crafters of all levels.
If you're up to making a fold and stitch wreath on your own, simply follow Tamar Joy's tutorial video below!

A fold and stitch wreath | Source: YouTube/TamarasJoyDIY
1. Materials

Materials needed for the project | Source: YouTube/TamarasJoyDIY
2. Preparation

Cut the Heat n Bond in squares. | Source: YouTube/TamarasJoyDIY
3. Attaching the Heat n Bond

Use an iron to press each Heat n Bond square onto the fabric surface. | Source: YouTube/TamarasJoyDIY
4. Sewing the Squares Together

Sew the fabrics together. | Source: YouTube/TamarasJoyDIY
5. Turning and Pressing

Turn the squares so that the right side is facing outward. | Source: YouTube/TamarasJoyDIY
6. Sewing a Quarter-Inch Seam

Sew a small part of the fabric squares. | Source: YouTube/TamarasJoyDIY
7. Creating the Template

Make a template by cutting a 5.5-inch square from cardstock. | Source: YouTube/TamarasJoyDIY
8. Marking and Sewing

Connect the two end squares to finish the circle. | Source: YouTube/TamarasJoyDIY
9. Creating the 3D Effect

Trim excess threads. | Source: YouTube/TamarasJoyDIY
10. Finishing Touches

Add embellishments as desired. | Source: YouTube/TamarasJoyDIY
Embrace this creative journey as you craft a unique fold and stitch wreath that's perfect for any season or occasion. Enjoy the process and the beautiful result!
After mastering the fold and stitch wreath, why not continue your crafting journey with another project? Discover how to make a cake box in easy steps!

Whether your beloved knit has stretched out of shape or you've snagged a size too large, there's no need to despair or ditch your cozy companion, as you can discover the art of making a sweater smaller without sewing with our helpful guide.
Mar 18, 2024

Step into the world of glamour with boas – those whimsical accessories that effortlessly elevate any outfit. But their hefty price tags can leave us feeling less than fabulous. Fear not, for we have a solution on how to make a boa: the tulle boa, combining affordability with elegance.
Mar 23, 2024

Shrinking and sticking your way to a better-fitting neckline doesn't require a degree in fashion design. keep reading for a step-by-step guide on how to make the neck of a shirt smaller without sewing and give your favorite shirts a new lease on life.
Mar 18, 2024
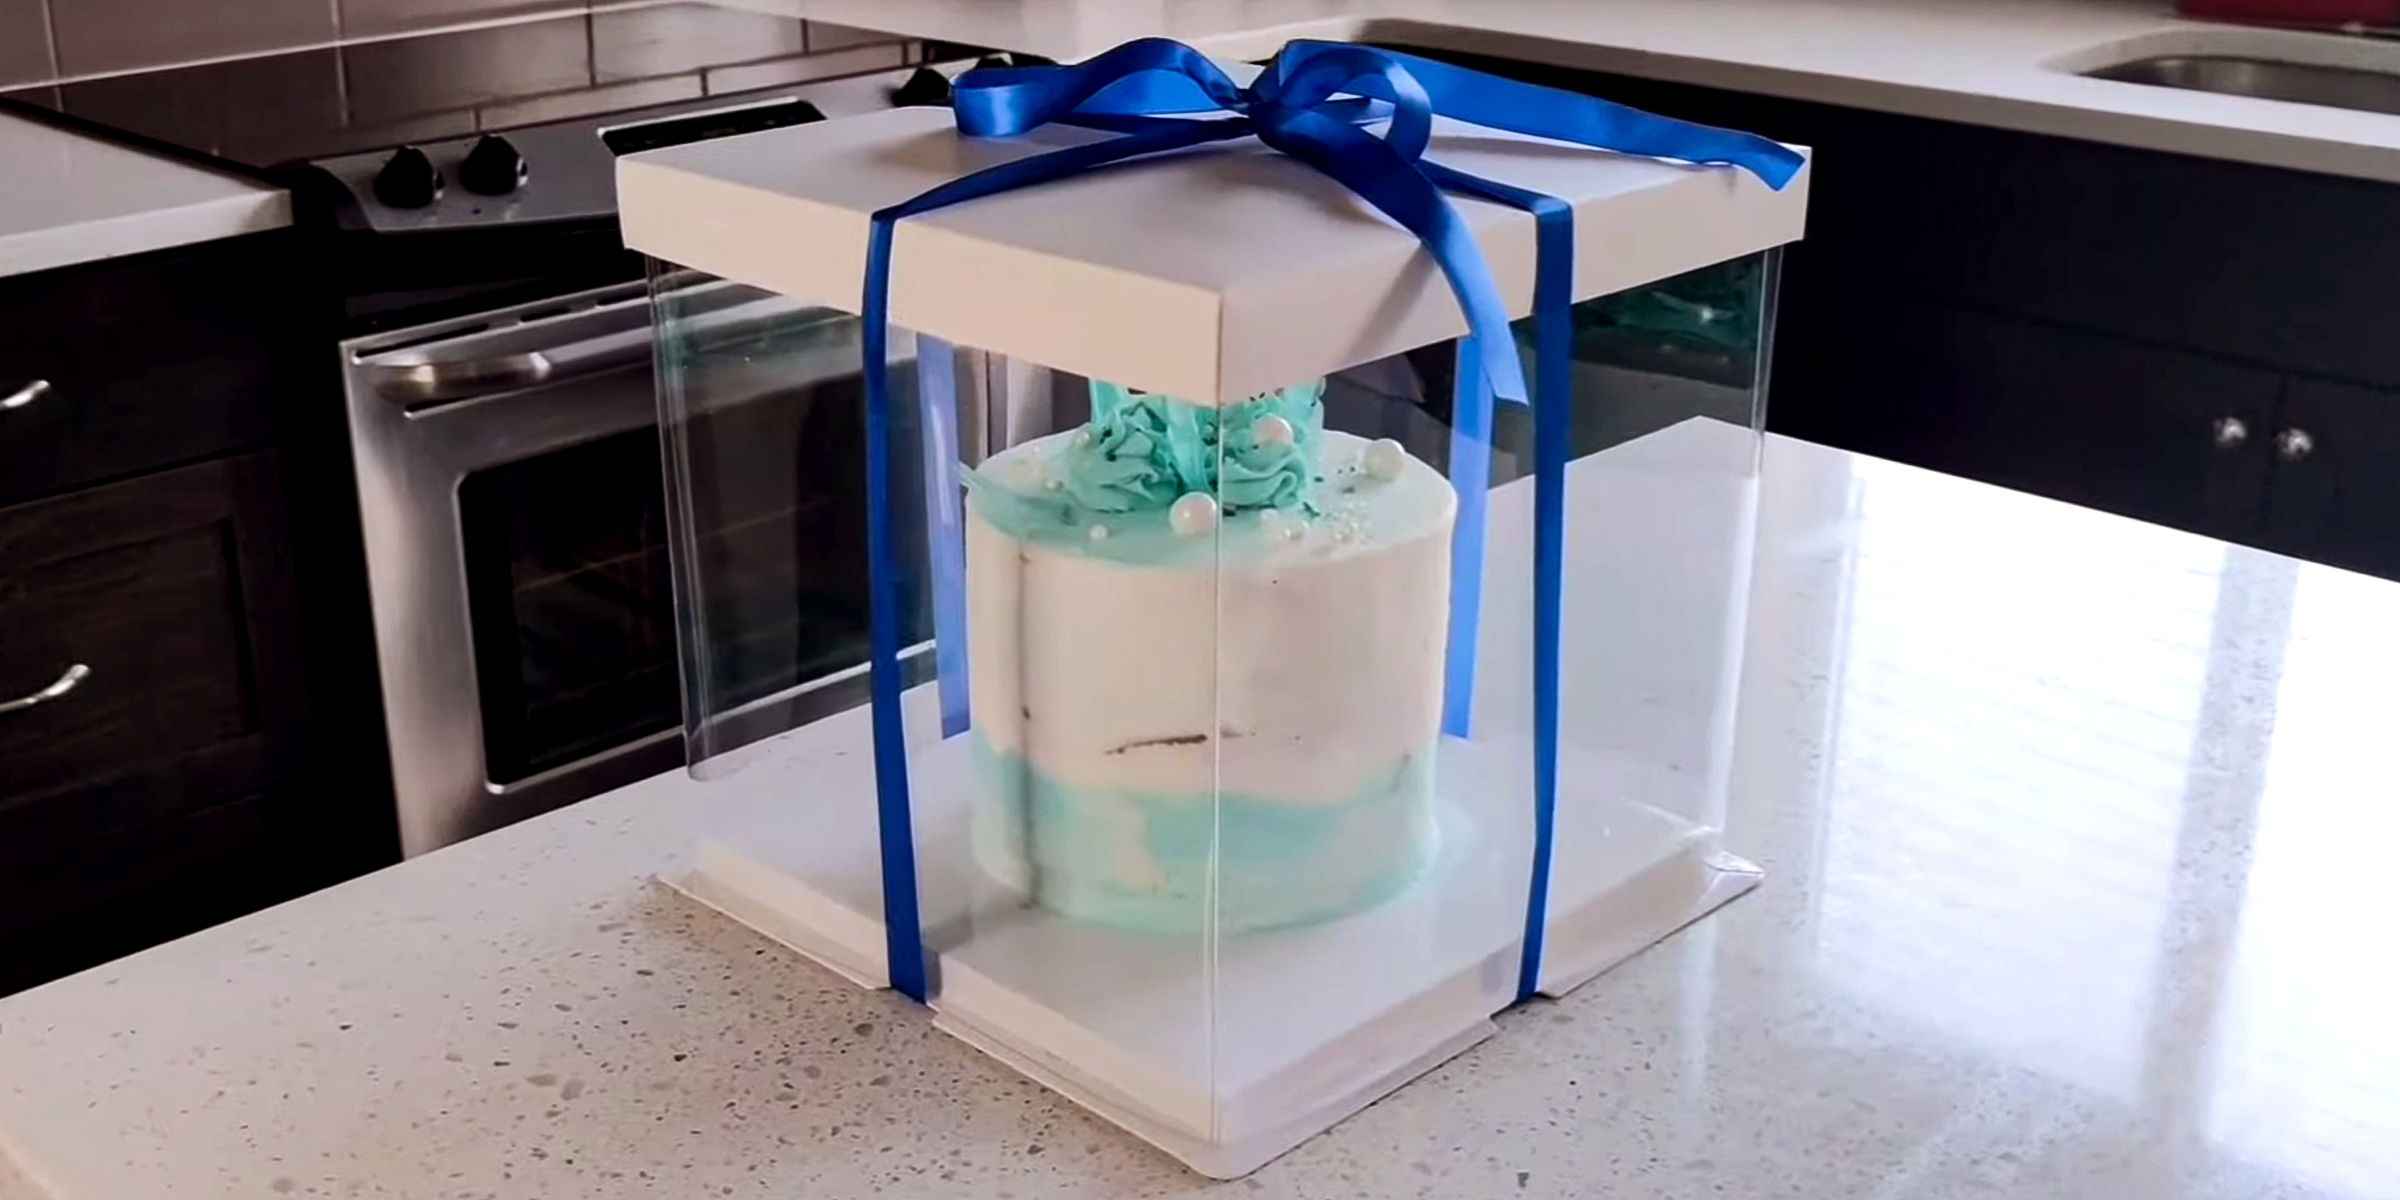
Eager to learn the art of making cake box? Whether you're a baking enthusiast looking to present your creations in style or a DIY crafter eager to add a personal touch to gifts, this step-by-step tutorial on how to make a cake box will transform your packaging game.
Mar 07, 2024
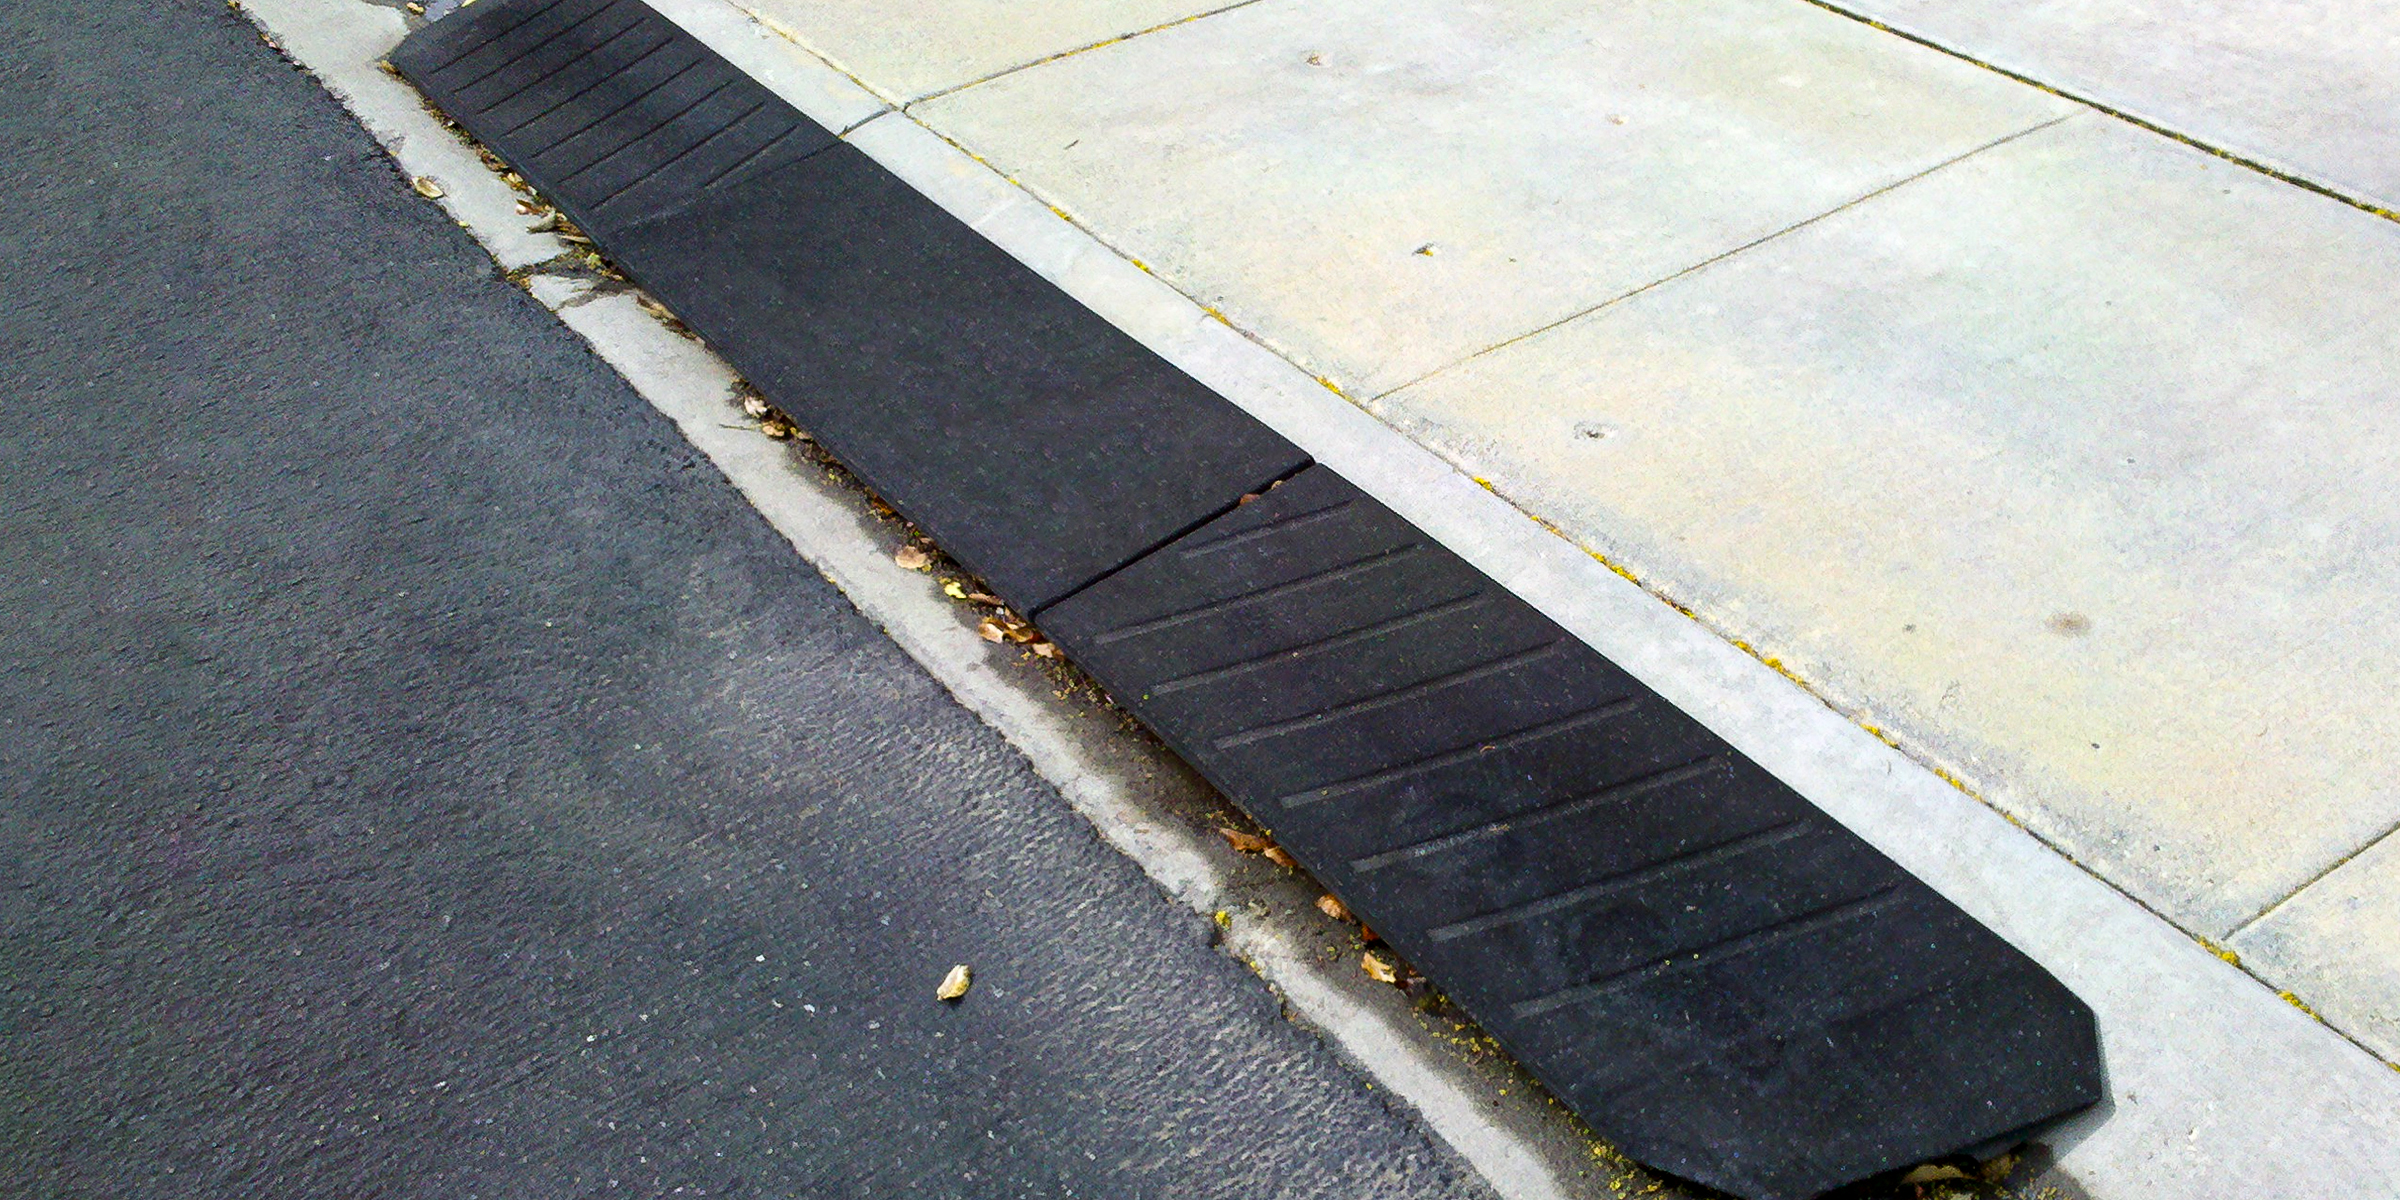
If you're a homeowner without a curb ramp for your car, don't worry! You can make one yourself, ensuring smooth access to your driveway for everyone. Here's how it's done.
Feb 13, 2024

Are your favorite boots feeling loose around the calves? Whether stepping out in cowboy boots or stylish thigh-highs, achieving that perfect fit is essential for comfort and confidence. Check out these simple tips on how to make boots tighter around the calf.
Mar 01, 2024
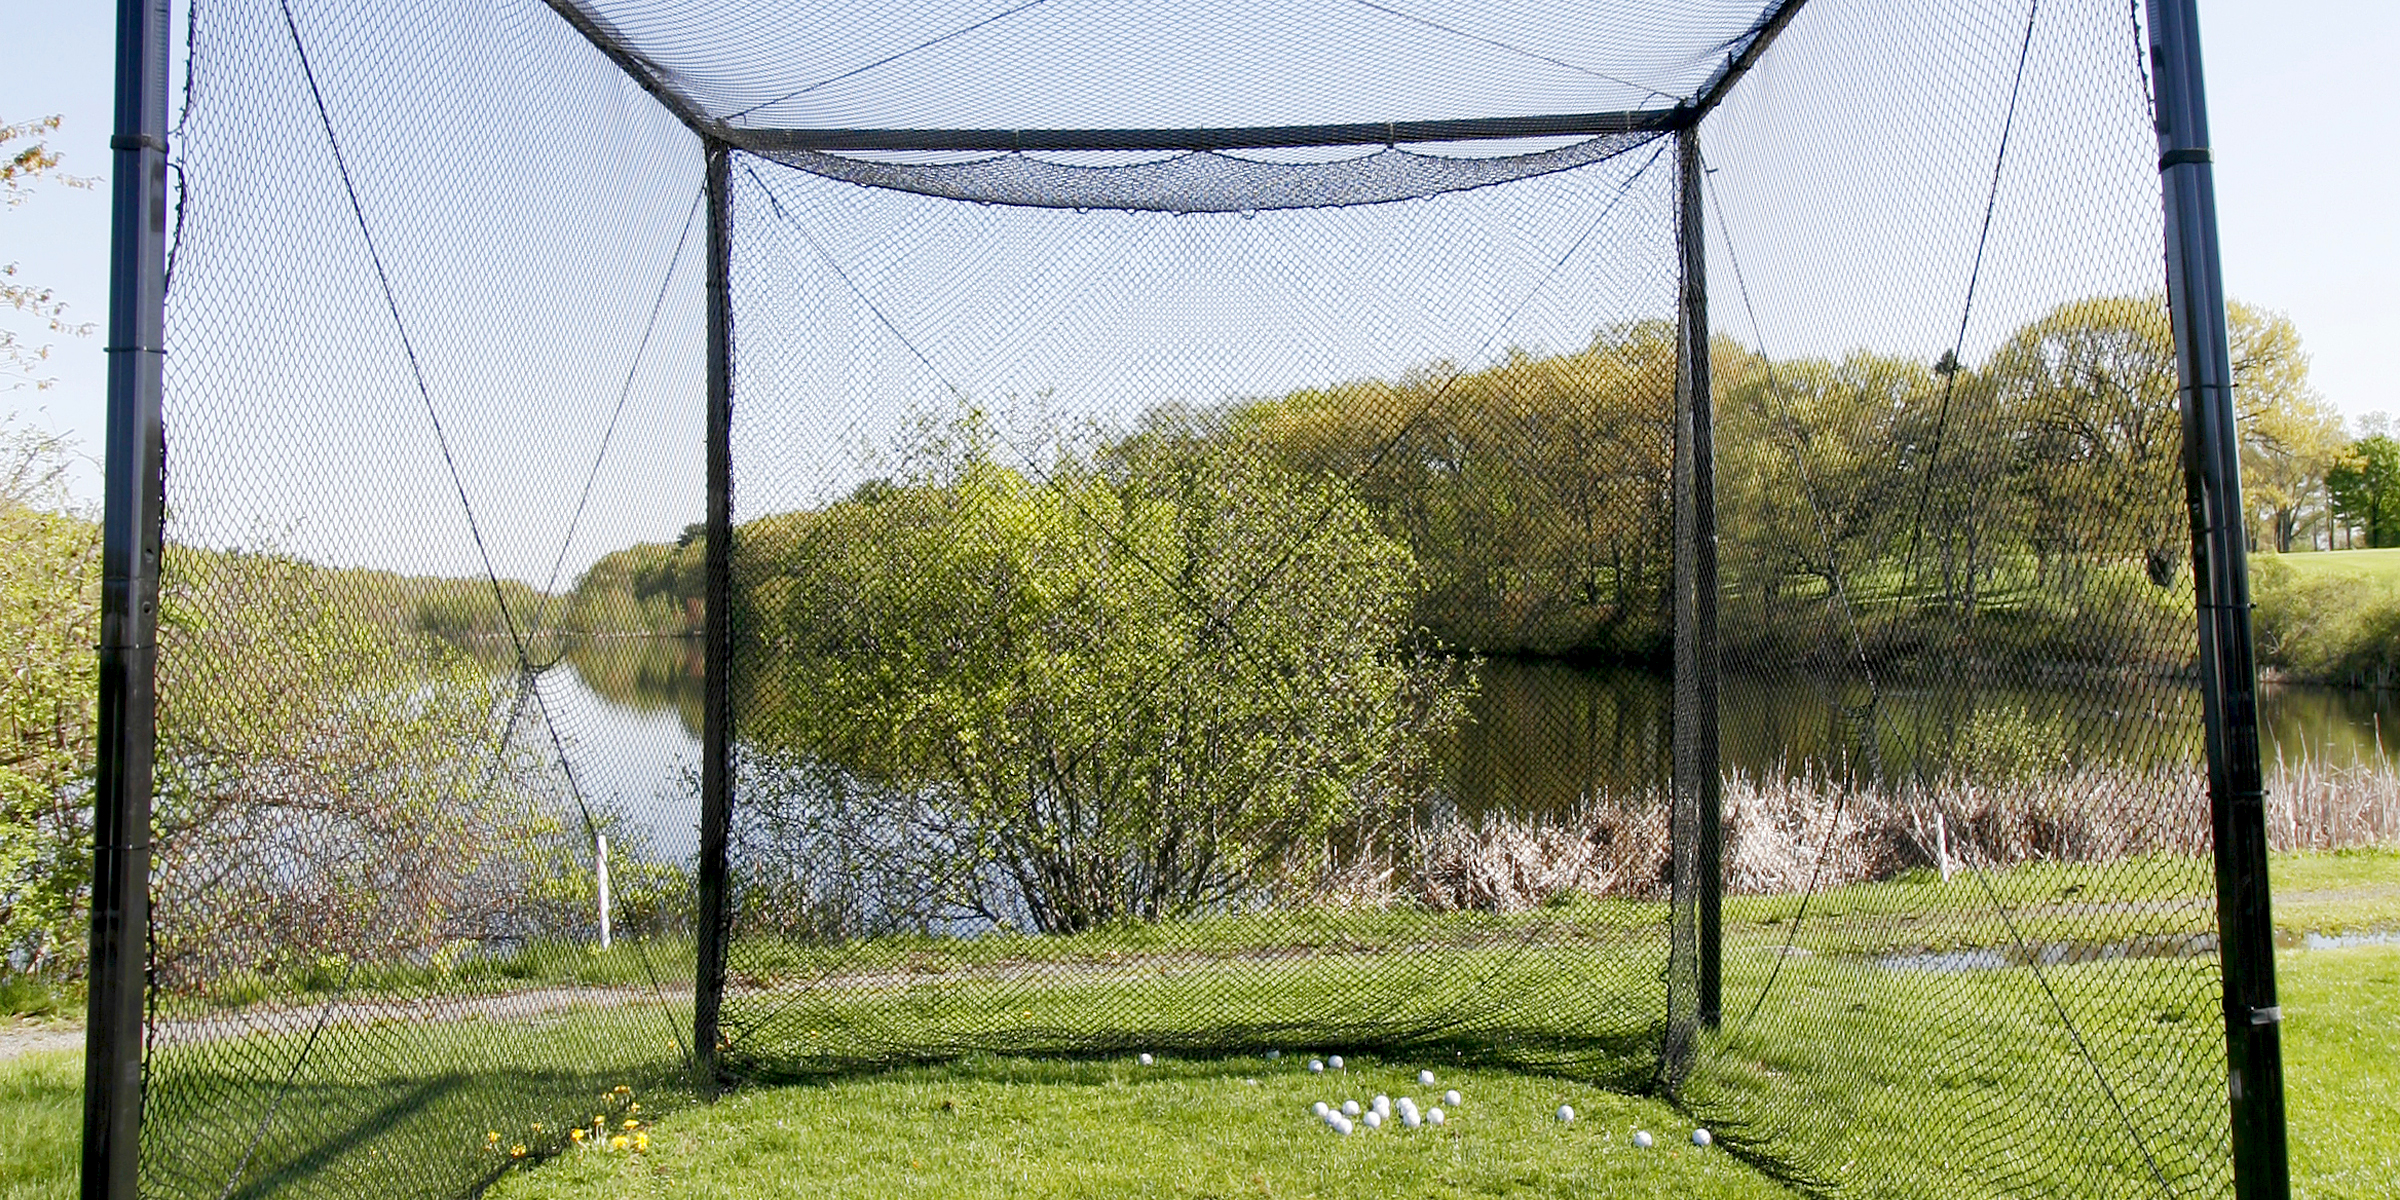
If you're an avid golfer or someone looking to join the sport, having a golf net can be super advantageous to work on or improve your skills. But if you're opposed to buying one, here's how to build a DIY golf net.
Feb 10, 2024

Transform your space with a DIY Litter Robot Enclosure that effortlessly merges smart technology with style. Despite their convenience, high-tech litter boxes can sometimes clash with home aesthetics. Fortunately, there's a stylish DIY solution!
Feb 14, 2024
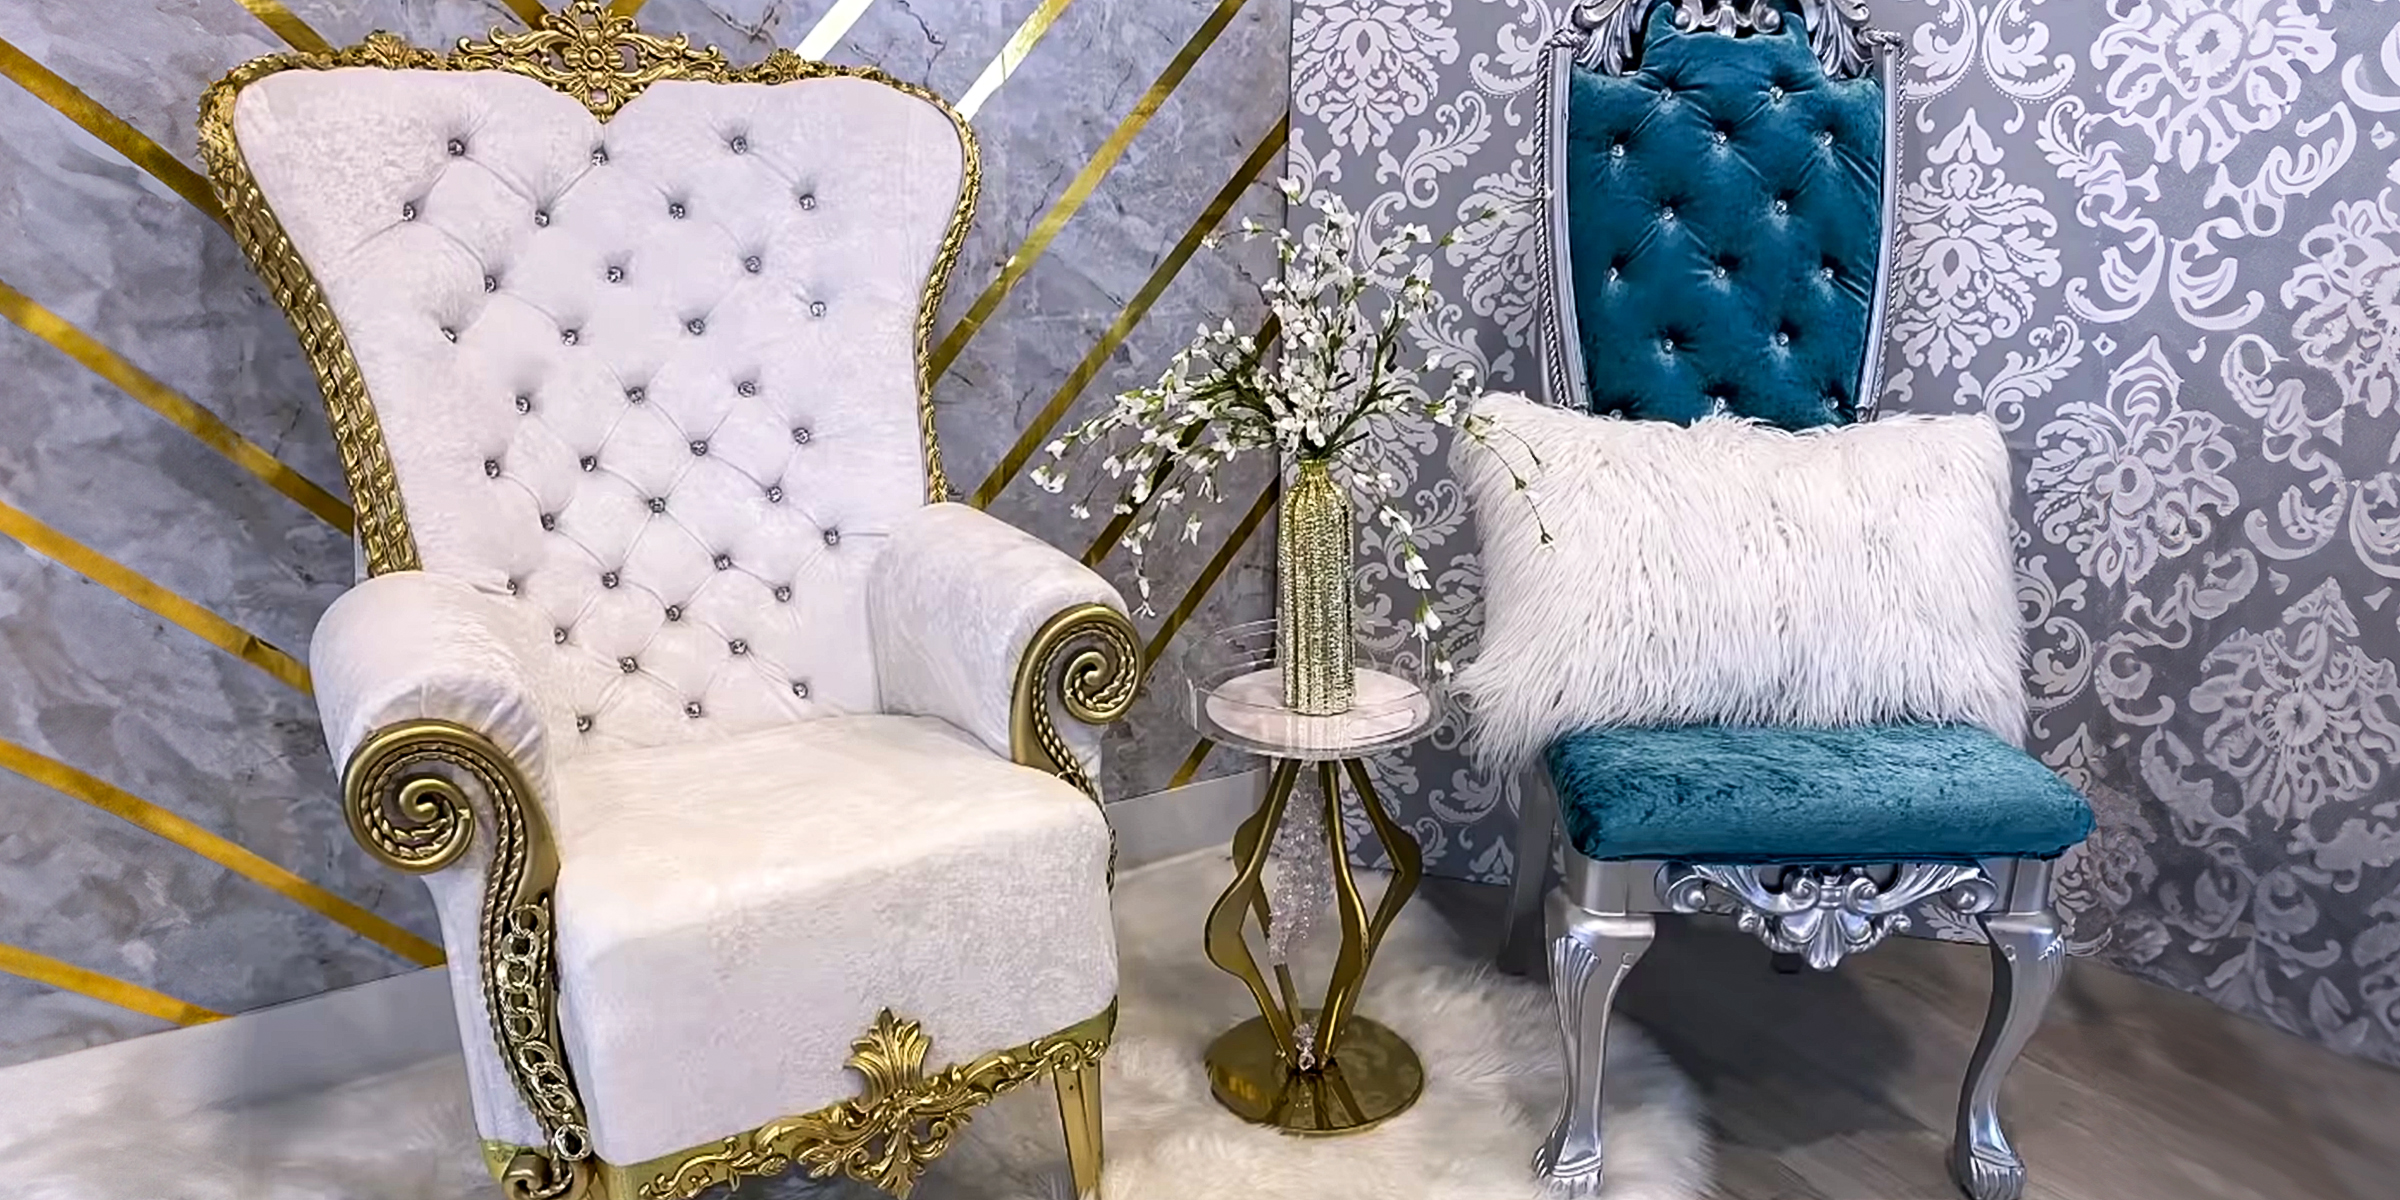
Creating a throne chair from a simple plastic seat might seem daunting, but with the right materials and a dash of creativity, you can elevate it to a piece of royalty-worthy furniture. Here's a step-by-step guide on how to make a throne chair
Mar 20, 2024
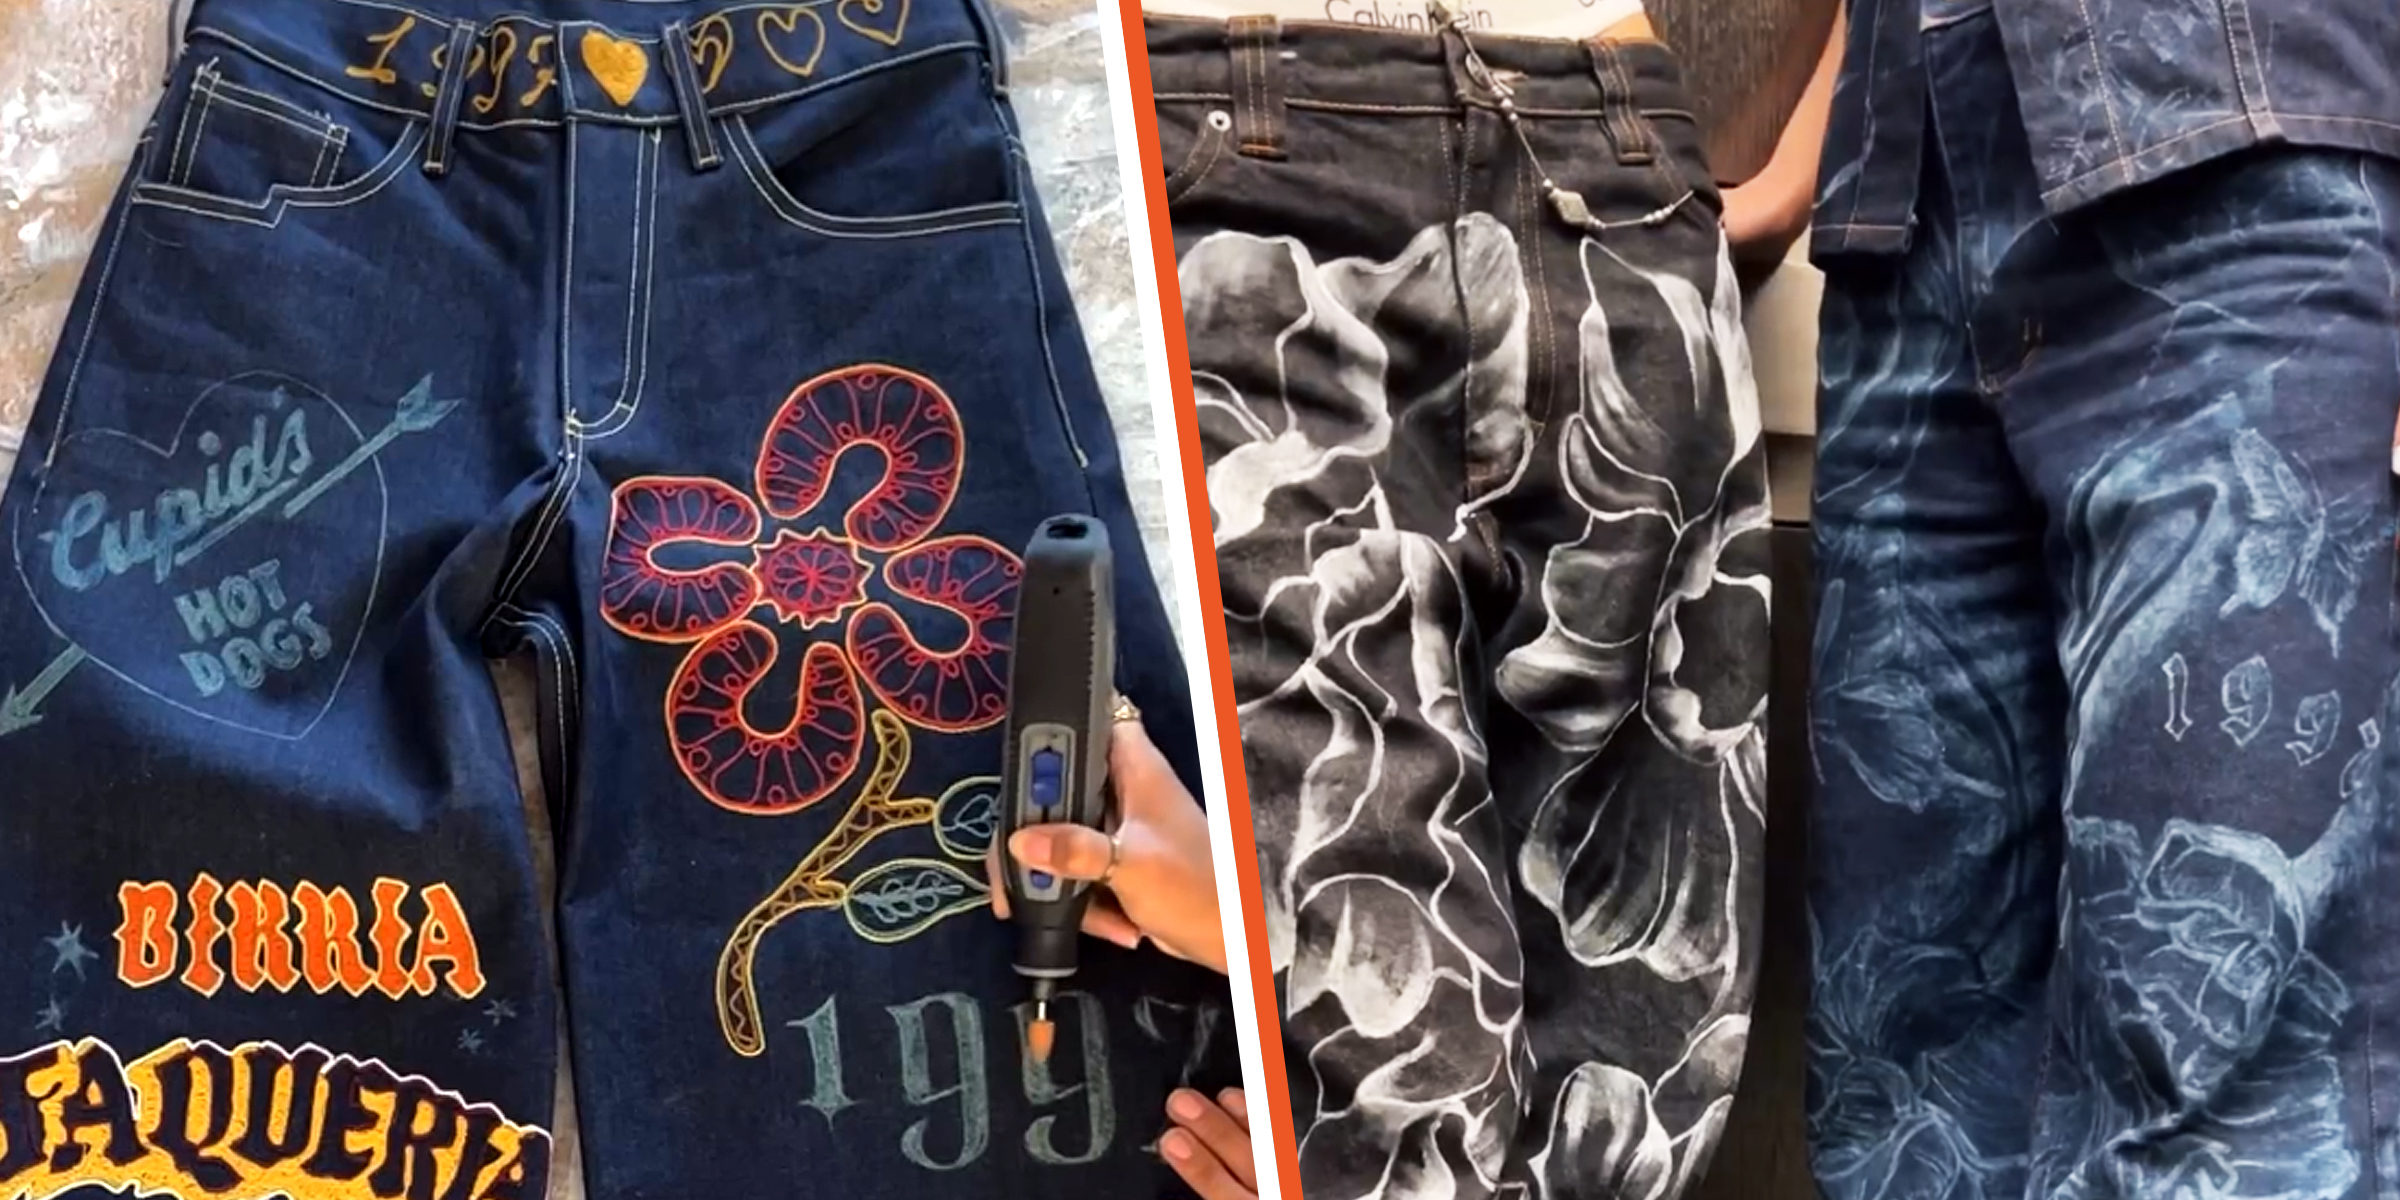
Rocking a fantastic pair of jeans can instantly boost your confidence, but taking your denim game to the next level with some DIY aesthetic jeans is like stepping onto your own personal runway. These DIY pieces of denim can turn heads as you walk by.
Dec 12, 2023

An Argentine grill can be a stellar addition to your garden to entertain family and guests and cook juicy, smokey meat. However, it can cause quite a dent in one's pocket when store-bought. Luckily, it can be installed DIY style.
Dec 11, 2023
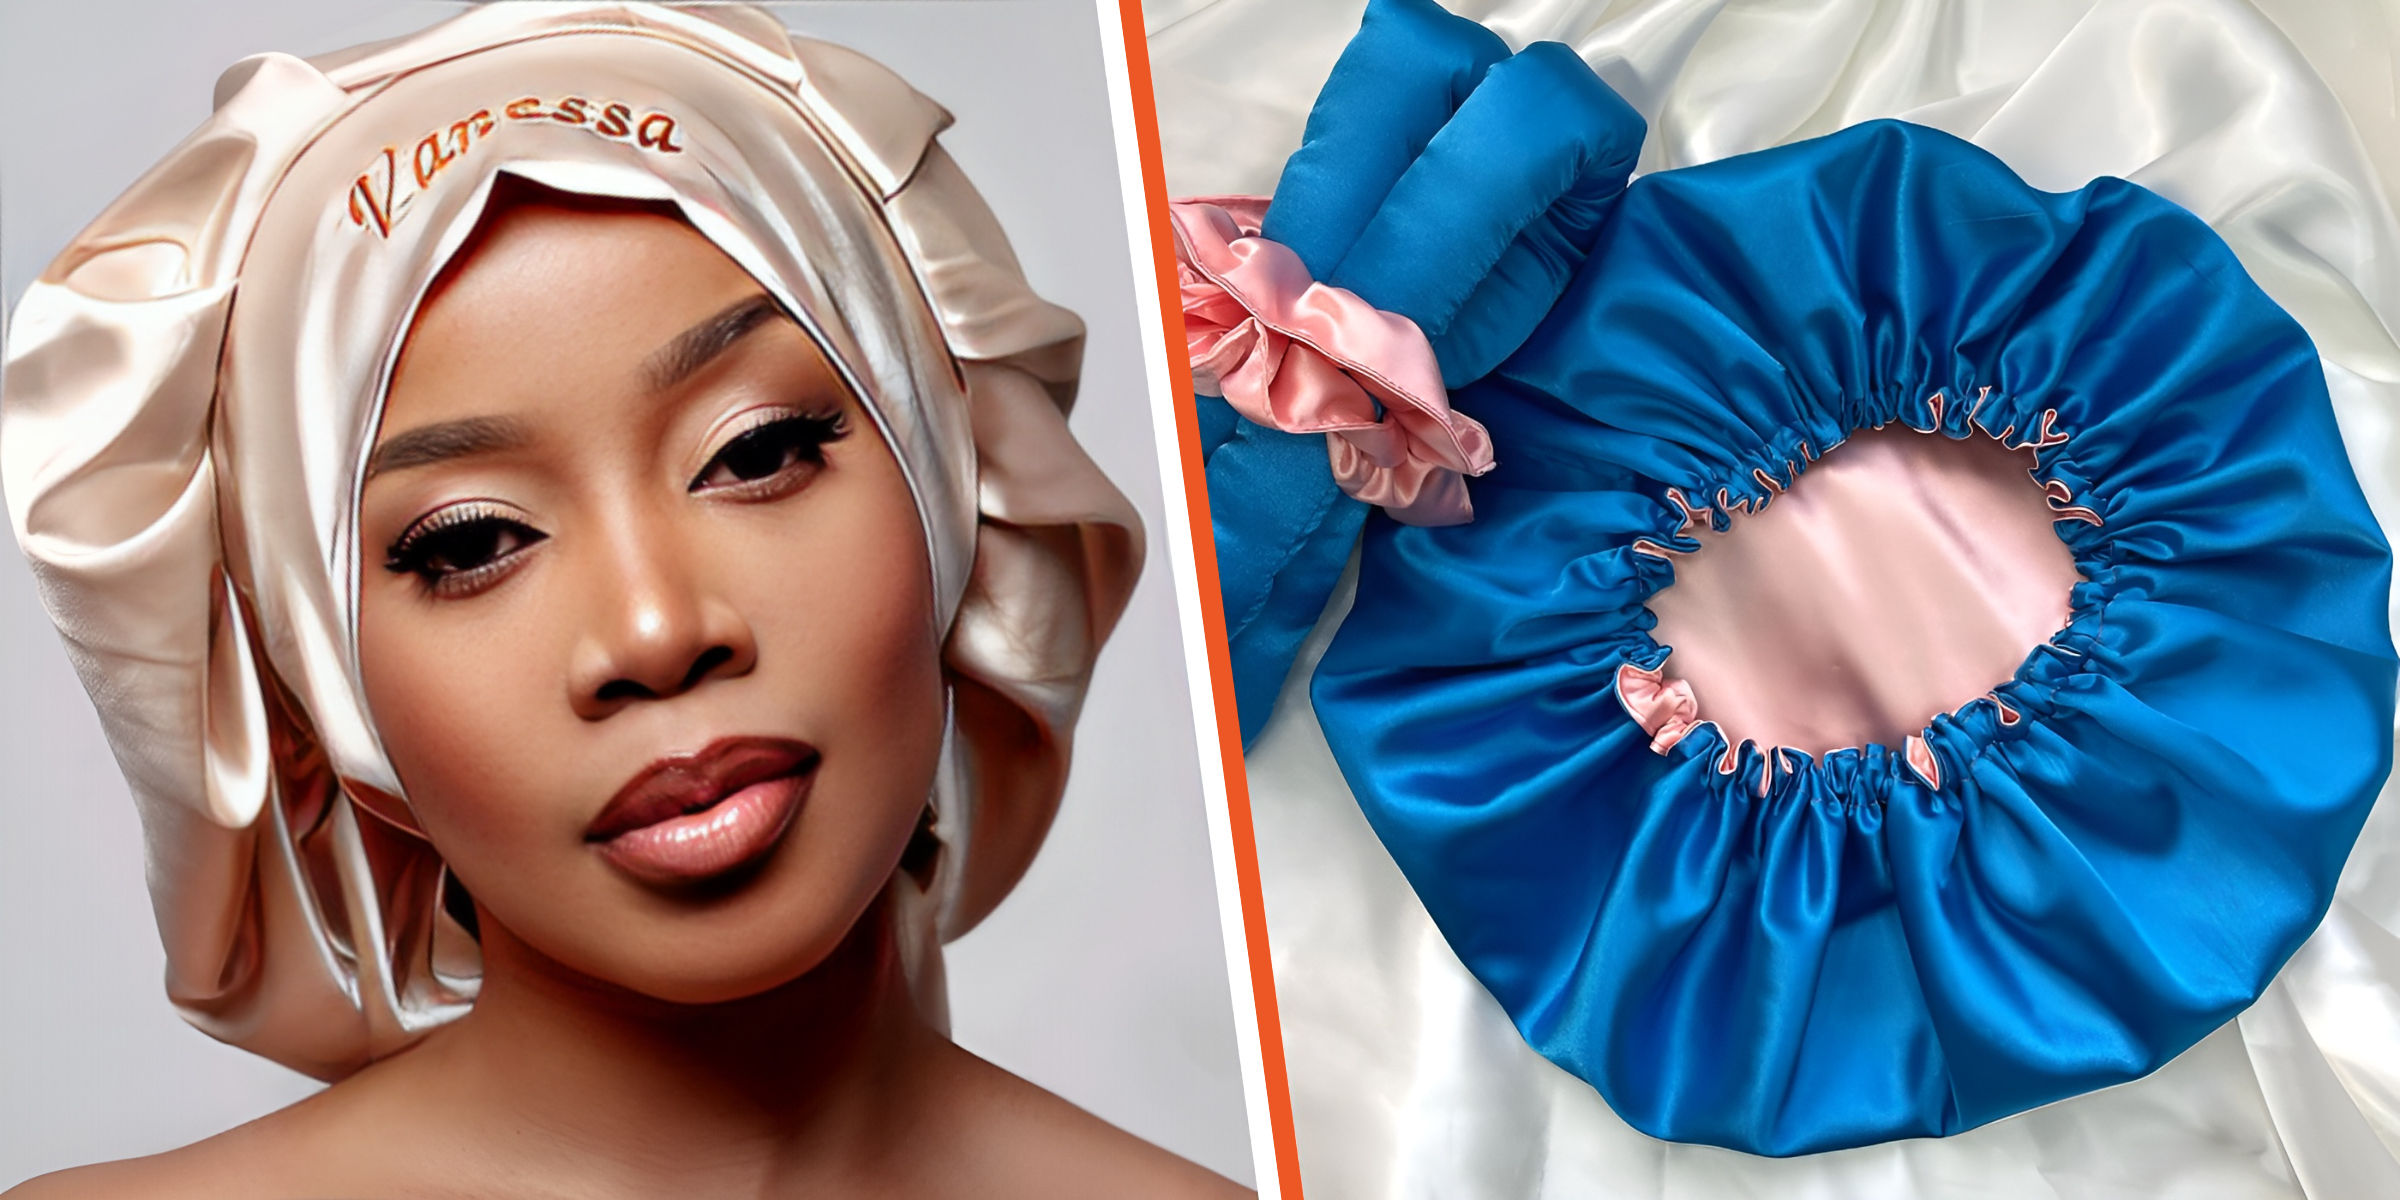
As many with coily and curly hair know, bonnets are essential to the nighttime hair care routine to ensure your kinks and curls stay intact and in perfect condition. However, regularly and correctly washing your bonnet is equally important.
Dec 12, 2023
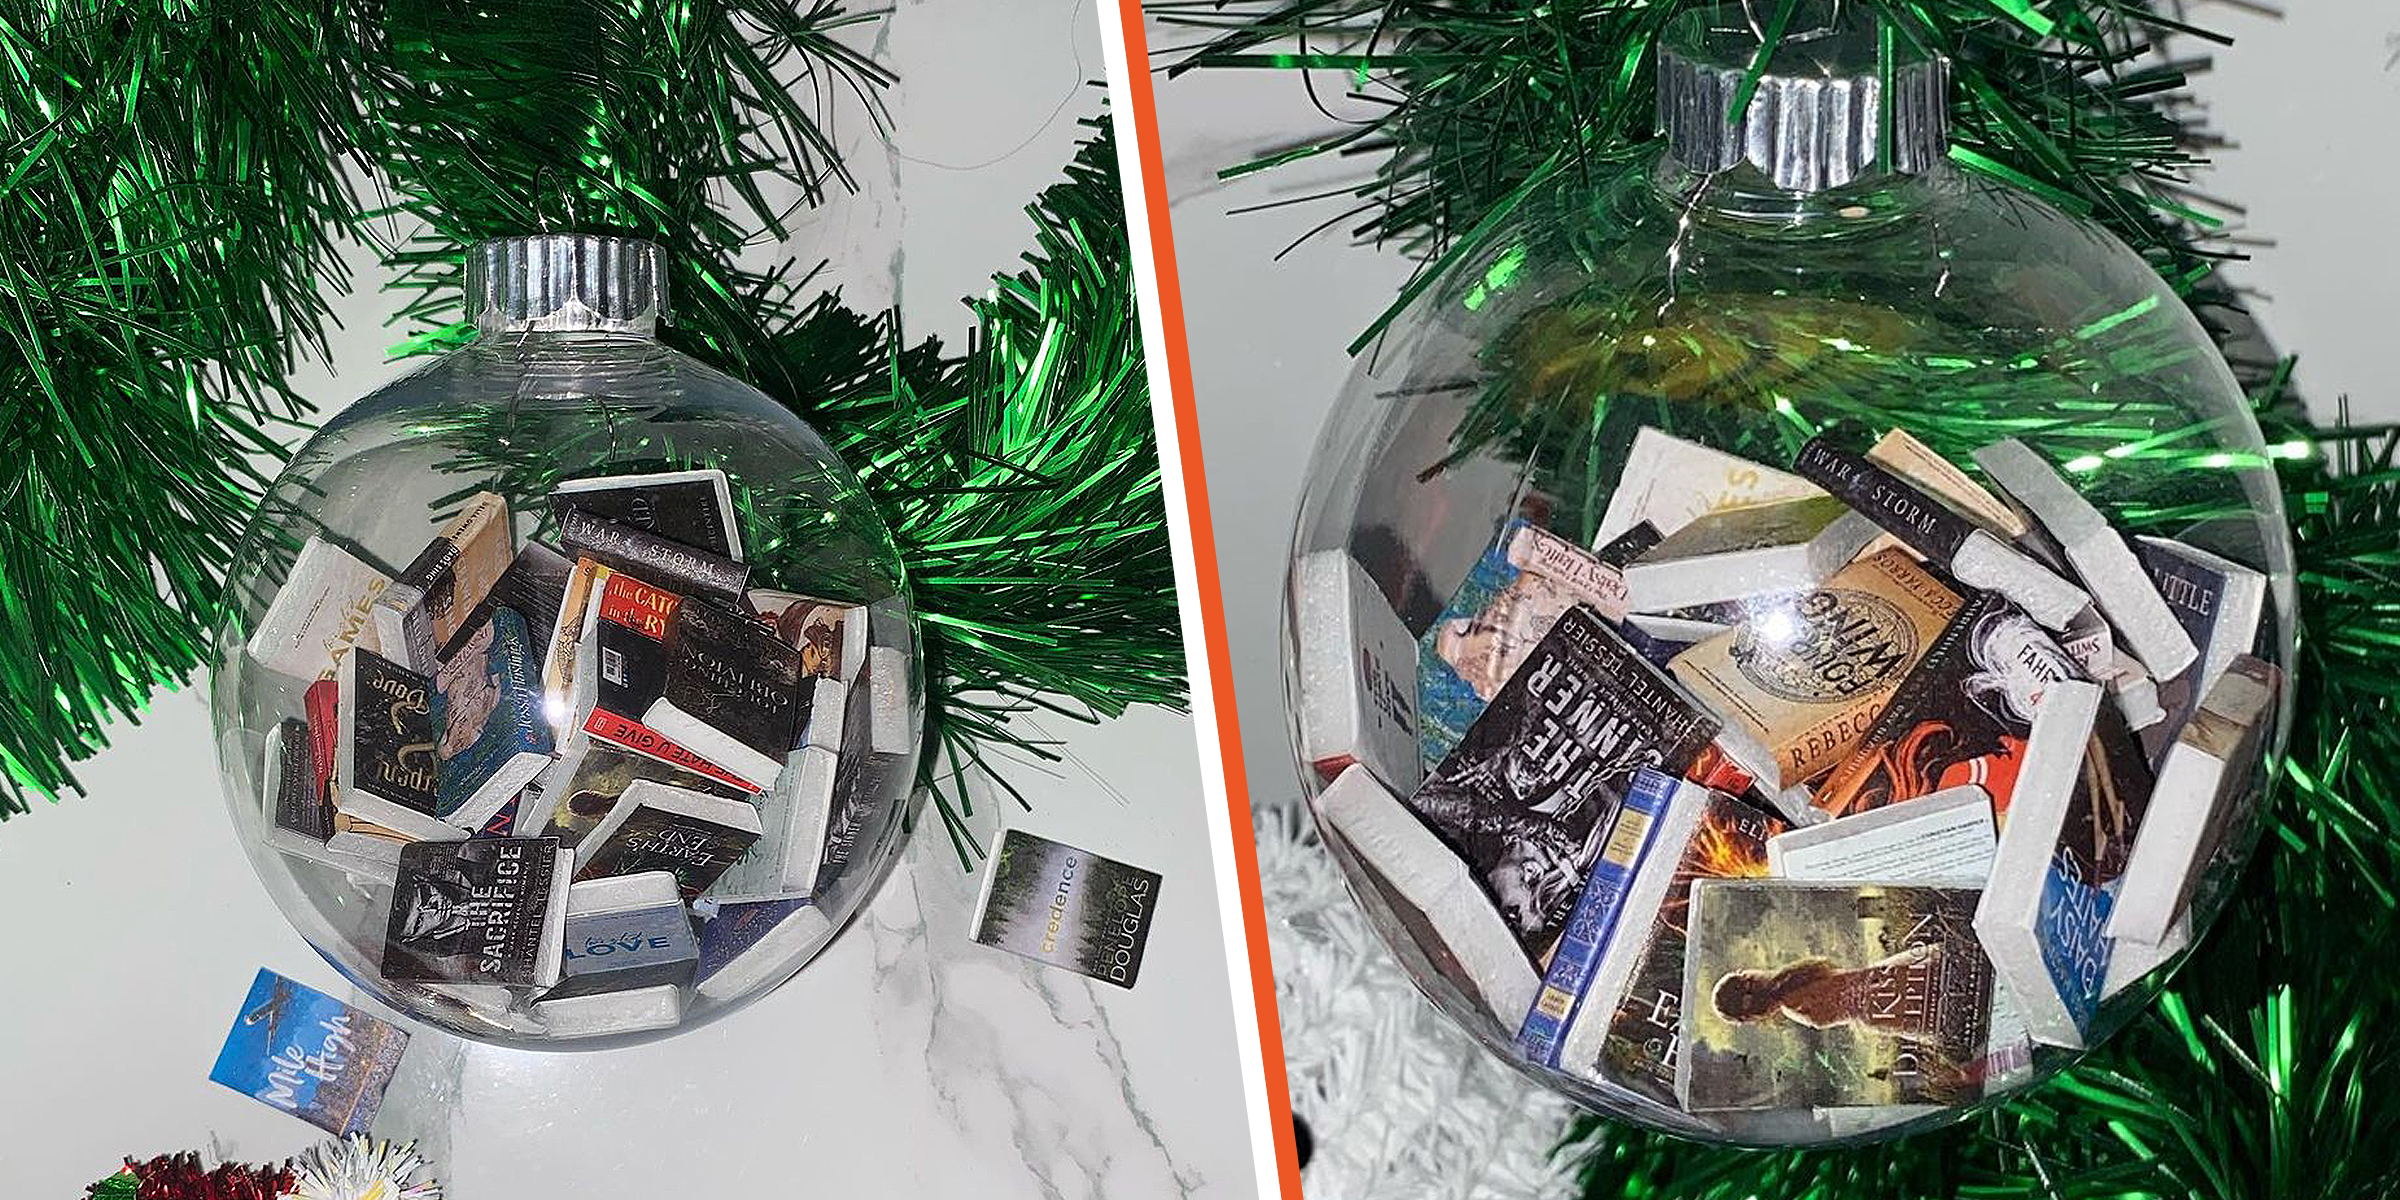
The DIY book ornaments trend has blown up social media for some time, with avid readers finding a fun way to celebrate their love of reading during the festive season.
Dec 16, 2023

Handfasting is an old wedding tradition that beautifully demonstrates two people's love and commitment to one another. This symbolic act is said to date back over several millennia.
Dec 14, 2023