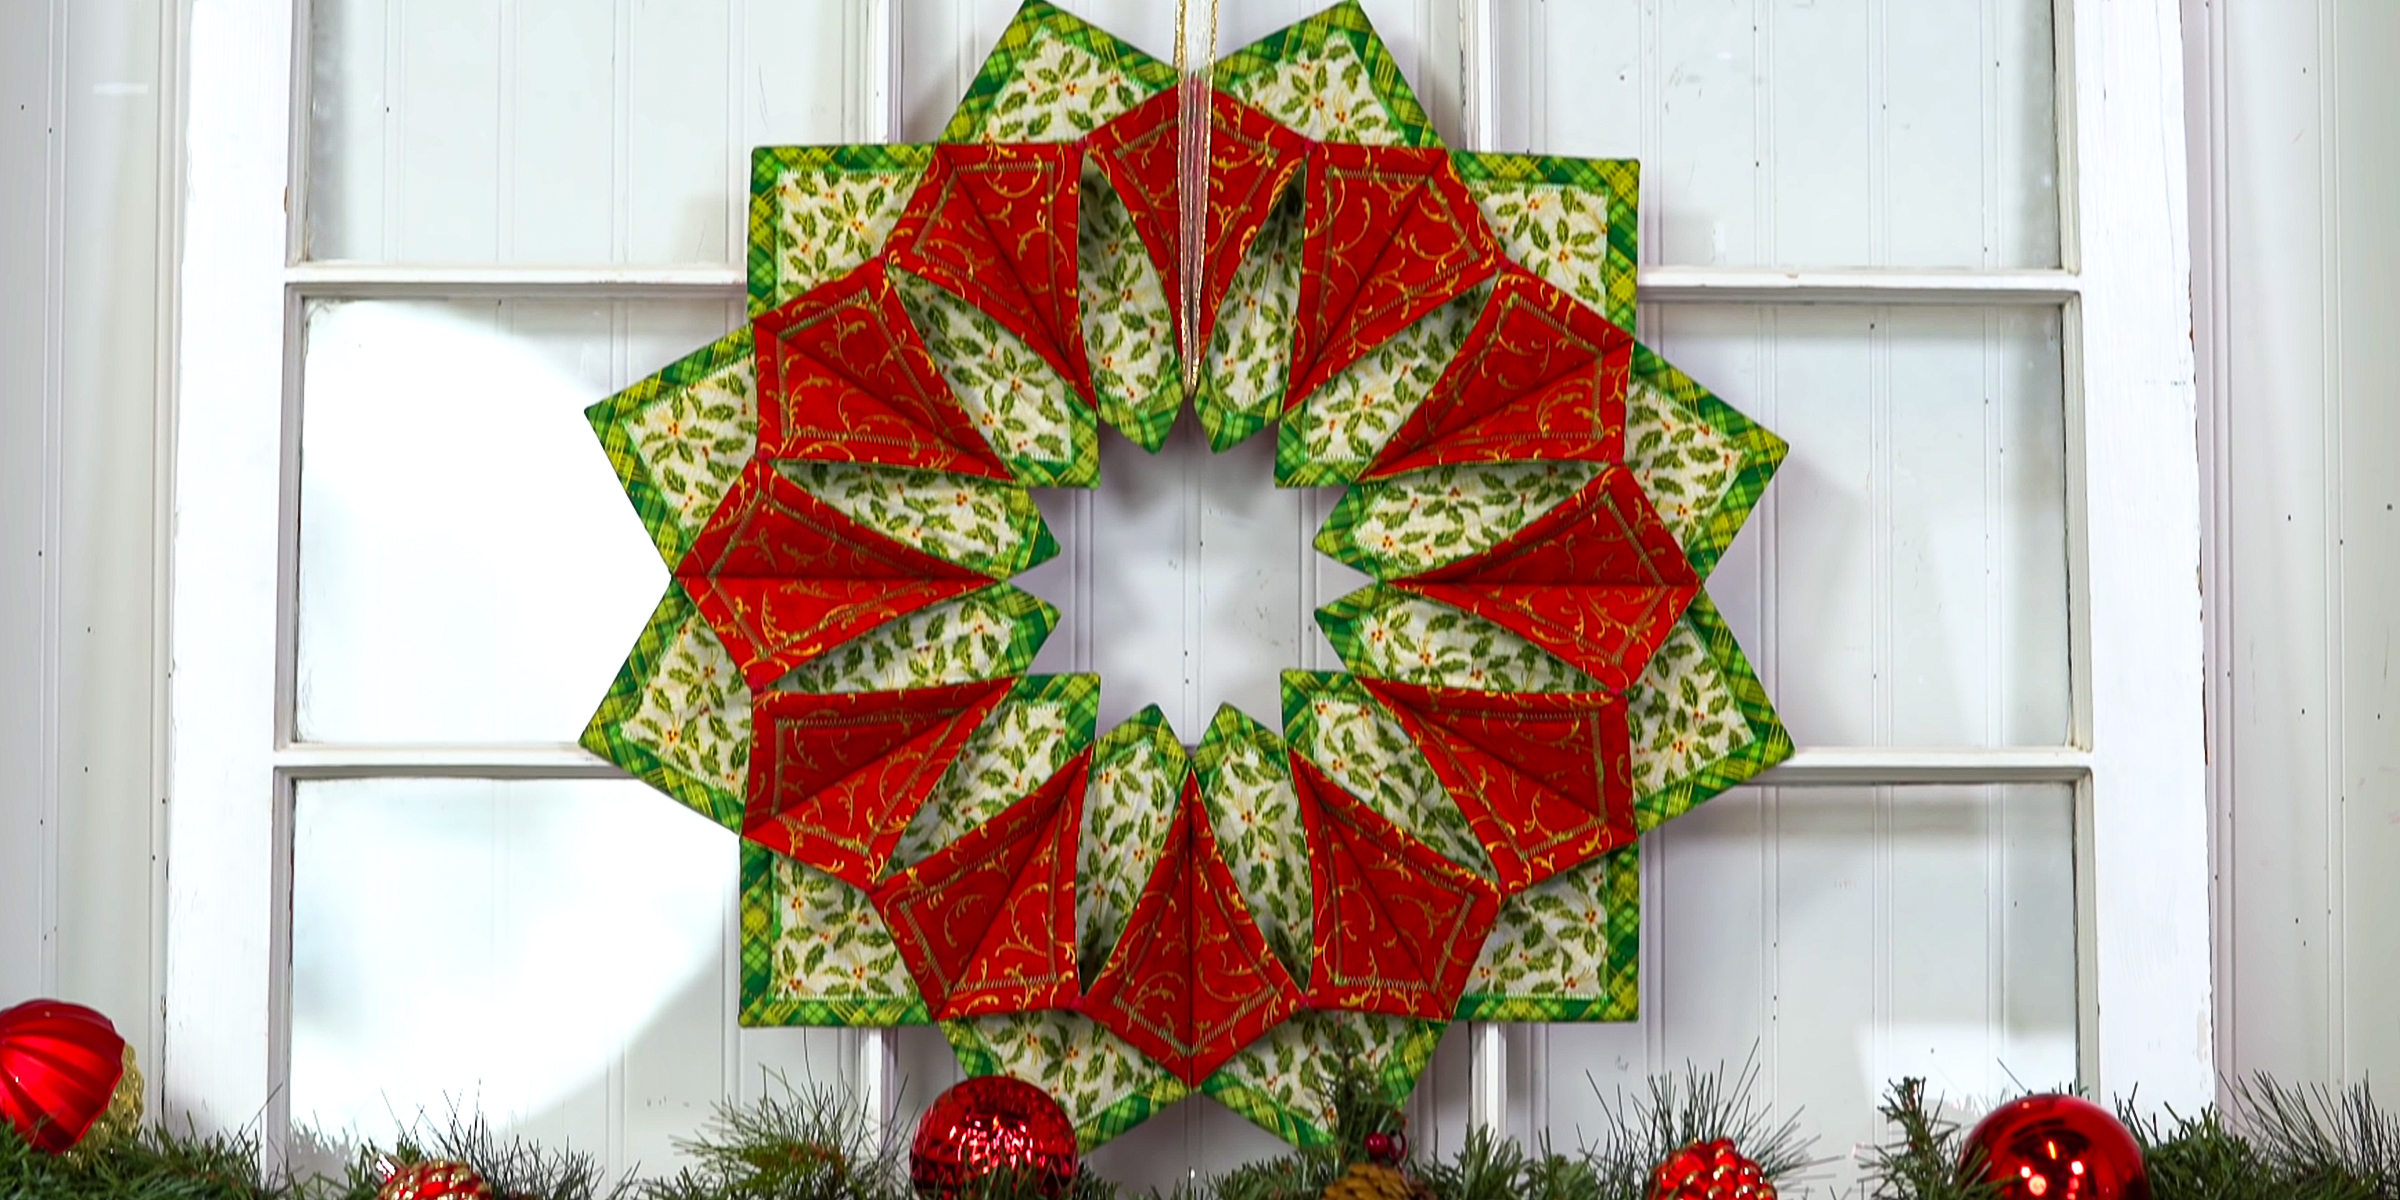
How to Make a Fold and Stitch Wreath — a Simple Step-by-Step Guide
Mar 16, 2024


Learning how to make a motorcycle seat can be immensely rewarding. With the right supplies, tools, and dedication, mastering the craft of creating your own seat is within reach.
If your motorcycle's seat has seen better days due to damage or discomfort, or if you're itching for a more customized option, it might be time for a replacement. Crafting your own seat offers the opportunity for personalization and satisfaction that off-the-shelf options may not provide.
While self-adhesive neoprene race seat foam is an alternative, creating your own allows you to tailor every detail to your liking. Let's dive into a step-by-step guide to help you navigate the process smoothly.

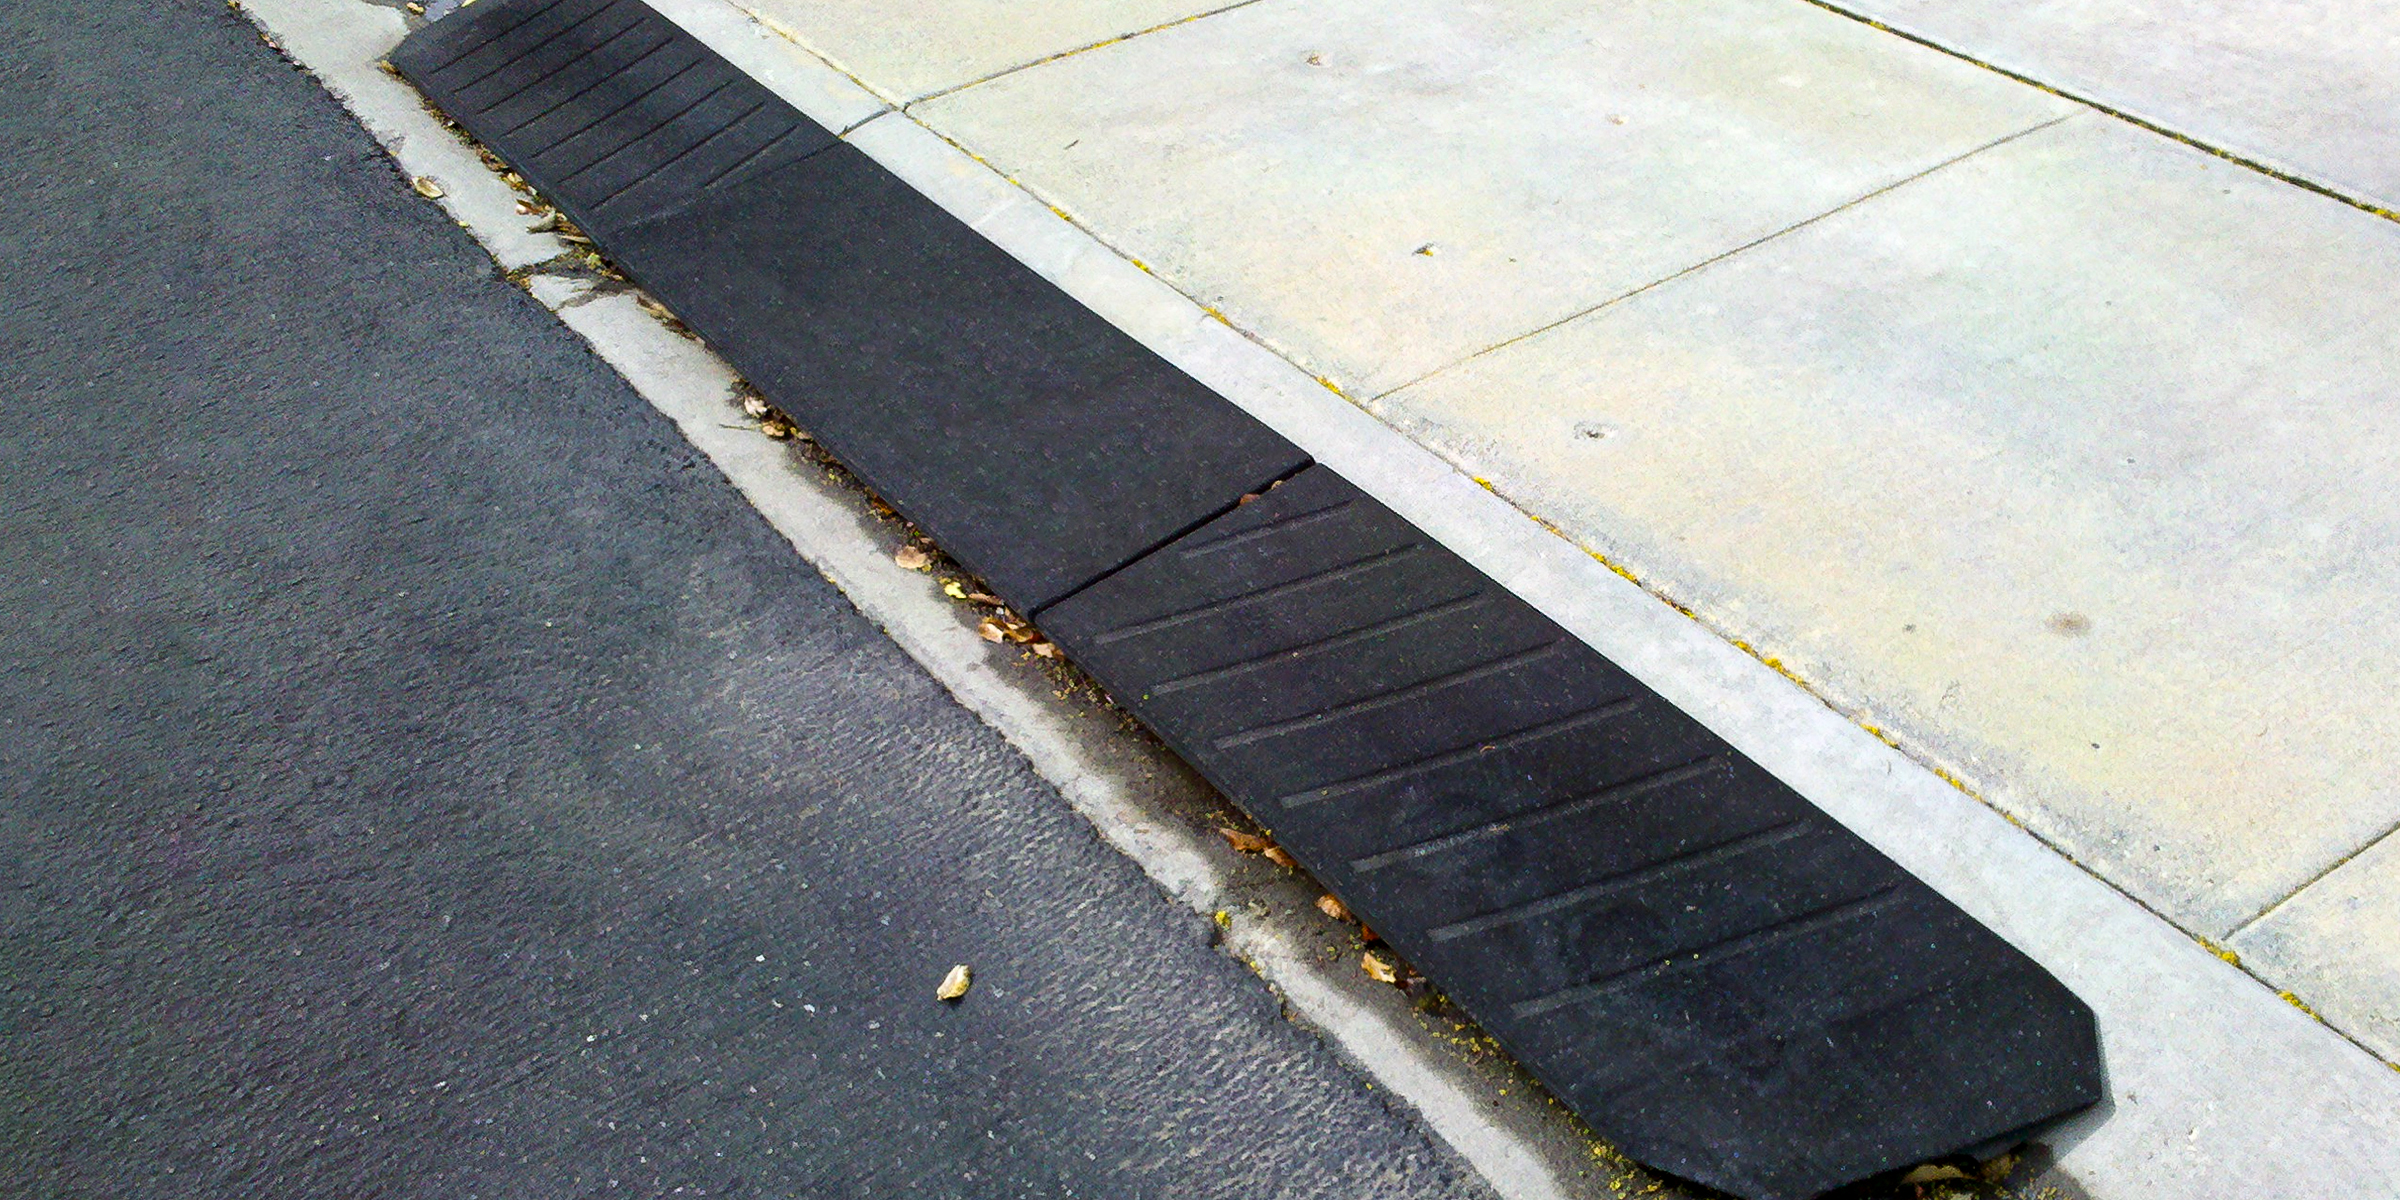
A DIY motorcycle seat | Source: YouTube/RustyPhoenixMotors
Before you start making your motorcycle seat, ensure you have all the necessary supplies and tools.
Supplies and tools:

Materials for the DIY motorcycle seat. | Source: YouTube/RustyPhoenixMotors

Shape the foam block evenly with appropriate tools. | Source: YouTube/RustyPhoenixMotors

Measure both the seat pan and the shaped foam block. | Source: YouTube/RustyPhoenixMotors

Make a prototype with scrap material before cutting the main fabric. | Source: YouTube/RustyPhoenixMotors

Leave extra fabric at seat cover bottom for stretching and attaching. | Source: YouTube/RustyPhoenixMotors

Stitch fabric pieces together following the planned layout. | Source: YouTube/RustyPhoenixMotors

Check alignment, trim excess fabric for neat finish. | Source: YouTube/RustyPhoenixMotors
With your custom motorcycle seat installed, take a moment to appreciate the fruits of your labor. Ride with pride, knowing that you've crafted a unique piece that reflects your individuality and craftsmanship.
Whether you're seeking to address damage or discomfort, or simply craving a more personalized option, crafting your own seat offers the opportunity for satisfaction and customization that off-the-shelf options may not provide.
By following these steps, you can craft a motorcycle seat that surpasses your expectations, enhancing your riding experience with comfort and style. Additionally, if you're keen on further DIY vehicle improvements, consider exploring how to make your own car freshener at home using simple ingredients.

The quest for a new sofa often begins with excitement and visions of a revamped living space. Yet, without the right approach, you can stumble into the pitfalls of sofa shopping. Our guide on common mistakes when buying a sofa will help you uncover the key missteps to avoid.
Feb 20, 2024

Seeking a snugger fit for your favorite sweatshirt sleeves? Discover how to make sleeves tighter with our easy, no-sew DIY hacks that transform baggy into tailored in minutes.
Mar 05, 2024

Transforming long car rides with children into fun-filled adventures is possible. Yet, managing sibling conflicts can be tough. Explore inventive solutions to foster peace and harmony between your little ones.
Feb 15, 2024
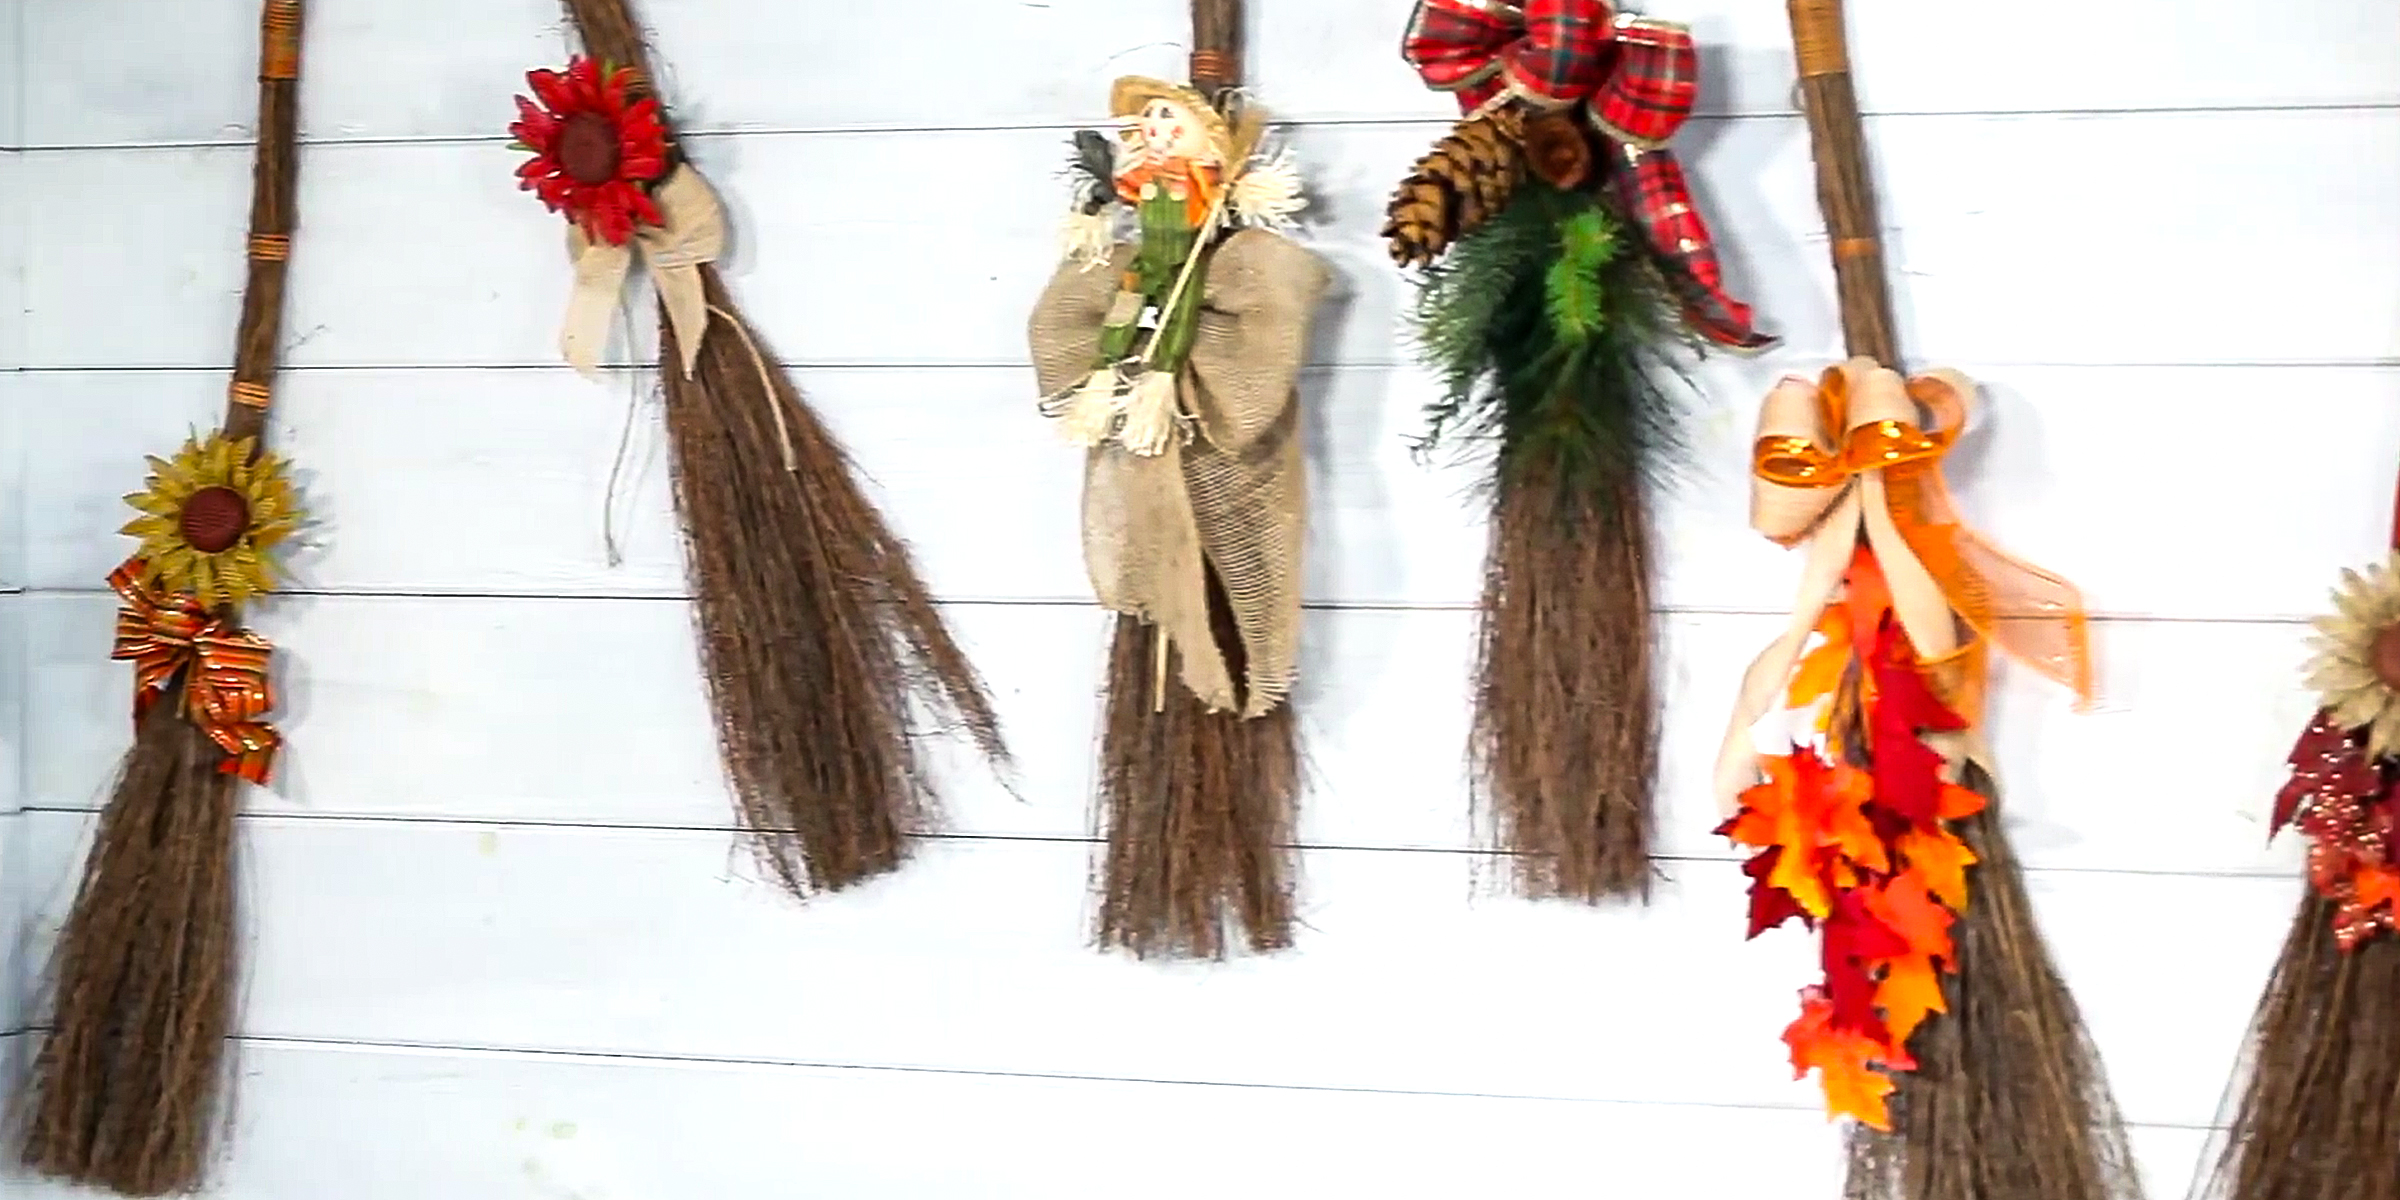
Looking for creative ways to enhance your space with cinnamon brooms? Discover inspiring cinnamon broom decorating ideas to add warmth and charm to your home.
Mar 11, 2024

Recognizing your car as a mobile sanctuary underscores the importance of a pleasant ambiance. So, continue reading to discover how to make your own car freshener, a practical solution to elevate your driving environment.
Mar 01, 2024

Looking to discover how to create a Murphy door for your home? You've come to the right place! Incorporate a unique hidden door into your space by crafting your own, following the detailed guide below.
Mar 12, 2024

Are funky smells turning your precious gaming throne into a no-go zone? Discover simple tips on how to get that smell out of your gaming chair in no time.
Feb 28, 2024
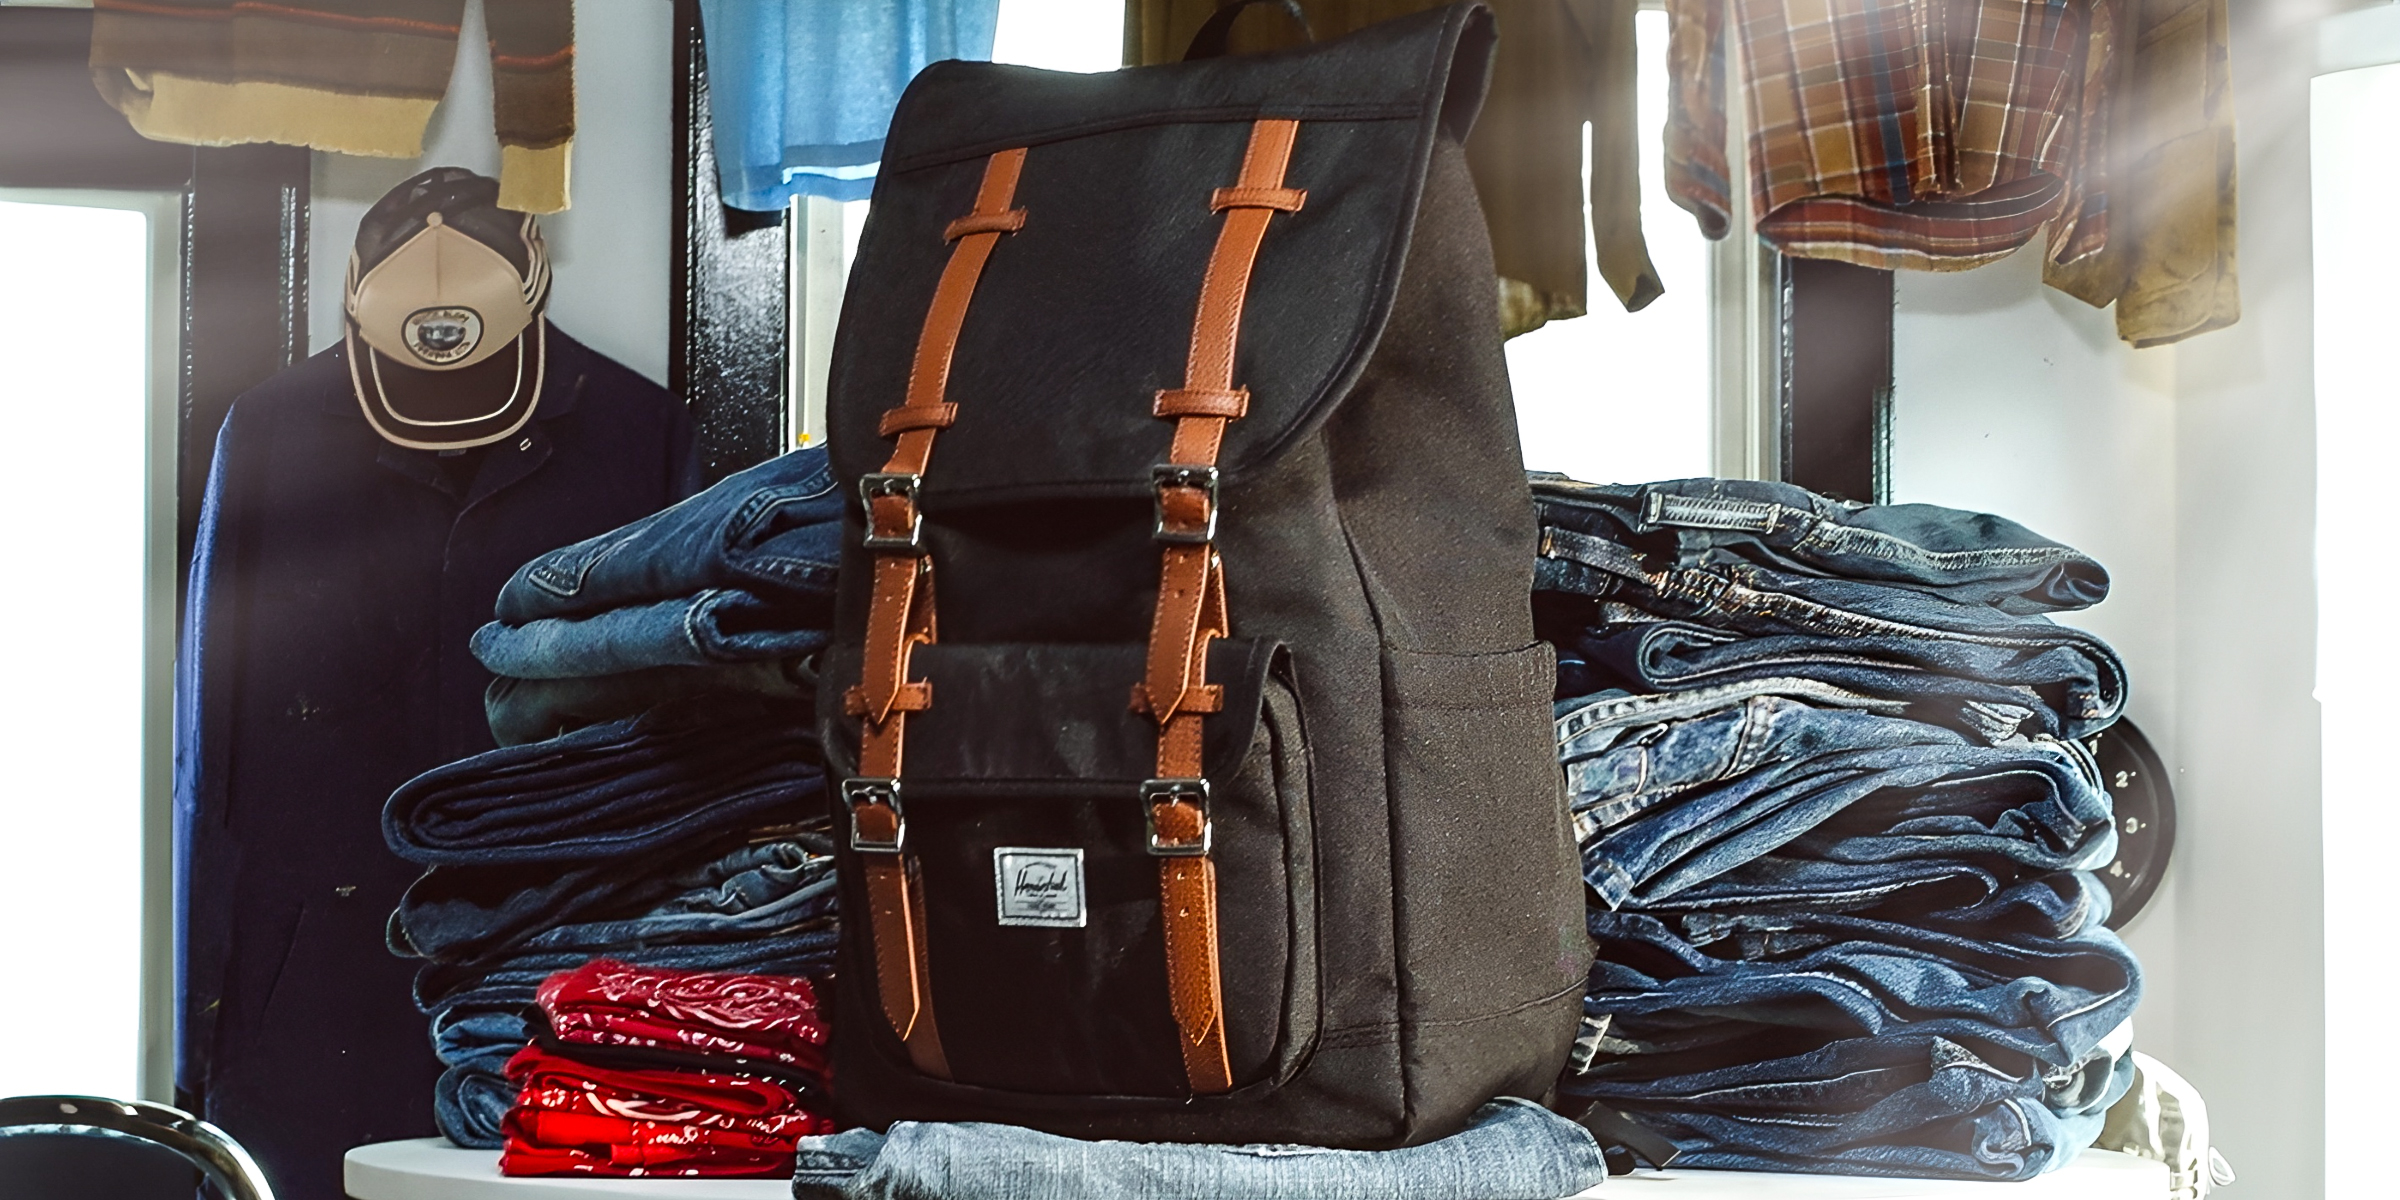
If your Herschel backpack looks worse for wear and you're considering cleaning it yourself, worry not! There's a safe method to do so. Here are the steps on how to wash a Herschel backpack, and it's not the typical "washing" you might be thinking of.
Jan 12, 2024

Whether your beloved knit has stretched out of shape or you've snagged a size too large, there's no need to despair or ditch your cozy companion, as you can discover the art of making a sweater smaller without sewing with our helpful guide.
Mar 18, 2024
Rocking a fantastic pair of jeans can instantly boost your confidence, but taking your denim game to the next level with some DIY aesthetic jeans is like stepping onto your own personal runway. These DIY pieces of denim can turn heads as you walk by.
Dec 12, 2023

Mothballs are effective insecticides for protecting your valued furniture and clothing; however, they can leave an unpleasant odor in said items. Learn how to get rid of that mothball smell with the easy methods listed below.
Feb 23, 2024

Shrinking and sticking your way to a better-fitting neckline doesn't require a degree in fashion design. keep reading for a step-by-step guide on how to make the neck of a shirt smaller without sewing and give your favorite shirts a new lease on life.
Mar 18, 2024

Create a space that promotes independence and a thirst for knowledge in your child, all in the comfort of your home, with this helpful DIY Montessori bookshelf guide.
Feb 04, 2024

Stone carvers have been fascinated by alabaster for centuries. Although alluring, this kind of stone is prone to scratching. If you're curious about how to clean alabaster on your own, follow these easy steps for effective cleansing.
Jan 11, 2024