DIY Burger Press Guide for Crafting the Ultimate Patty
Feb 11, 2024


A back lotion applicator can be of great convenience if you have difficulty reaching your back when moisturizing. If you're opposed to buying one, discover how you can create your own DIY back lotion applicator for those hard-to-reach spots below.
Moisturizing your body is a relatively simple task; however, reaching your back during that process can be arduous and awkward. Because of this, some people might choose to skip applying lotion or cream to their backs altogether.
However, your back is a big portion of your largest organ: your skin. And like the rest of your skin, it needs hydration.
If you're reading this, you might have considered buying a back lotion applicator. However, if you'd rather use readily available household items, here are three DIY back lotion applicators.

A woman applying lotion on her back | Source: Shutterstock
Tip: Alternatively, use a solid turner without the socks.

A solid turner and a spatula | Source: Shutterstock

A small paint roller | Source: Getty Images

A wooden spoon | Source: Shutterstock

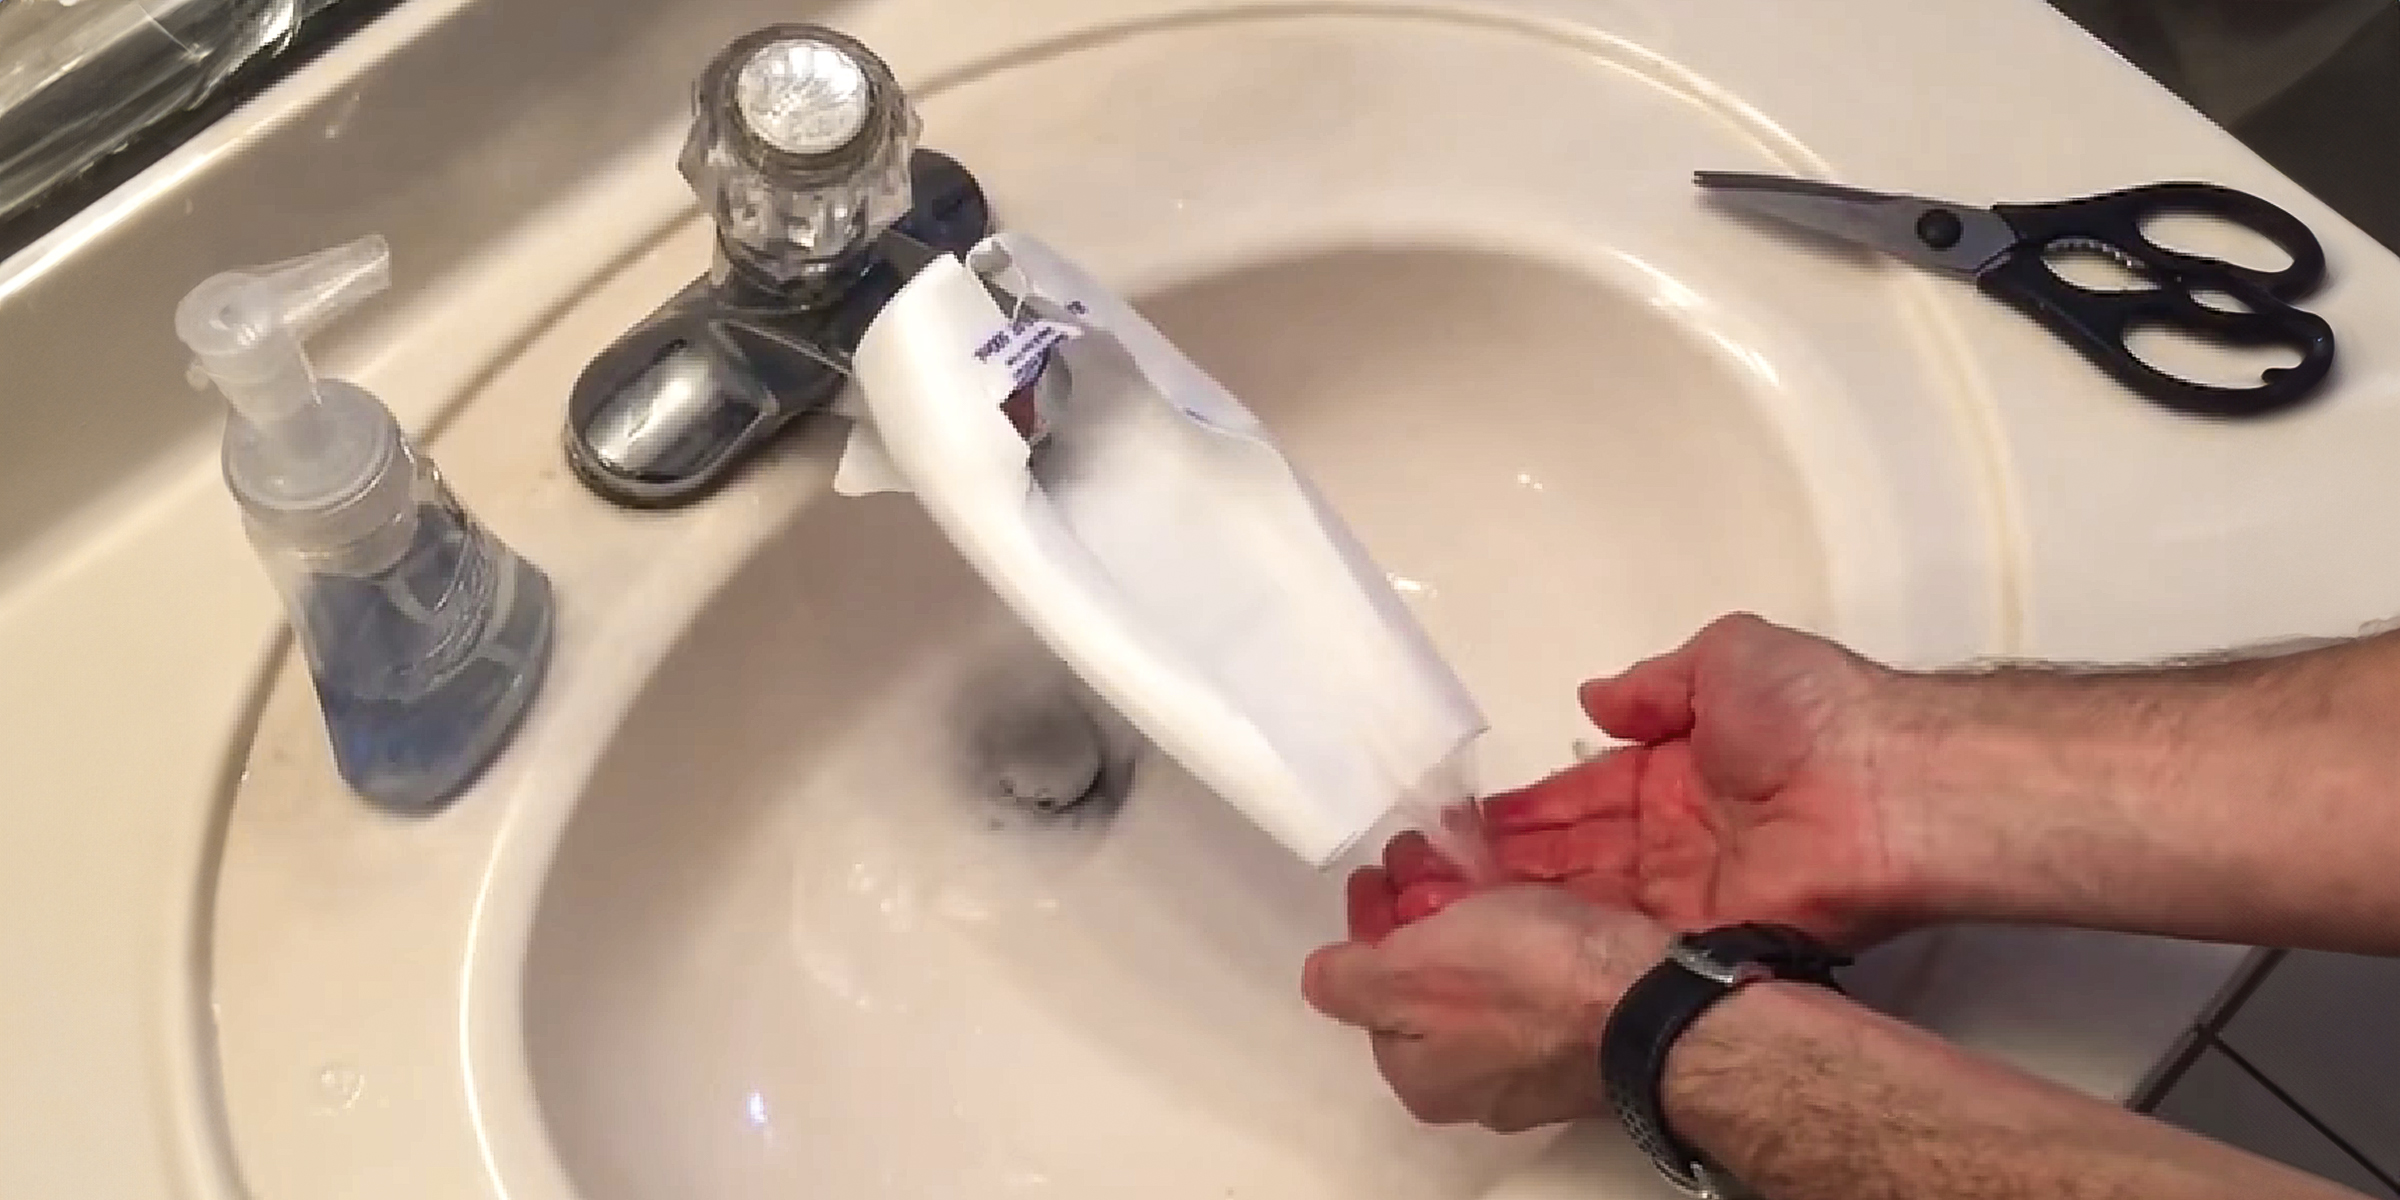
An illustration of a box of plastic wrap | Source: Shutterstock
And there you have it. Four homemade back lotion applicator ideas to keep your back soft and hydrated. For more do-it-yourself guides, check out this post on how to clean whiskey stones.
If you're dealing with the challenge of little ones struggling to reach faucets, a practical solution is to craft a DIY faucet extender. You can easily accomplish this in just a few simple steps.
Feb 05, 2024

Having a scratched mirror at home can be frustrating, turning an essential household item into an eyesore and, even worse, distorting the reflection you see daily. But don't rush to buy a replacement just yet; a scratched mirror doesn't necessarily mean it's time to invest in a new one.
Dec 15, 2023
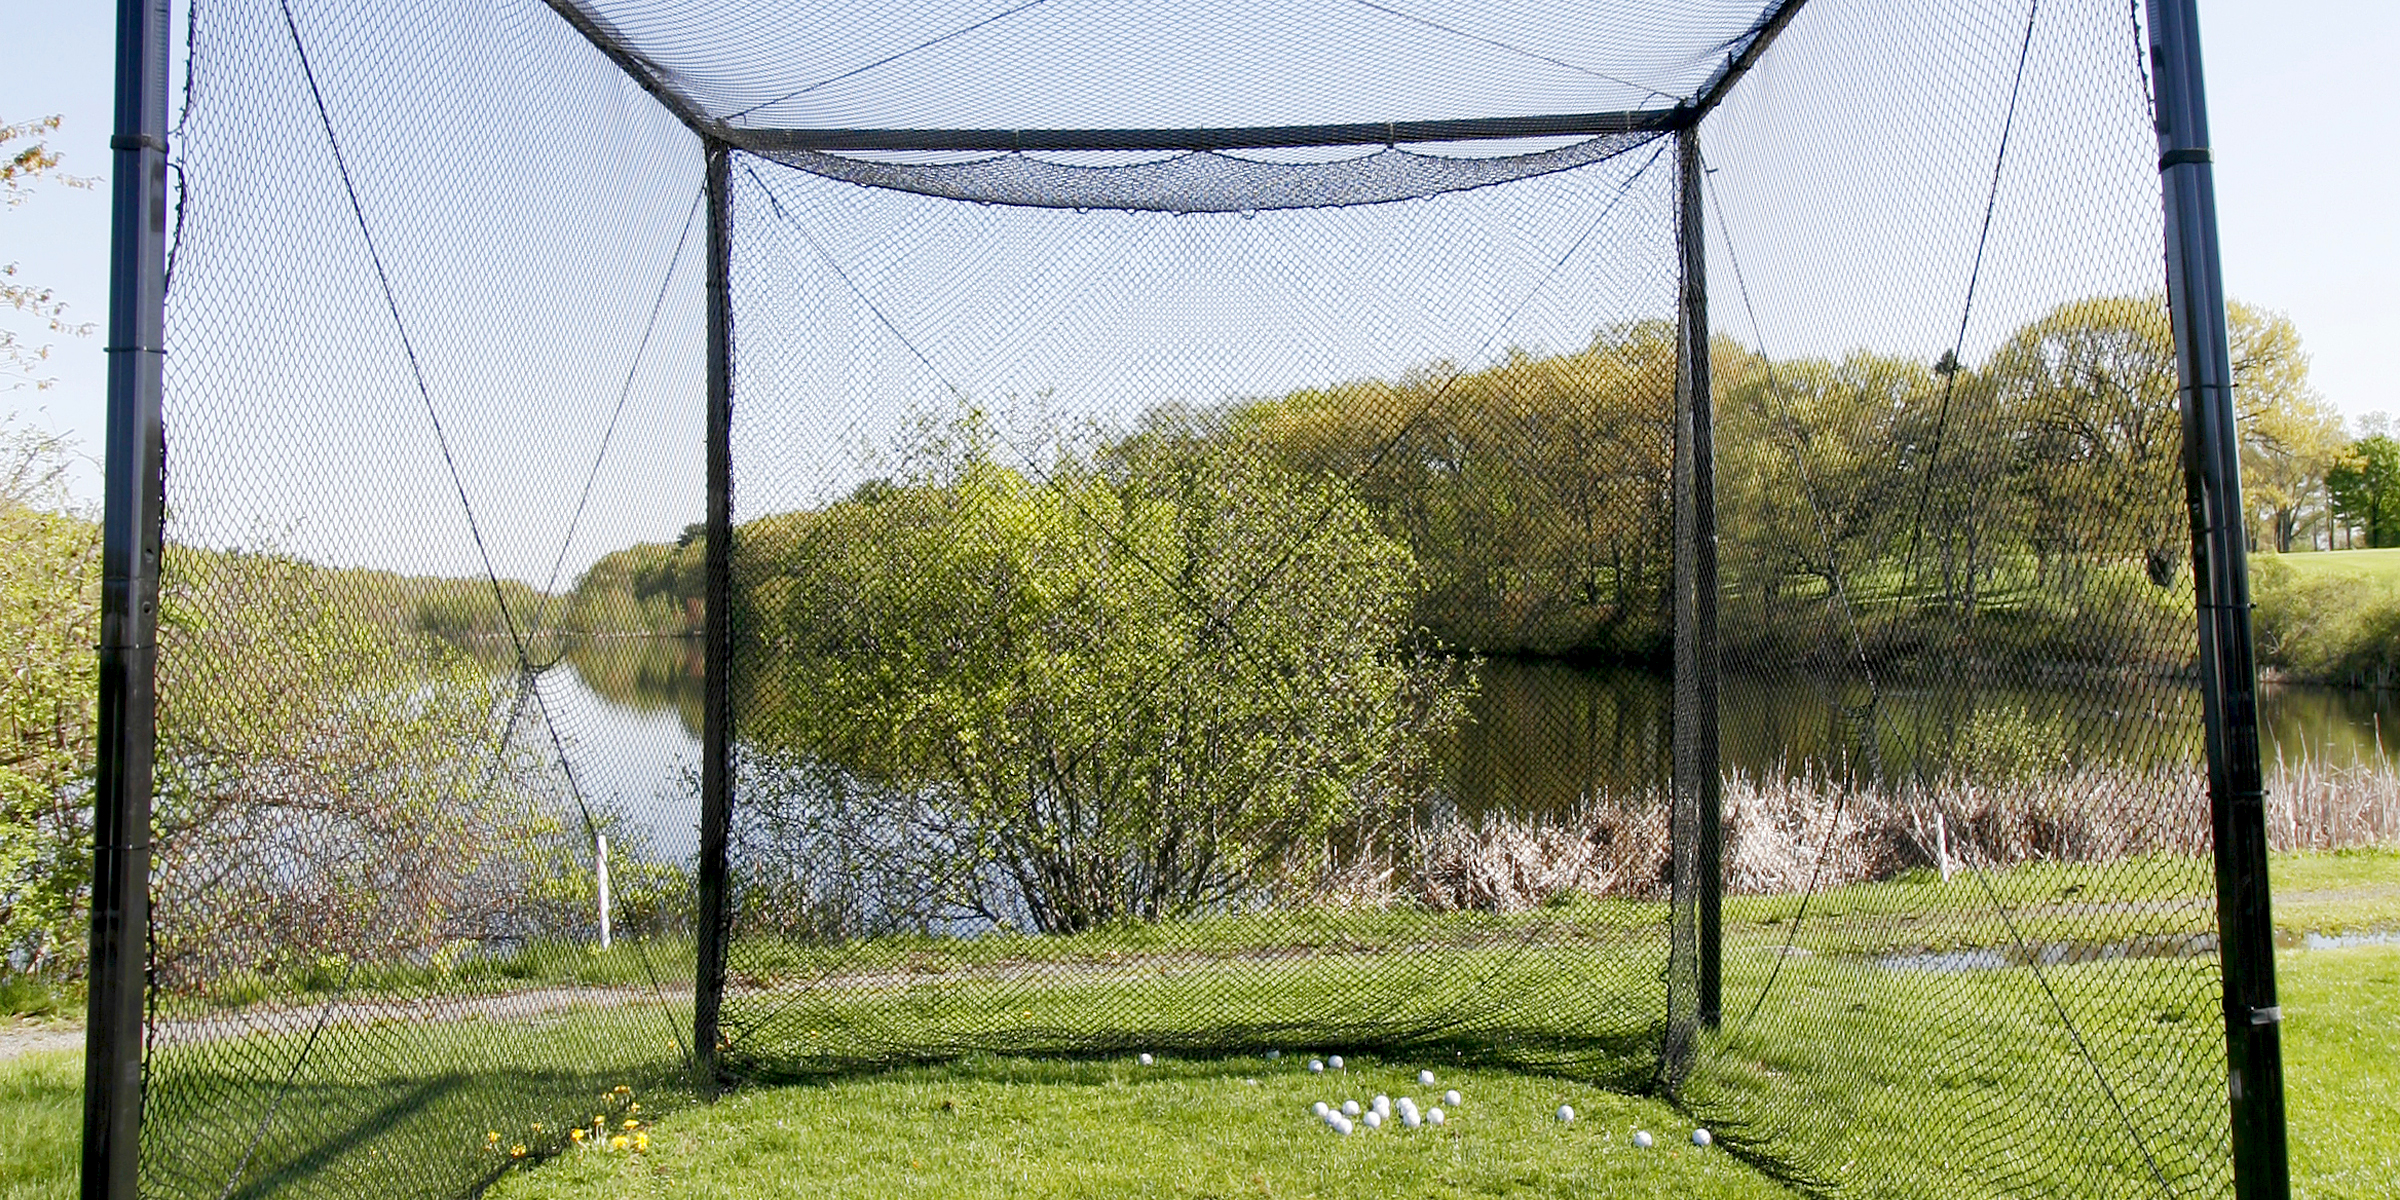
If you're an avid golfer or someone looking to join the sport, having a golf net can be super advantageous to work on or improve your skills. But if you're opposed to buying one, here's how to build a DIY golf net.
Feb 10, 2024
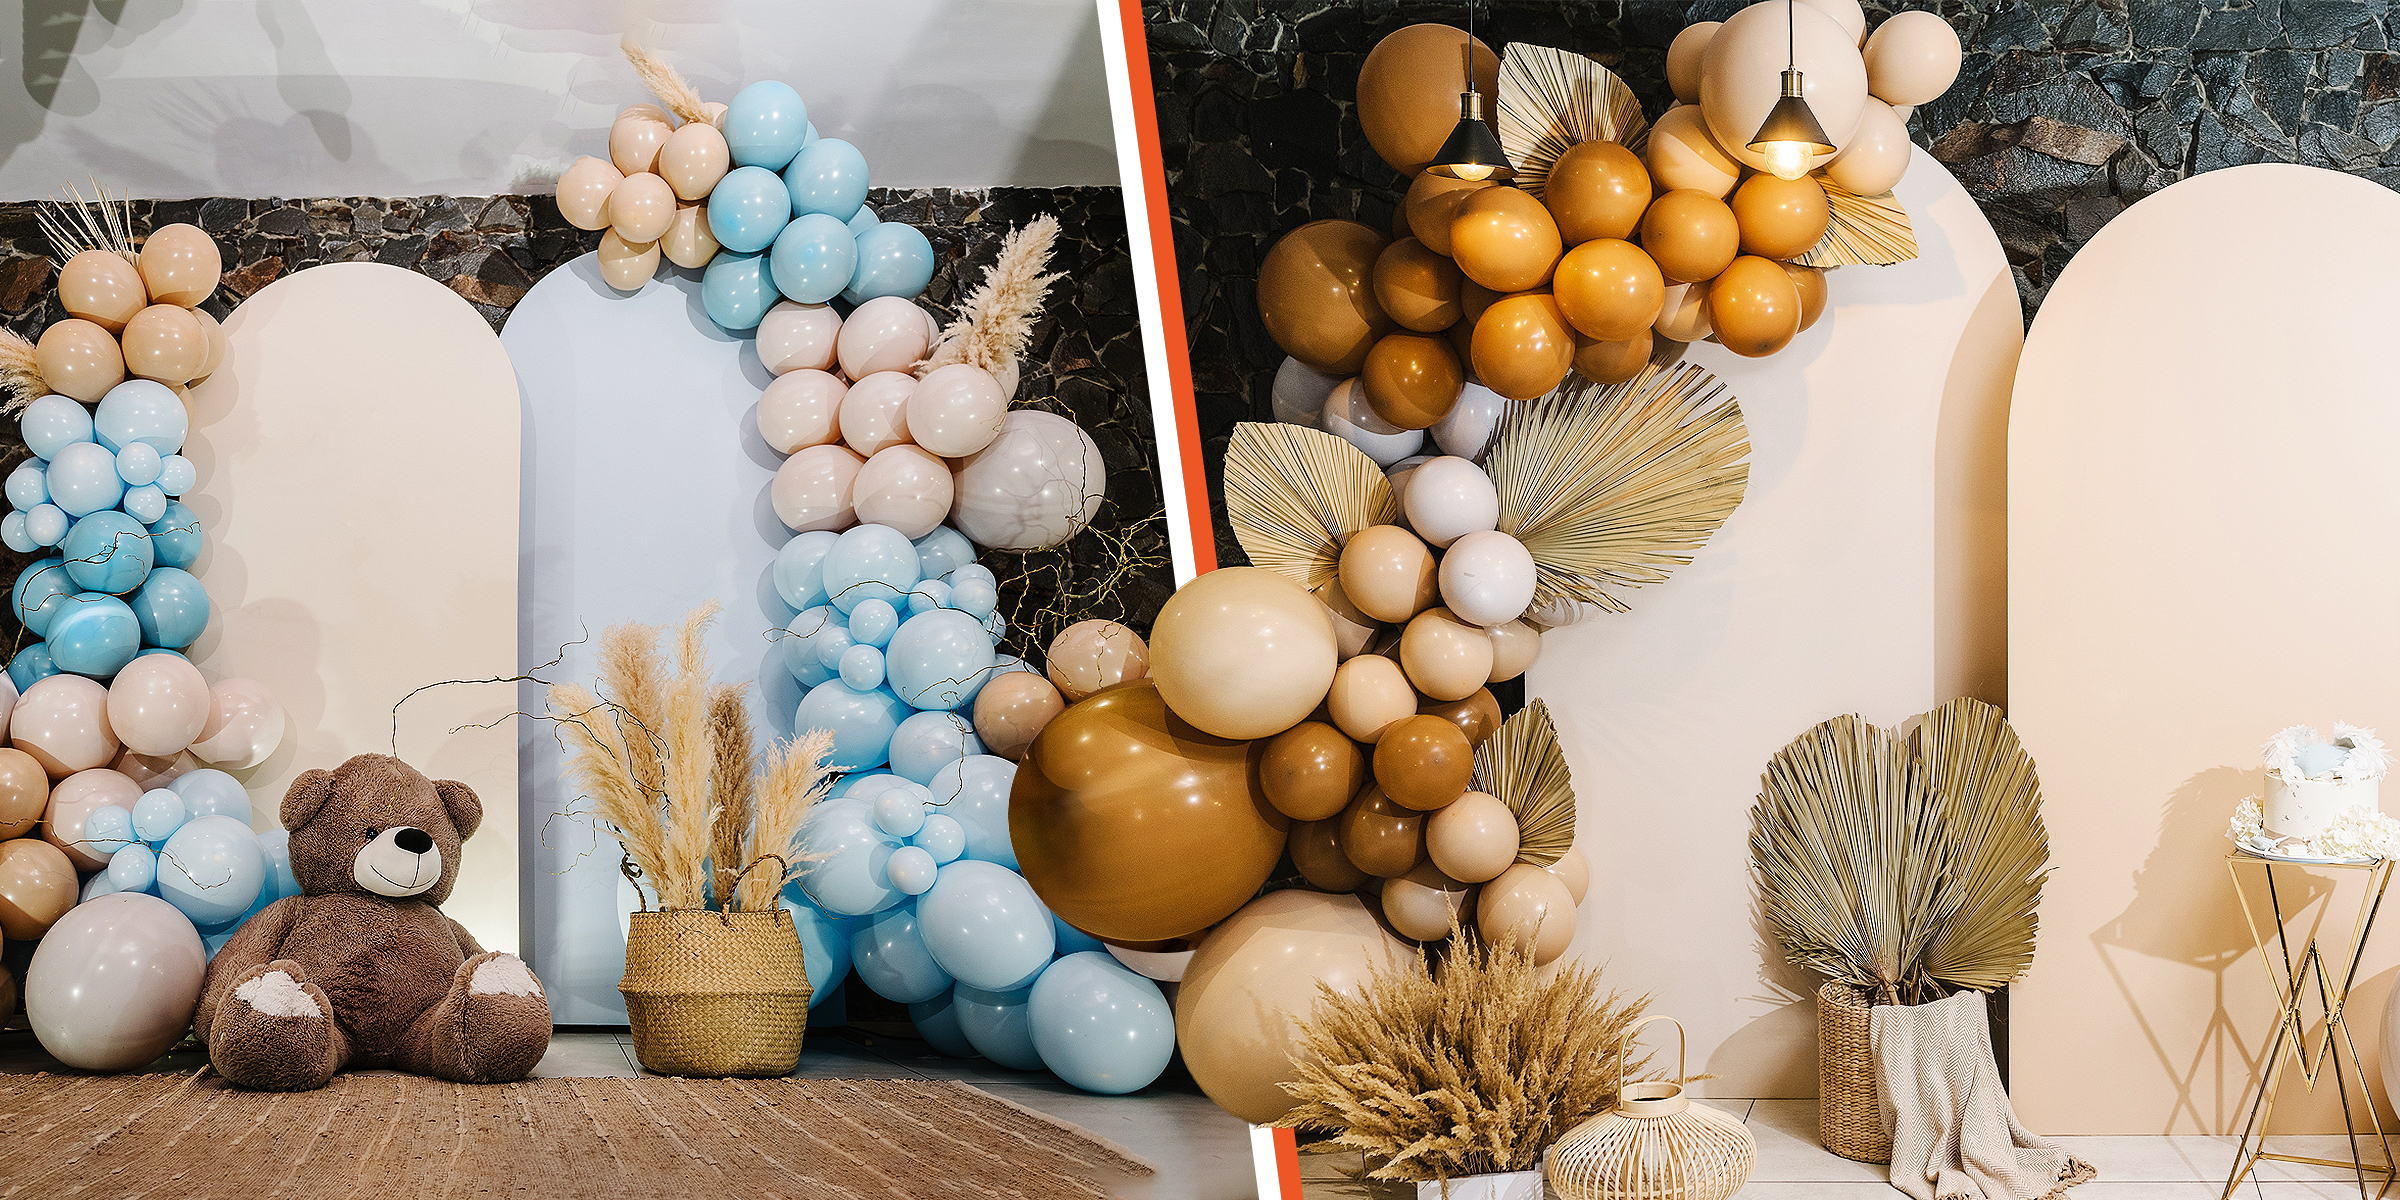
From photography to decor, a wooden arch backdrop can make all the difference in a desired aesthetic. If you're looking to acquire one without spending too much, here's a DIY wooden arch backdrop tutorial.
Feb 12, 2024
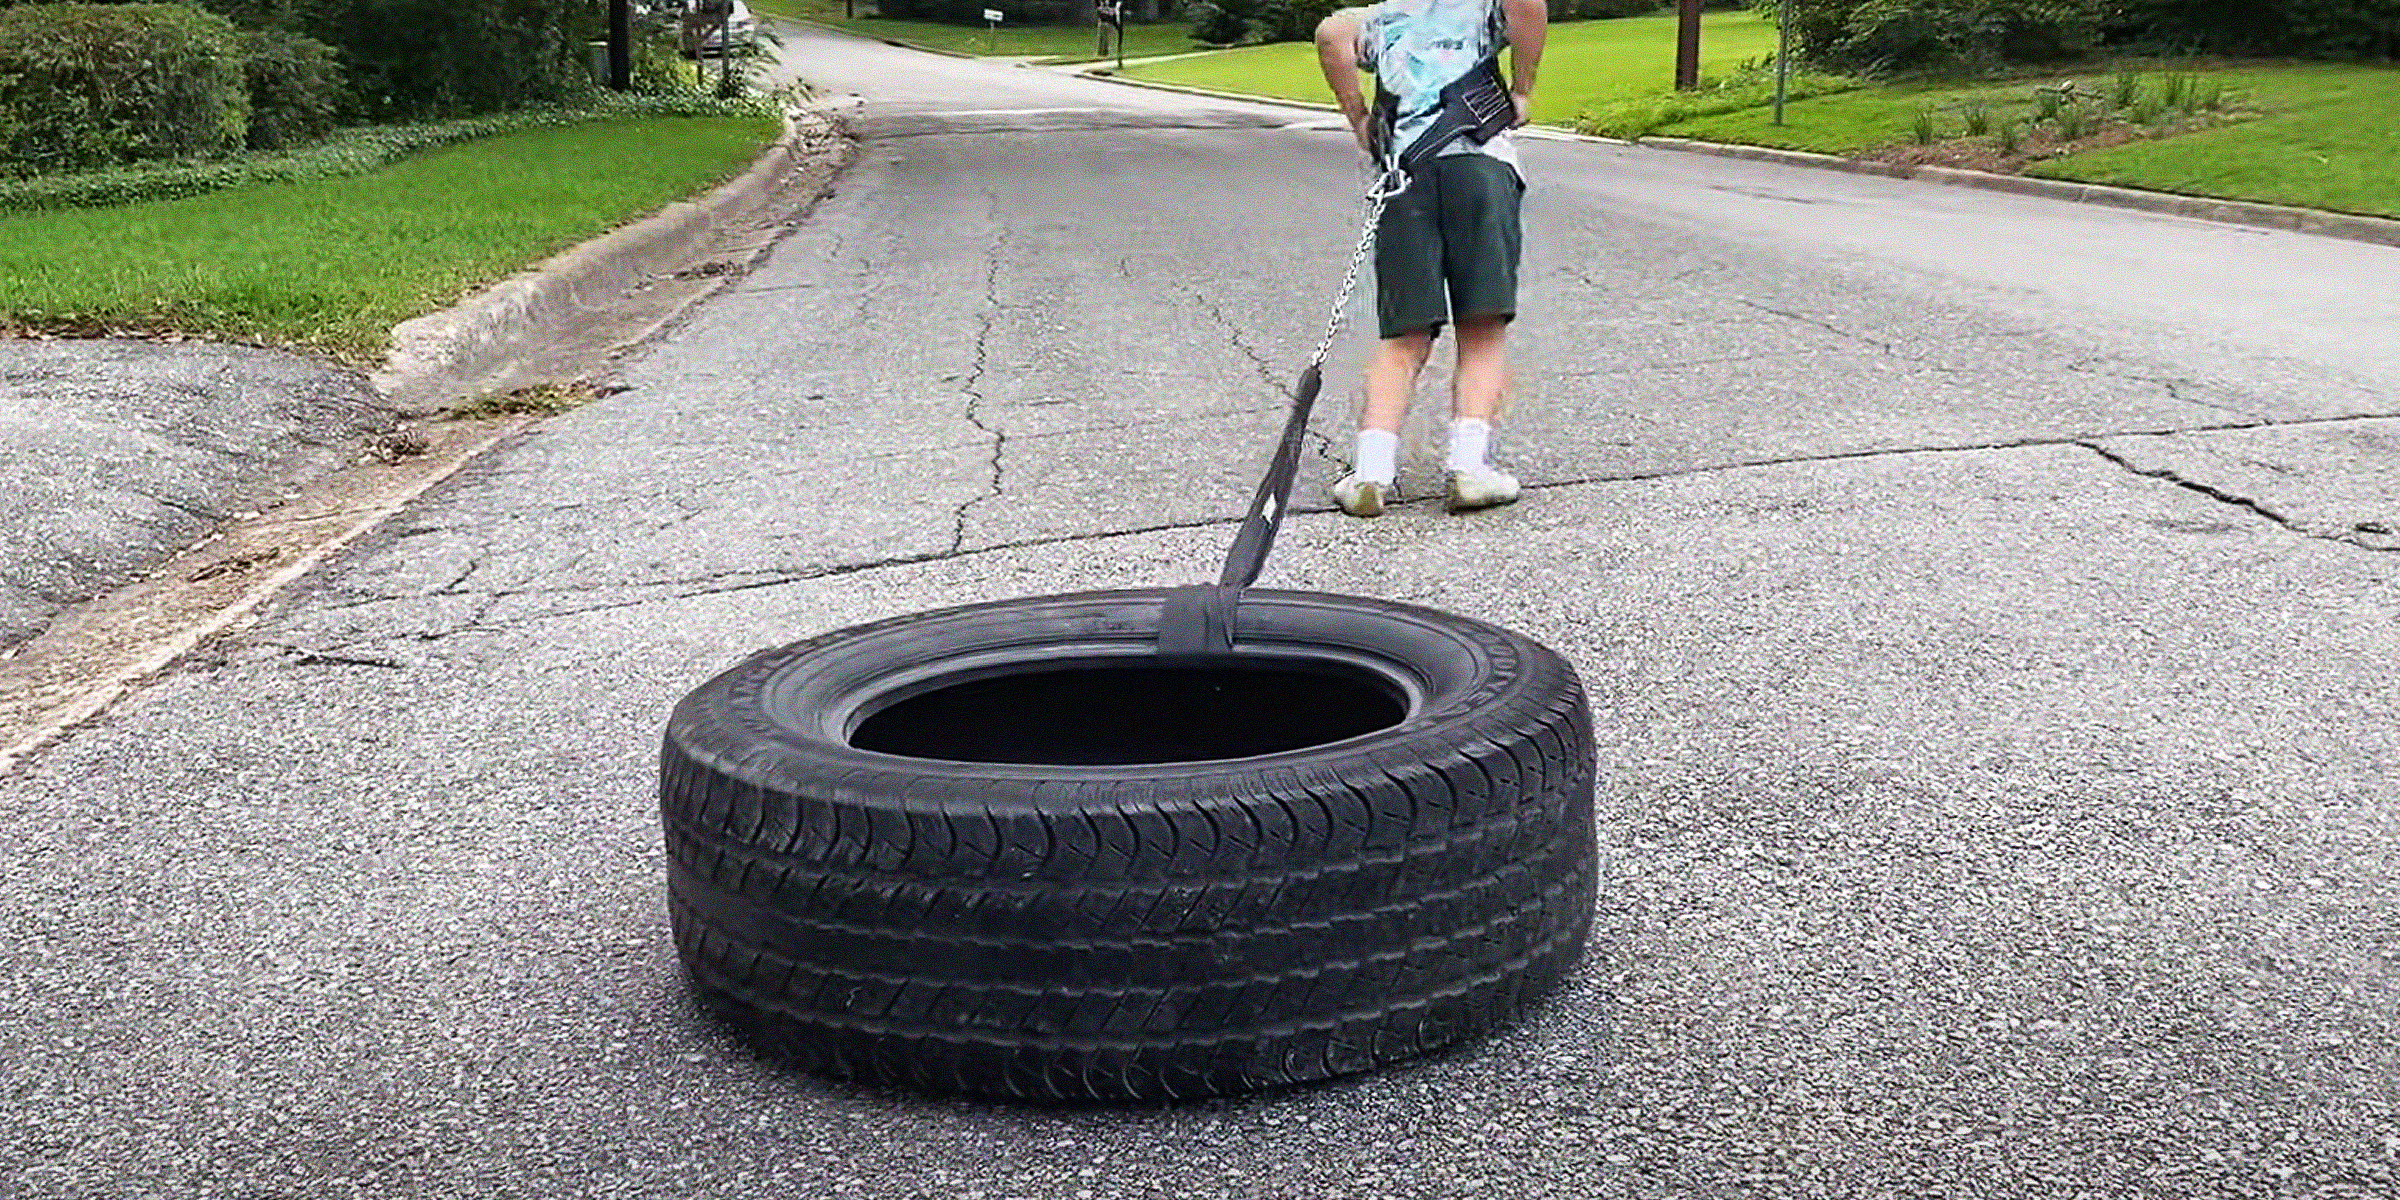
Are you passionate about fitness and eager to enhance your training? A DIY workout sled can come in handy to ensure you reach your desired fitness goals.
Feb 08, 2024
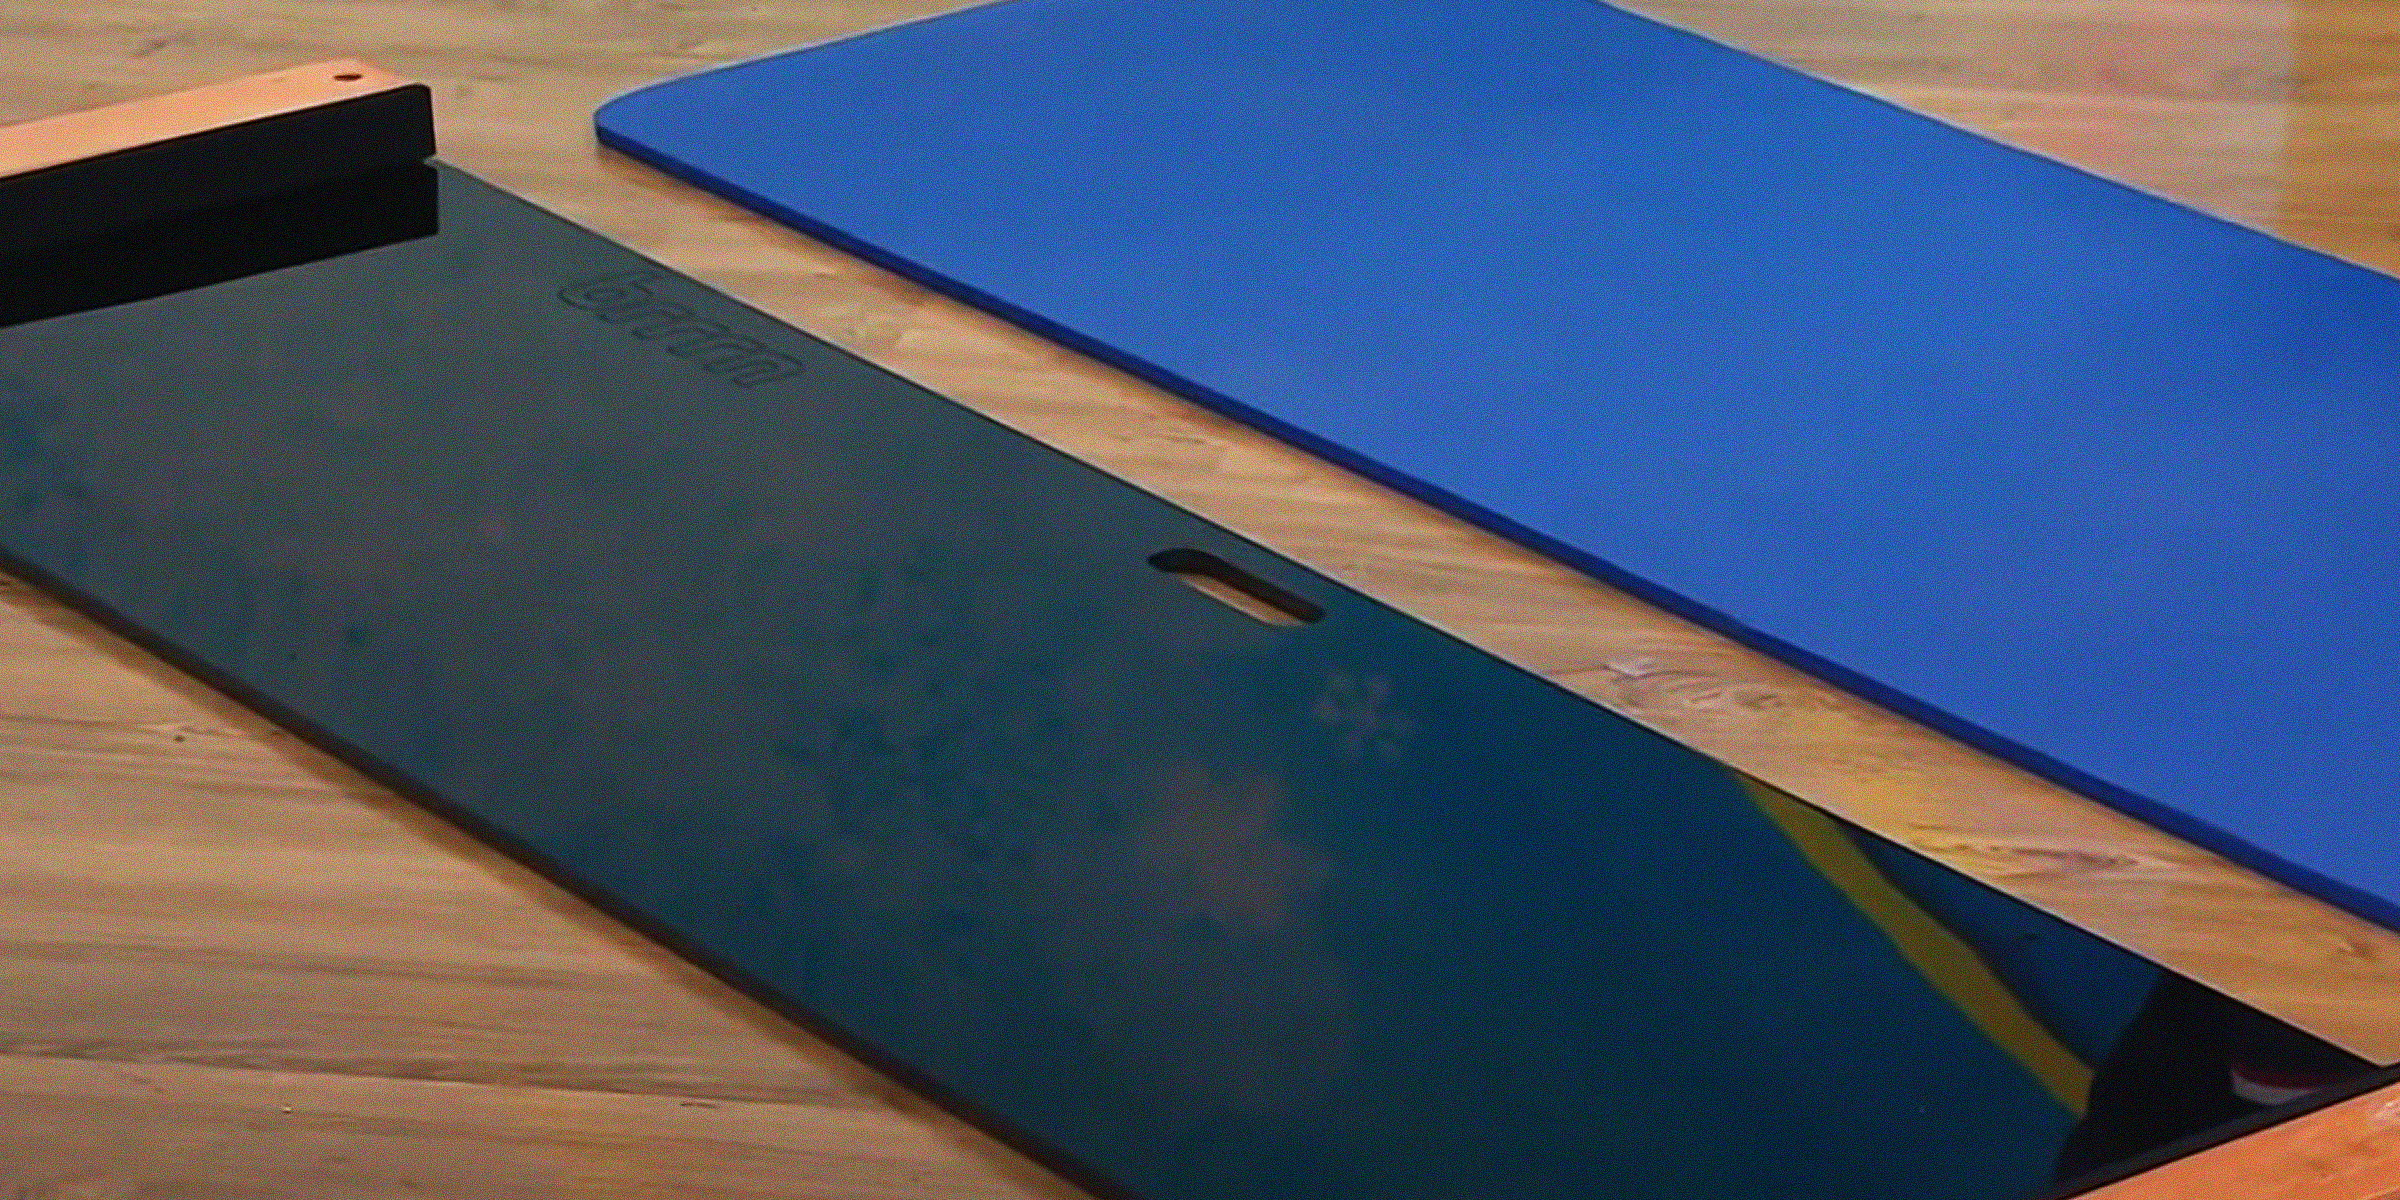
Discover the cost-effective joy of DIY slide boards! This article guides you through crafting your own, enriching your workout without breaking the bank. Save big while elevating your exercise routine.
Feb 04, 2024
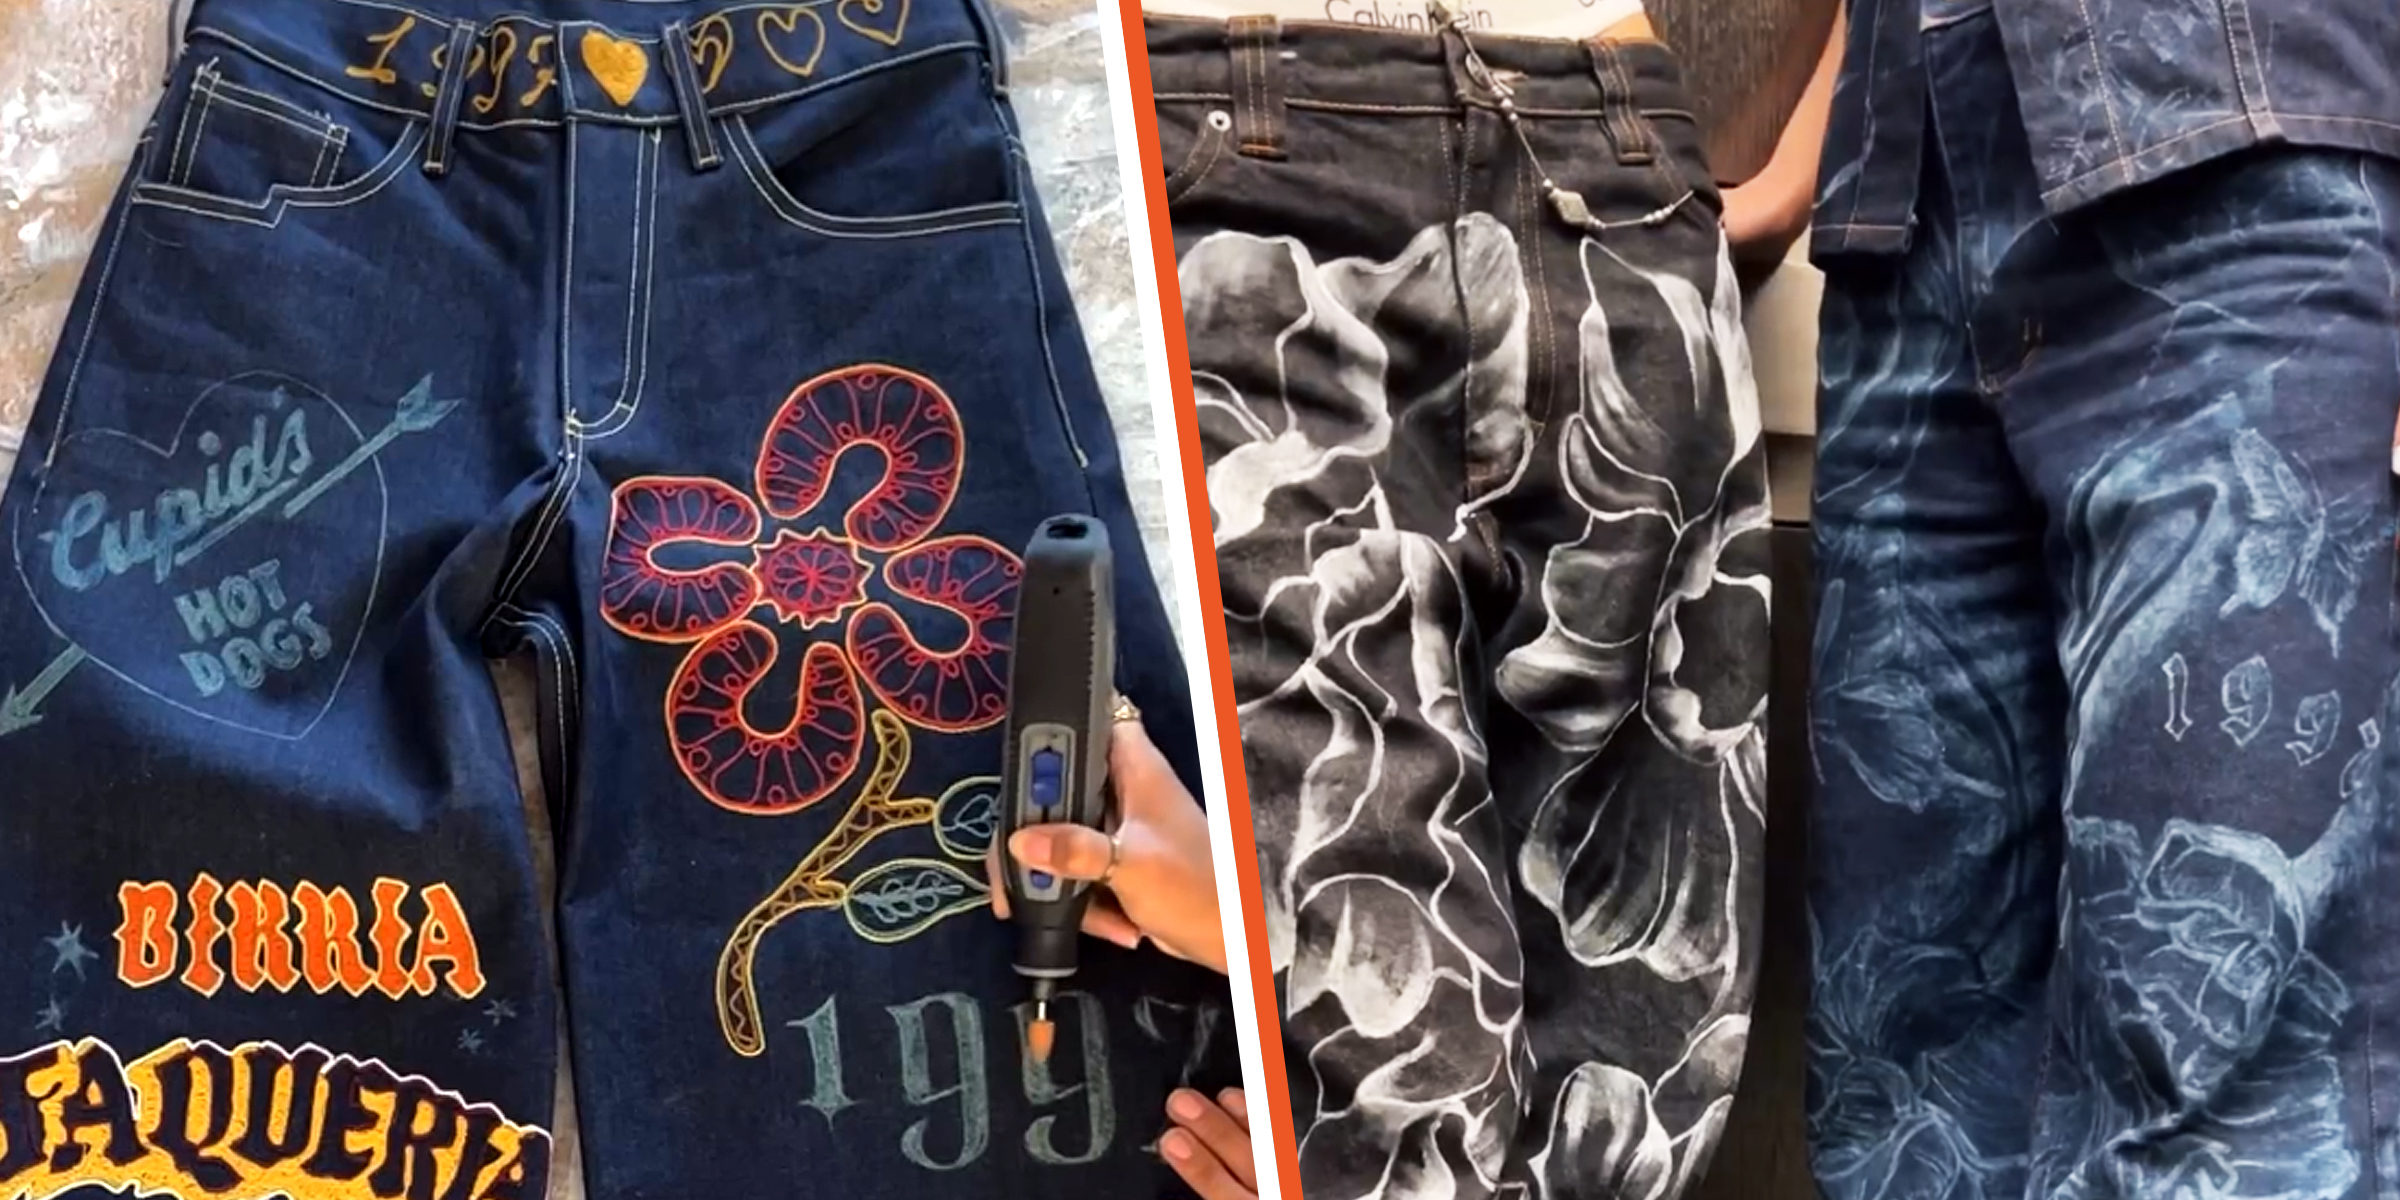
Rocking a fantastic pair of jeans can instantly boost your confidence, but taking your denim game to the next level with some DIY aesthetic jeans is like stepping onto your own personal runway. These DIY pieces of denim can turn heads as you walk by.
Dec 12, 2023
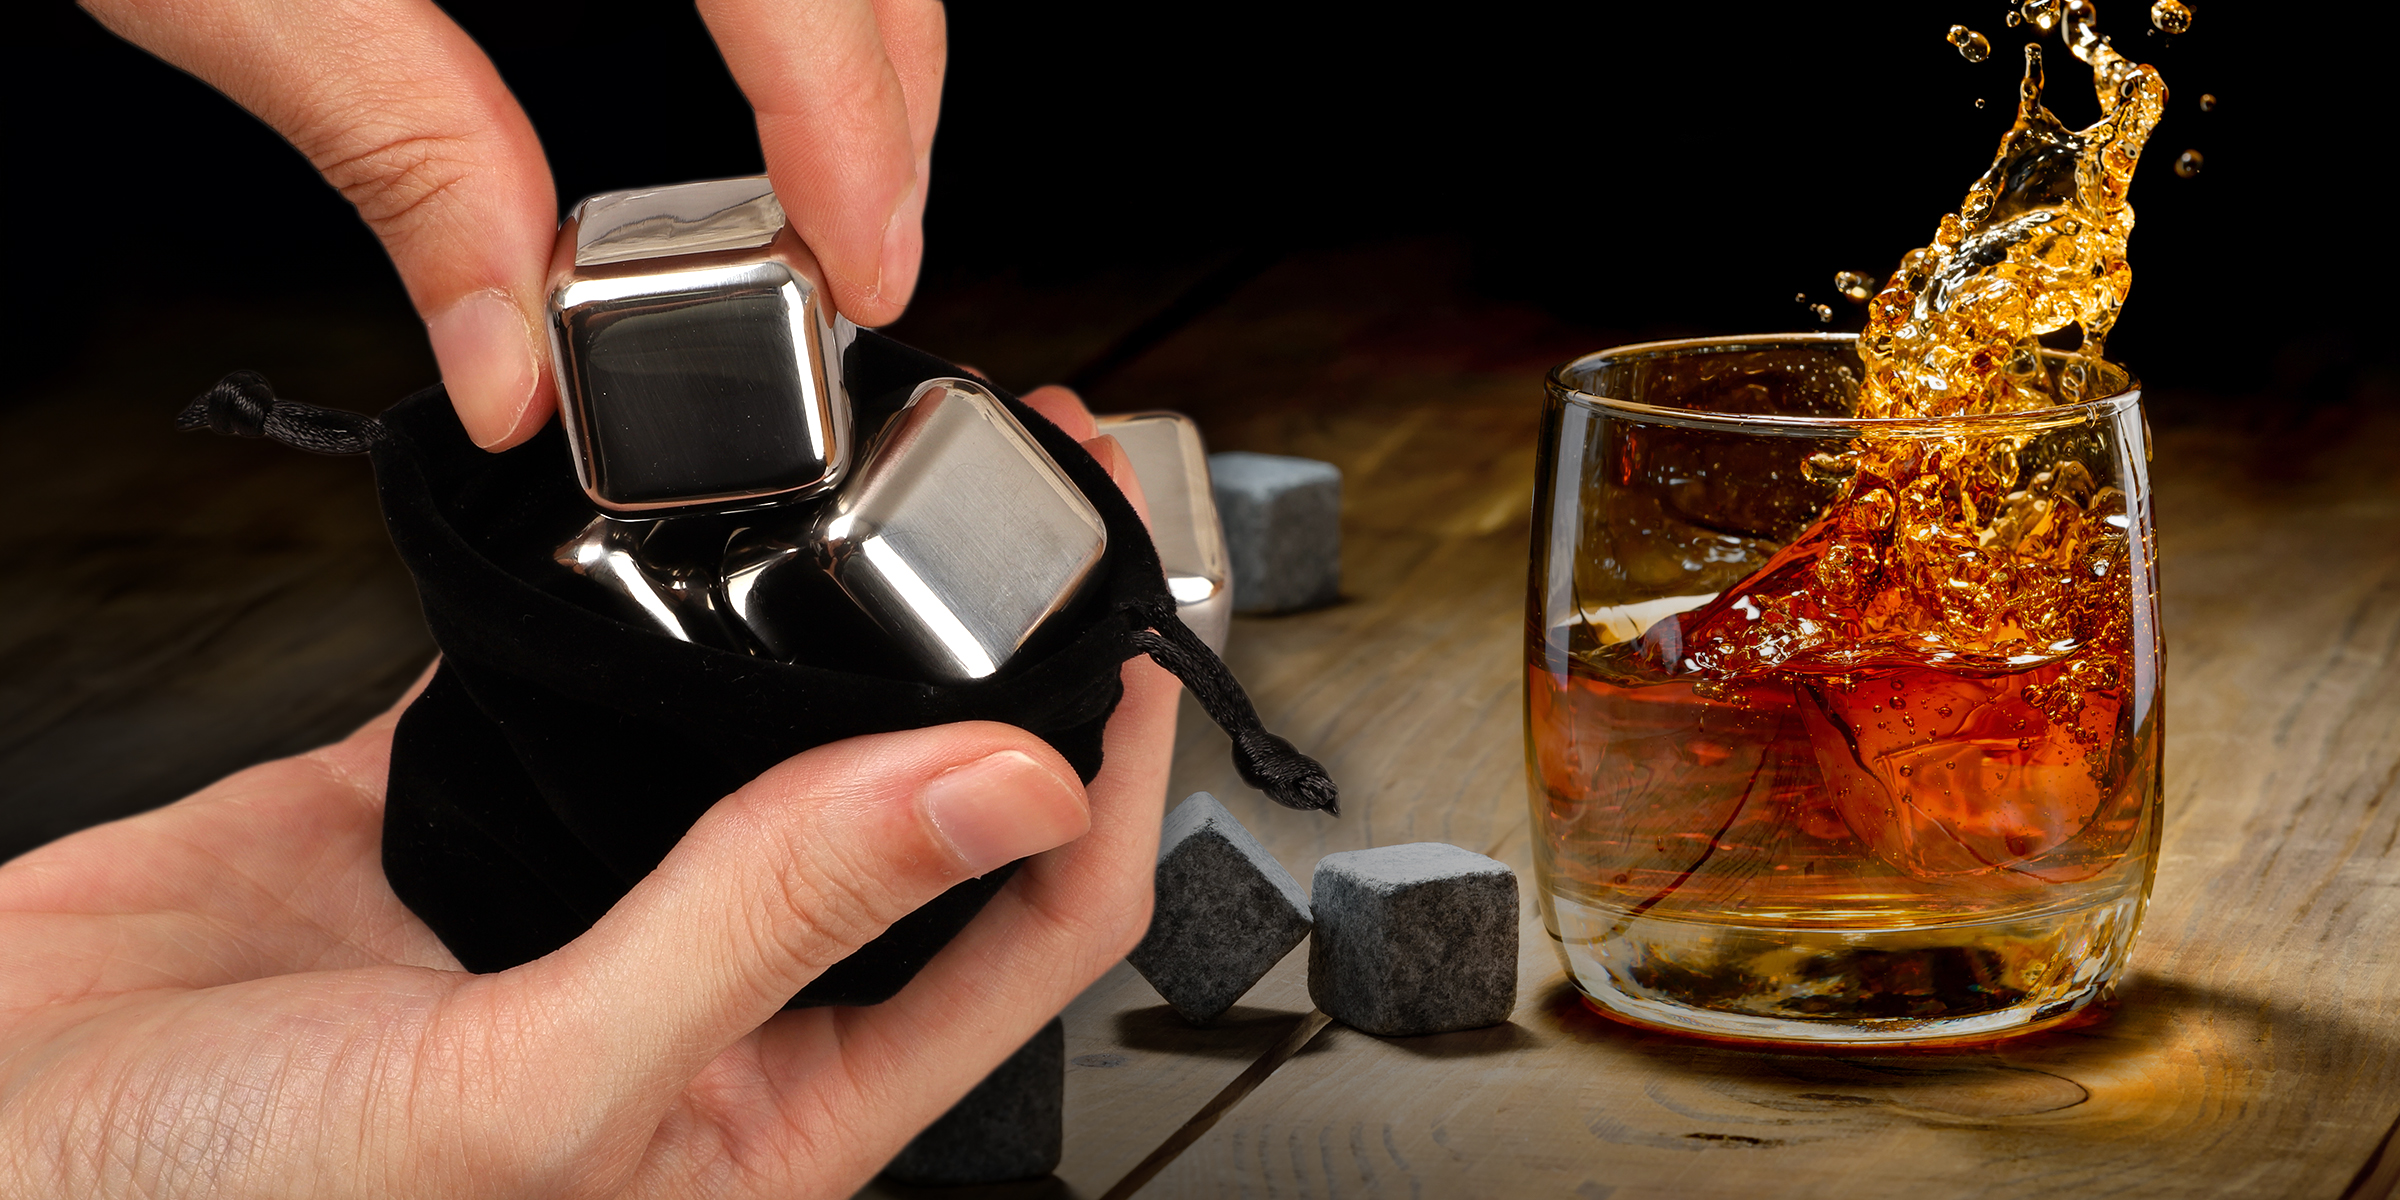
Whiskey stones are tiny rocks that cool whiskey without watering it down, making them perfect for lovers of the liquor, who want to keep its original flavor. As these stones can be reused, it is important to clean them, and we'll show you how.
Jan 13, 2024
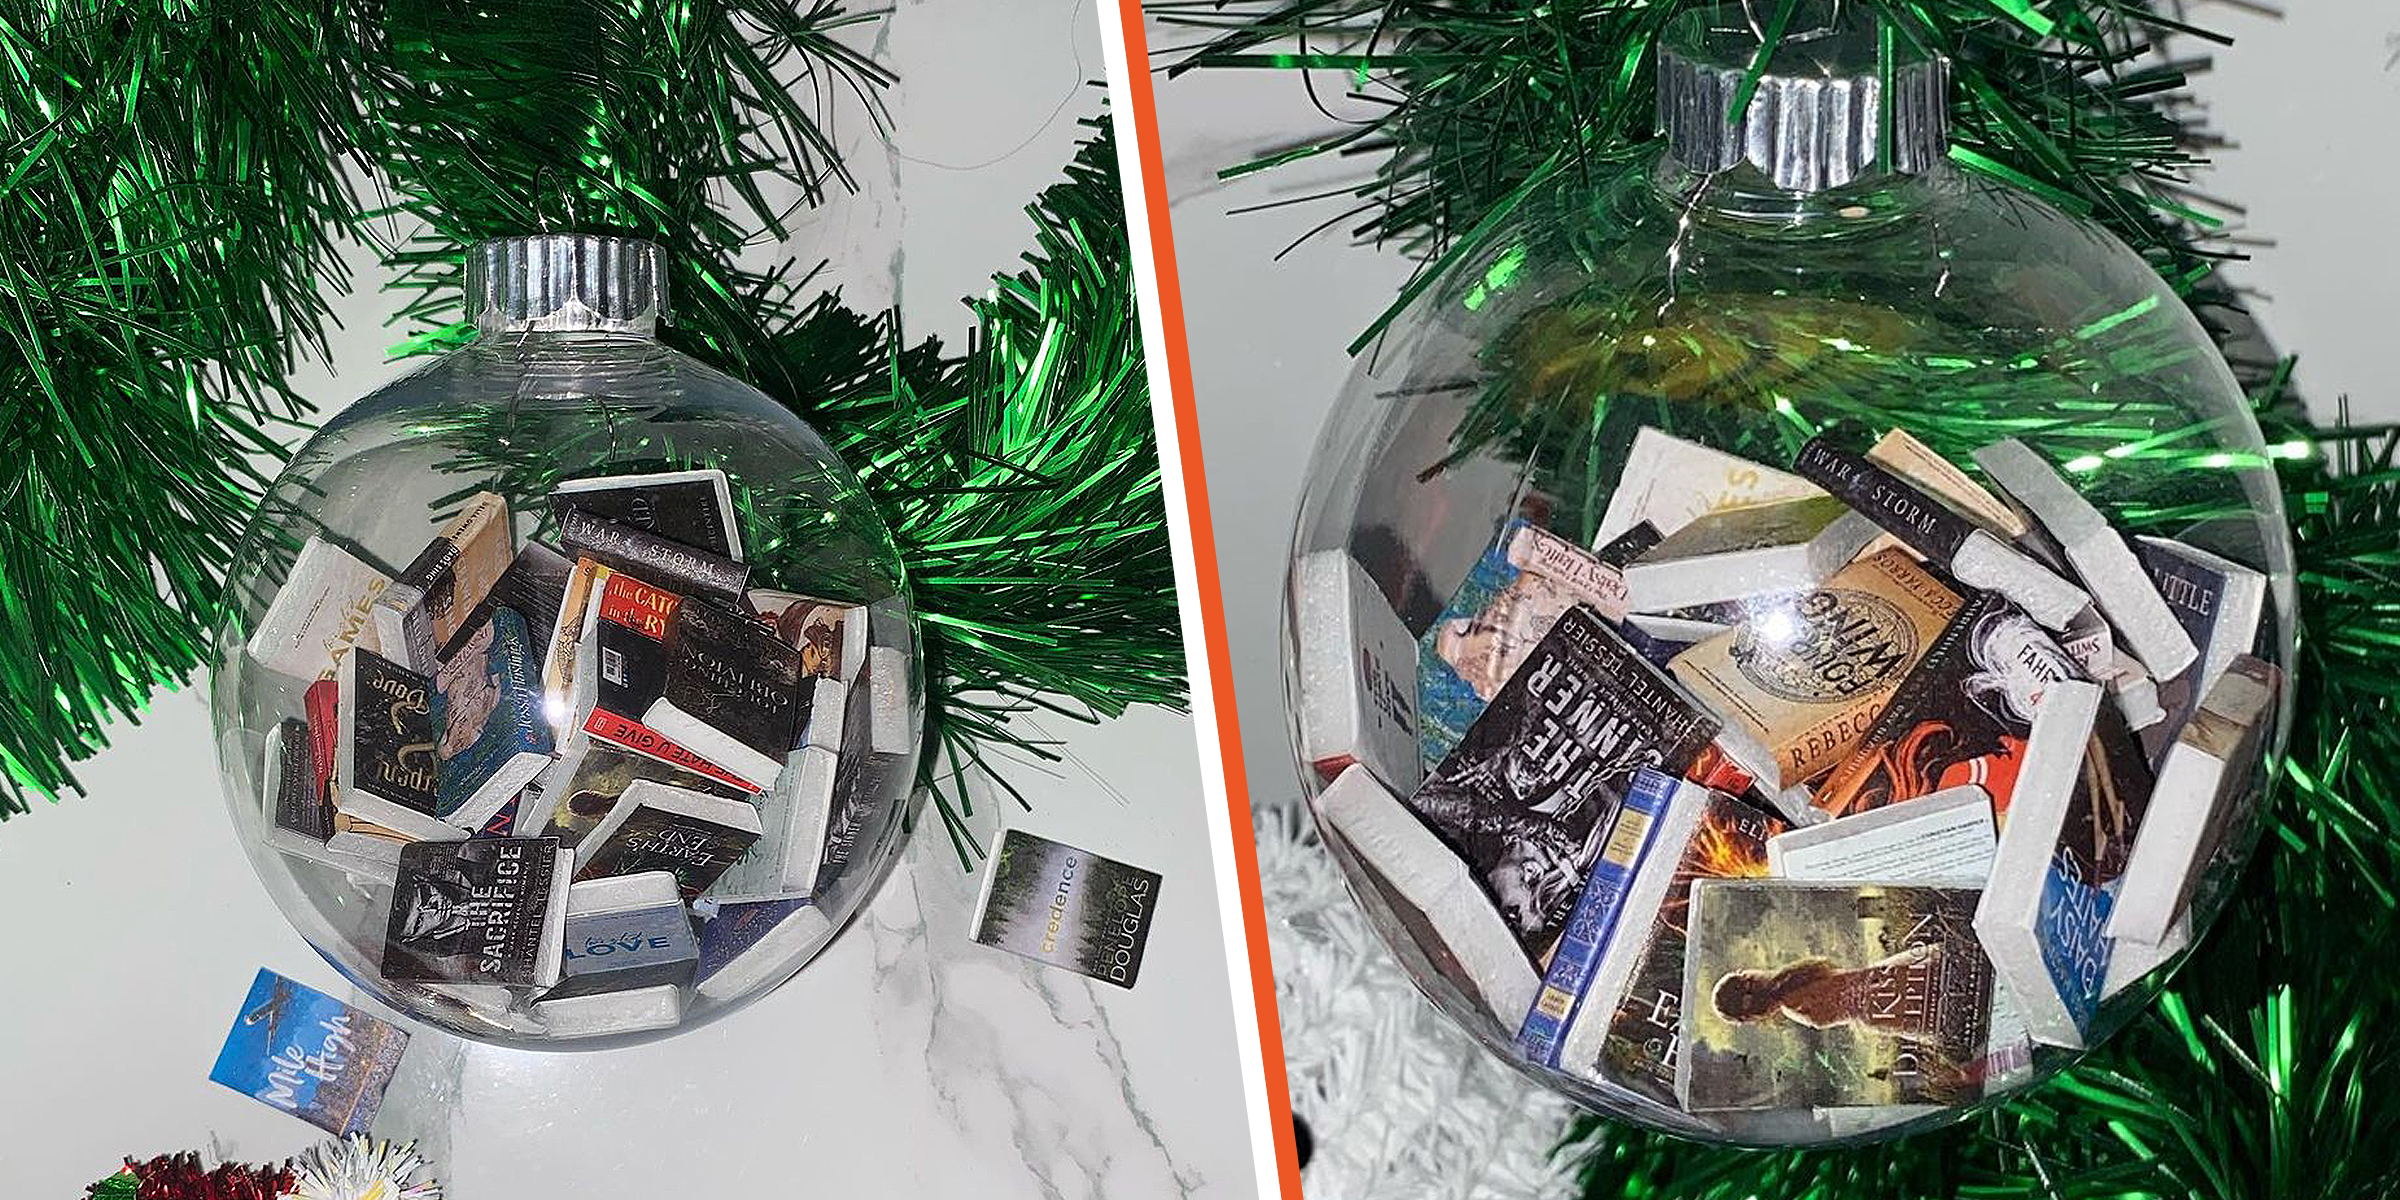
The DIY book ornaments trend has blown up social media for some time, with avid readers finding a fun way to celebrate their love of reading during the festive season.
Dec 16, 2023
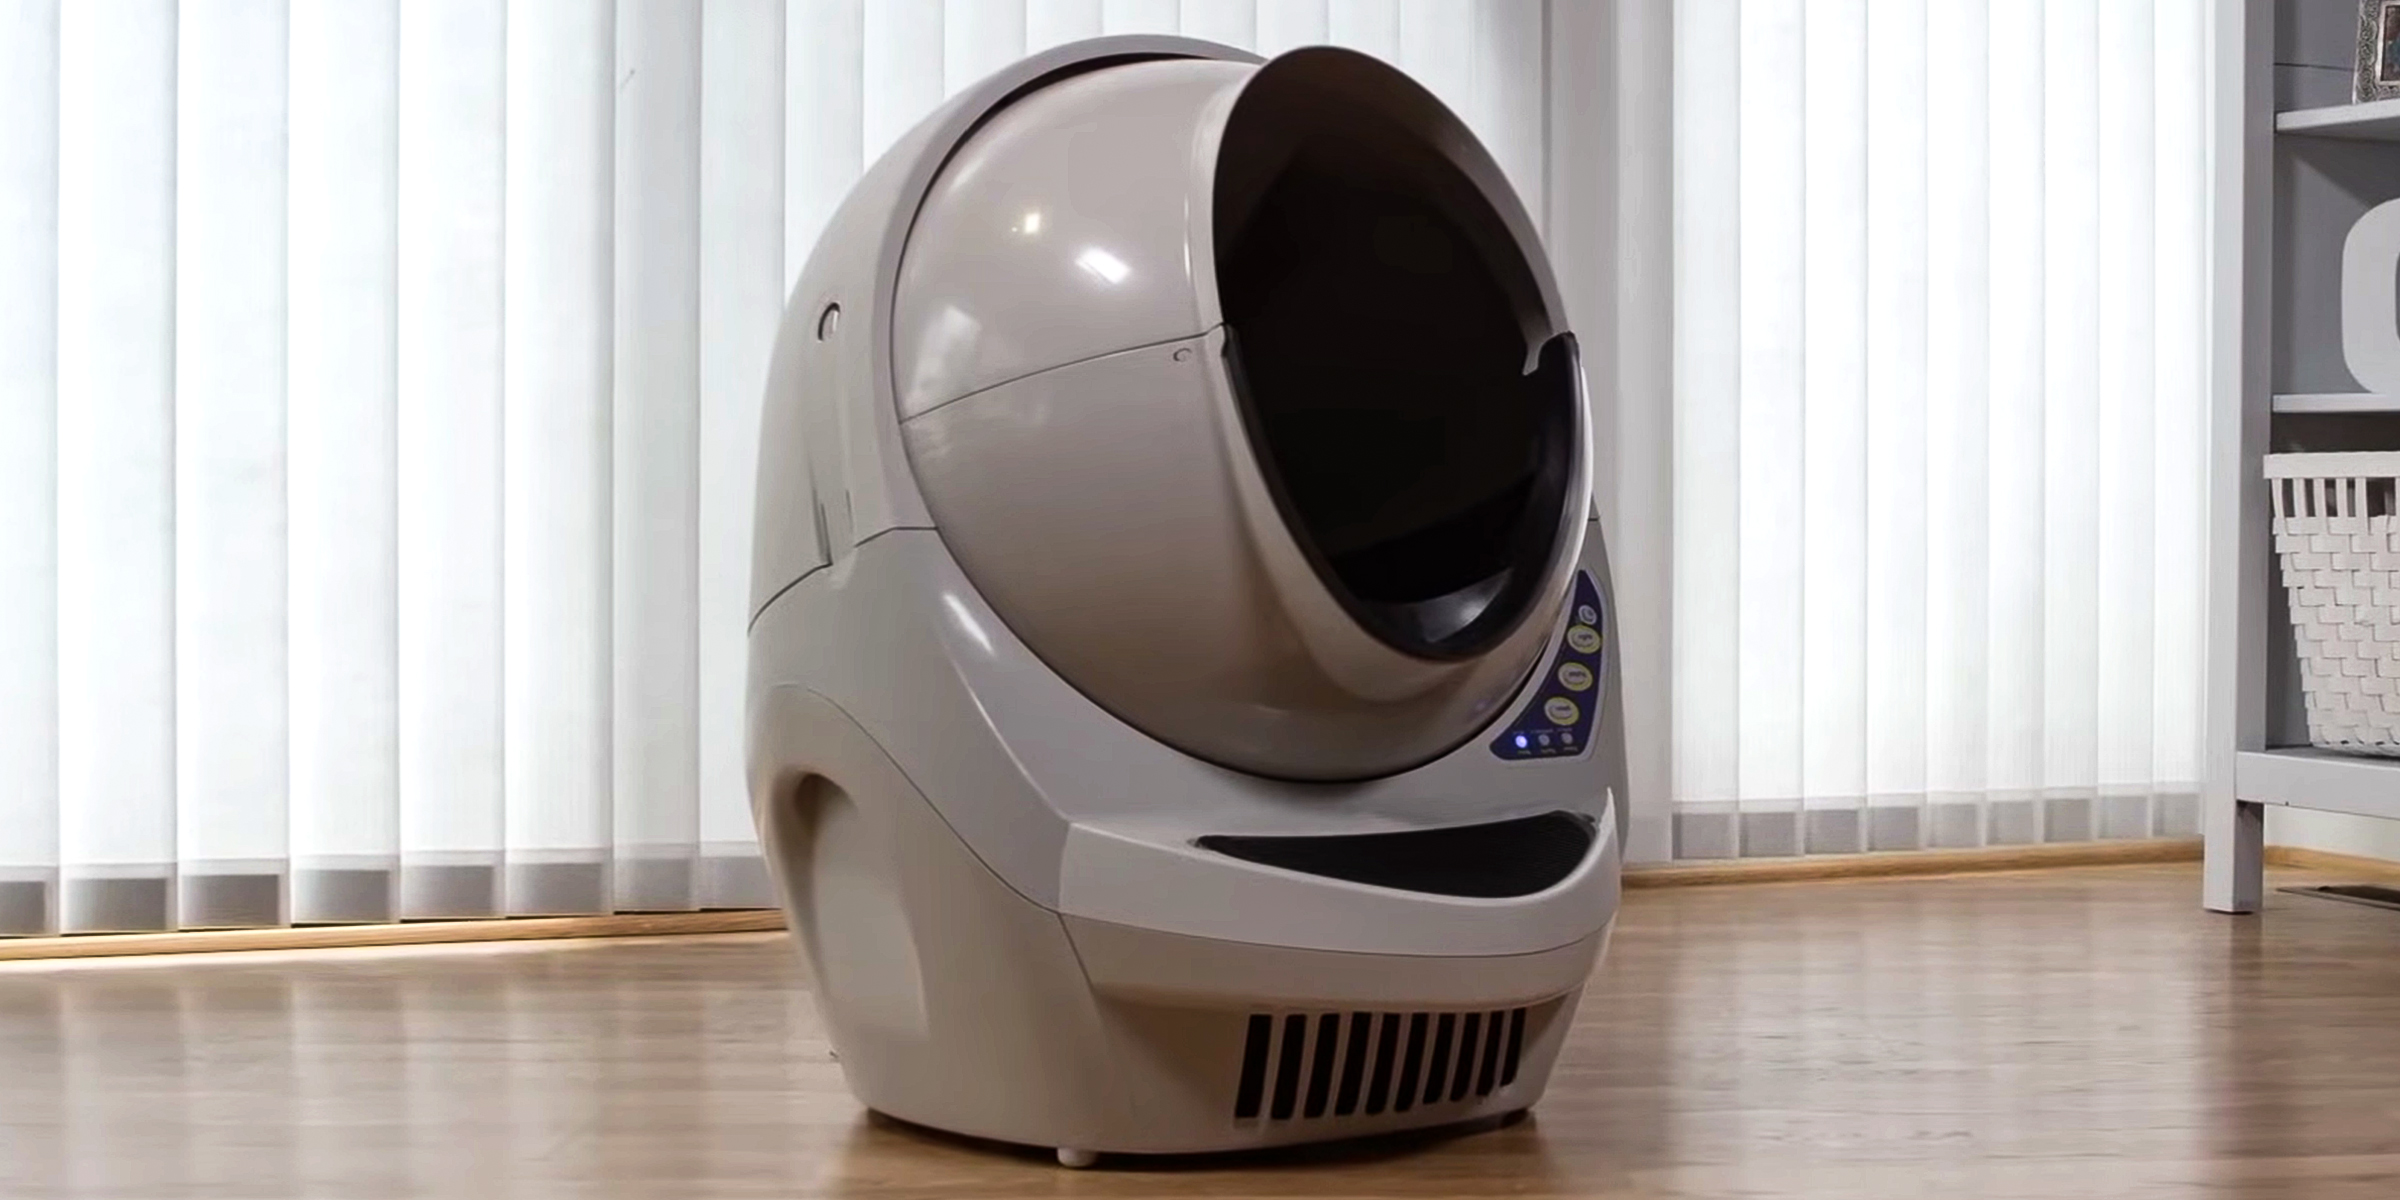
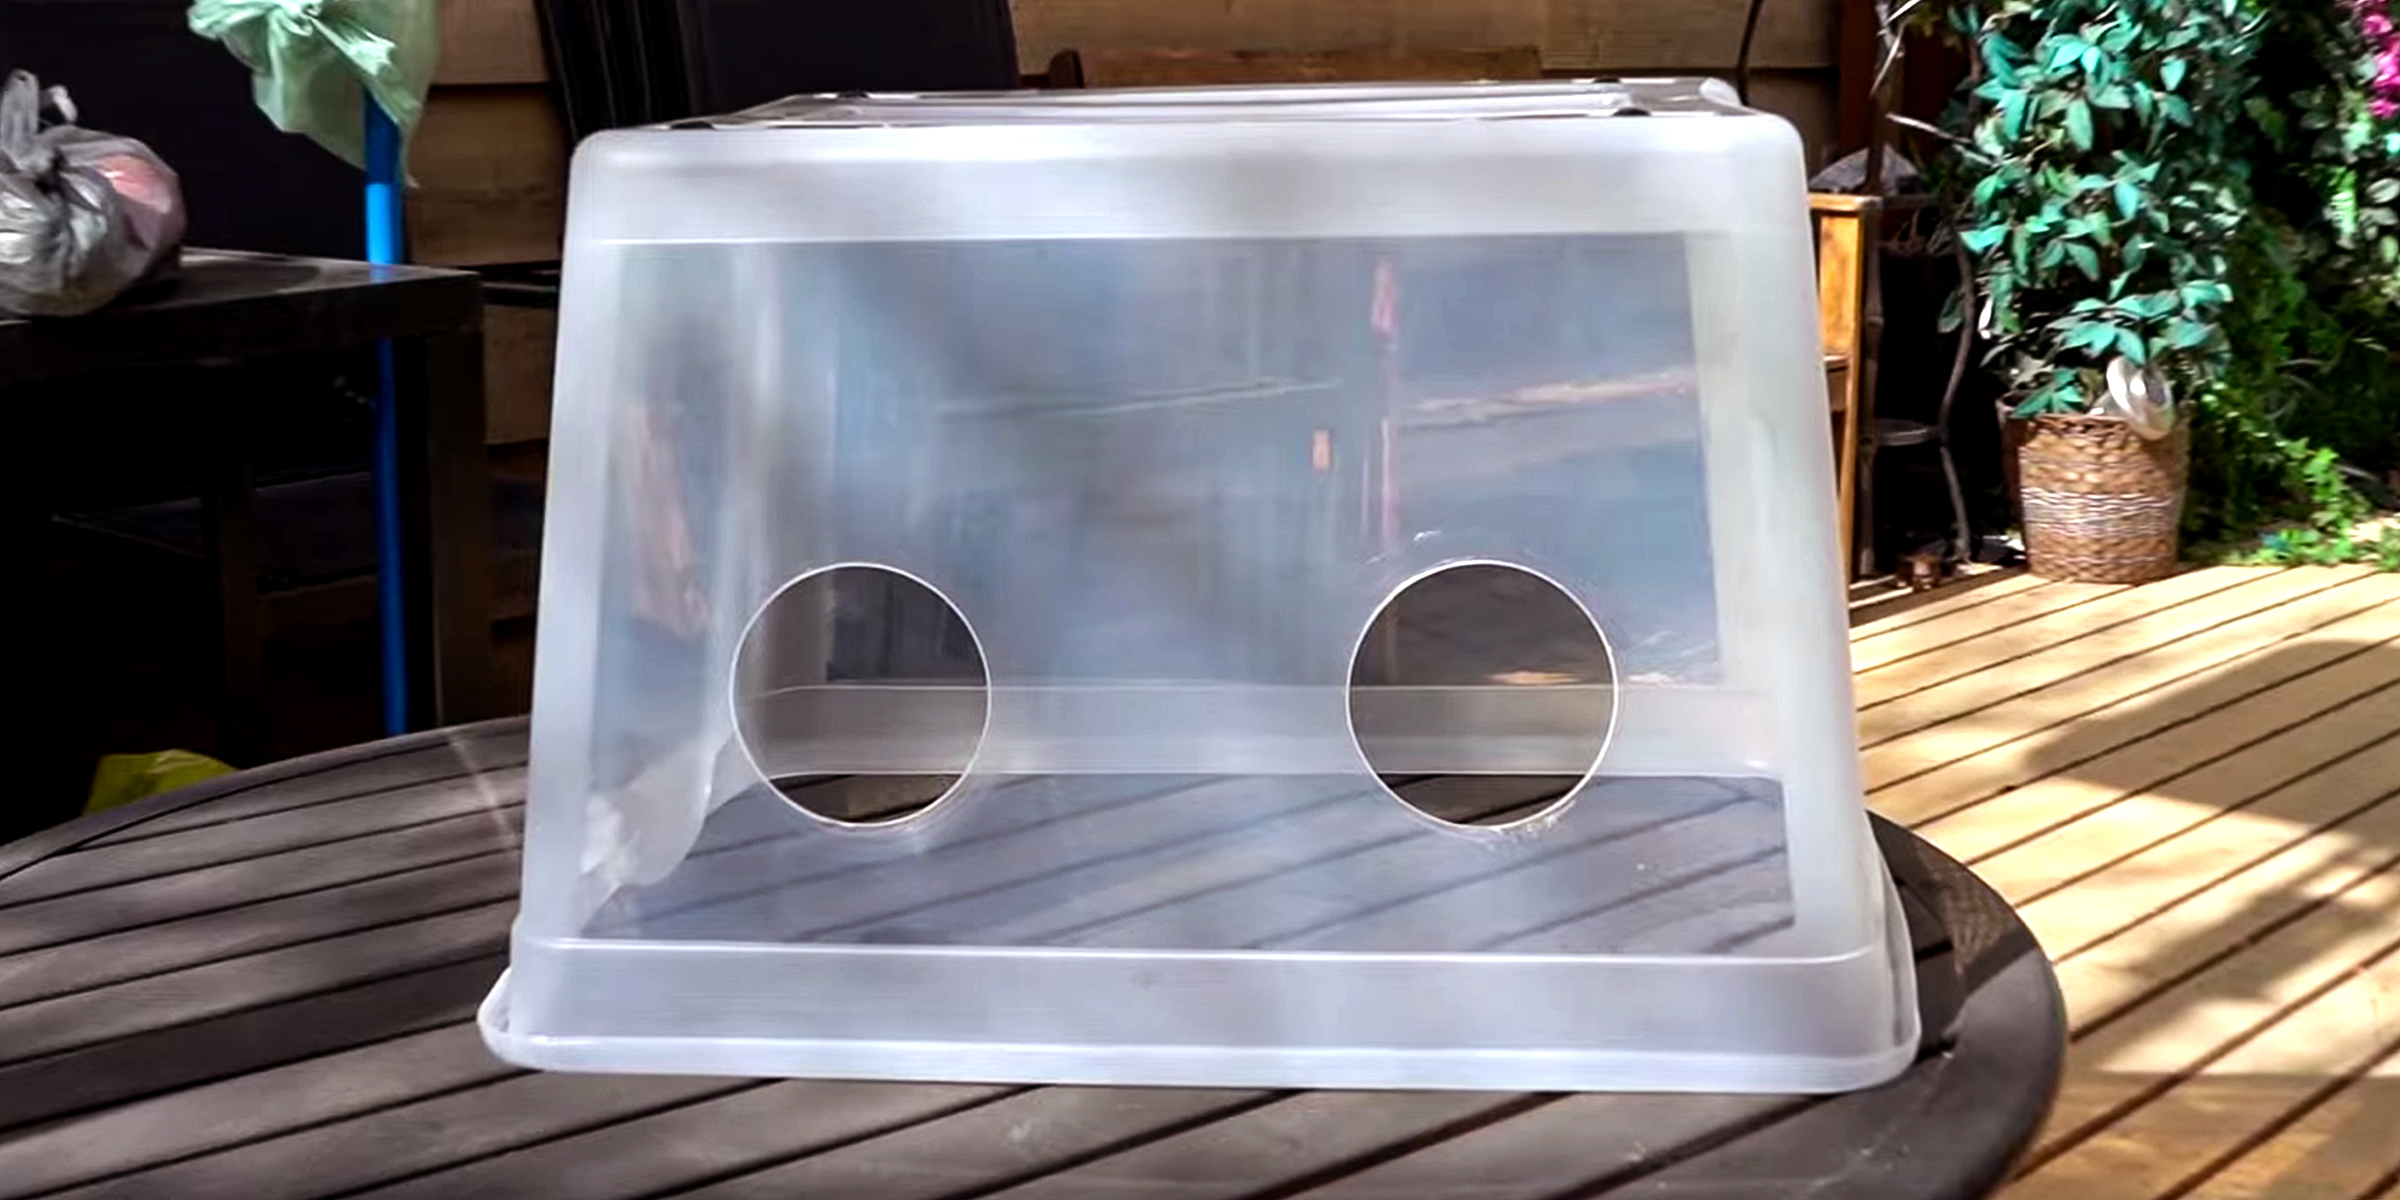
Transform your space with a DIY Litter Robot Enclosure that effortlessly merges smart technology with style. Despite their convenience, high-tech litter boxes can sometimes clash with home aesthetics. Fortunately, there's a stylish DIY solution!
Feb 14, 2024
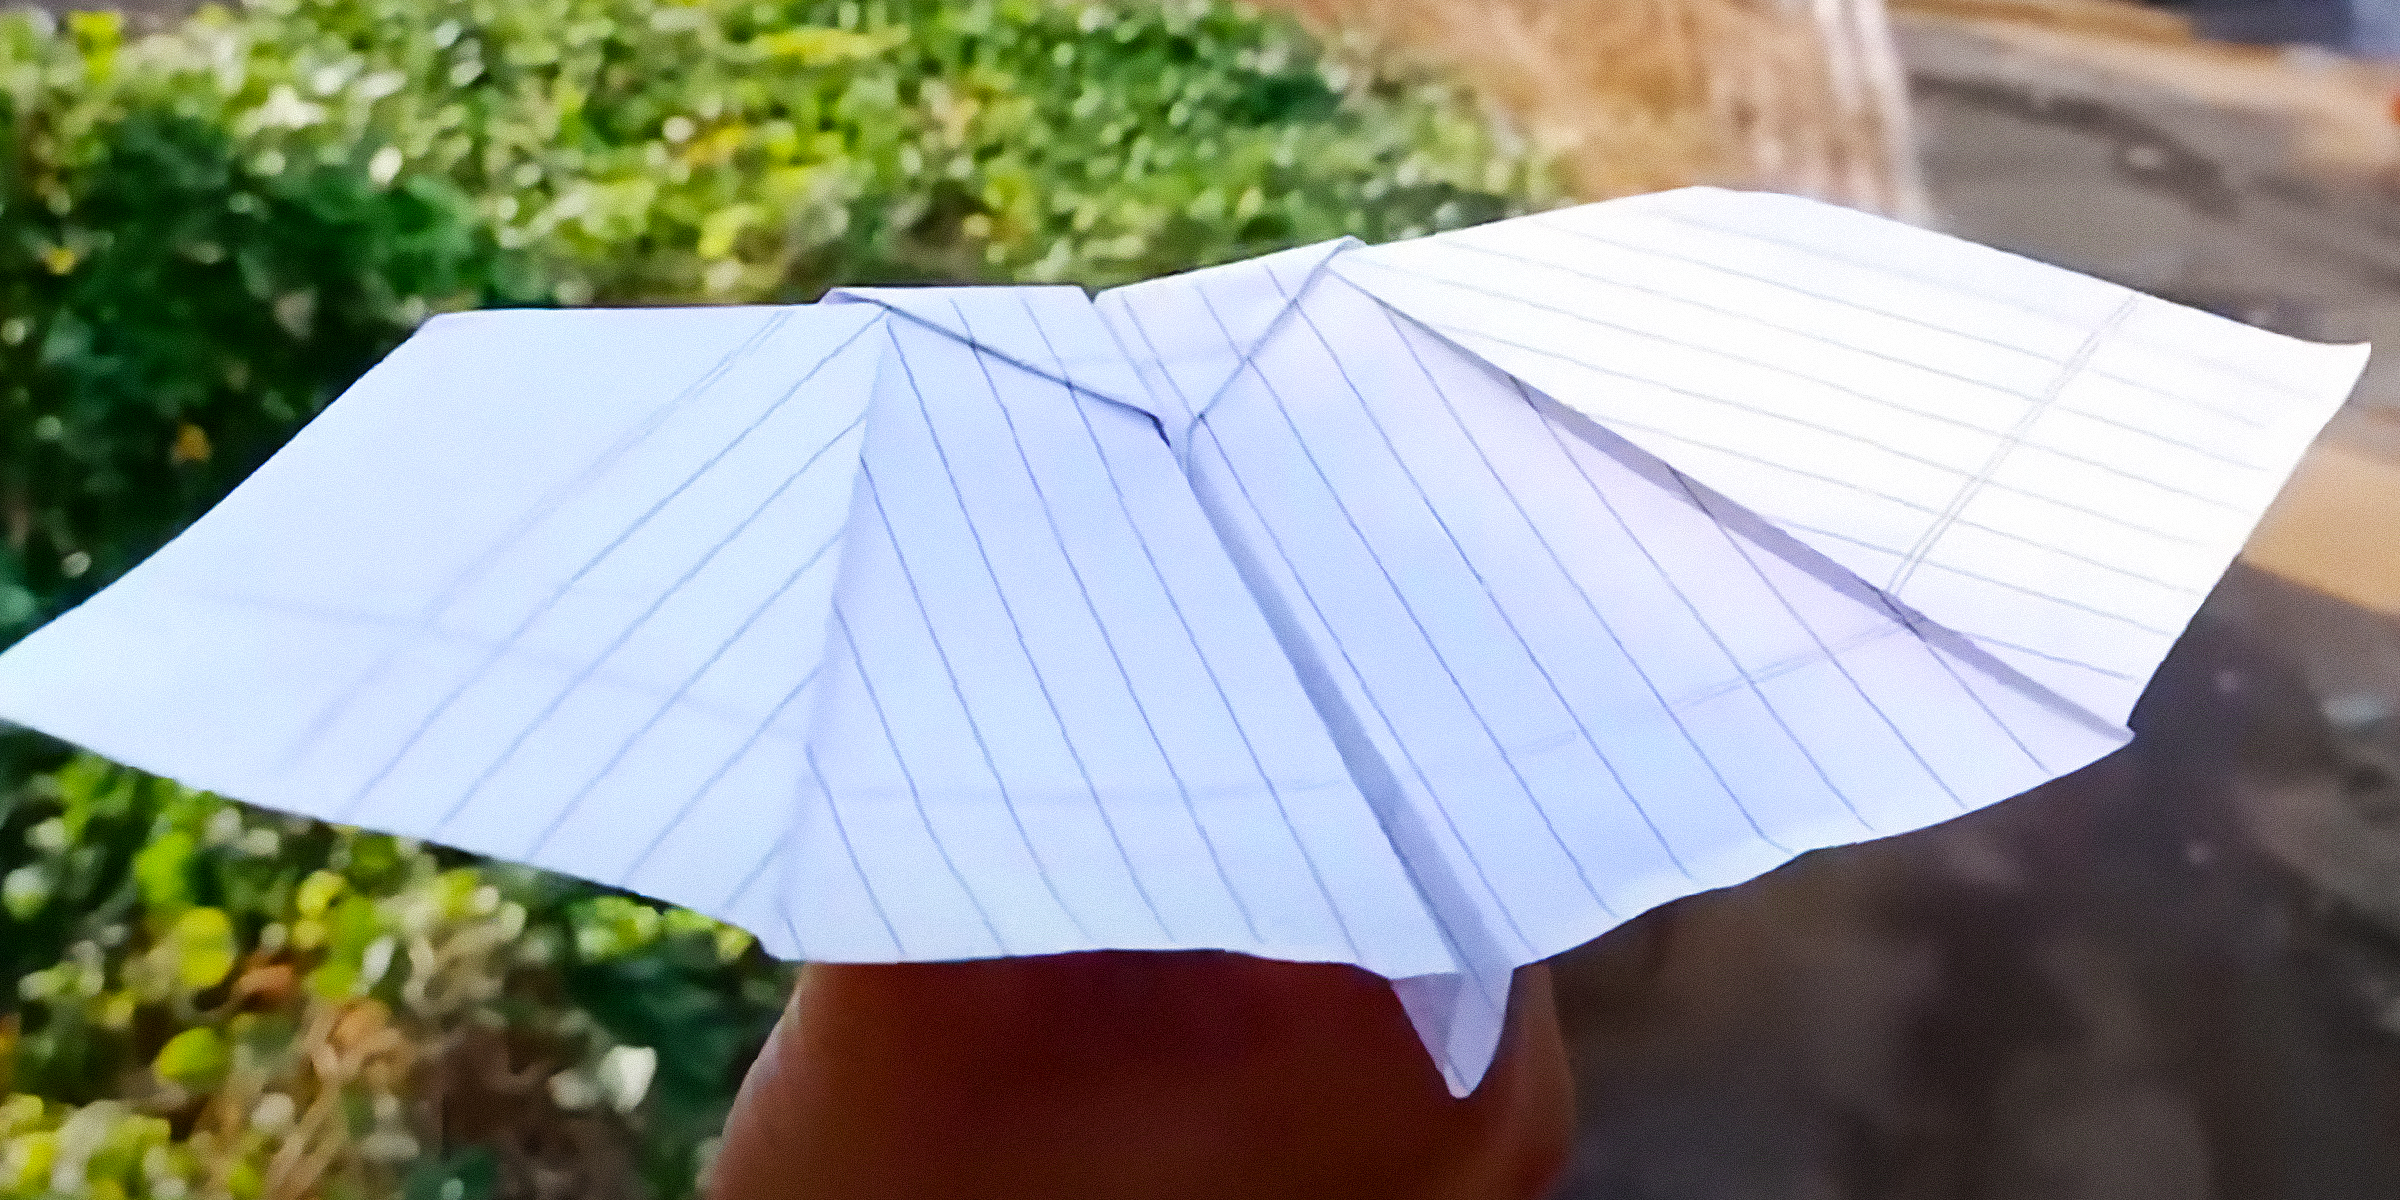
Paper planes have been around for thousands of years and have been the catalysts of human exploration into aerodynamics. In honor of the role these paper gliders have played in the history of this discipline, and simply for good fun, here's how to make a bat paper plane.
Jan 31, 2024

If your dog has a luxurious coat of fur, short or long, then you understand the necessity to brush your furry friend regularly. Detangler sprays make this routine grooming process easier. Here's how to make yours at home.
Jan 25, 2024
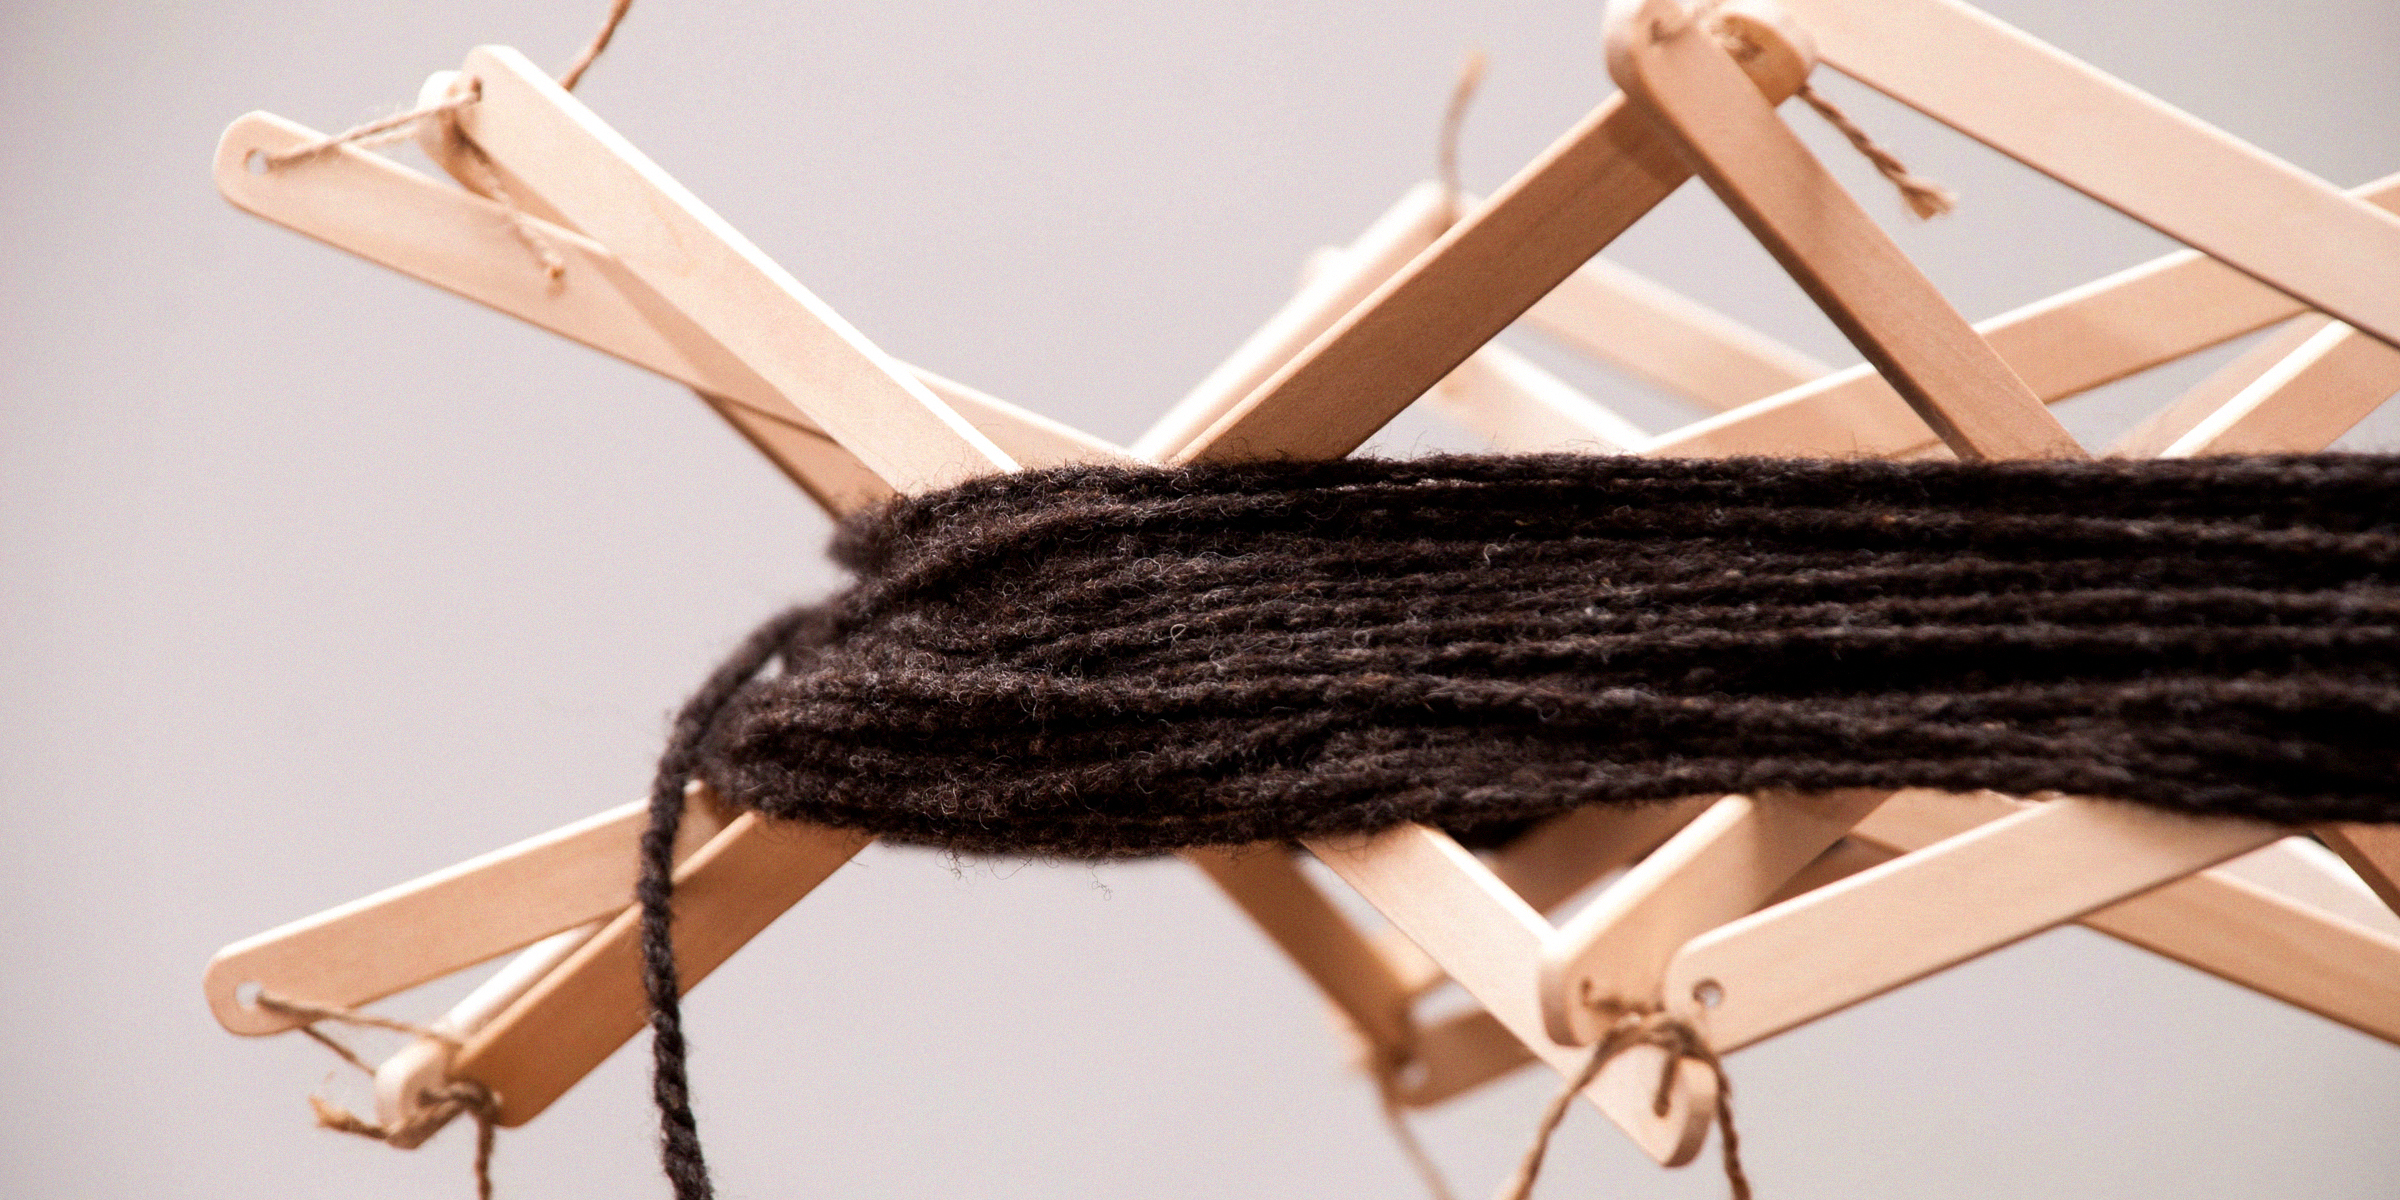
Embark on a journey to elevate your knitting prowess effortlessly and infuse each stitch with a personal touch through a DIY yarn swift. Unleash your creativity as you craft an affordable and convenient tool to elevate your knitting experience.
Feb 01, 2024

Handfasting is an old wedding tradition that beautifully demonstrates two people's love and commitment to one another. This symbolic act is said to date back over several millennia.
Dec 14, 2023