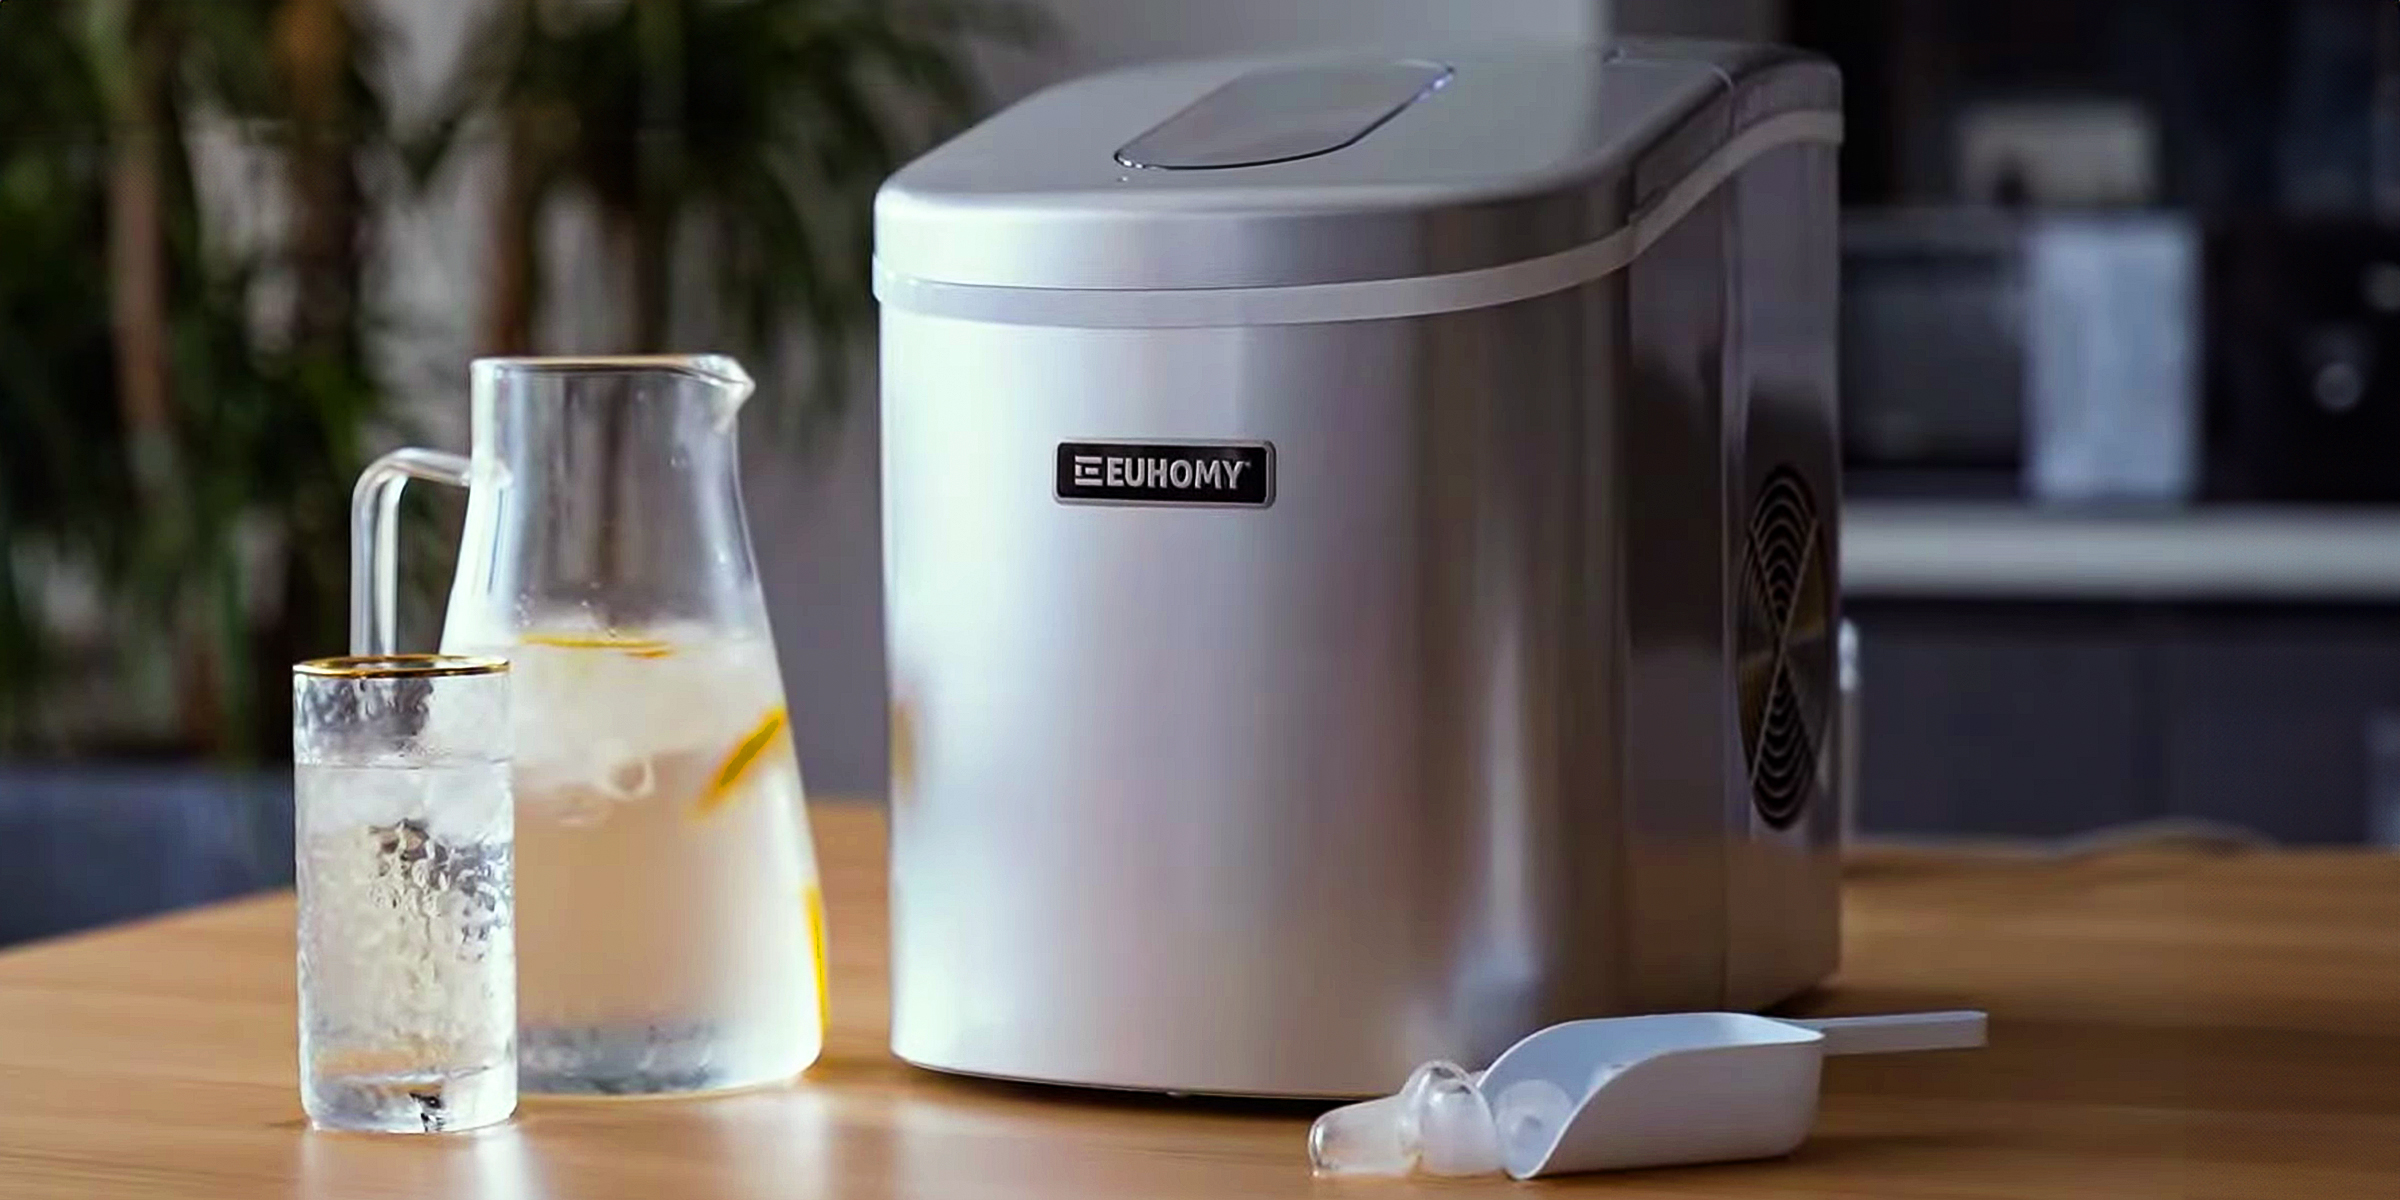
How to Clean Your Euhomy Ice Maker in 5 Easy Steps
Jan 16, 2024


Whiskey stones are tiny rocks that cool whiskey without watering it down, making them perfect for lovers of the liquor, who want to keep its original flavor. As these stones can be reused, it is important to clean them, and we'll show you how.
Whiskey stones—made of pure soapstone—allow you to control the temperature of your whiskey to your liking—whether slightly chilled or ice-cold. Unlike ice cubes, these stones keep whiskey cold without diluting it.
Because these stones can be reused, keeping them clean is essential. Without proper cleaning, whiskey stones might affect your drink's taste. Here are six simple steps to cleaning whiskey stones.

Whiskey with stones in a glass | Source: Shutterstock
To get you started, place the whiskey stones in a bowl or glass, ensuring they are fully covered by pouring hot water over them.
Alternatively, you can use the boiling technique by filling a container with enough water to submerge the whiskey stones completely. Place the pot on the stove and gradually bring it to a boil.

Submerge the whiskey stones in a bowl containing warm water. | Source: Pexels
Add a couple of drops of gentle soap to the water; you may also opt for a mild dish soap to cleanse the stones effectively.
Allow the stones to soak for a few minutes. The soaking duration facilitates loosening any dirt or residue that might have accumulated.

Opt for a mild dish soap when cleaning the whiskey stones. | Source: Pexels
Following the soaking phase, seamlessly move on to the cleaning step using a soft cloth or brush to scrub any dirt or residue from the stone surface.
An alternative method involves using a soapy sponge to clean all surfaces and crevices of the whiskey stones thoroughly.

Use a soft cloth or brush to scrub away dirt from the whiskey stones. | Source: Pixabay
Once you have given those stones a good scrub, the next step is to thoroughly rinse them under warm water to wash away all traces of soap residue.

Clean the whiskey stones by washing them in warm water. | Source: Pexels
After thoroughly rinsing the whiskey stones, pat them dry using a clean towel. You may opt for air-drying by placing the stones on a dry paper towel.
Allow a few hours for them to completely dry before storing. This technique ensures the stones are free from excess moisture and ready for their next use.

Air dry whiskey stones or pat them dry with a paper towel. | Source: Shutterstock
When it comes to storing your whiskey stones, opt for a cool, dry spot away from direct sunlight and moisture. For extended storage, keep them in top condition with a vacuum-sealed container.
For instant readiness, store them in the freezer or refrigerator. Specifically crafted for freezer storage, premium stainless steel whiskey stones should be sealed in an airtight bag or container before chilling.

Store whiskey stones in the freezer in an airtight bag or container. | Source: Shutterstock
Following these steps ensures your whiskey stones stay in top condition for your next pour, preserving the true essence of your favorite whiskey. Cheers to enjoying a perfectly chilled drink!
Just as we aim to savor the flavor of our drinks, maintaining the deliciousness of our food, especially when it's grilled, is crucial. Learn how to create a DIY Argentine grill for an extraordinary culinary experience.
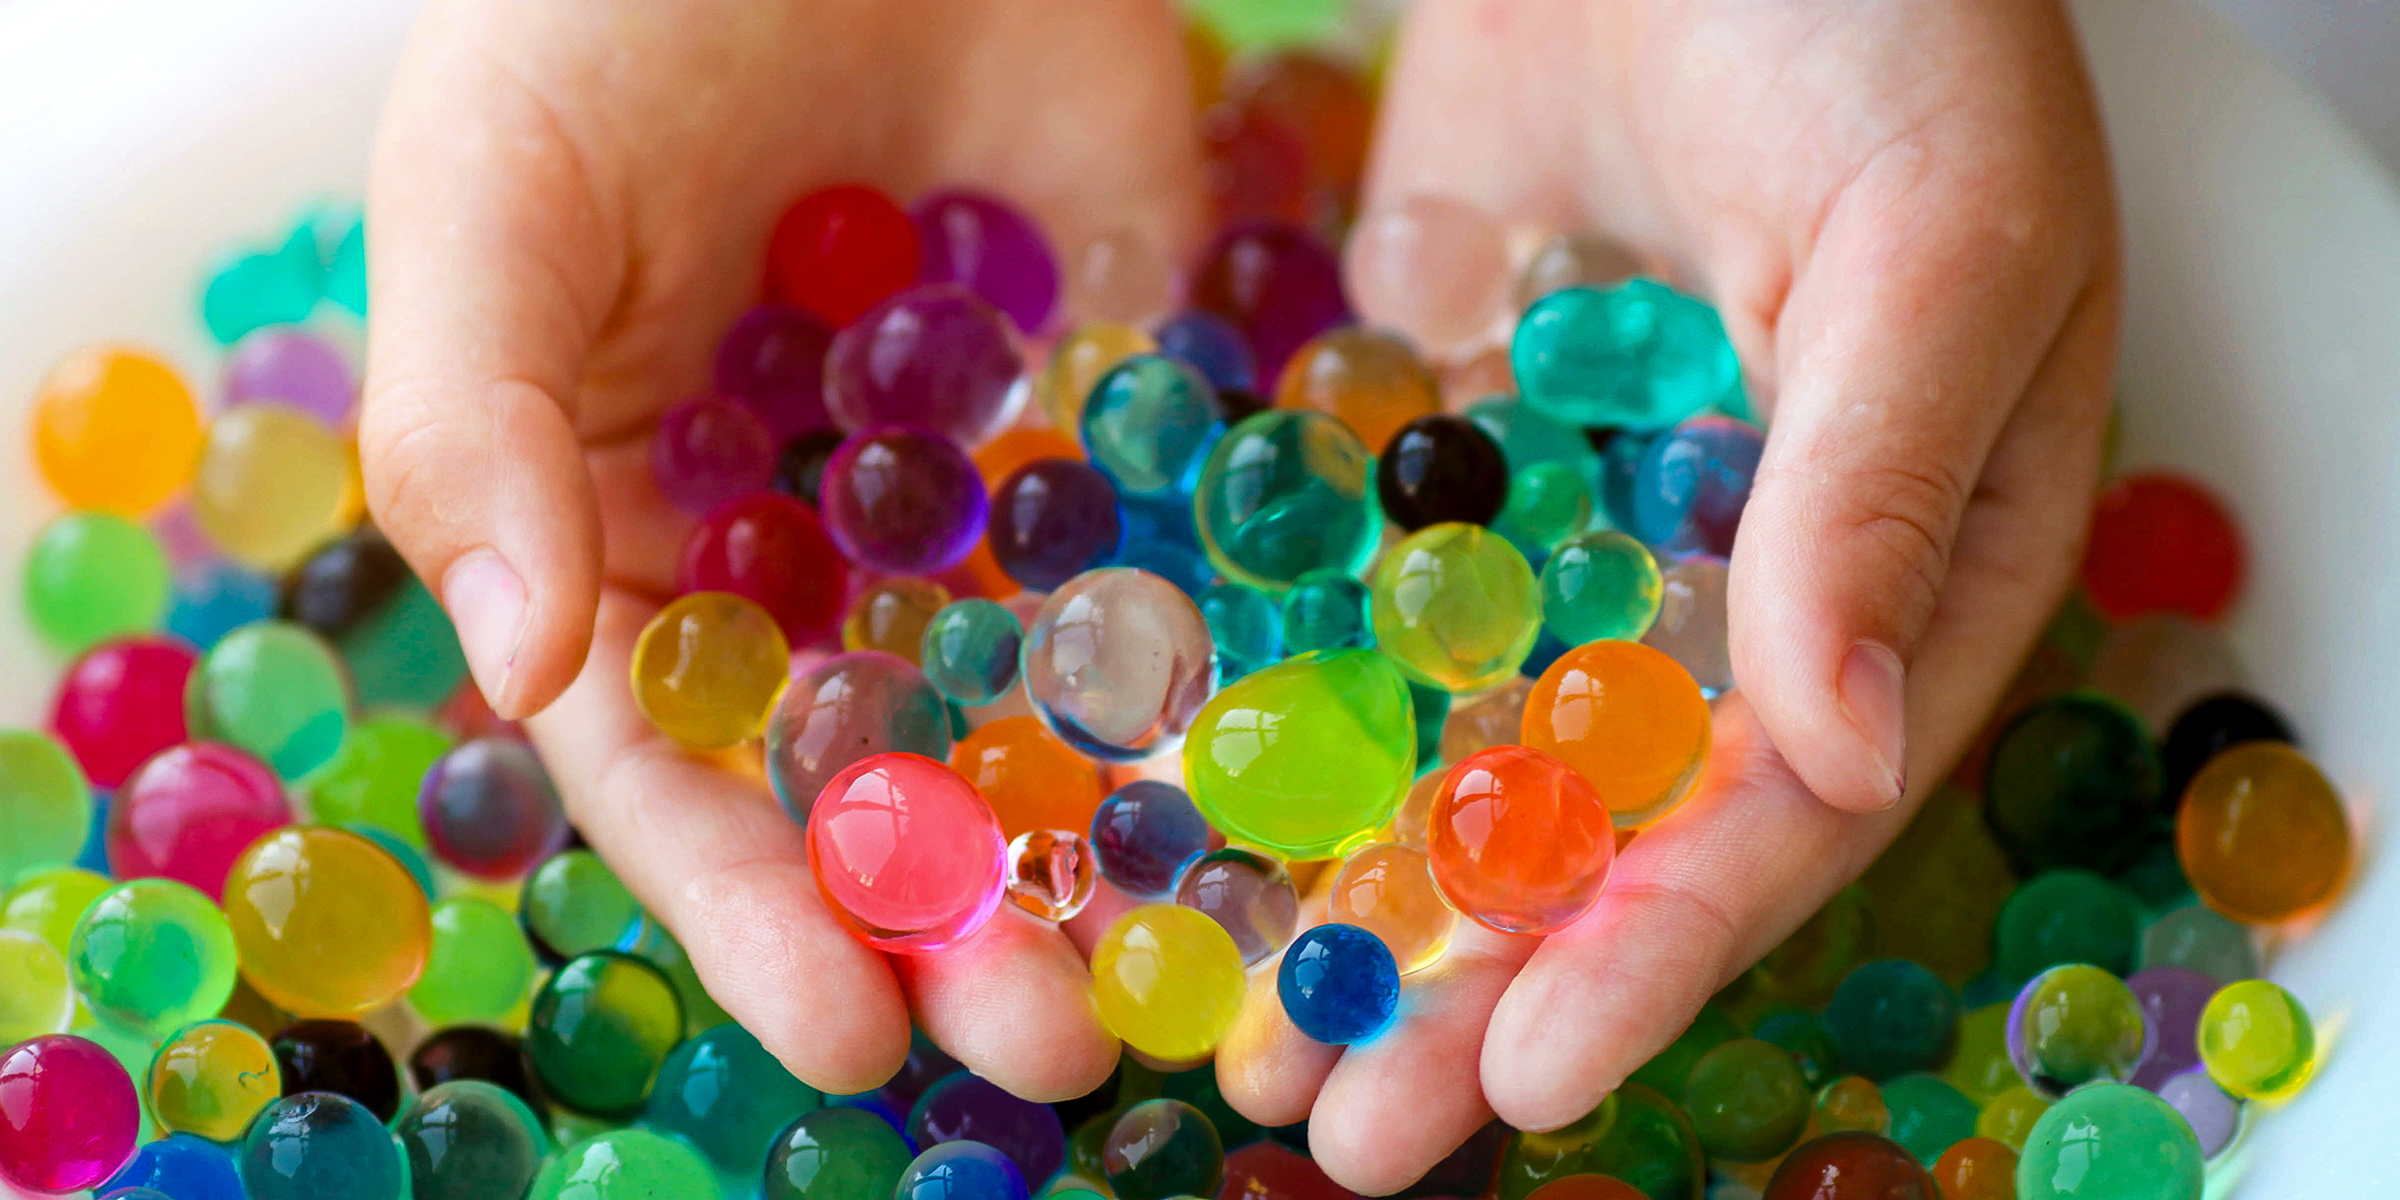
Orbeez, known as gel balls, can soak up water and expand into soft, jelly-like balls. Fans of this fun toy often want to make their Orbeez grow faster. Here are five simple ways to speed up the process.
Jan 20, 2024
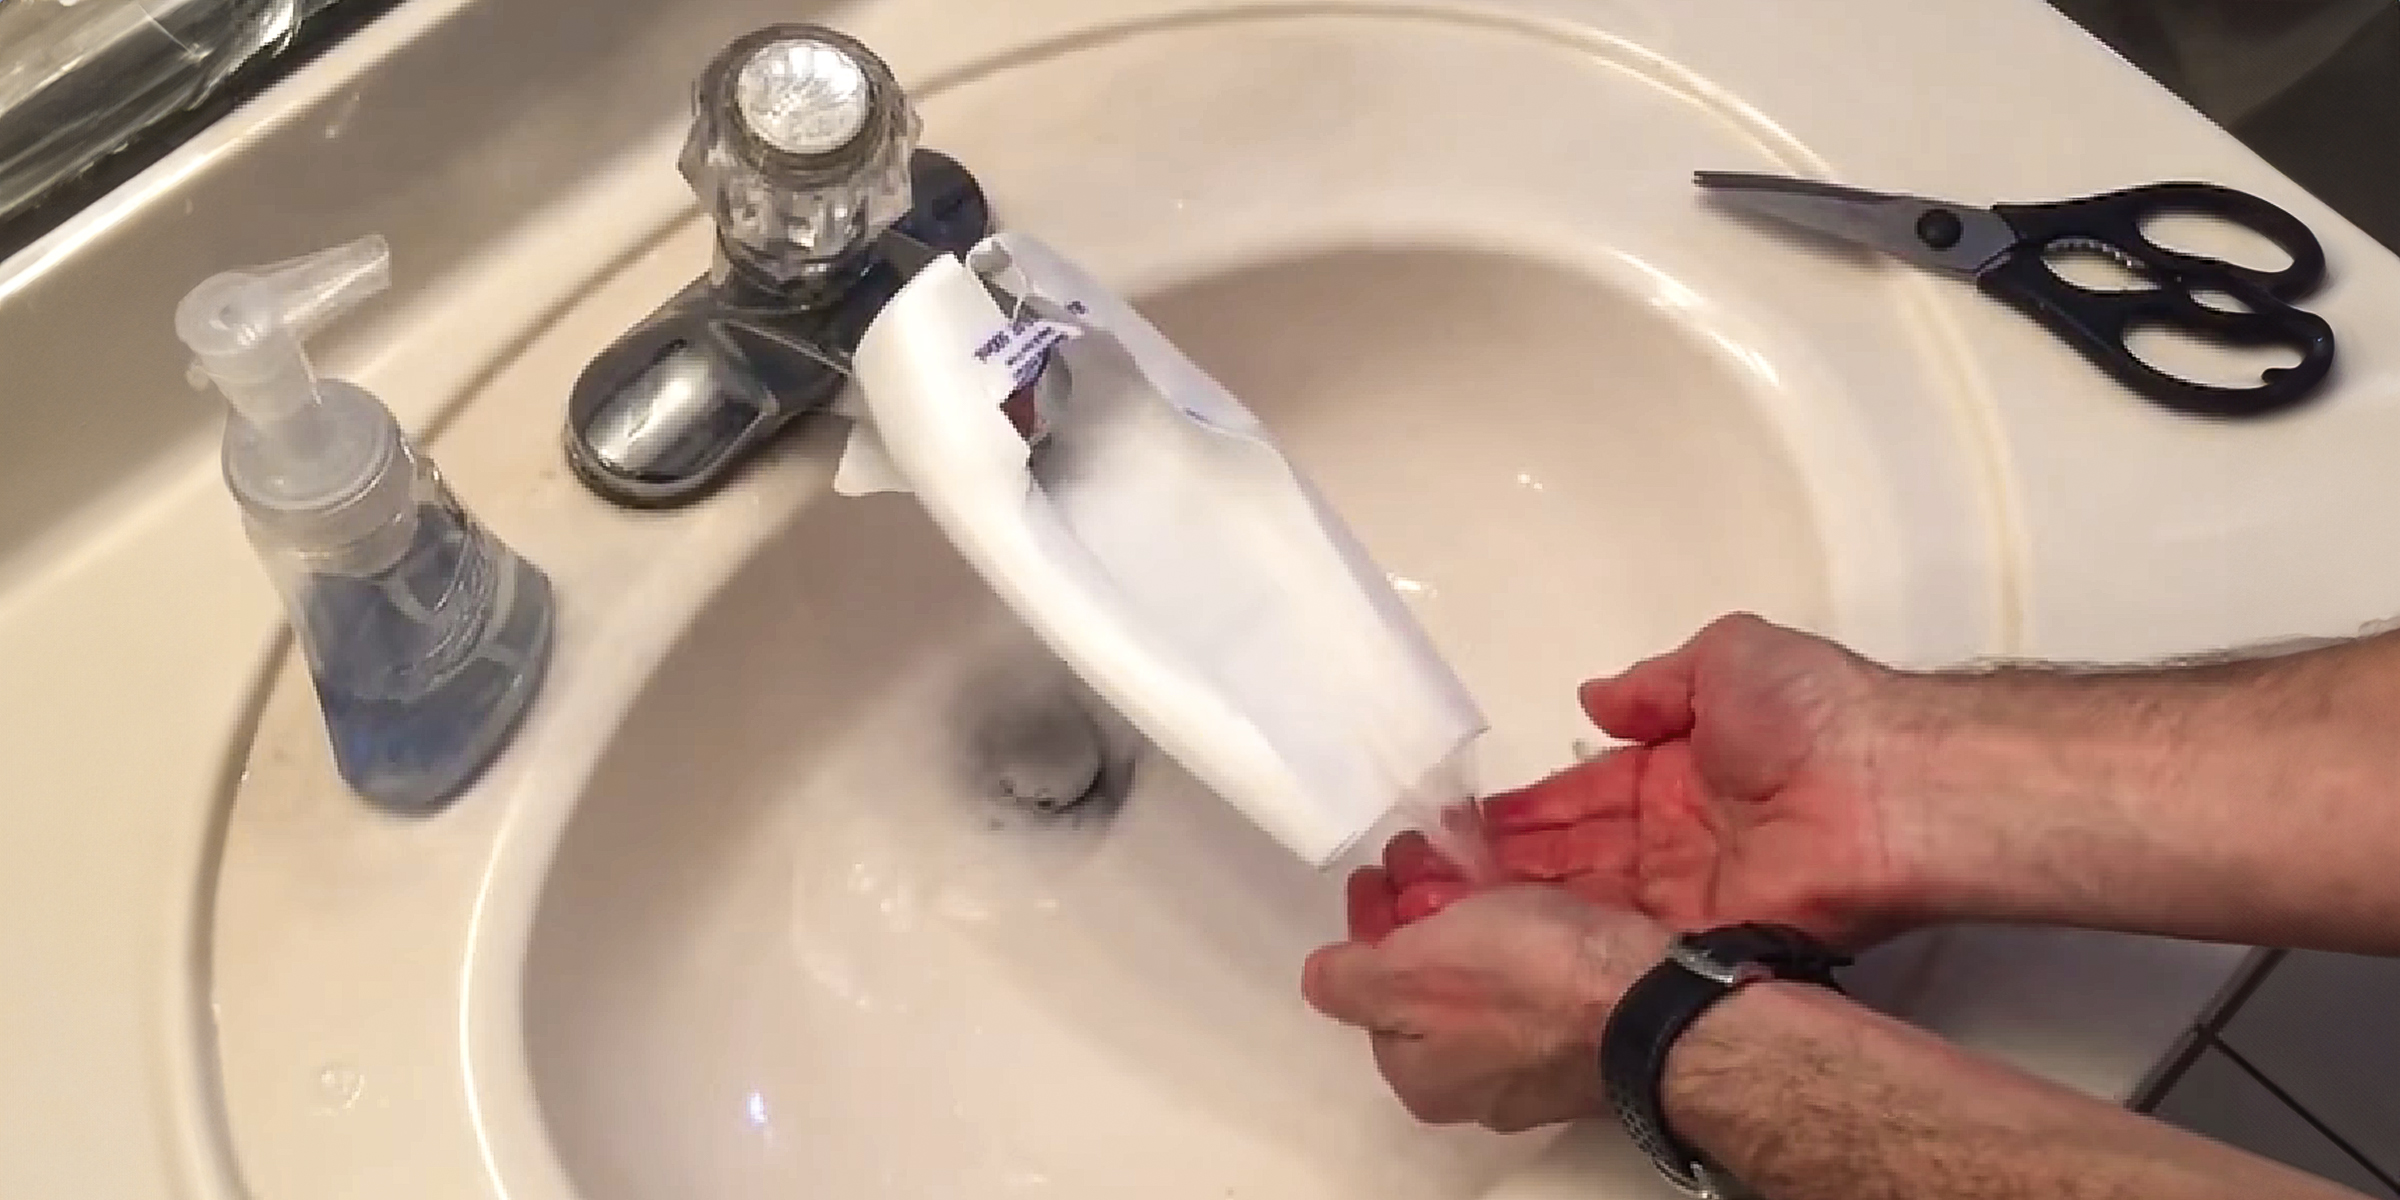
If you're dealing with the challenge of little ones struggling to reach faucets, a practical solution is to craft a DIY faucet extender. You can easily accomplish this in just a few simple steps.
Feb 05, 2024

Aluminum trailers play a crucial role in transporting our goods effectively. To keep aluminum trailers looking and performing their best, cleaning them regularly is essential. Here are steps on how to clean aluminum trailers.
Jan 10, 2024
Most people often find themselves perplexed by the terminology used to describe various aspects of a room, especially when it revolves around the concept of an attached bathroom.
Jan 30, 2024
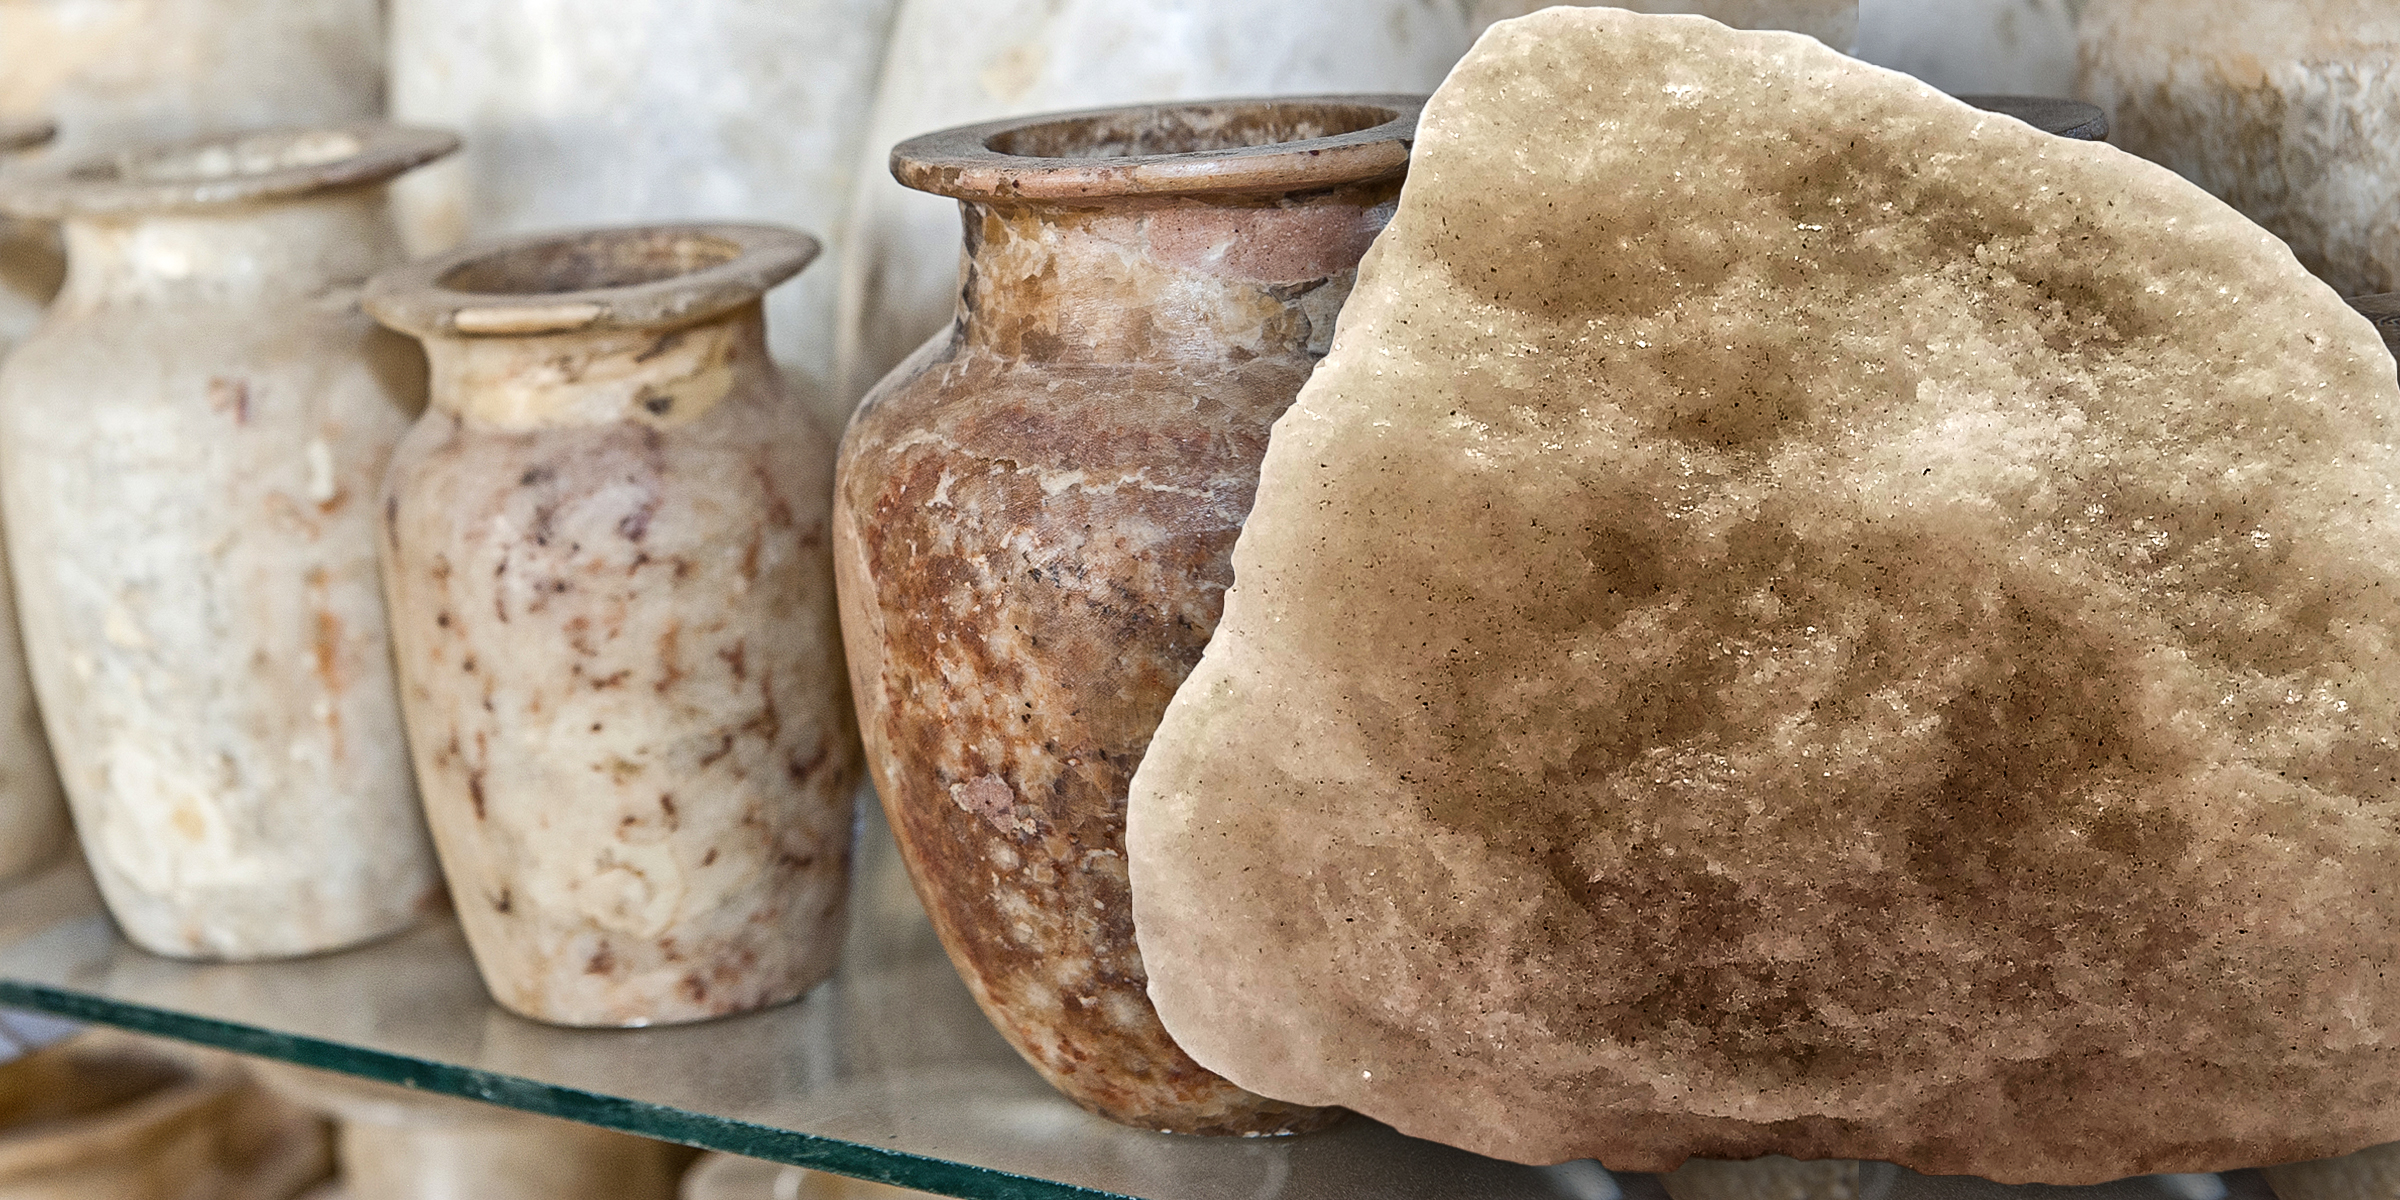
Stone carvers have been fascinated by alabaster for centuries. Although alluring, this kind of stone is prone to scratching. If you're curious about how to clean alabaster on your own, follow these easy steps for effective cleansing.
Jan 11, 2024
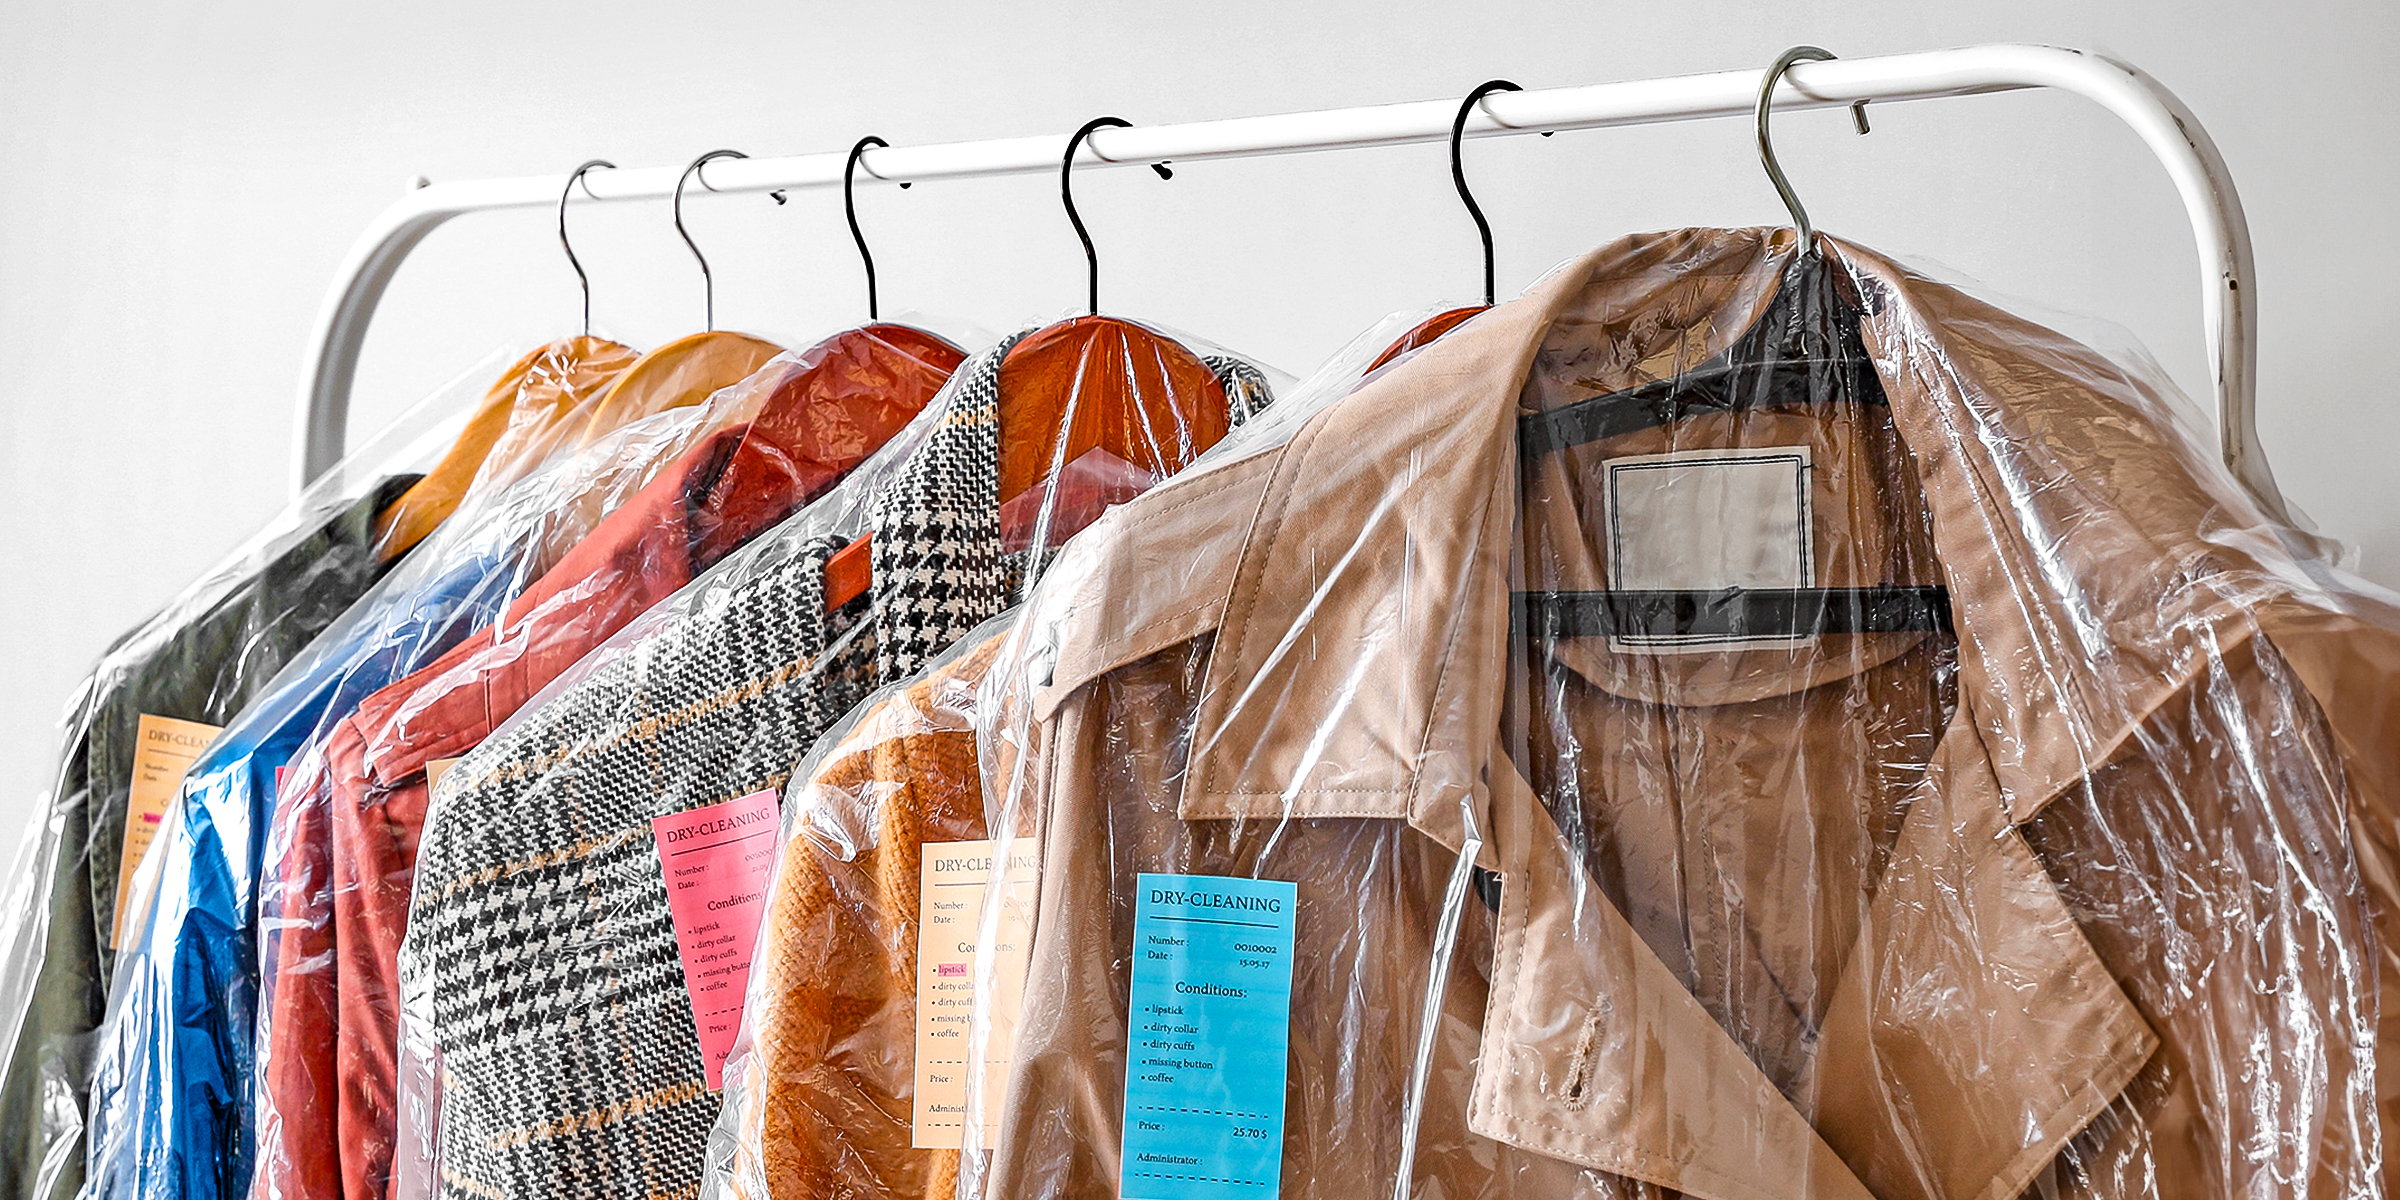
Does dry cleaning remove the smell? Maintaining delicate fabrics while eliminating unwanted odors is a common concern for those seeking to keep their wardrobe pristine and embarrassment-free in public spaces.
Feb 25, 2024

The presence of pollen in the pool is a common concern among pool owners. With the right techniques, combating pollen buildup in your pool is manageable, ensuring crystal-clear waters. Learn how to get rid of pollen in your pool with the solutions outlined below.
Feb 22, 2024
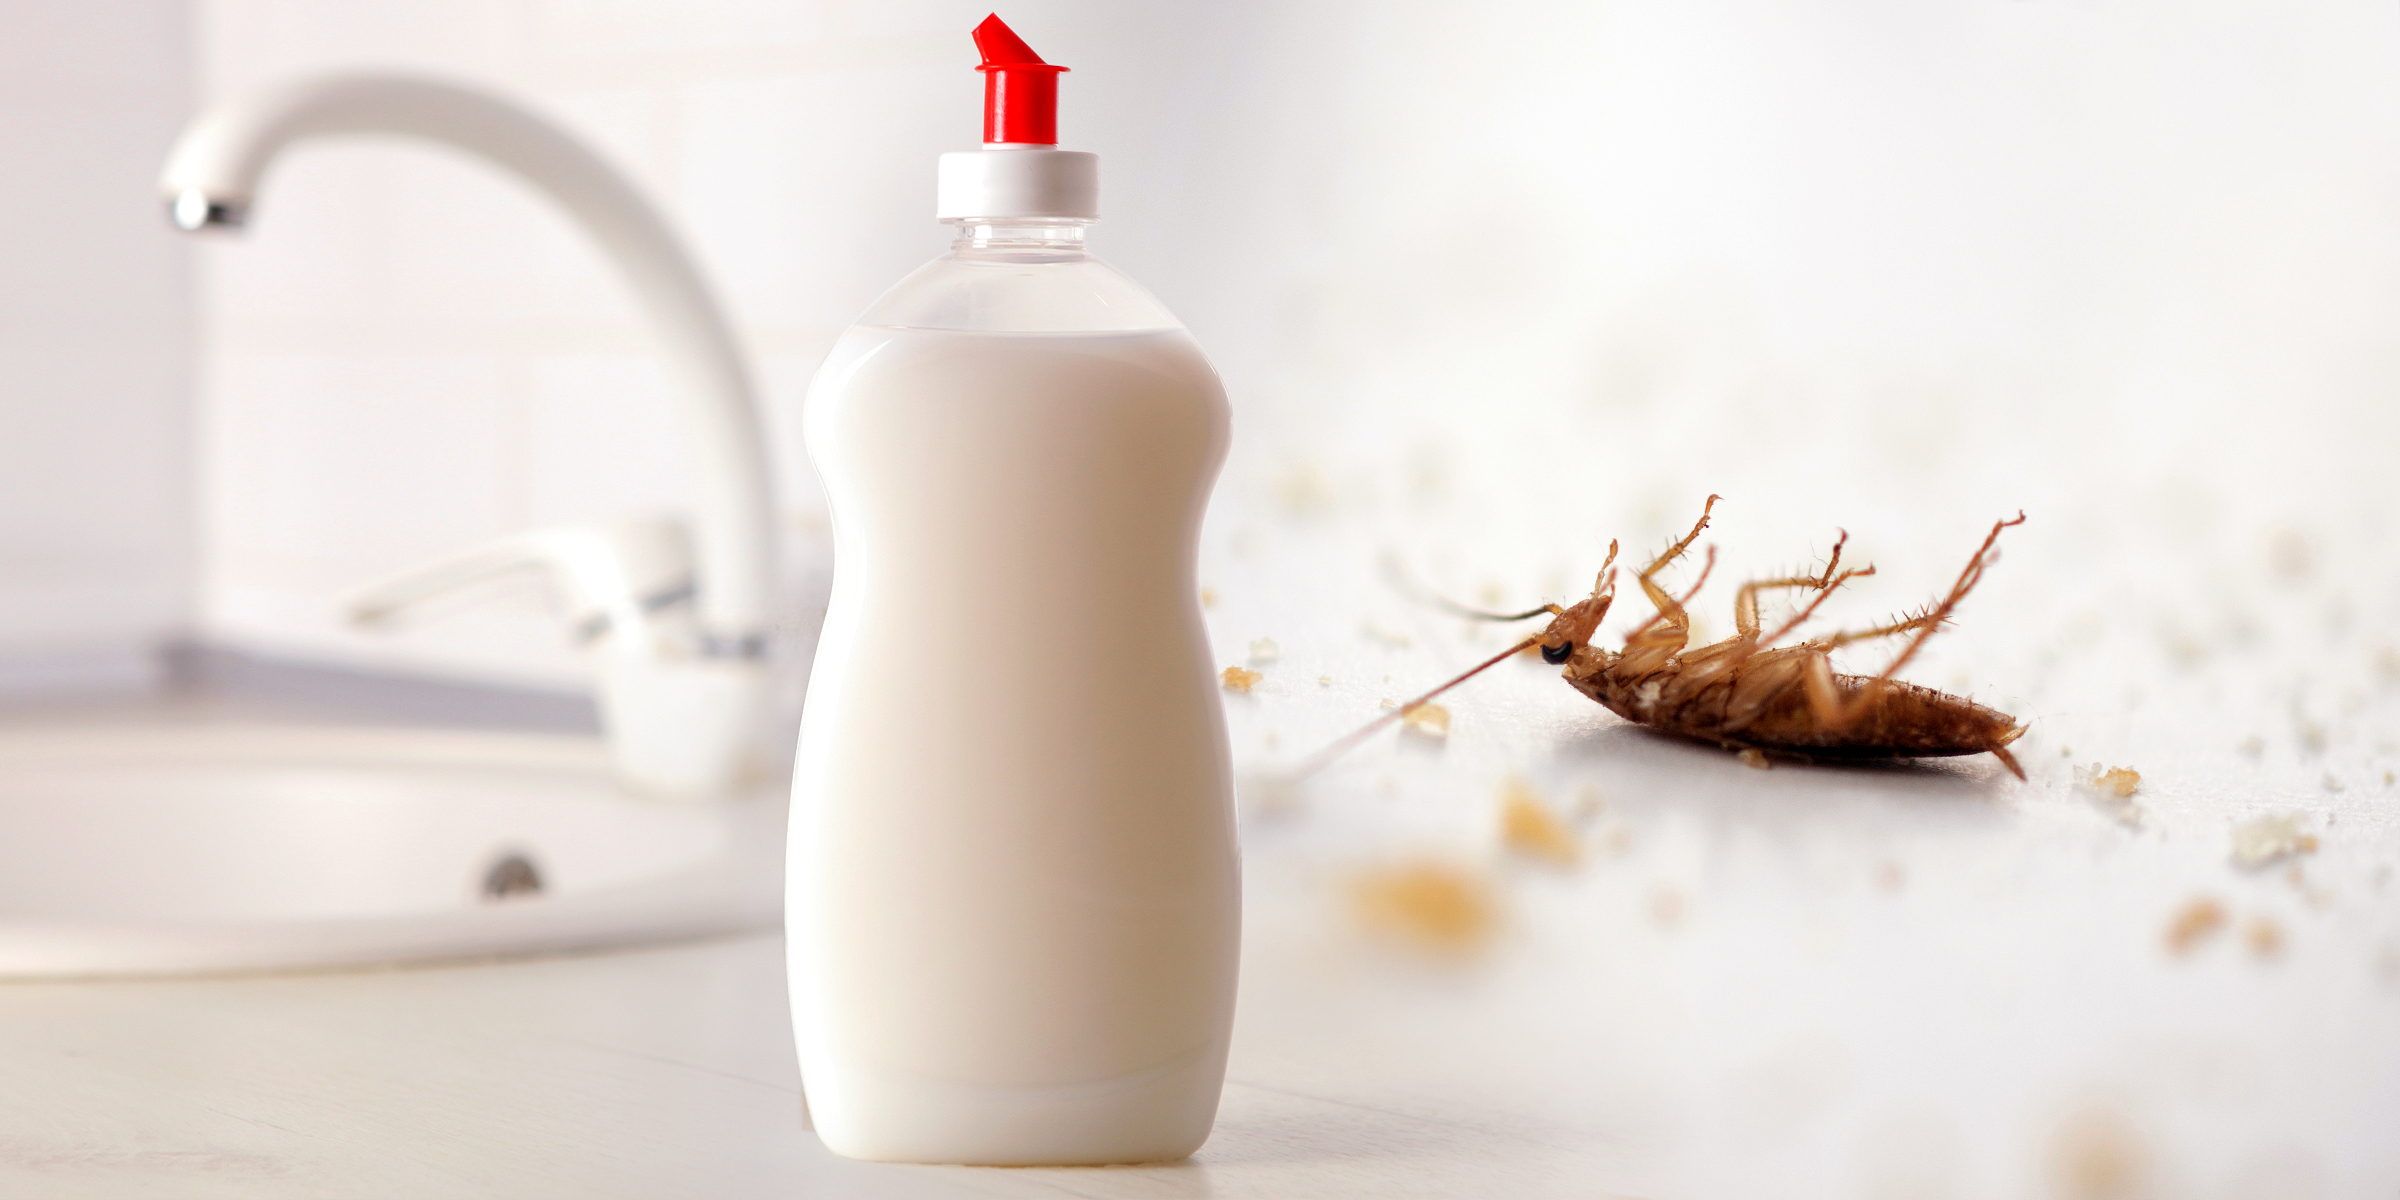
Are you battling a roach invasion but hesitant to use harsh chemicals? You might be eyeing that bottle of dish soap on your counter and wondering, "Does dish soap kill roaches?" The answer below offers a simpler solution to your pest problem.
Mar 30, 2024
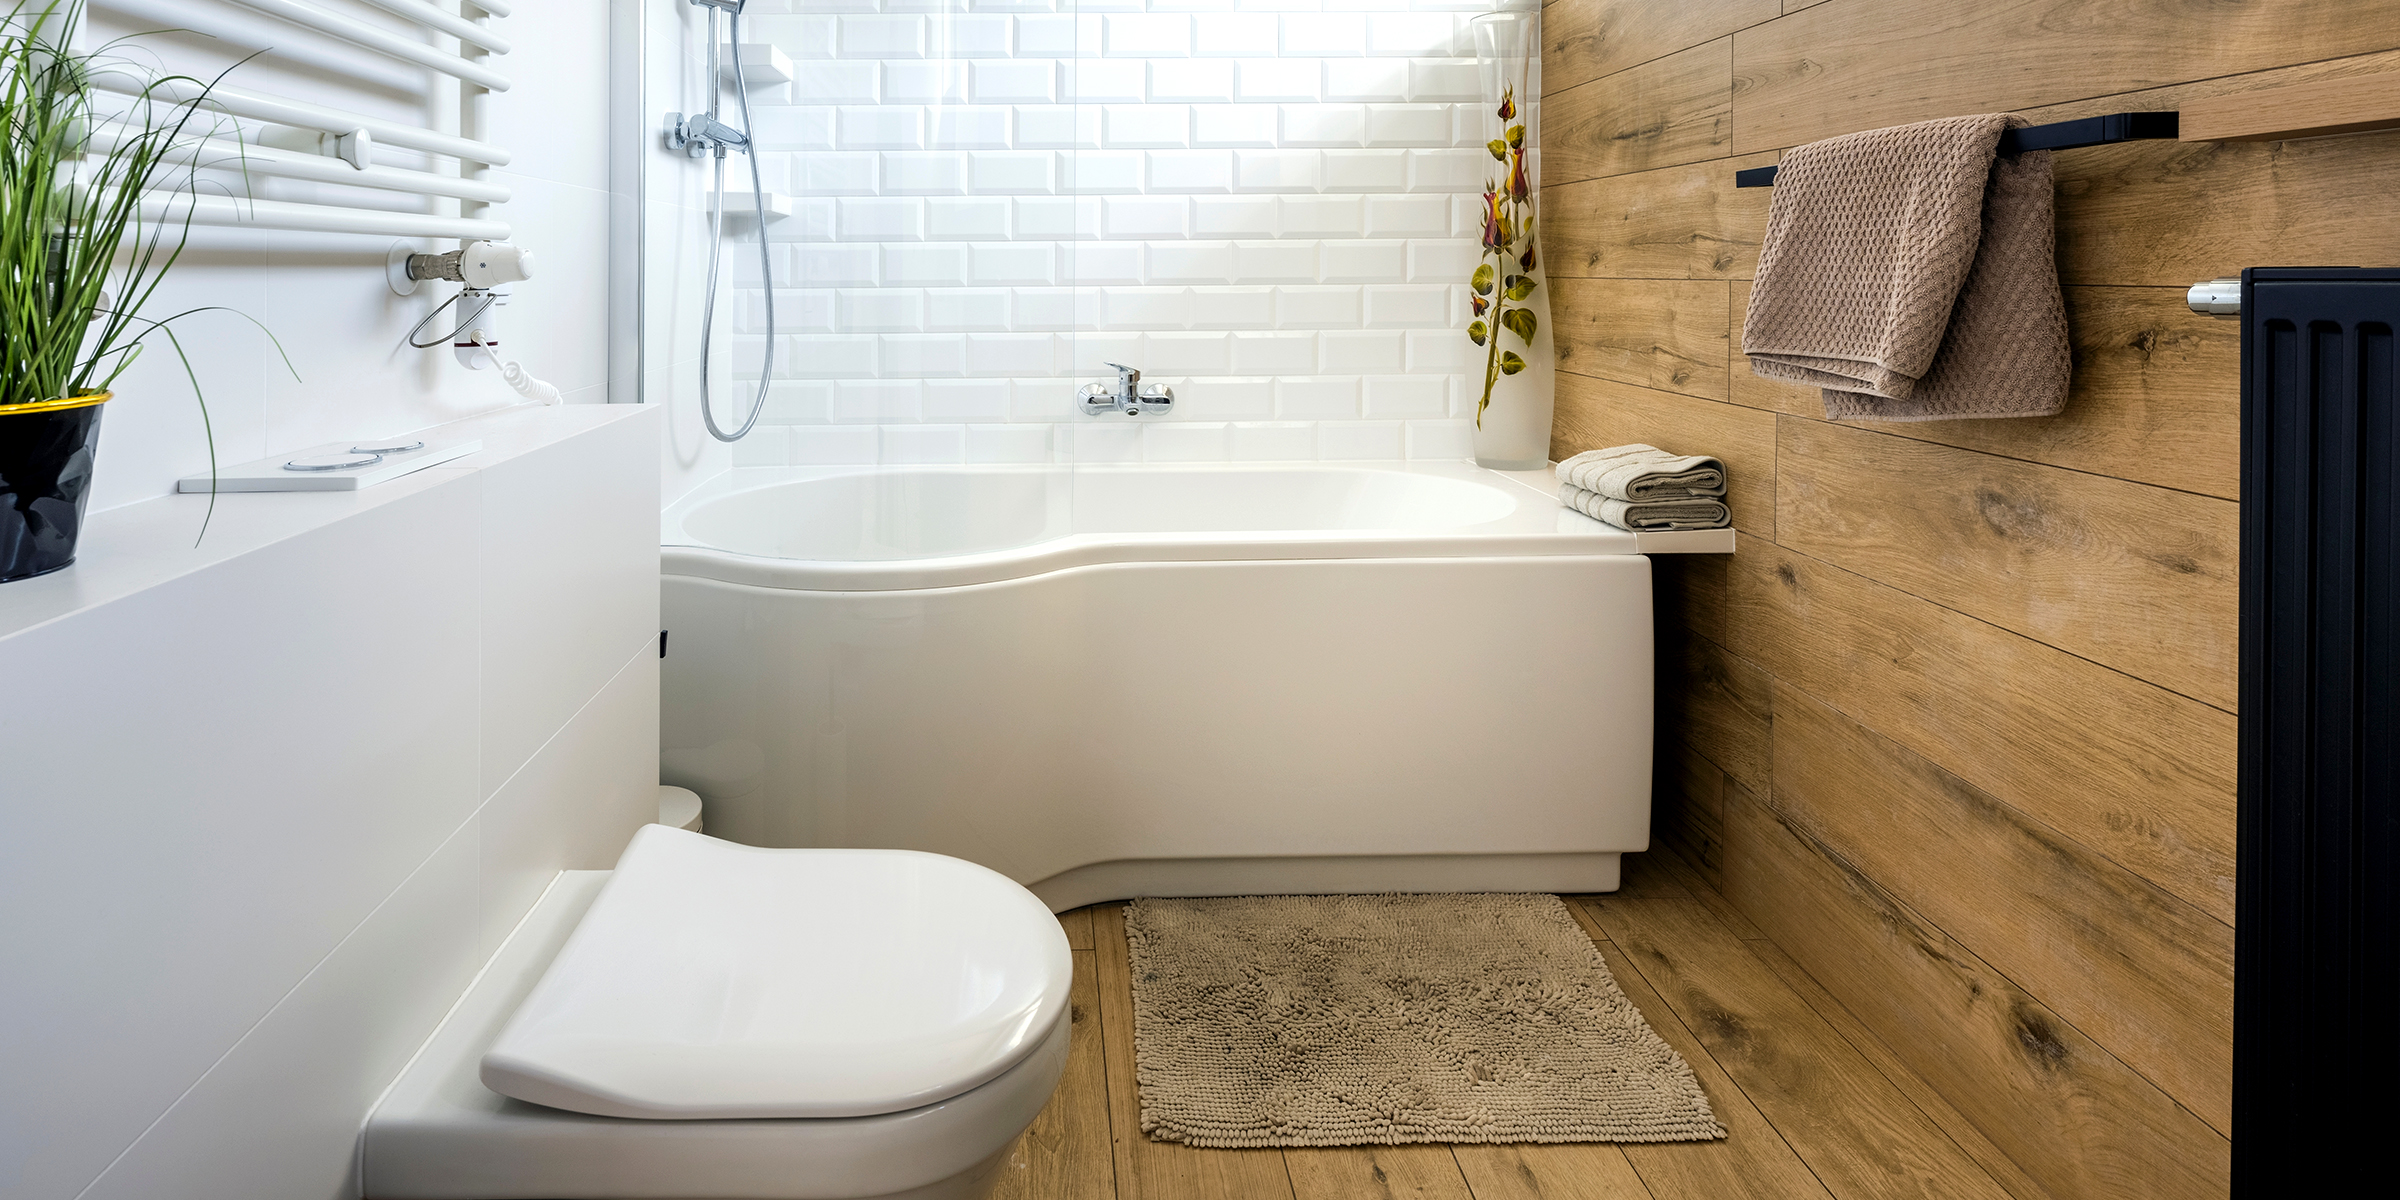
No matter how sophisticated your bathroom is, it can still accumulate odors, which can be embarrassing when hosting guests. The fishy smell in the bathroom can have various causes, and it's crucial to identify and eliminate its source.
Jan 28, 2024
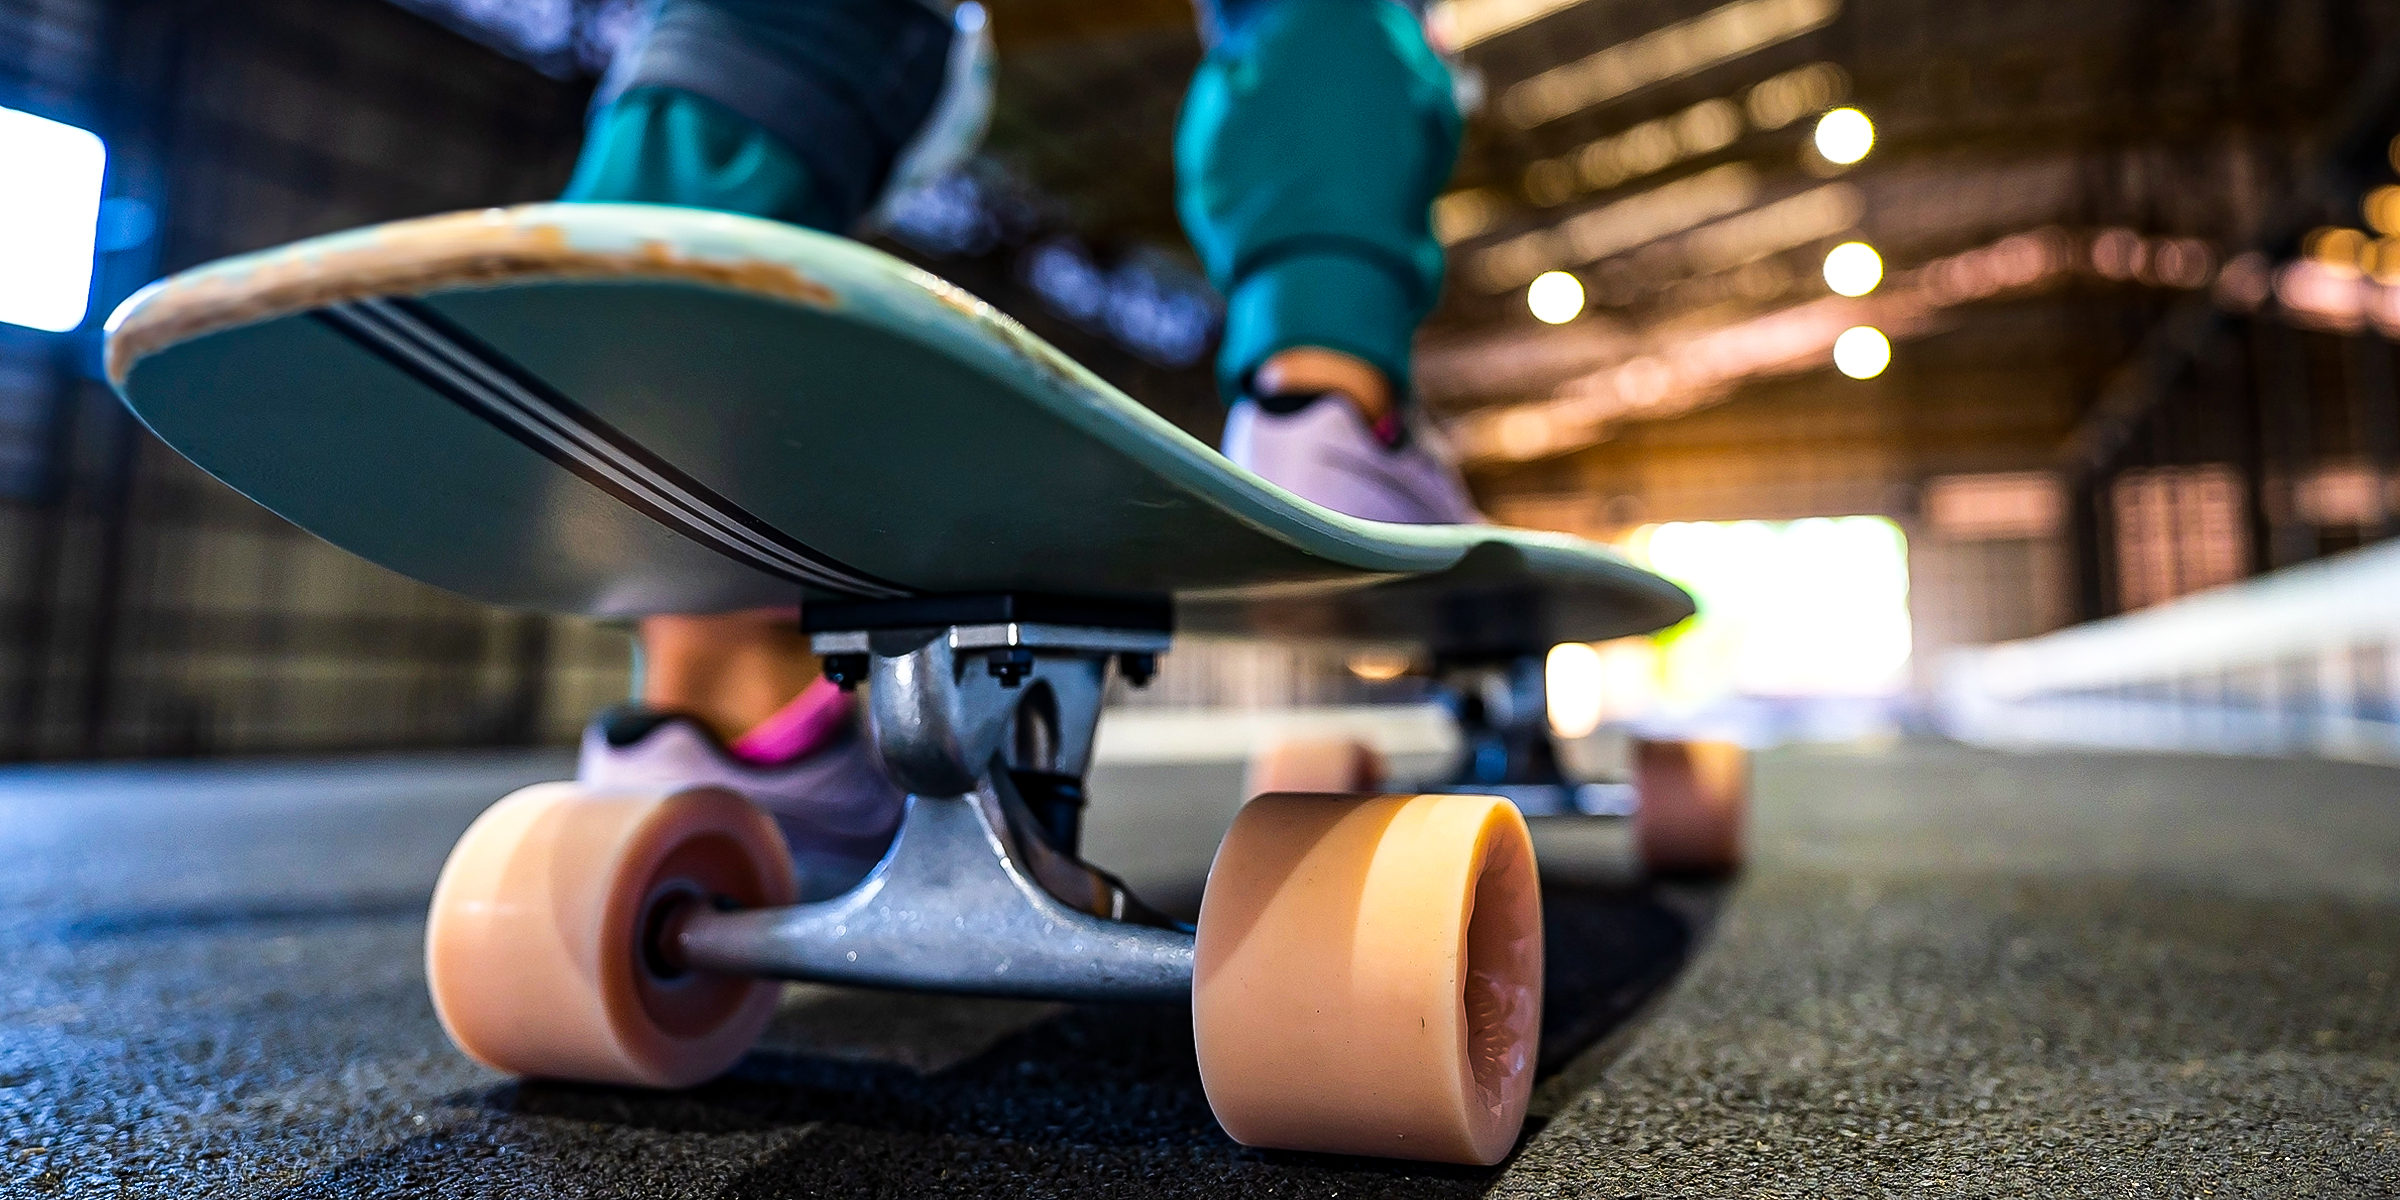
Giving a skateboard as a gift? Wrapping it can be tricky, but we've got you covered. If you have a box that fits the skateboard, great! If not, no worries. Here's how you can wrap a skateboard in 3 easy steps.
Jan 31, 2024
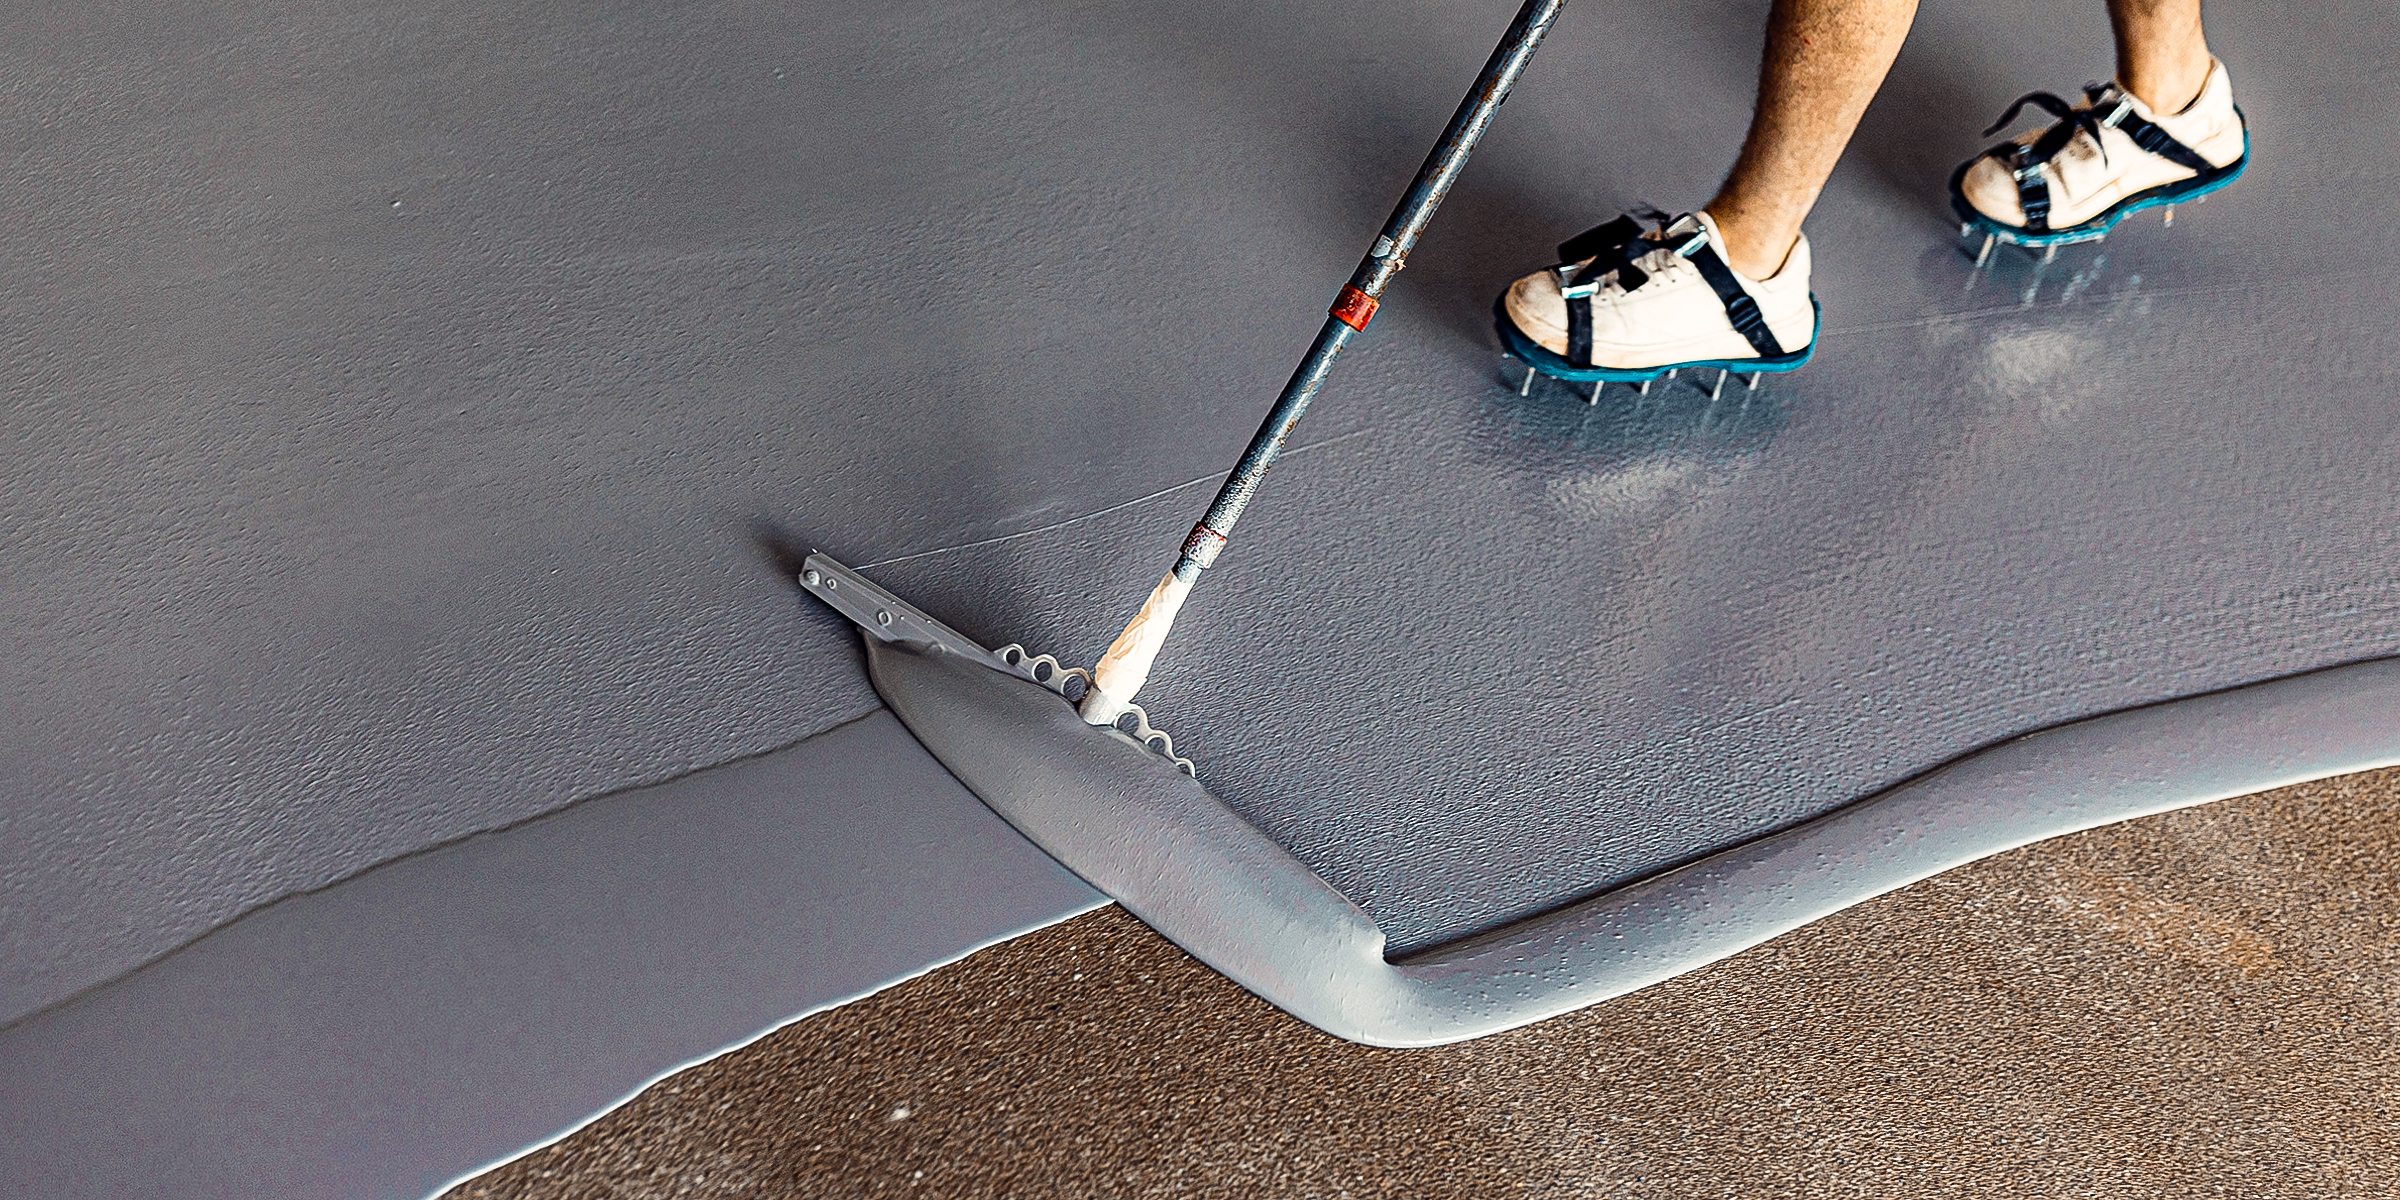
Being exposed to the smell of epoxy in your home is challenging. The strong and long-lasting odor makes it hard to relax or work comfortably. Discover three easy methods to neutralize this persistent scent.
Feb 26, 2024
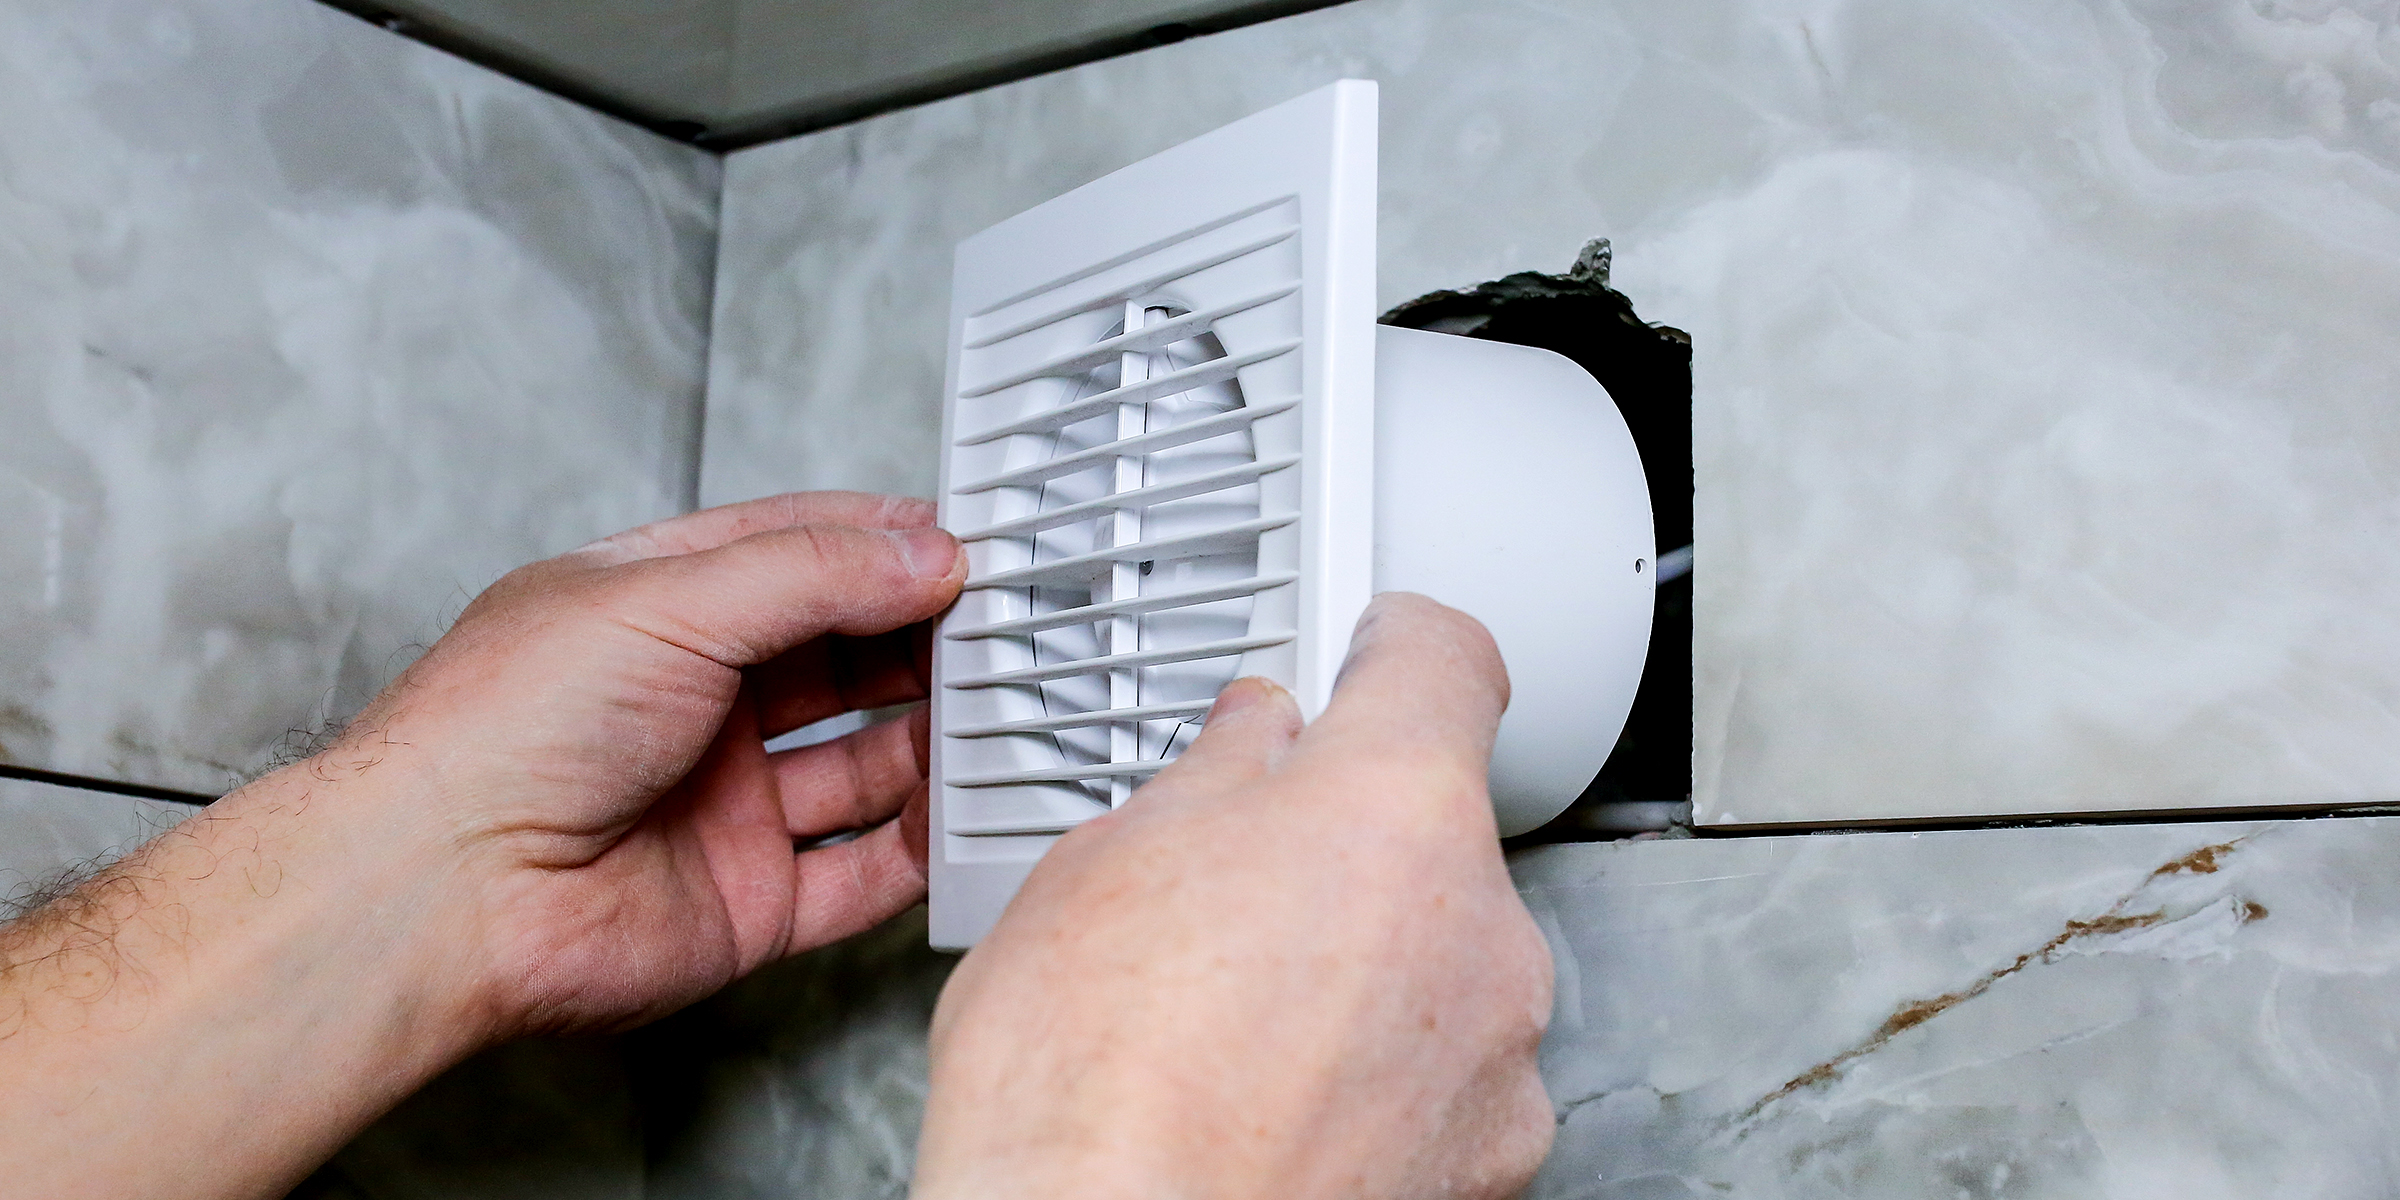
Our homes are designed to brave the elements—rain, snow, wind, cold, and heat. They keep us cozy and safe just beyond our front doors. But when a bathroom vent starts leaking, that presents a challenge we need to address.
Feb 03, 2024
Are you tired of the lingering rubber smell invading your space, courtesy of rubber products? You're not alone. Discover simple solutions how to get rid of rubber odors effectively.
Feb 21, 2024
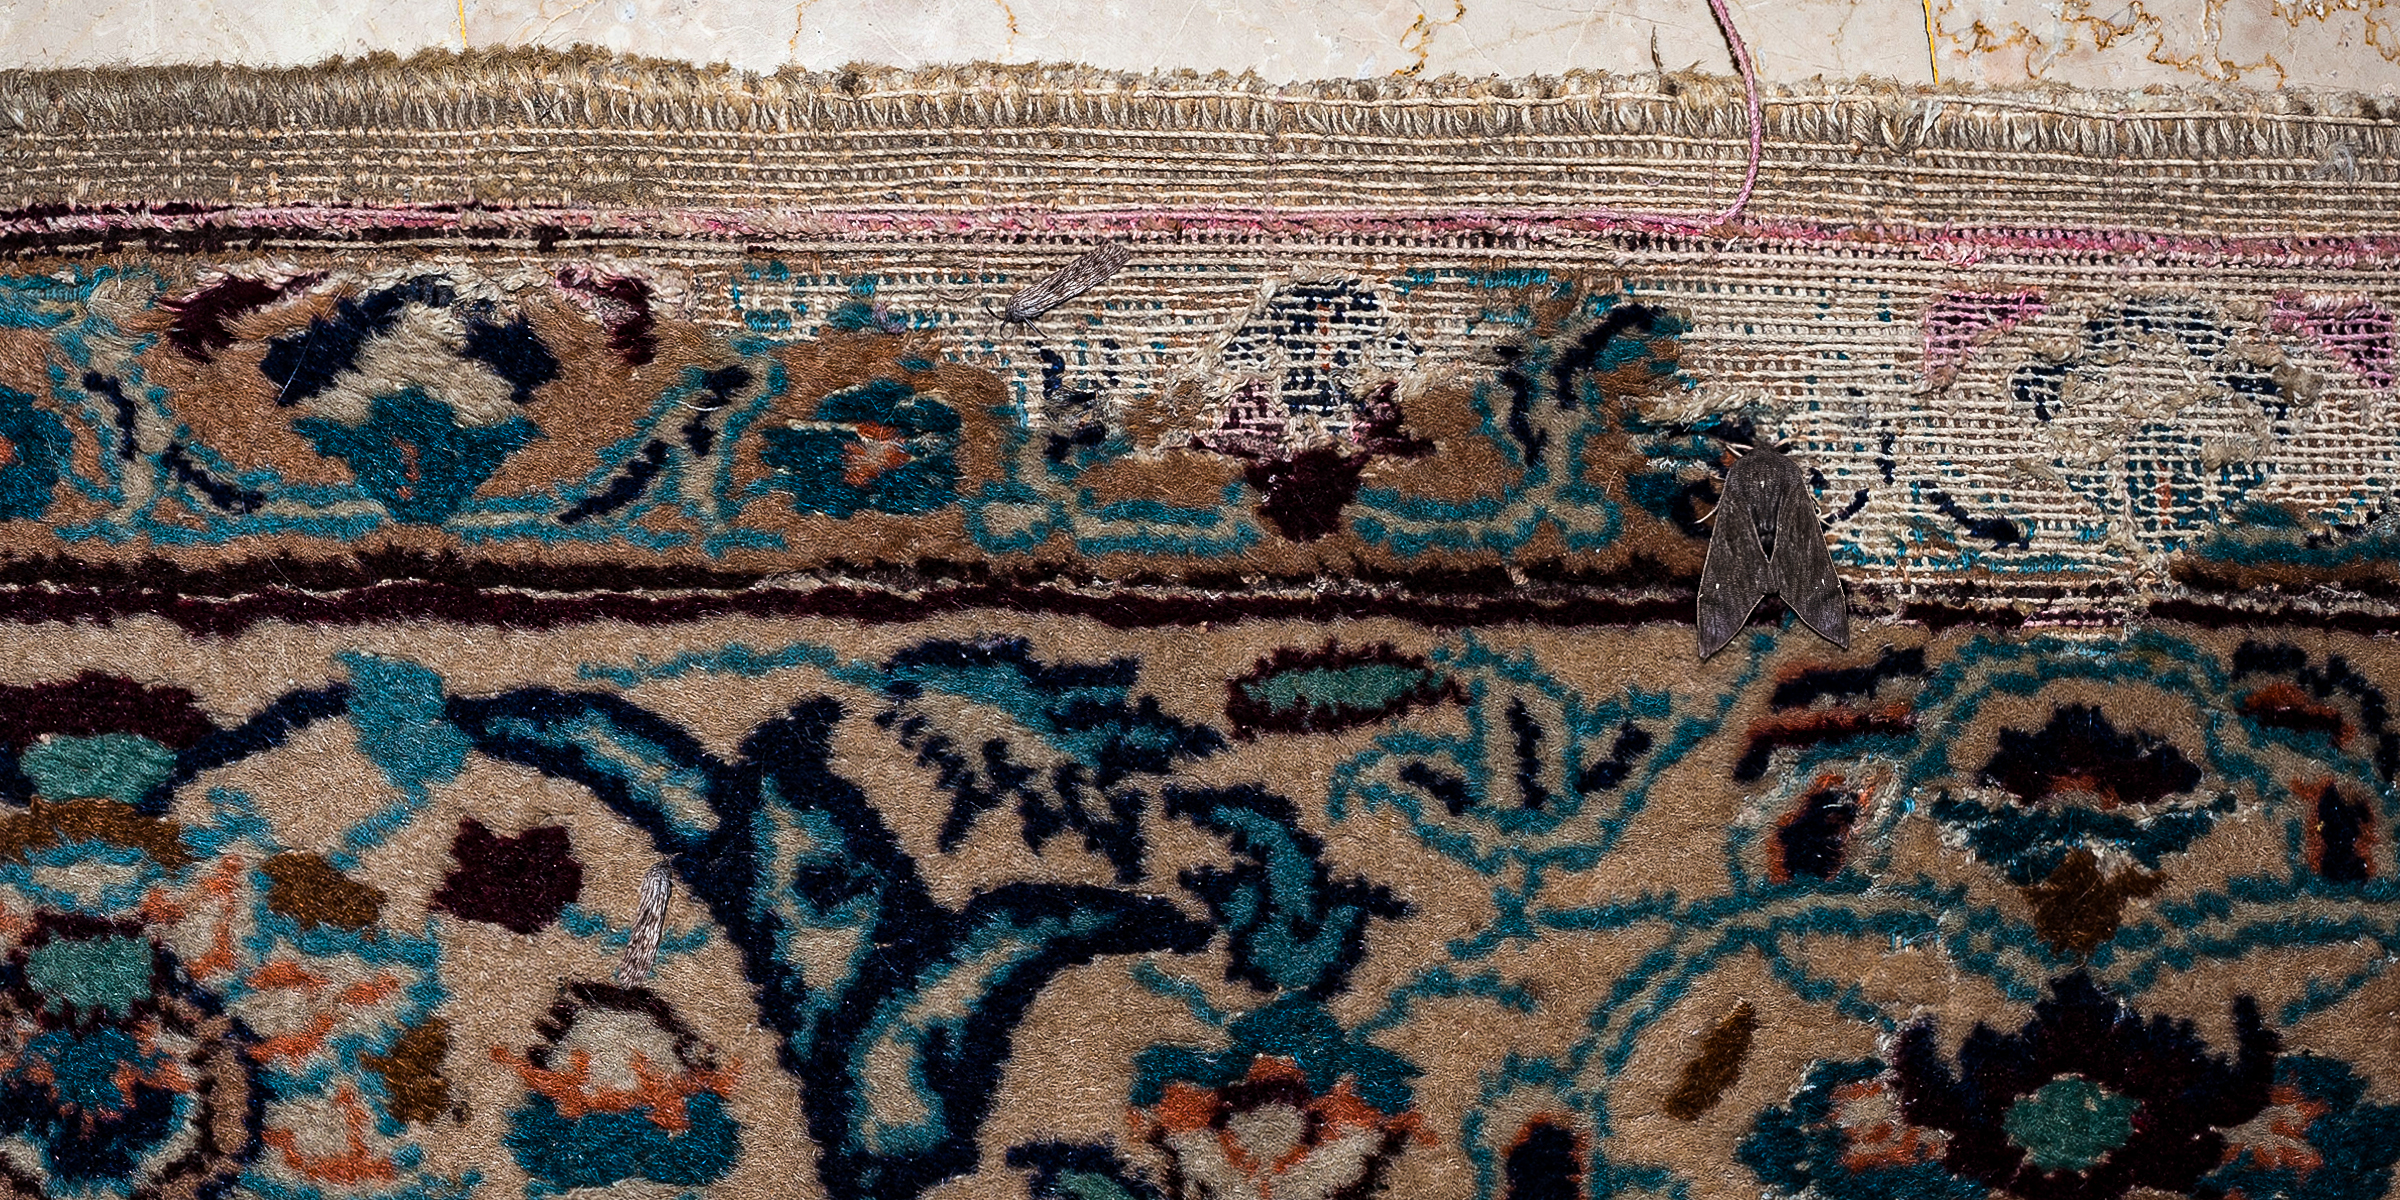
Battling those pesky carpet moths? Discover five proven strategies to eliminate these unwelcome guests and protect your floors. Get ready to reclaim your home's serenity!
Feb 19, 2024