DIY Crystal Suncatcher: Illuminate Your Home with This Helpful Tutorial on Crafting the Ornament
Jan 15, 2024


Create a space that promotes independence and a thirst for knowledge in your child, all in the comfort of your home, with this helpful DIY Montessori bookshelf guide.
A Montessori bookshelf is a storage system specifically designed to instill a love for reading in children by giving them instant access to books. With this piece of furniture, your little one can independently and inquisitively reach for their favorite bedtime story or learn their ABCs.
For a Montessori bookshelf that perfectly fits any space in your home, doesn't take up too much space, and makes it easy for your child to reach for their favorite book, try your hand at this DIY Montessori bookshelf tutorial.
1. Measure the distance between the blade and the guard on the skill saw. Ensure the Skill saw is unplugged if it has a cord, or remove the battery if it's cordless for this step.
Pro tip: Once you have measured the distance between the blade and the guard, remember to add it every time you measure your plywood. This is because you place the wood cutting guide against the guard on the skill saw, not the actual blade, so you need to account for this distance in your plywood measurements.

Measure the distance between the blade and the guard on the Skill saw and add it to future plywood measurements | Source: YouTube/Bryce Lane
2. From the 3/4 inch plywood, use your Skill saw to cut two 48'' x 4'' pieces of vertical supports and four 22 1/2'' x 3 7/8'' pieces of shelf bases. Use the extra piece of plywood as a cutting guide, and remember to factor in the measurements from Step 1.
3. From the 1/2 inch plywood, use your Skill saw to cut one 22 1/2'' x 2 1/2'' wall mount board and three 22 1/2'' x 2/12'' shelf stoppers. Use the extra piece of plywood as a cutting guide, and remember to factor in the measurements from Step 1.

The different pieces of plywood needed, their quantity, and measurements. | Source: YouTube/Bryce Lance
4. Once you have all the pieces, you are ready to assemble your DIY Montessori bookshelf. You can use plywood glue or a nail gun to do so.
5. Use a pencil to mark where your shelf bases will go on the vertical supports, and lay the supports on the ground, on a table, or preferably on a large extra piece of plywood to keep everything straight and square.

Use a pencil and measuring tape to mark where you will glue the shelf bases onto the vertical supports. | Source: YouTube/Bryce Lane
6. Once you've made your markings on the vertical supports, use a ruler to make straighter lines on the supports to clearly map out where you will be placing the shelf bases. Ensure the bottom of the shelf basses are lined up with the bottom of the pencil marks.
7. Once you're sure everything is aligned, spread enough plywood glue along the sides of the shelf bases one by one and firmly press them against the vertical supports on either side. If your plywood has different textures on either side, ensure the prettier side faces upwards.
Pro tip: Use clamps to hold together any plywood pieces that need more time to dry firmly.

Firmly clamp any plywood pieces that need more time to dry. | Source: YouTube/Bryce Lane
8. Once you've glued the shelf bases to the vertical supports, glue the three shelf stoppers to the three bottom shelf bases. Glue the wall mount board to the top shelf base. This is what will keep the bookshelf mounted to the wall of your choice.
9. Once your homemade Montesorri bookshelf has dried, place it flush against the wall of your choice and mount it, ensuring extra security for your little one.
10. Fill the bookshelf with books and decorative pieces, and watch your little one learn.

Mount the homemade Montesorri bookshelf against the wall once dried and fill it with books and decorative pieces. | Source: YouTube/Bryce Lane
Now that you know how to DIY a Montesorri bookshelf, you can sit back and watch your child enrich their knowledge and exercise independence every time they simply reach up and grab their favorite book.
For more DIY fun for you and your family, here is an exciting DIY clay slime tutorial for you to try.

Rocking a fantastic pair of jeans can instantly boost your confidence, but taking your denim game to the next level with some DIY aesthetic jeans is like stepping onto your own personal runway. These DIY pieces of denim can turn heads as you walk by.
Dec 12, 2023

Handfasting is an old wedding tradition that beautifully demonstrates two people's love and commitment to one another. This symbolic act is said to date back over several millennia.
Dec 14, 2023

If your dog has a luxurious coat of fur, short or long, then you understand the necessity to brush your furry friend regularly. Detangler sprays make this routine grooming process easier. Here's how to make yours at home.
Jan 25, 2024

As many with coily and curly hair know, bonnets are essential to the nighttime hair care routine to ensure your kinks and curls stay intact and in perfect condition. However, regularly and correctly washing your bonnet is equally important.
Dec 12, 2023
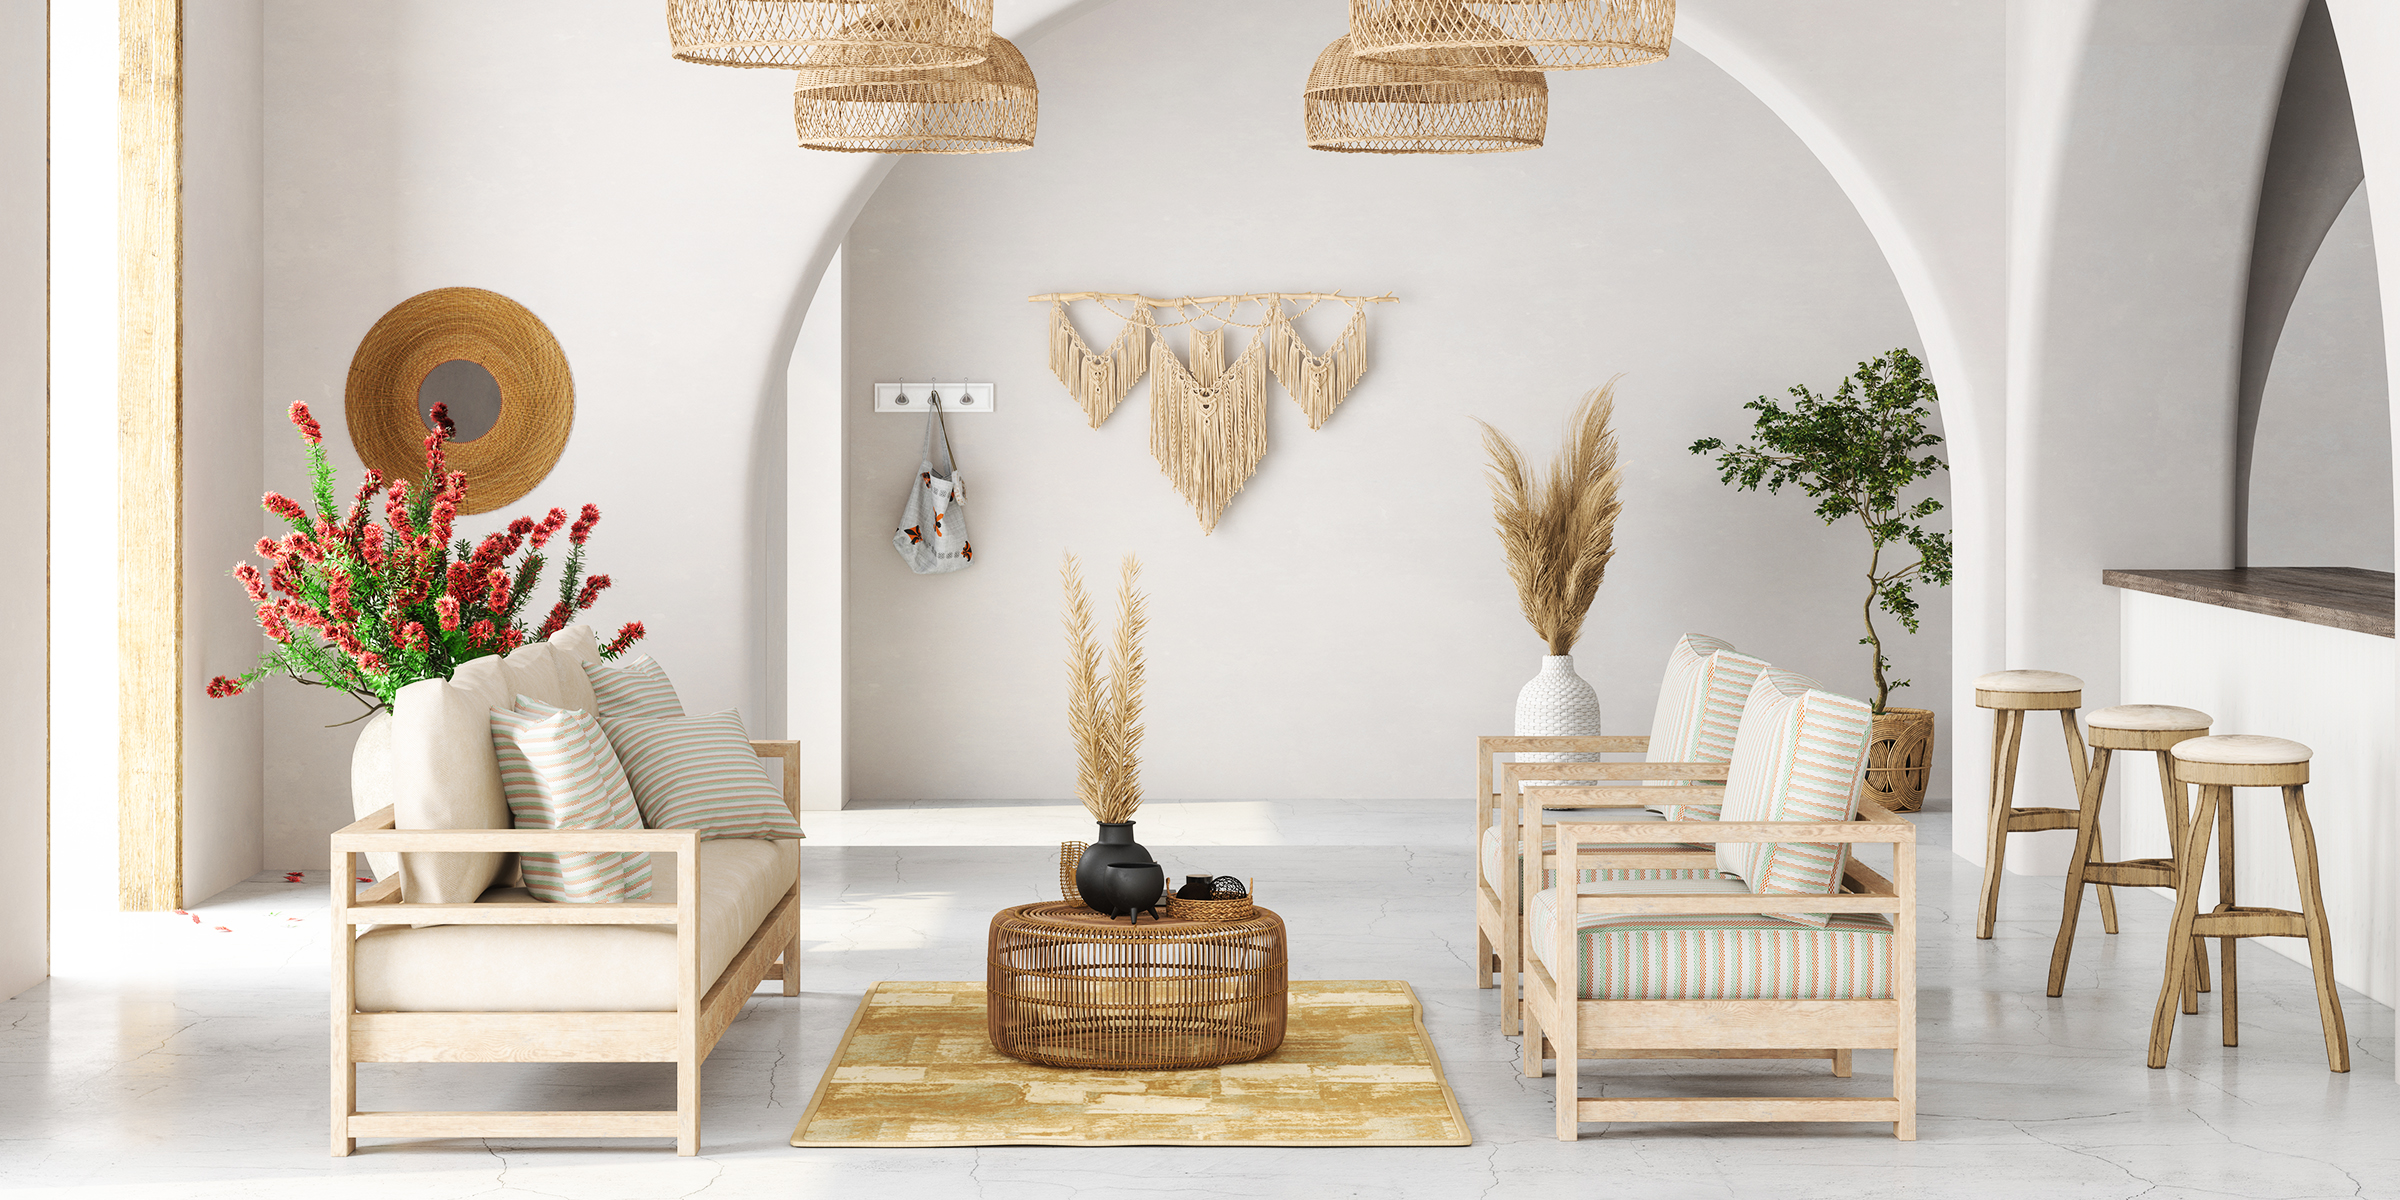
If you're looking to create the perfect balance of boho and rustic in your living room, continue reading for essential interior design tips to perfectly encapsulate the charming touch and natural finish of these two styles.
Jan 29, 2024
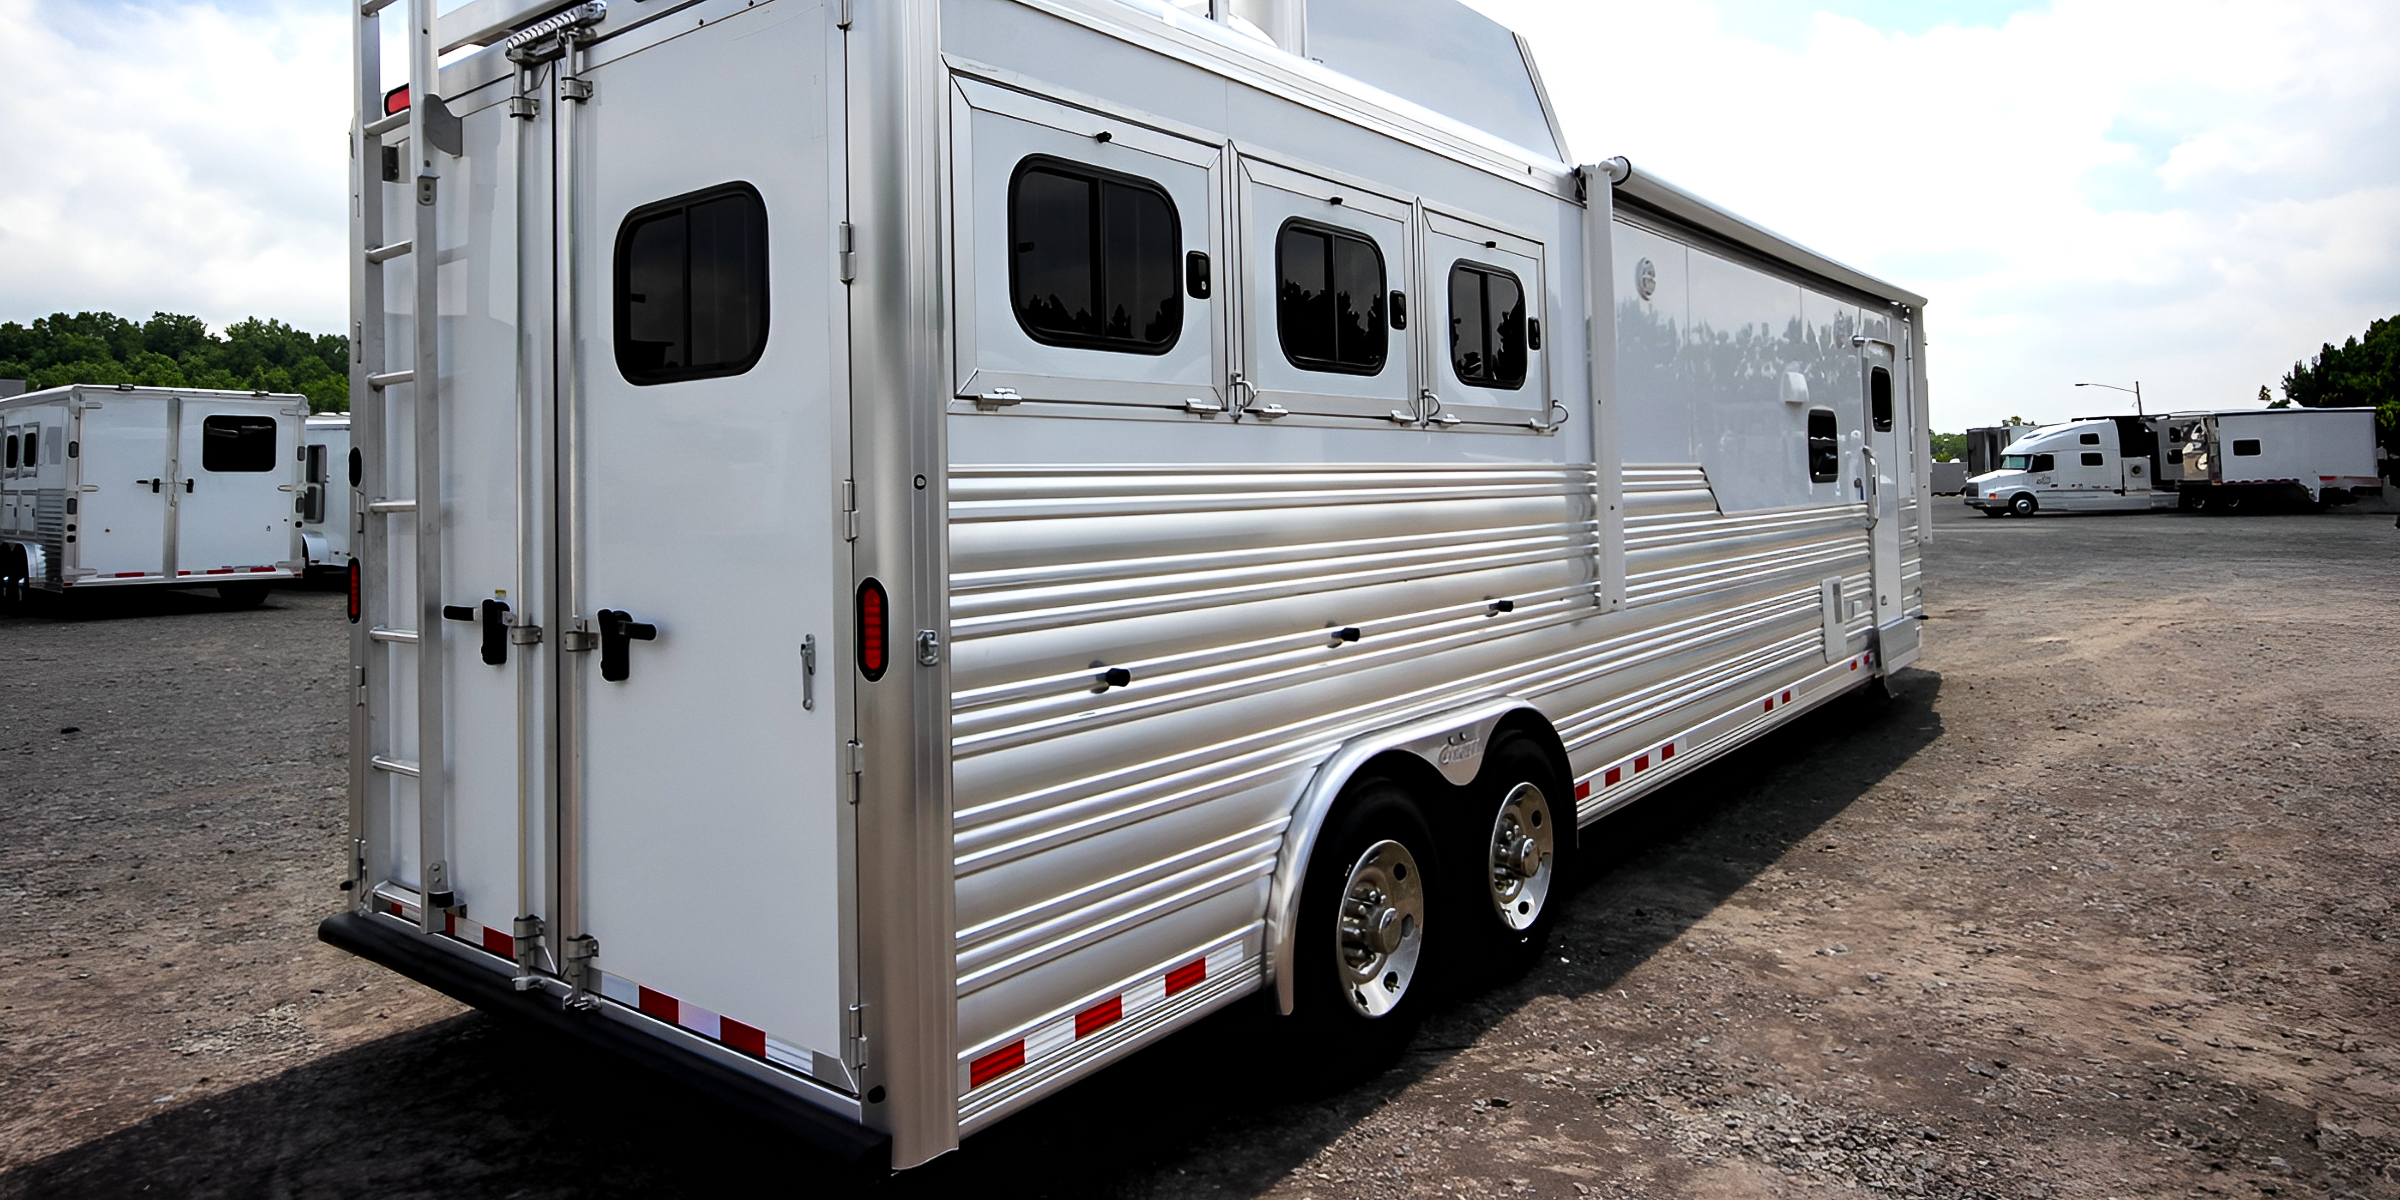
Aluminum trailers play a crucial role in transporting our goods effectively. To keep aluminum trailers looking and performing their best, cleaning them regularly is essential. Here are steps on how to clean aluminum trailers.
Jan 10, 2024
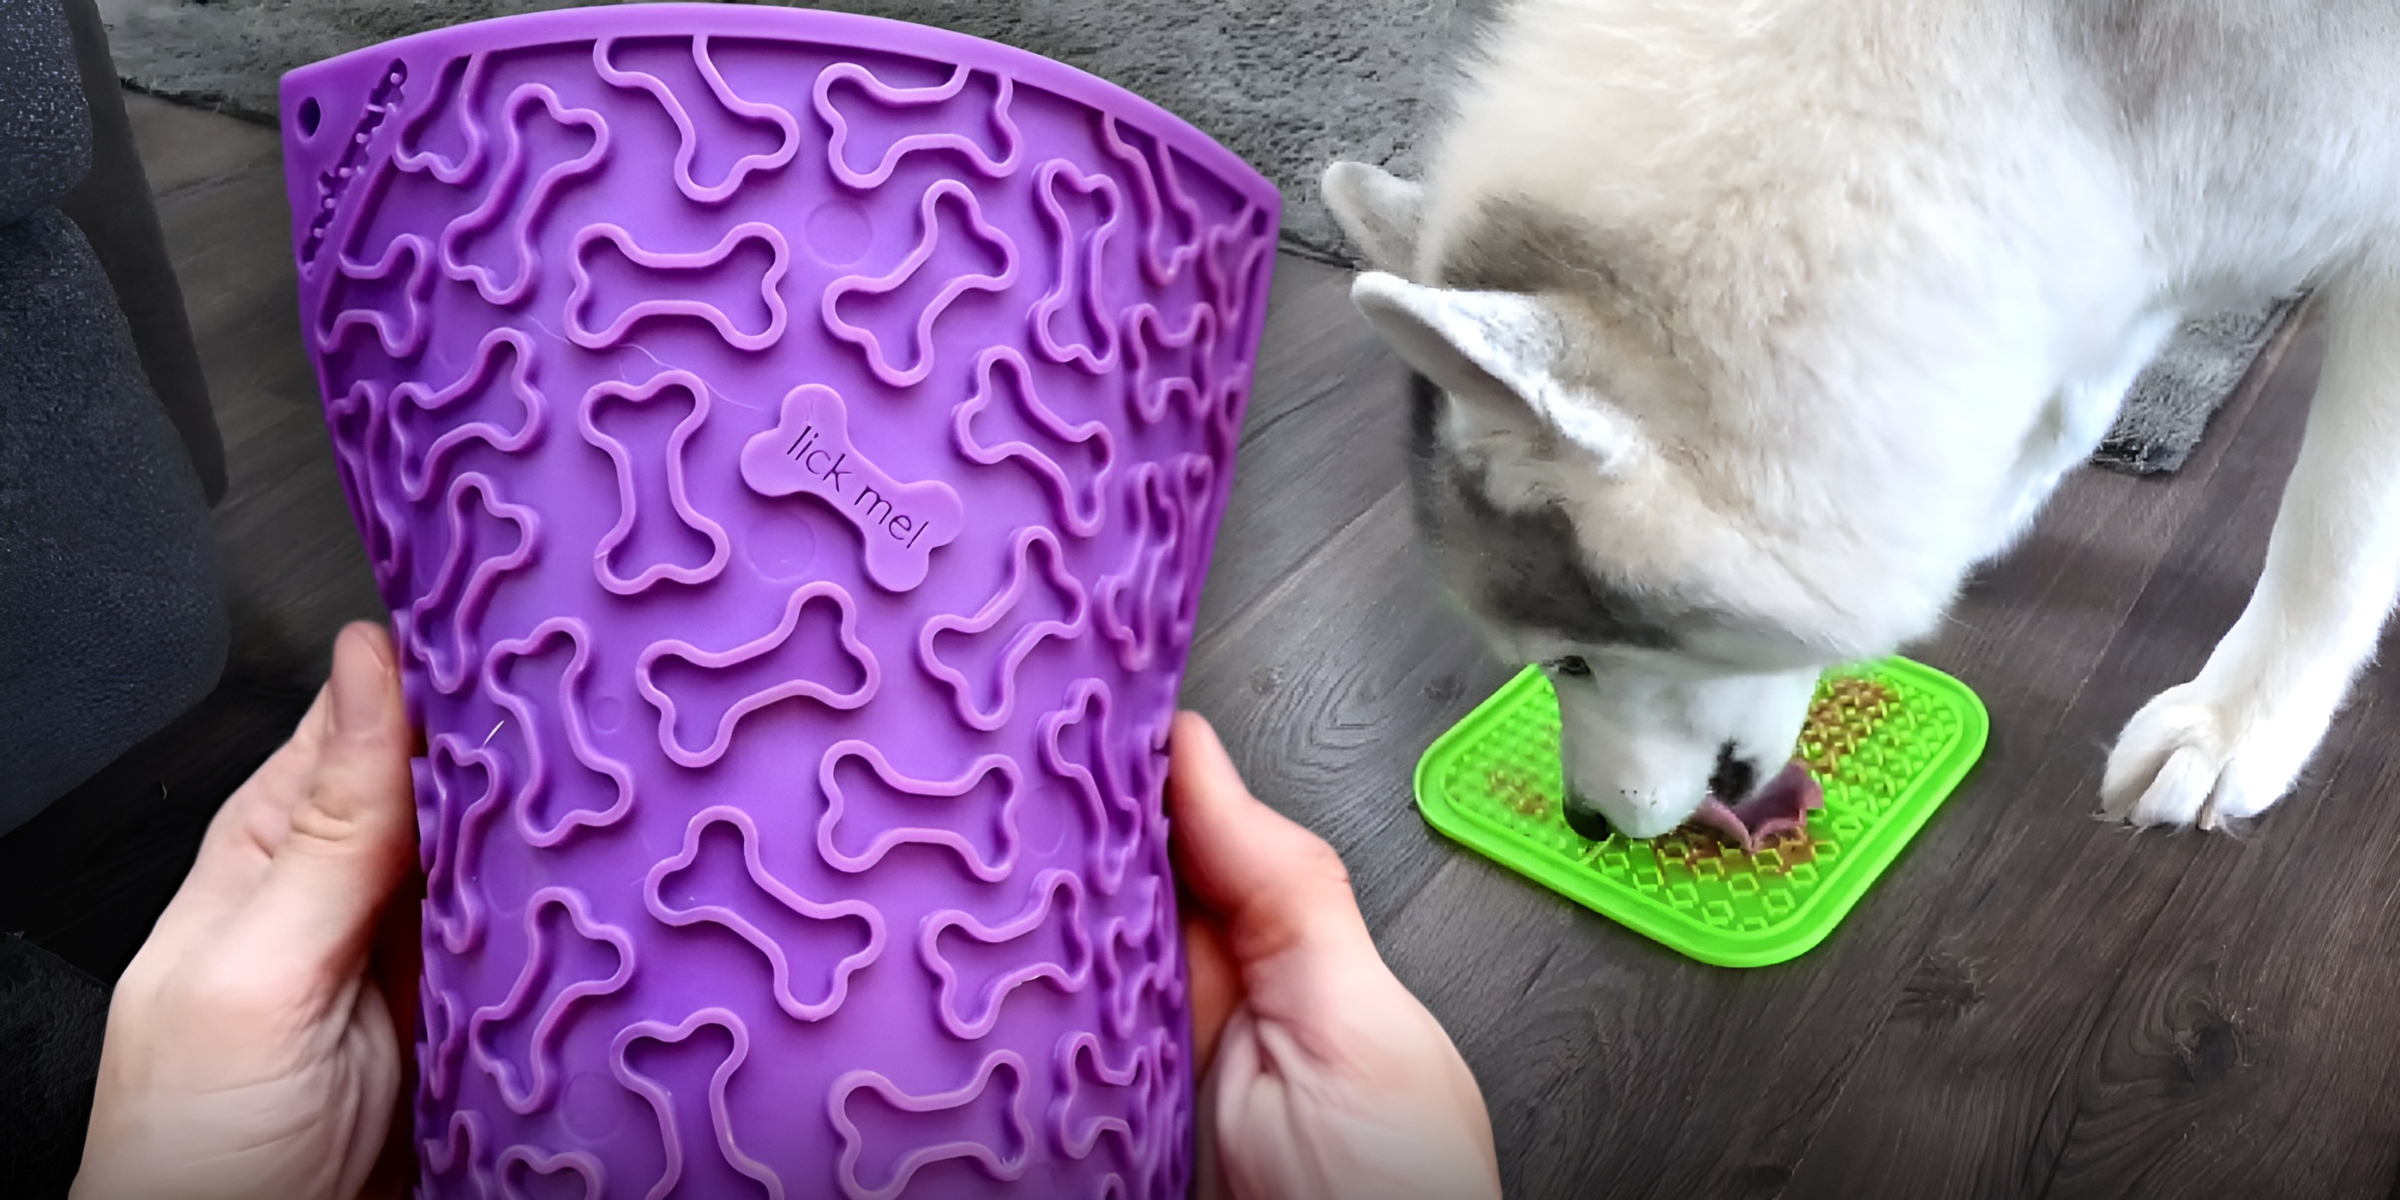
Lick mats for pets are becoming a popular trend, and there are numerous benefits to engaging in this activity. A practical approach to this trend involves creating your own DIY lick mats.
Dec 14, 2023

If you're looking to seamlessly combine wood and tile flooring in your home, continue reading for helpful tips, including tricks on blending these two flooring types for a harmonious finish.
Jan 23, 2024

Granular loss is something most roofs experience and can be addressed in two ways. Continue reading for tips on both methods to repair granular loss and what you can do to prevent damage to your roof.
Jan 24, 2024

Seint is a well-known beauty brand specializing in cosmetic applicators like makeup brushes and blenders. Knowing how to clean Seint brushes not only has hygienic purposes but also preserves the quality of the makeup tools.
Jan 09, 2024
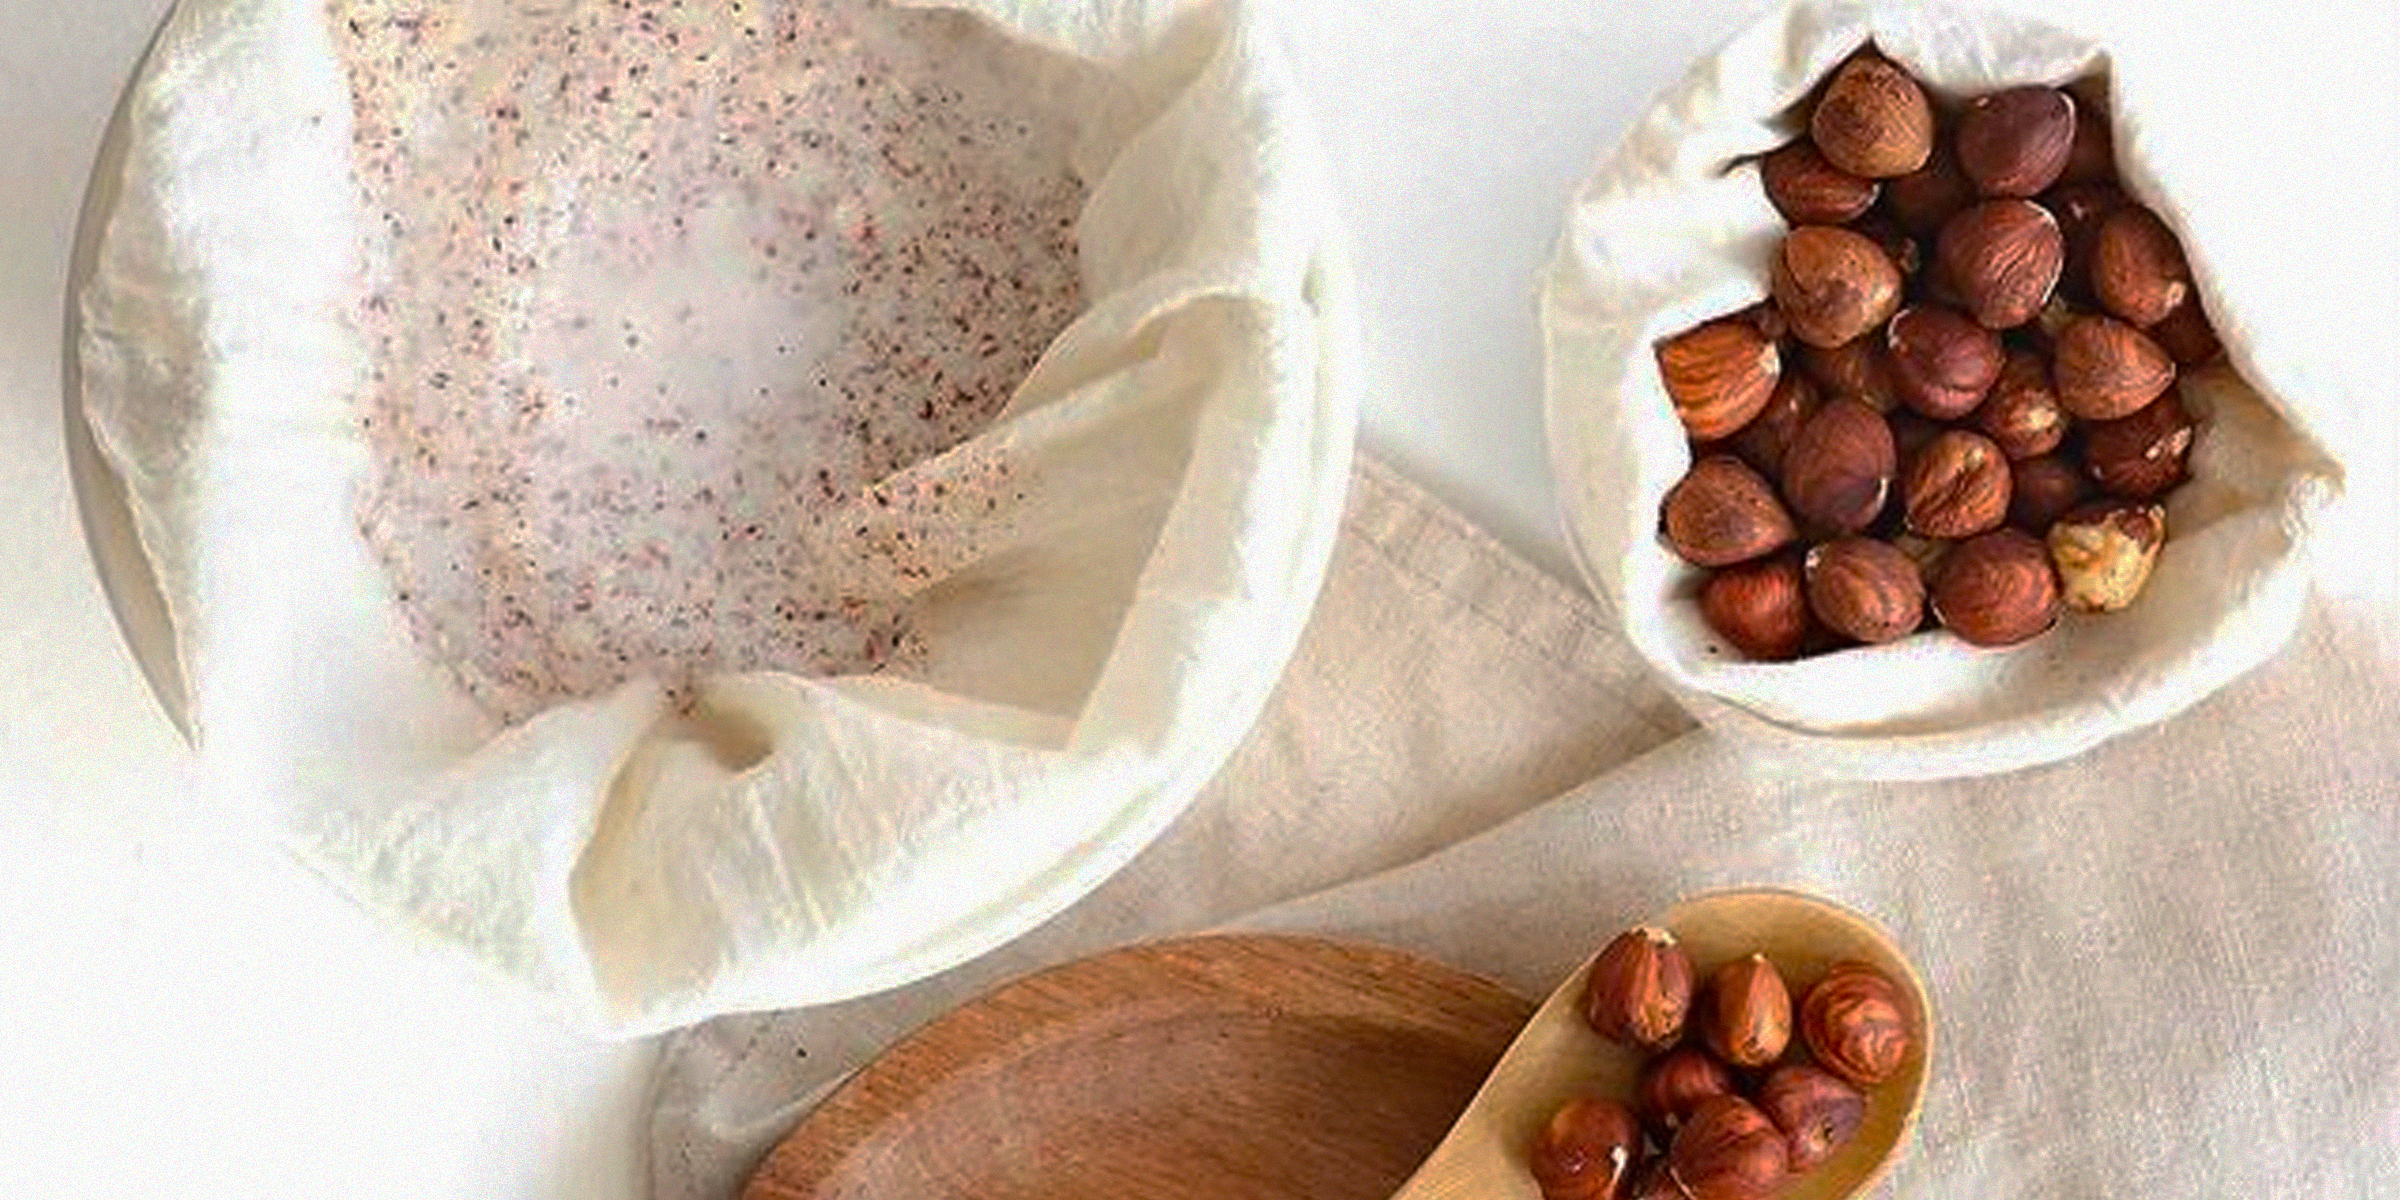
Embarking on making your nut milk at home can be a rewarding experience, but the cleanup process, especially regarding the nut milk bag, may seem less appealing. However, regularly cleaning your nut milk bag is advised to prevent bacteria or mold from growing, and you can do so in five easy steps.
Dec 31, 2023

Faux fur rugs are a popular and often more affordable option to decorate a space. There are numerous advantages to having a faux fur rug, but like the genuine kind, they need regular maintenance and the occasional deep cleaning.
Jan 14, 2024

Whiskey stones are tiny rocks that cool whiskey without watering it down, making them perfect for lovers of the liquor, who want to keep its original flavor. As these stones can be reused, it is important to clean them, and we'll show you how.
Jan 13, 2024

One of the most potent senses a deer possesses is its ability to smell. For many years now, hunters have used that as leverage on their hunting trips, acquiring deer attractants to bait their prey. Here's how to make yours at home.
Jan 27, 2024