DIY Montessori Bookshelf — a Handy Guide to Crafting a Child-Friendly Reading Space
Feb 04, 2024


Are you looking for a fun and educational activity for your little ones? Look no further — learn how to make cloud dough slime with our easy-to-follow guide!
Cloud dough slime, made with white glue and instant snow powder, offers an engaging and enjoyable project for kids. This hands-on activity is beneficial for children as it promotes developmental skills, creativity, and a playful approach to learning.
If this slime captures your kids' imagination, follow our straightforward guide, inspired by Courtney Wohl's detailed tutorial video, to explore the creative process of making cloud dough slime.

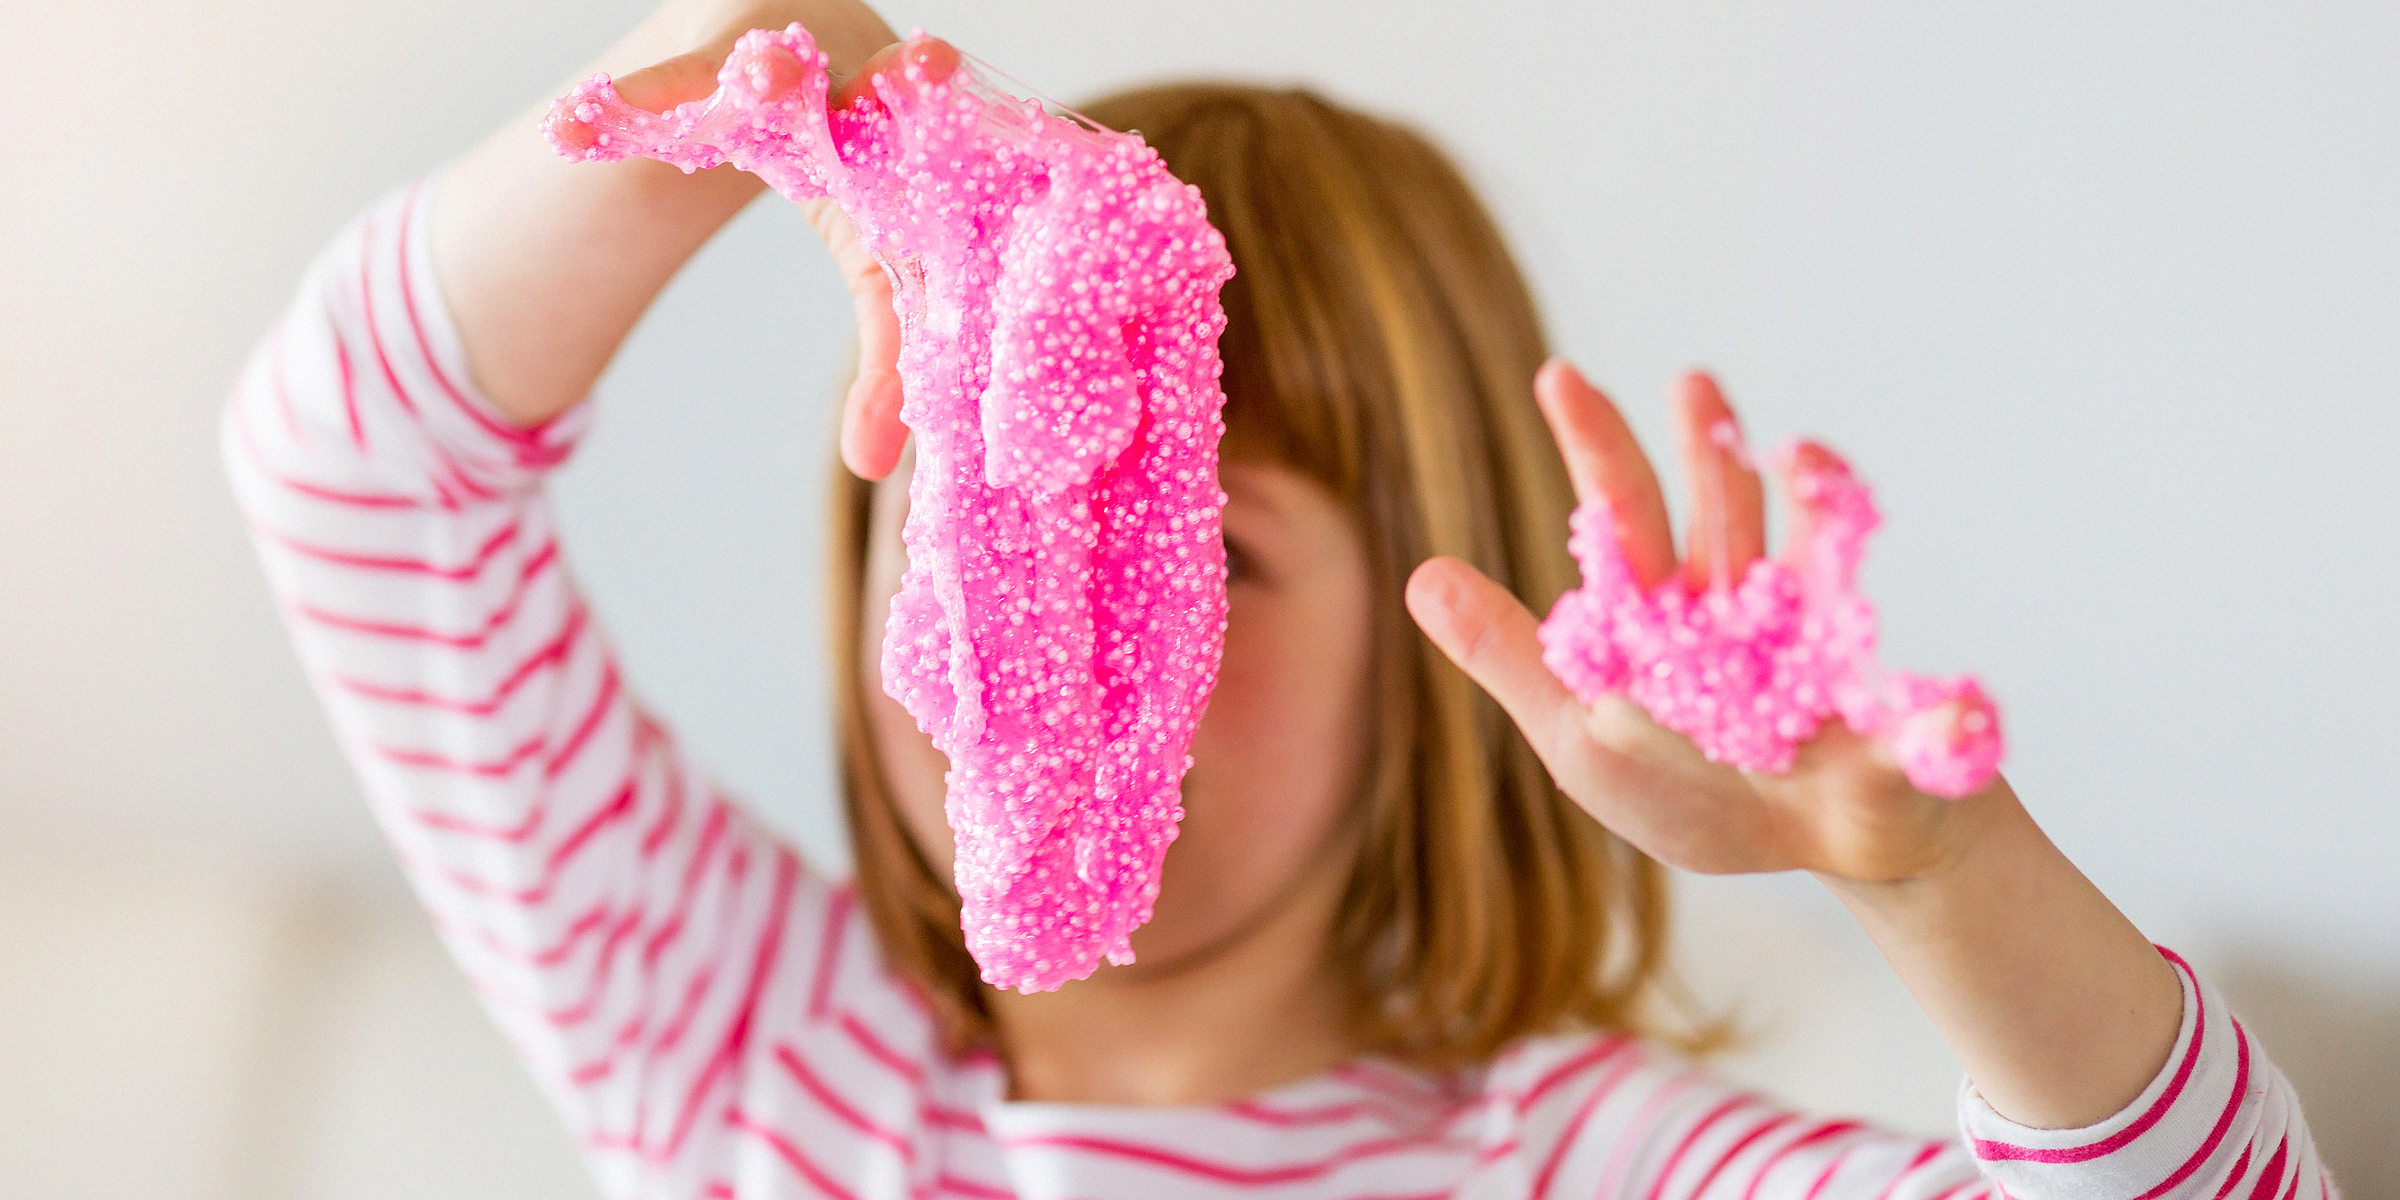
A little girl playing with a cloud dough slime | Source: Shutterstock

Glue is the key element in the materials for making a clay dough slime. | Source: YouTube/CourtneyWohl
Start by pouring a specified amount (e.g., 1 cup) of Elmer's Glue-All into your mixing bowl. If you desire colored slime, now is the time to add a few drops of food coloring. Mix thoroughly until the glue and color are well combined.

Add a few drops of the food coloring of your choice to the glue. | Source: YouTube/CourtneyWohl
Specifically for cloud slime, add plain water to the glue mixture to significantly thin it out. This step is crucial because the instant snow will absorb a lot of water later on. Ensure the glue becomes quite runny; you can always add more water later if needed.

To enhance the consistency, add water to slightly thin out the glue. | Source: YouTube/CourtneyWohl
Prepare the activator by dissolving 1 teaspoon of Borax into 1 cup of warm water. Slowly add this mixture to your glue, stirring continuously until the slime begins to form and pull away from the sides of the bowl.
For cloud slime, aim to slightly over-activate it by adding a bit more activator than usual, making it firmer to accommodate the softening effect of the instant snow.

Slightly over-activate the glue with water mixed with borax. | Source: YouTube/CourtneyWohl
Begin by mixing dry instant snow powder directly into your slime, without pre-moistening the snow, as the slime already contains enough moisture for the snow to absorb.
Gradually alternate between adding dry snow and a tiny bit of water-moistened snow, ensuring not to add too much water at once. The key is patience and gradual addition to achieve the perfect texture.

Alternate between adding dry snow and a little water-moistened snow. | Source: YouTube/CourtneyWohl
Knead and mix thoroughly by hand. The goal is to evenly distribute the snow throughout the slime, which will start to fluff up and achieve the desired cloud-like texture. If the slime feels too wet or sticky, you can add more dry instant snow or a bit more activator.

Knead until you get a cloud-like mixture. | Source: YouTube/CourtneyWohl
As the slime begins to form, it may appear too wet or rip easily. If this happens, prepare a stronger activator solution (2 teaspoons of Borax per 1 cup of warm water) and lightly dab your hands with it before kneading the slime. This helps to firm up the slime without over-activating it.
This is a process of trial and error, and the texture can be adjusted according to personal preference.

If necessary, apply a borax-water mixture before kneading to firm up the slime. | Source: YouTube/CourtneyWohl
Once satisfied with the texture, place the slime in a container and let it sit for a while. This resting period allows the slime to fully integrate the instant snow, enhancing its fluffy texture and ensuring a steady drizzle when stretched.
After the slime has rested and reached the desired consistency, you and your kids can finally play with the cloud dough slime!

Store the cloud dough slime securely in a container before letting kids play with it. | Source: YouTube/CourtneyWohl
By following these steps and adjusting as needed, you'll be able to create a cloud slime that fluffs up nicely, has a steady drizzle, and doesn't leave residue or feel wet — just like a cloud!
Why not continue the journey of creativity and learning by exploring another rewarding DIY project? For instance, creating a DIY Montessori bookshelf for kids is a fantastic way to foster independence and encourage a love for reading in your little ones.
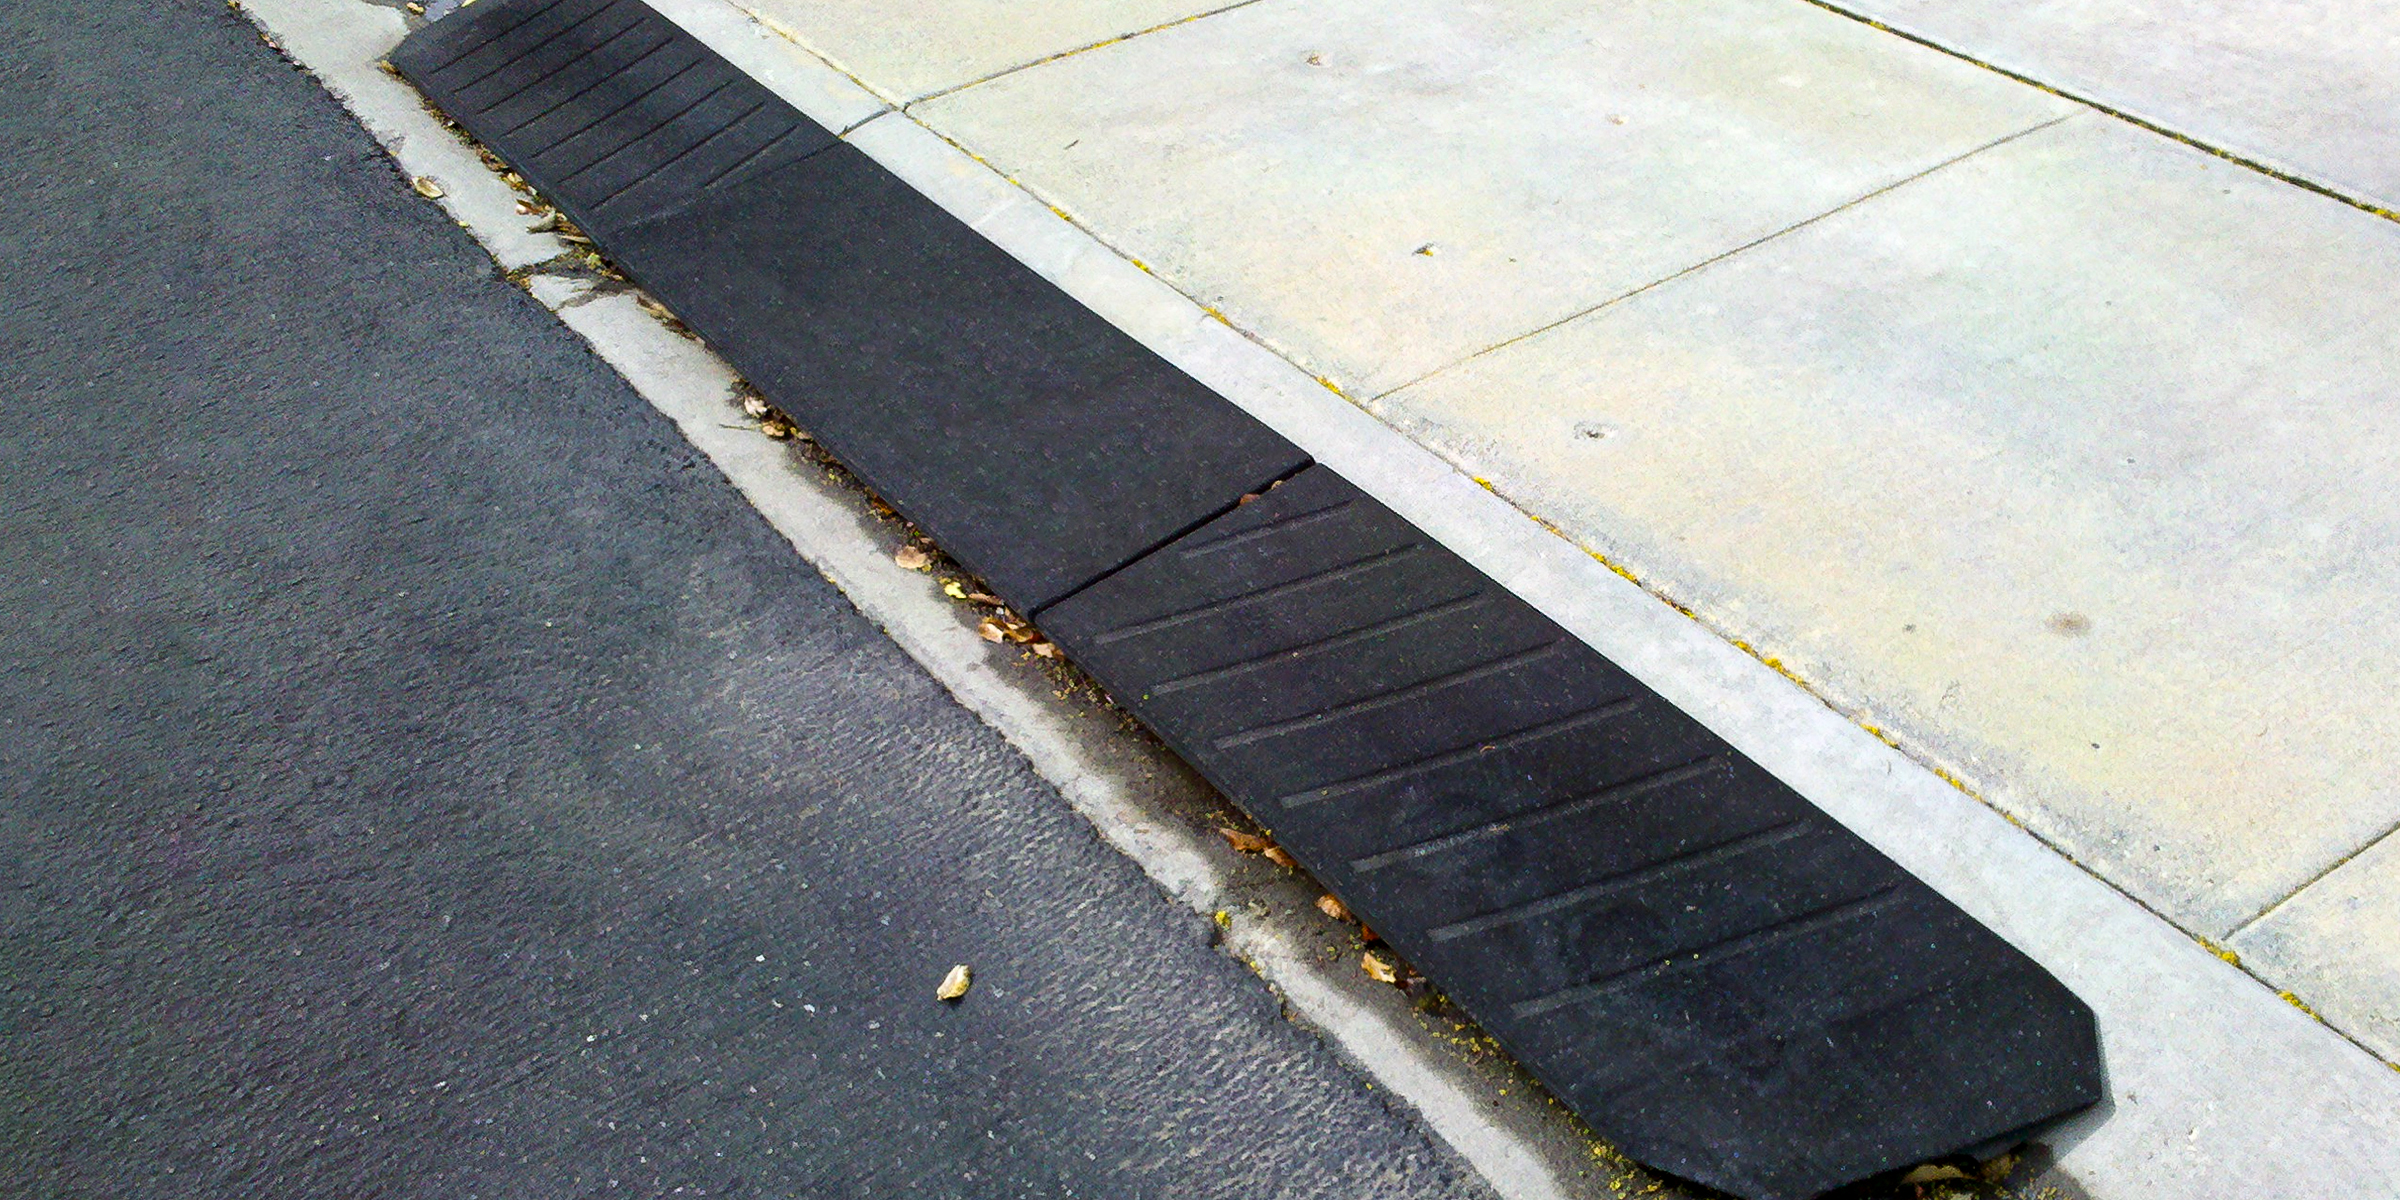
If you're a homeowner without a curb ramp for your car, don't worry! You can make one yourself, ensuring smooth access to your driveway for everyone. Here's how it's done.
Feb 13, 2024
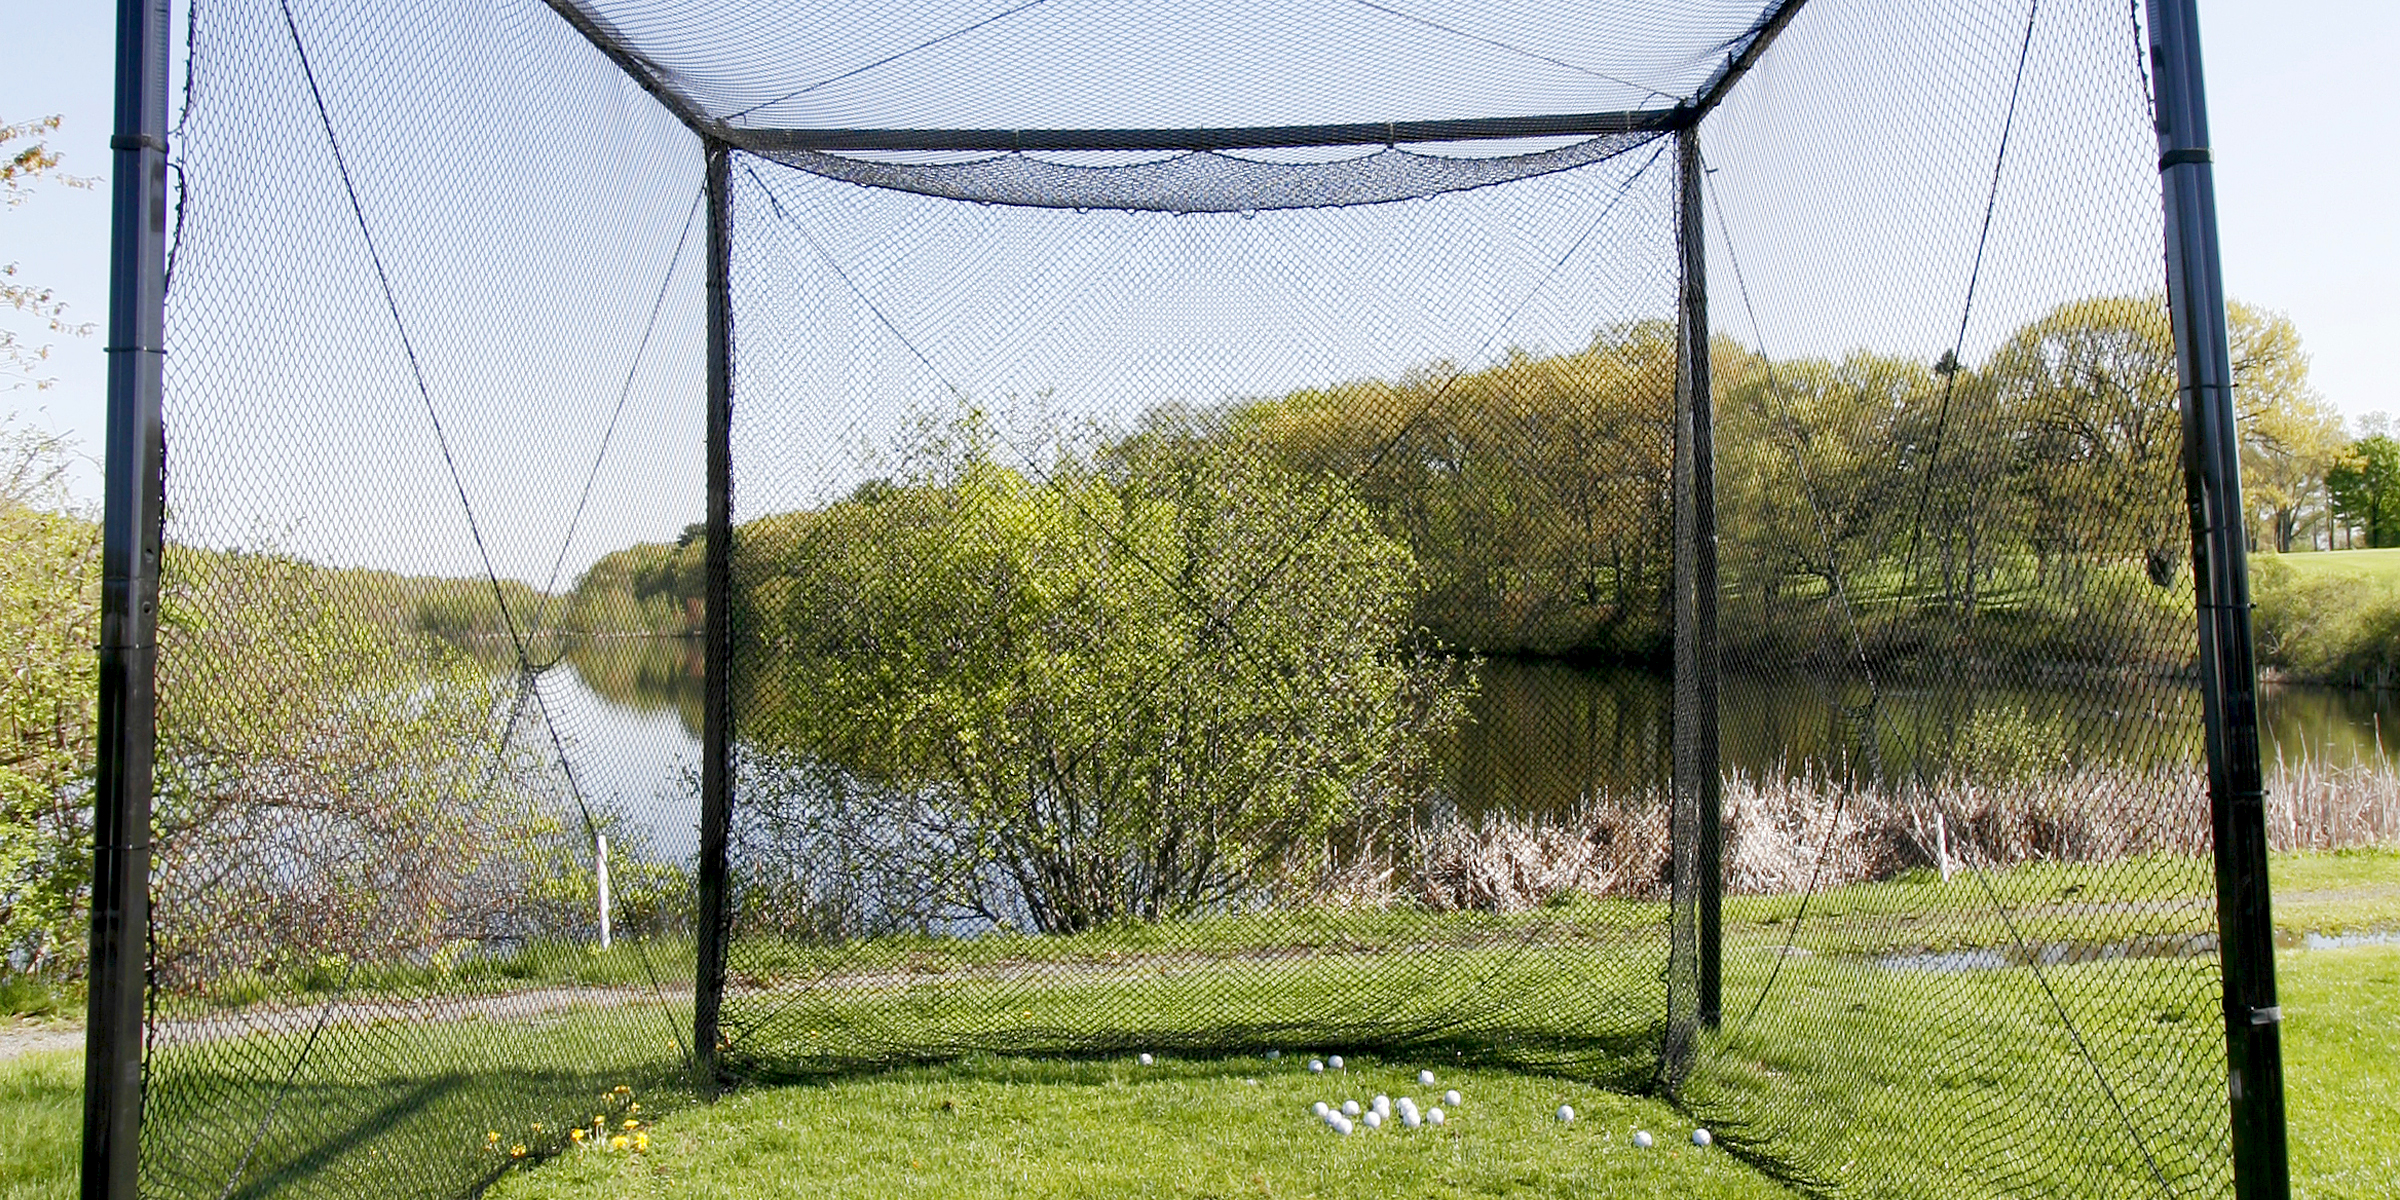
If you're an avid golfer or someone looking to join the sport, having a golf net can be super advantageous to work on or improve your skills. But if you're opposed to buying one, here's how to build a DIY golf net.
Feb 10, 2024
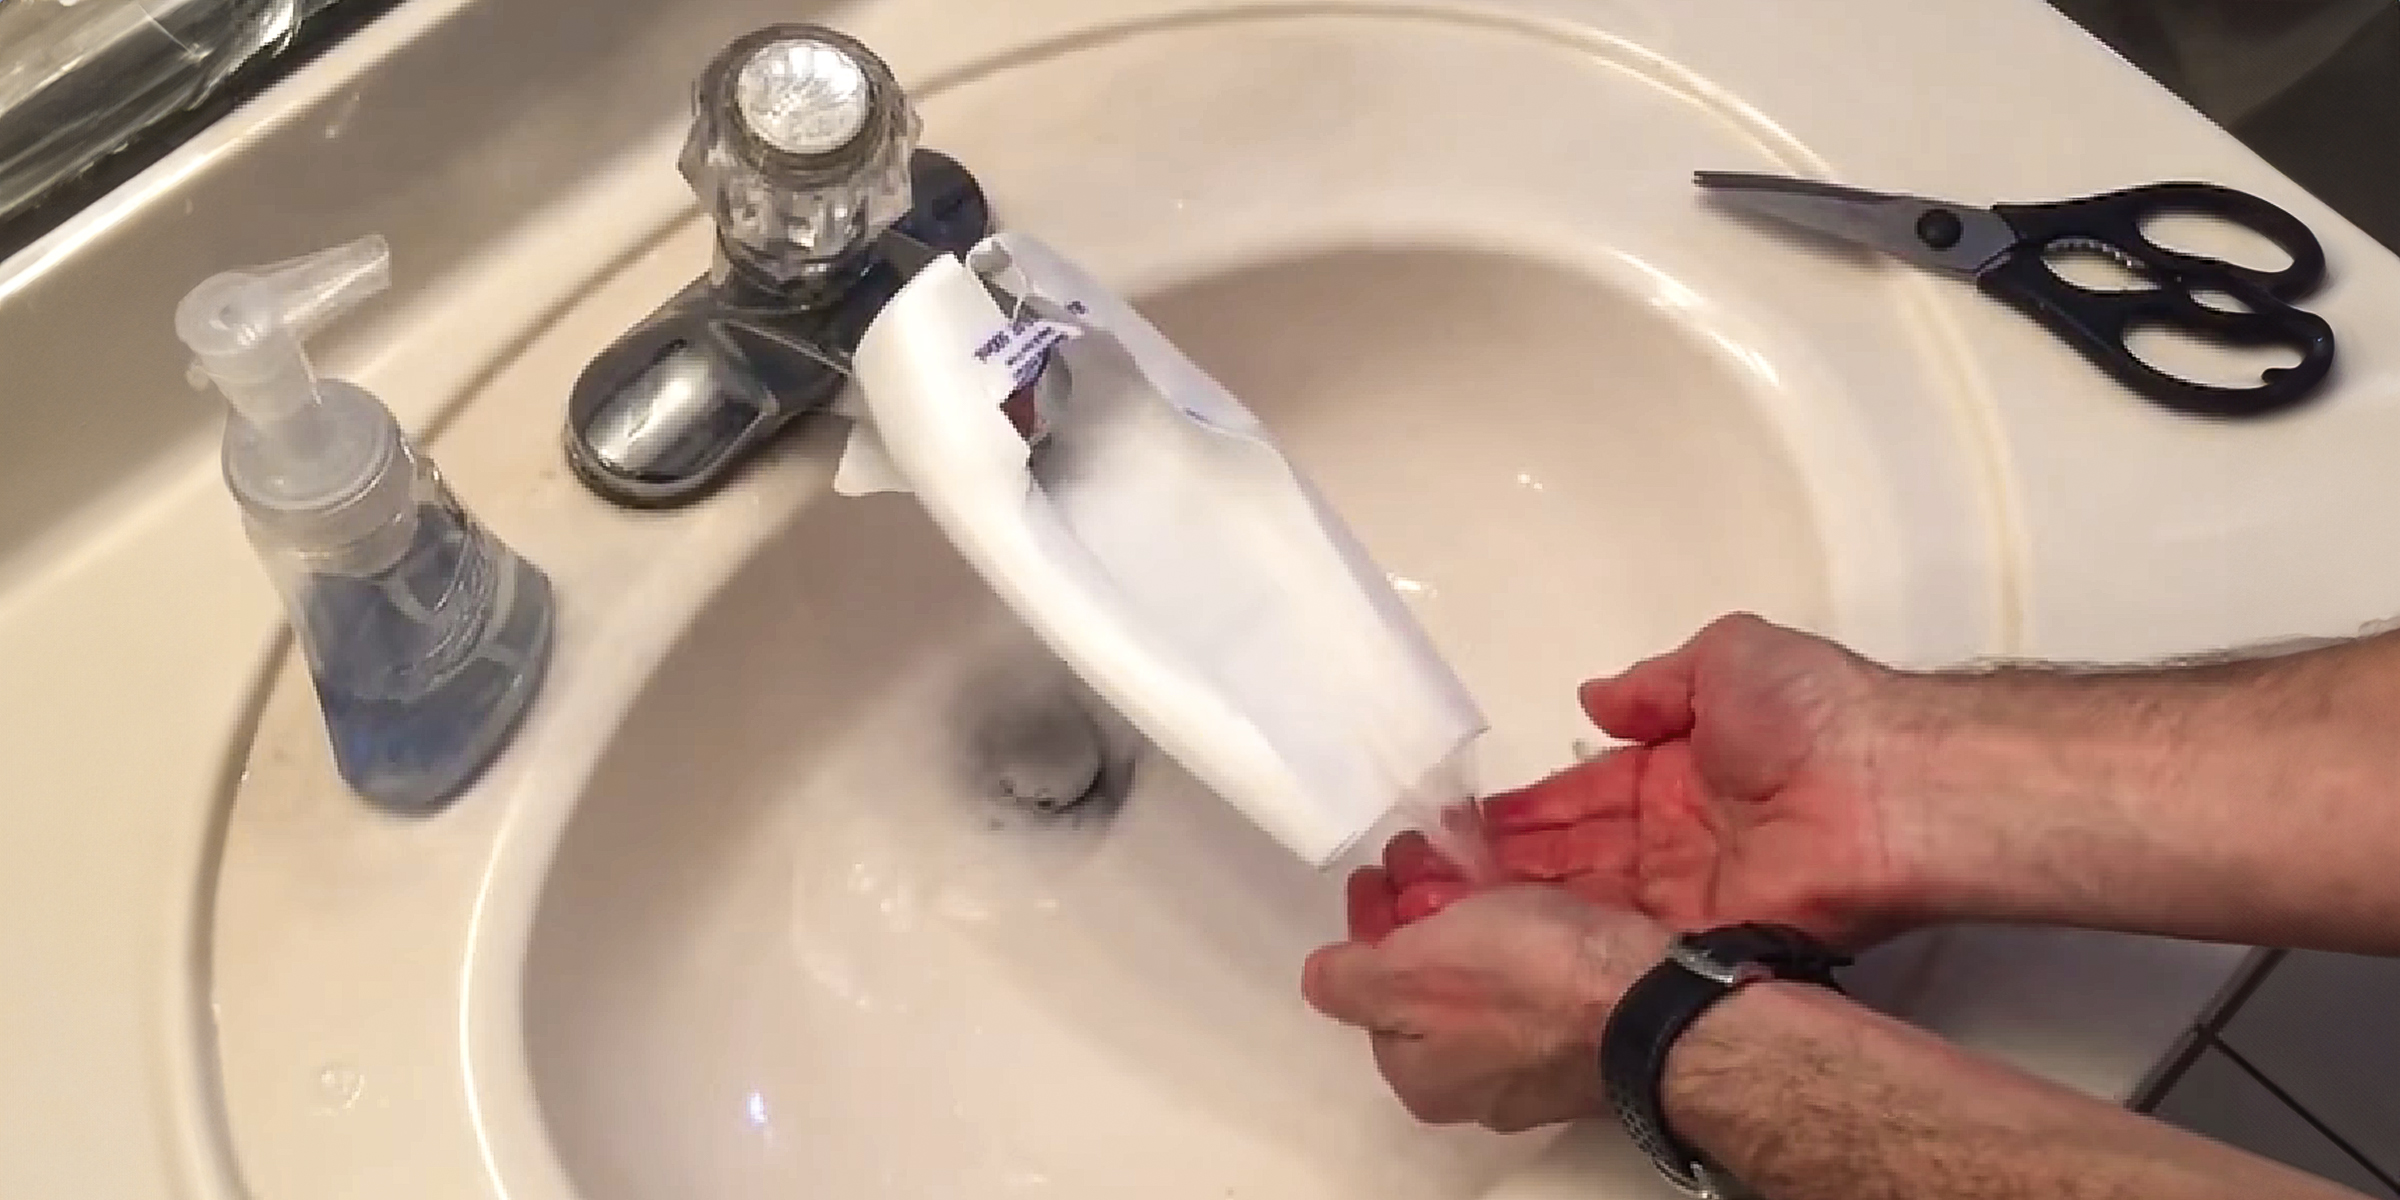
If you're dealing with the challenge of little ones struggling to reach faucets, a practical solution is to craft a DIY faucet extender. You can easily accomplish this in just a few simple steps.
Feb 05, 2024

Transforming long car rides with children into fun-filled adventures is possible. Yet, managing sibling conflicts can be tough. Explore inventive solutions to foster peace and harmony between your little ones.
Feb 15, 2024

Rocking a fantastic pair of jeans can instantly boost your confidence, but taking your denim game to the next level with some DIY aesthetic jeans is like stepping onto your own personal runway. These DIY pieces of denim can turn heads as you walk by.
Dec 12, 2023
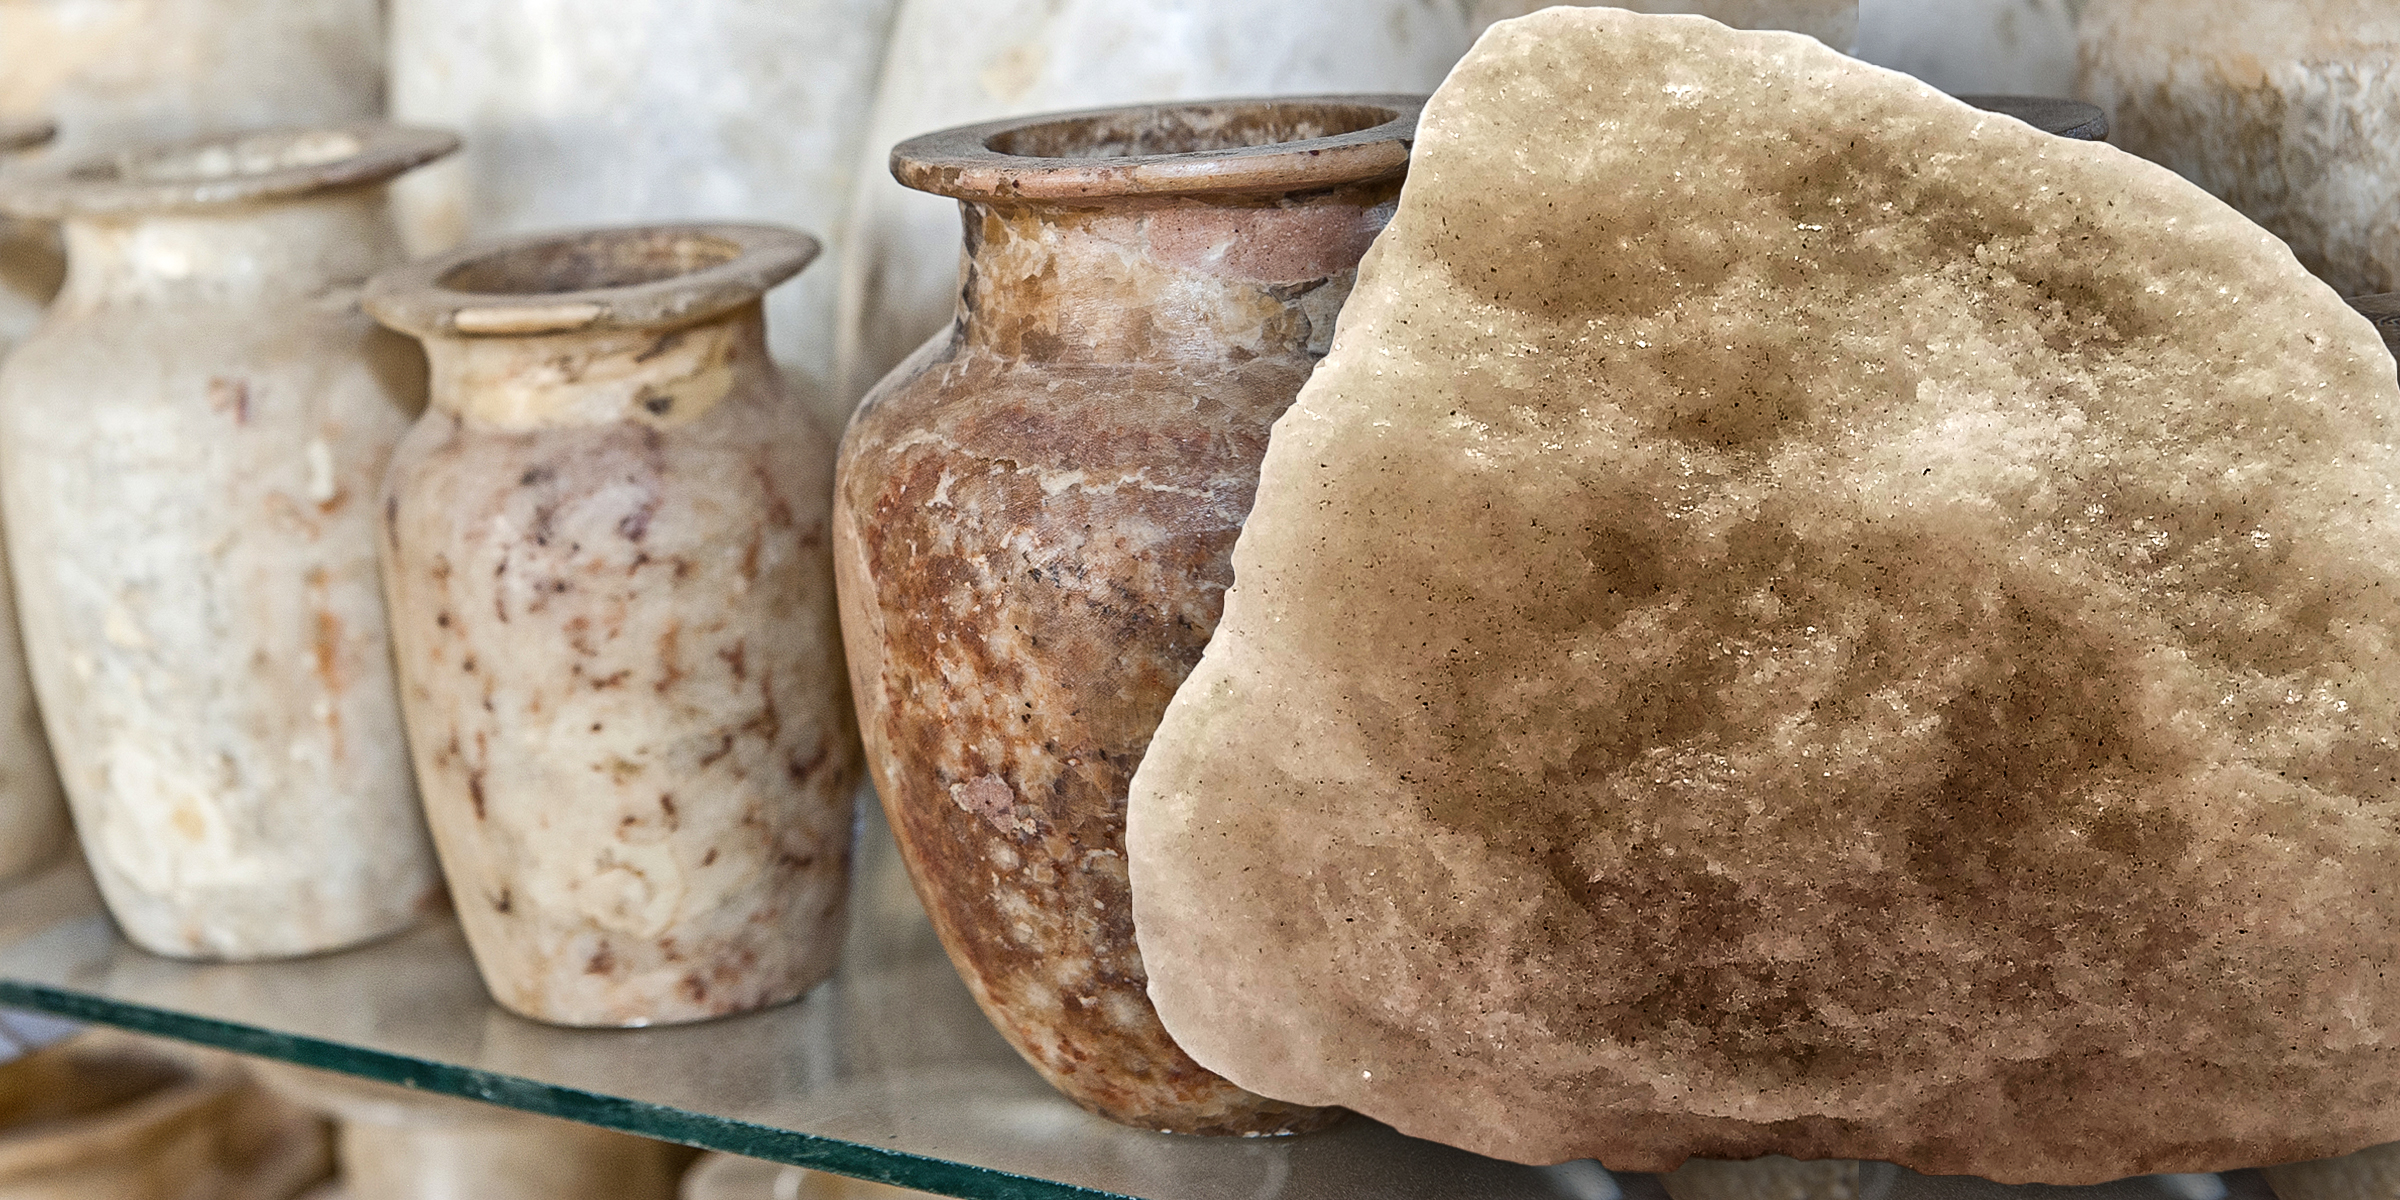
Stone carvers have been fascinated by alabaster for centuries. Although alluring, this kind of stone is prone to scratching. If you're curious about how to clean alabaster on your own, follow these easy steps for effective cleansing.
Jan 11, 2024
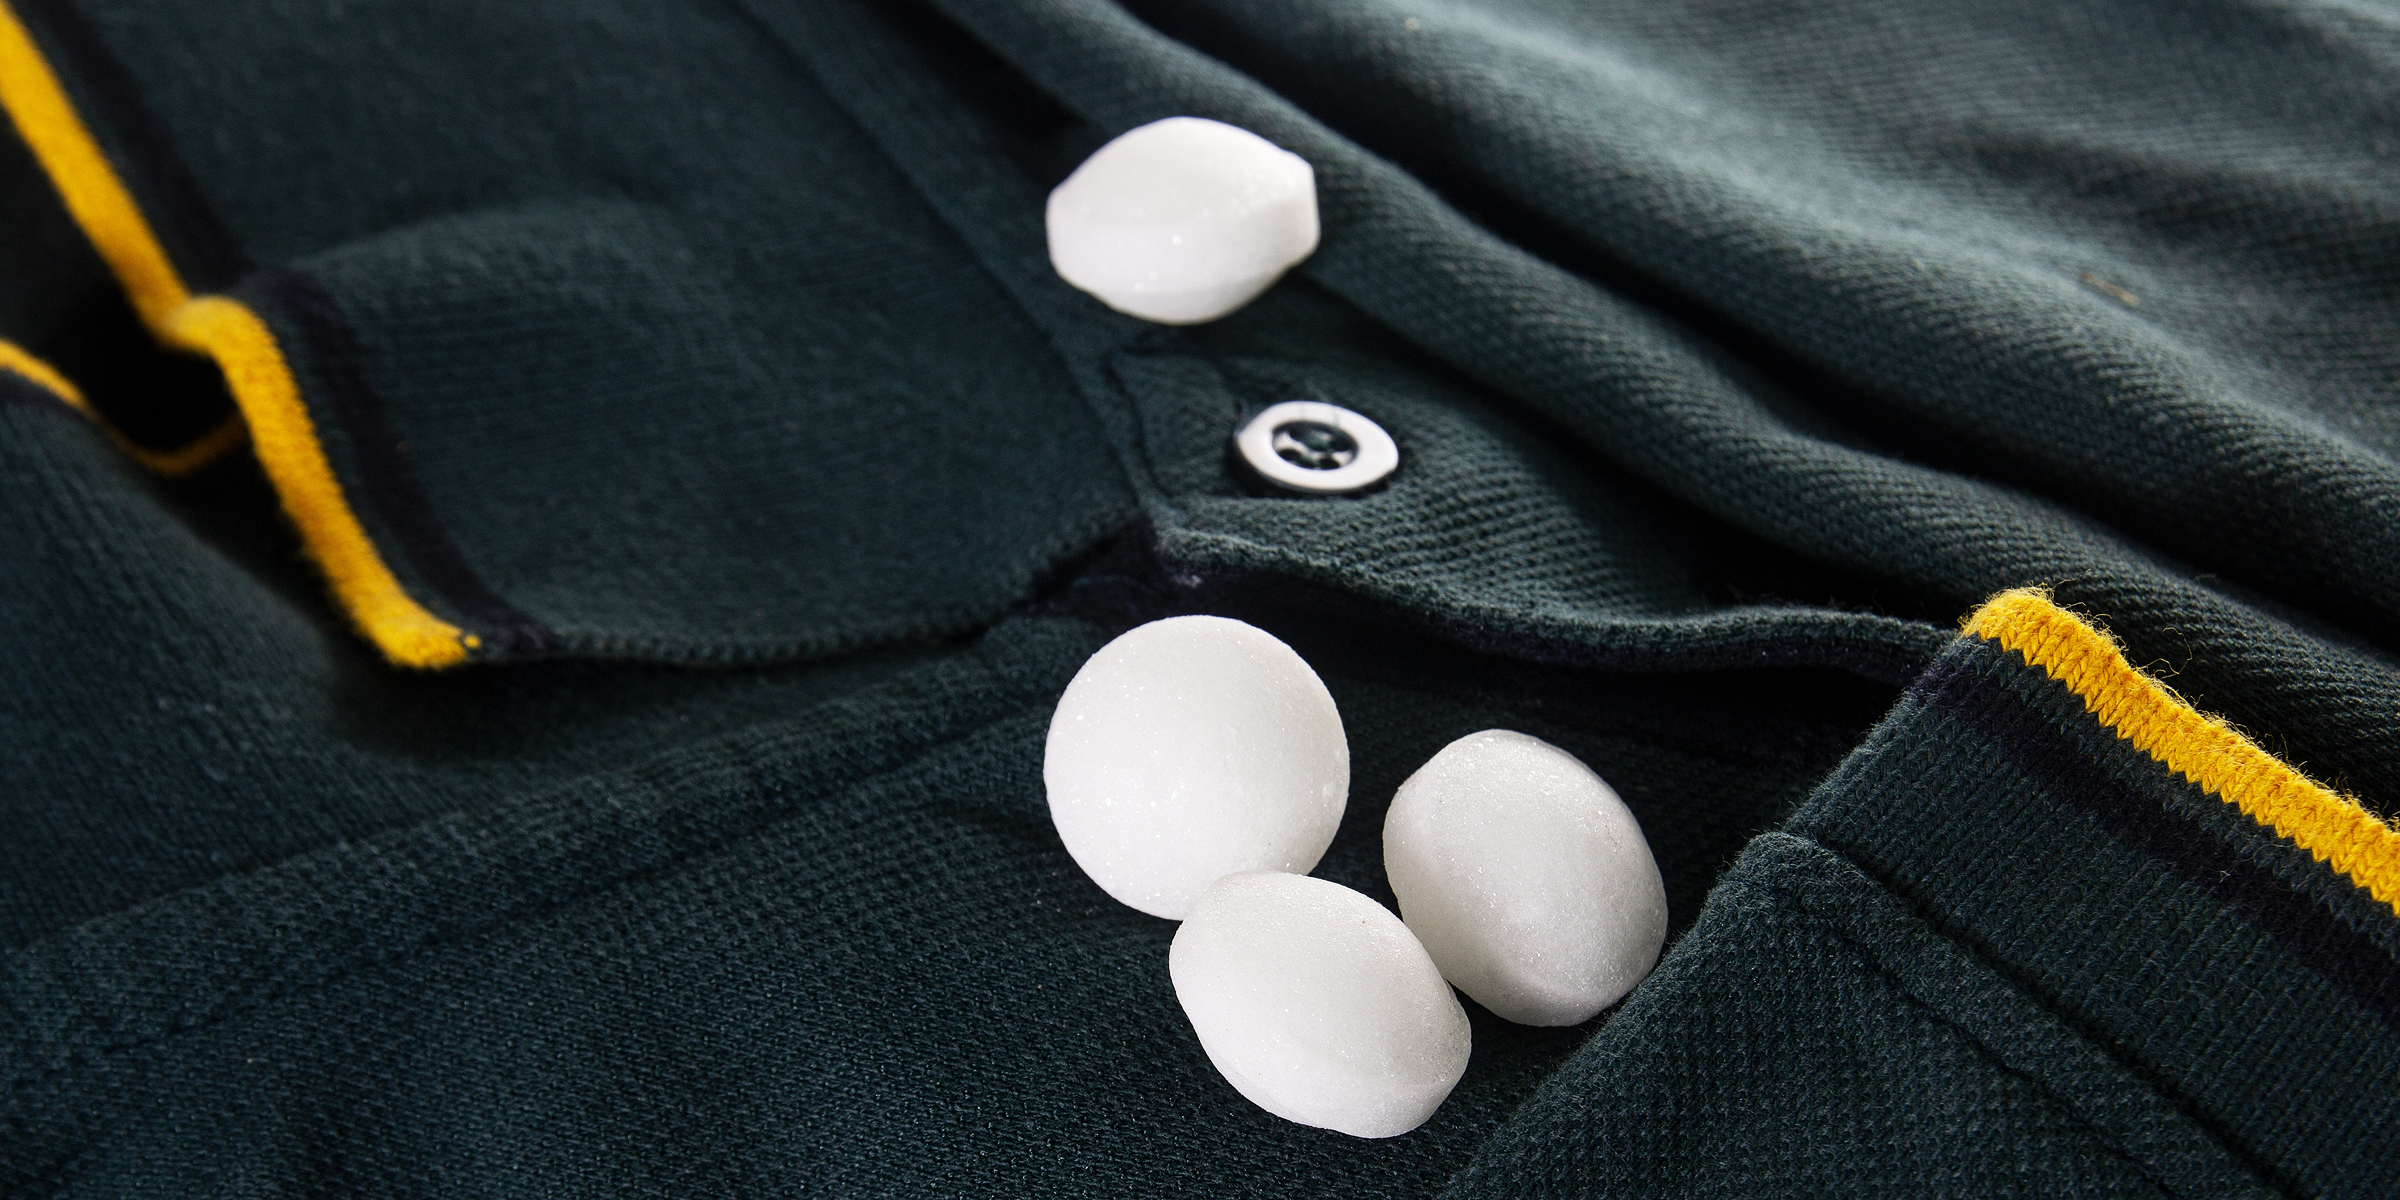
Mothballs are effective insecticides for protecting your valued furniture and clothing; however, they can leave an unpleasant odor in said items. Learn how to get rid of that mothball smell with the easy methods listed below.
Feb 23, 2024
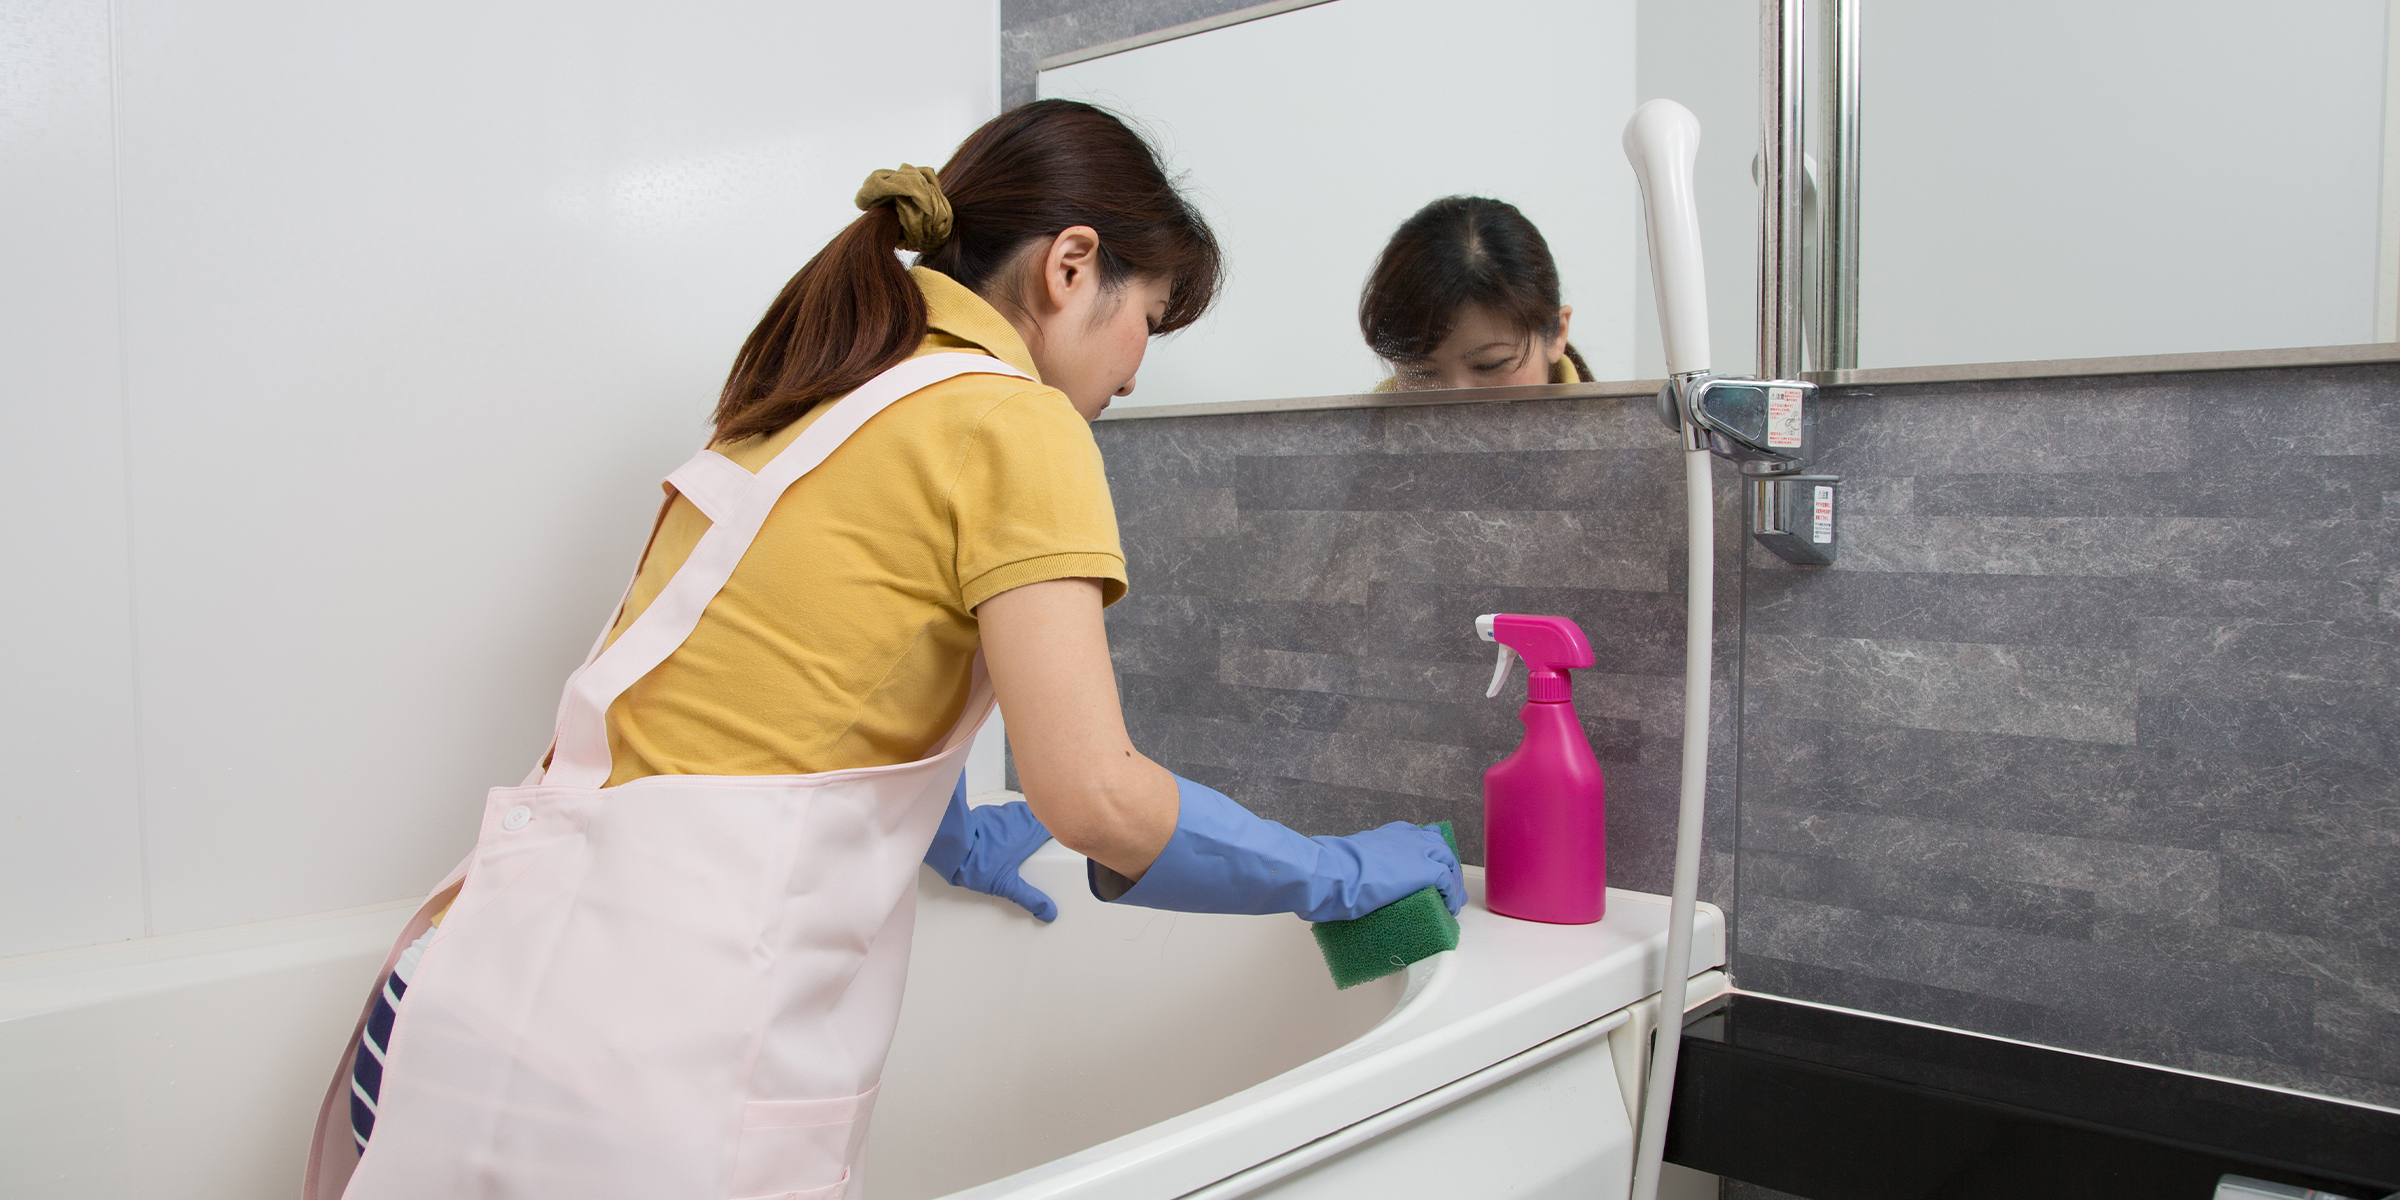
Purple shampoo can be a lifesaver if your hair starts developing yellow, brassy tones. However, it can be a nightmare when it leaves stubborn stains in your shower or bathtub. Luckily, a few easy methods can help in such a predicament.
Jan 21, 2024

Bubble walls bring the benefits of surrounding yourself with nature into the comfort of your personal space. If you're considering installing one but want to do so independently, follow this DIY bubble wall guide.
Feb 09, 2024
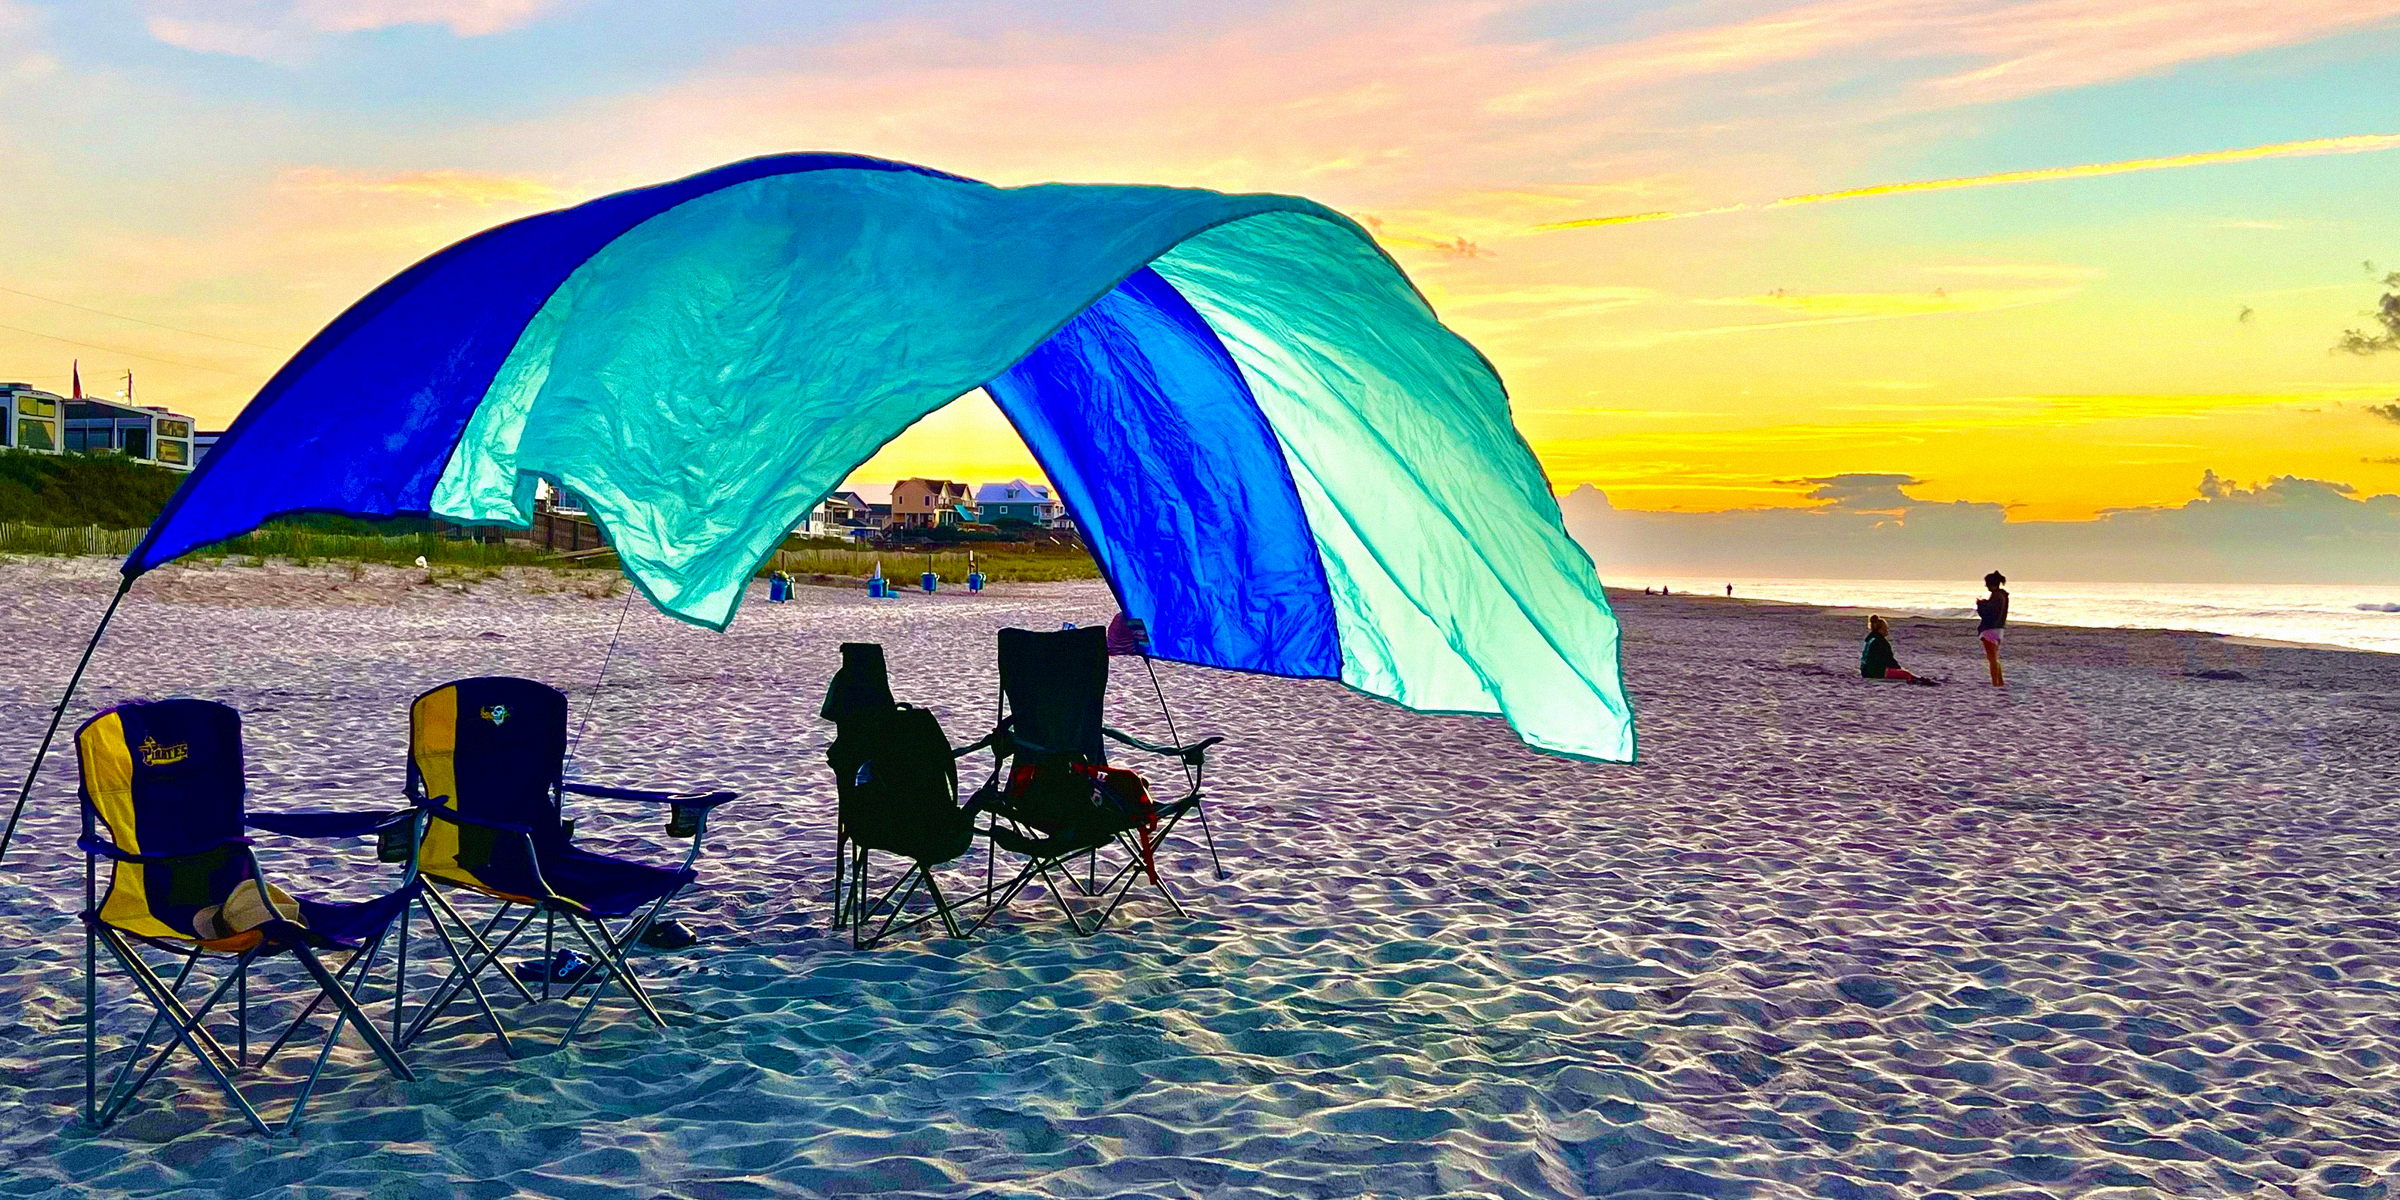
Protect your family from the sun's harsh rays while saving a few dollars with this DIY Shibumi Shade hack for the perfect beach day with your loved ones.
Jan 30, 2024
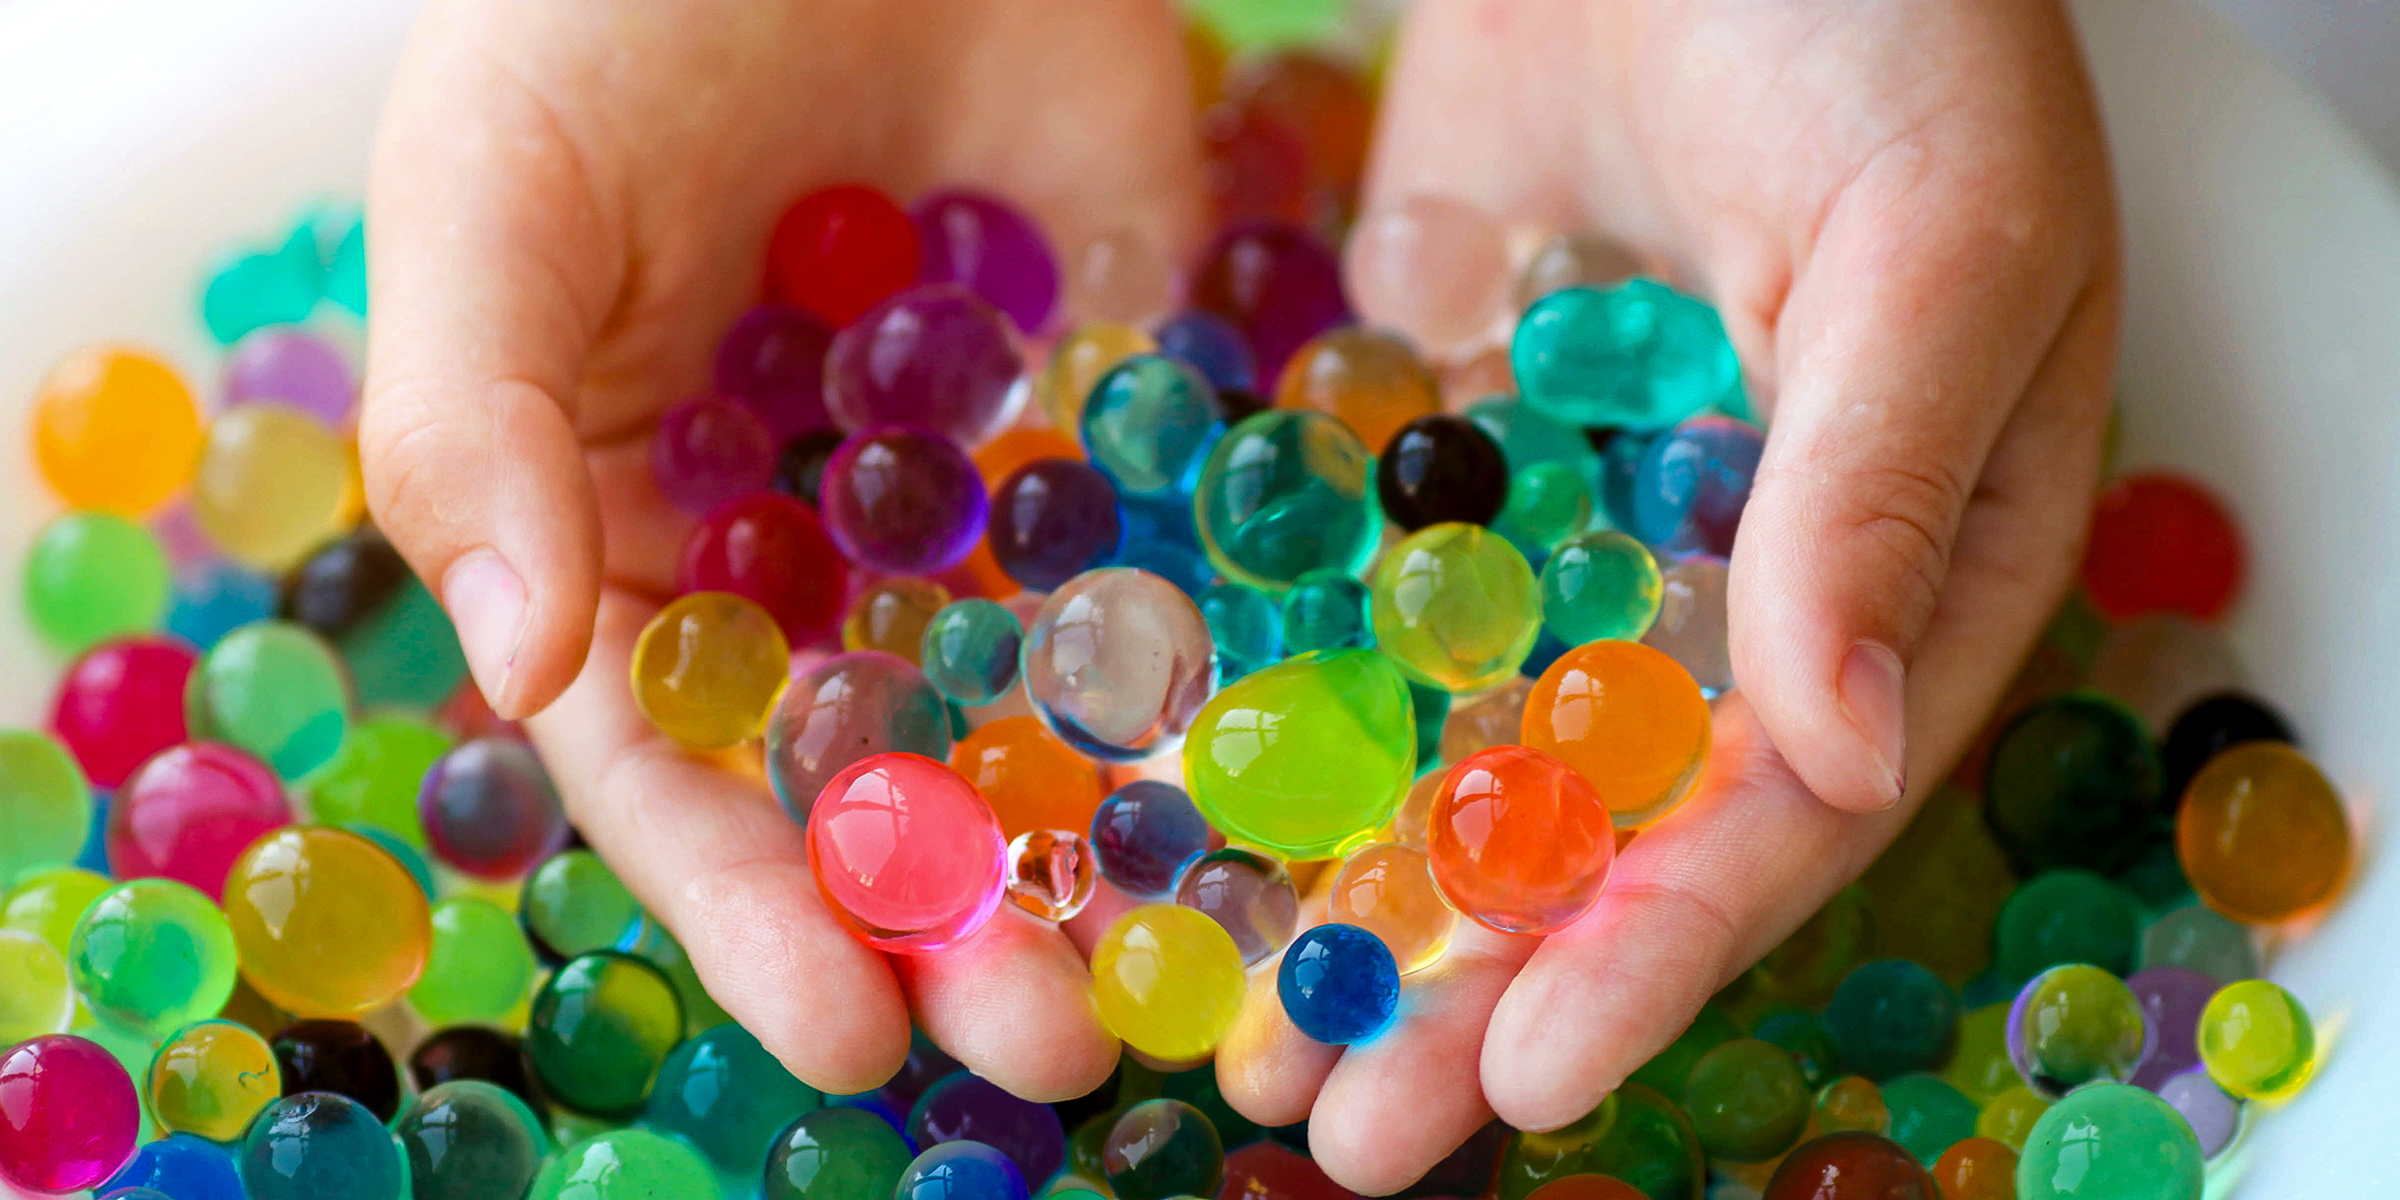
Orbeez, known as gel balls, can soak up water and expand into soft, jelly-like balls. Fans of this fun toy often want to make their Orbeez grow faster. Here are five simple ways to speed up the process.
Jan 20, 2024
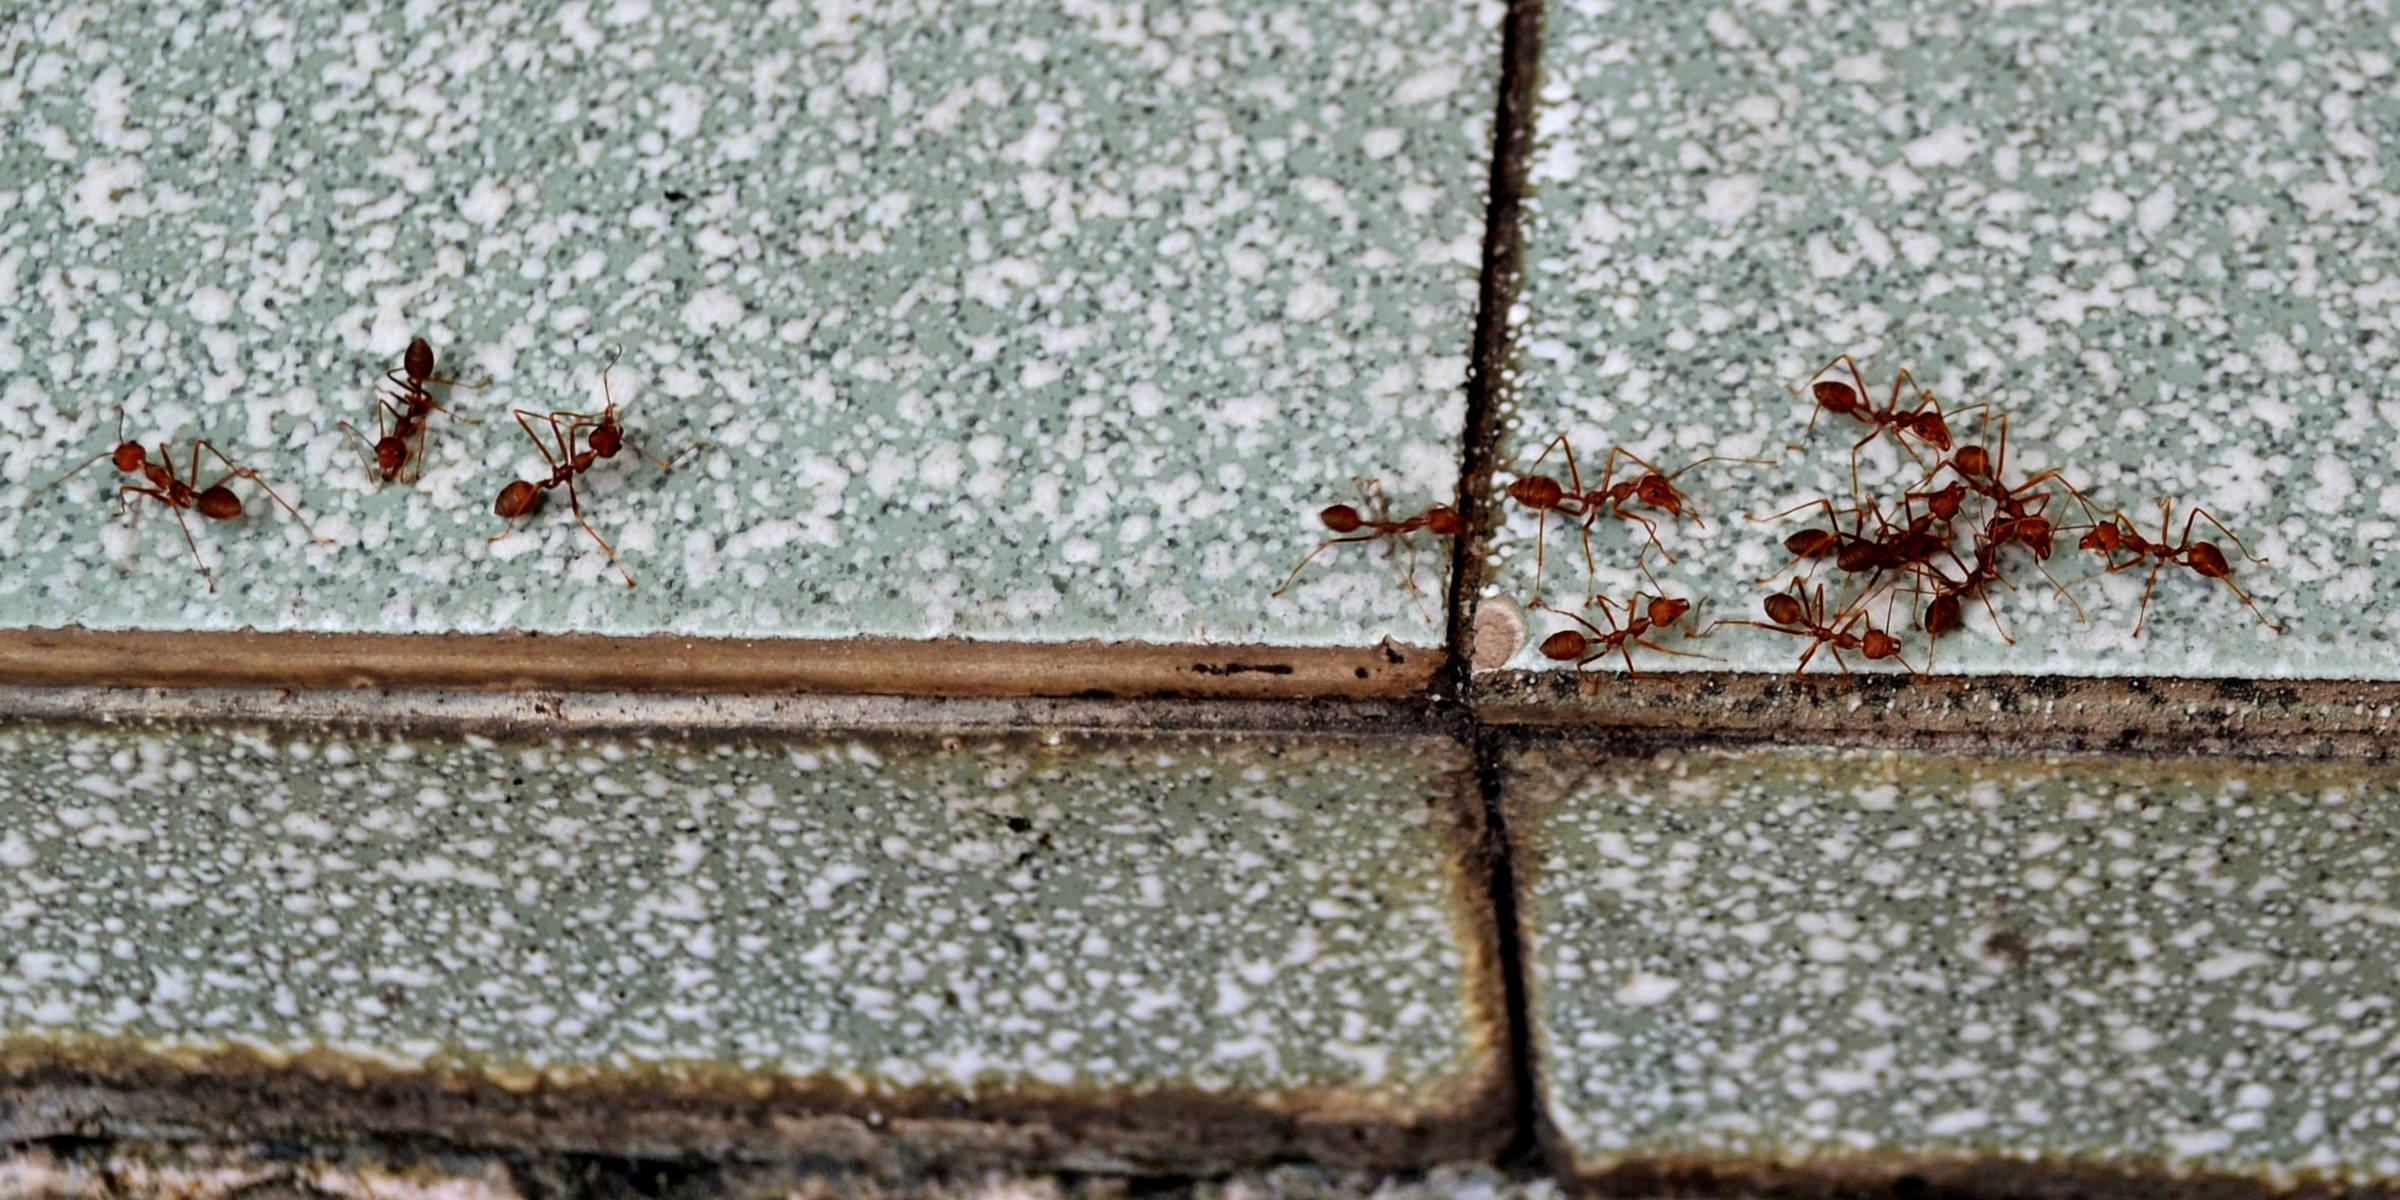
Are you struggling with ants in your yard? This guide offers effective strategies on how to get rid of ants in the yard, turning a nuisance into a thing of the past.
Feb 16, 2024

Post-baccalaureate programs, more commonly known as post-bacc programs, offer a path to a career in medicine, with DIY post-baccs providing a flexible and potentially cost-effective alternative.
Feb 15, 2024
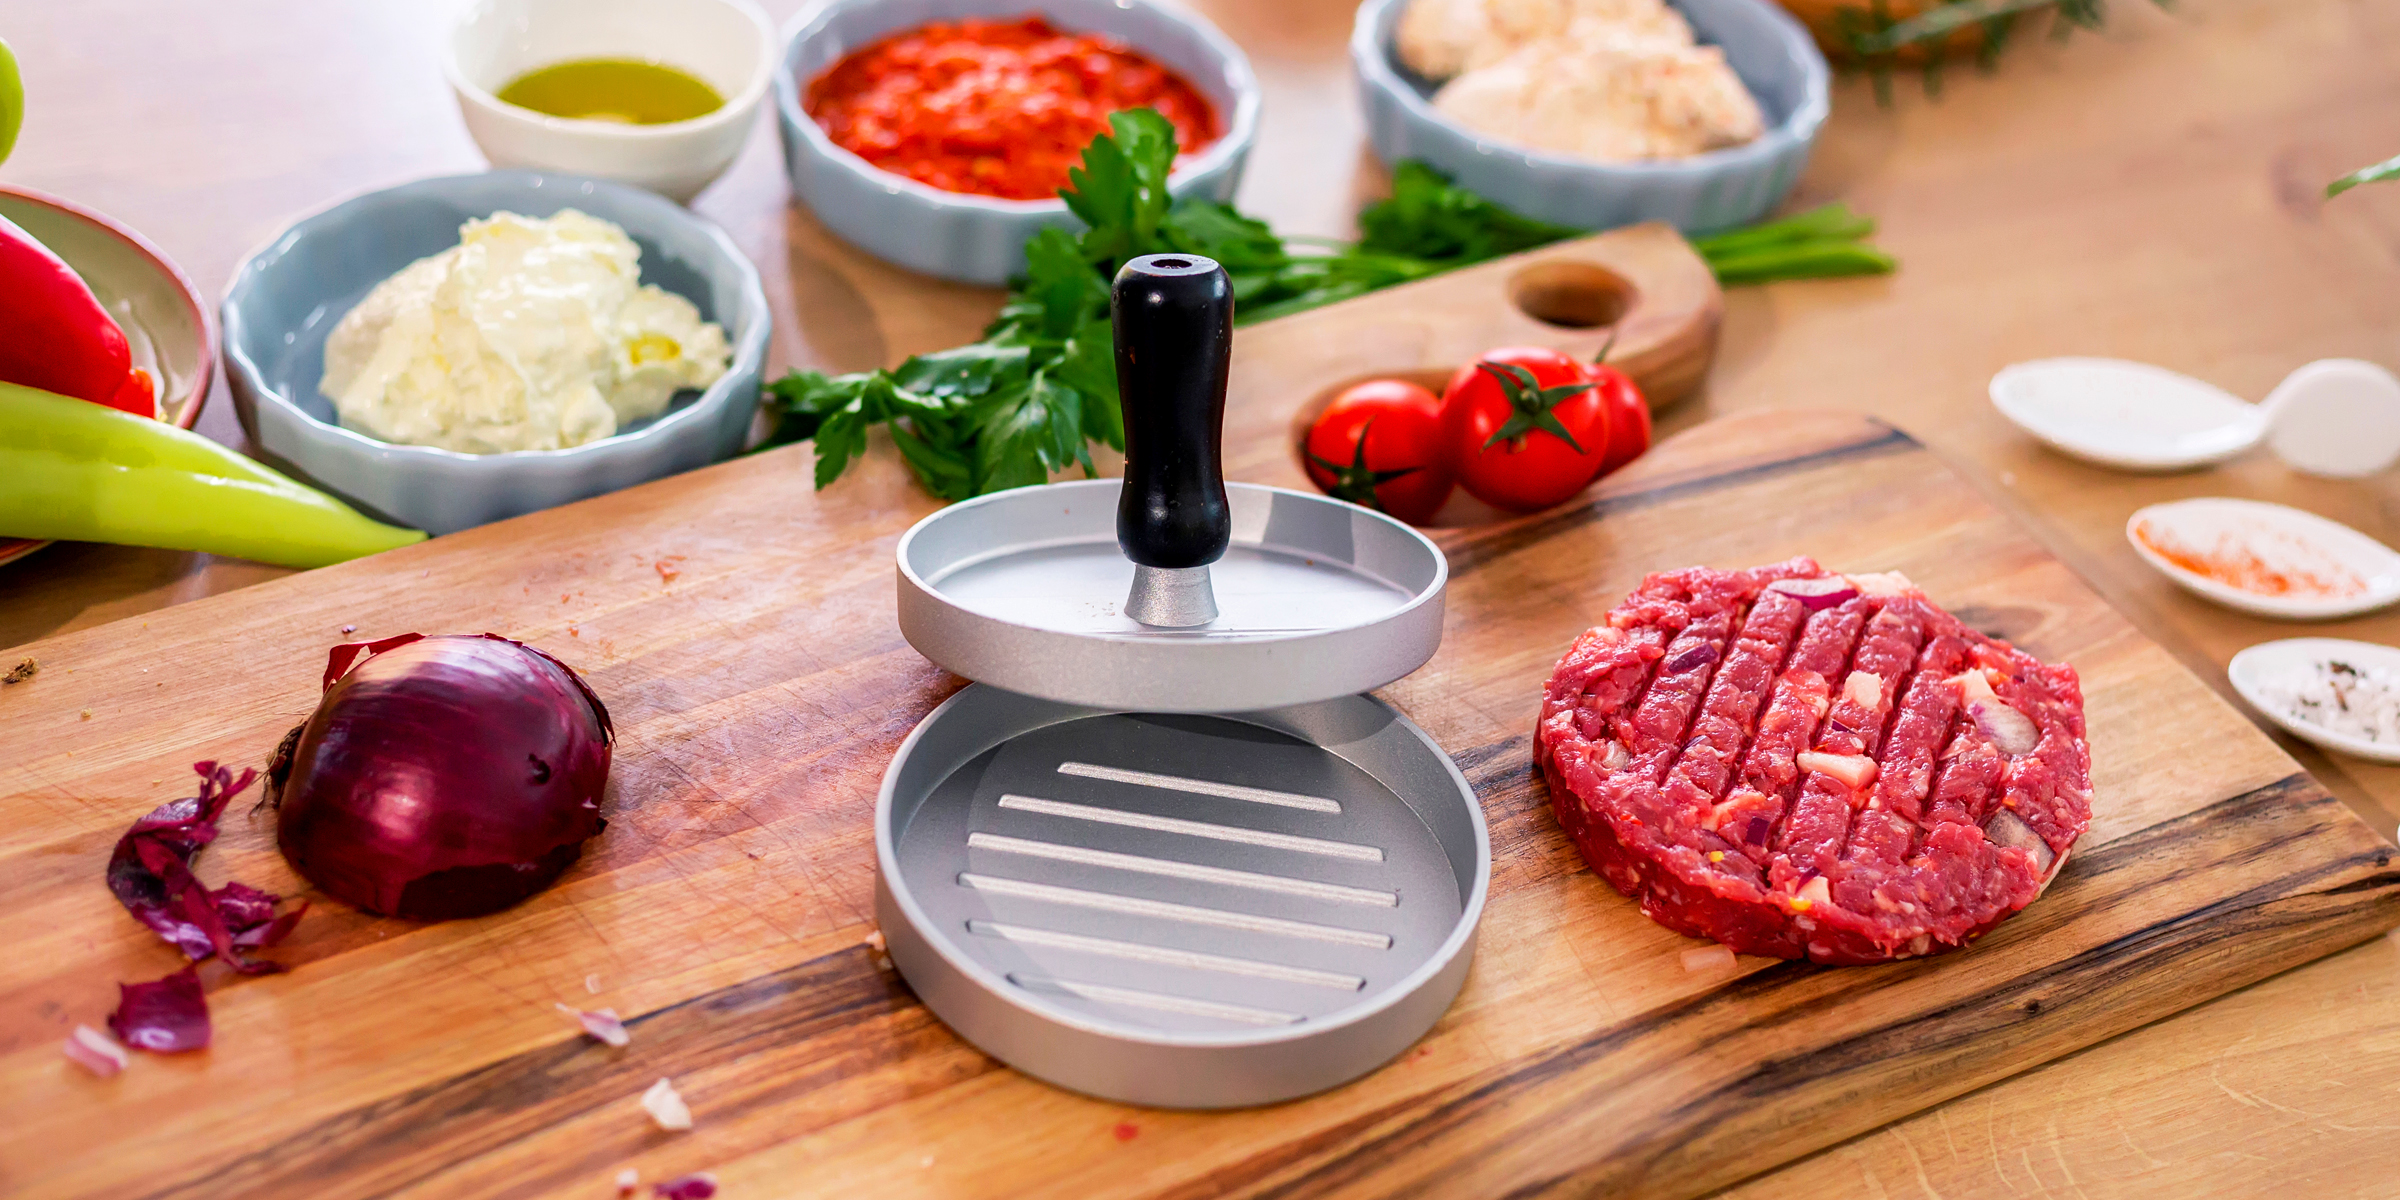
If you've been planning to buy a burger press, it's time to save that cash. In this article, you'll learn how to create a simple DIY burger press to make you the perfect patties.
Feb 11, 2024