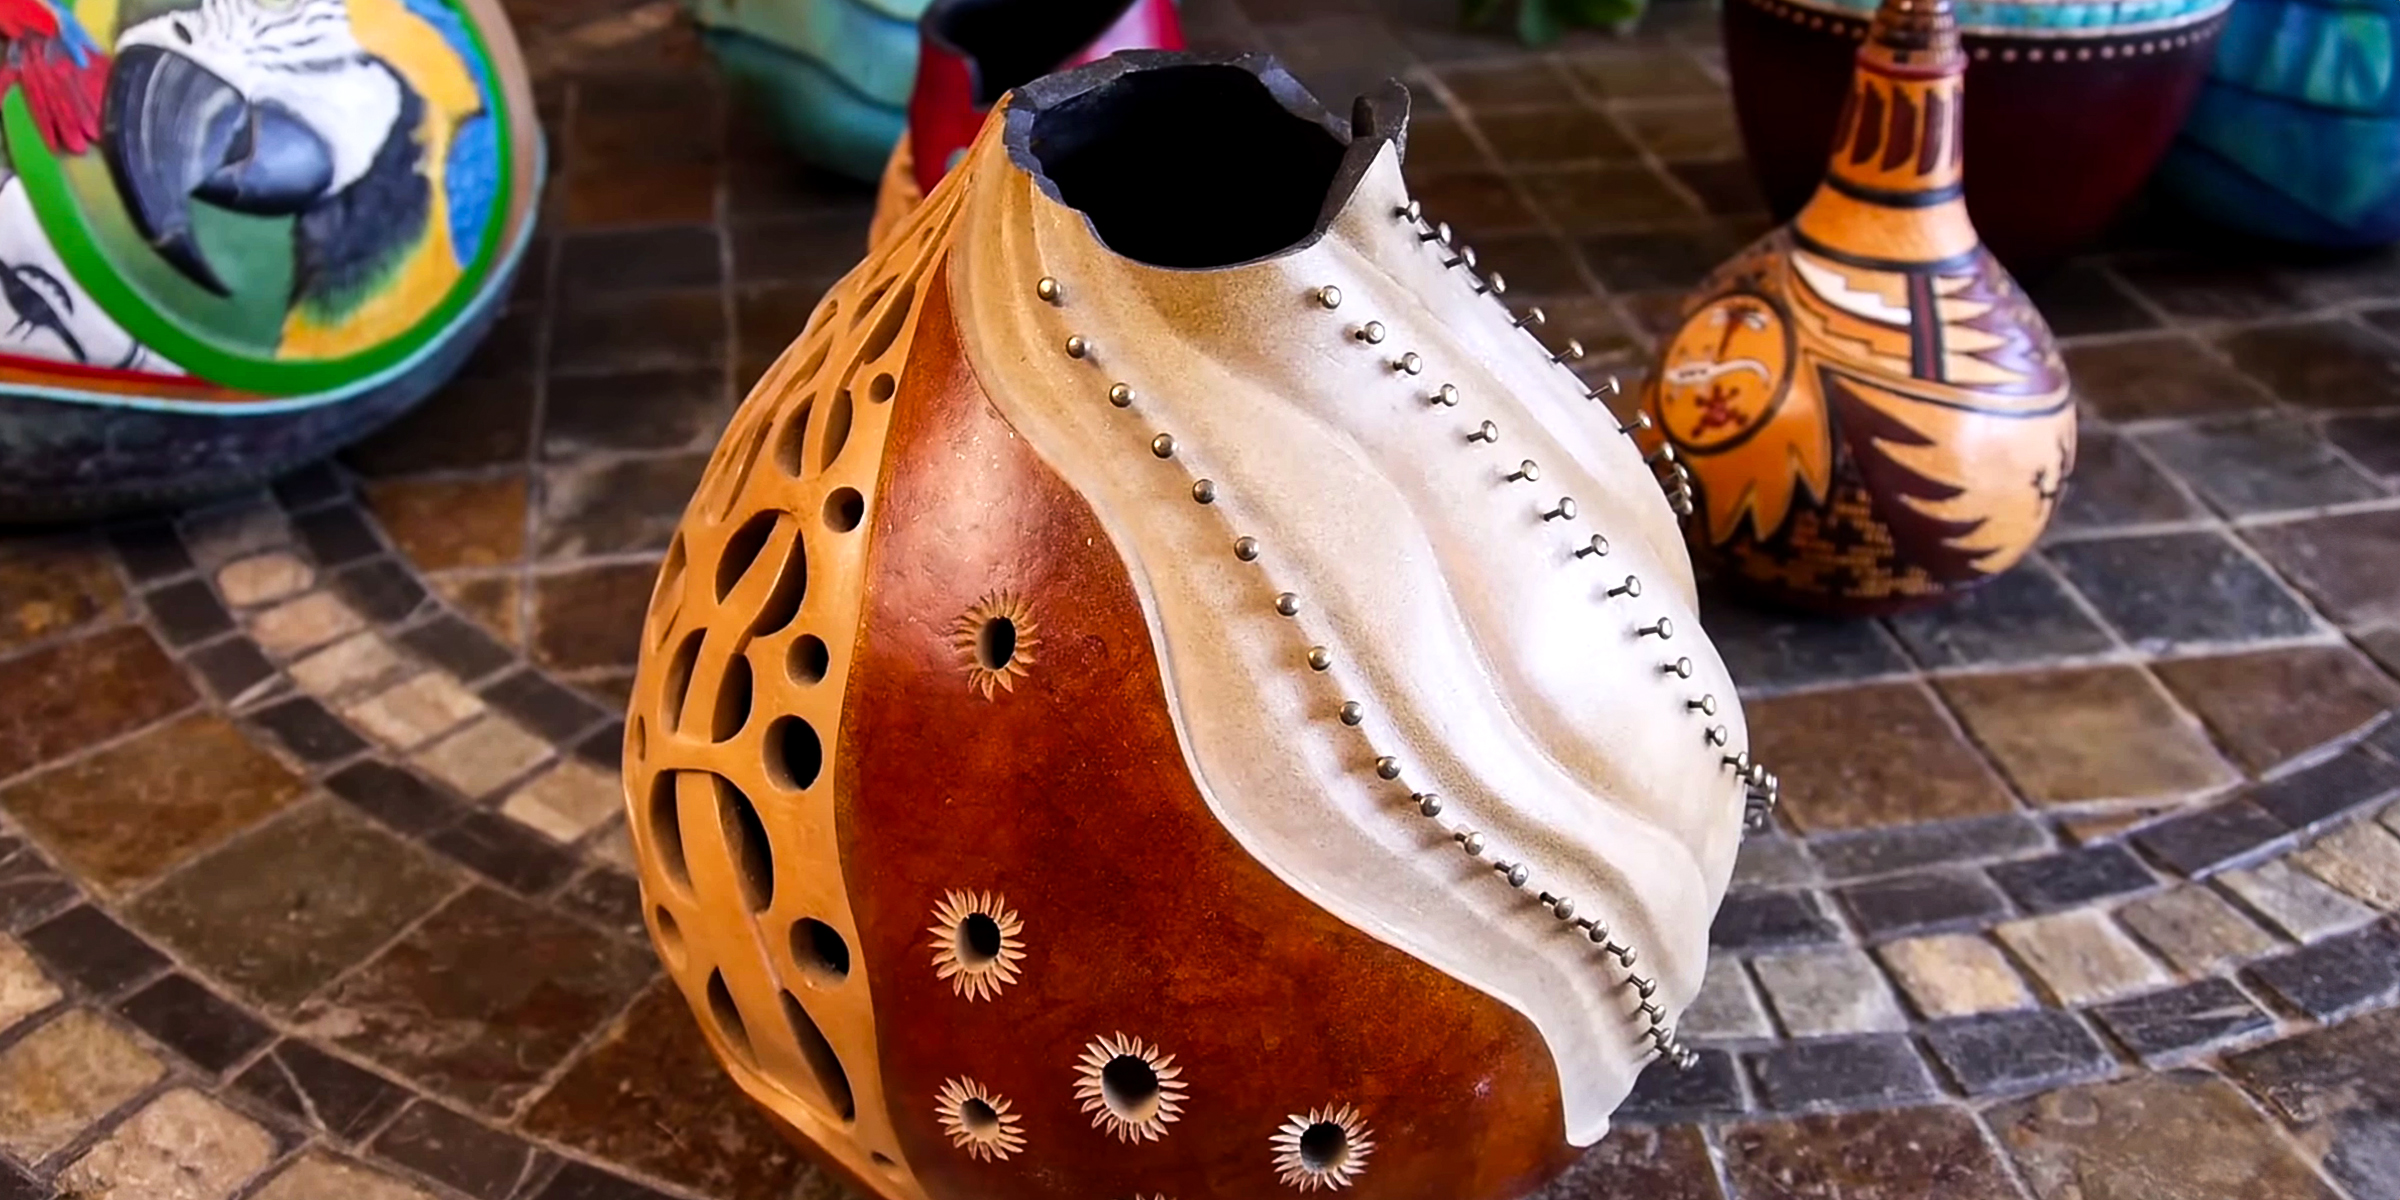
3 Gourd Decorating Ideas to Spruce up Your Home Sweet Home
Mar 11, 2024


In the realm of do-it-yourself crafts, silicone beads have emerged as a popular medium due to their durability, safety, and flexibility. Discover how to make silicone beads from scratch.
Silicone beads, small and chewable, are crafted from durable silicone. They are highly sought after for baby products, including teething aids and decorative accessories.
Moreover, these beads play a pivotal role in supporting children's sensory needs, especially for those with neurodivergent conditions such as ADHD and autism. If you want to know how to make silicone beads, simply follow this guide below!

A teething baby | Source: Pexels
Opt for food-grade silicone, which is non-toxic and safe for skin contact. Recommended brands include Mold Star 15 SLOW, OOMOO 30, and Smooth-On Dragon Skin.
Integrate a small amount of mica powder or alcohol ink into the silicone to achieve the desired color. Start with a tiny quantity and adjust as needed.
Use silicone molds designed for beads or create your own with clay, resin, or upcycled items. Ensure the material is non-porous and apply mold release spray.
Once cured, flex the molds to release the beads. Rinse and dry them, adding any final embellishments like glitter or sealant.
Experiment with colors, textures, and add-ons like rhinestones or clasps. Consider using items for imprints, layering colors, or embedding small objects for a personalized touch.
Silicone beads are durable and waterproof but avoid solvents and prolonged sunlight. Embellished beads might need occasional resealing.
Use soft, stretchy materials like beading wire or elastic cord to string your beads. This accommodates any size variances and enhances durability.
There you have it! By following the step-by-step guide provided, anyone can create their own silicone beads, customizing them according to their preferences and needs.
With proper care and creativity, silicone beads offer endless possibilities for crafting unique and personalized creations. Similarly, there are more options to make kids' playtime fun and engaging. Consider learning how to make cloud dough slime too!

Are you looking for a fun and educational activity for your little ones? Look no further—learn how to make cloud dough slime with our easy-to-follow guide!
Mar 04, 2024

Tiki huts are making a significant comeback, captivating enthusiasts with their distinctive charm that transports you to a serene paradise. Embark on a journey to transform your backyard into a tranquil oasis with our step-by-step guide on how to make a Tiki Hut.
Mar 20, 2024
From photography to decor, a wooden arch backdrop can make all the difference in a desired aesthetic. If you're looking to acquire one without spending too much, here's a DIY wooden arch backdrop tutorial.
Feb 12, 2024
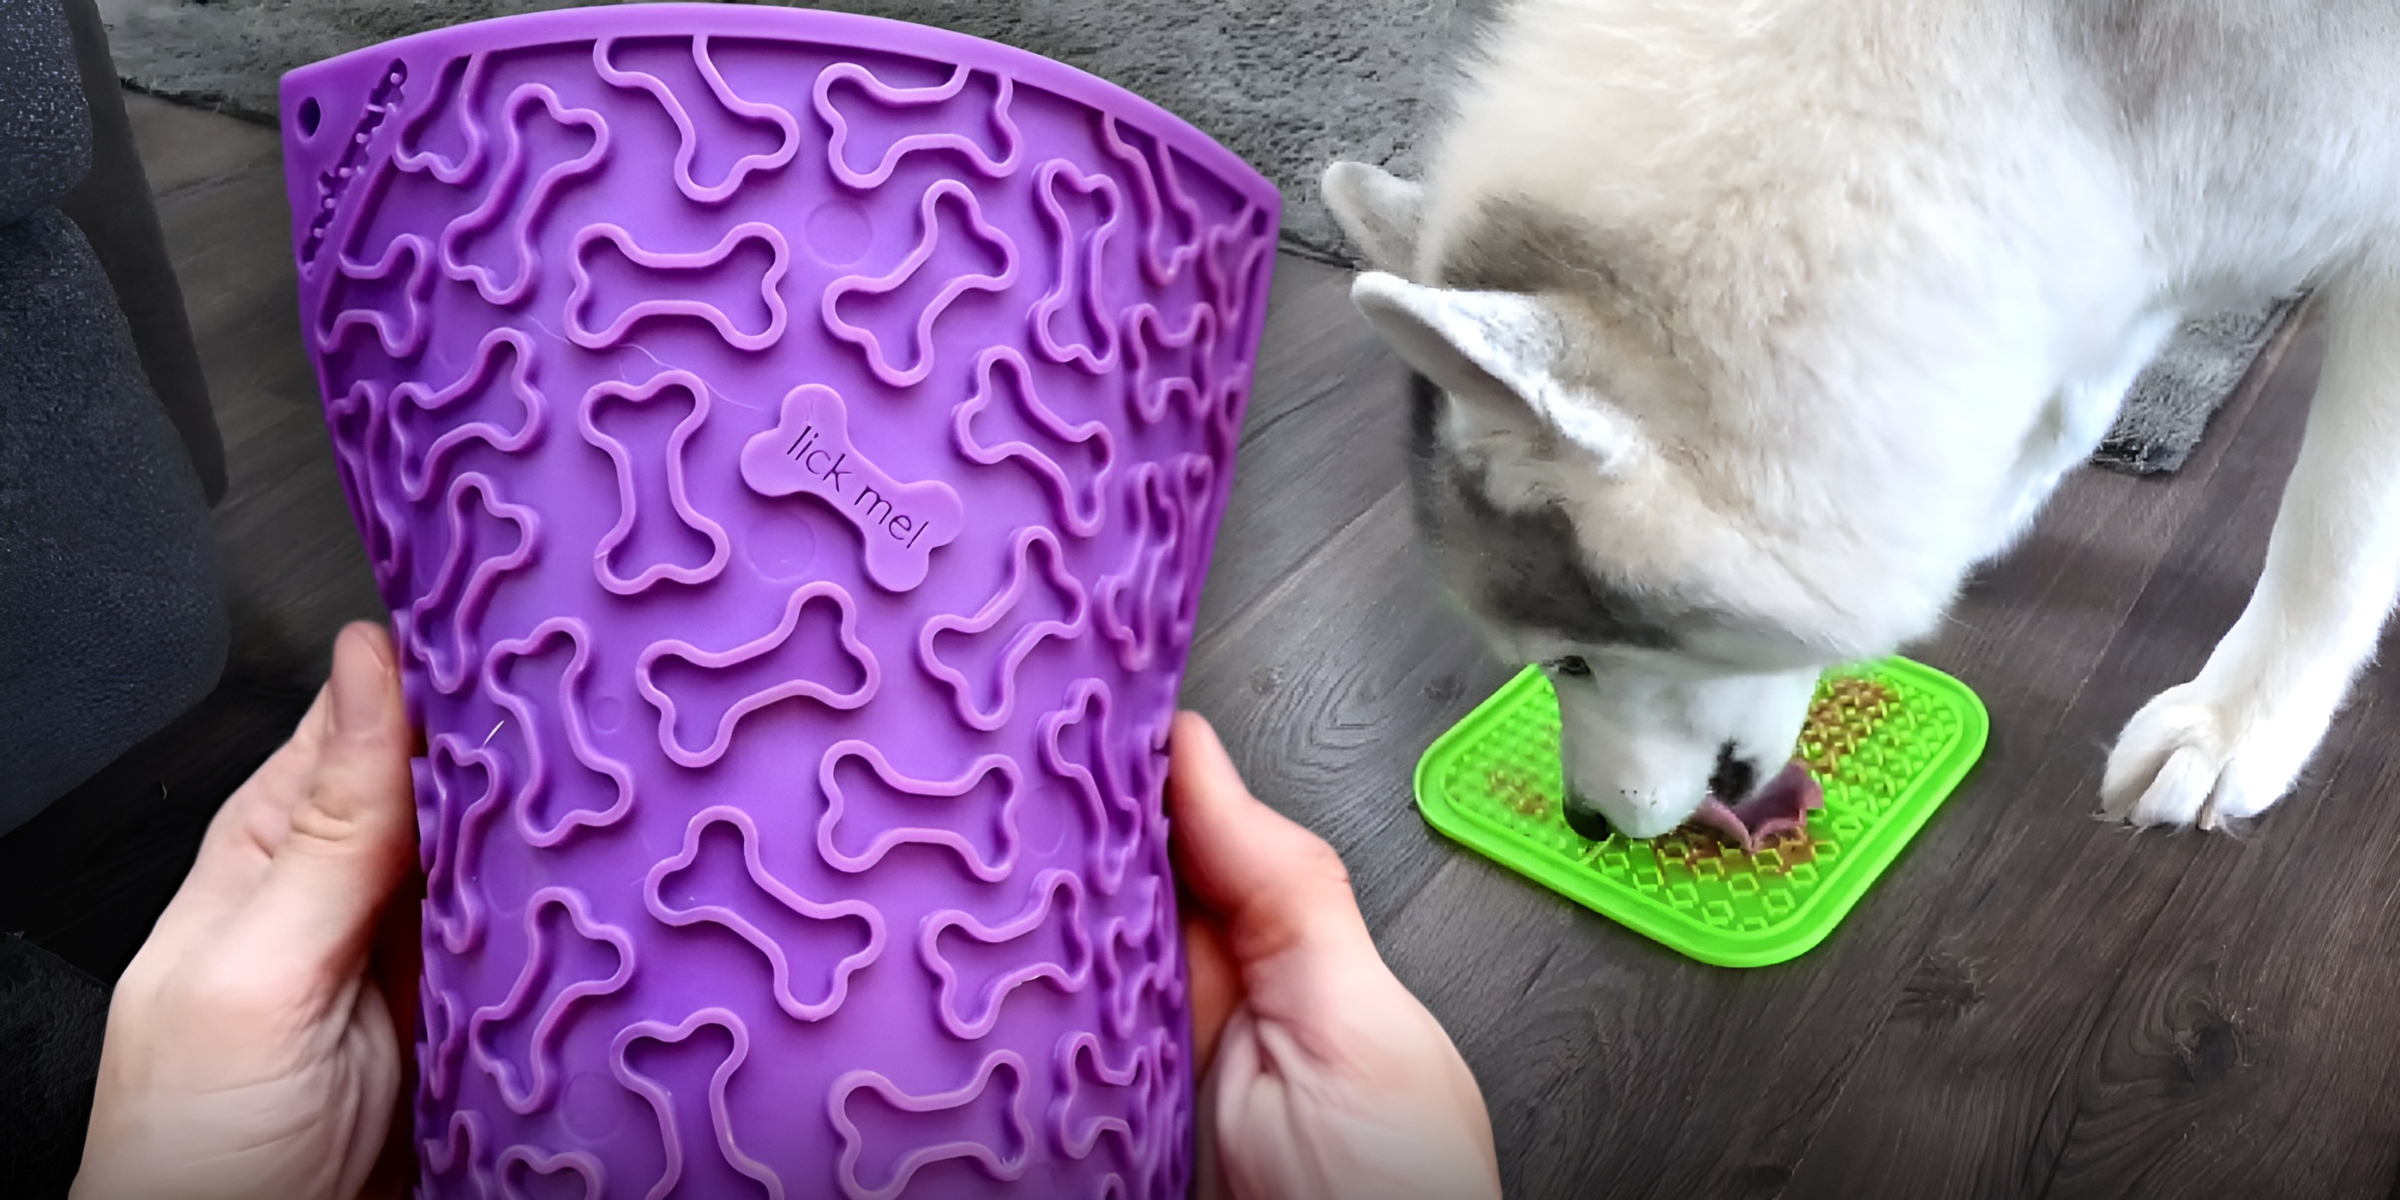
Lick mats for pets are becoming a popular trend, and there are numerous benefits to engaging in this activity. A practical approach to this trend involves creating your own DIY lick mats.
Dec 14, 2023
Discover the cost-effective joy of DIY slide boards! This article guides you through crafting your own, enriching your workout without breaking the bank. Save big while elevating your exercise routine.
Feb 04, 2024
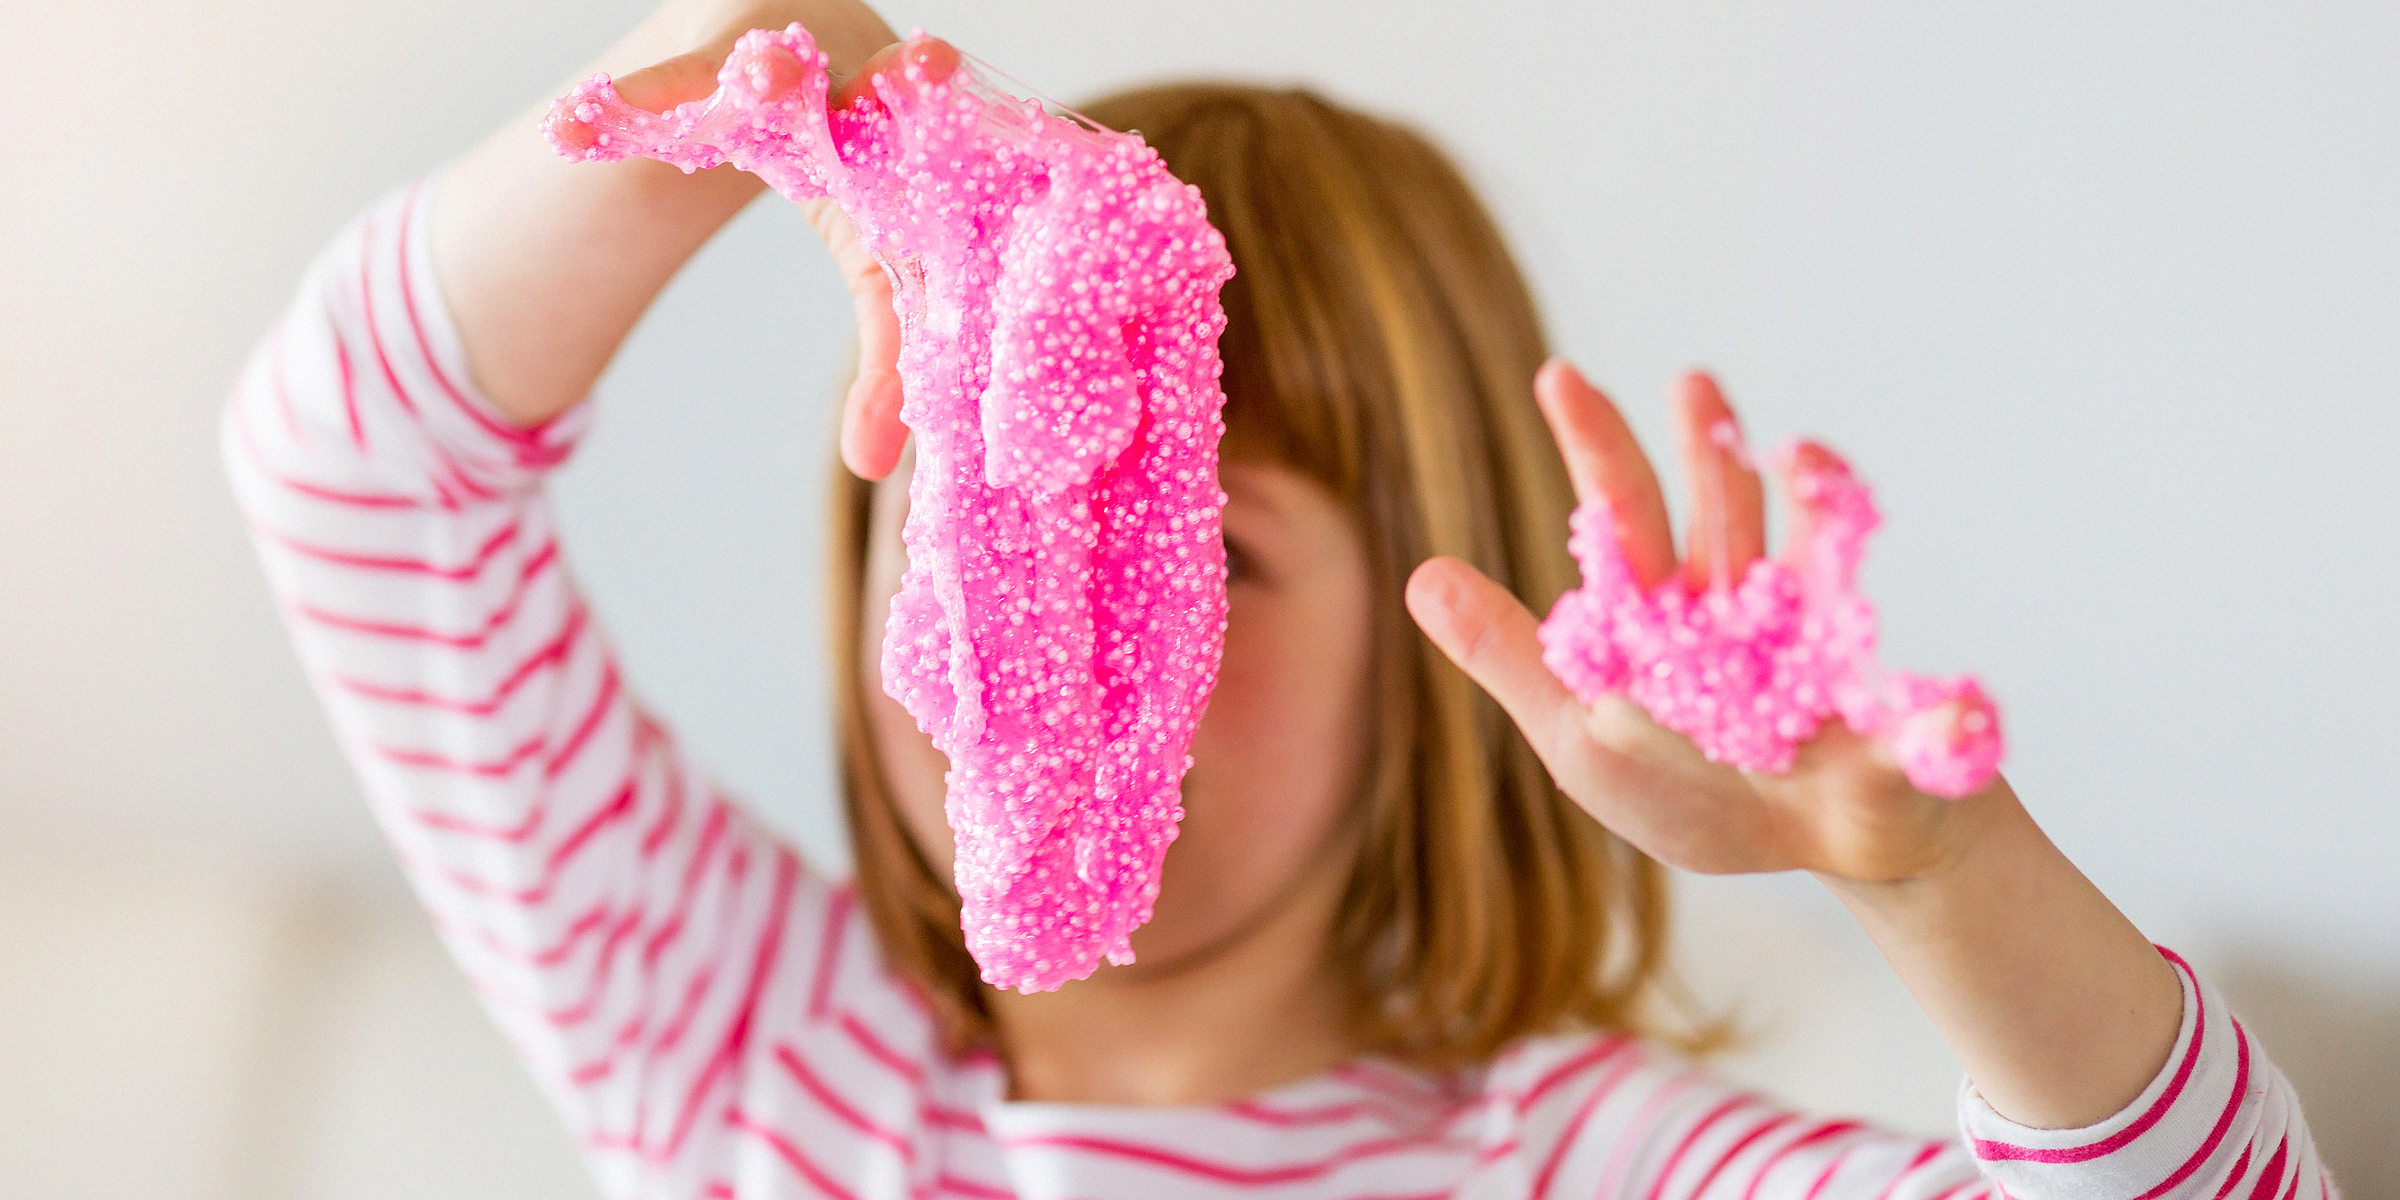
Slime is a fun substance anyone can use to mold shapes of all kinds, but clay slime is especially satisfying with its fluffy, creamy texture. If you want to learn how to make yours at home, here's how.
Jan 20, 2024
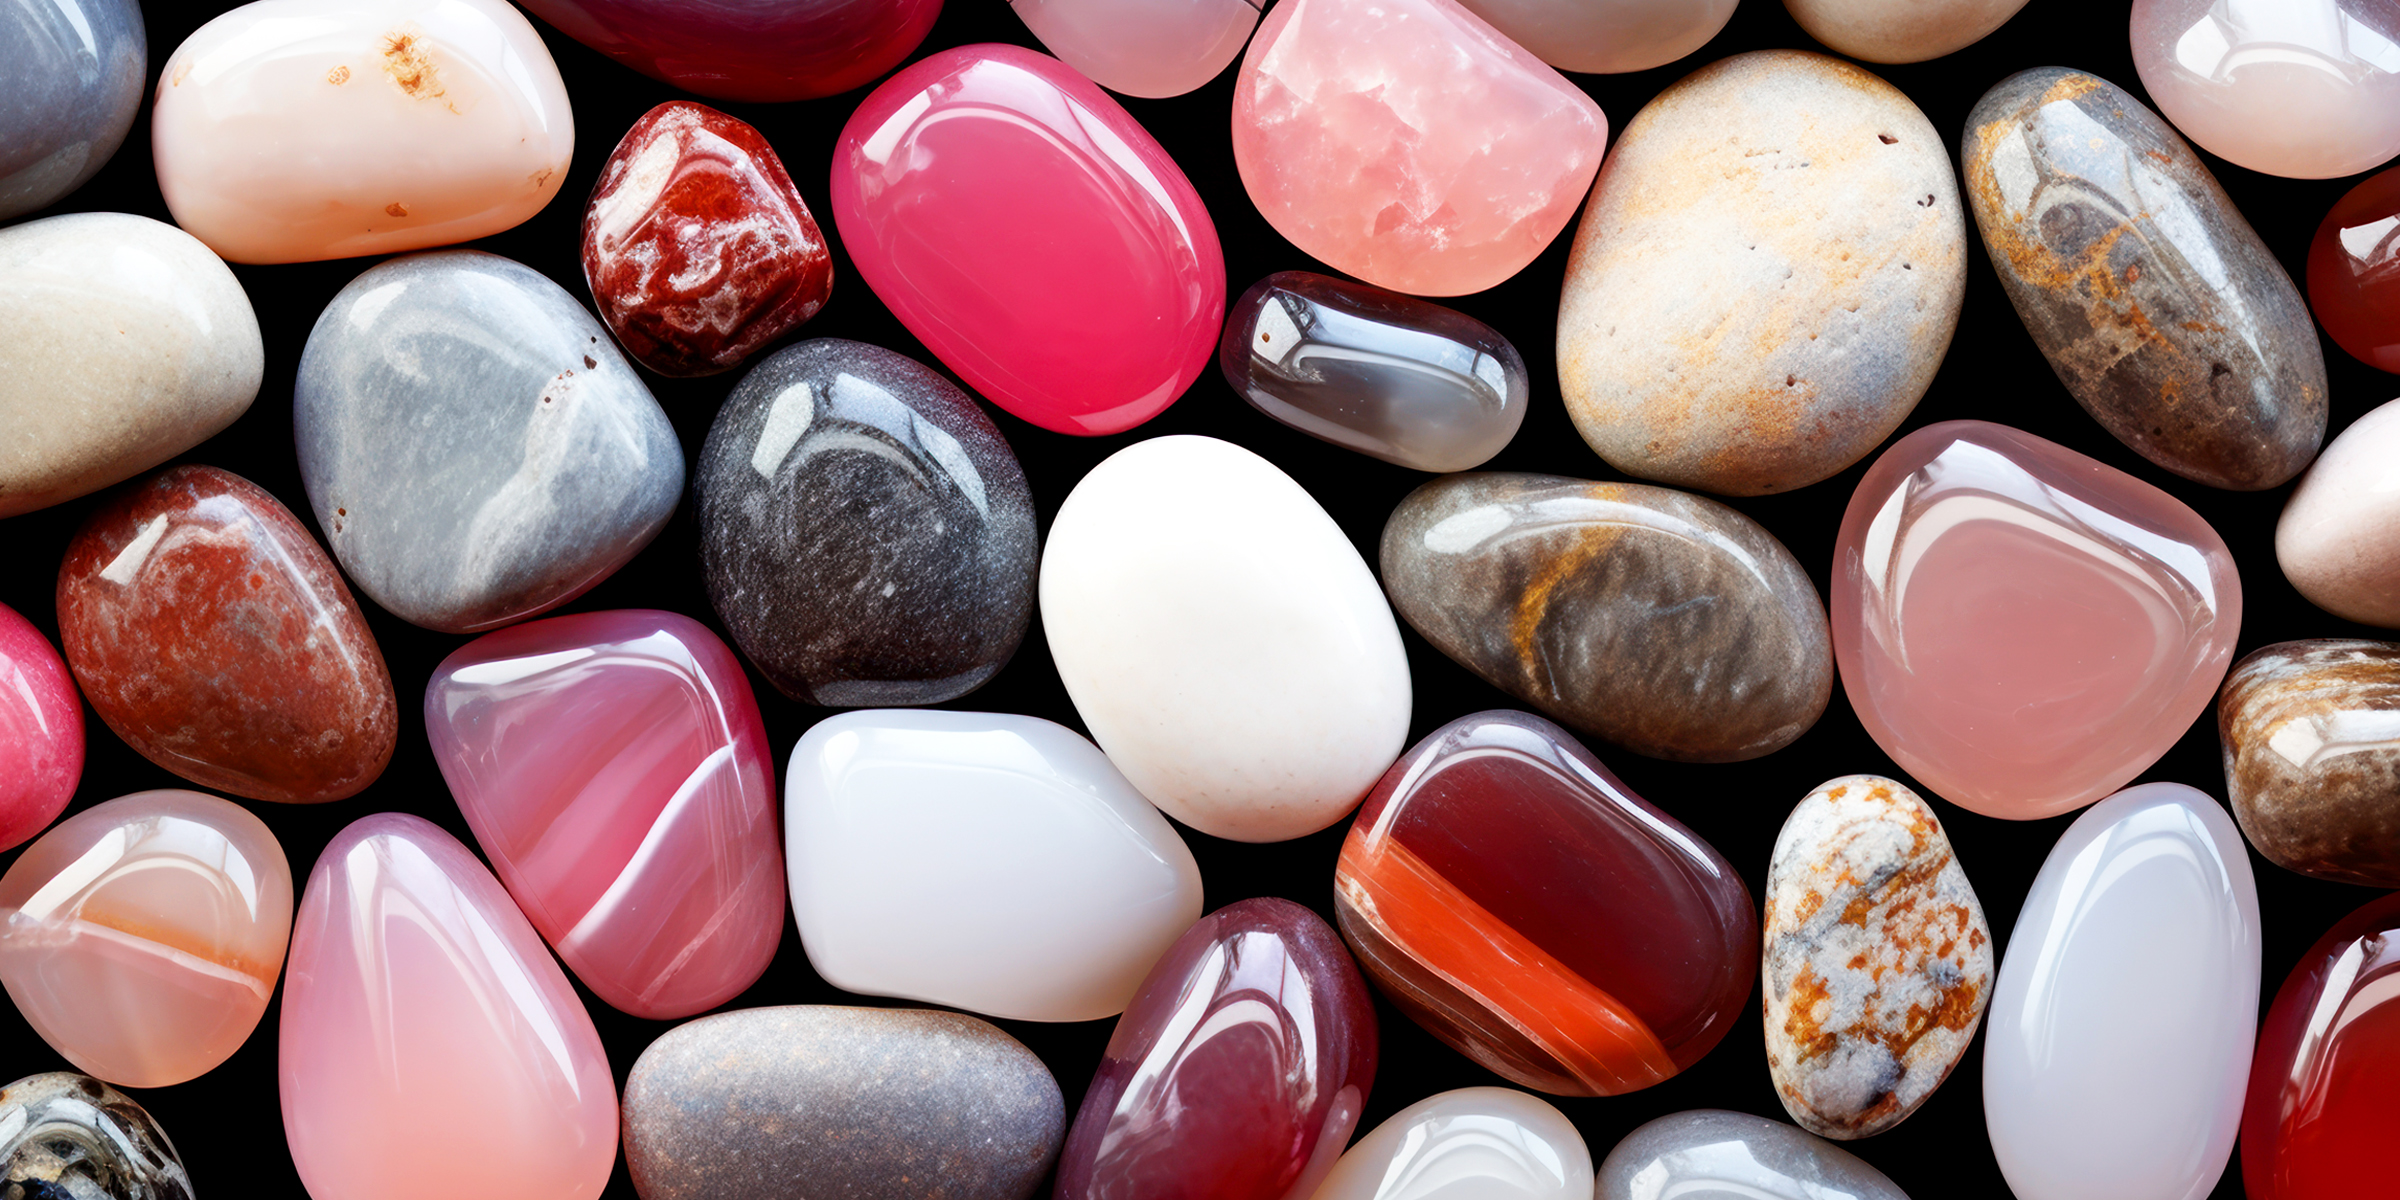
Dreaming of a garden that glimmers? Discover how to make rocks look wet permanently and elevate your outdoor space with stones that boast an everlasting shine, no tumbler required.
Mar 07, 2024

Create a space that promotes independence and a thirst for knowledge in your child, all in the comfort of your home, with this helpful DIY Montessori bookshelf guide.
Feb 04, 2024

Bubble walls bring the benefits of surrounding yourself with nature into the comfort of your personal space. If you're considering installing one but want to do so independently, follow this DIY bubble wall guide.
Feb 09, 2024

If you're looking to seamlessly combine wood and tile flooring in your home, continue reading for helpful tips, including tricks on blending these two flooring types for a harmonious finish.
Jan 23, 2024
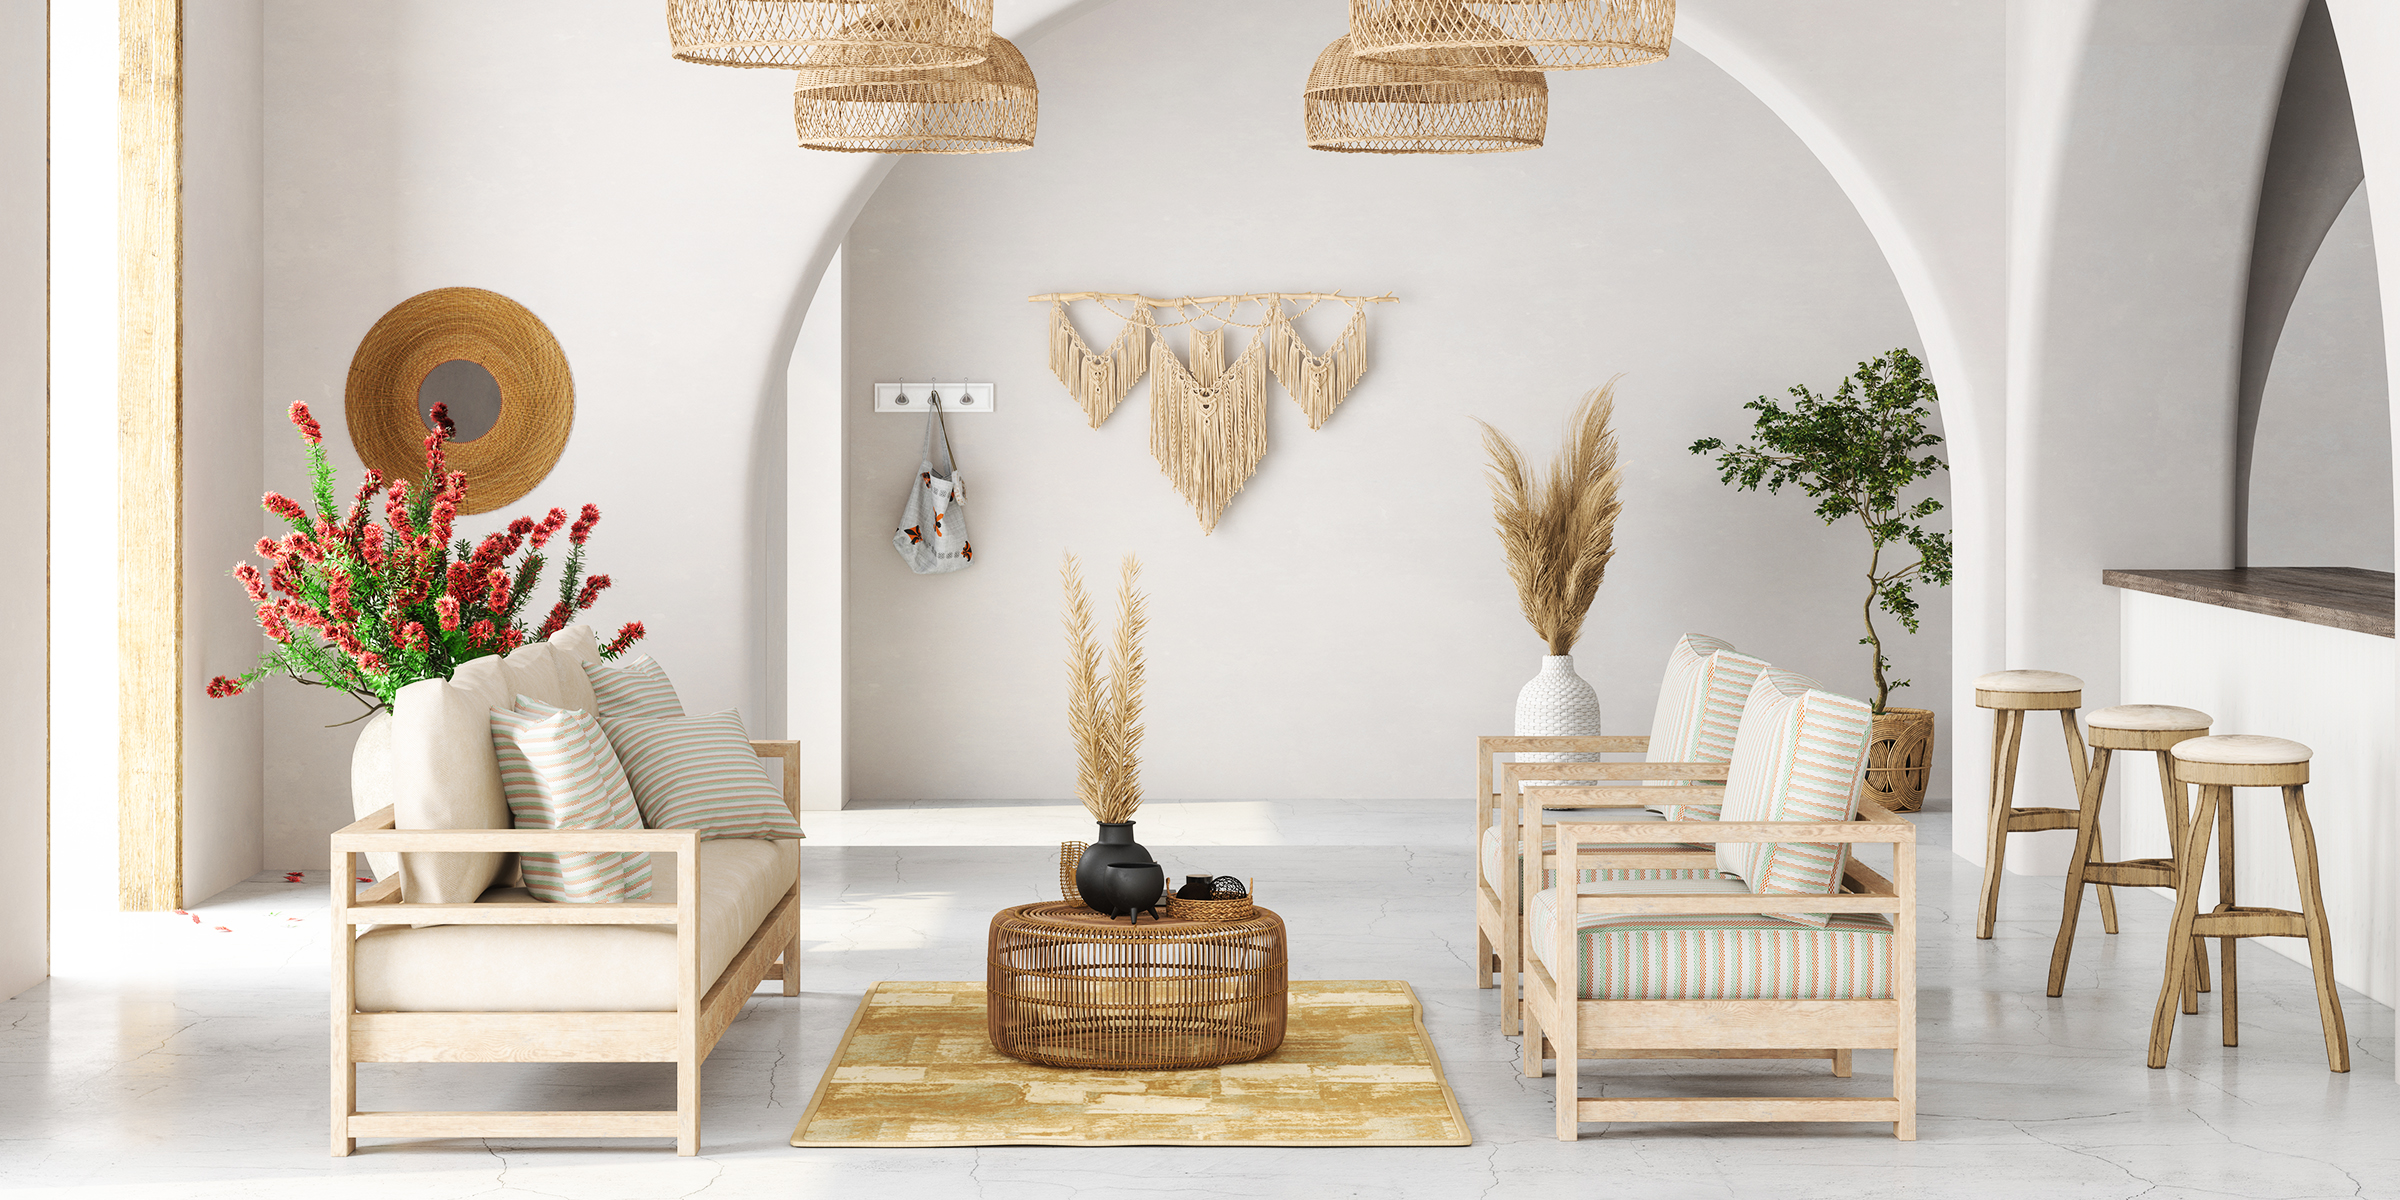
If you're looking to create the perfect balance of boho and rustic in your living room, continue reading for essential interior design tips to perfectly encapsulate the charming touch and natural finish of these two styles.
Jan 29, 2024

Want to envelop your event in an aura of mystery? Master how to make fog juice with our straightforward DIY guide, and transform any space into an enchanting mist-filled wonderland.
Mar 10, 2024

One of the most potent senses a deer possesses is its ability to smell. For many years now, hunters have used that as leverage on their hunting trips, acquiring deer attractants to bait their prey. Here's how to make yours at home.
Jan 27, 2024

If your dog has a luxurious coat of fur, short or long, then you understand the necessity to brush your furry friend regularly. Detangler sprays make this routine grooming process easier. Here's how to make yours at home.
Jan 25, 2024