How to DIY a Canopy Bed without Drilling into Your Ceiling — A Helpful Guide
Apr 19, 2024


Celebrate your baby’s milestone in style! Crafting a DIY high chair banner is a fun, cost-effective way to add a personal and decorative touch to any special occasion. With simple materials and easy-to-follow steps, this project is perfect for both seasoned crafters and those new to DIY.
When it comes to celebrating your little one’s milestones, nothing adds a touch of personal charm quite like a DIY high chair banner. This crafty project is not only a delightful way to mark a special occasion but also a fantastic way to show off your creative side.
Creating your own DIY high chair banner transforms a simple celebration into something unique and heartfelt. Keep reading to discover how you can DIY the perfect high chair banner, guaranteed to brighten up your baby’s big day!
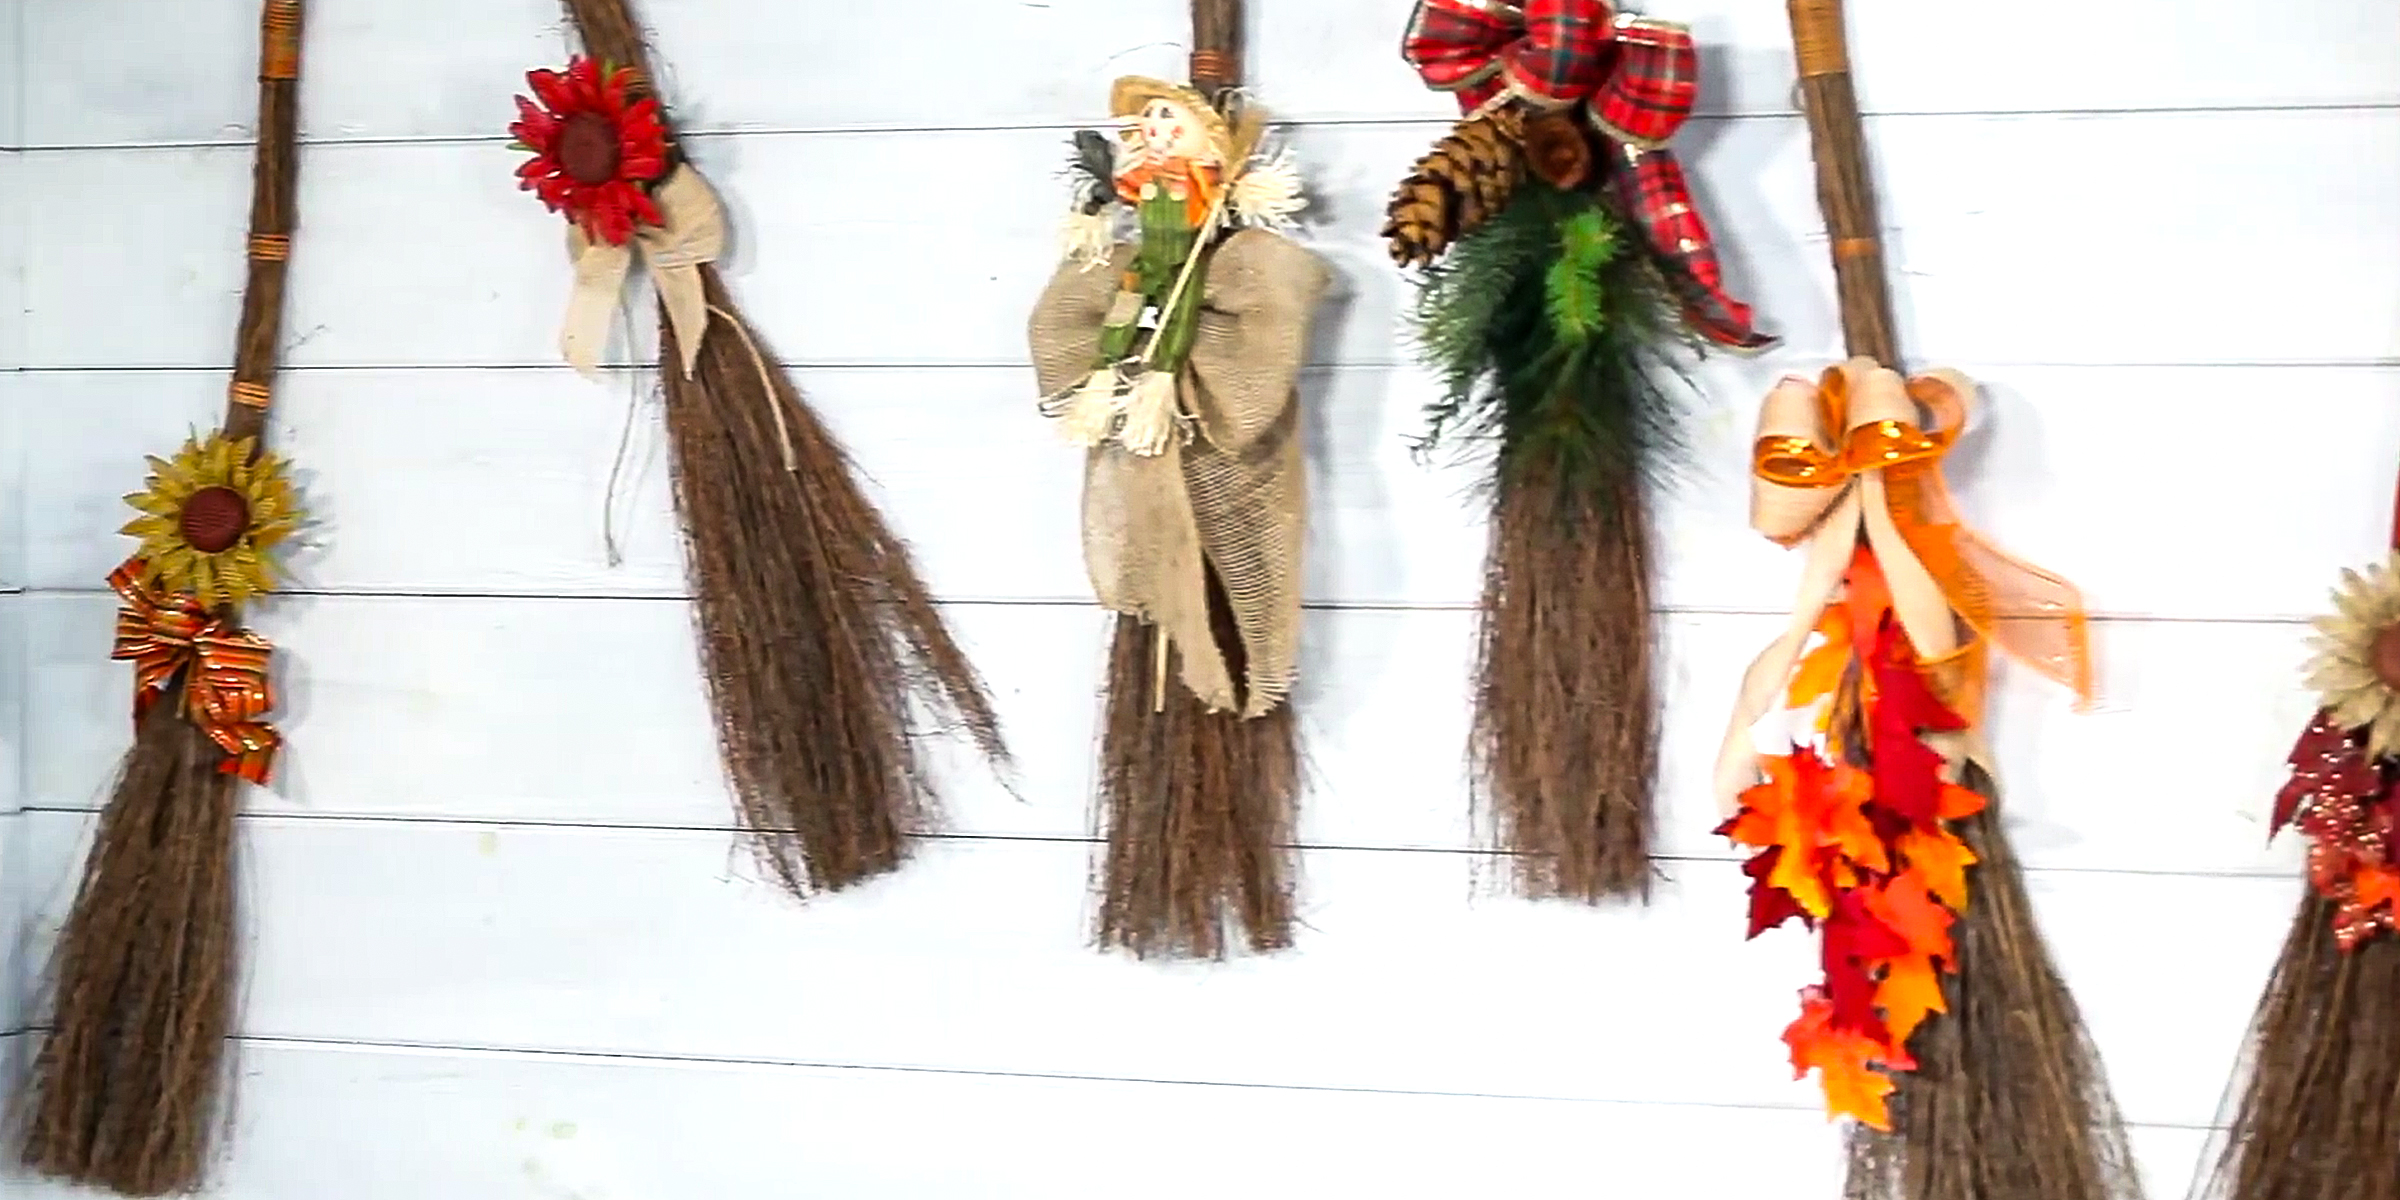
To elevate your DIY high chair banner, consider pairing it with a ribbon garland. Find out what you need for this craft and directions to perfect it below.
Crafting a DIY high chair banner is a rewarding project that adds a personalized flair to any celebration. With simple materials and a bit of creativity, you can create a stunning decoration that makes your little one’s special day even more memorable.
Ready to tackle another fun DIY project? Check out our guide on how to make a balloon garland with strips to continue beautifying your festive occasions with your own unique creations!
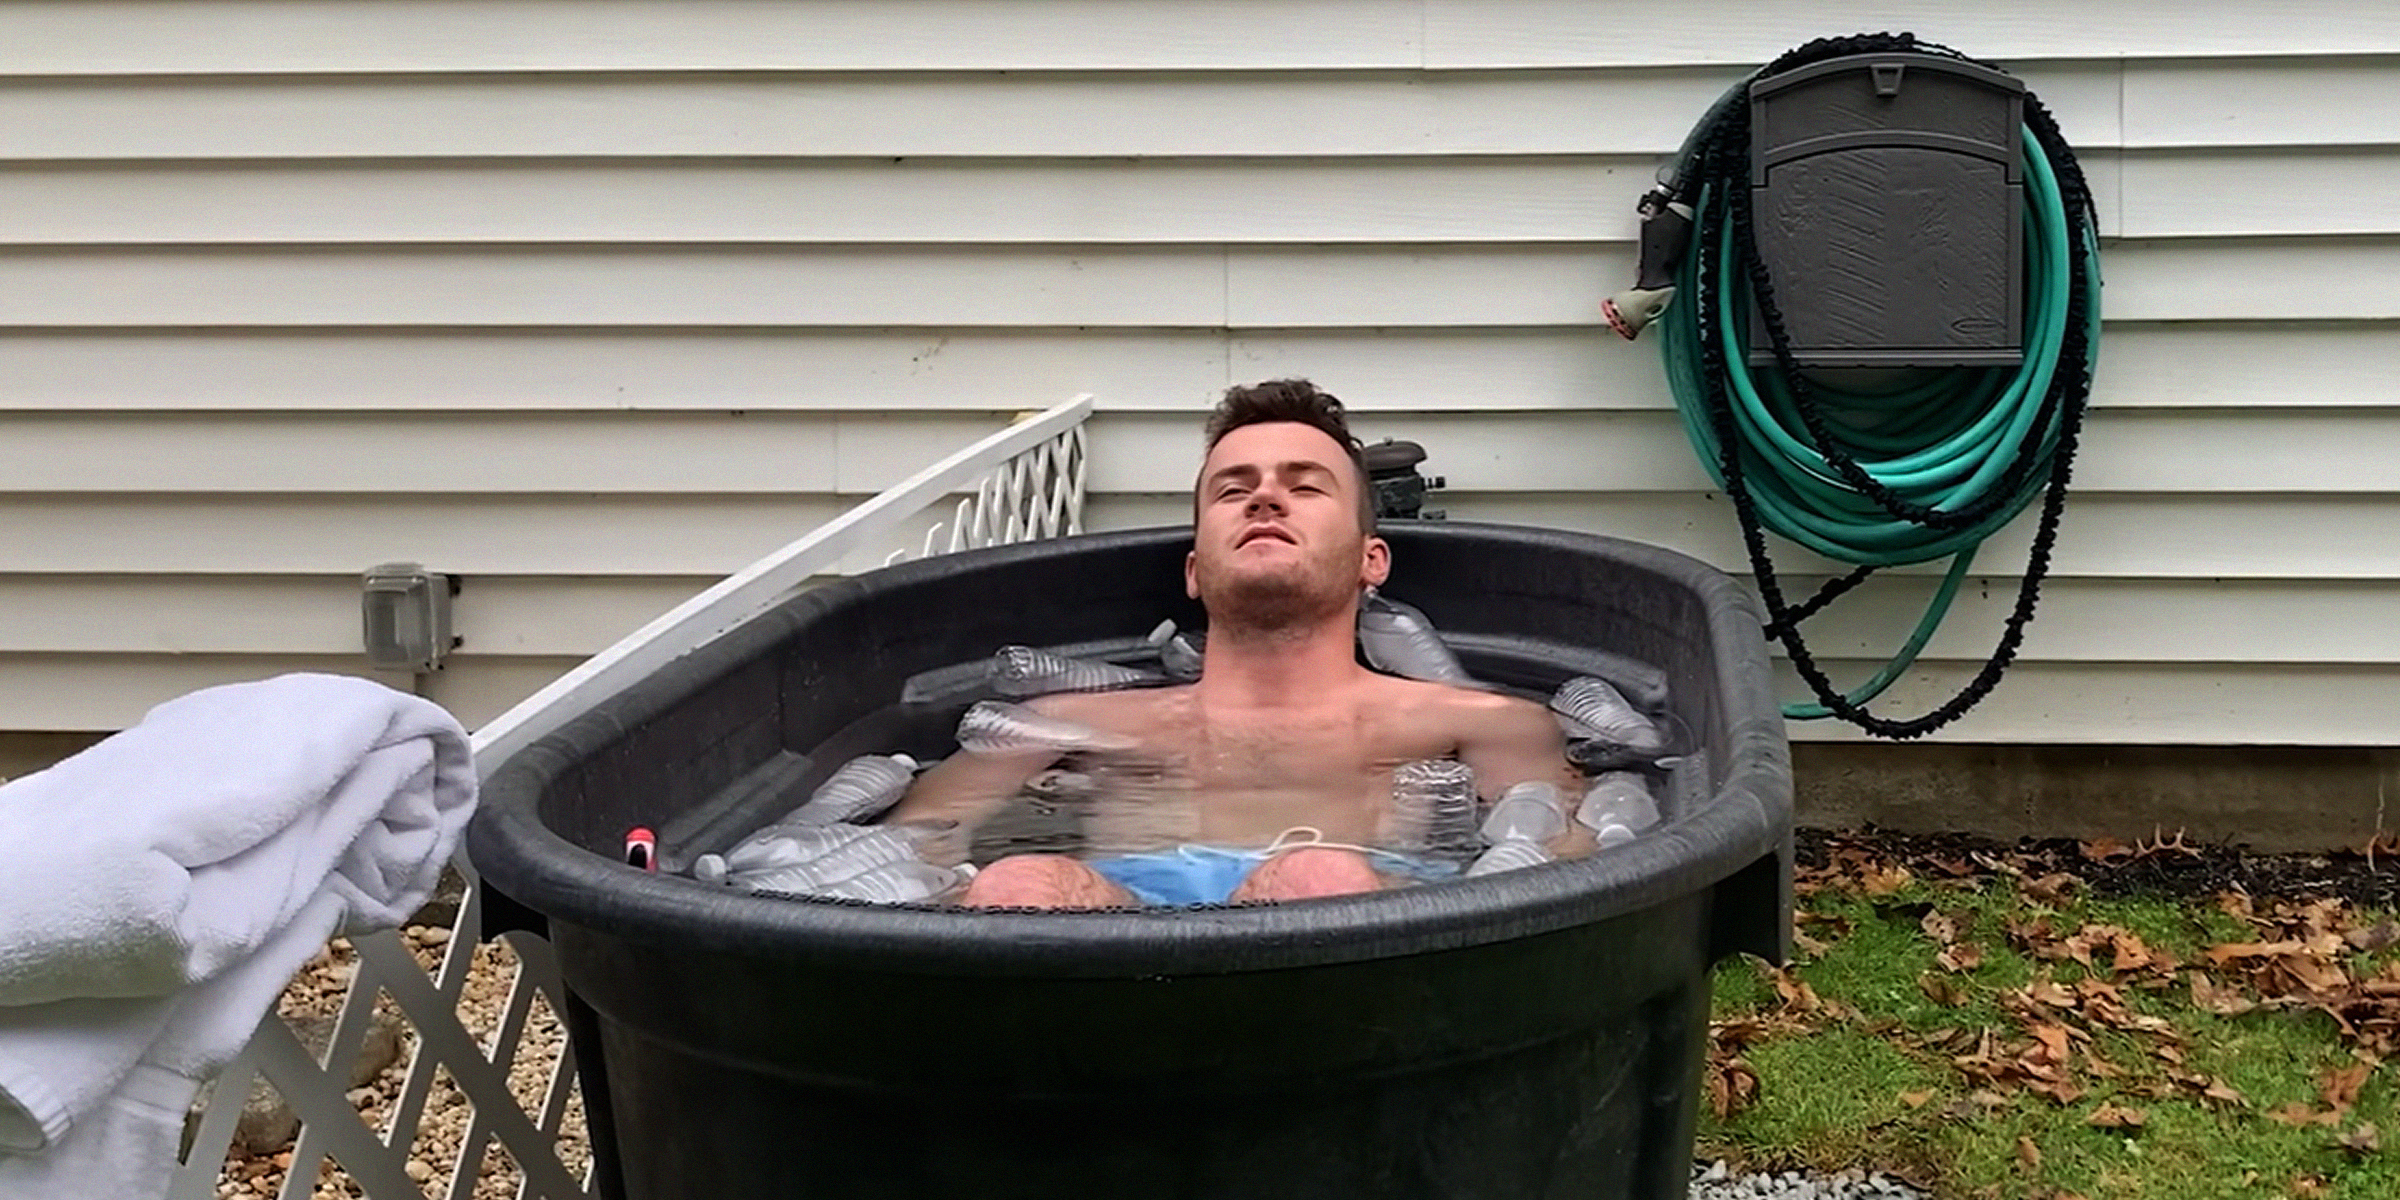
Dive into the rejuvenating world of cold water therapy with our straightforward guide to creating your very own DIY cold plunge container. Get ready to unlock the secrets to crafting a homemade cold plunge container that promises the icy embrace of wellness without the luxury expense.
Apr 14, 2024

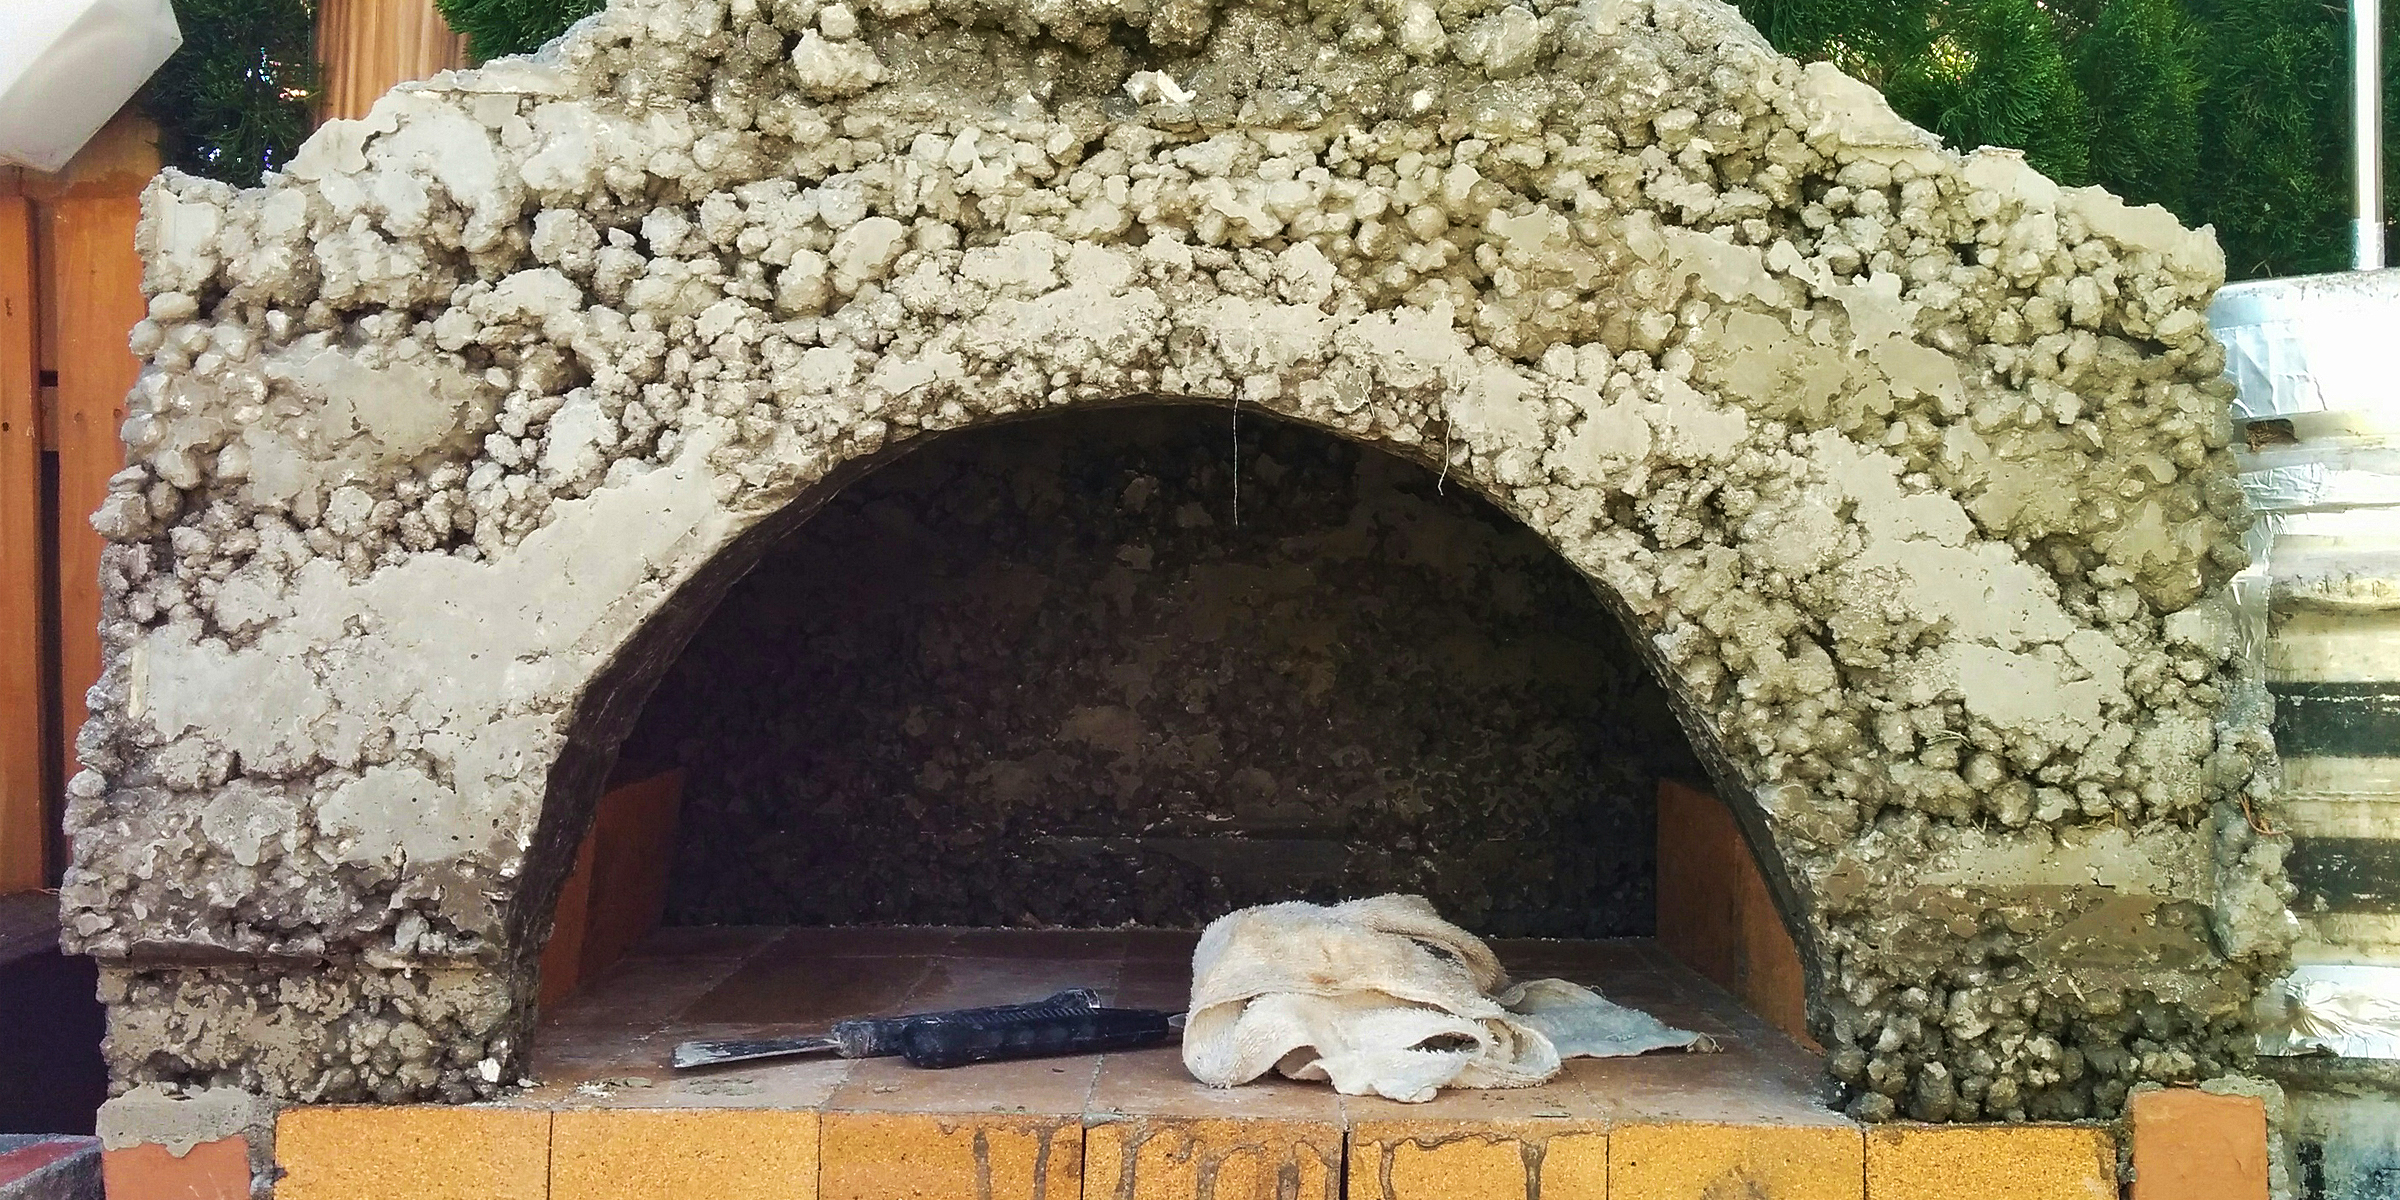
Whether you're aiming to protect your floor from the warmth of the embers or seeking to add an aesthetic flourish to your living space, this guide will walk you through creating the perfect DIY hearth pad for your home.
Apr 09, 2024
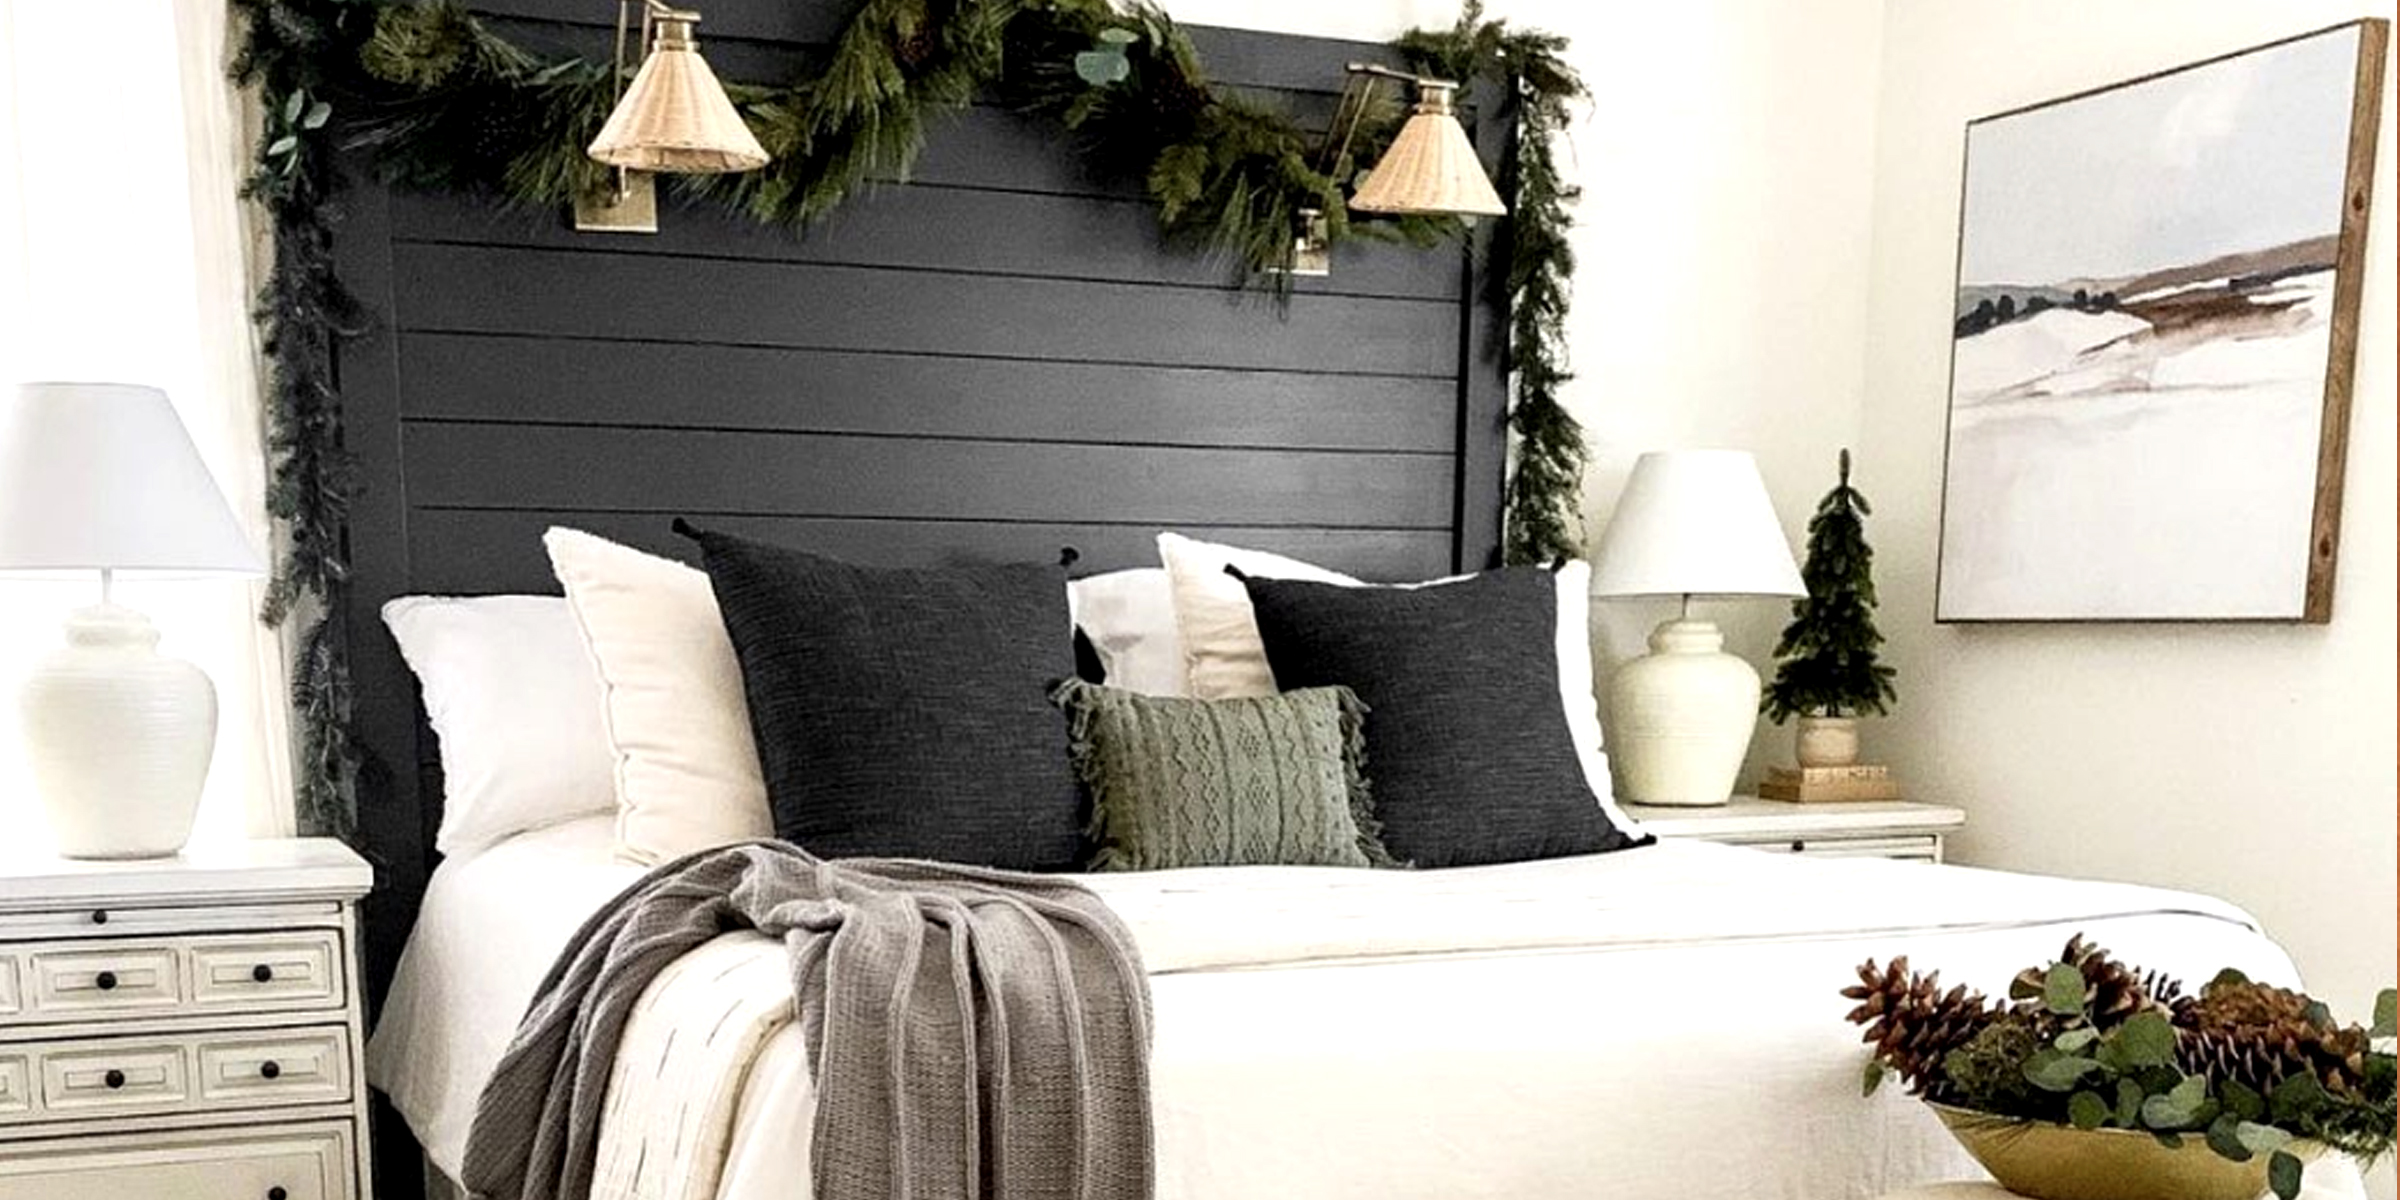
Elevate your bedroom's style with a personalized touch by crafting a DIY shiplap headboard. This project not only adds a rustic, farmhouse flair to your space but also allows you to create a custom focal point that is both functional and stylish.
Apr 18, 2024

Take the wheel in style and comfort by crafting your very own DIY steering wheel cover! Perfect for enhancing grip and adding a personal touch to your vehicle, this simple project is not only rewarding but also provides a practical upgrade to your driving experience.
Apr 20, 2024
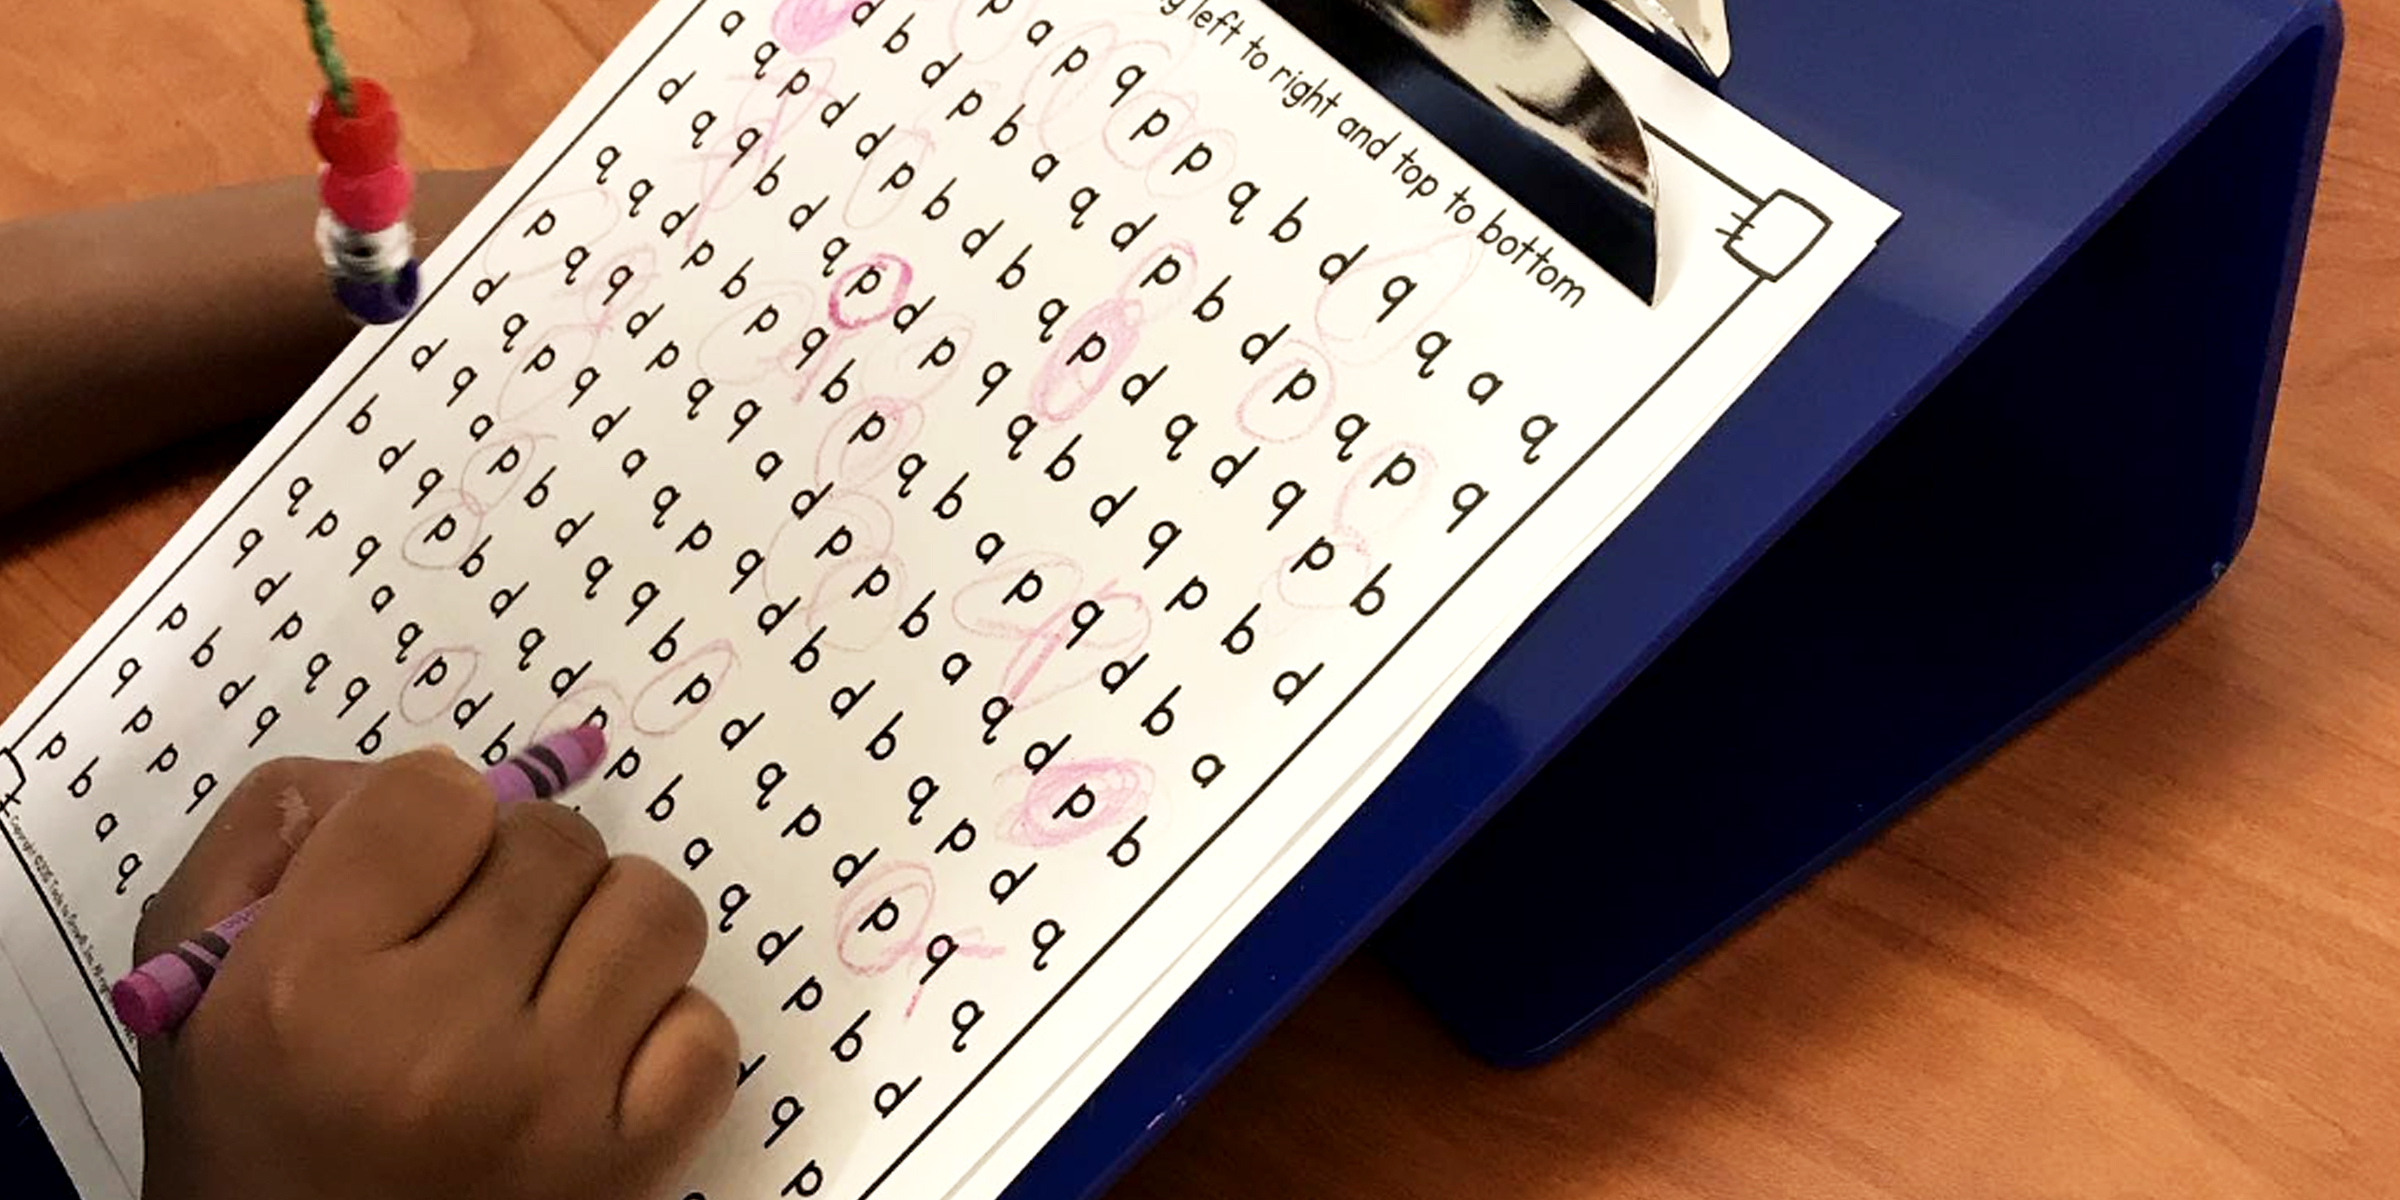
In the era of homeschooling and digital classrooms, the ergonomics of a child's study space can greatly influence their learning experience. A DIY slant board is a simple yet effective tool that not only enhances posture but also promotes better handwriting and focus.
Apr 19, 2024

Tiki huts are making a significant comeback, captivating enthusiasts with their distinctive charm that transports you to a serene paradise. Embark on a journey to transform your backyard into a tranquil oasis with our step-by-step guide on how to make a Tiki Hut.
Mar 20, 2024
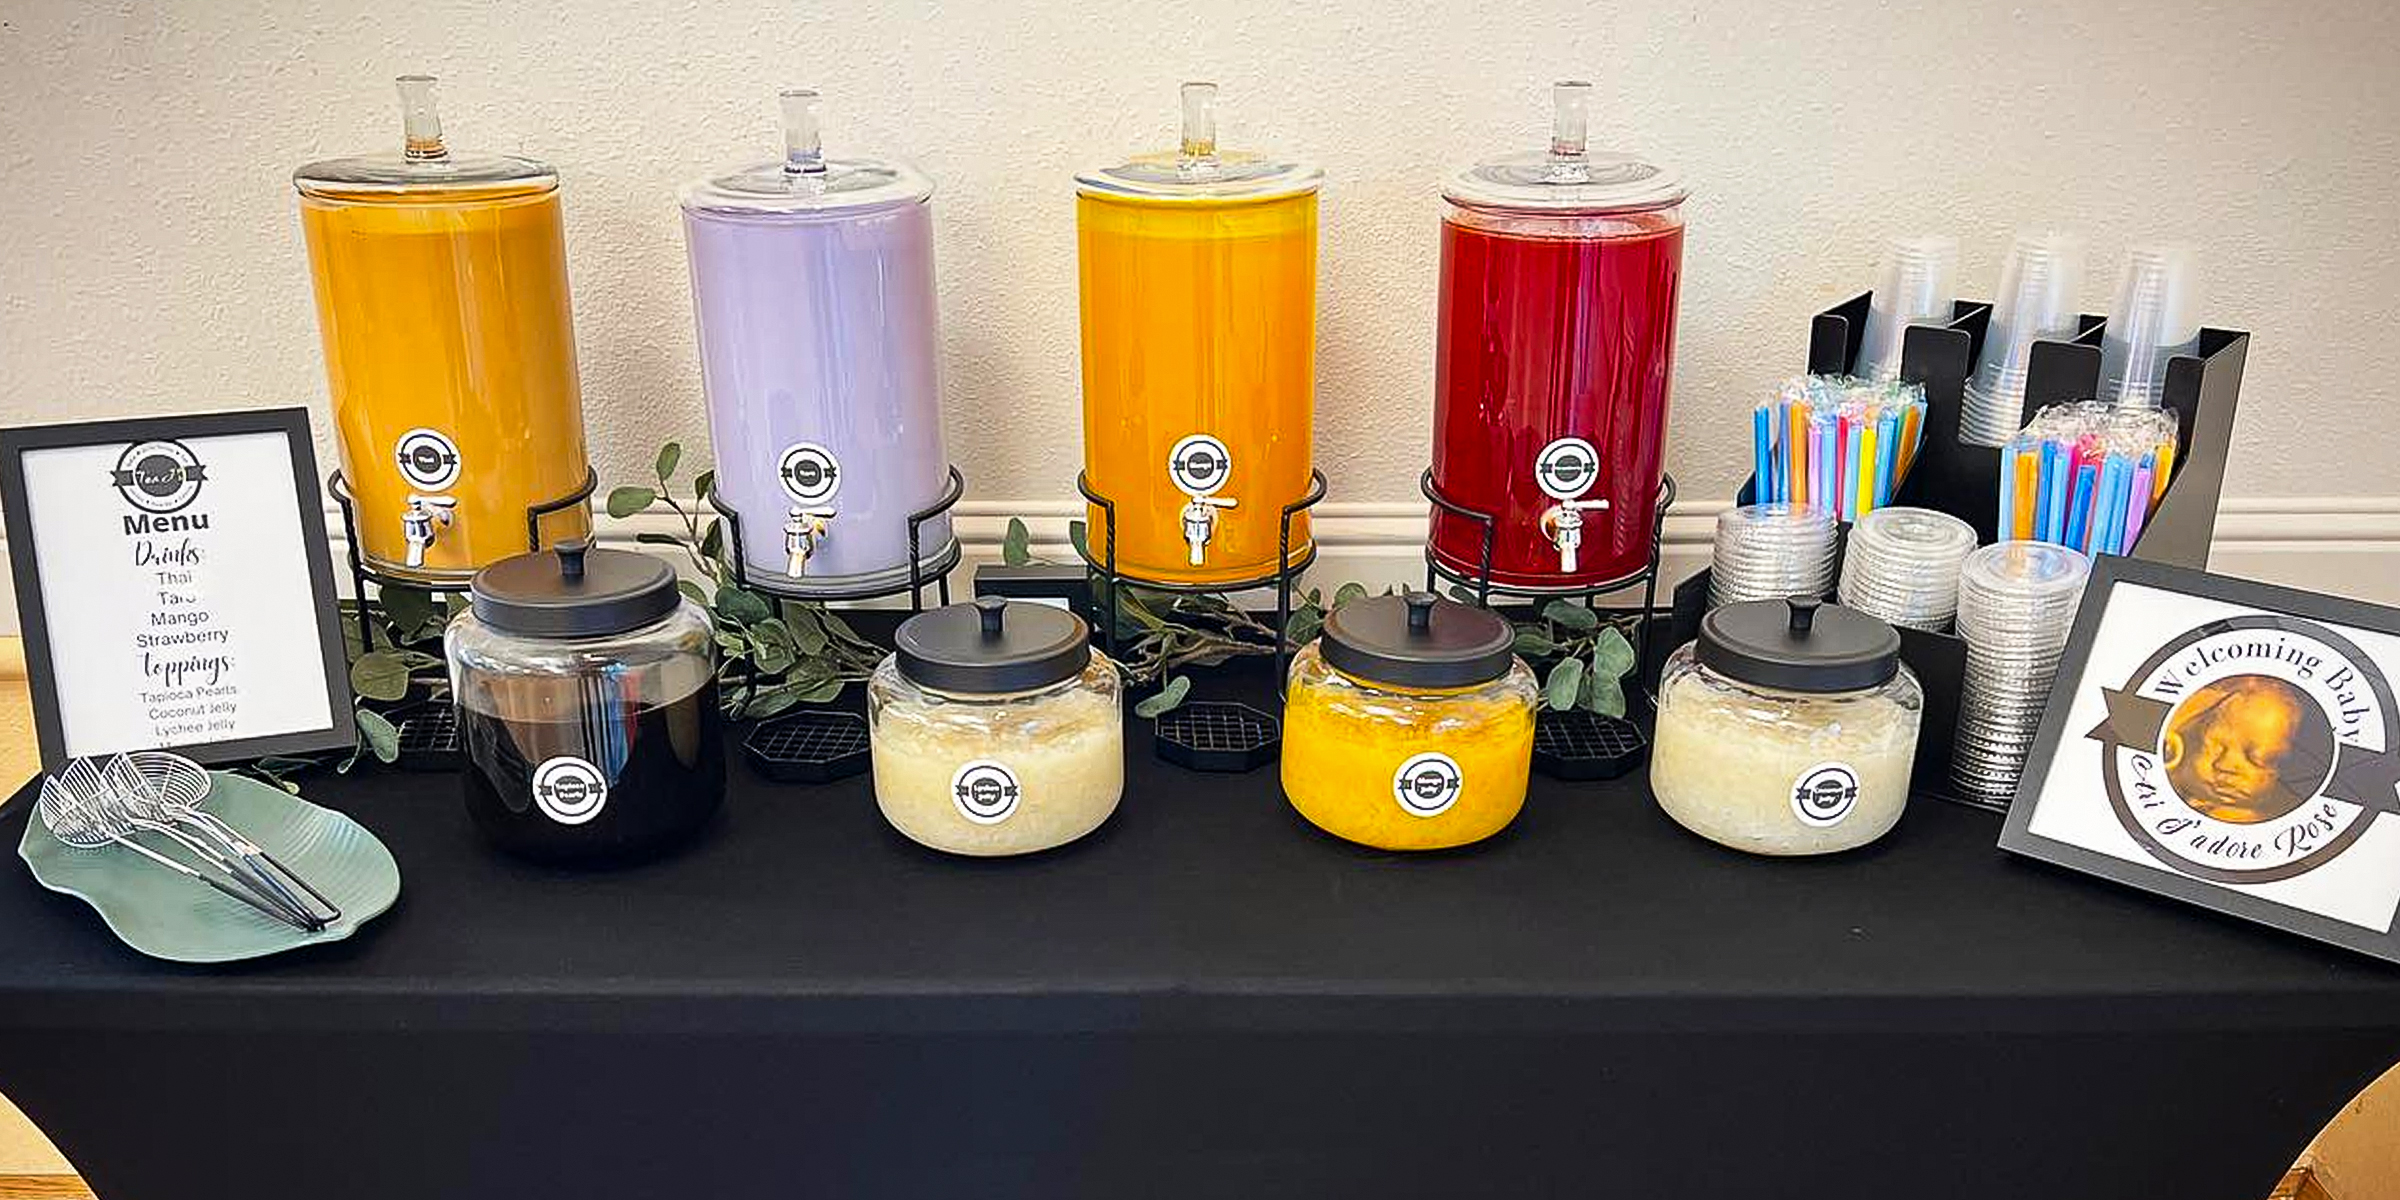
To elevate your next soirée with a DIY Boba bar, continue reading for the essentials to give your guests the perfect Boba tea experience they will never forget.
Feb 07, 2024

Create a space that promotes independence and a thirst for knowledge in your child, all in the comfort of your home, with this helpful DIY Montessori bookshelf guide.
Feb 04, 2024
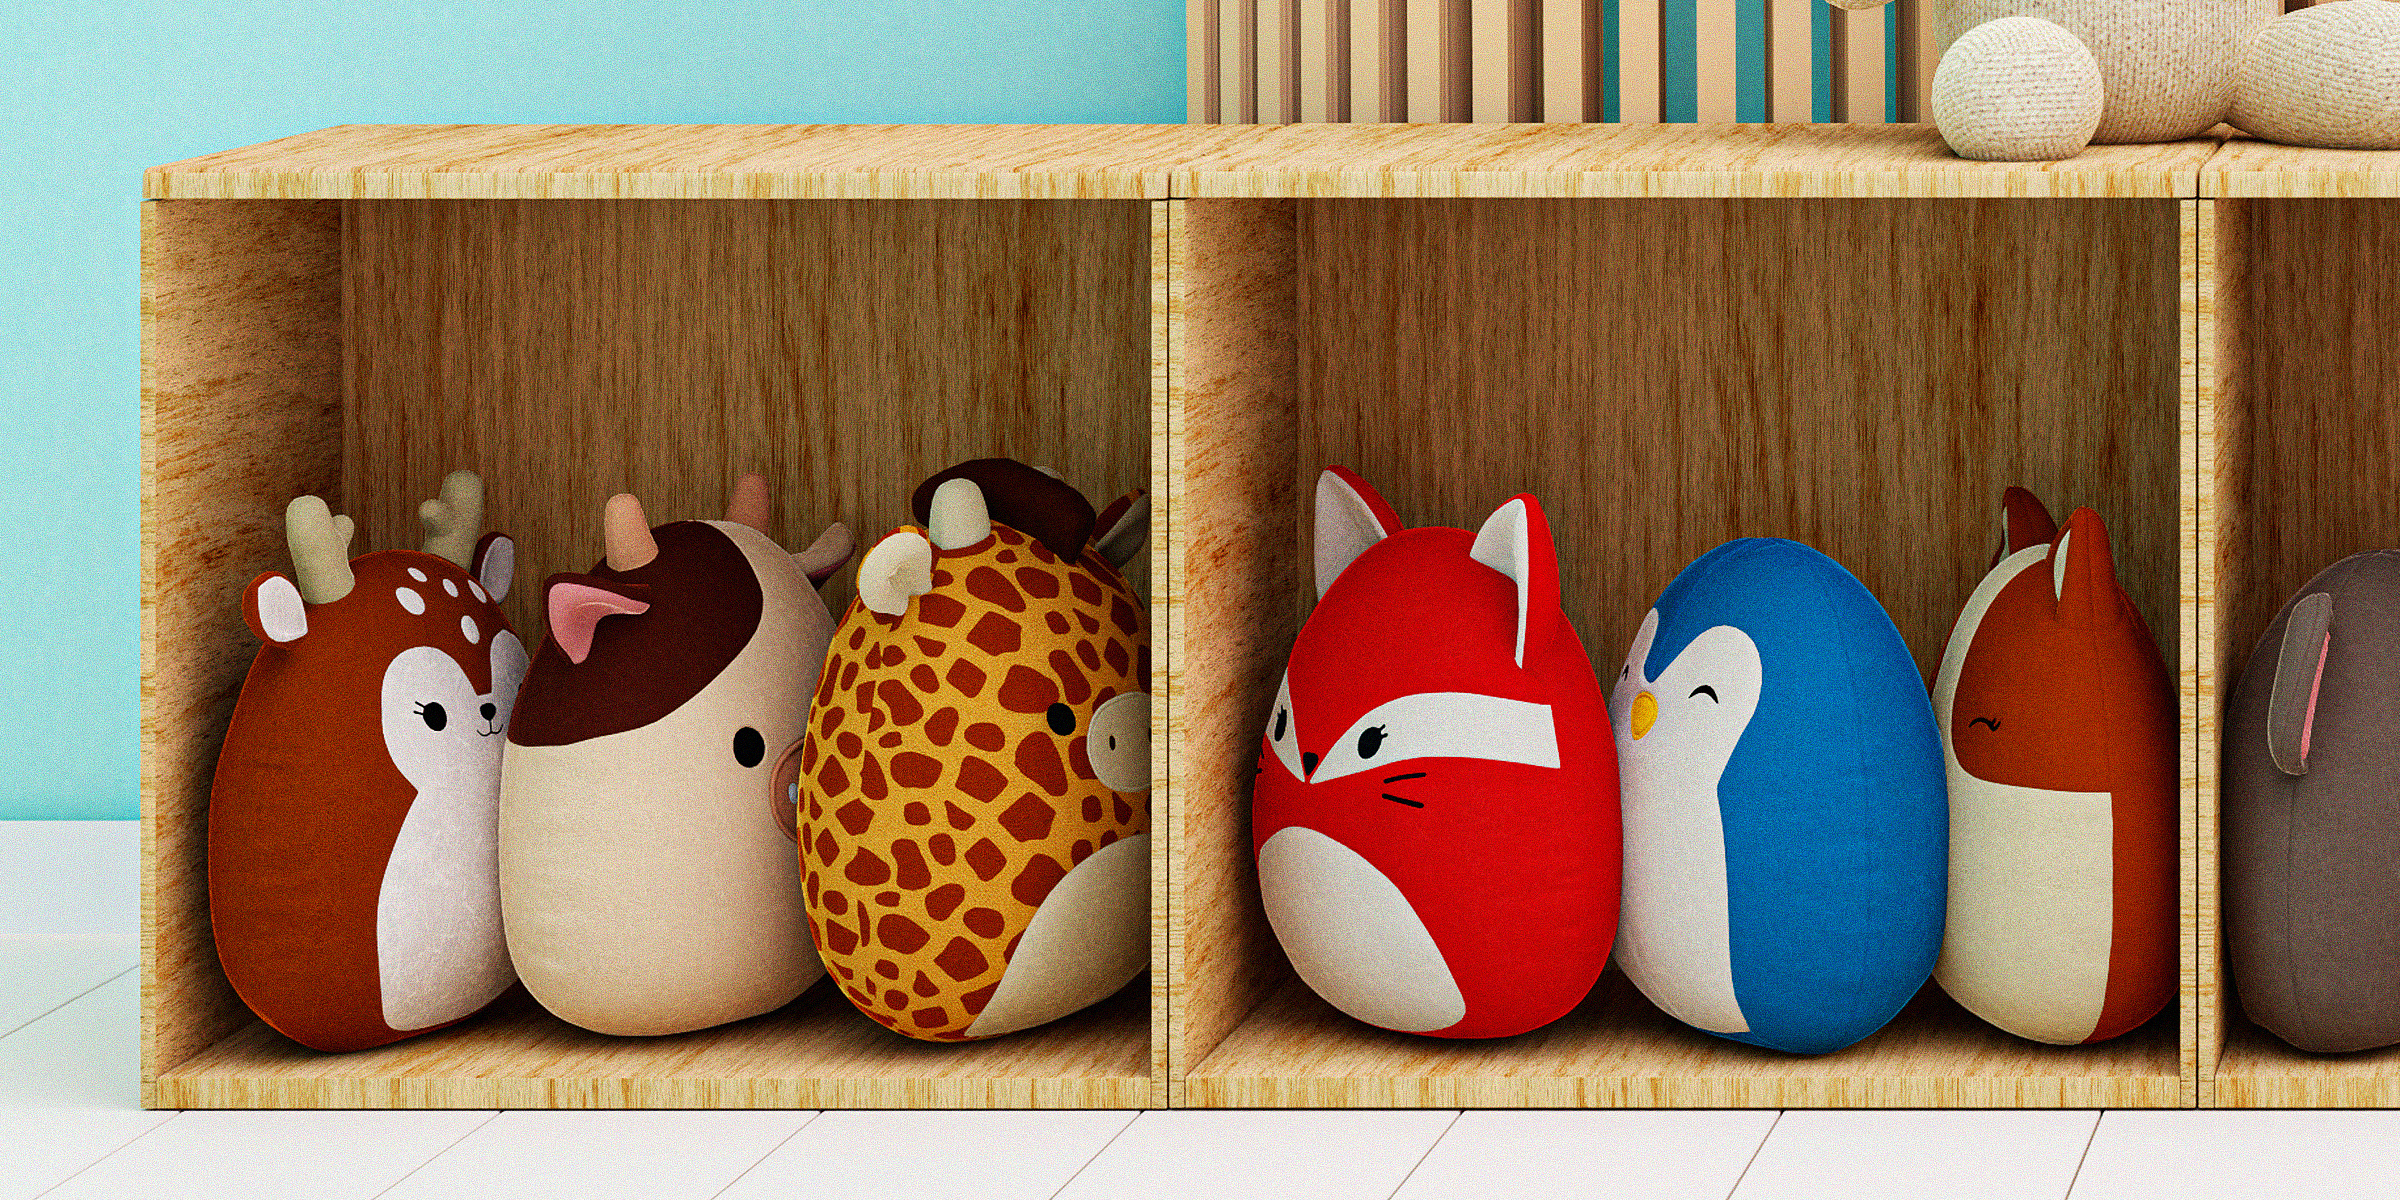
Discover the secret to bringing your child's favorite Squishmallow back to life with our easy guide on how to make a Squishmallow clean and fluffy again.
Mar 08, 2024
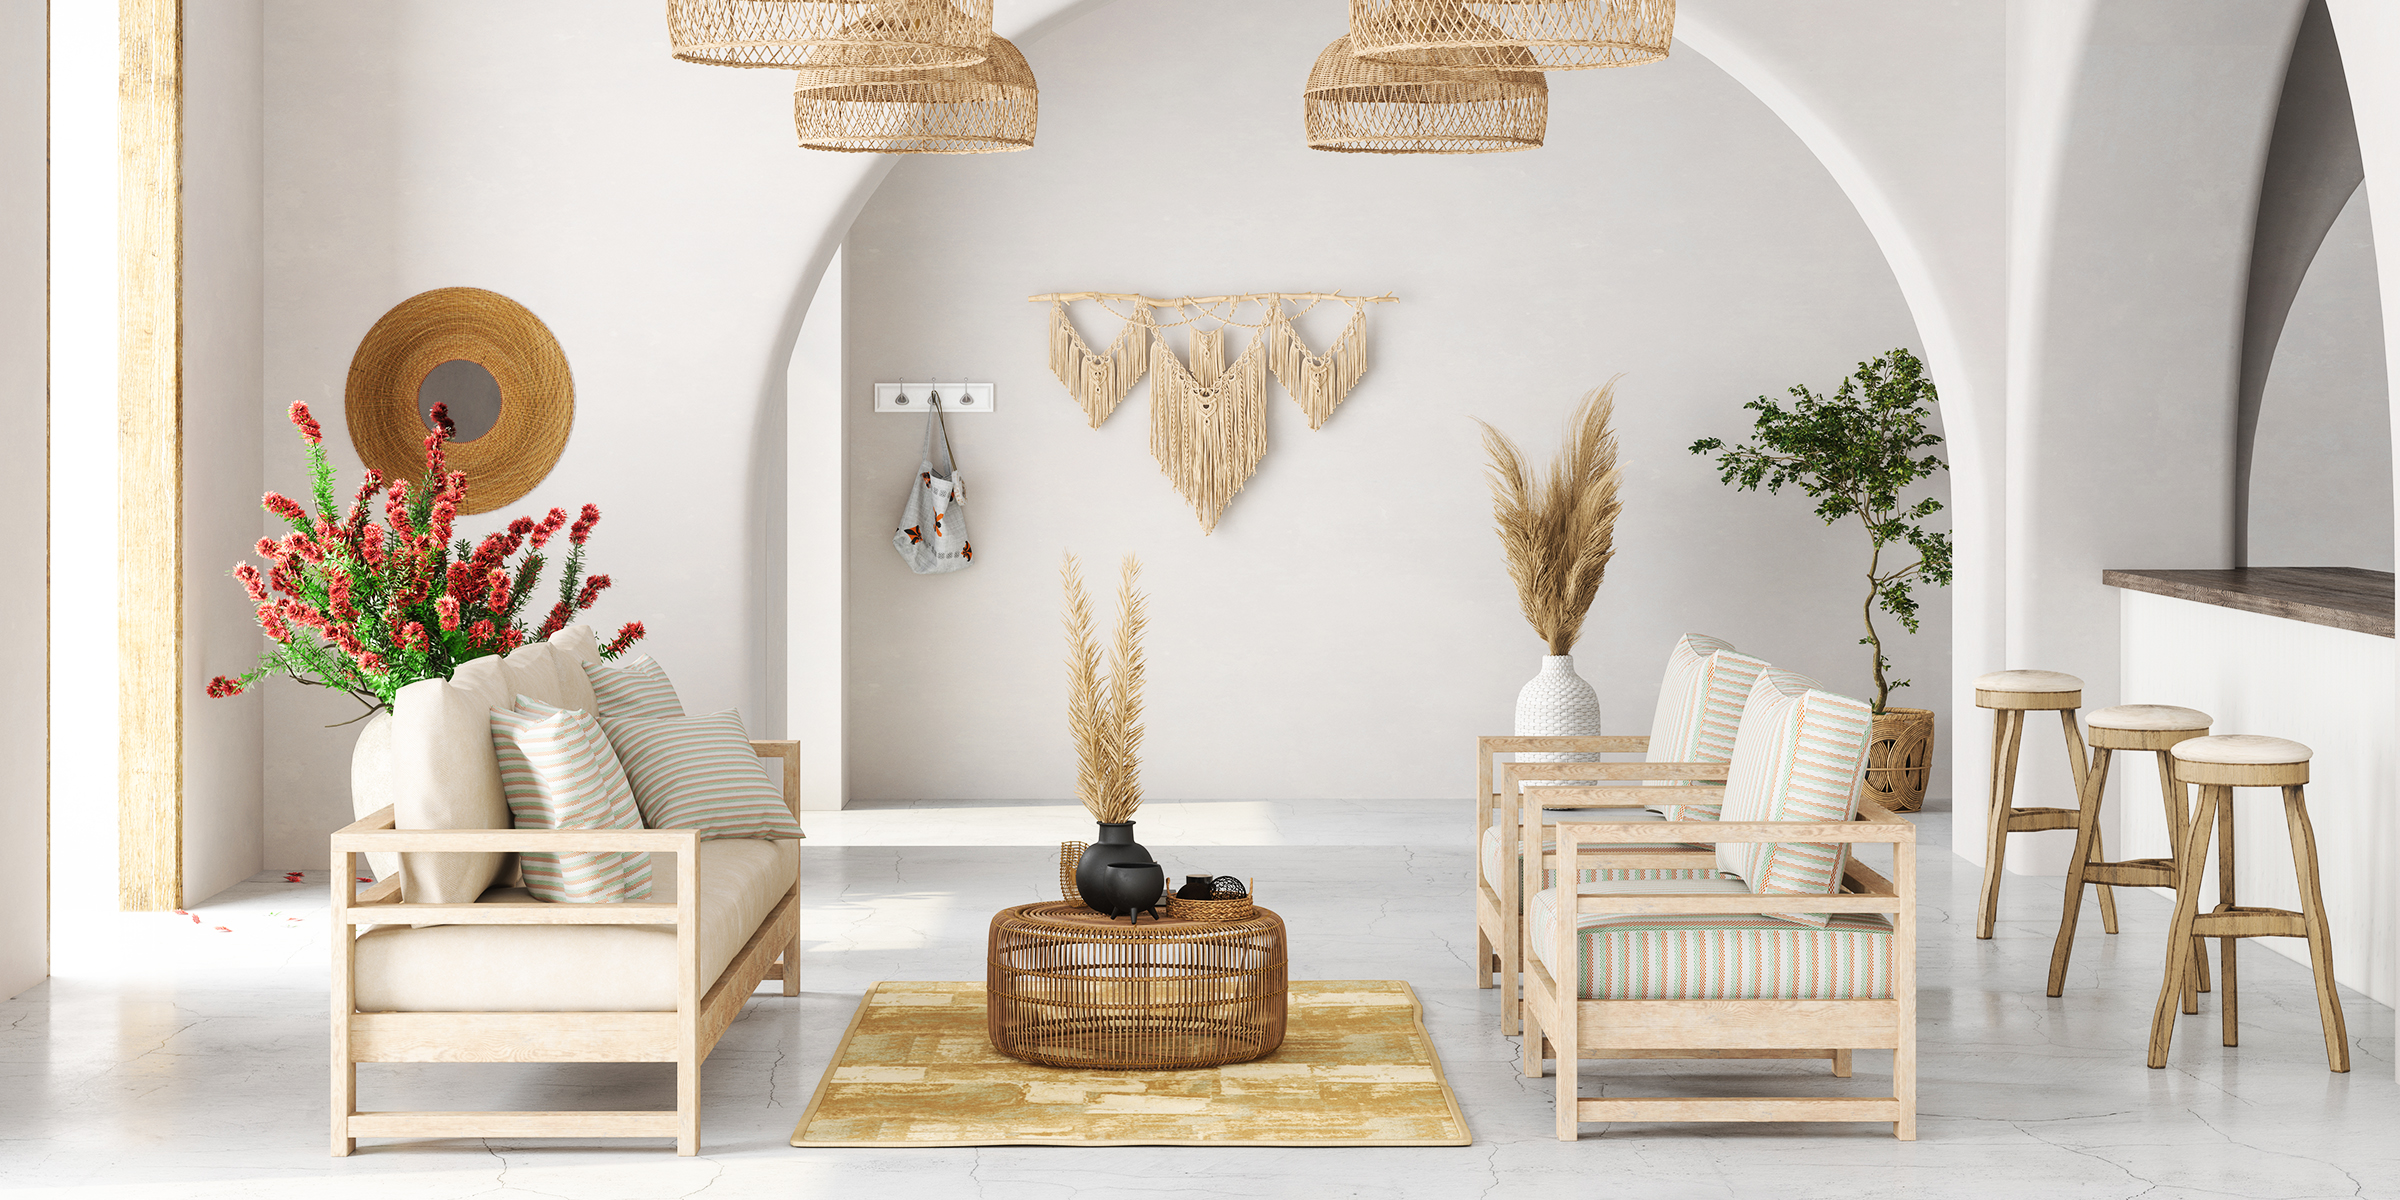
If you're looking to create the perfect balance of boho and rustic in your living room, continue reading for essential interior design tips to perfectly encapsulate the charming touch and natural finish of these two styles.
Jan 29, 2024
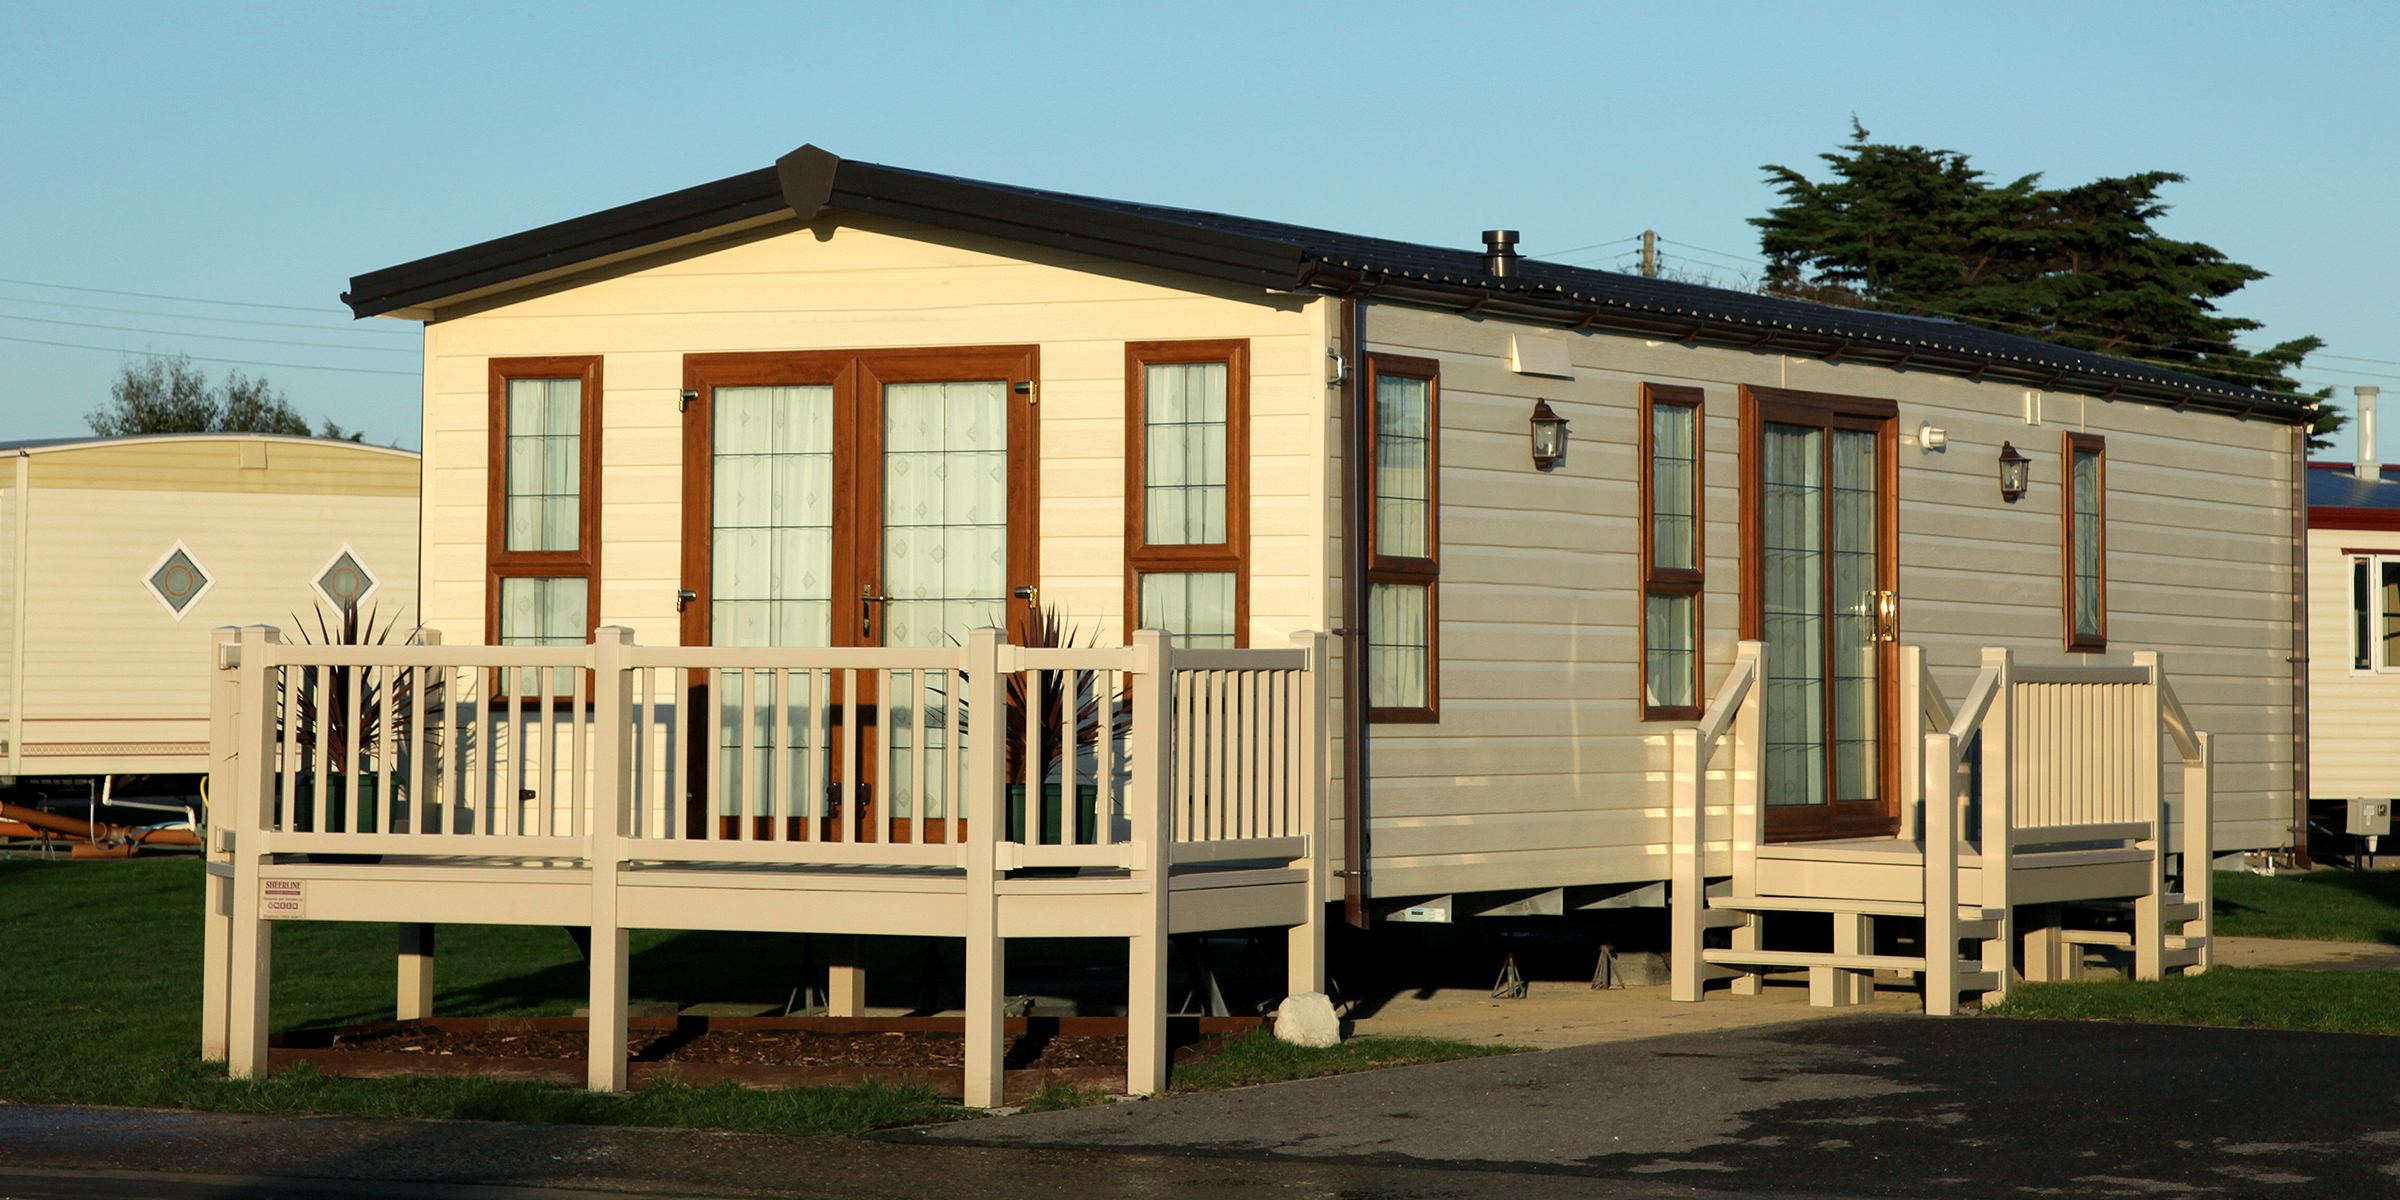
For those considering giving their mobile space a facelift, one pressing question looms: how much does it cost to remodel a mobile home? The answer isn't straightforward, as costs can vary widely based on several factors.
Feb 21, 2024
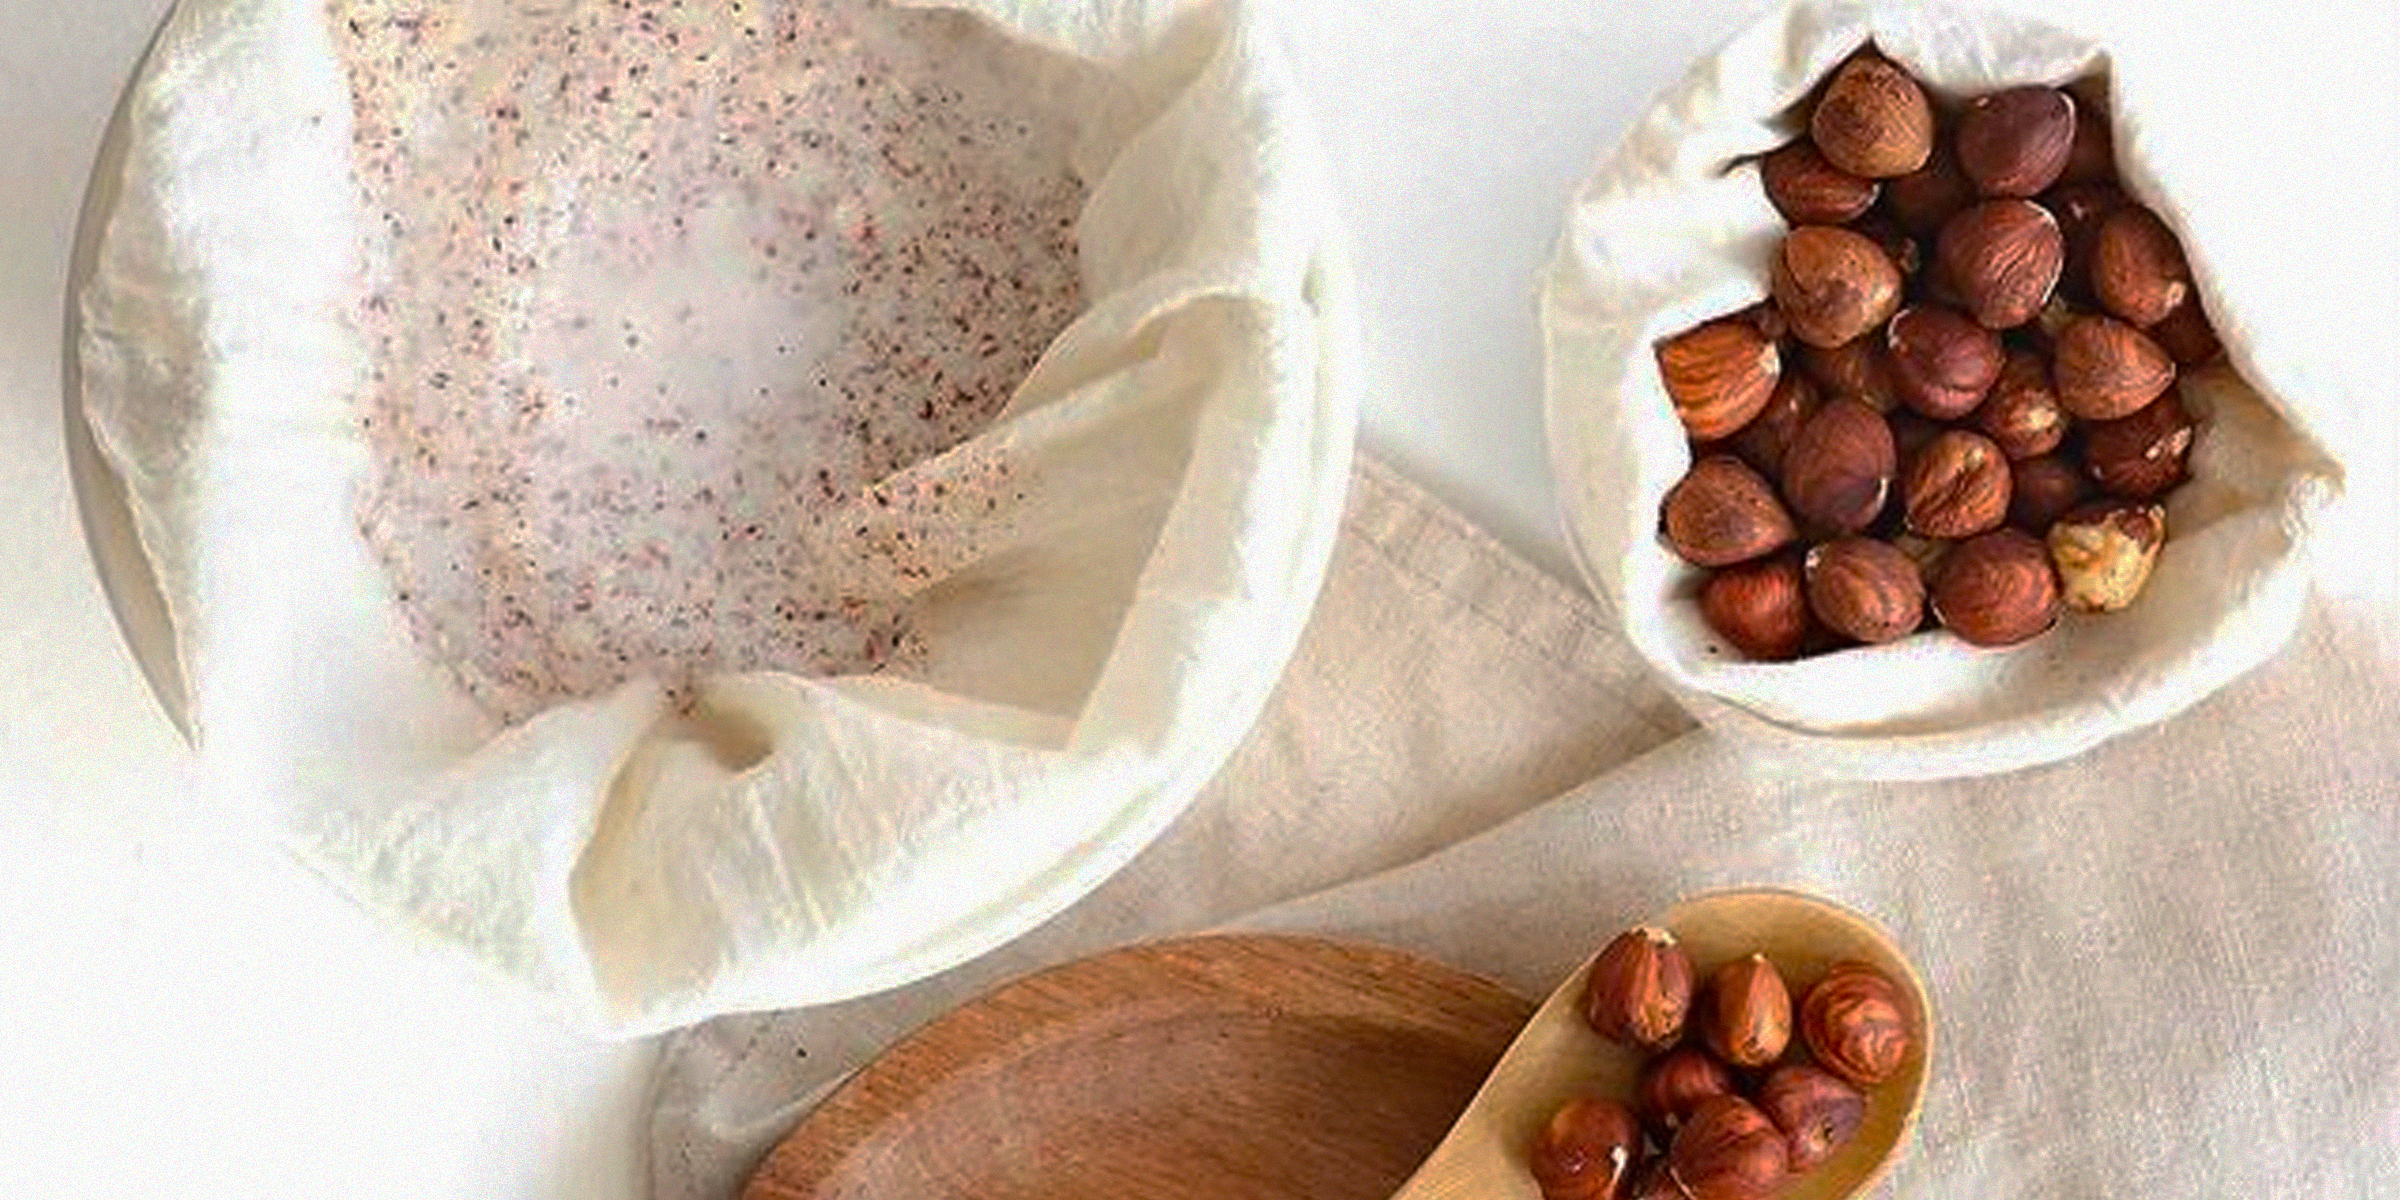
Embarking on making your nut milk at home can be a rewarding experience, but the cleanup process, especially regarding the nut milk bag, may seem less appealing. However, regularly cleaning your nut milk bag is advised to prevent bacteria or mold from growing, and you can do so in five easy steps.
Dec 31, 2023

Struggling with a faintly scented room despite your diffuser running all day? The secret to a luxuriously fragrant space lies not just in the oils you choose but in how to make an oil diffuser smell stronger.
Feb 25, 2024

Crystal suncatchers are not only stunning decorative pieces, but they are also a unique way to fill your home with sunlight and positive energy. Enjoy the almost magical properties of this beautiful ornament with this DIY crystal suncatcher guide.
Jan 15, 2024