How to Make a Ribbon Rosette — A Step-by-Step Guide
Mar 24, 2024


Looking to add a personal touch to your cookie gifts? Crafting your own cookie box is not only simple, but it also allows you to customize the packaging to fit any occasion.
Cookies are the perfect gift, as they are a delightful and universally appreciated option that simplifies the decision-making process. But it's not just the cookies themselves that make them perfect; the presentation significantly enhances their appeal.
This is where crafting your own cookie box comes into play. Creating a DIY cookie box adds a personal touch and elevates the overall gift experience. Whether you're a baking enthusiast or just looking for a fun DIY project, this guide will help you create a charming cookie box!

Cookies inside a box | Source: Pexels

Assorted cookies in a box with a transparent cover in the middle. | Source: Pexels

A box of cookies adorned with a ribbon. | Source: Pexels
Creating your own DIY cookie box is a fun and practical project that enhances the gift of homemade cookies. This personalized touch not only makes your treats look professional but also demonstrates the care and thought you put into your gifts.
Whether for holidays, birthdays, or just because, a handcrafted cookie box is sure to impress. So why not try this simple guide and spread some homemade happiness? Don't forget to share this craft with friends and family—they might just love making their own too!
Besides cookies as gifts, why not explore the world of cakes? And from there, read our article about making your own DIY cake box!
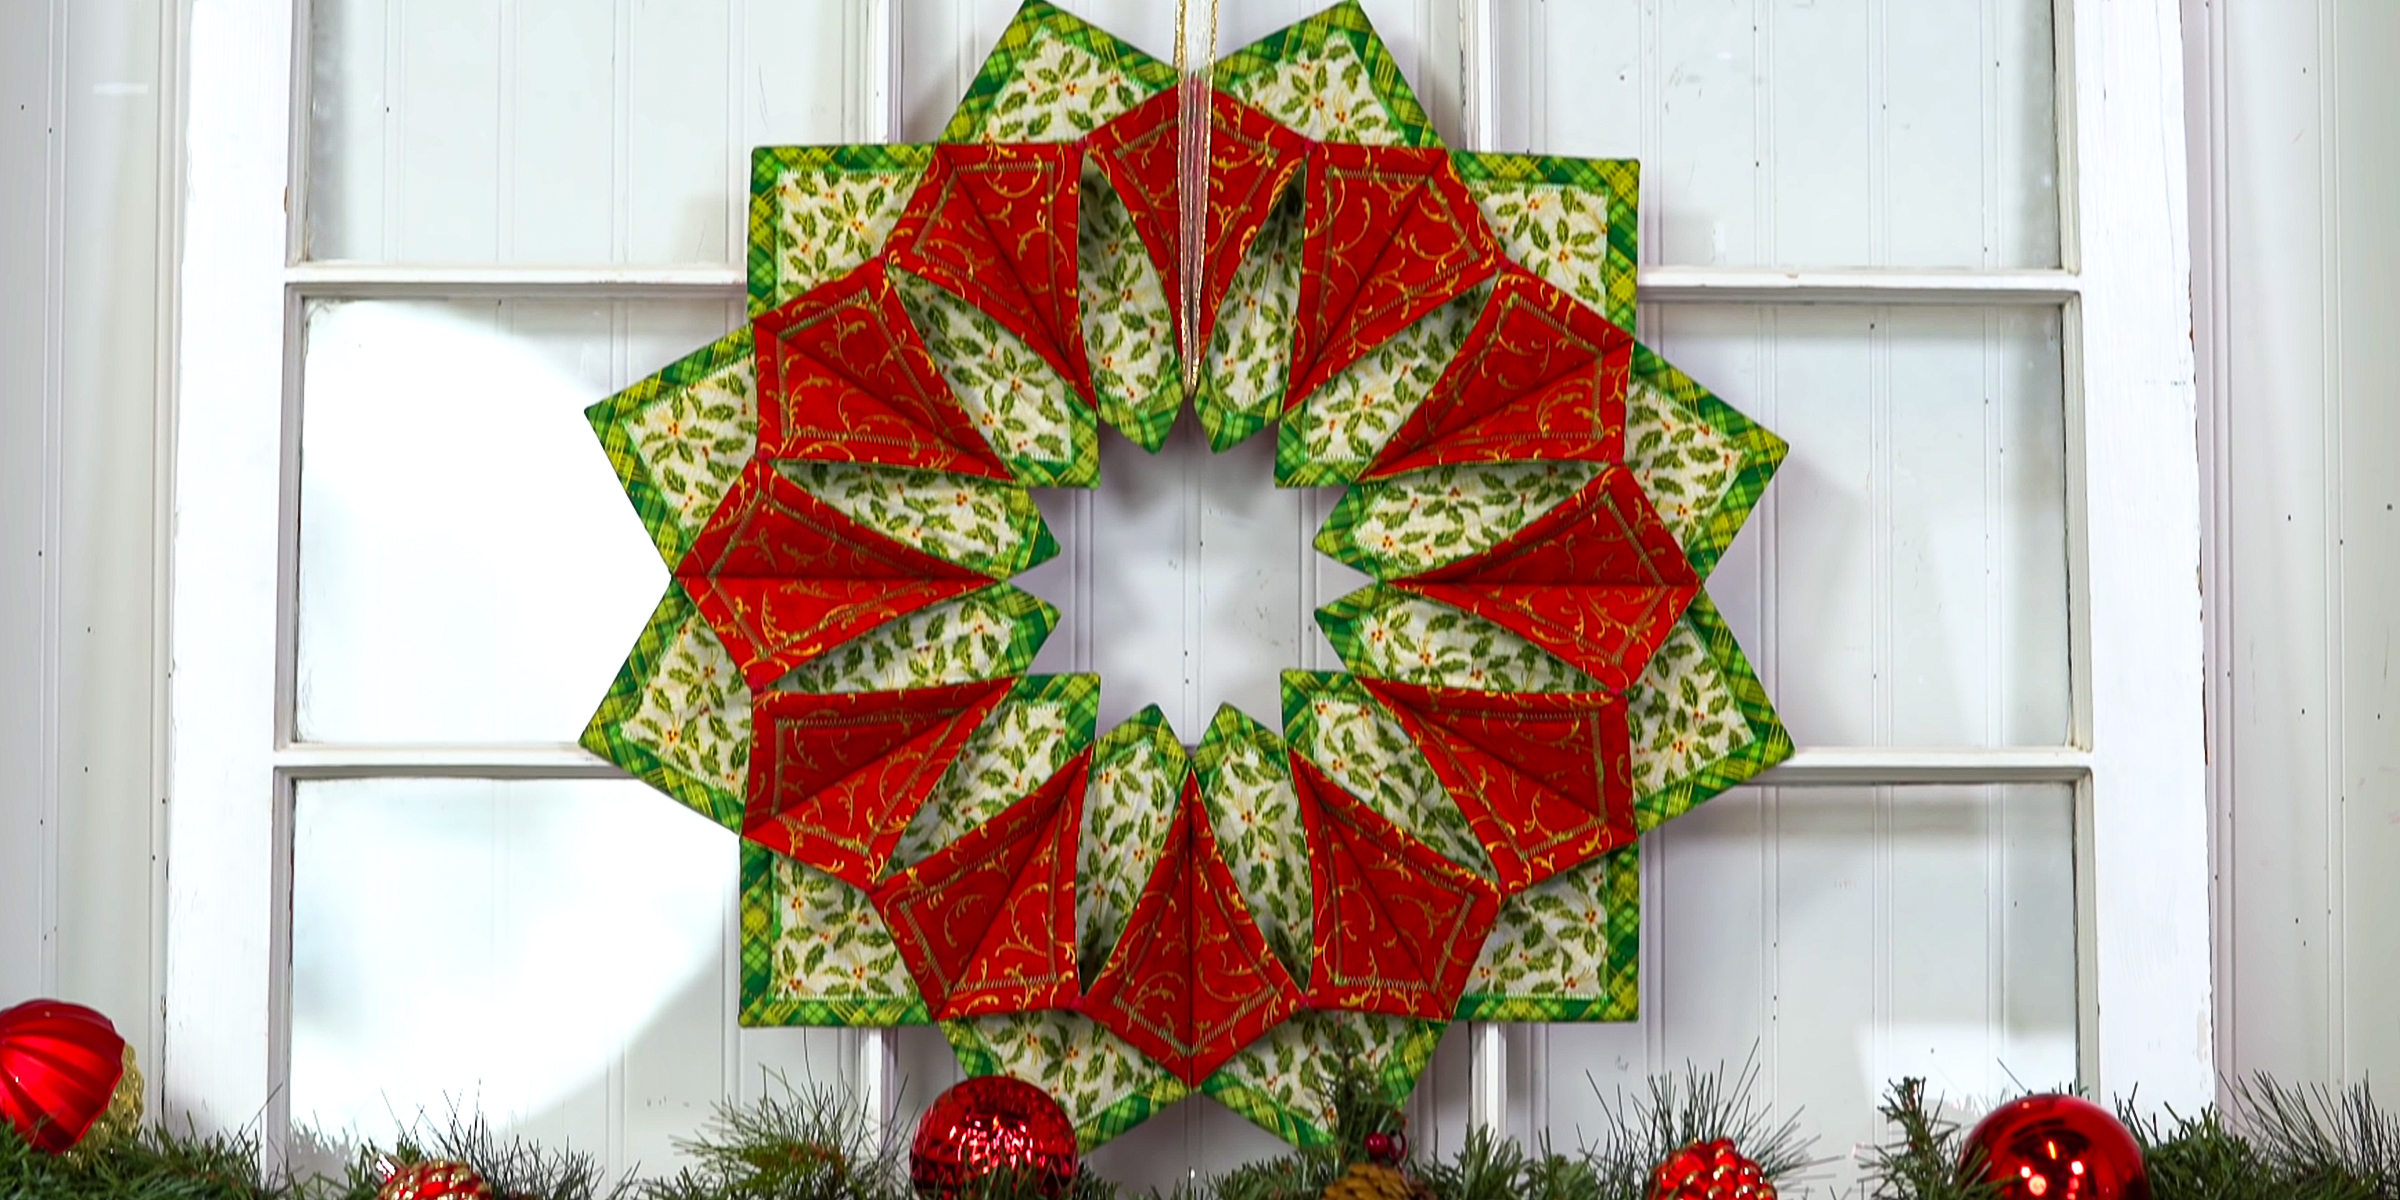
Explore how to make a fold and stitch wreath! With easy-to-follow steps and plenty of creative flair, you'll be amazed at how much joy and personality you can infuse into your home decor.
Mar 16, 2024
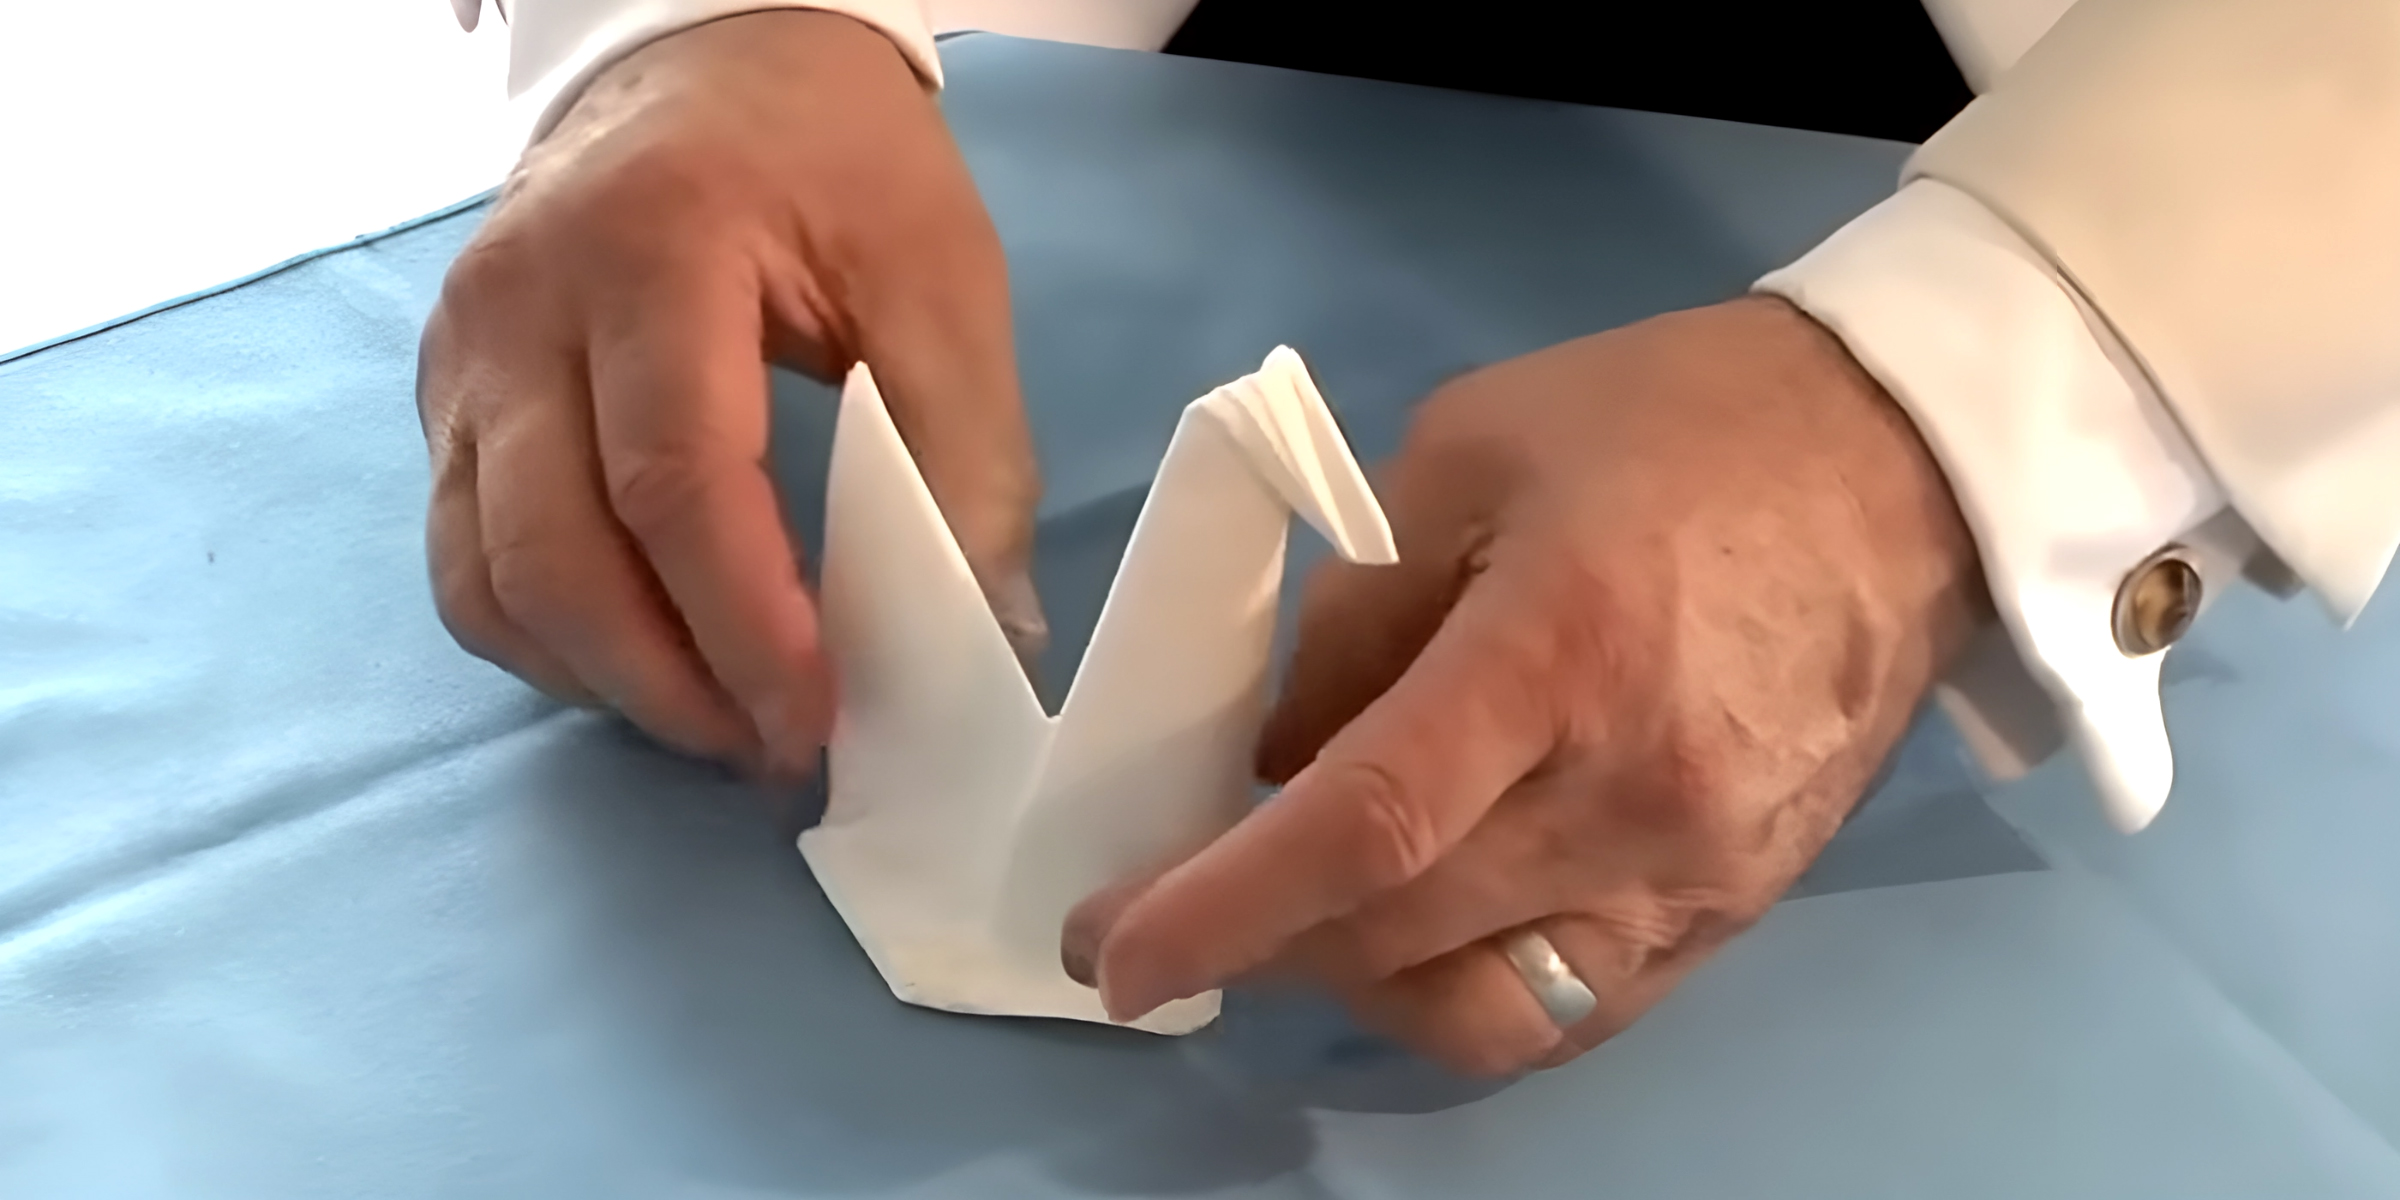
Are you looking to elevate your napkin folding game for a special occasion? Unleash your creative flair and learn how to make a napkin swan with these simple steps!
Feb 27, 2024

Gift wrapping is not merely about hiding what is inside; it is a way to make a statement, convey care, and transform a simple gesture into a lasting memory.
Dec 21, 2023
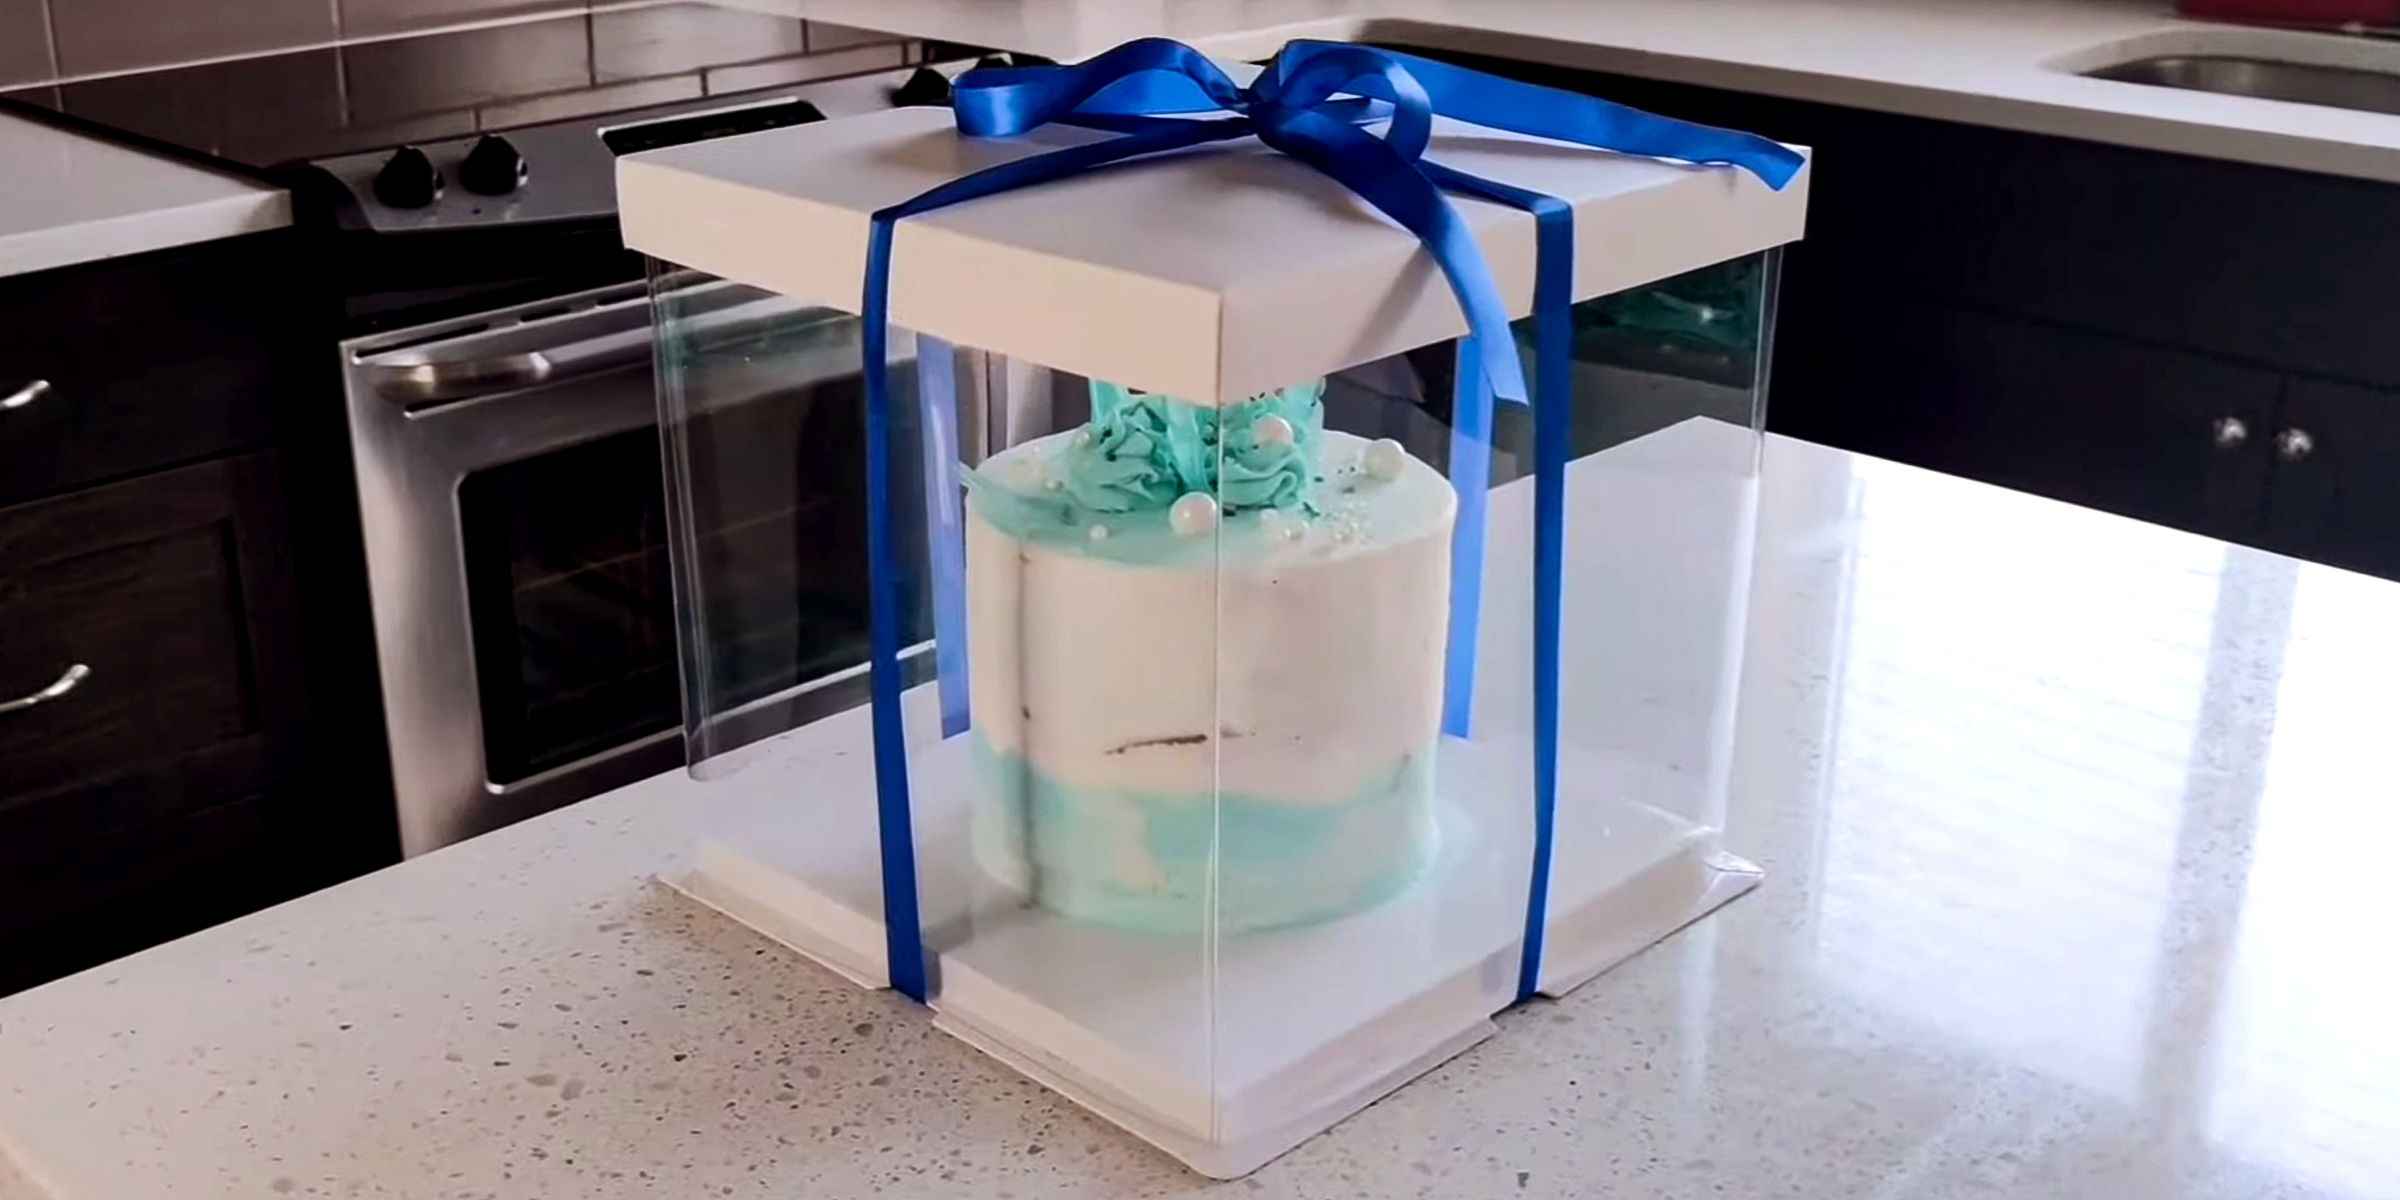
Eager to learn the art of making cake box? Whether you're a baking enthusiast looking to present your creations in style or a DIY crafter eager to add a personal touch to gifts, this step-by-step tutorial on how to make a cake box will transform your packaging game.
Mar 07, 2024

Bubble walls bring the benefits of surrounding yourself with nature into the comfort of your personal space. If you're considering installing one but want to do so independently, follow this DIY bubble wall guide.
Feb 09, 2024

Whether you're aiming to protect your floor from the warmth of the embers or seeking to add an aesthetic flourish to your living space, this guide will walk you through creating the perfect DIY hearth pad for your home.
Apr 09, 2024
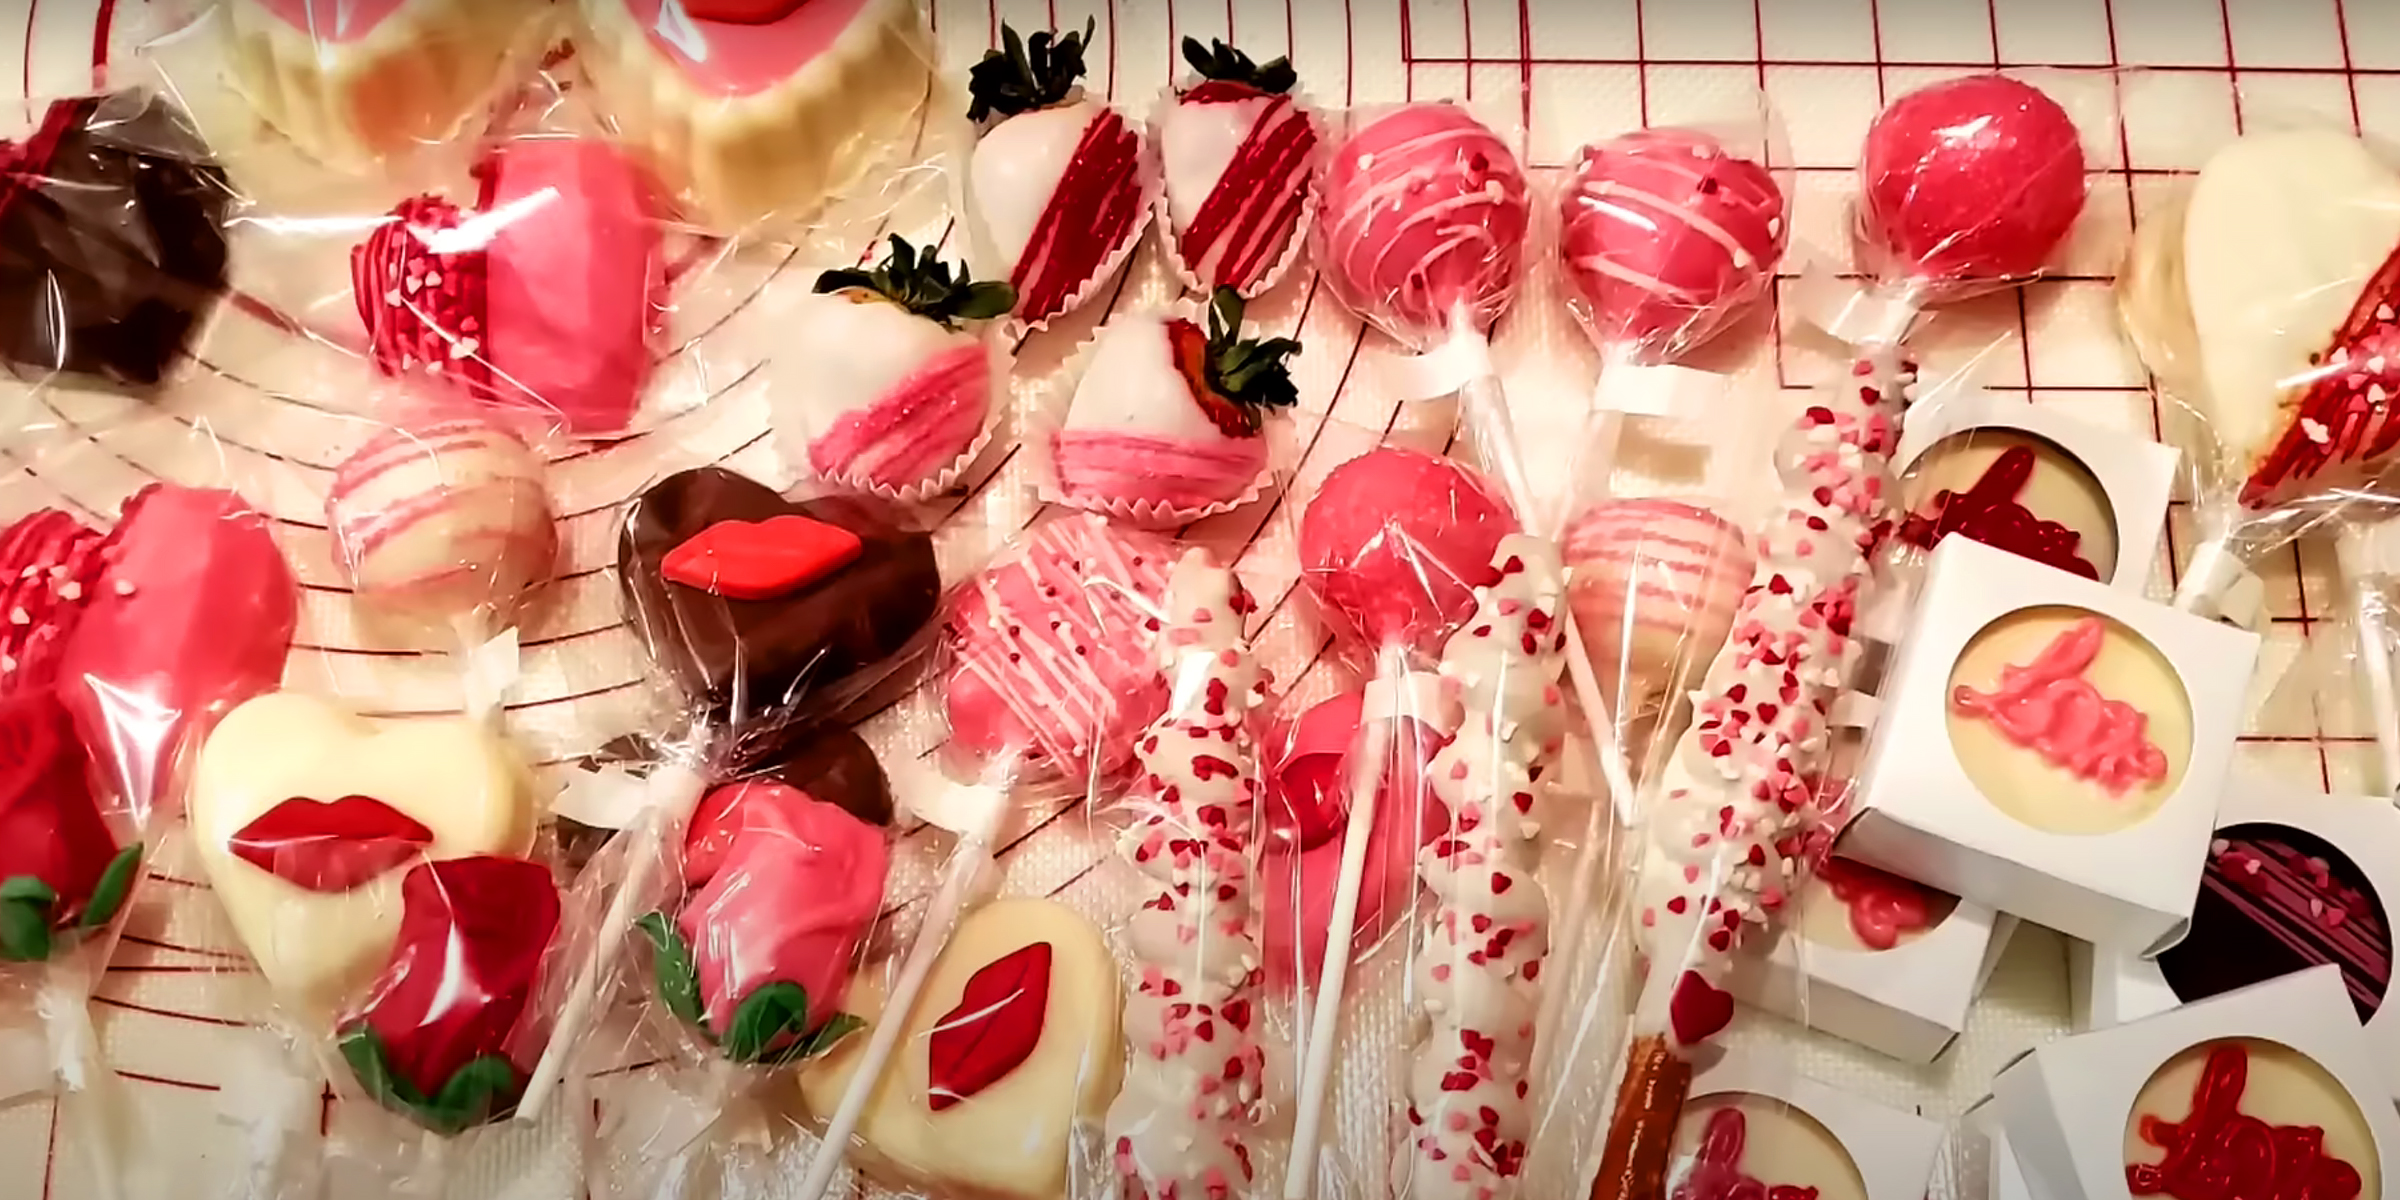
Make Valentine's Day extra sweet with DIY Valentine snacks for the classroom—easy, enjoyable, and teacher-approved treats that are sure to win the hearts of your students.
Apr 16, 2024
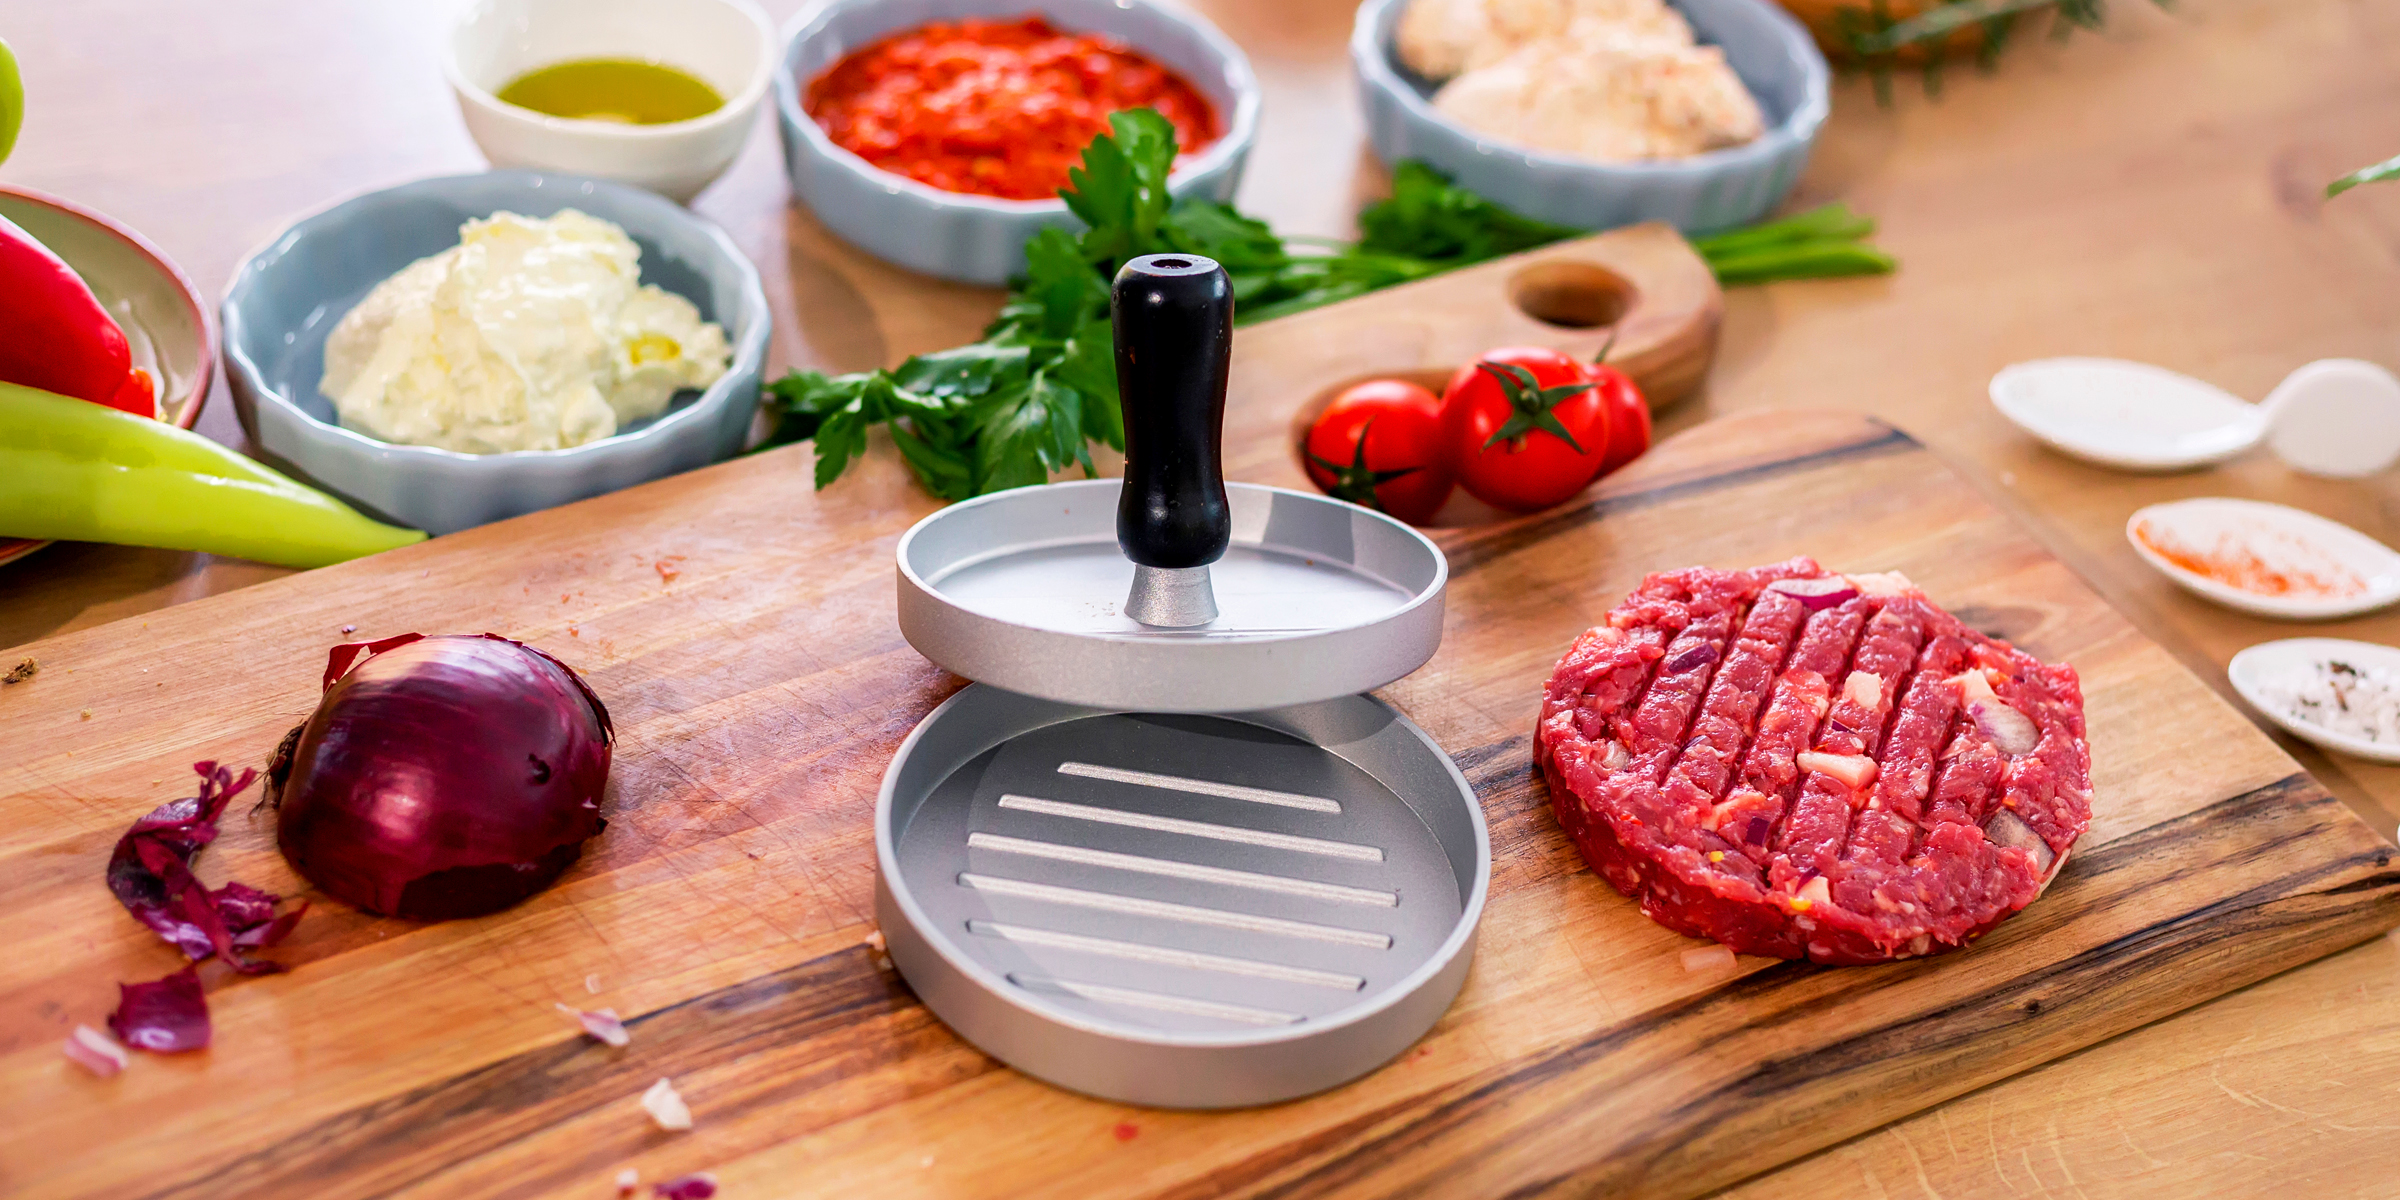
If you've been planning to buy a burger press, it's time to save that cash. In this article, you'll learn how to create a simple DIY burger press to make you the perfect patties.
Feb 11, 2024
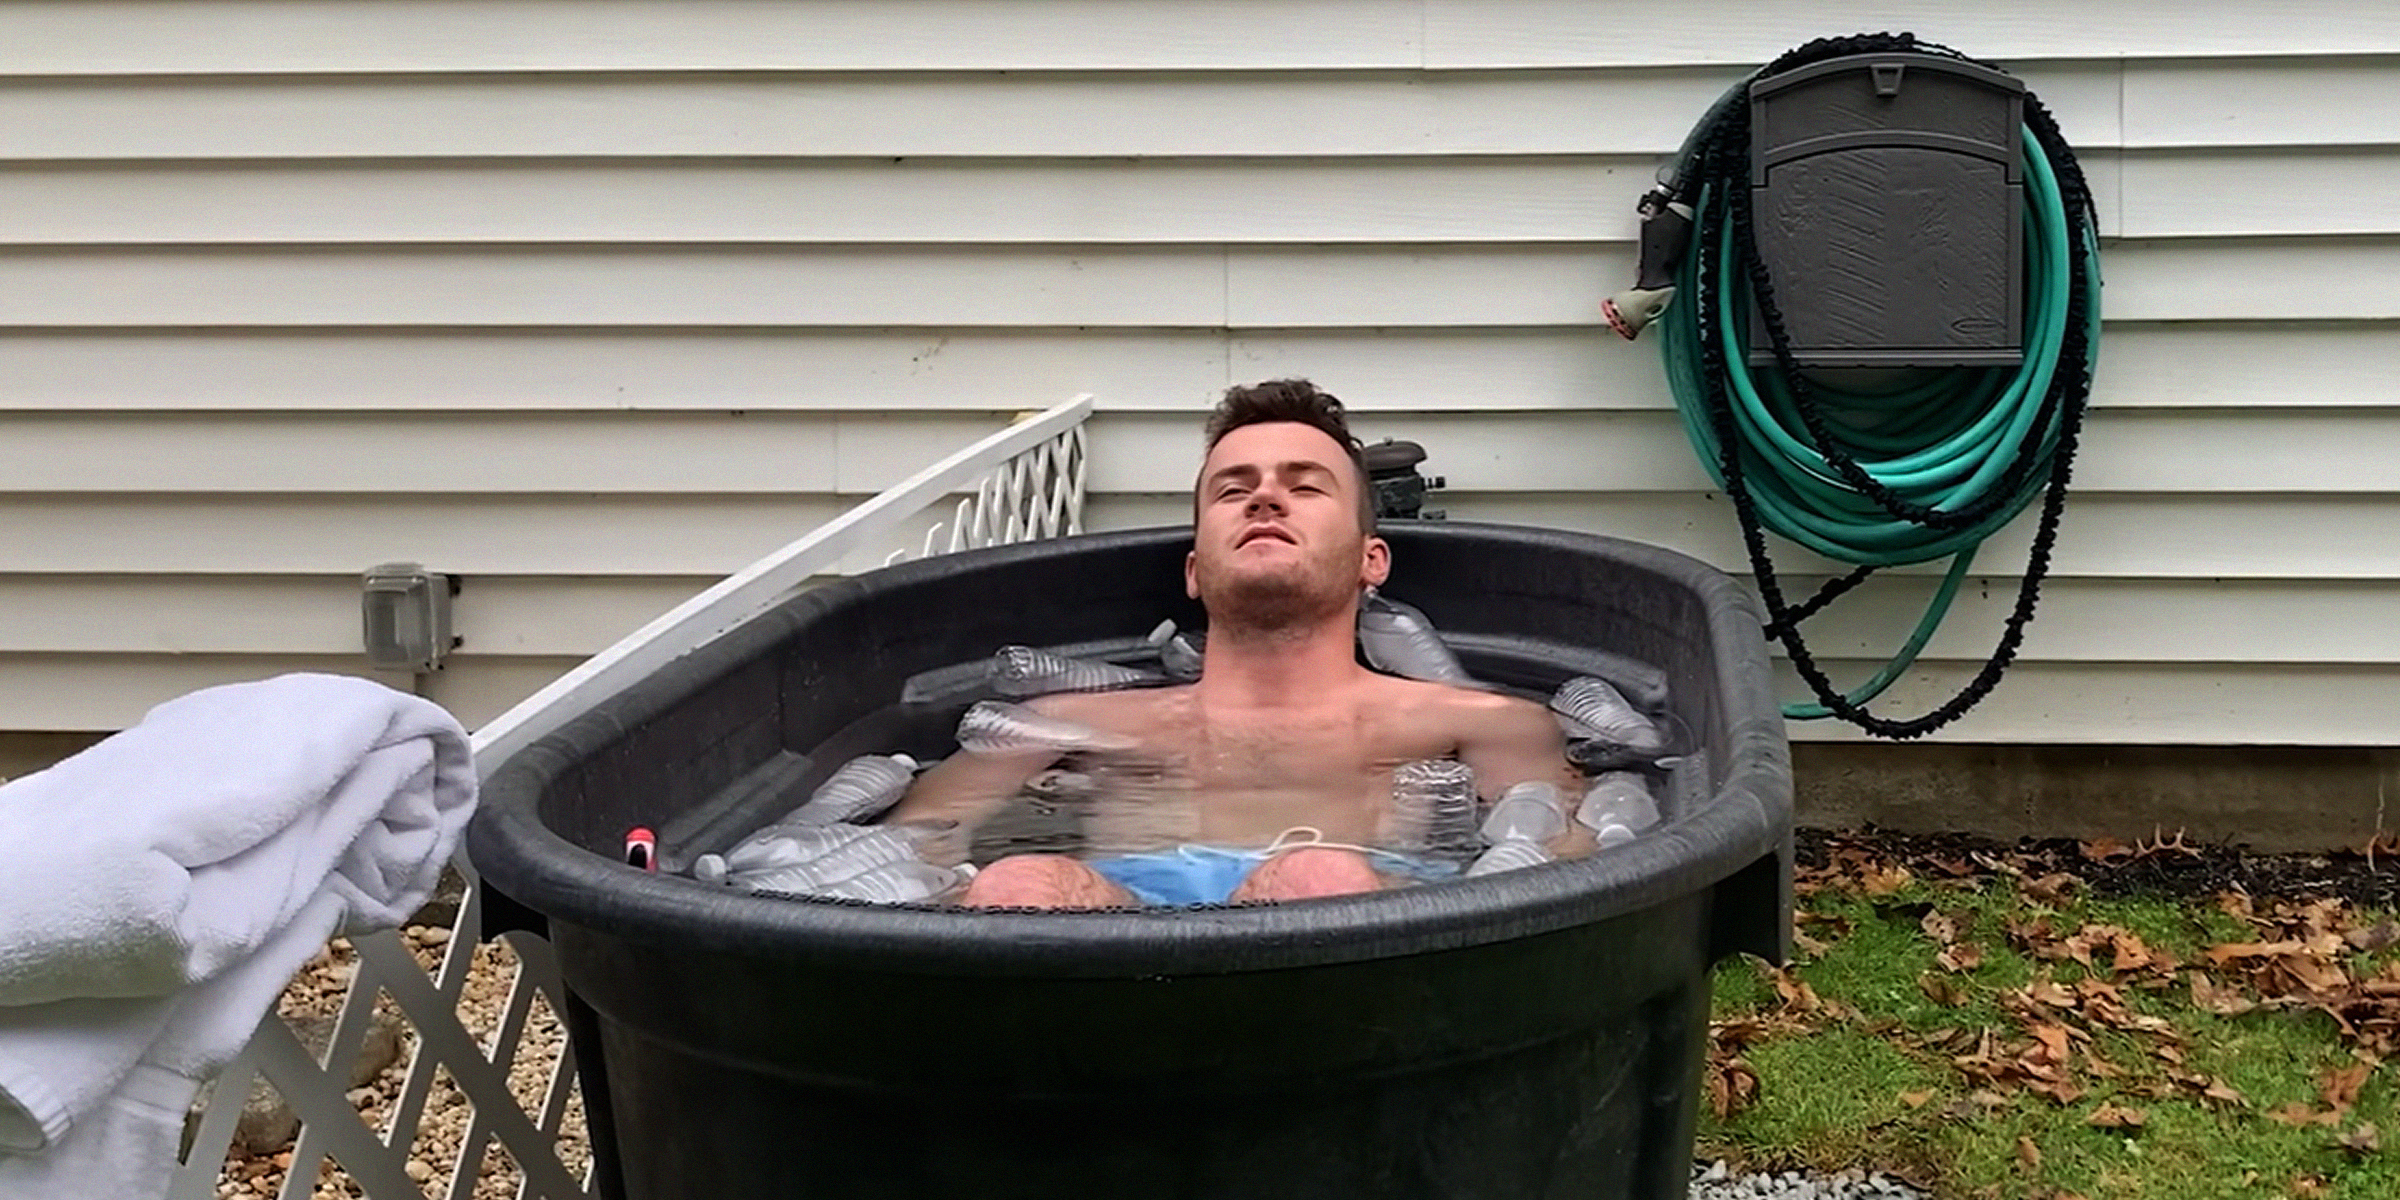
Dive into the rejuvenating world of cold water therapy with our straightforward guide to creating your very own DIY cold plunge container. Get ready to unlock the secrets to crafting a homemade cold plunge container that promises the icy embrace of wellness without the luxury expense.
Apr 14, 2024

Looking for a simple yet adorable Halloween costume or just a fun dress-up project? Try creating your very own DIY Dalmatian shirt. Whether you're embarking on this creative journey solo or with your little one, this project promises heaps of enjoyment.
Apr 11, 2024
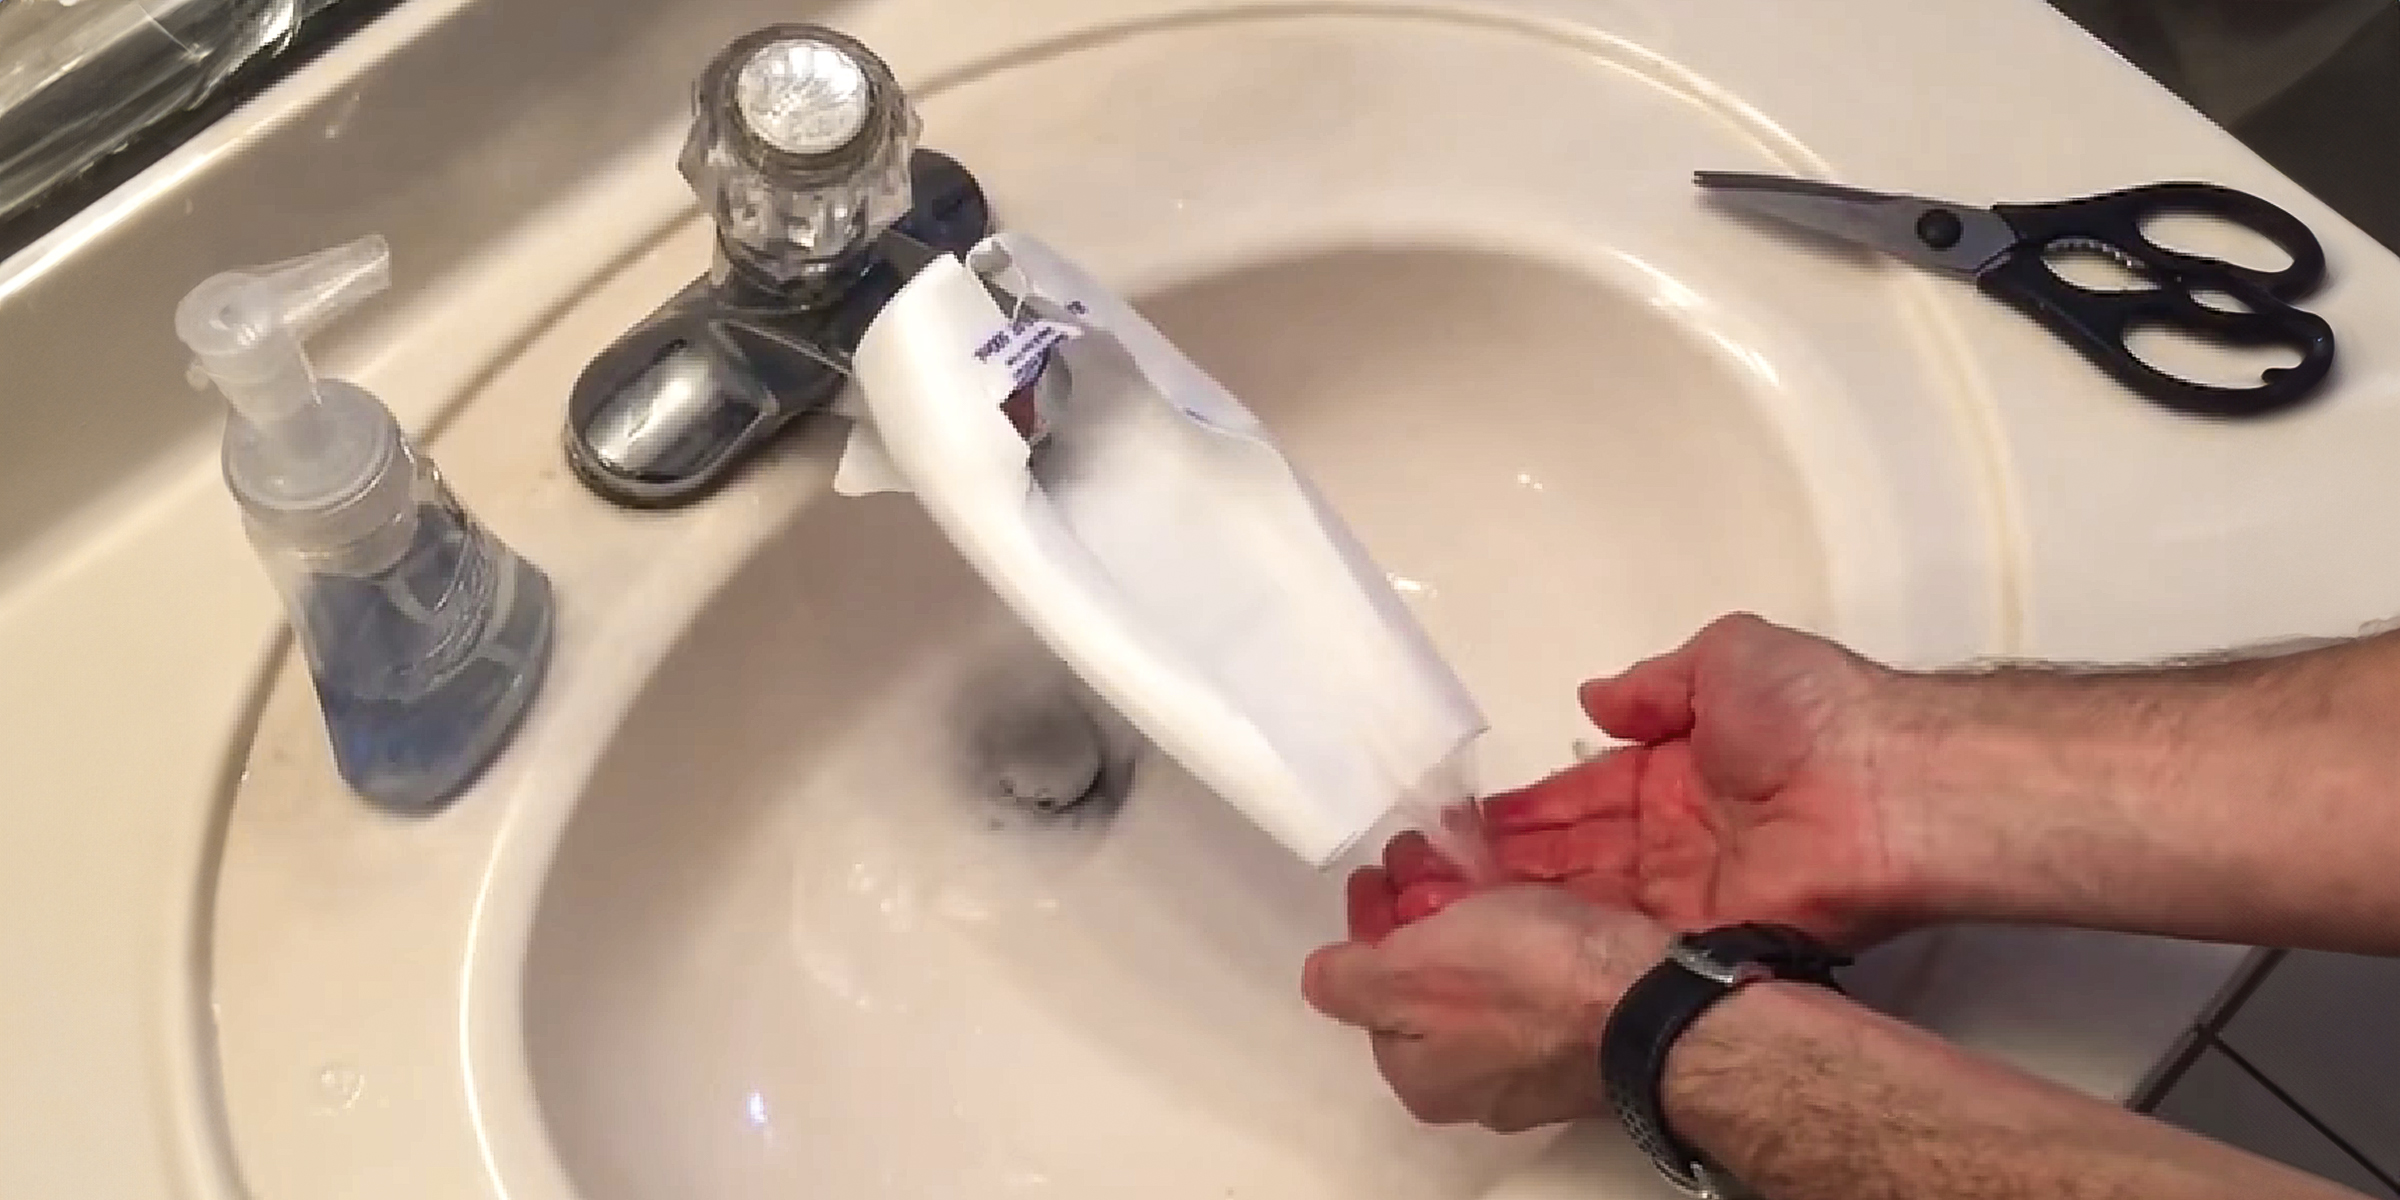
If you're dealing with the challenge of little ones struggling to reach faucets, a practical solution is to craft a DIY faucet extender. You can easily accomplish this in just a few simple steps.
Feb 05, 2024
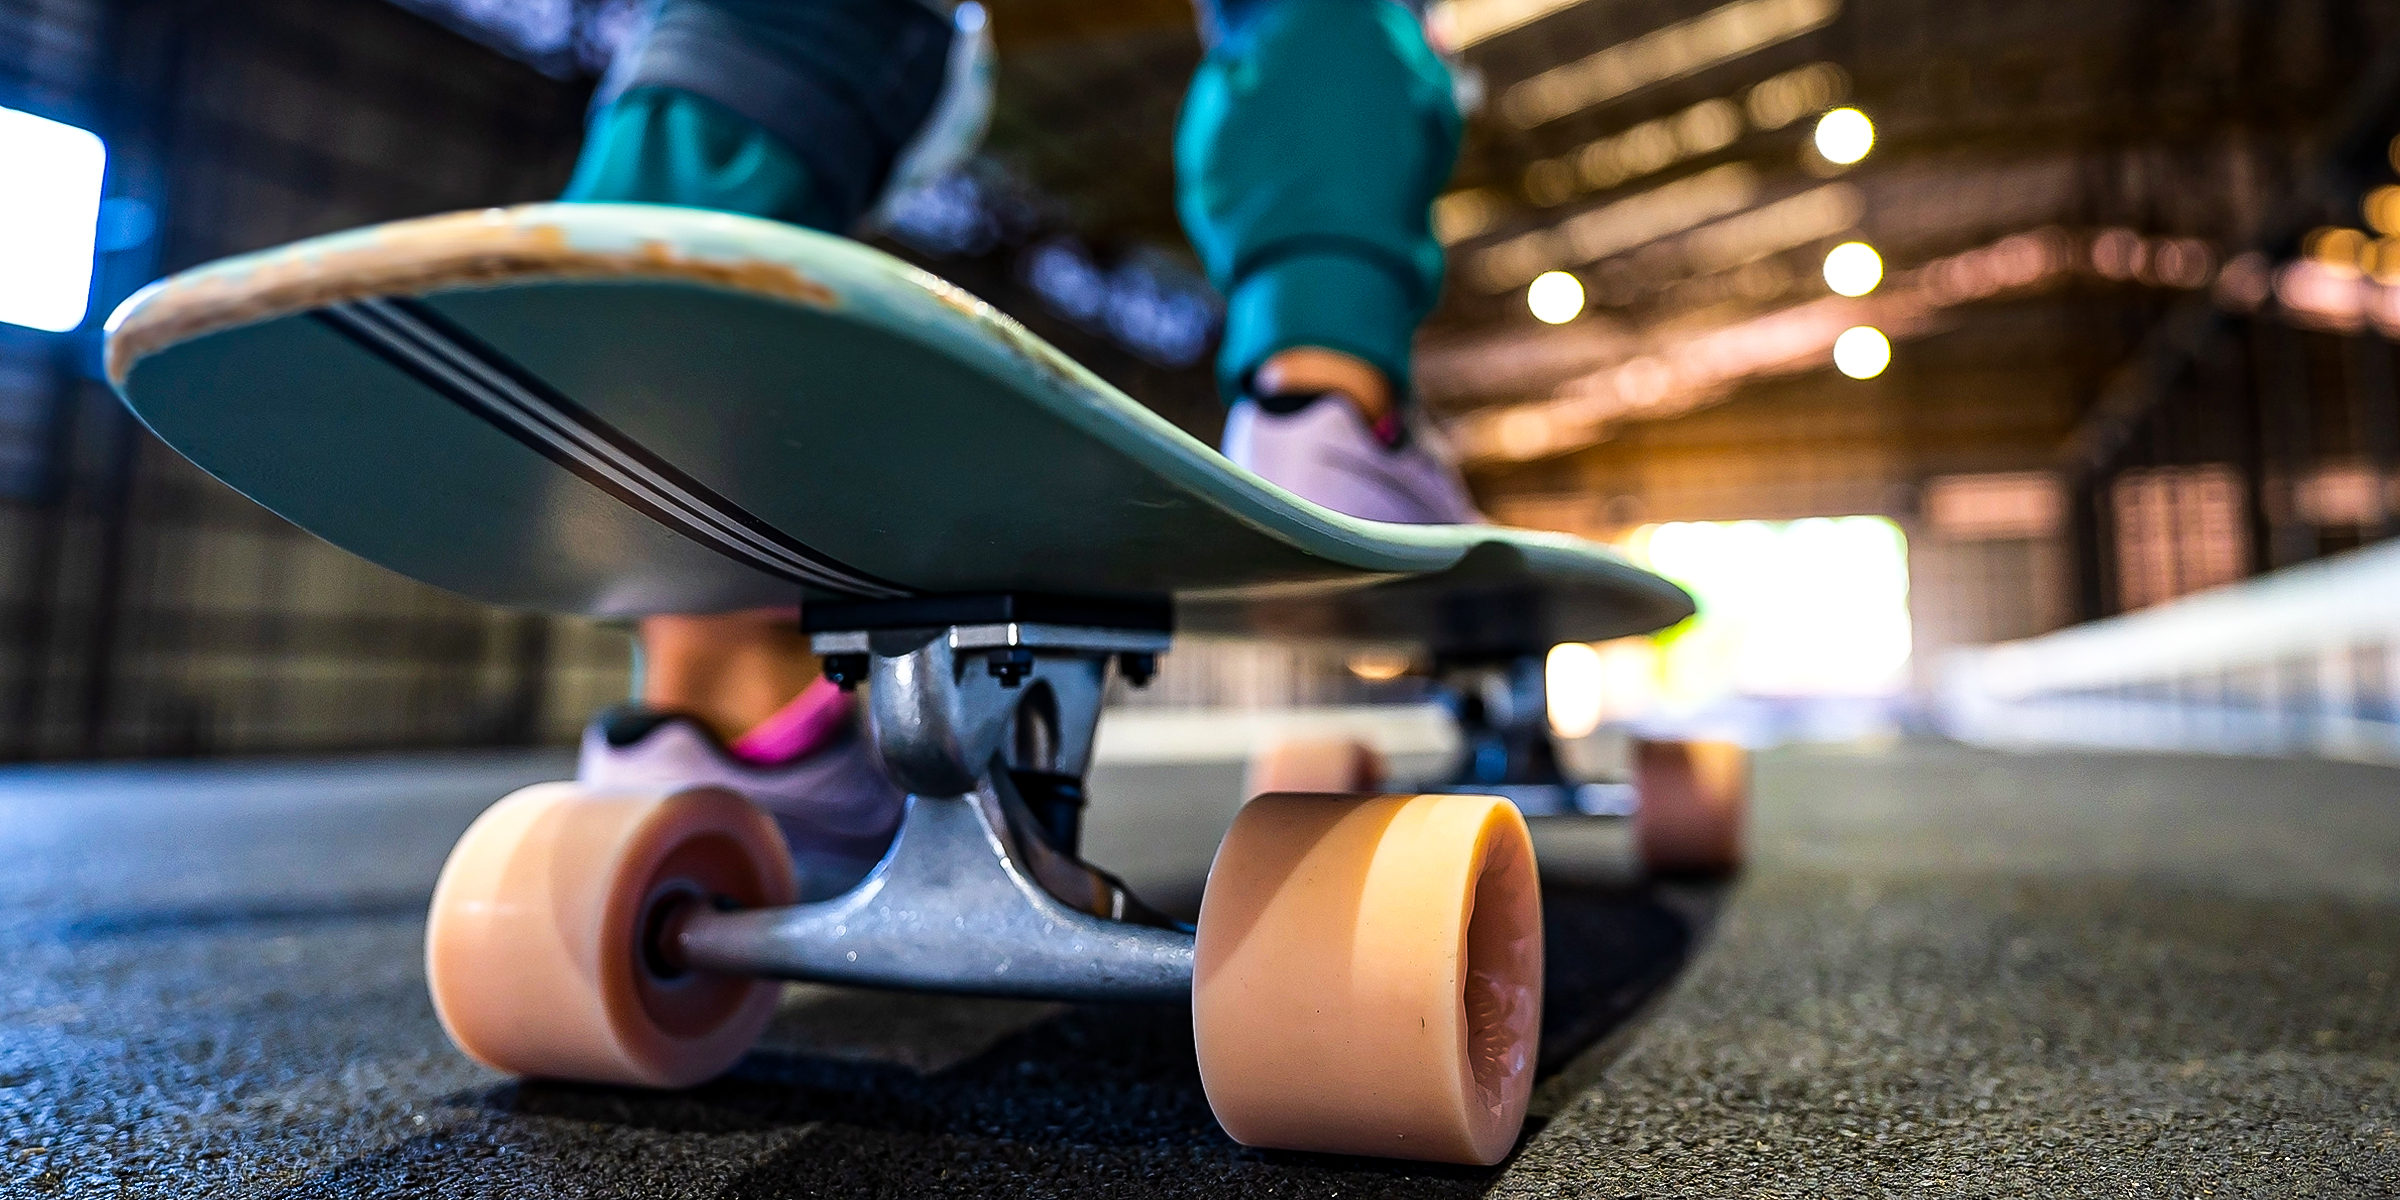
Giving a skateboard as a gift? Wrapping it can be tricky, but we've got you covered. If you have a box that fits the skateboard, great! If not, no worries. Here's how you can wrap a skateboard in 3 easy steps.
Jan 31, 2024
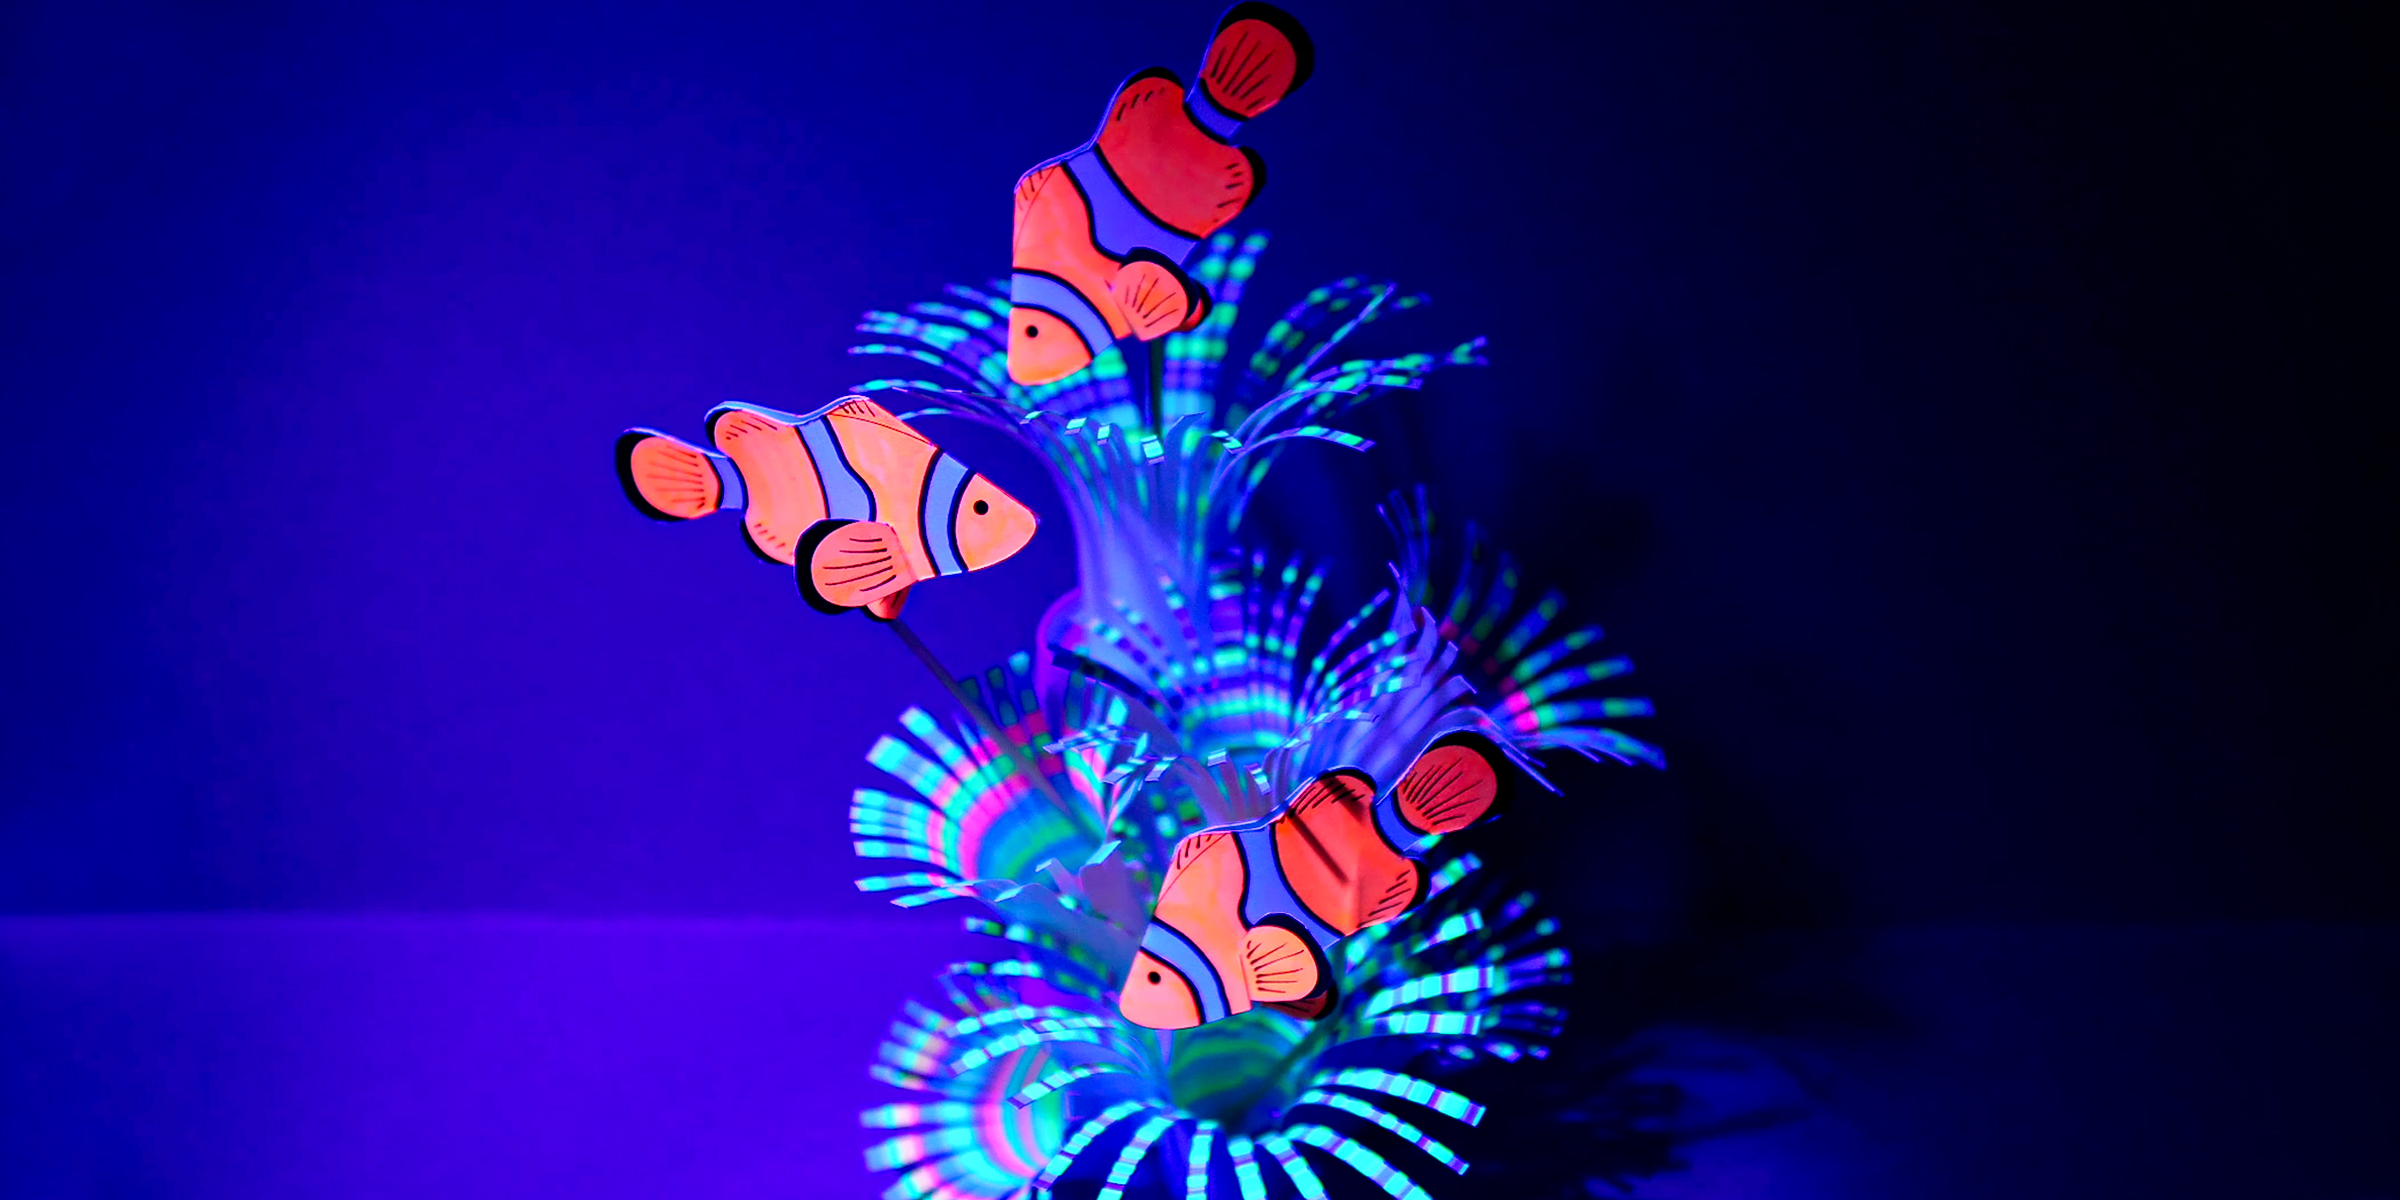
Creating art inspired by coral reefs is a way to honor the ecosystems that are crucial habitats for numerous marine species. Follow this step-by-step guide to make a coral reef using simple paper crafting techniques.
Mar 14, 2024

Tiki huts are making a significant comeback, captivating enthusiasts with their distinctive charm that transports you to a serene paradise. Embark on a journey to transform your backyard into a tranquil oasis with our step-by-step guide on how to make a Tiki Hut.
Mar 20, 2024