How to Clean a Dreamcatcher: A Guide to Cleaning and Purifying Your Bedtime Protector
Dec 18, 2023


Epoxy resin is a widely versatile material used in several industries. When using or cleaning your mixing cups for this substance, it's essential to wear the appropriate protective gear and to exercise caution.
Resin is a viscous liquid polymer that can be naturally or synthetically derived. Among its most well-known benefits is its ability to transform from a liquid to a customizable, solid structure.
There are two main types of resin: thermoplastics and thermoset resins. Epoxy resin falls under the latter category and also has several derivations. It is used in various industries, including building and construction, renewable energy applications, automotive, food packaging, sports and leisure, aerospace, and even art.

Pouring resin into a plastic cup on a food scale. | Source: Shutterstock
When using this material for whatever purpose, you want to ensure you do so safely. Here are a few tips:

An artist wearing the appropriate protective gear pours epoxy resin into their artwork. | Source: Shutterstock
After working on your project, keep your protective gear on for the cleaning process (contrary to cleaning something like a dreamcatcher), as the cleaning materials used can be dangerous if they come into contact with your skin.
1. Wipe the remaining resin out of your cup using a paper towel. Ensure you scrape all sides and the bottom, then discard the soiled paper towel in the trash. Repeat this process as many times as necessary.

Wipe the epoxy resin off with a paper towel. | Source: YouTube/ArtResin
2. Dab or spray some acetone or denatured rubbing alcohol onto a clean paper towel and remove the remaining resin residue from your mixing cup. Repeat until you're satisfied that all the resin has been removed.

Sprits denatured alcohol or acetone into your mixing cup and wipe with a paper towel. | Source: YouTube/ArtResin
Tip: When doing this step, ensure the resin is still wet; otherwise, if it cures, you may have to soak your cup in acetone or rubbing alcohol to break the resin down or use a heat gun to soften it.
3. Wash your cup with soap and hot water then tip it upside down on a towel and leave it to dry.

Tip your cup upside down on a paper towel after washing, and leave it to dry. | Source: YouTube/ArtResin
Alternatively, if you don't want to go through all that wiping, you can clean your epoxy resin mixing cup using the dry method.
1. Tip your mixing cup upside down. Ensure you place it on a silicone mat, parchment, or wax paper and leave it to dry overnight.

Tip your resin mixing cup upside down and leave it to dry overnight. | Source: YouTube/ArtResin
2. The following day, peel the cup off the work surface and pull the rest of the dry resin out of the cup.
Tip: If your cup is made of plastic, try flexing it — or rolling it between your hands — to loosen the cured resin. If it's made of silicone, leave the stirring stick inside the cup, and once the resin has hardened, use the stick to wiggle it out.

Pull the dried resin out of your cup. | Source: YouTube/ArtResin
3. You can discard the dried pieces or repurpose them however you wish.
4. Wash your cup with soap and hot water, then tip it upside down on a towel and leave it to dry.

Discard the cured pieces or repurpose them. | Source: YouTube/ArtResin
With these methods and tips outlined above, you should be able to avoid having to buy a new one. And now that yours is clean, off you go to make more beautiful things!
Cleaning lifehacks can become useful anywhere, even if you need to clean a dreamcatcher.
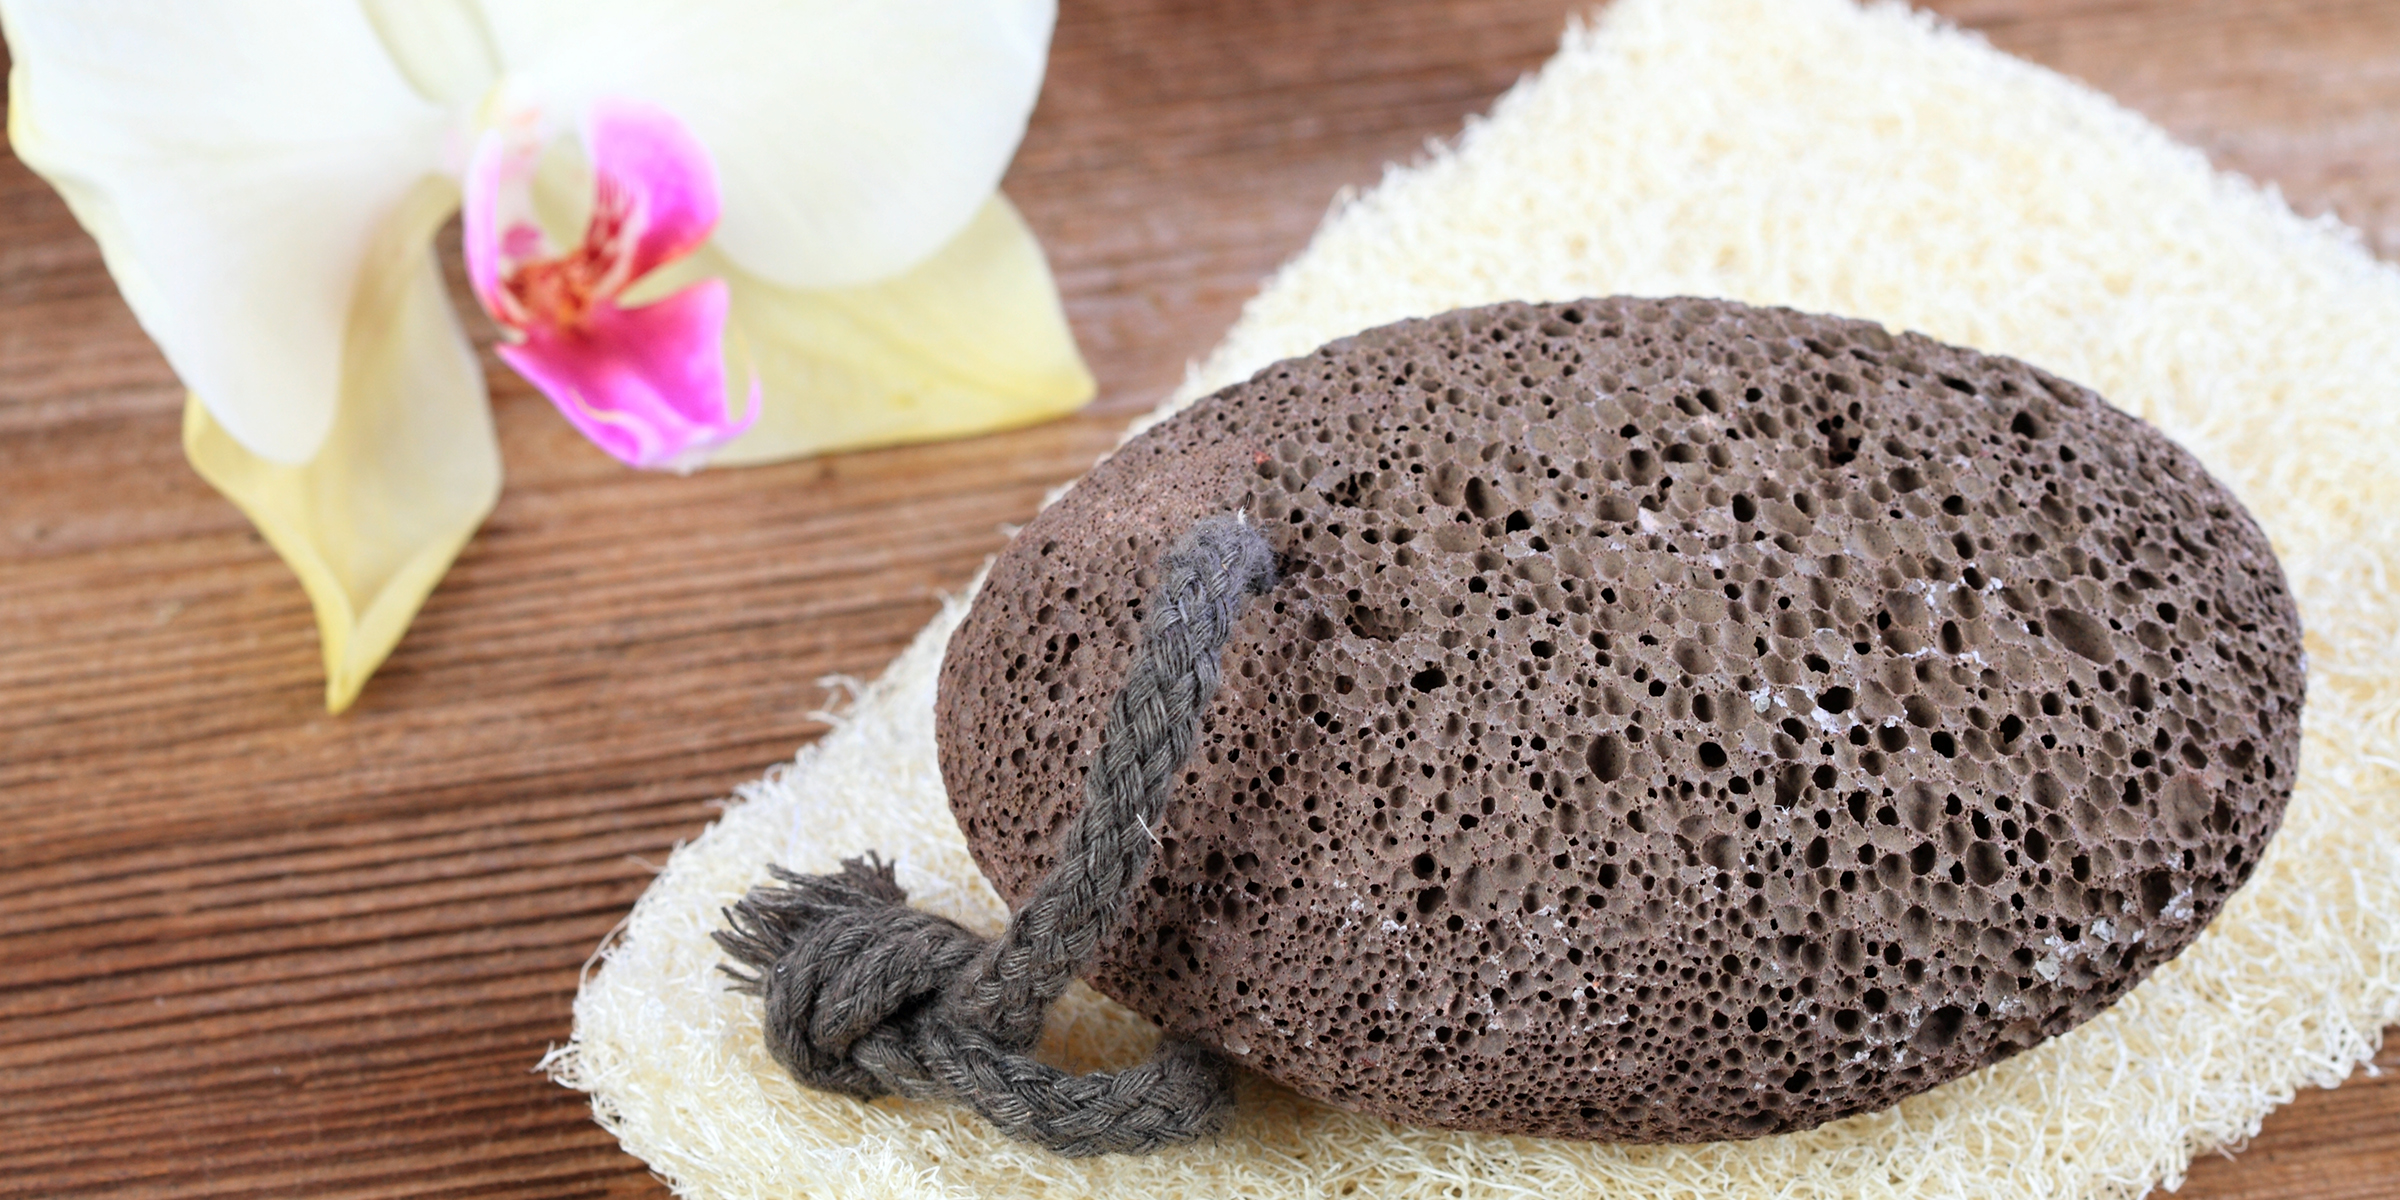
A pumice stone is an effective skincare tool to exfoliate your skin. While it helps you stay extra clean, you want to ensure it also stays purified and ready for use by disinfecting it.
Dec 25, 2023
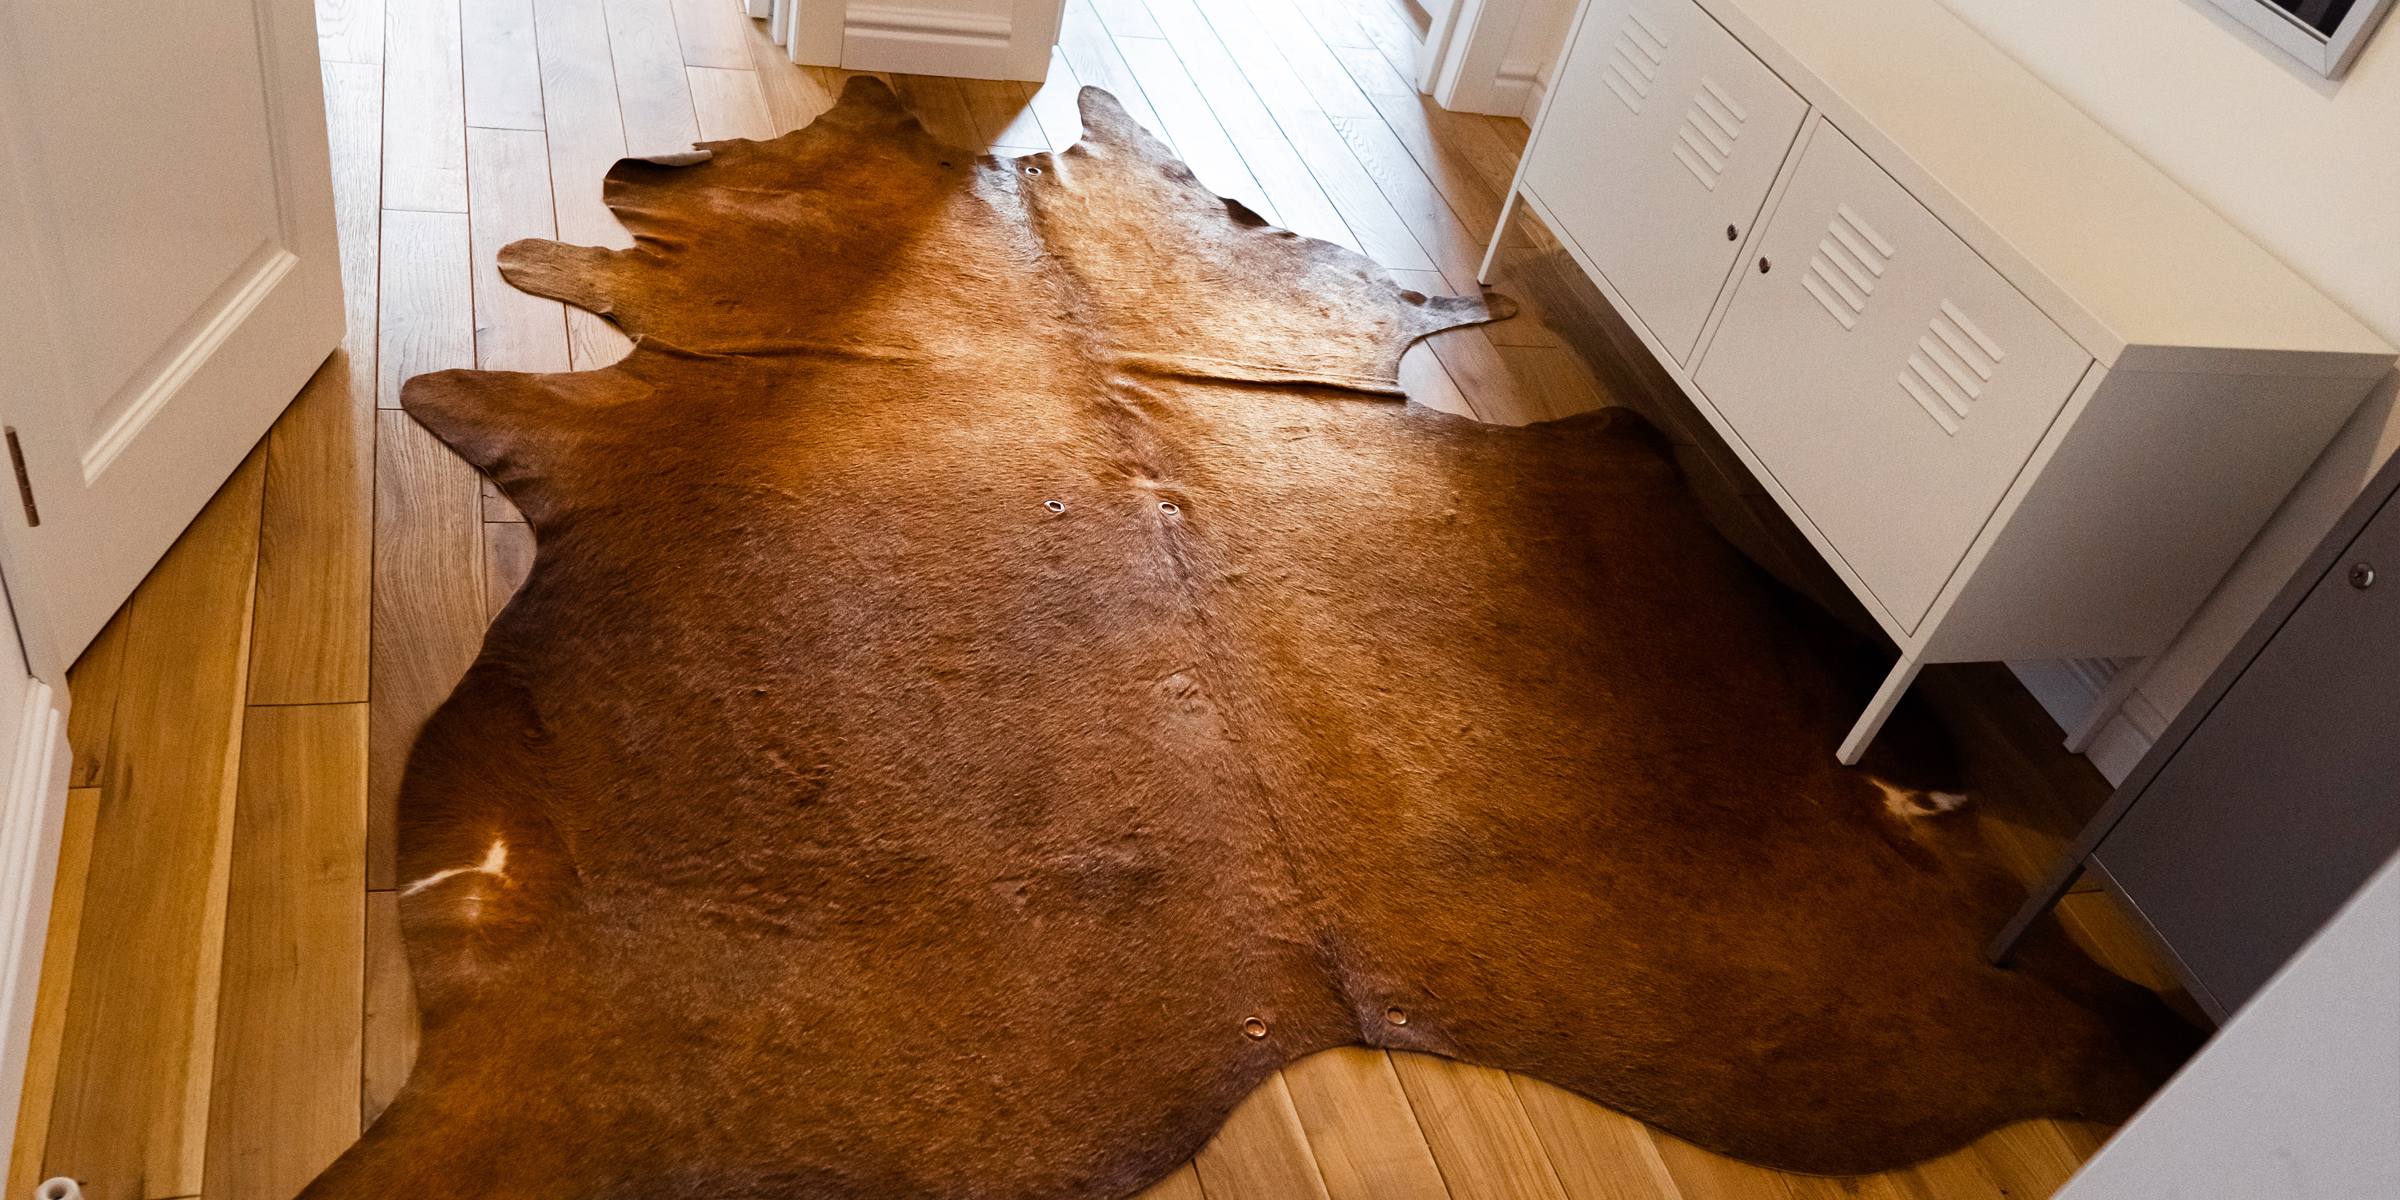
Cowhide rugs are timeless decorative pieces perfect for any living space you choose. However, if by some misfortune, your dog has relieved itself on it, don't fret. Luckily for you, removing the urine and the smell is possible and easy.
Jan 22, 2024
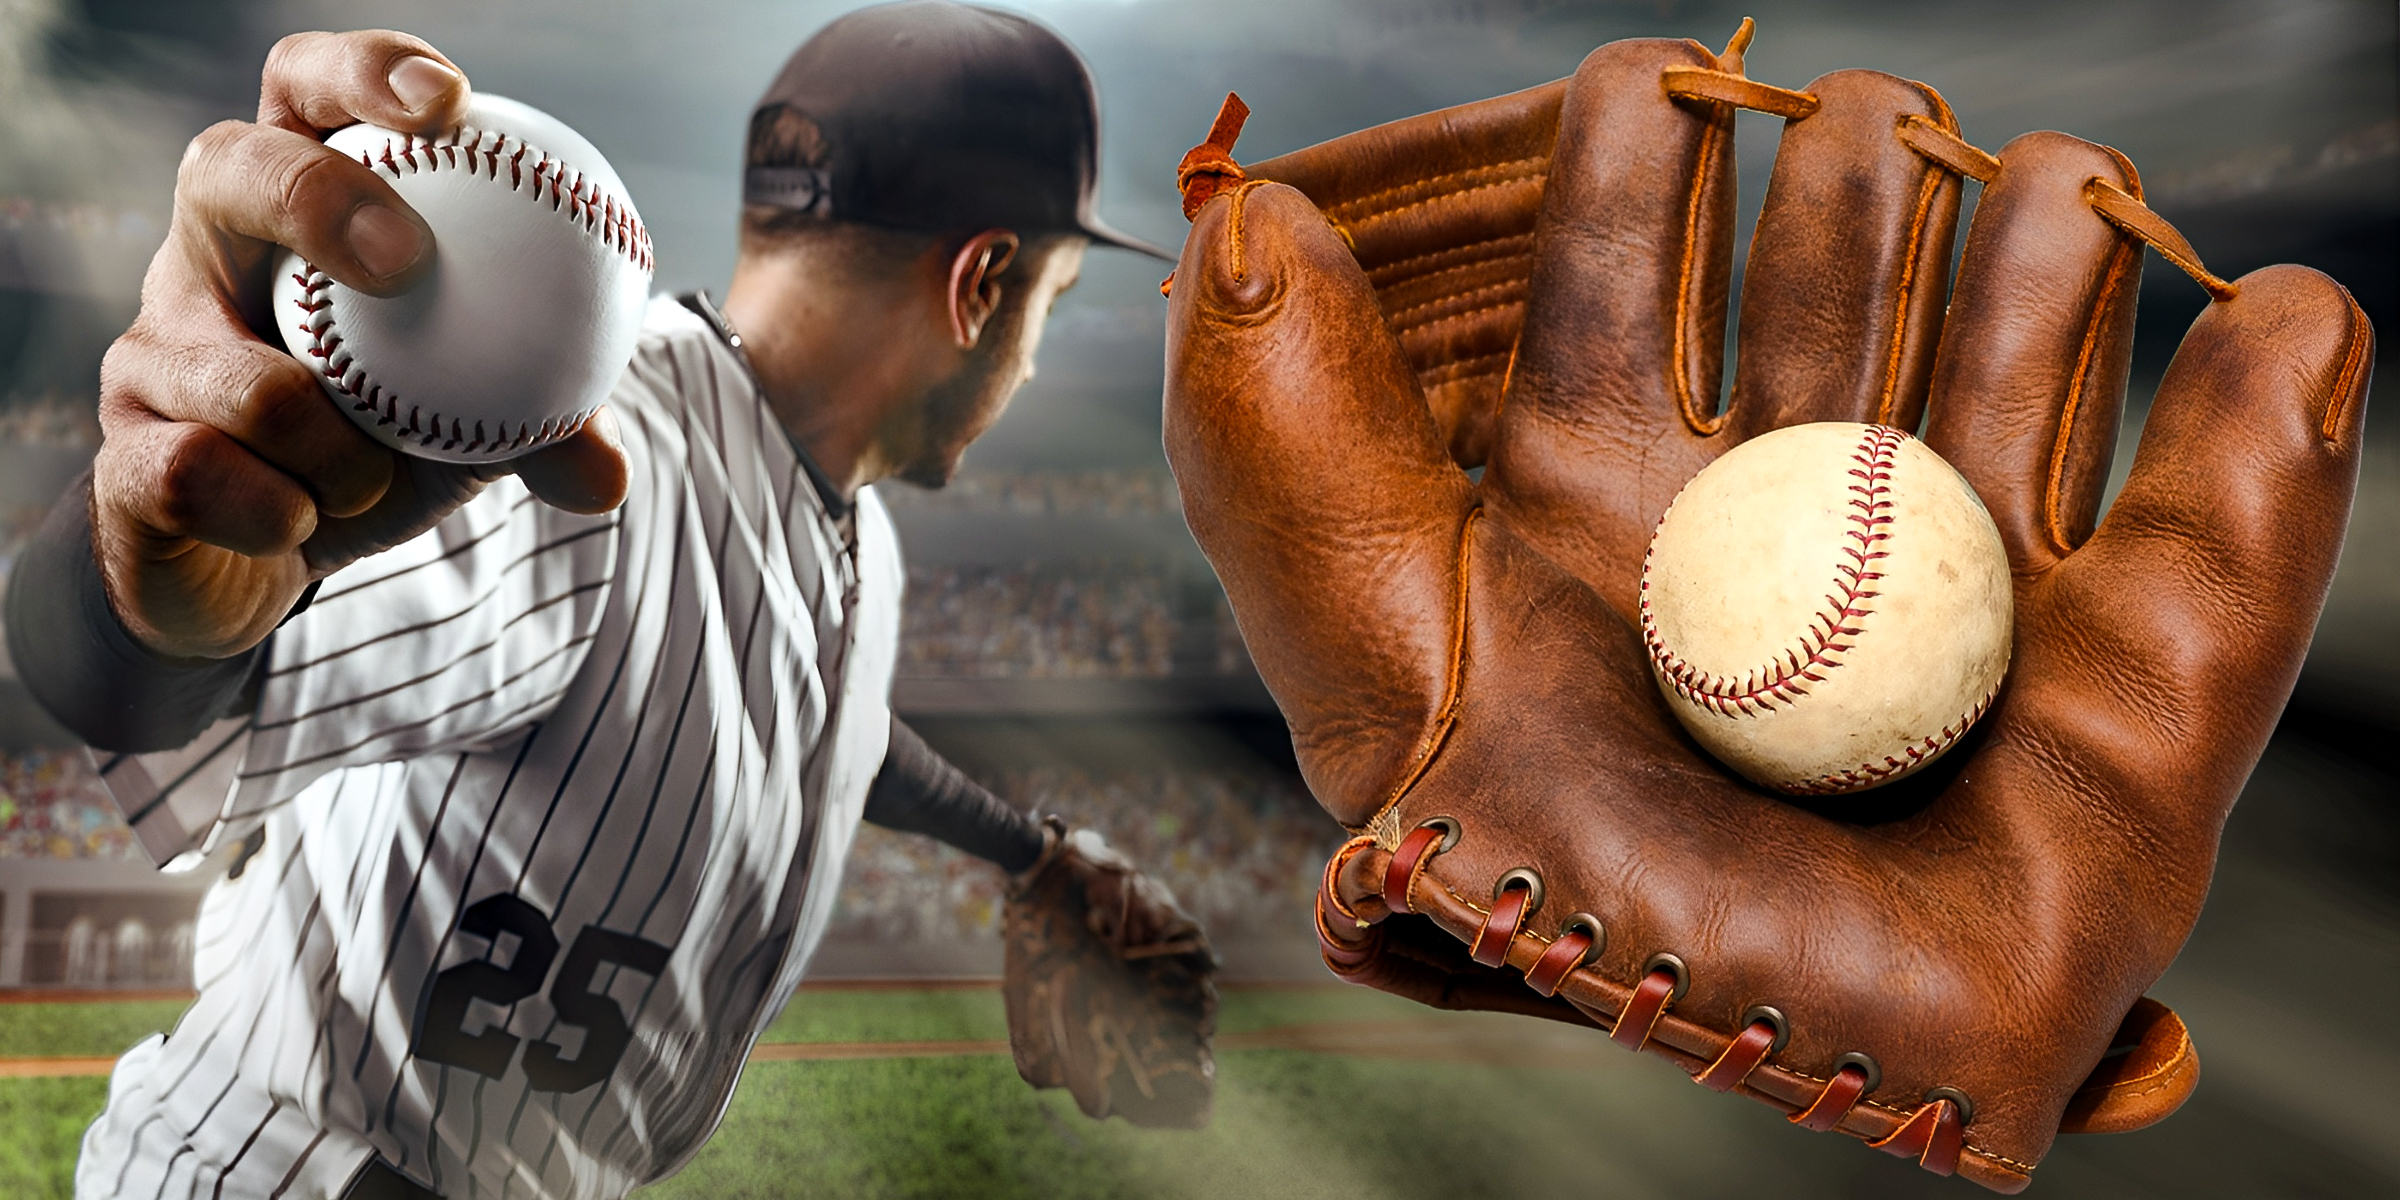
Maintaining the condition of your baseball glove is essential; it's all about preserving its leather and ensuring your game hits its peak performance. Here are steps on how to clean a baseball glove for top-notch care.
Dec 29, 2023

Pashmina is a stunningly soft material that has been used to make gorgeous accessories like shawls and scarves for millennia. To maintain the fabric's delicacy, you must wash it correctly and with care. Read on to find out how.
Jan 10, 2024

Mortar is a commonly used bonding agent that you can clean off tiles in many ways. However, follow these three methods of cleaning mortar off tiles for the convenience of using products you probably already have in your home.
Jan 19, 2024

Many people love cats because they are quiet, independent, and easy to care for. While these feline companions offer perks like affection and playfulness, owning them has downsides, and a common problem is cat litter on carpets.
Dec 22, 2023
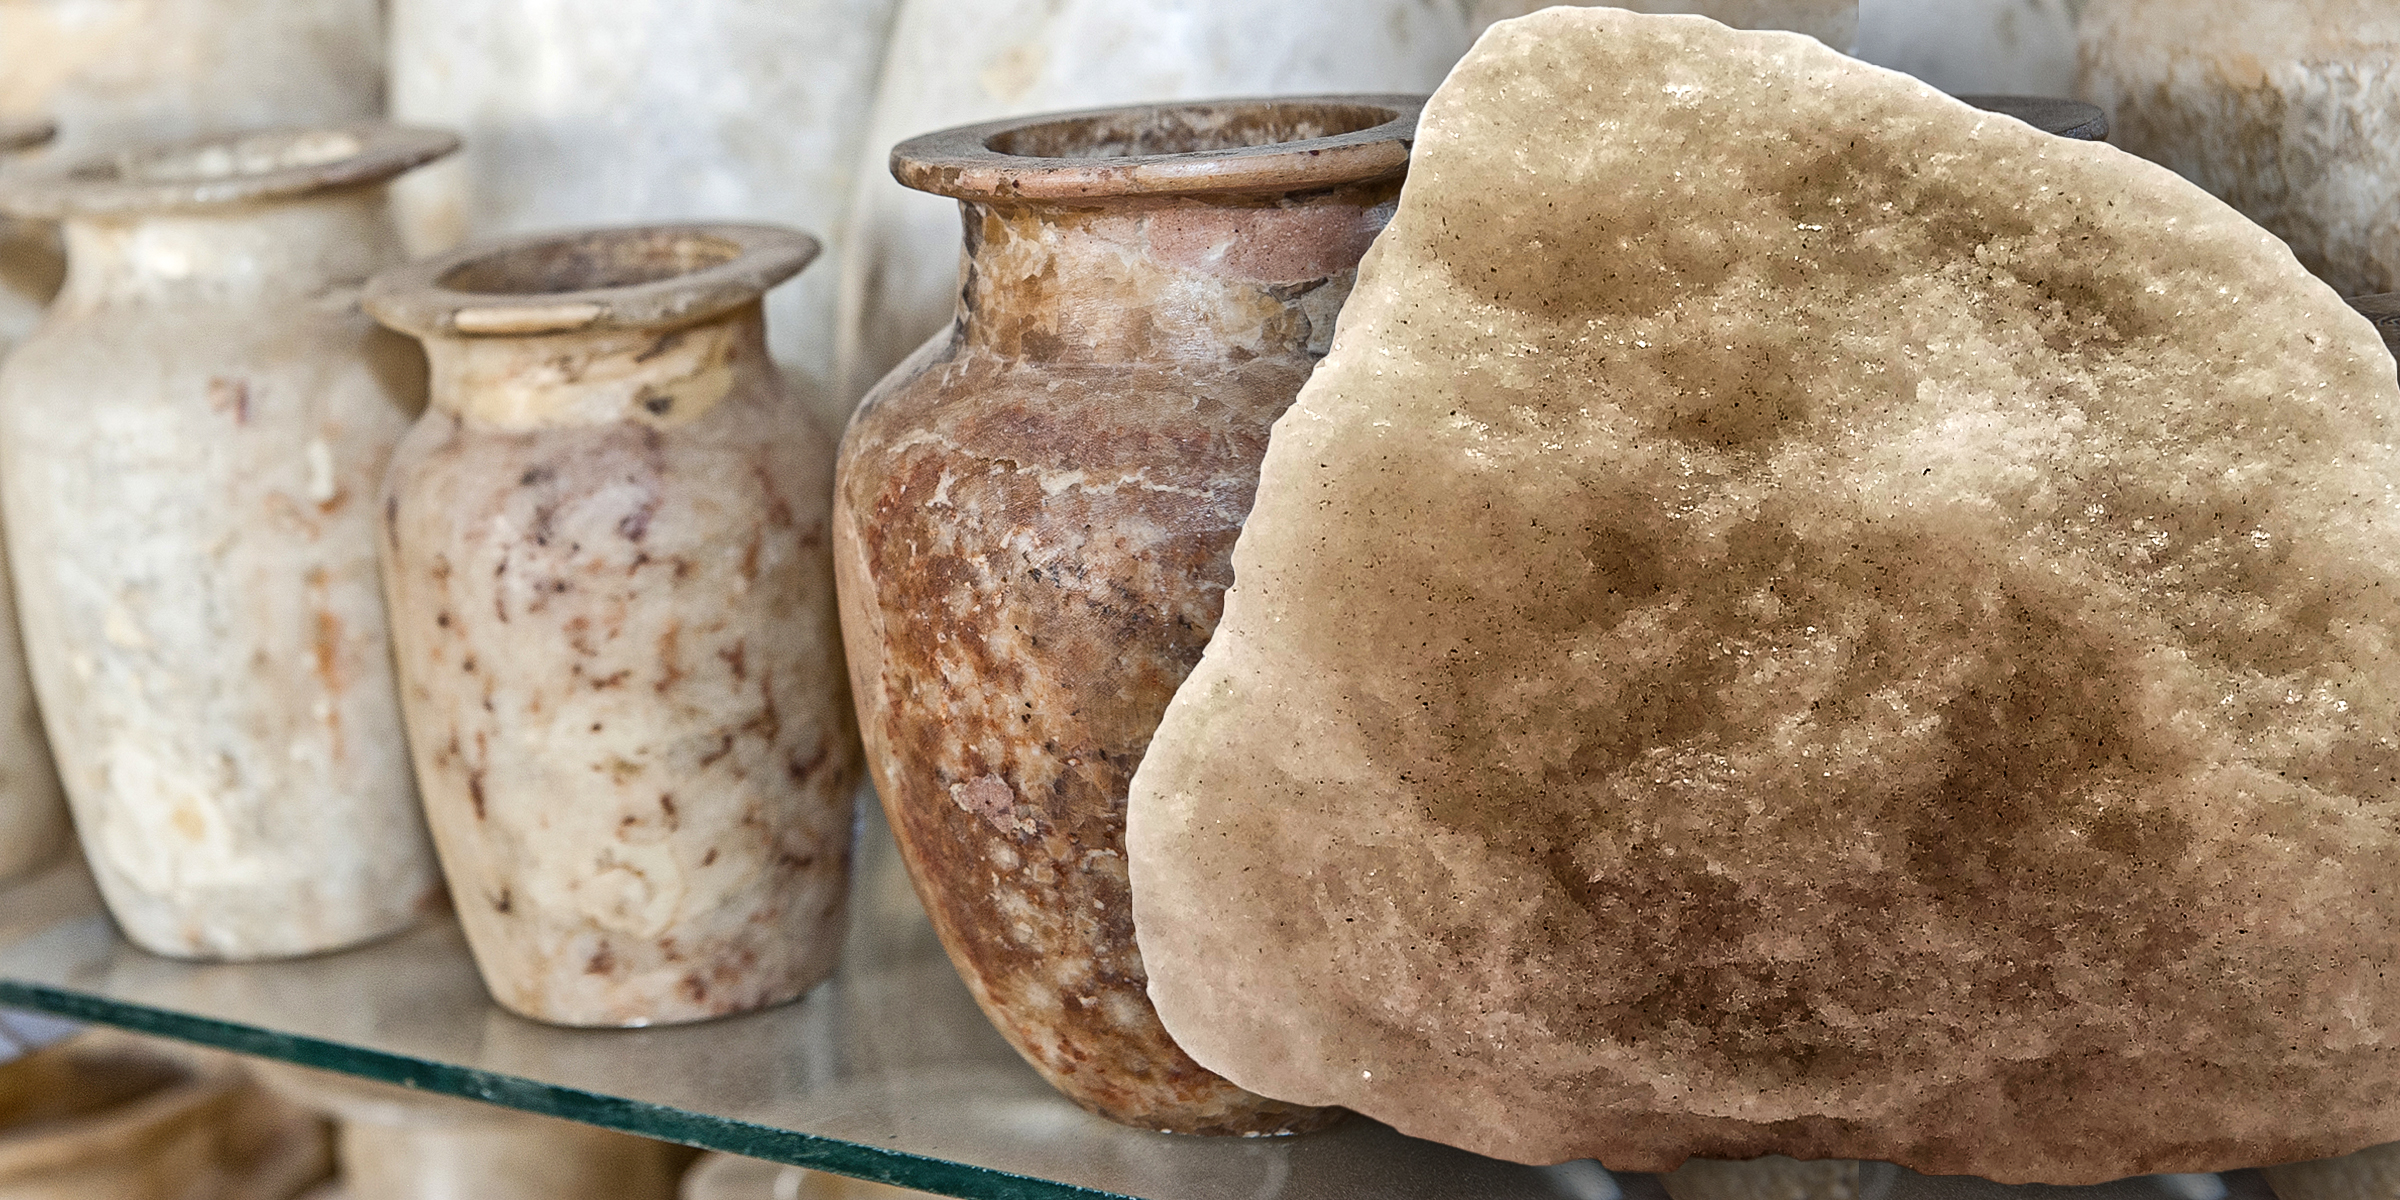
Stone carvers have been fascinated by alabaster for centuries. Although alluring, this kind of stone is prone to scratching. If you're curious about how to clean alabaster on your own, follow these easy steps for effective cleansing.
Jan 11, 2024
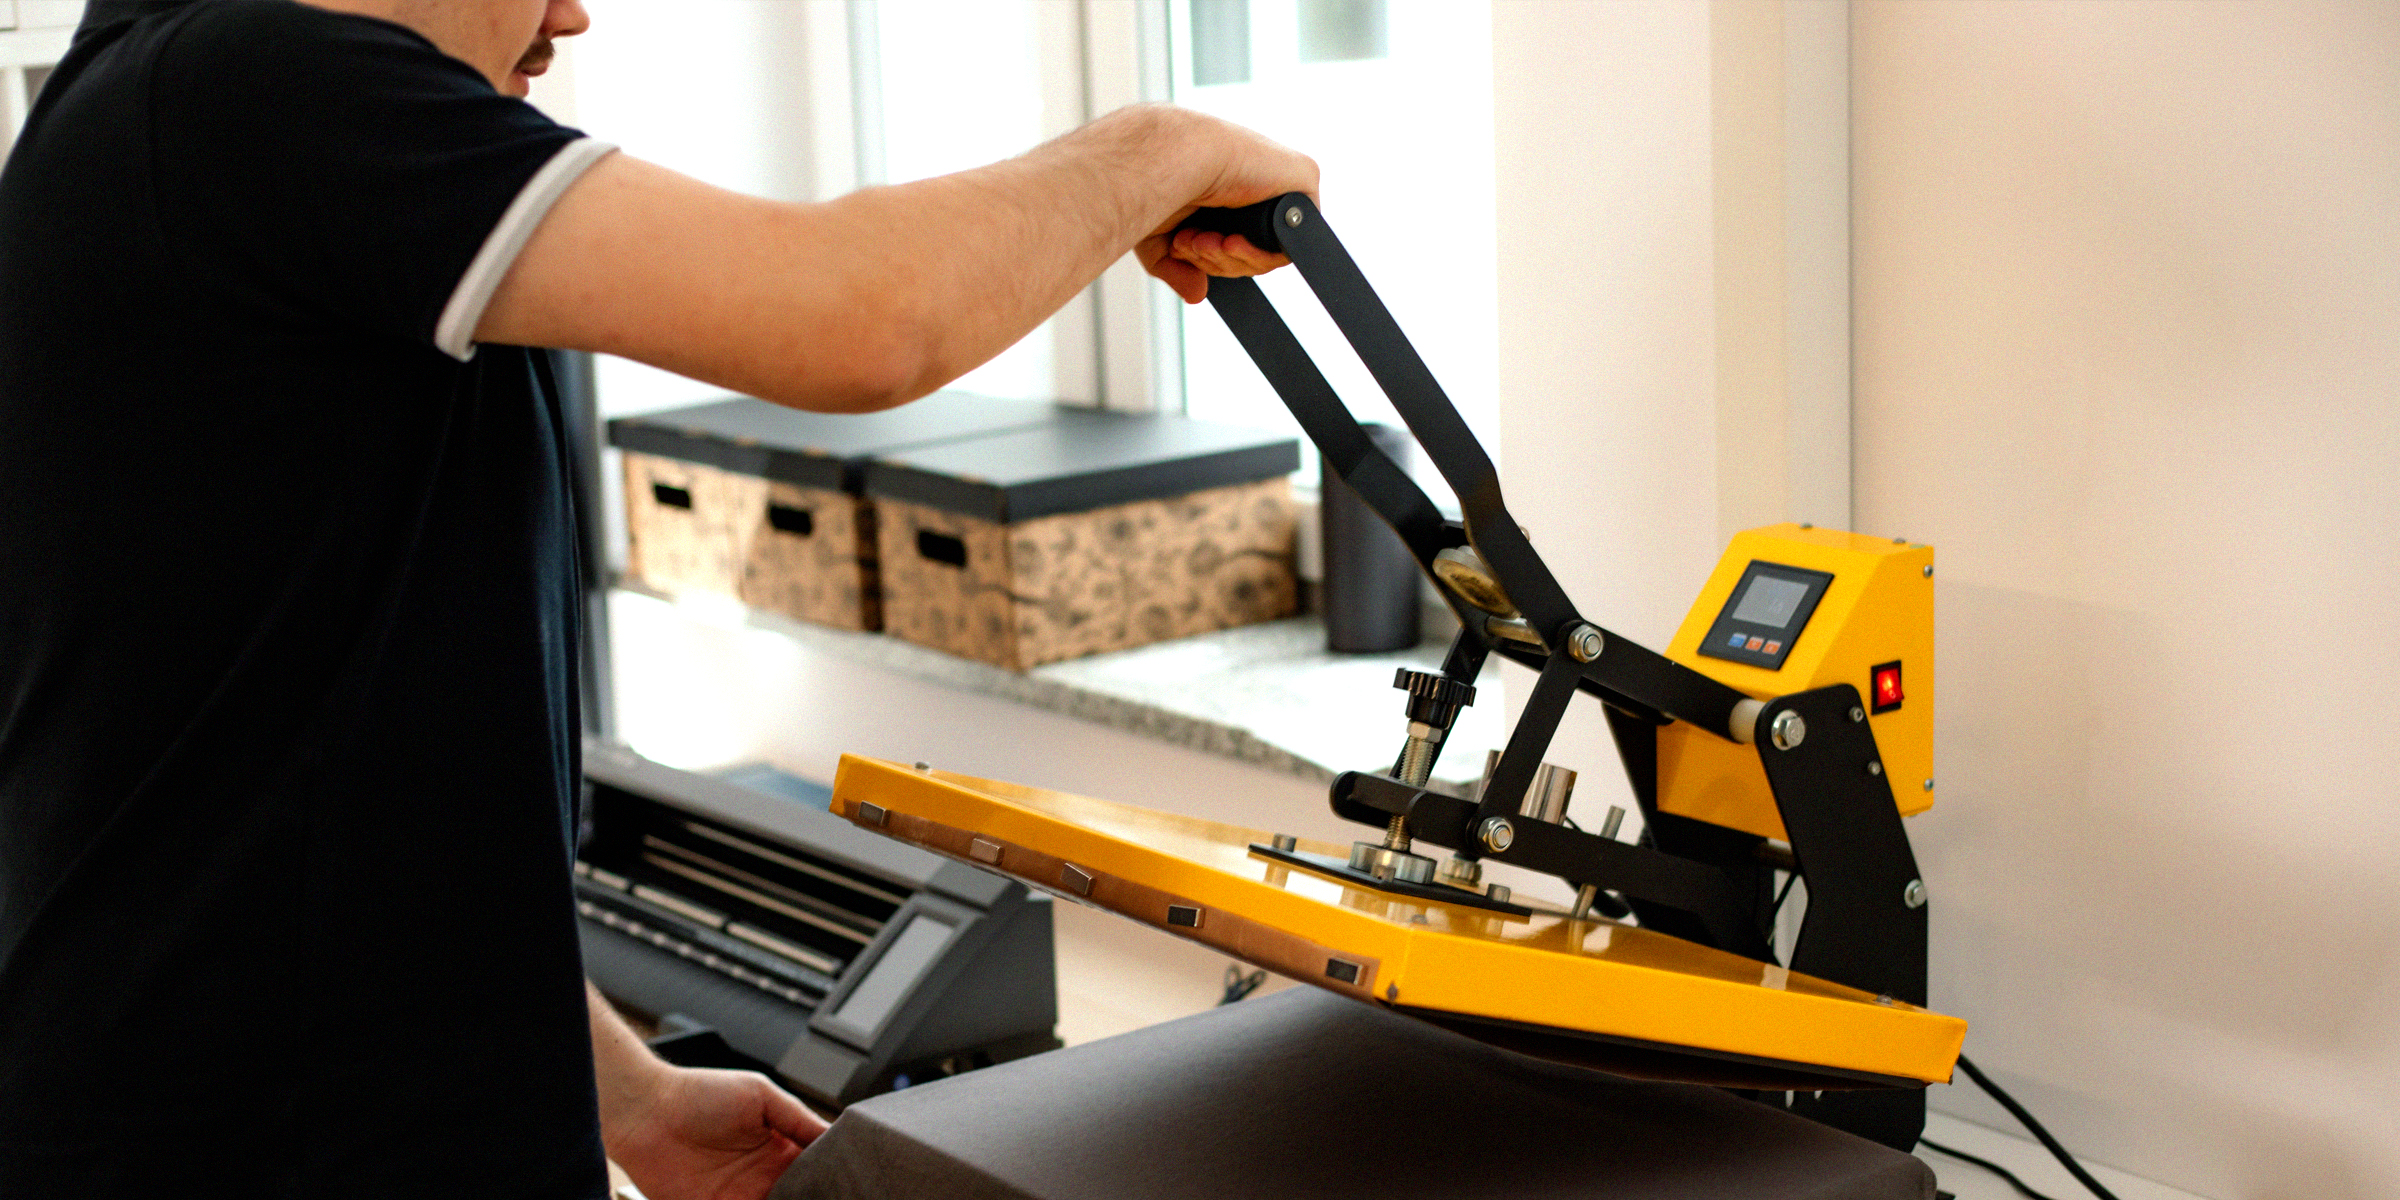
Whether you're a business owner or enjoy printing as a hobby, your heat press is at the heart and soul of what you do. Therefore, knowing how to clean and maintain this piece of machinery properly is of the utmost importance.
Jan 17, 2024

WHOOP wearables have been a game-changer in the fitness tech industry, helping professional athletes and fitness enthusiasts reach and maintain their goals. But, like any device, it needs proper maintenance.
Jan 17, 2024

If you have frosted glass in your home, you'll know that while it is an aesthetically pleasing way to add a sense of privacy around your house, its complex features and special finishes make cleaning quite the process.
Jan 14, 2024
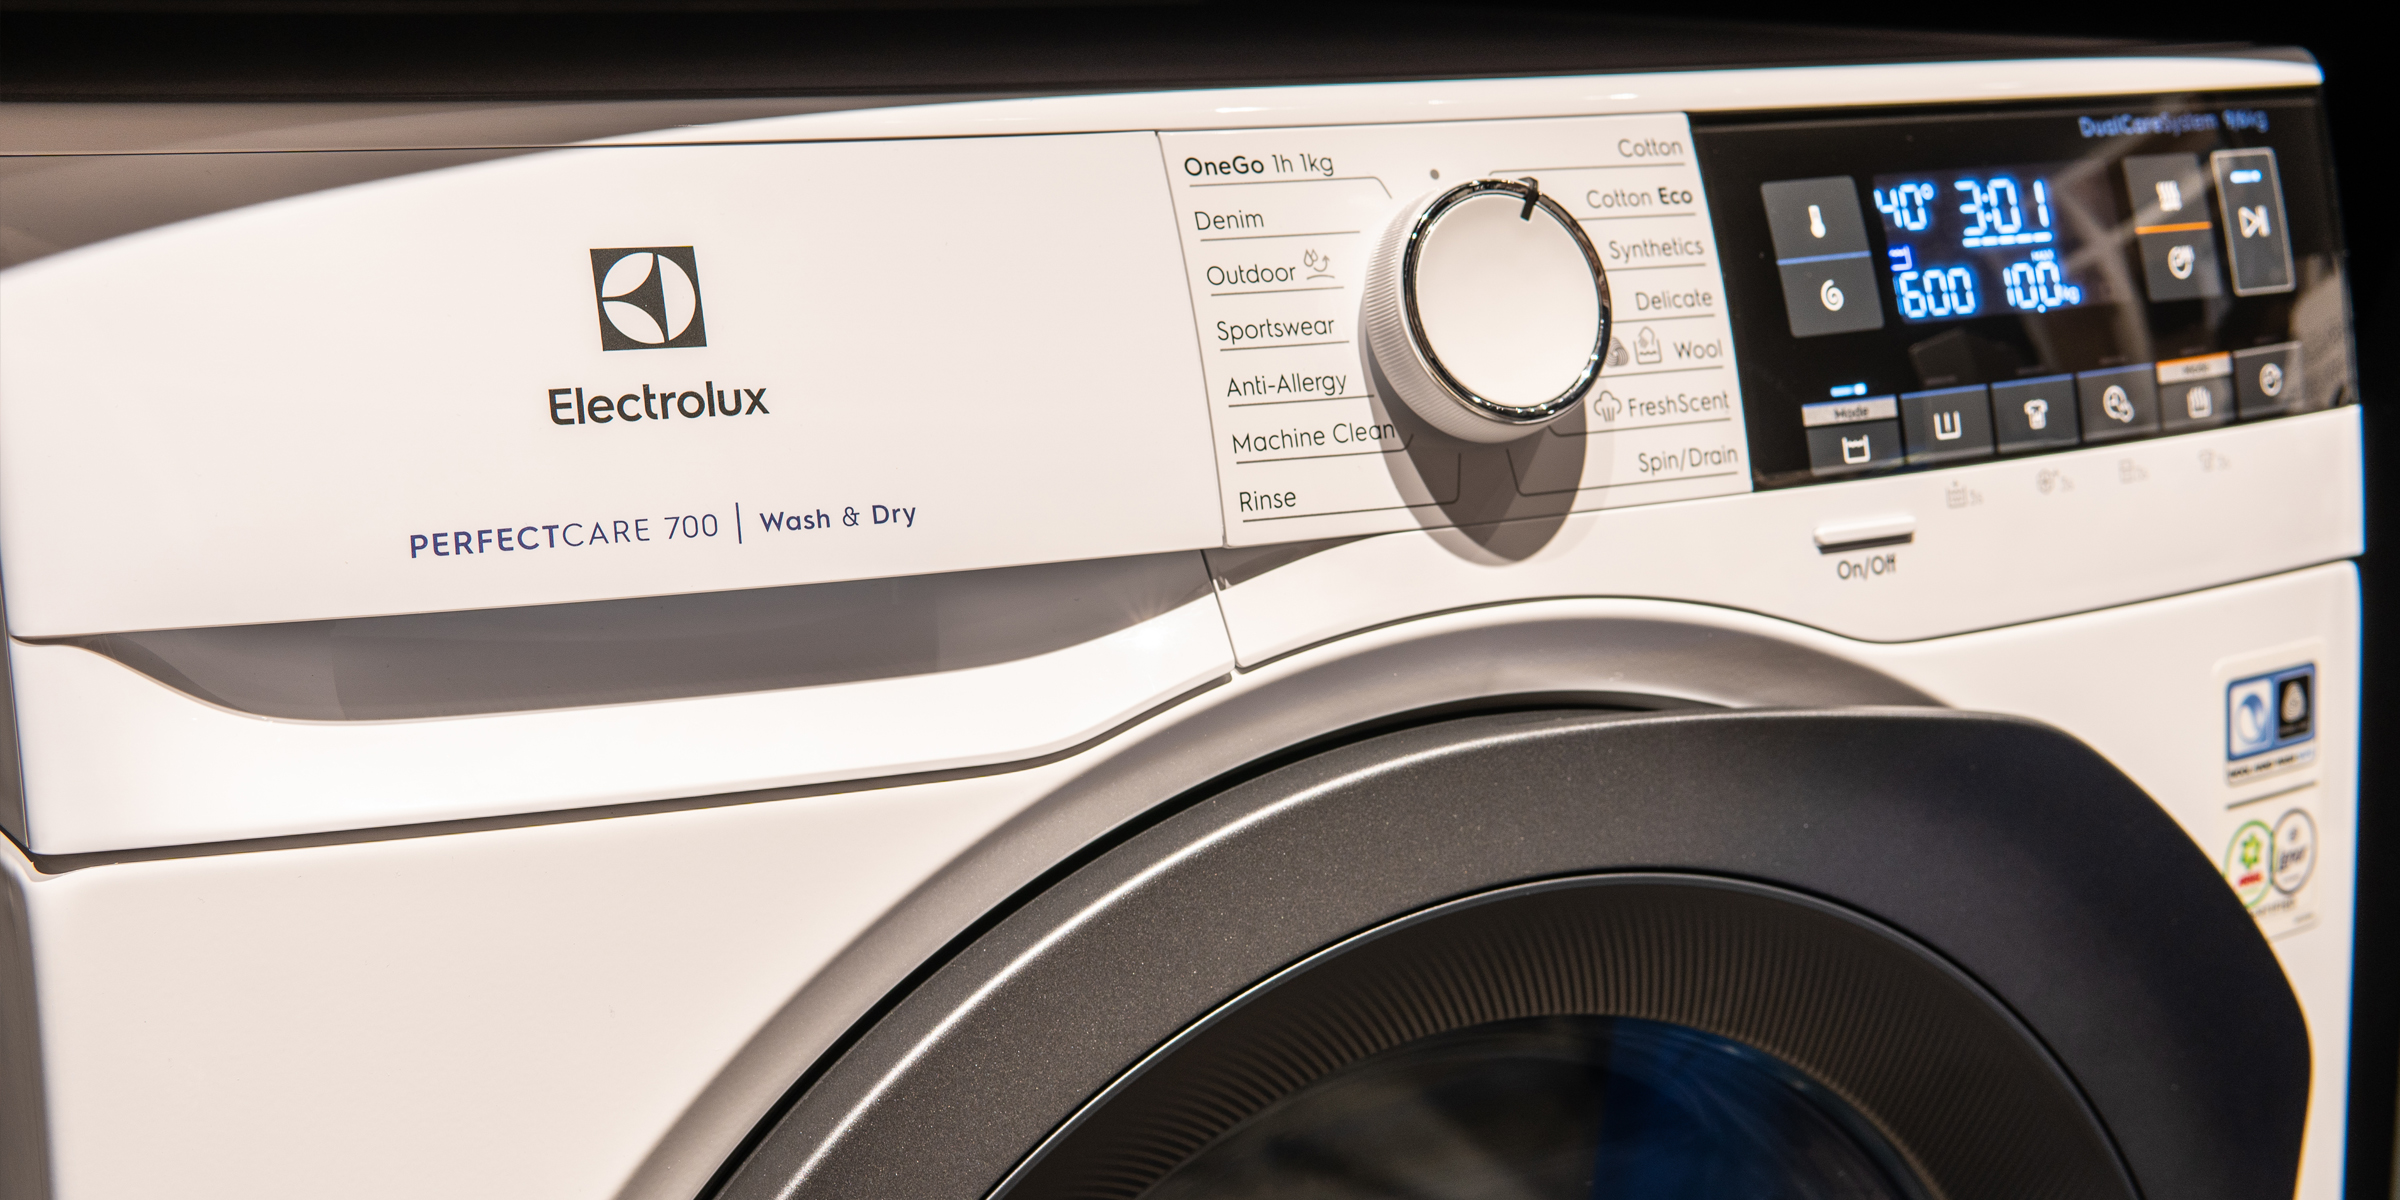
Cleaning your washing machine is essential to ensuring it always performs optimally, and your laundry always comes out fresh. If yours is from the Electrolux brand, find out how the company recommends you clean it.
Jan 18, 2024
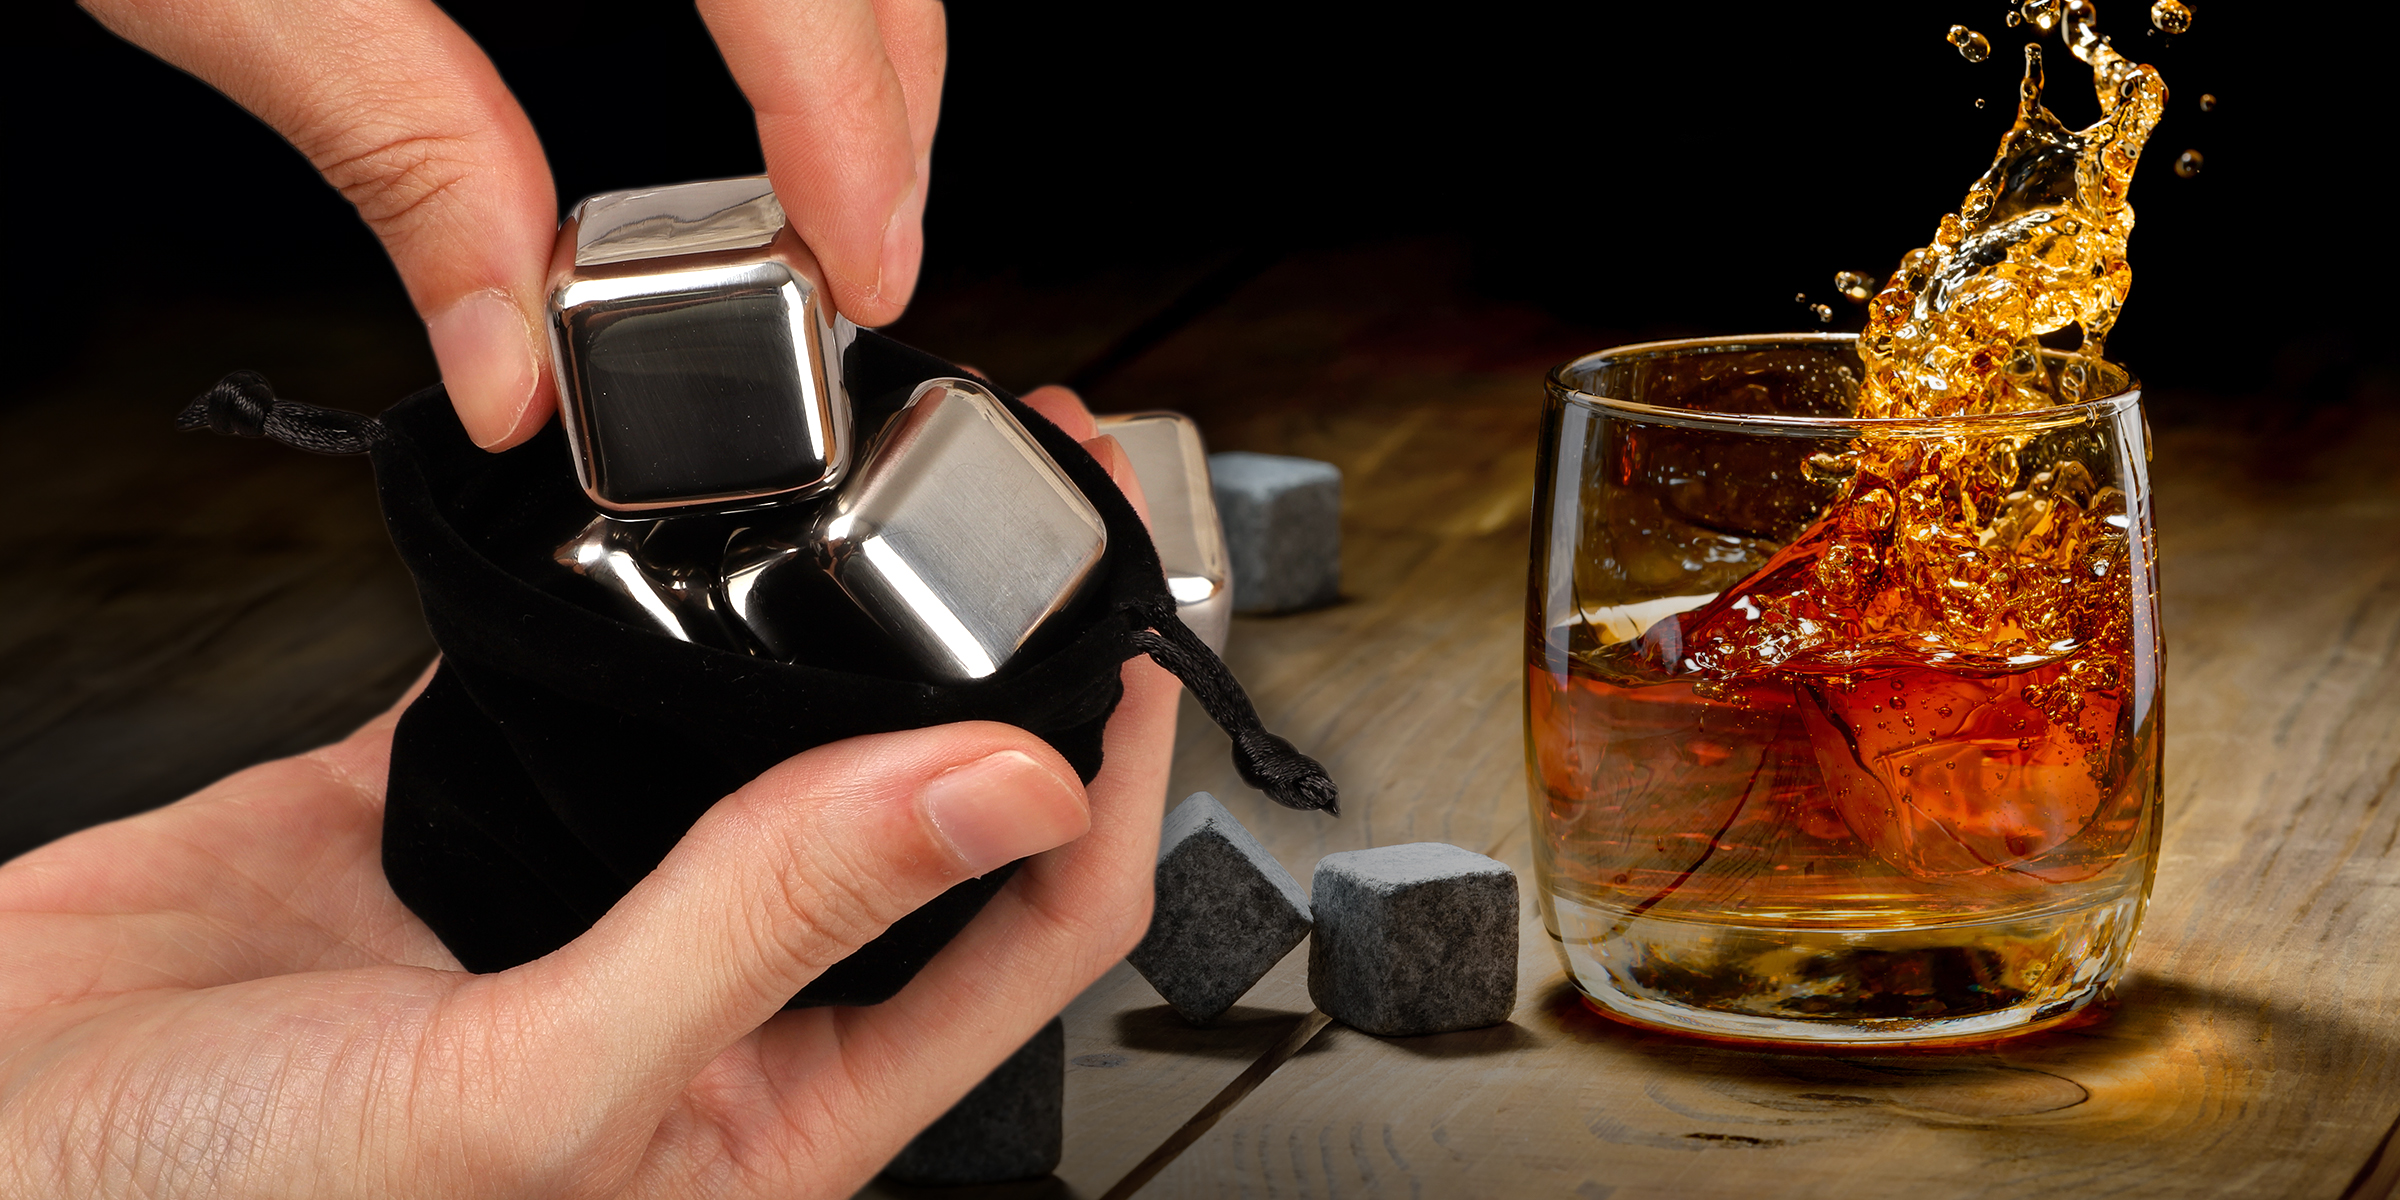
Whiskey stones are tiny rocks that cool whiskey without watering it down, making them perfect for lovers of the liquor, who want to keep its original flavor. As these stones can be reused, it is important to clean them, and we'll show you how.
Jan 13, 2024

Having a scratched mirror at home can be frustrating, turning an essential household item into an eyesore and, even worse, distorting the reflection you see daily. But don't rush to buy a replacement just yet; a scratched mirror doesn't necessarily mean it's time to invest in a new one.
Dec 15, 2023

Faux fur rugs are a popular and often more affordable option to decorate a space. There are numerous advantages to having a faux fur rug, but like the genuine kind, they need regular maintenance and the occasional deep cleaning.
Jan 14, 2024