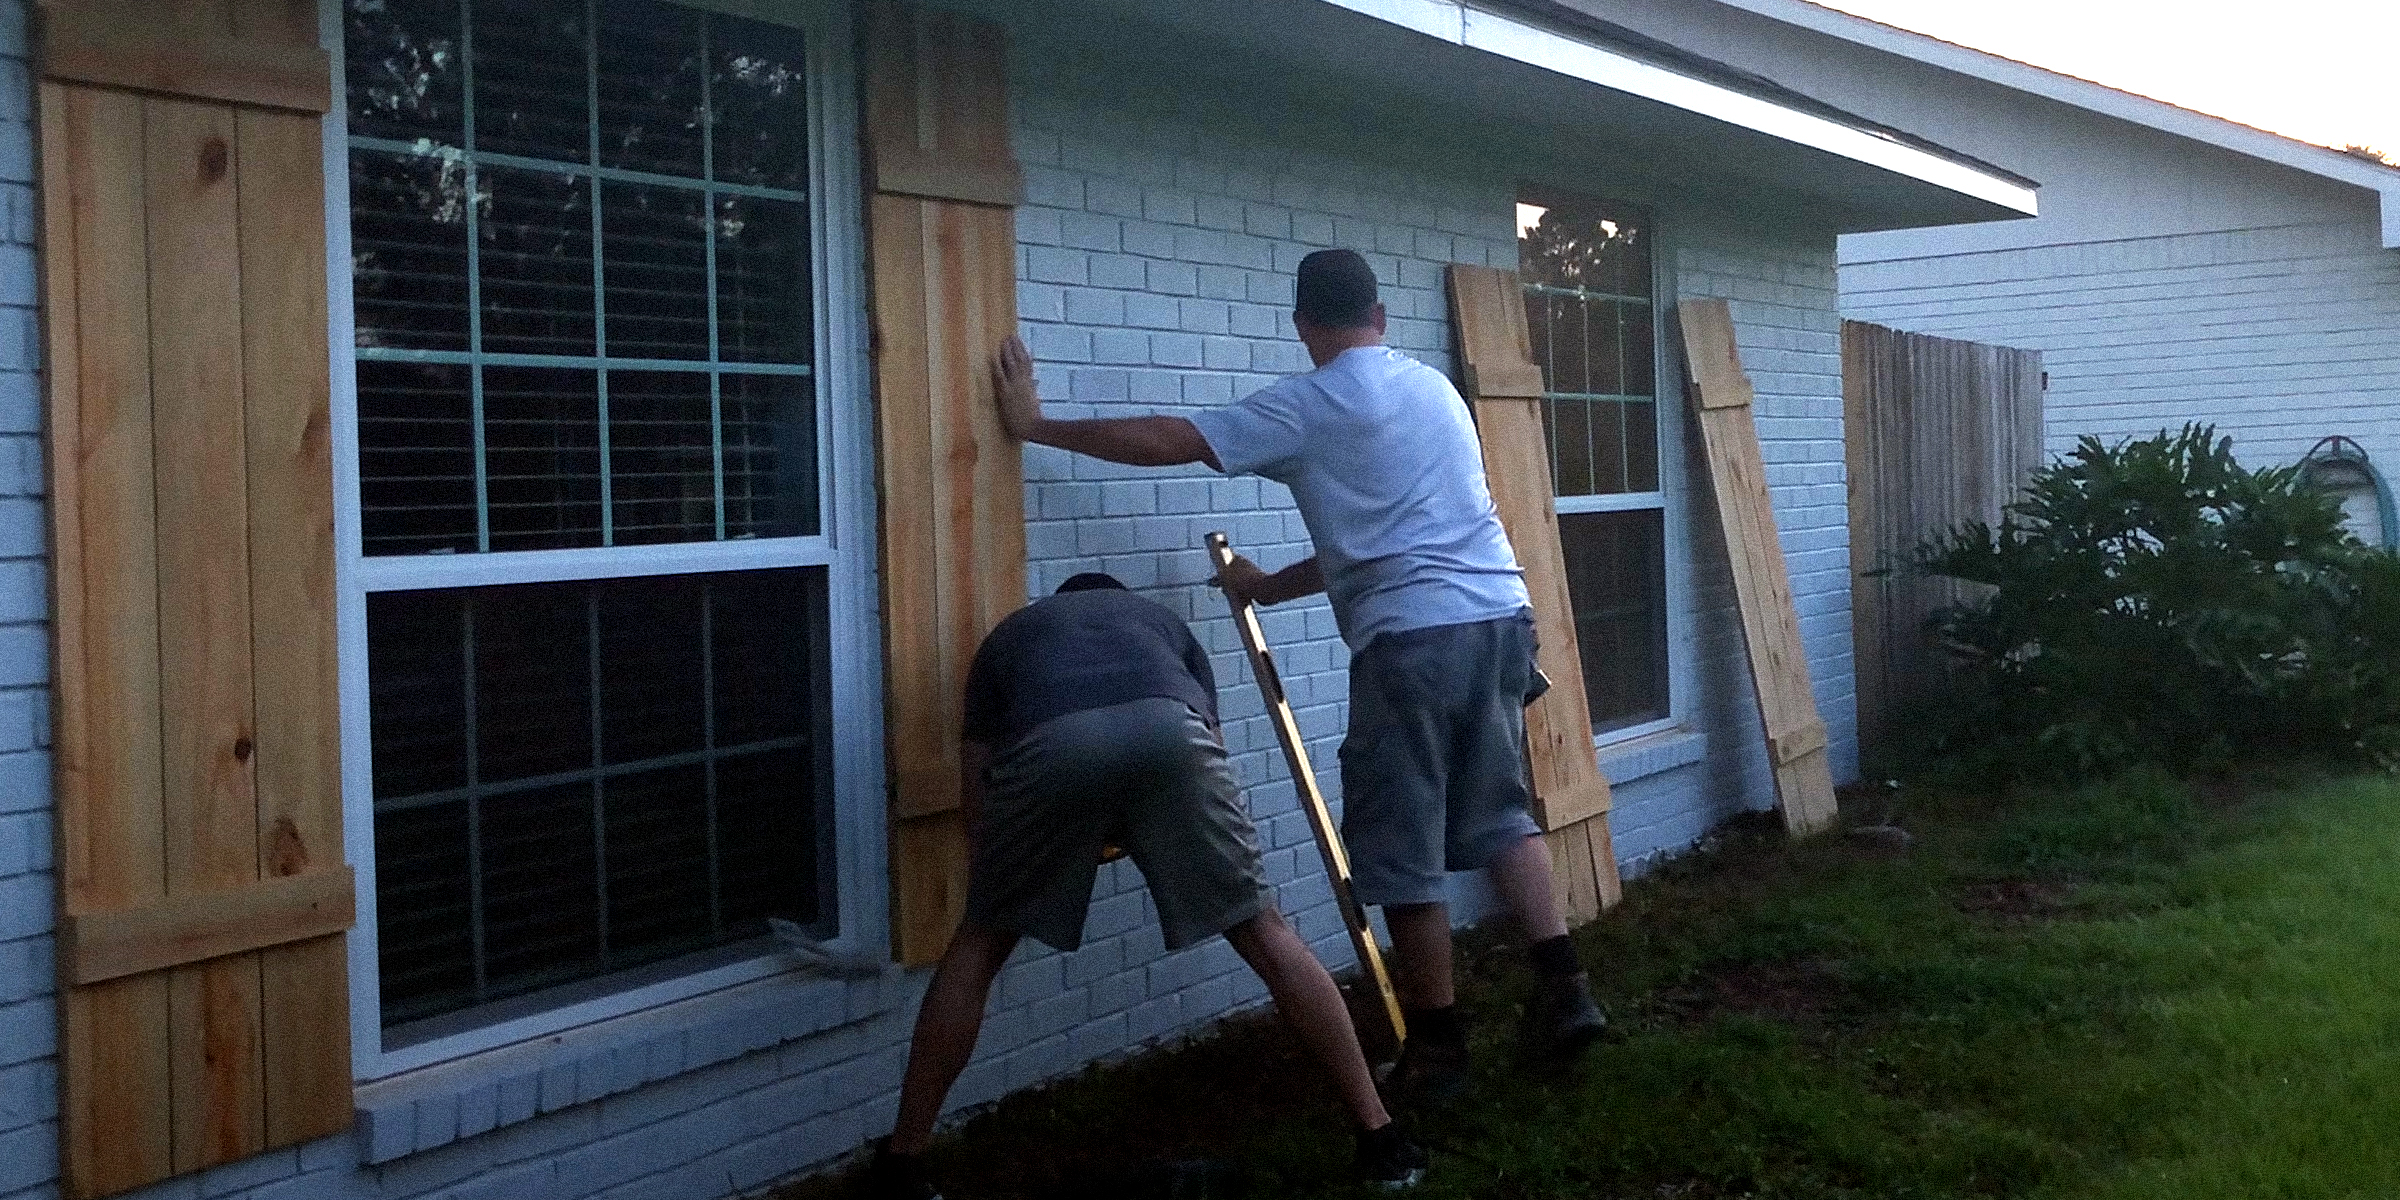
Build a DIY Curb Ramp for Seamless Driveway Access
Feb 13, 2024


Revolutionize your tool storage with our DIY garden tool rack freestanding guide—easy, affordable, and perfect for keeping your garden tools organized and within reach.
Tired of stumbling over cluttered, disorganized tools in your garage? It's time to streamline your space with a simple solution—a DIY freestanding garden tool rack. Not only is this project budget-friendly, but it also transforms your garage into a neatly organized area, making each tool easily accessible.
This guide will walk you through creating your own tool rack step by step, enhancing your efficiency and tidiness. Ready to tackle this practical project? Let's build an organized workspace together!
1. Arrange your long-handled garden tools with 2 inches of space between each. Measure from the midpoint of one handle to the next and note these measurements.

T
2. Cut a 1x6 board to the total length of your handle measurements plus 12 inches. Draw a line ¾ inch from one edge of the board and mark 6-inch intervals for each tool handle, adding 6 inches to each measurement.

T
3. Secure the board to your workbench and use a 2-inch hole saw to drill holes at each mark, creating slots for the tool handles. Optionally, paint or finish the rack.

T
4. Mark a level line on the wall at your desired height and locate the nearest studs. Position brackets over the studs with the line passing through the top holes of each bracket's long leg. Pre-drill and attach the brackets with screws.
5. Center the rack over the brackets, ensuring slots do not align with brackets. Mark screw holes, pre-drill, and secure the rack to the brackets with screws.
6. Finished! Now, elevate your garden tools from the floor to your new custom-built rack!
With your new DIY freestanding garden tool rack, you've effectively organized your tools, maximizing space and efficiency in your garage.
Ready for another practical project? Check out our guide on how to DIY a wardrobe door, perfect for enhancing your home storage solutions and updating your living space.
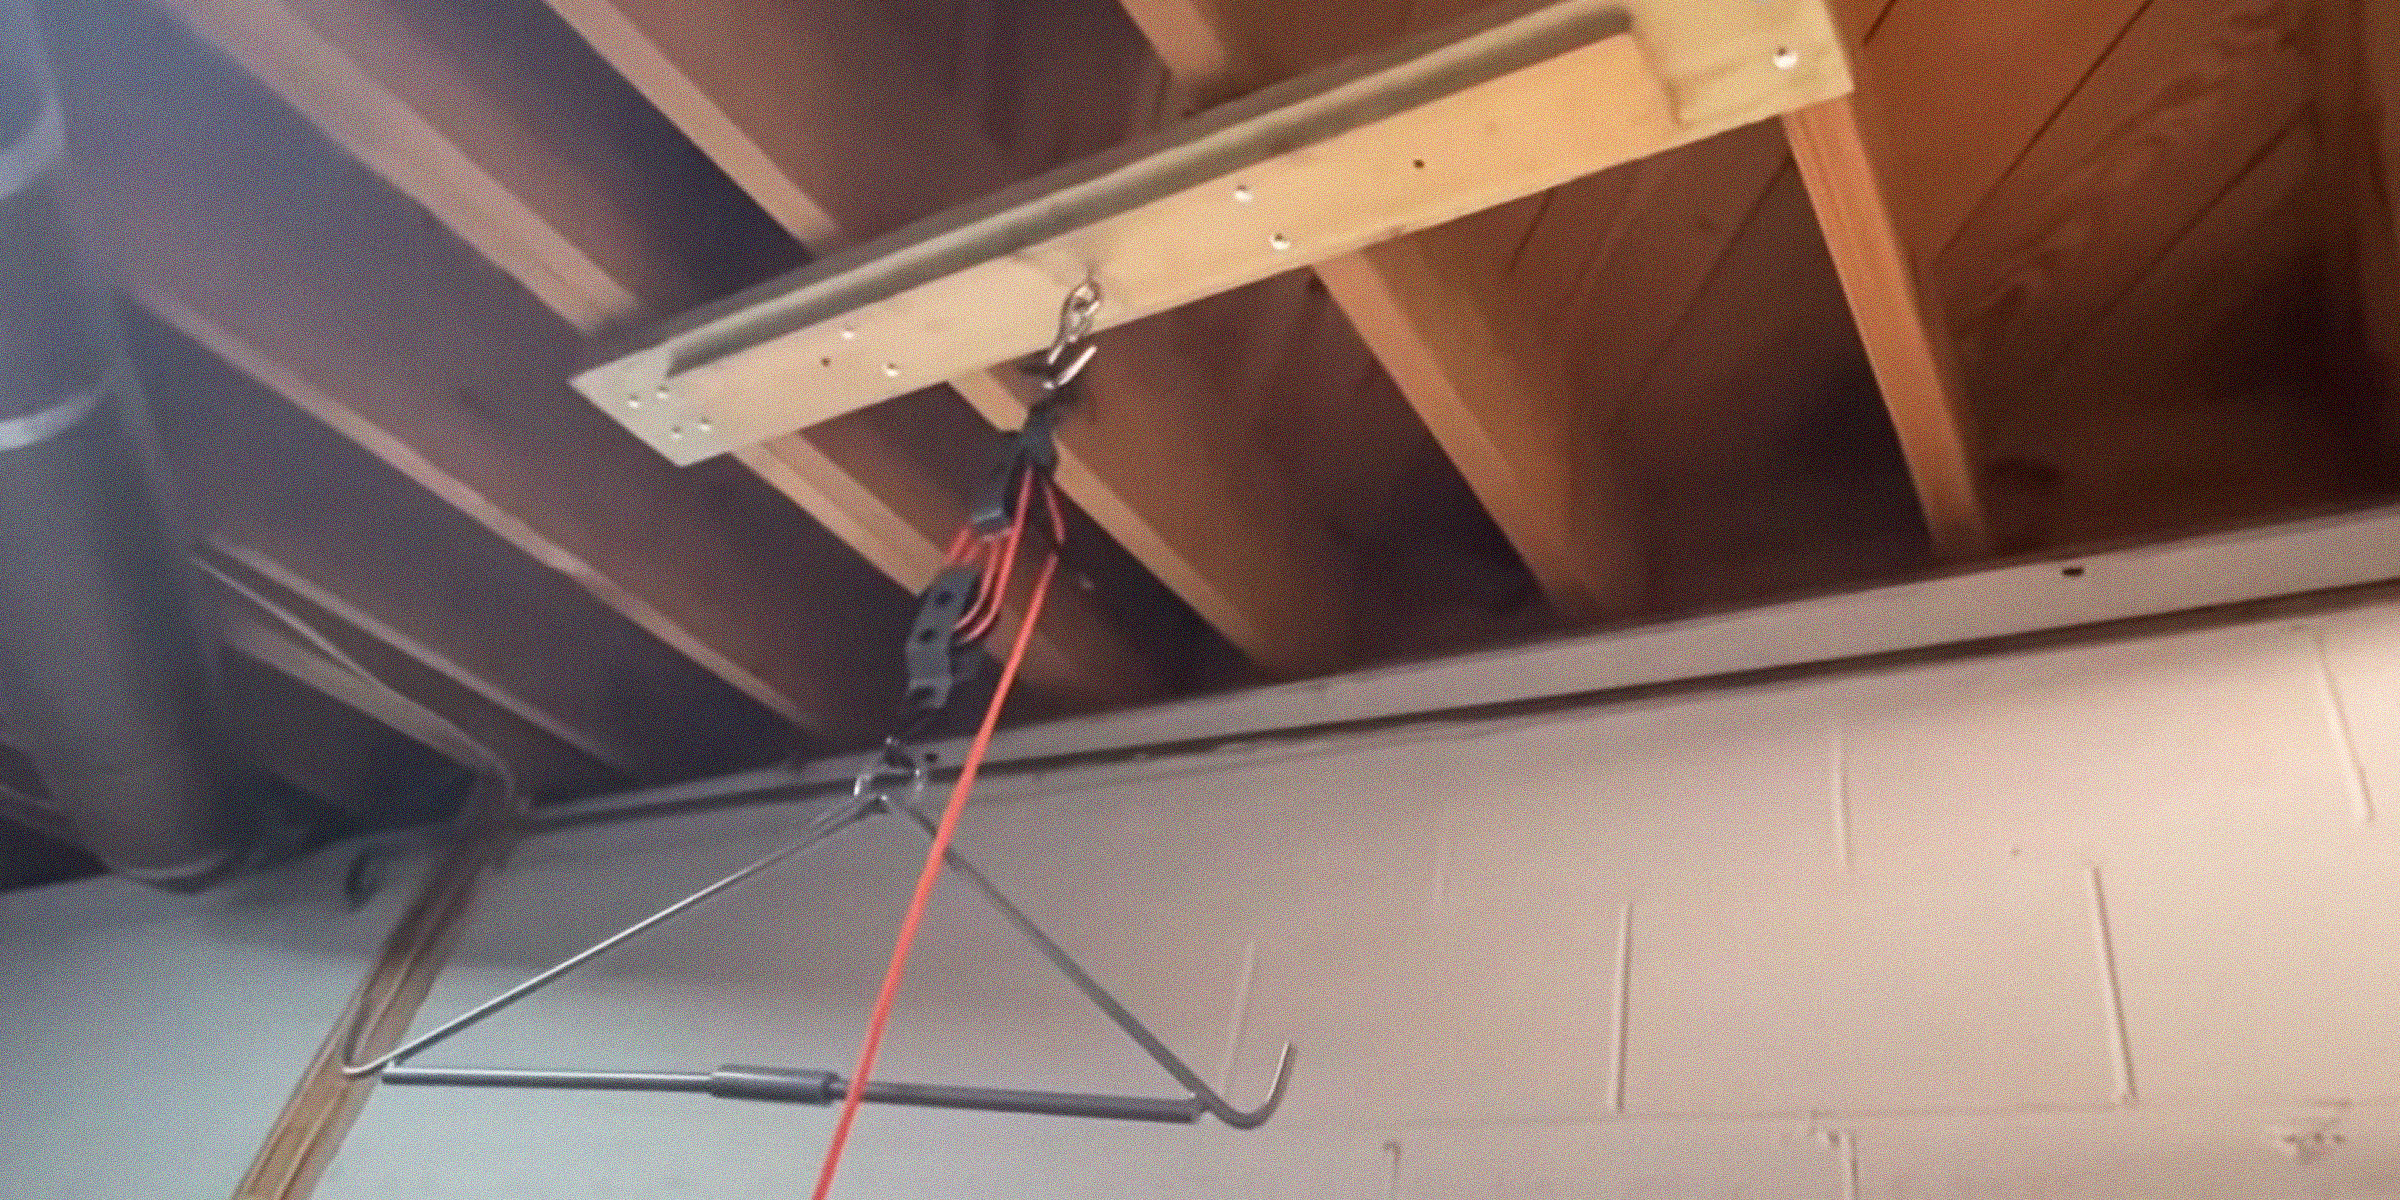
Whether you're a seasoned hunter or just getting started, a deer hoist is a helpful tool when hunting these large animals, and now, you can make this device in comfort of your home with this simple DIY deer hoist guide.
Feb 09, 2024
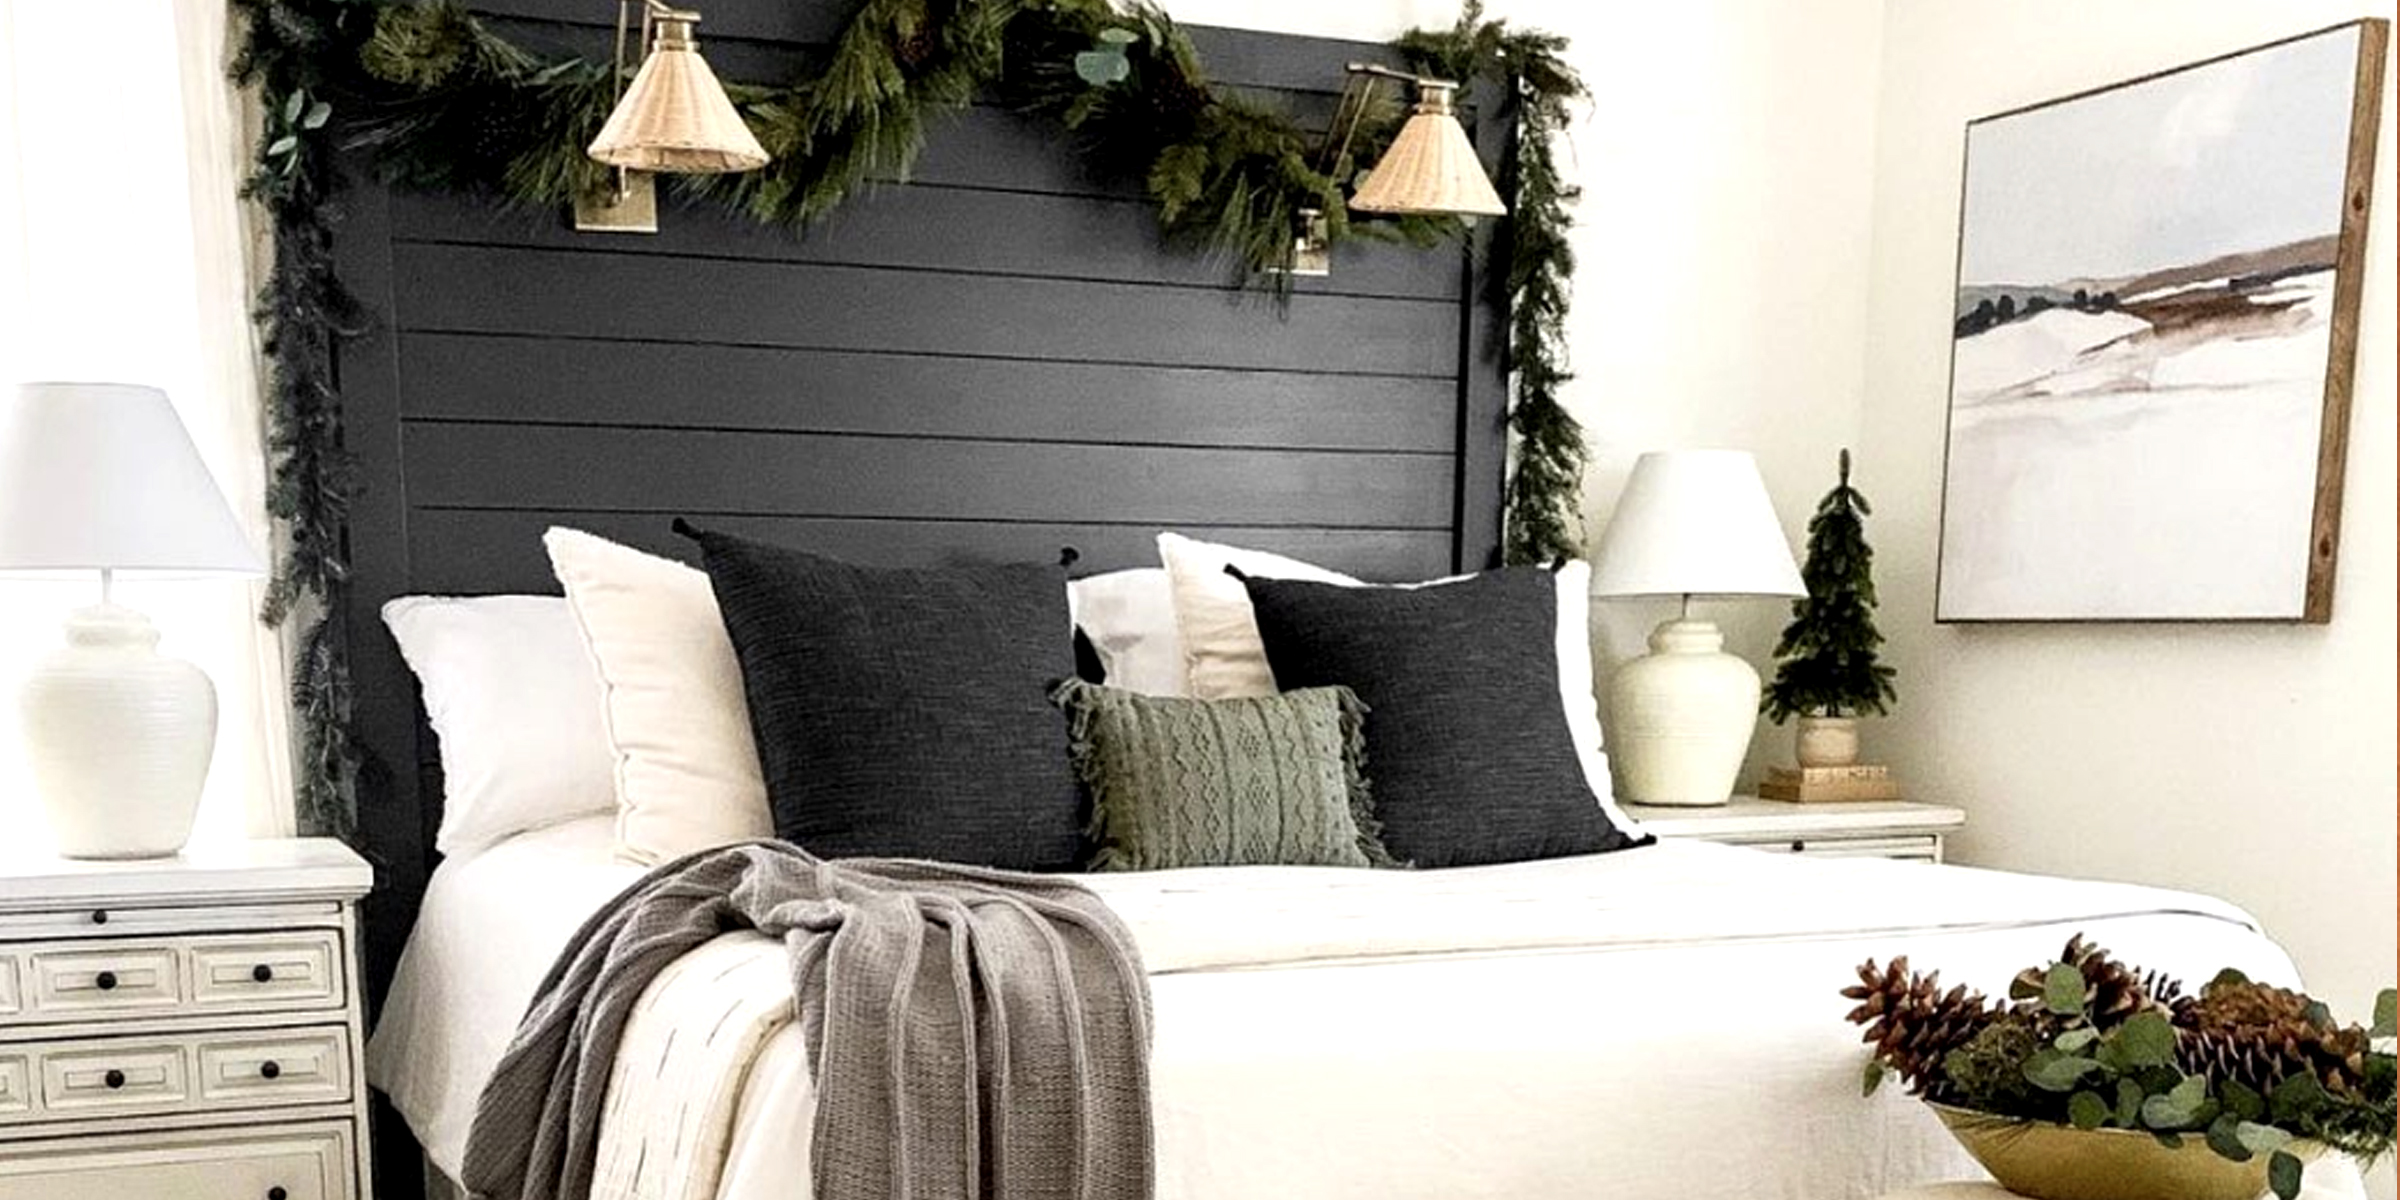
Elevate your bedroom's style with a personalized touch by crafting a DIY shiplap headboard. This project not only adds a rustic, farmhouse flair to your space but also allows you to create a custom focal point that is both functional and stylish.
Apr 18, 2024

Looking to discover how to create a Murphy door for your home? You've come to the right place! Incorporate a unique hidden door into your space by crafting your own, following the detailed guide below.
Mar 12, 2024

Transform your space with a DIY Litter Robot Enclosure that effortlessly merges smart technology with style. Despite their convenience, high-tech litter boxes can sometimes clash with home aesthetics. Fortunately, there's a stylish DIY solution!
Feb 14, 2024

Unlock the secrets to crafting your own personalized piece of furniture with our DIY wooden bench guide—where simplicity meets elegance in your living space.
Apr 10, 2024
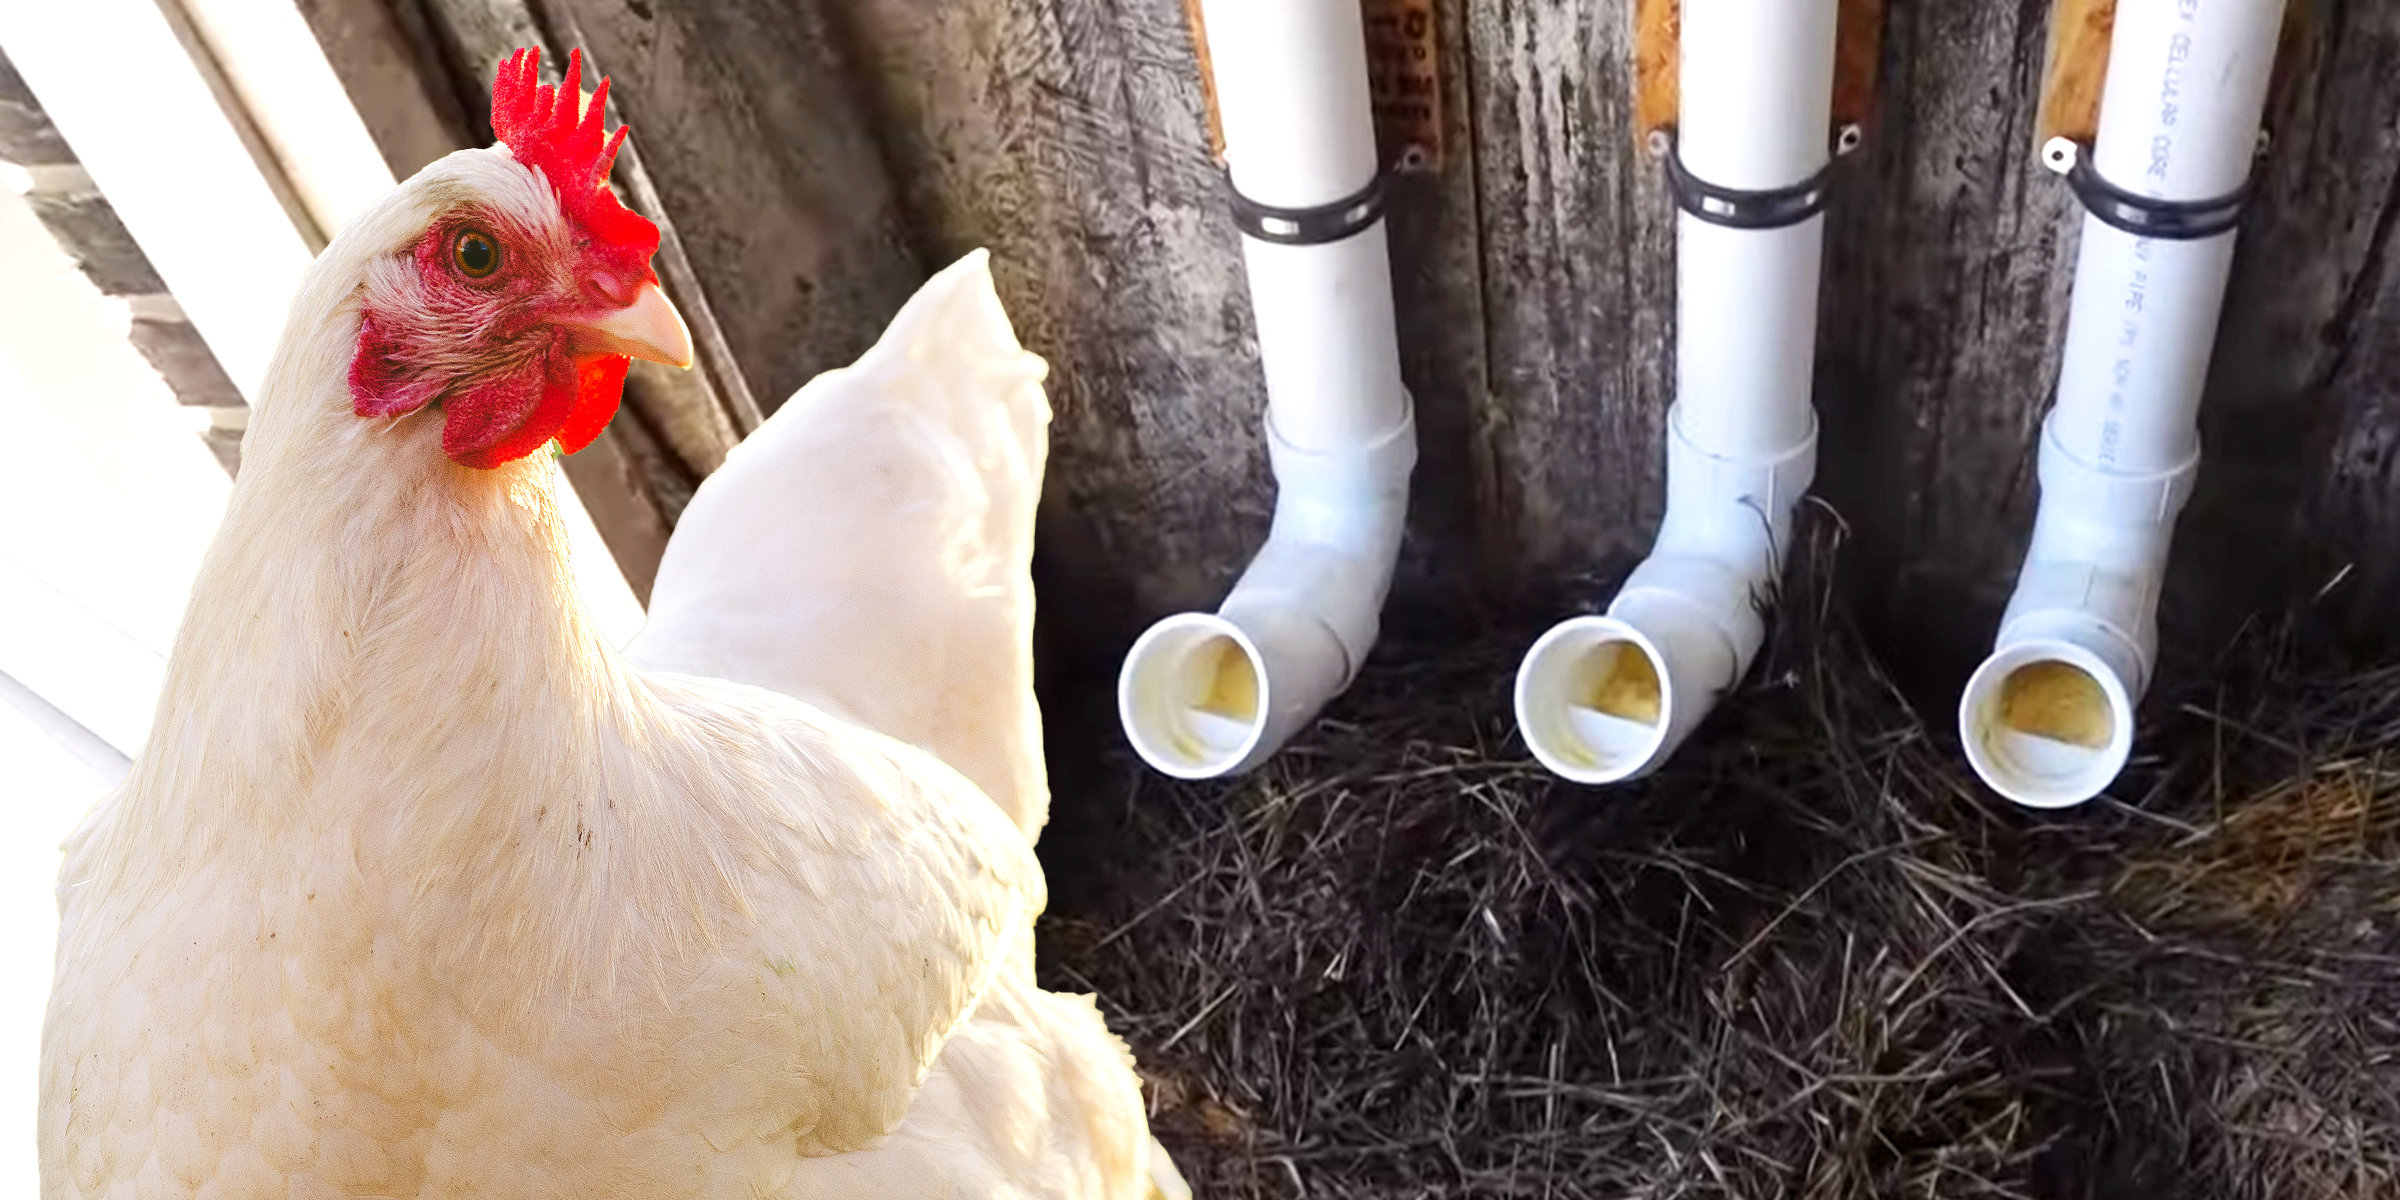
Discover how easy and rewarding it is to make your own chicken feeders DIY—a practical project to ensure your chickens are fed efficiently and economically. Let's start building!
Apr 22, 2024
Discover the cost-effective joy of DIY slide boards! This article guides you through crafting your own, enriching your workout without breaking the bank. Save big while elevating your exercise routine.
Feb 04, 2024
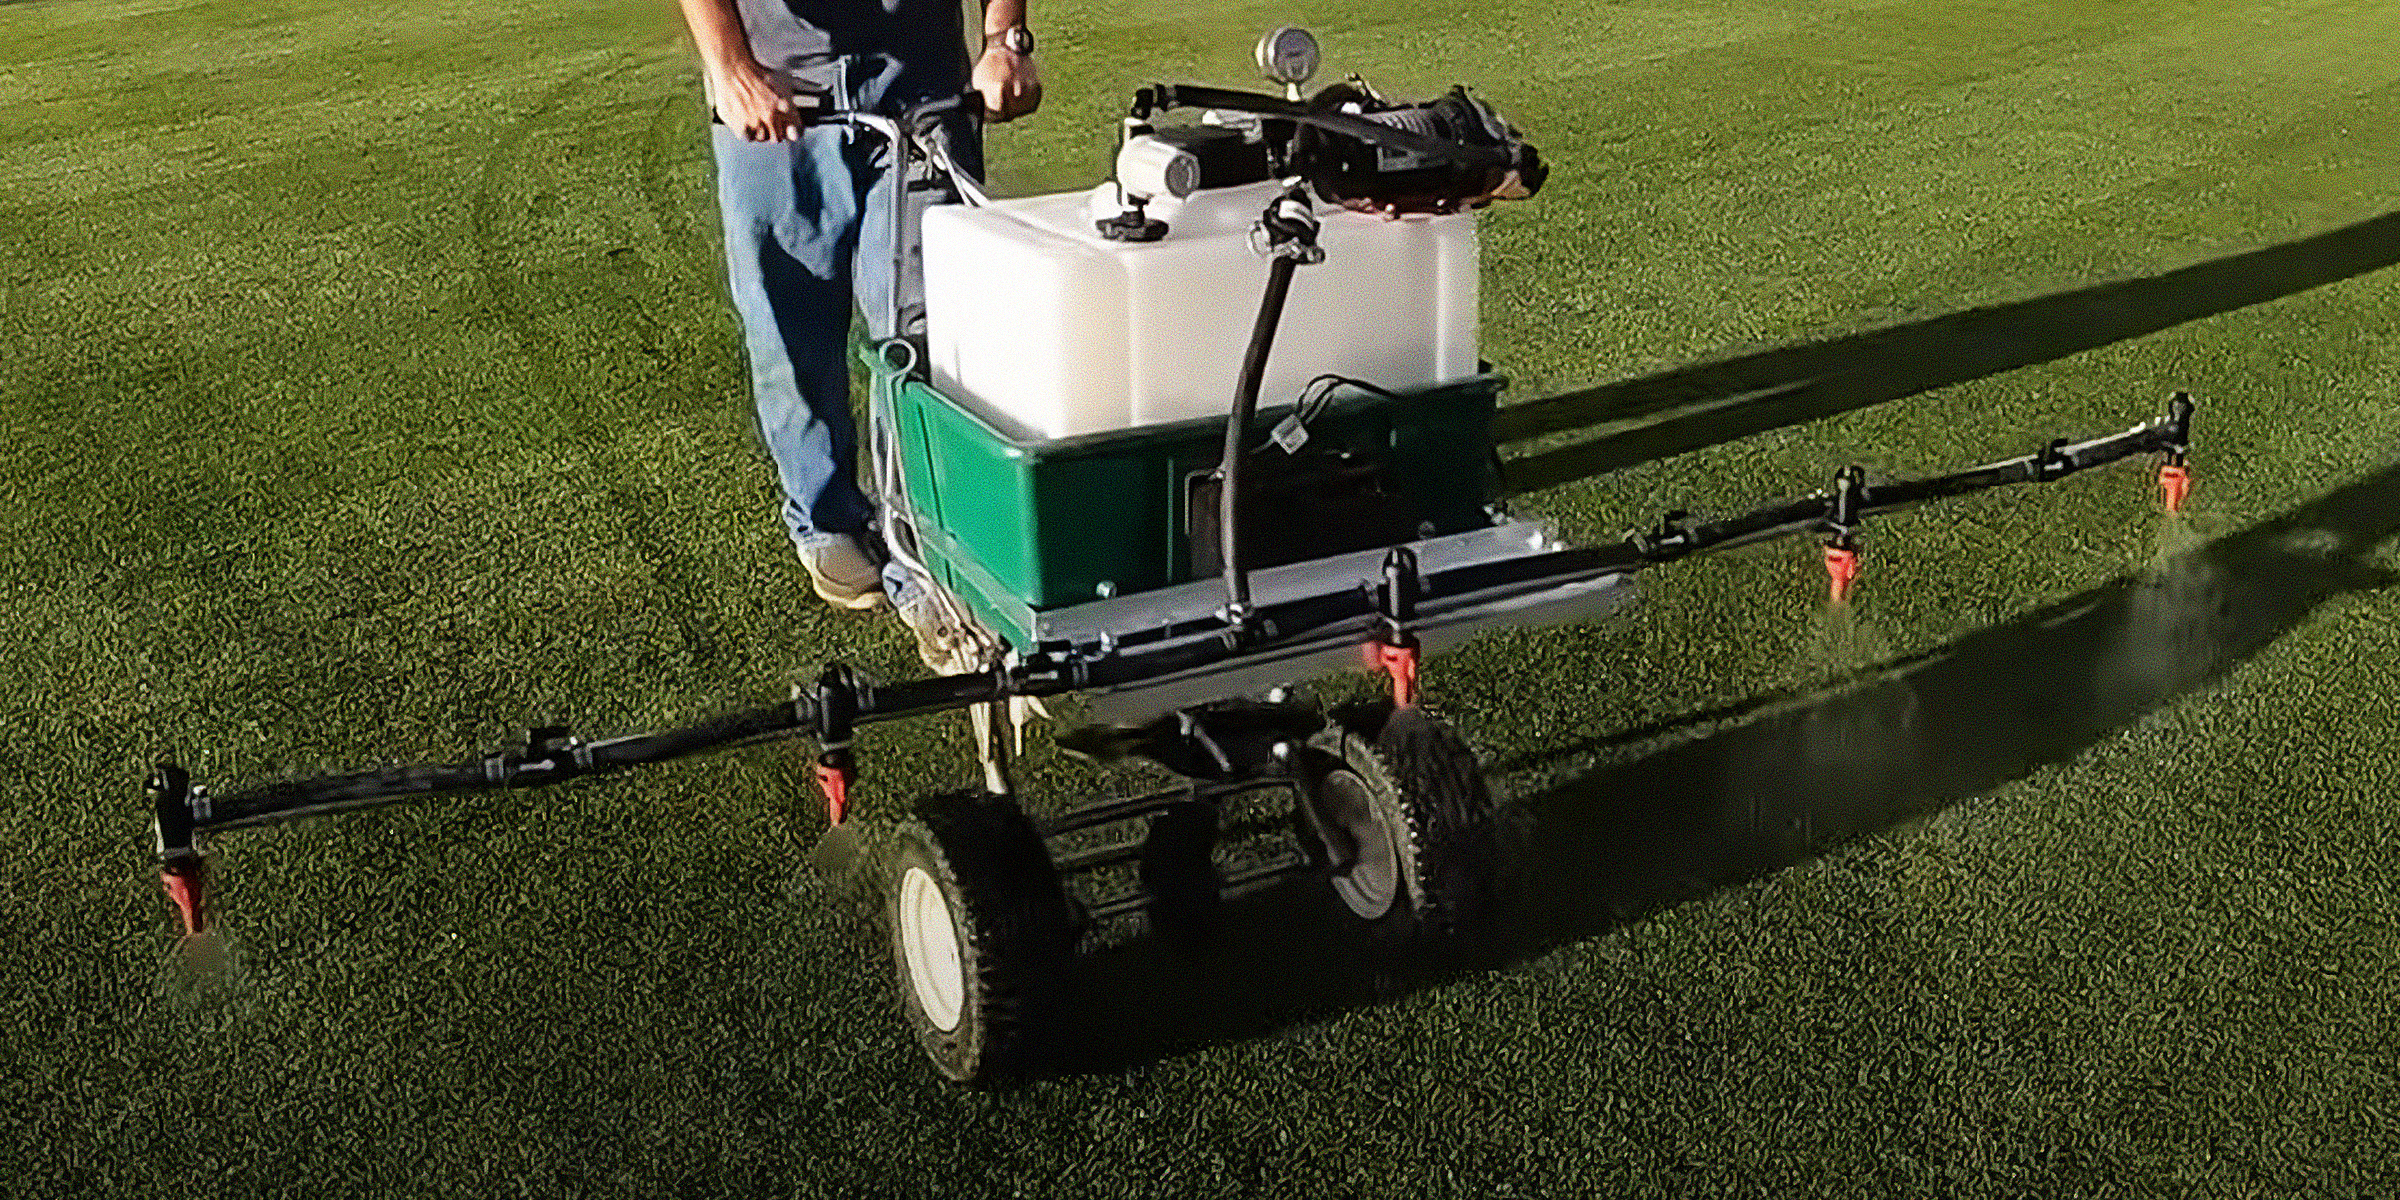
Whether you're a seasoned DIY enthusiast or new to the world of homemade gadgets, continue reading for a step-by-step tutorial that will help you create a functional and reliable DIY boom sprayer.
Feb 18, 2024

Transforming long car rides with children into fun-filled adventures is possible. Yet, managing sibling conflicts can be tough. Explore inventive solutions to foster peace and harmony between your little ones.
Feb 15, 2024
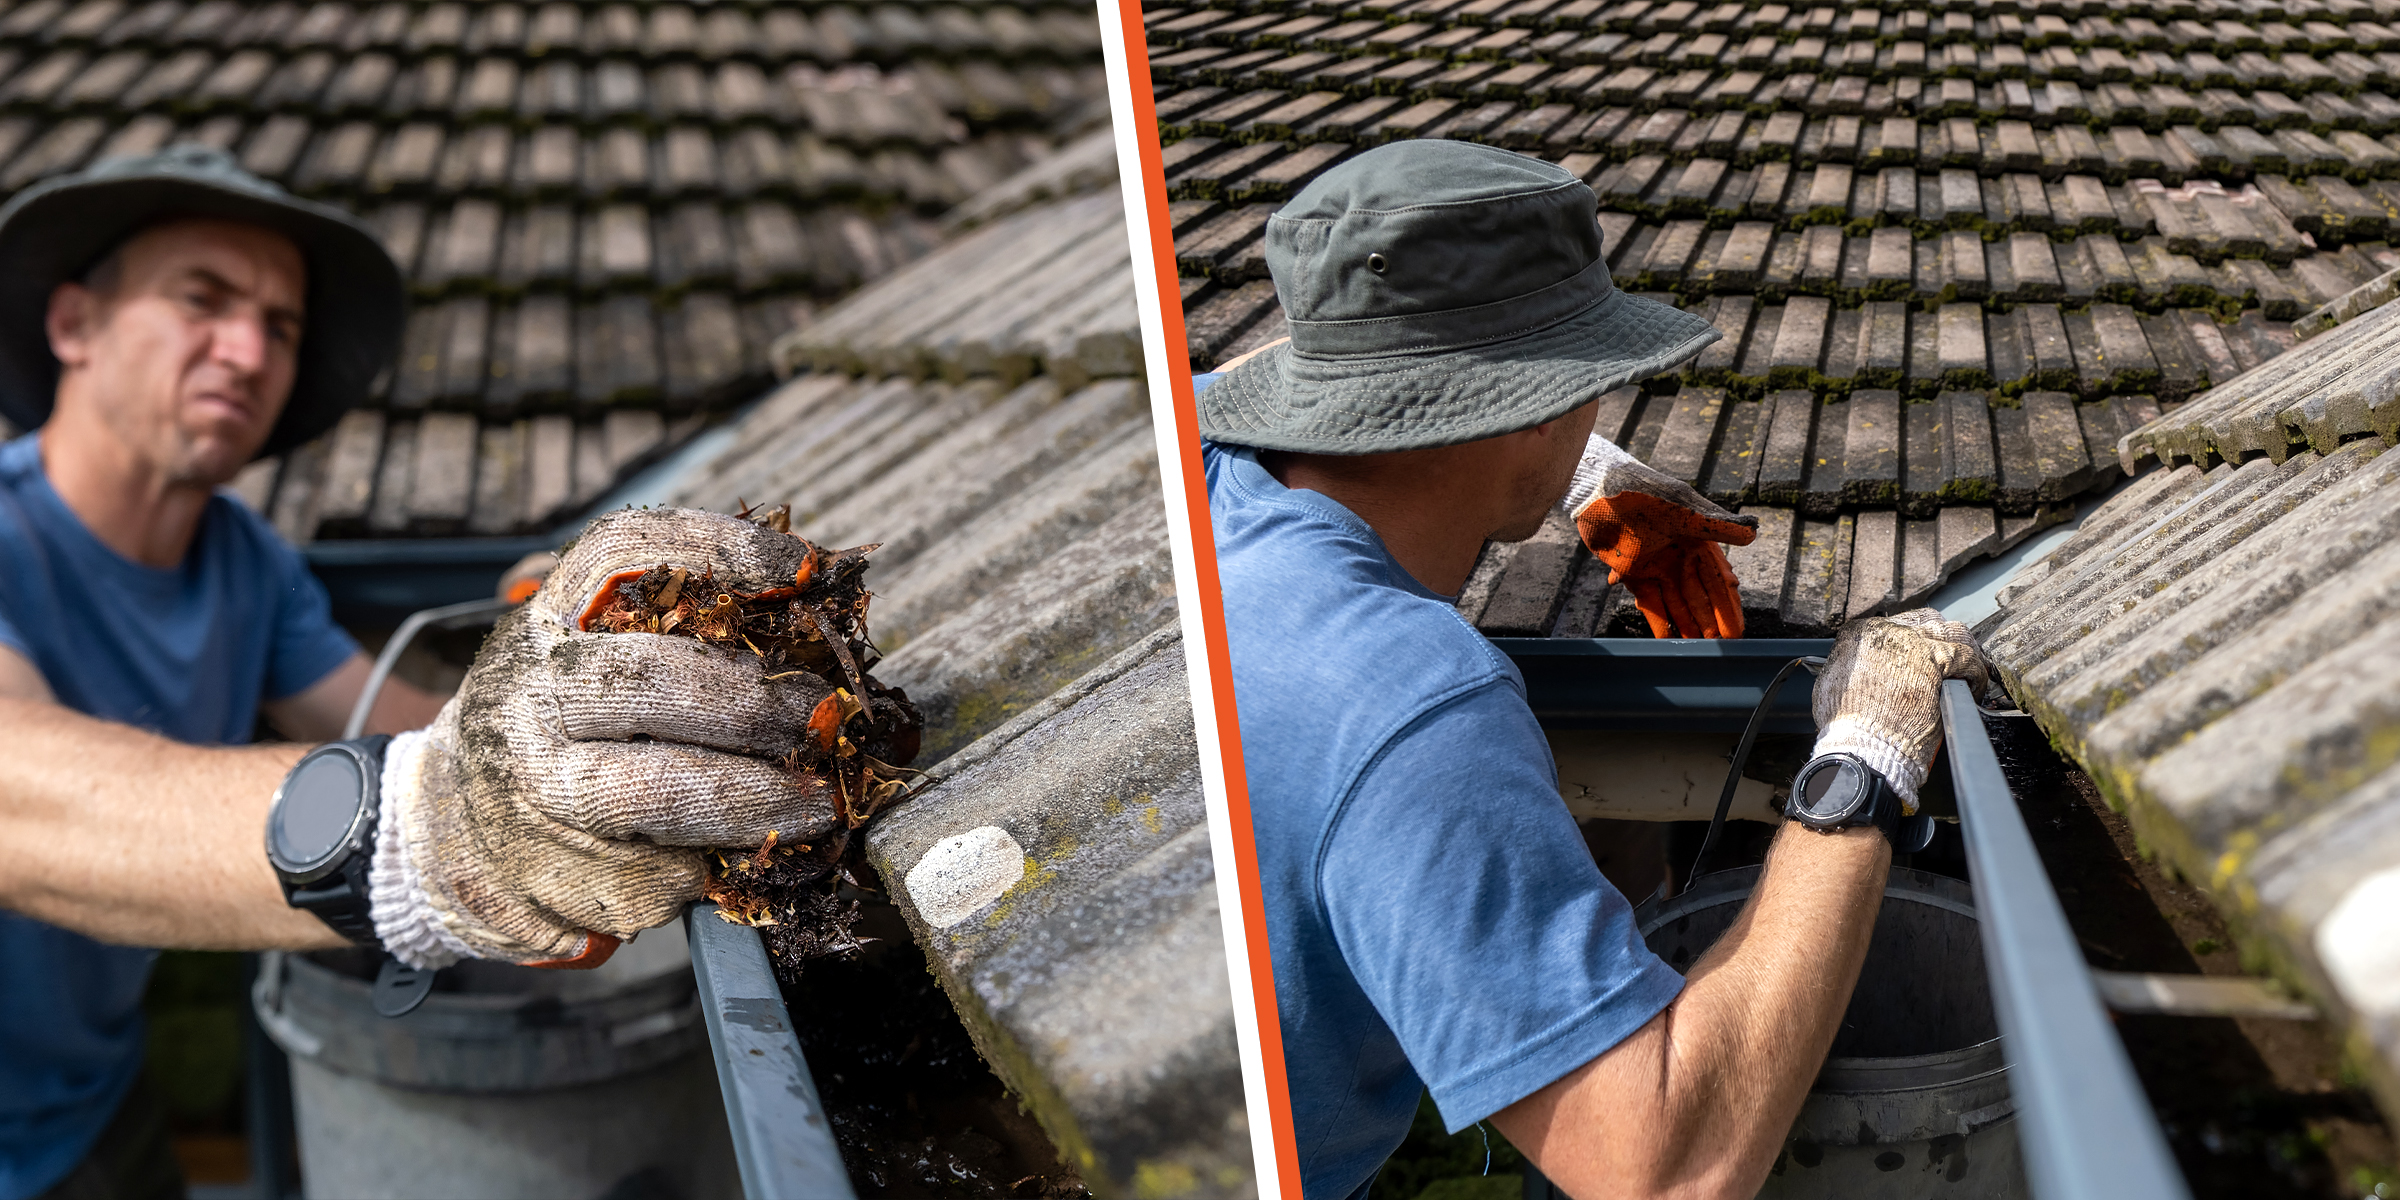
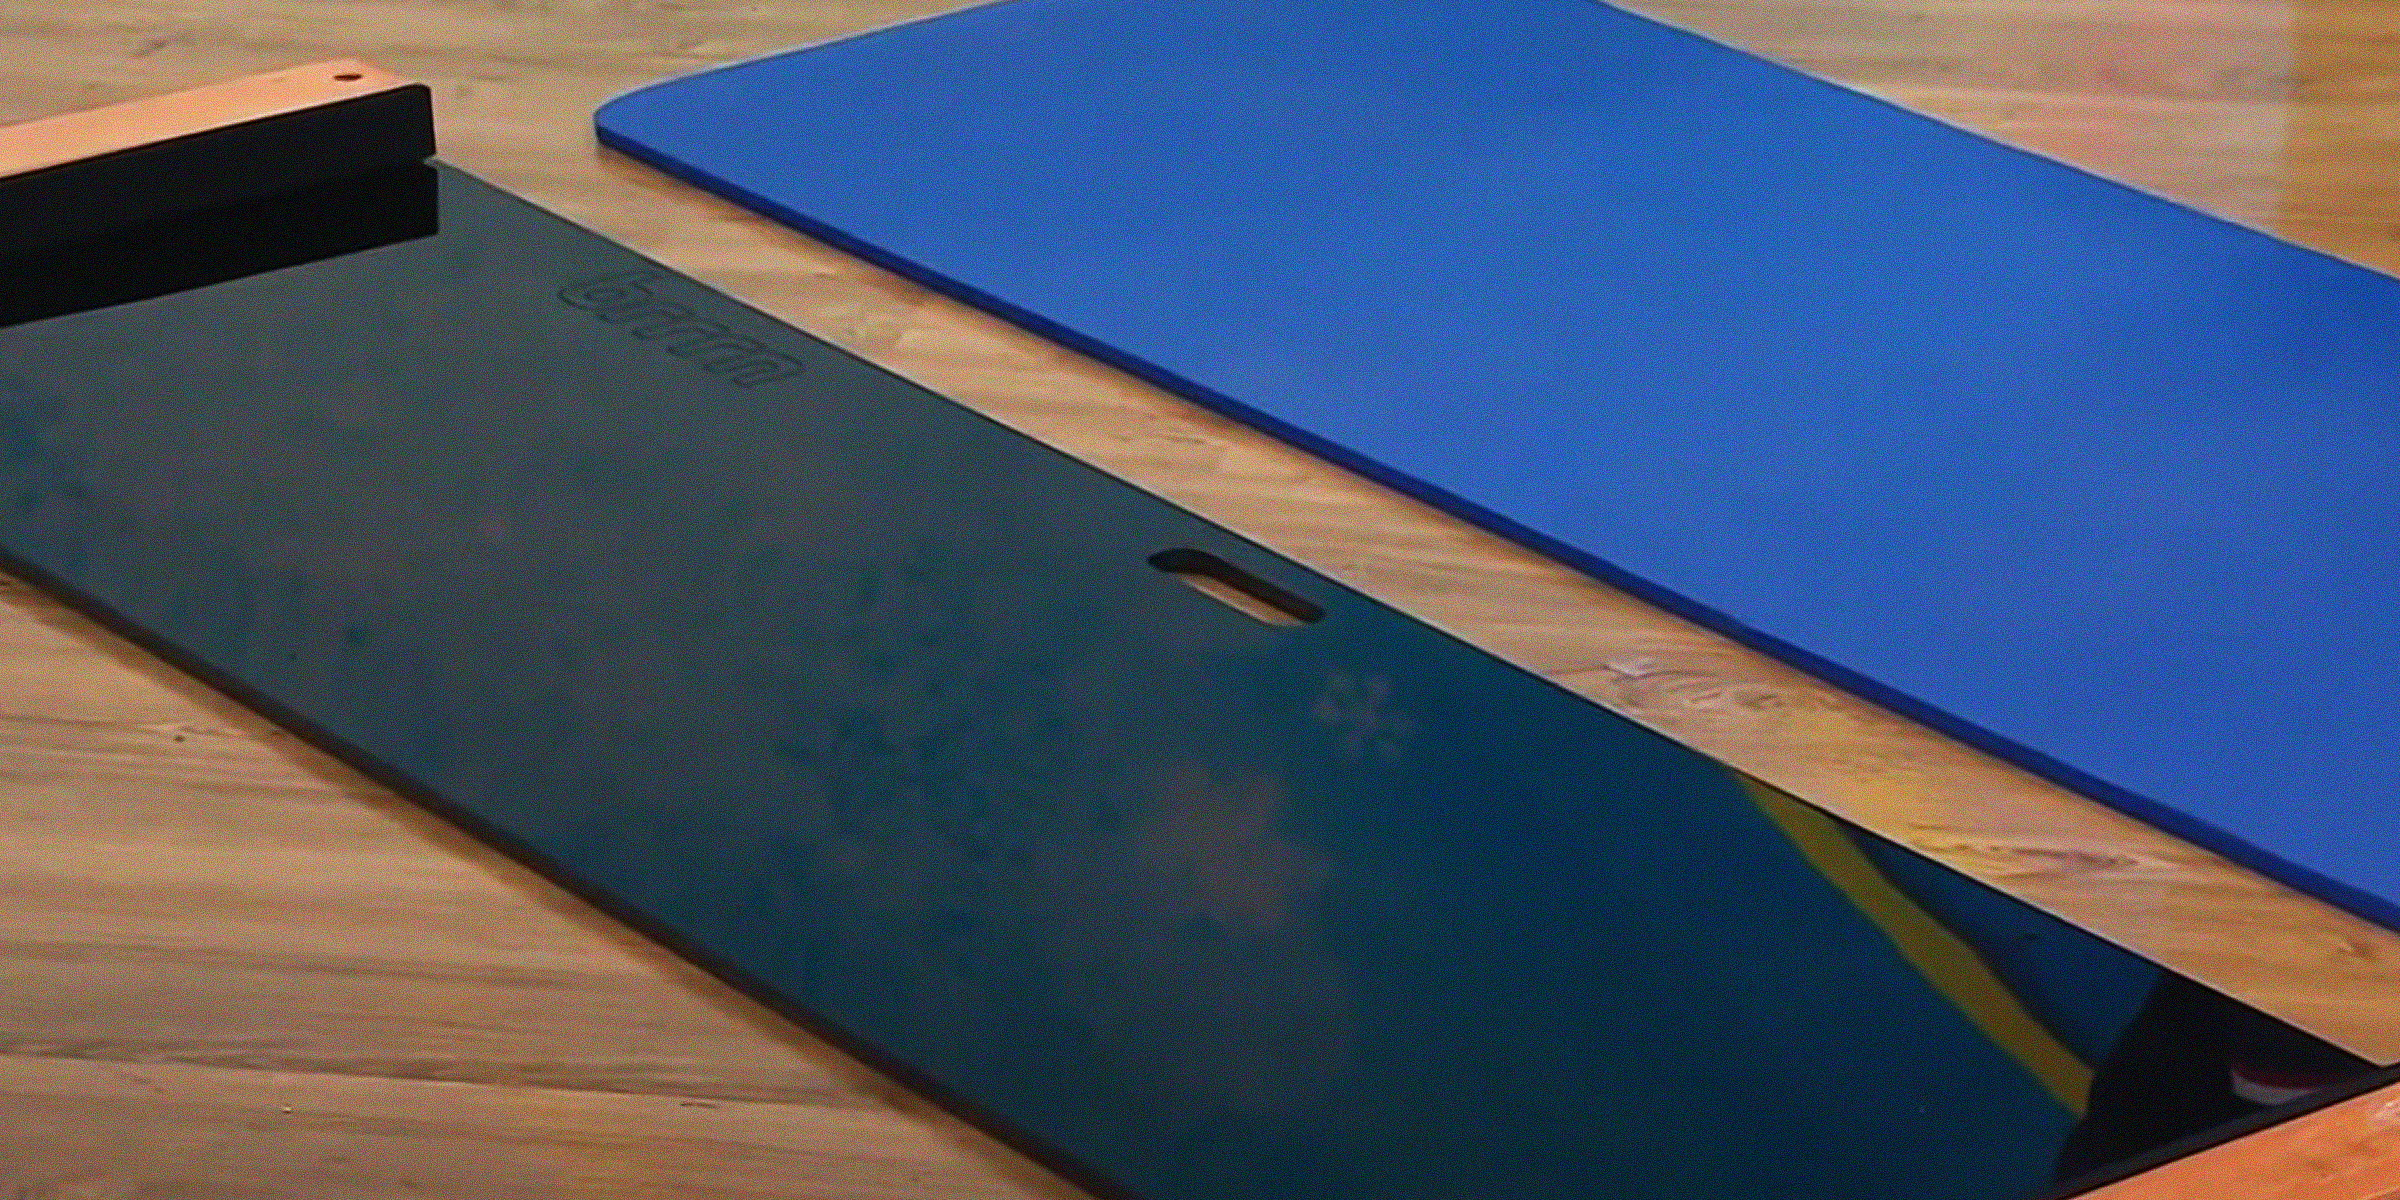
In a world where convenience is king, the quest for efficient home maintenance solutions is never-ending. Enter the revolutionary concept of DIY gutter guards — your ultimate ally against the tedious task of gutter cleaning.
Apr 12, 2024

In our modern toolkit, electric drills are indispensable for creating holes in wood, but what happens when one isn't available? Fear not! Even in the absence of a drill, a plethora of creative avenues remain open to us. Here's how to make a hole in wood without a drill.
Mar 18, 2024
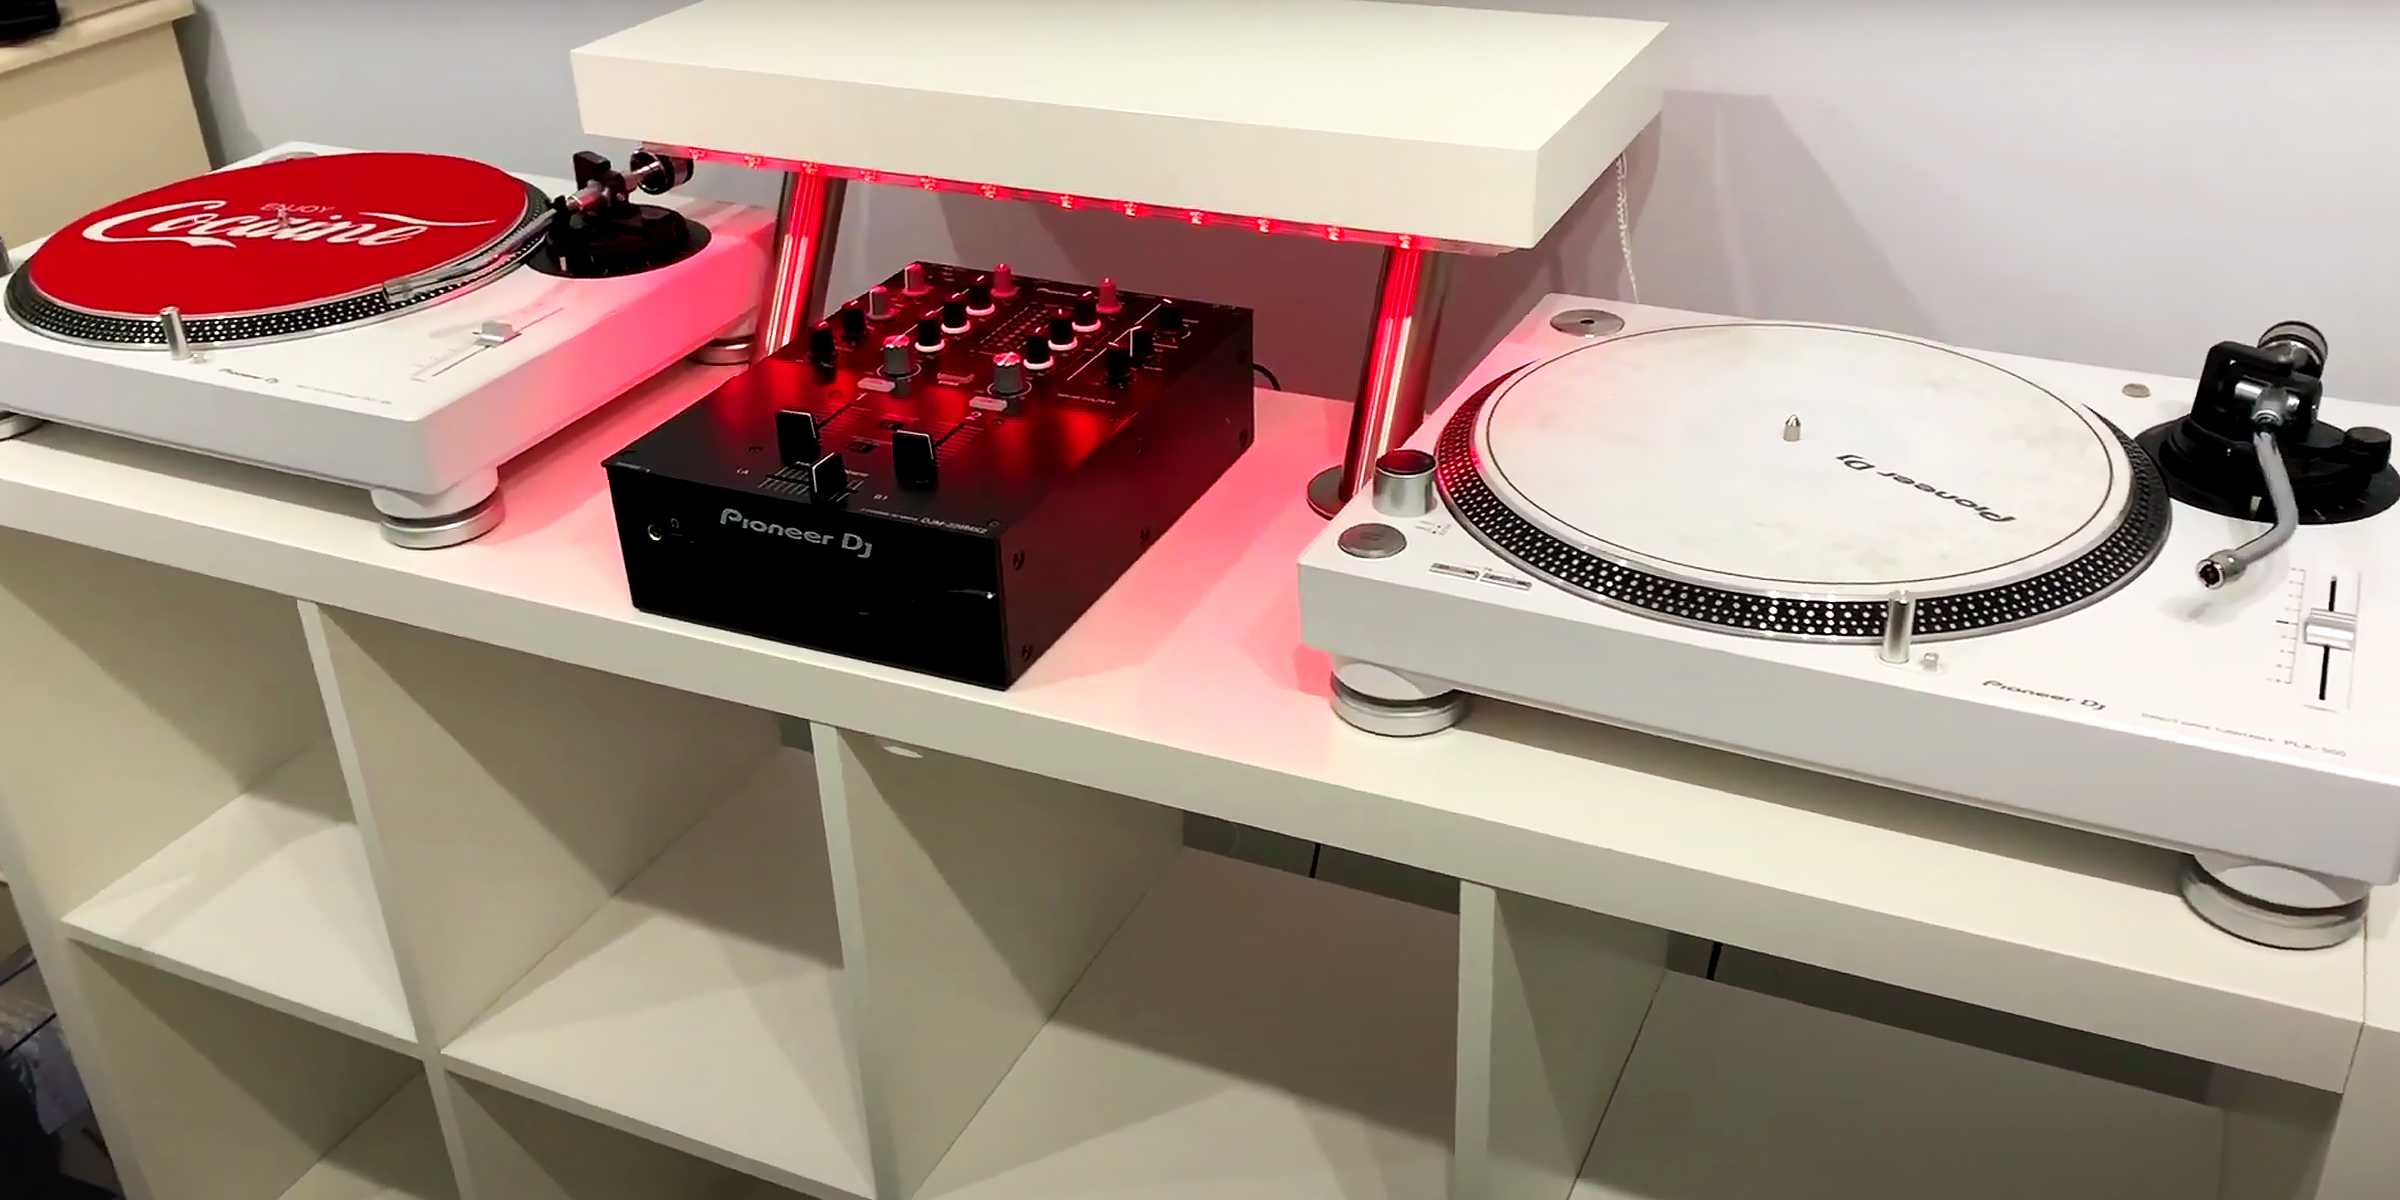
Discover how to transform your space into a DJ's dream with our guide to crafting a DIY DJ booth. From assembling IKEA furniture to adding personalized touches. It's time to unleash your creativity and elevate your DJing experience.
Feb 17, 2024

Embark on a creative journey and revamp your bedroom aesthetics with a DIY wardrobe door. With a touch of ingenuity and these simple steps, you can tailor a personalized and budget-friendly solution.
Feb 03, 2024

Celebrate your baby’s milestone in style! Crafting a DIY high chair banner is a fun, cost-effective way to add a personal and decorative touch to any special occasion. With simple materials and easy-to-follow steps, this project is perfect for both seasoned crafters and those new to DIY.
Apr 22, 2024